Guide for surviving in the Tyrant’s Realm, covering all from gameplay basics to boss strategies, to listing available loot and equipment (SUPER UNDER CONSTRUCTION as I play through the game I’ll be adding lots to it gradually!)
Introduction
Welcome to my guide! It’s quite a bit of a work-in-progress at the moment, but I’ll keep improving and filling out the guide as I progress through the game myself,
Gameplay Basics
Merchant’s Lounge
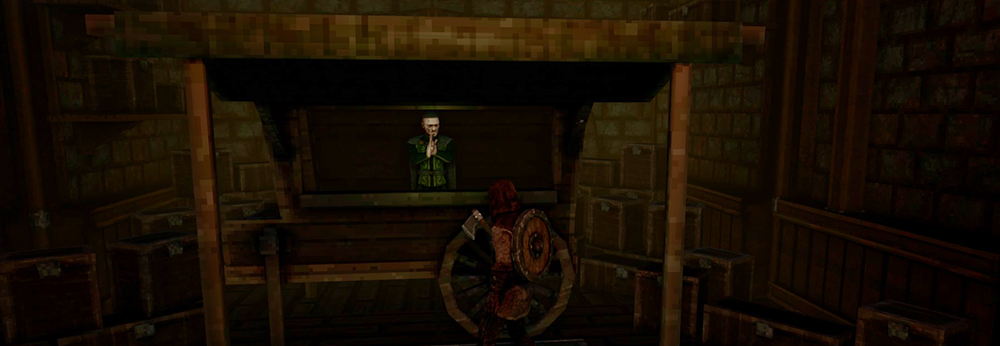
Before and after boss fights, you’ll find yourself in the Merchant’s Lounge, a warm and comfortable place, in stark contrast to the places you’ve travelled through to get there.
The Lounge acts as a short respite between levels and big challenges, allowing you to refill your flasks, invest in permanent character upgrades to give you an advantage in your future runs, as well as view an Archive of the gear you’ve collected – and the foes you’ve fought,
The Merchant
At the Merchant, you can trade in your hard-earned coins to complete Equipment Blueprints you’ve found on your journey, as well as buy permanent upgrades and advantages (like shortcuts…) that apply to all of your future runs.
Generally, you should look to invest all of your coins each time you come across this fellow, as coin allocated towards the permanent upgrades carries over between runs – whereas when you die, you say goodbye to any and all coins you still have on you. Any blueprints that you’re carrying will also automatically be added to the shop’s inventory, allowing you to choose different equipment for this current run, at a price.
(Merchant’s full inventory pending as I complete the game~)
Fireplace
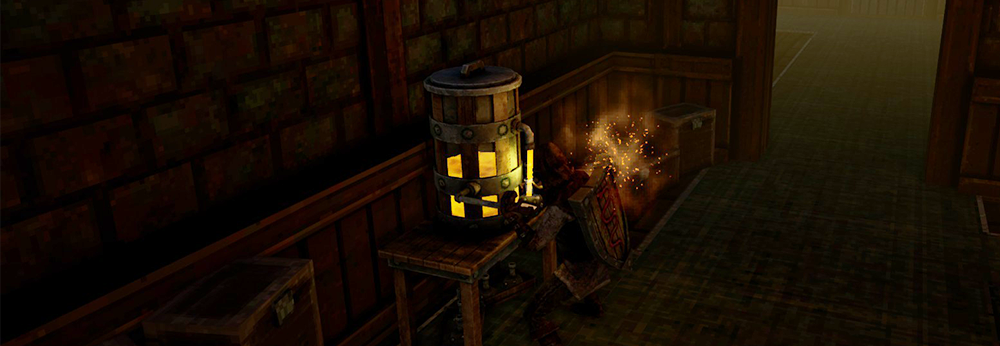
Once per run, you can approach the Fireplace and interact with it when prompted, to “Bask in the heat”, restoring your Health completely.
Training Dummy
Just like in the tutorial section, there’s a training dummy in the Merchant’s Lounge to let you try out weapon movesets and get a feel for them. You can also use it to charge up your Executioners attack! Just keep whackin it, it doesnt mind.
Flask Refill
Once per visit to the Merchant’s Lounge, you can completely refill your flasks at the station there. Make sure to use any you have remaining to top-off your health before you do, though!
The Archive
This allows you to view a- well, an Archive, of all the items, enemies and areas that you have discovered on your runs of the Tyrant’s Realm, and is great for picking up little lore tidbits or checking the passive effects of different pieces of equipment.
World Map
The World Map lets you view a simple layout of the different areas in the Tyrant’s Realm, and fills out more as you discover all of them through different runs.
Equipment Log – Weapons
SPECIAL EFFECT: None
DAMAGE: 200
STAMINA: 250
SPEED: 100
A simple club, you’ll start off with this weapon every run. It has a simple two-swing combo and a heavy forward-thrust attack. Not really much to say about this one.
Brass Knuckles (R)
SPECIAL EFFECT: None
DAMAGE: 135
STAMINA: 180
SPEED: 200
These knuckles deal low damage, but excel with an evasive playstyle, as their fast hits also come with a lot of forward momentum, allowing you to attack from further outside an enemies range, outpacing their attacks with careful dodging and zooooming back in to take advantage of their miss. Their heavy attack is a double-handed overhead slam.
Naginata (Y)
SPECIAL EFFECT: None
DAMAGE: 200
STAMINA: 265
SPEED: 150
The Naginata is a reasonably fast thrusting weapon with good reach – it lacks any real combos but delivers with a consistent, repetitive attack. It’s strong attack is still quite fast, and is also a simple thrust forwards.
Seafarer’s Rapier (Y) – Blueprint Cost: 200
SPECIAL EFFECT: None
DAMAGE: 145
STAMINA: 210
SPEED: 160
A battle tested, standard quality rapier. A solid and trustworthy weapon of choice for many seafarers. These weapons were cheap to produce and easy to train with.
General’s Rapier (Y) – Blueprint Cost: 200
SPECIAL EFFECT: None
DAMAGE: 180
STAMINA: 275
SPEED: 160
A high quality rapier, previously wielded by a general on the battlefield. The golden guard and the ivory handle are signs of the military union of the southern lands.
Bronze Hilt Swords (R) – Blueprint Cost: 200
SPECIAL EFFECT: None
DAMAGE: 200
STAMINA: 275
SPEED: 120
Sacrificial swords from a distant land. Though most often used for decorative purposes, some fighters use them for combat for their lightweight and sturdy blades.
These dualswords have an excellent standard combo, chaining into a second attack very quickly after the first, and hitting a nice arc in front of your character. The heavy attack is a vertical sweeping strike.
Equipment Log – Armor
ABILITY: None
DEFENCE: 10
SPEED: 120
Worn by the prisoners, this heavy mask provides minimal defence. Designed to cause extreme claustrophobia to its wearer as extra punishment.
This is your starting gear every run – its defence is pitiful, you’ll want to trade it out for just about anything else you’ll find. It’s a shame though – the mask is rather stylish.
Thief’s Garb (R)
ABILITY: Loot dead enemies for gold.
DEFENCE: 110
SPEED: 120
A leathery suit worn by the foot soldiers of the thief guild. Made of light materials that still offer some defence.
Stand over a fallen enemy and press [L1/LB] to loot their corpse. Loots a small amount of gold, varying in amount, typically around 10-15 gold per corpse – just make sure you do actually remember to loot them before moving on!
Knight’s Armor (G)
ABILITY: Push away enemies with a shield rush
DEFENCE: 240
SPEED: 100
This armor belonged to a loyal knight. The knight had immense strength and was able to repel any attacking horde.
Knight’s Armor is a solid pick, with an effective damage-dealing skill – Shield Rush hits fast and repeatedly for its duration, which should stun the target in place as it hits.
Commander’s Armor (Y)
ABILITY: Stomp the ground to deal damage around
DEFENCE: 250
SPEED: 100
An ultra-heavy armor worn by the commanders of the prison guard. The measurements show evidence of gluttony.
The Commander’s Armor is always a great find, as its special ability is a real stand-out. Using it allows you to stomp the ground, dealing a large amount of damage in a radius around your character – it also knocks lighter foes back a short distance.
Cultist’s Garments (G) – Blueprint Cost: 50
ABILITY: Apply poison effect to a weapon
DEFENCE: 50
SPEED: 100
Clothing worn by a lone sadistic killer. While not ideal for defending against weapons, it is light and inconspicuous in a crowd.
Taking hits whilst wearing this is really going to hurt thanks to its lack of defence, but the ability to add a poison effect to your weapon for a short duration is very powerful. This poison effect takes place instantly, with just a single hit to an enemy, and coats the weapon for a short time. Especially effective at getting in extra damage against enemies that flee often, such as the Huntsman boss.
Hunter’s Pelt (R) – Blueprint Cost: 200
ABILITY: Throwing Axe
DEFENCE: 50
SPEED: 120
A leather armor fashioned out of various straps and belts. Every northern hunter was responsible for producing their own armor. Equipped with a throwing axe.
With very little defence, you’ll want to focus on hit and run with this armor equipped, creating distance between you and your foes to use your Throwing Axe ability, which does a lot of damage to smaller enemies, but is a lot less impressive in boss fights.
Loyalist Robes (G) – Blueprint Cost: 200
ABILITY: Heal on Kill / Limits Max Health
DEFENCE: 50
SPEED: 100
Worn by the members of a secret high society group. Many heinous acts have been done by its original wearer. Limits max health, but heals on kills.
With such little defence, the limited maximum health is pretty severe. Rather than give any kind of edge, this armor feels more suited as a personal challenge to overcome.
Avaricious Armor (Y) – Blueprint Cost: 200
ABILITY: Doubles Gold Collected / Halves Max Health
DEFENCE: 220
SPEED: 100
A golden armor worn by the old Emperor’s Guard. Its design shows a preference for form over function. Double the gold, half the max health.
Nomad Gear (G) – Blueprint Cost: 200
ABILITY: Fires off a Fan of Stars
DEFENCE: 90
SPEED: 110
Eastern traveler’s worn down clothing designed to conceal the wearer’s identity. Eastern style of combat was famous for its use of gadgets. Equipped with a fan of stars.
Chained Grab (R) – Blueprint Cost: 200
ABILITY: Chain Dart
DEFENCE: 80
SPEED: 110
A soft robe that obscures the wearer’s face. Its original wearer was a master builder turned mercenary after a betrayal. Equipped with a chain dart.
Equipment Log – Shields
SPECIAL EFFECTS: None
BLOCK: 100
STABILITY: 80
Your basic starter shield. With how good many of the other shield’s passive effects are, you’ll likely want to trade this one out for the first new shield you find.
Reinforced Roundshield (G)
SPECIAL EFFECTS: Rolling and sprinting are stamina-free
BLOCK: 100
STABILITY: 80
Stats-wise, its identical to the shield you start your runs with, but the passive is insanely beneficial, for practically all builds. Being able to dodge around without penalty is a great not only for avoiding damage, but also for making those larger stamina-hungry weapons more tempting, as you don’t need to worry about having enough stamina left to dodge out of the way!
Practice Shield (G) – Blueprint Cost: 200
SPECIAL EFFECTS: Easier to Parry Attacks
BLOCK: 100
STABILITY: 80
A flimsy wooden shield made for training. Built from light materials, it has superior handling over other shields. Easier to parry attacks.
Spiked Shield (R) – Blueprint Cost: 200
SPECIAL EFFECTS: Hurts attacking enemies when blocking
BLOCK: 100
STABILITY: 78
A modified standard shield of the army. The Ironforge Brotherhood is known to use intimidating equipment such as this.
Contract Shield (Y) – Blueprint Cost: 200
SPECIAL EFFECTS: Increases damage dealt to bosses
BLOCK: 100
STABILITY: 87
A bloodied shield of a mercenary. Trusty piece of equipment that has seen a world of atrocities and terror. Increases damage against bosses.