This is a guide to help people who have trouble beating Master difficulty, hopefully it will be of help.
Up to date for version v.1.00.084
Foreword
In this guide I will try to go over everything that should help you stay alive and keep up with the damage as master progresses.
We will also go over some tips and tricks, as well as less known mechanics.
Master mode – Quick Fixes
The quickest solution to survival issues is to equip “Caution” talent – it can be unlocked by simply stacking Health bonuses.
if you have unlocked additional effects from stacking 3 mods you can stack 3 Repair Mods on any weapons to get HP boost.
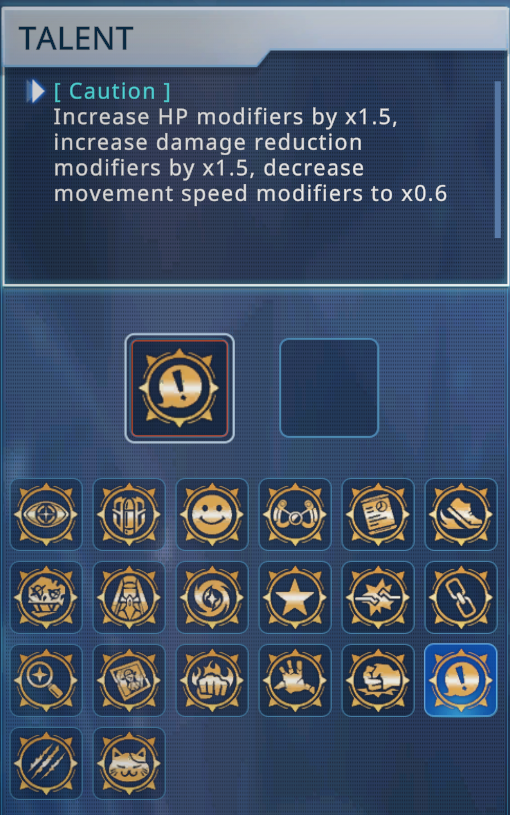
With this talent all you need to do is max out Damage Resistance
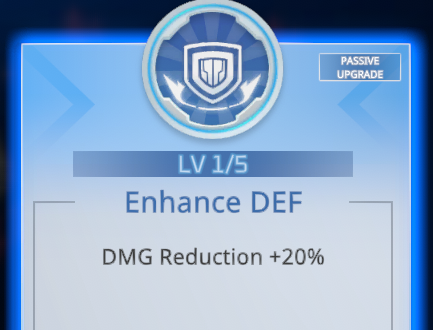
You might still chose to invest into HP and HP regeneration if you wish, but this talent and 5 points into DEF statistic should make you survive a lot longer.
Please note: Due to number of different weapons and mod configurations that can be used I will give you the general advice.
In my experience you can either focus on buffing one weapon, with all other weapons providing some sort of buff such as Shock for Crit, or Burn for on-hit damage.
Or you can build each weapon for specific purpose, such as single target damage, clearing groups of enemies, spreading statuses, ect.
The all around good setup would be:
Foresight and Caution talents
* Bazooka with Crit + Corrosion – it makes it good for both groups and single targets.
* Wasp drones for spreading status – Burn, Shock and/or Cold can be very handy.
And to help you survive it is either:
* Deflection Device for extra 20% Def
* Lightwave set up to destroy or reflect enemy projectiles
Staying Alive
In this section we will discuss all of the survival methods and what you can use instead.
If you have passing interest in military, you might have heard that Defence is like onion, it has layers.
The short version of this idea goes like this:
– Do not be seen
– Do not be targeted
– Do not be hit
– Do not be damaged
– Do not be killed
In case of the game Wings of Seduction we can address the same idea in simpler terms:
– Avoid being in line of fire
– Dodge incoming attacks
– If you get or need to get hit you need some damage mitigation method
– If you are damaged you need a way to heal.
Now, let’s go over those.
Whenever you see a red beam or red circle indicating incoming attack, you want to move away from it.
To do this you might want to invest a bit into movement speed, you should at the very least max out your movement speed using upgrades from the shop.
Additional movement speed can be gained from passive upgrades and Steady Footing talent, it will also help you with Black Hole enemies, however it can make you more likely to die from attacks that usually push you back!
Ps. Higher movement speed increases ‘attack speed’ of weapons such as Wings of Lightning and Minecreeper.
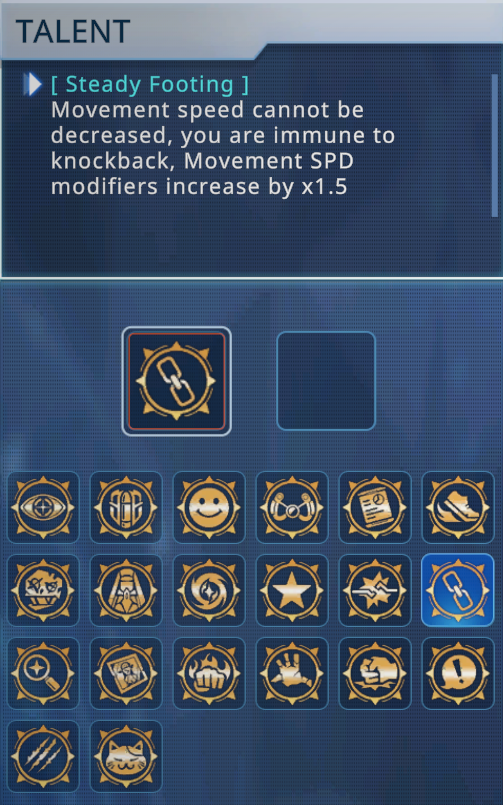
As you might have guessed, the best way to avoid attacks coming your way is to use ‘dash button’ which is under ‘space’ key if you use mouse and keyboard.
Dashing makes you temporarily immune to damage but you need to time it right.
Curiously there is a talent called Track and Field Expert that makes dash cooldown shorter if you move, this combined with Steady Footing mentioned above and passive upgrade reducing dash cooldown can allow you dash almost all the time – but you might get dizzy from doing that @_@”.
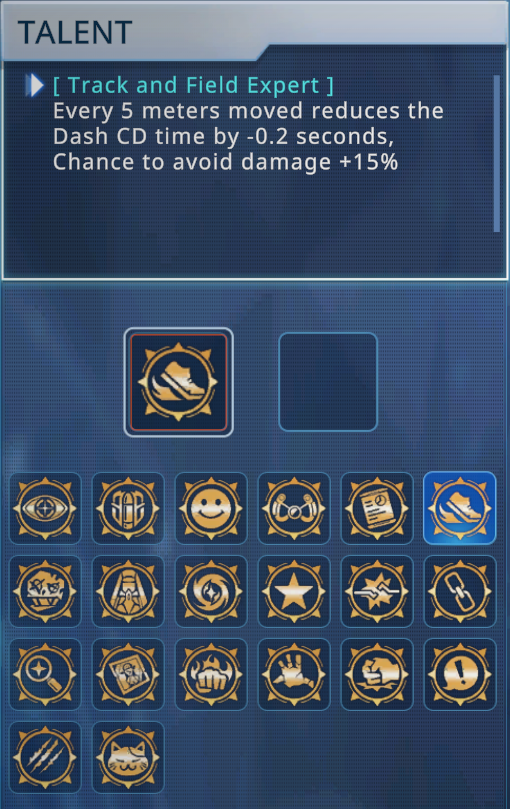
And as you might have noticed from the description, there are other methods to avoid damage outside of Dash, there are two separate mechanics you can use together.
– Chance to Avoid Damage
This statistic can be invested into using multiple passive upgrades, whenever you get hit it has a %chance to make it so you take 0 damage.
Using Damage Avoidance is very strong but also tricky, you might avoid all damage from a boss, or die in 1 hit if you have no other defences.
However if combined with good Dashing you can theoretically never take any damage.
– Dodge chance
Dodge works the same way as Damage Avoidance, however it can only be unlocked by using Lucky Star talent, and it requires that you invest in Luck.
Luck itself mostly affect drop chances of gold coins, because there are no passive upgrades other than ‘luck statistic’ – Dodge is worse than damage avoidance.
However, Dodge has separate chances from Damage Avoidance, meaning that if you have both, if Damage Avoidance Fails, you might still avoid damage using Dodge!
In other words, you suddenly have 2 chances to take 0 damage every time you get hit.
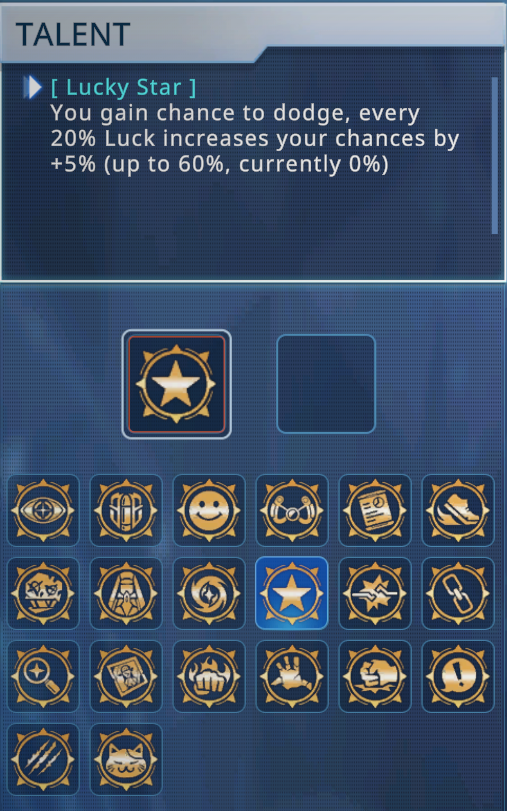
Not all hits can be dodged, sometimes you might even need to fly into incoming enemies or projectiles to avoid instant death from some of the strongest attacks in the game.
Mitigating damage is mostly done by Damage reduction or DEF Statistic and you can get additional 20% from picking Reflection Device at lvl 1 (you do not need to upgrade it).

I believe it caps at 95% meaning you will only get 5% damage if something manages to hit you.
Like with any scaling, reduction in damage taken is only good if the base value – in this case your Durability (HP) is high enough.
HP is a resource that you need to manage, it allows you to make mistakes, and in case of Reflection Device it is literally your ammunition.
HP can be recovered by using HP boxes dropped from supply ships and some enemies, by using passive regeneration or equipping weapon with ‘Repair’ mod which will regenerate a % of your health based on damage you deal.
Keep in mind, some bonuses require you to be below certain % of health, the more durability you have, the higher chances you will not die in one hit, while keeping the bonus therefore stacking HP is not a bad idea.
But how do I stack HP?
It is somewhat simple, however you would need to invest into shop upgrade known as Extreme Modification, it allows you to stack 3 of the same mod to gain additional effect.
Full details on acquisition and on existing combinations can be found in this guide (might not be up to date)
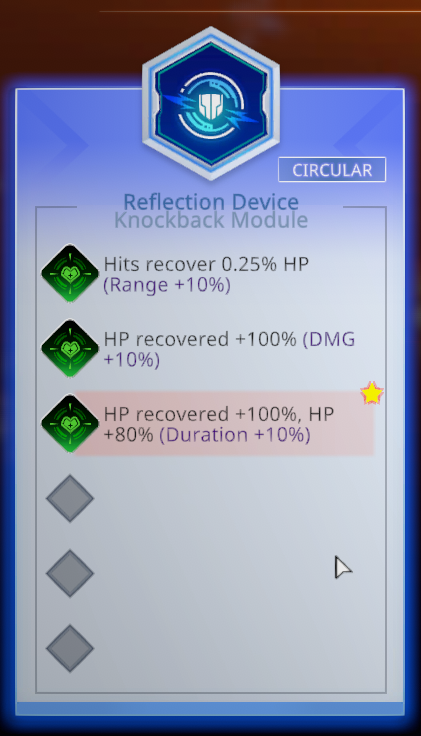
let’s break it down into an example, let’s say you start with 100HP
You can get extra 100% from passive Upgrades = 200HP
You can stack repair 4 times, giving us additional 80%x4= 320% for total of 420% = 520HP
And then if you are using Cautious, this is multiplied by half = which gives us a total of 630% … which would give you around 730HP…
This does not include other upgrades such as one from shop or passive upgrade that adds more HP scaling depending on number of mods you have on your weapons.
If you follow the tips outlined above, dying should be almost impossible unless you make a terrible mistake.
Examples of Damage Avoidance+Dodge in action

Damage – Part 1: Damage Sources
In general Dealing damage is hard to discuss as there is a lot more that goes into it and took me few days to properly put into words.
I have broken this down into parts to make this somewhat easier to read, but it will be an essay so get ready…
If you already played the game you might be familiar with the Research shop, it allows you to purchase all Statistics and some handy upgrades from Lab’s feline director, Lt. Fluffs.
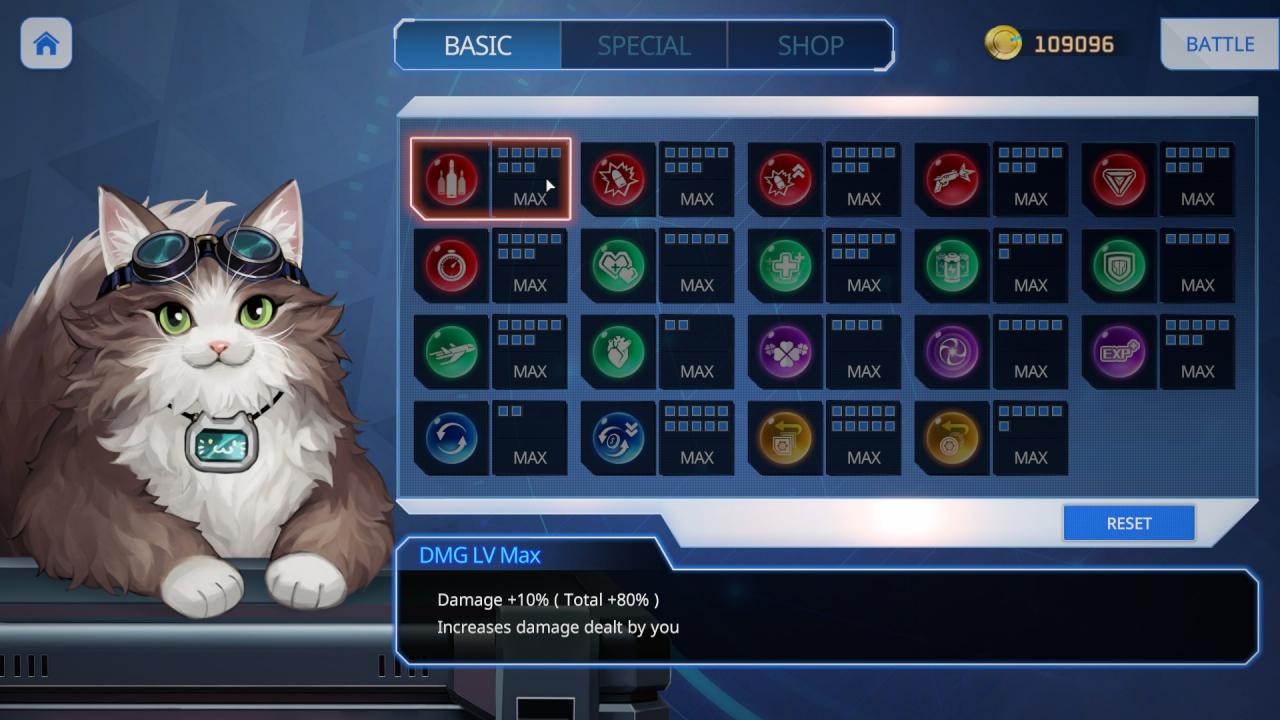
Ideally you want to purchase everything if possible as all statistics are good, unless you do very specific build, but in that case you can use Restart button at the bottom.
When it comes to damage Statistic, you only need to really focus on DMG (the one highlighted in image above) – as this will affect the base number from which everything else scales.
Attacks Speed and Critical Damage and Chance are secondary as you can get them more frequently in game.
Ps: if you are struggling with Credits to unlock all upgrades – the easy strategy to farm coins is to play lower difficulty with talents Foresight and Combat Genius and focusing on getting as much LUCK as you can. Luck increases chances for coins, while Combat Genius gives you more mods which can be sold.
Not so surprising the default statistics of weapon you pick matter a lot, things like Machine Gun shoot fast but deal low damage.
Meanwhile Wings of Lightning can deal very high damage but are limited by how fast you move, this makes them somewhat slow.
For full breakdown of Base stats please see this Guide (might not be up to date)
This is not true for all weapons and all bonuses, Machine Gun does not add additional projectile to other attacks, while Charge Cannon – Black Hole adds reversed knock-back to some mods like Chain.
In general, usually if your weapon gives +10% range, your Spread or Chain mod will get that bonus.
It does not seem that a lot of people noticed, but each weapon works a bit differently, which causes them to deal damage in different ways.
We have weapons which just hit enemies like Machine Gun – they hit enemies with multiple hit for each projectile that hits.
Meanwhile Charge Cannon works by dealing damage multiple times per second when near enemy.
Why is this important? – Machine Gun needs to hit enemy and usually can only do it once per projectile, Charge Cannon can use Tracker mod, to attach projectile to enemy and keep damaging them, this scales with number of projectiles…
At level 3 of base weapon, Charge Cannon can tick 1 hit every 0.15s = this is 4 ticks per second which is the same as 4 projectiles hitting in a second.
Now, if you shot 10 projectiles that stick to 1 enemy, it will take damage of 40hits in 1 second… and this will only go higher the faster you shoot and the higher is your Duration statistic.
This brings us to another important thing, knowing how you deal damage changes how you build.
Because many effects in this game are calculated for each hit a weapon makes some things like Repair or Recharge (Regenerating HP / Energy per hit) can be more reliable with those weapons.
You might have not noticed, but whenever you accumulate Fever while capturing weak point you get increasing bonus of 20 – 40 – 80 to Damage and Score you gain, depending on how long you stay in the zone.
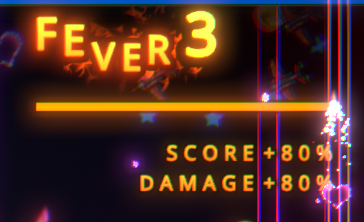
Because of this, sometimes it might be a good idea to not capture all points, or try to keep them open for longer to benefit from more damage.
You have to be out of capture zone for around 5-6.5 seconds to lose fever, this allows you to dodge and get back in circle, it can also be useful when fighting Elites or Boss.
Not much to say here, you gain them as you level up, while Mods can provide multiple statistics, especially after purchasing Advance Mod upgrade in shop.
There are few talents that can directly increase your damage, be careful as some of those make certain weapons worse!
I will bring up few:
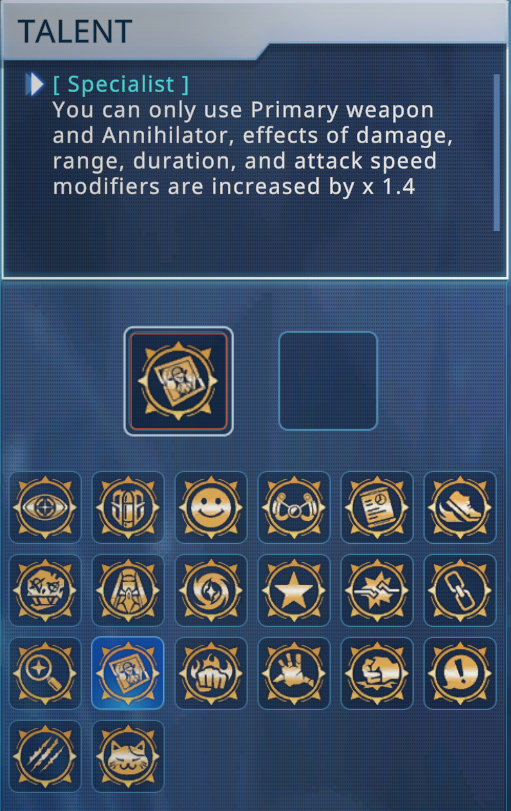
This one limits you to using starting weapon and Annihilator, also forces you to play with more focused build making it easier to keep up.
Not being able to use other weapons stops you from stacking certain mods and other benefits that come with having 3 weapons.
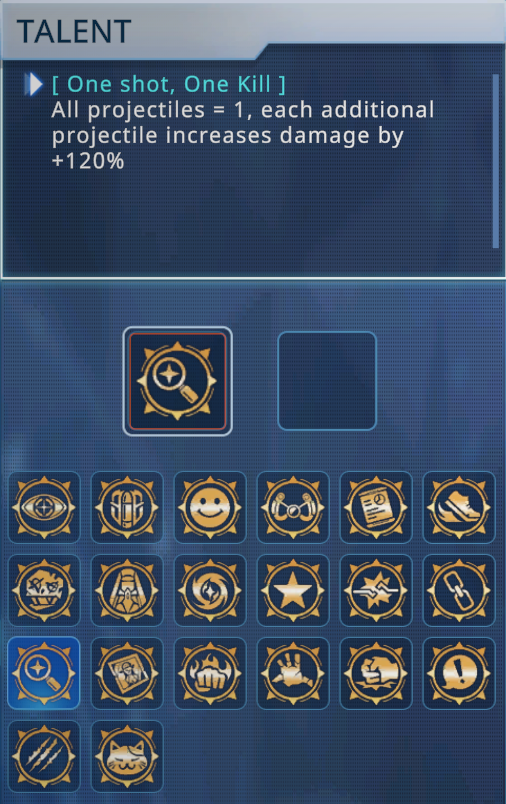
This one is amazing for Charge Cannon, Bazooka, Lightwave, Guardian Drone – Assault Module, Ray – Sniper Module, Wings of Lightning, Minecreeper and Black Hole Cannon.
The weapons mentioned above already have high base damage or rate of fire allowing them to directly benefit from increased damage while suffering little from downsides of super mods.
The downside is that other weapons not named here can become hard to use or almost useless… to this day I am trying to beat game using Wasp Drones while using Specialist and One shot one kill…
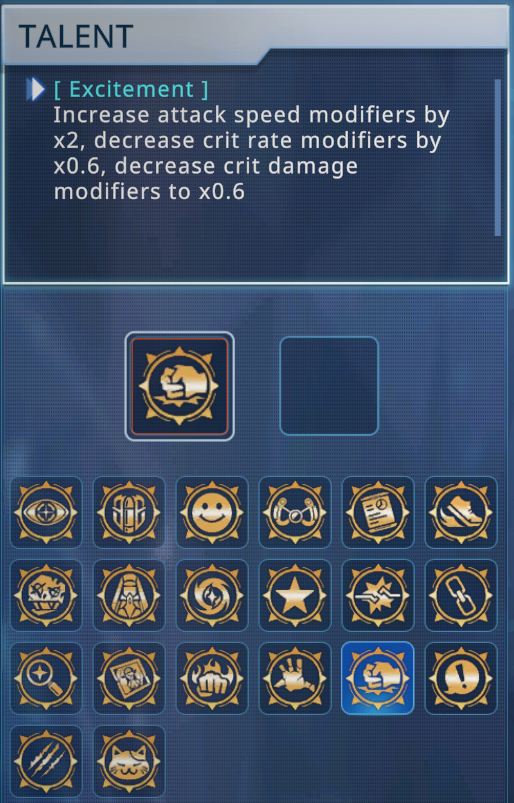
This one is somewhat self-explanatory, the faster you attack the more damage you deal each second, attack speed also affects flight speed of Wasp Drones.
However, fast firing weapons usually benefit a lot from Crit, so picking this one will force you to rely on statuses like Burn to multiply your damage.
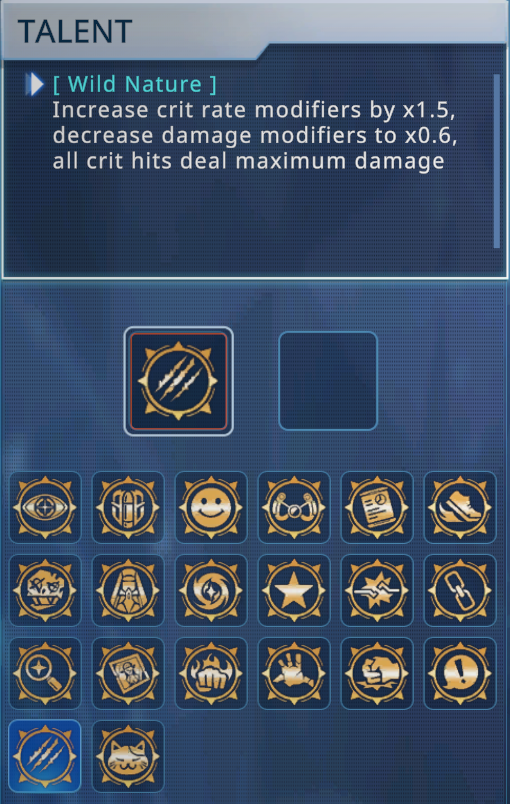
This is the opposite of Excitement with the twist that you need to hit Crits to deal good damage, it is amazing once you stack a lot of Crit chance and damage.
If you are picking this, get ready for very slow and sometimes terrible early game…
You might have not realised, but number of enemies that shoot lasers, rockets or explode can damage other enemies!
This is a neat little mechanic that allows you to keep getting exp even if your weapons are falling a bit behind.
You can easily try this by playing Zara’s stage and activating bomb-enemies near other enemies – the bombs work on Elites too!
Damage – part 2: How to Build
The misconception is that you need to use Specialist talent, and while it can help you, a lot of people miss the point why this talent makes such a difference.

As you can see, Specialist will limit you to 1 weapon and Annihilator and give you some extra statistics, but it is not the statistics that make the difference, is the way you upgrade weapons.
What happens is that under normal circumstances, when you have 3 weapons, many players start to invest levels and upgrades in everything instead of focusing on their main damage source first.
For example, if you start with the default setup of Machine Gun and Nuke you should probably focus on those two first.
Why you might ask? – Any new weapon you pick will require investment of around 6 Levels to get to full strength, it will also add more options to your upgrade pool, picking what you need a lot harder!
If you just focus on Machine Gun upgrades, until it is max level, and add some mods that work well with it, you should be able to keep up with damage for first 5-10 minutes with just 2-3 mods.
At this point you should be okay to start building another weapon(s) however your main damage weapon should always have the priority!
Yes you read it right, the above tip might not be the best in some situations as some weapons are best when they have another weapon affect enemies first.
Good example of this can be Lightwave or Guardian or Wasp drones – those weapons are ideal for applying status effects, those effects will increase damage of your main weapon and let it use all 6 mod slots for dealing damage.
Additionally because you pick this weapon to apply status you do not need to worry about it’s damage, this means that you can save 5 levels/upgrades if you want to keep it at lvl 1 – example of this setup can be seen below.
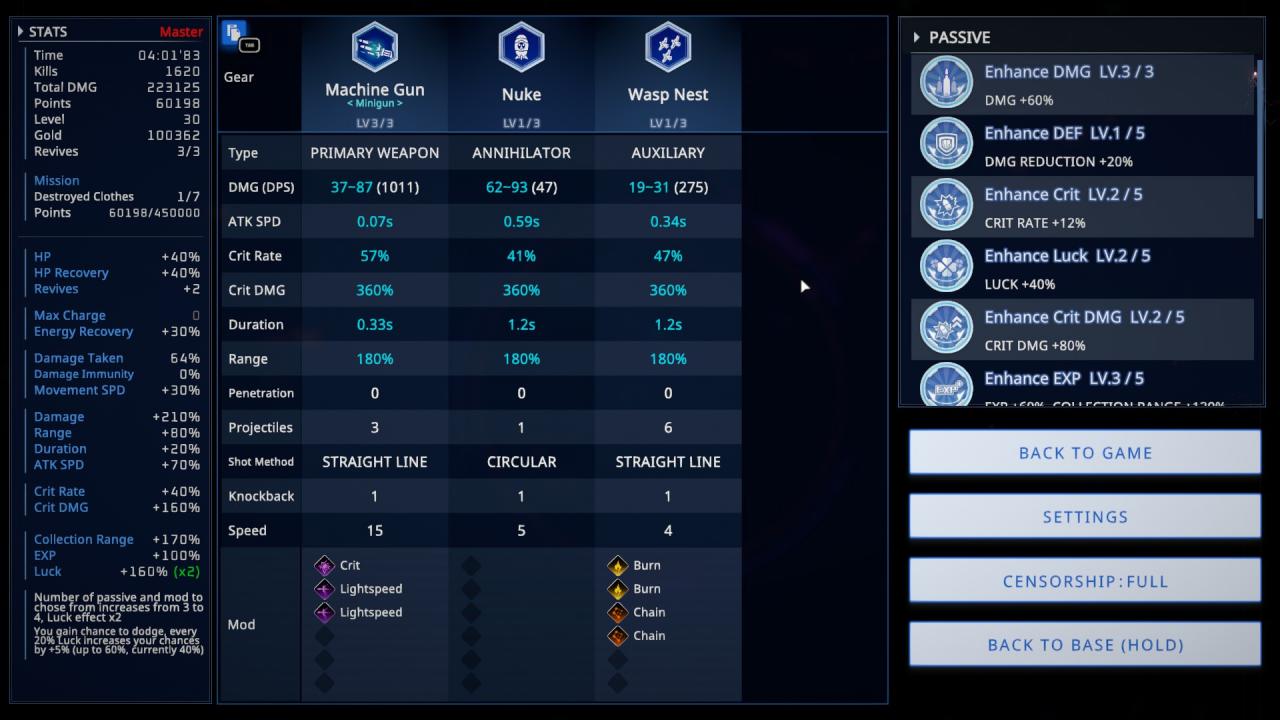
Now here is the hard part, when should you invest in things like Damage Reduction and when into Crit? – fast of the matter is it depends on your experience and what you use.
Personally I focus on damage early and then try to get some Survivability upgrades once my damage can kill most common enemies in one hit.
Then when my damage starts to slow down I try to focus on damage again, and this is what I would recommend.
So, with all this discussed, you probably want to go over how the maths in game works – I have some idea how, but I will need to try to check this with Developer of the game before I can give you exact calculation – right now this is my understanding and might not be correct.
I believe this to be (Base Damage of weapon) x(DMG% statistic) x(Crit Damage) x(Status effect multipliers)
This section will be updated a bit later once I get confirmation.
