A walkthrough of the game showing how to reach all the upgrades, orbs, and secrets of boxlife.
Introduction & Notations
SPECIAL NOTE: As you’re discovering the 9 secrets of the game, 1 of those secrets is found by lighting up 4 Black Boxes hidden in different parts of the game. It is extremely important that you do NOT shoot the Fireball Ability at these boxes in any other order than the one that is required. The community (as well as I) have seen this break the sequence and leave the boxes in a permanently inert state. As a result you will have to fully restart the game to be able to get all 9 secrets as well as the Achievement.
This is the only part of the game that I’ve found to be currently bugged in any way. It has been mentioned that you can break out of the map using the Shrink Ability against some of the outer walls of the game world. I have not known this to happen unless it is done purposefully, so you shouldn’t worry about texture meshes. I have never clipped through any surface of the game world and thus being forced to restart.
Let’s get started.
Part I: First 3 Abilities and First 2 Orbs
Once inside you can get the 1st Ability: Jump.
 Head back up the way we came and then back to where we jumped down from the tower.
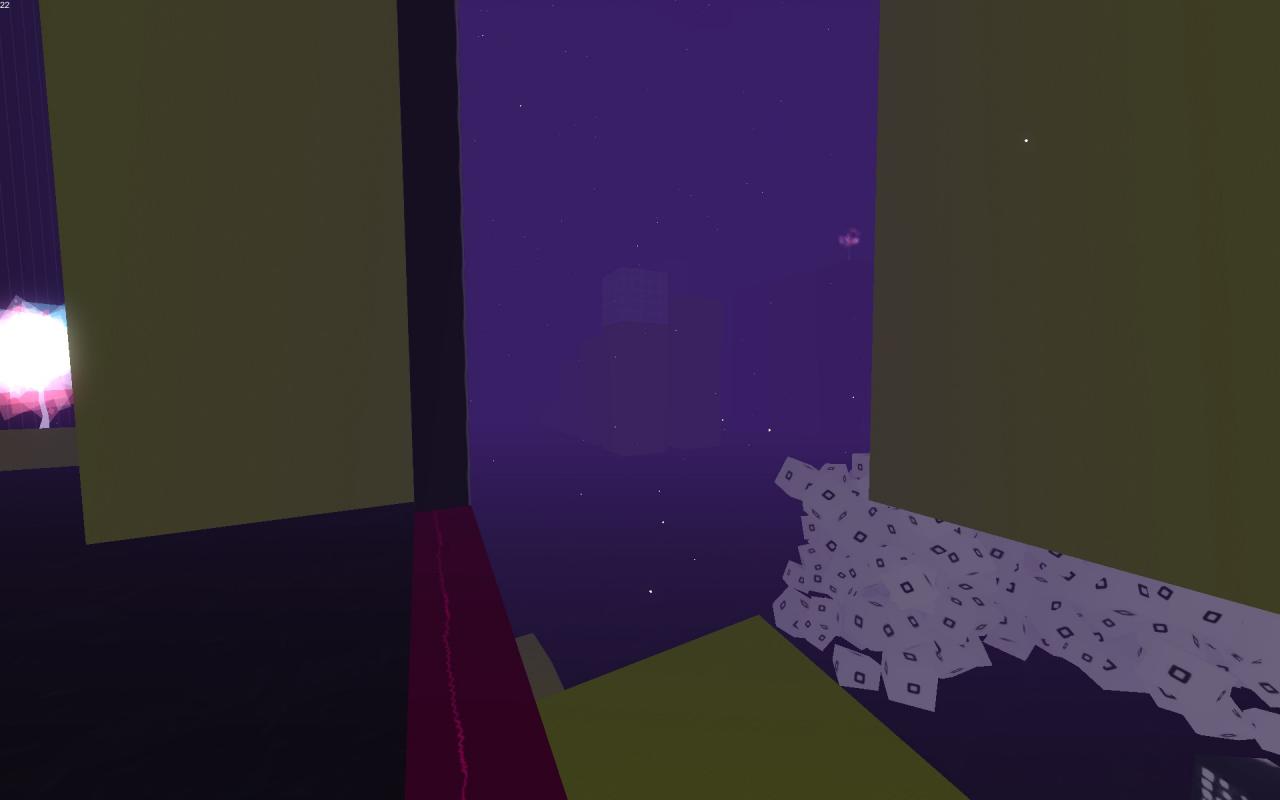
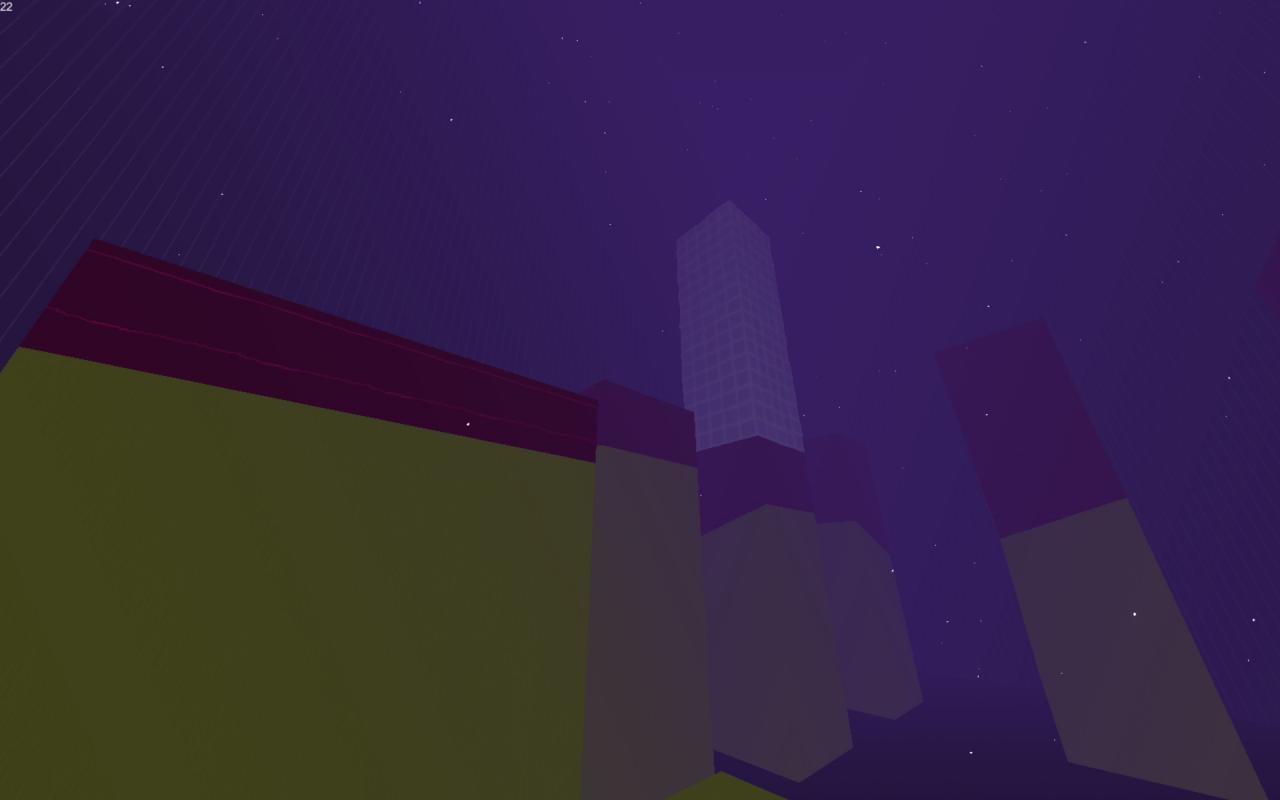
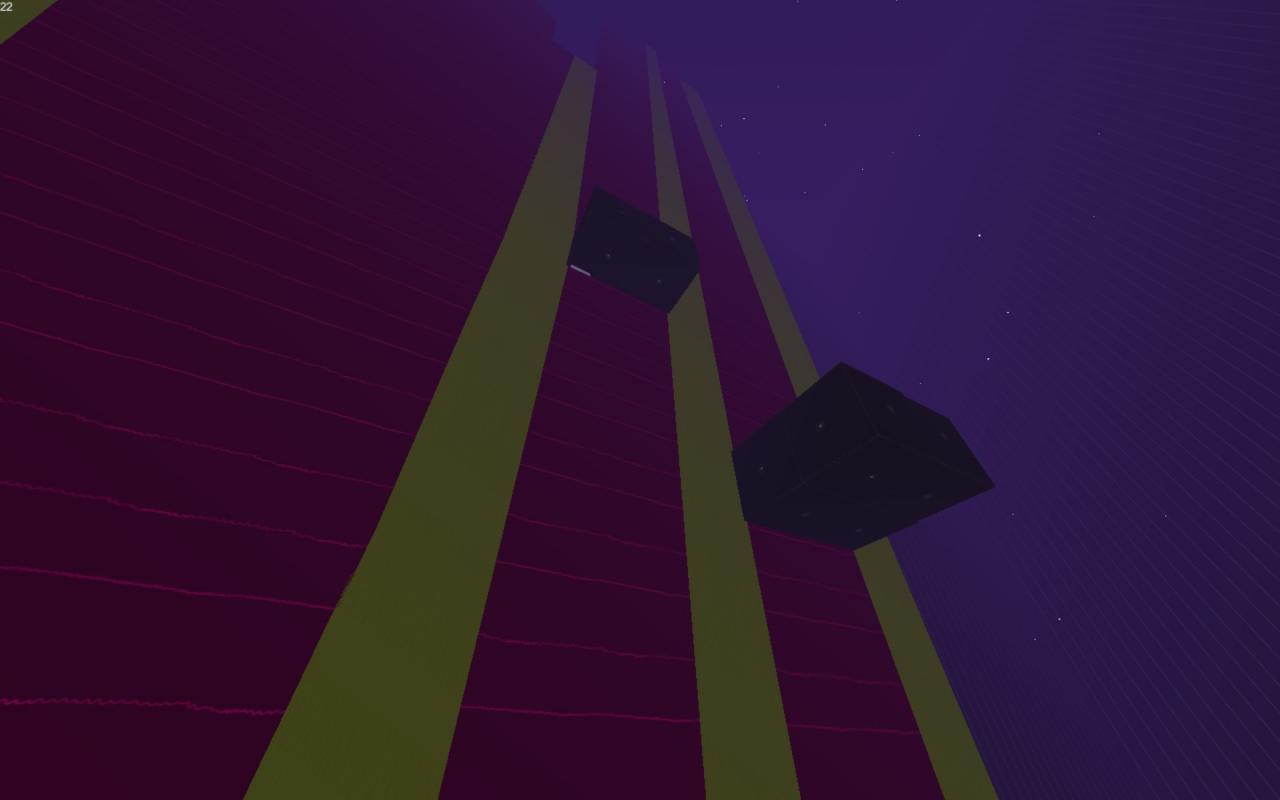
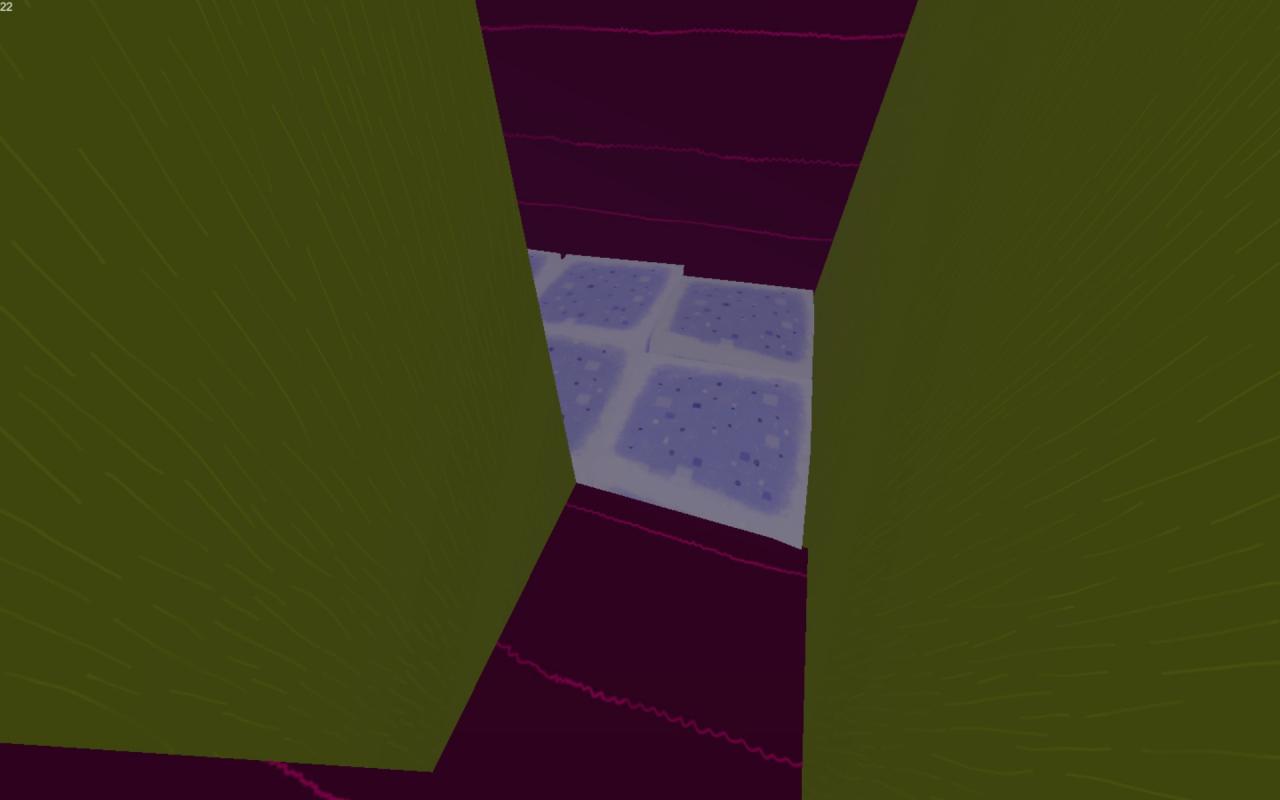
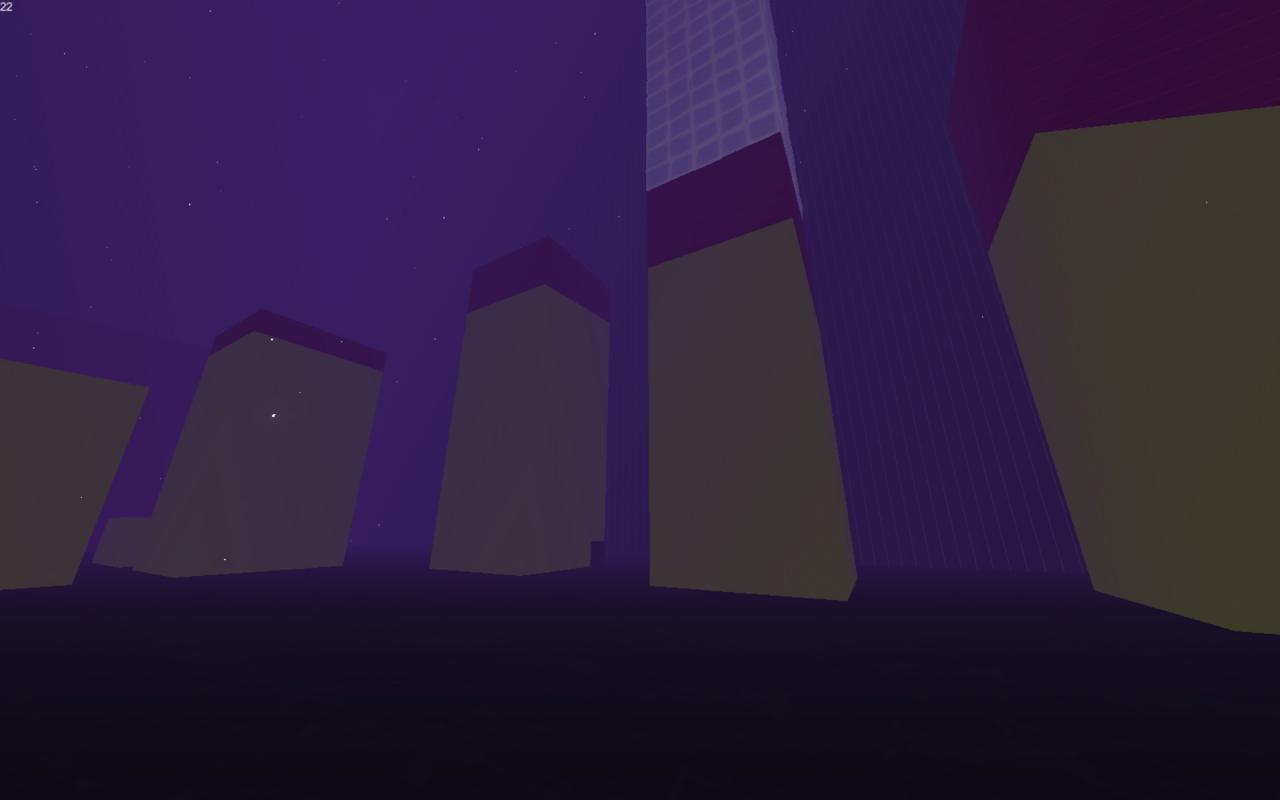
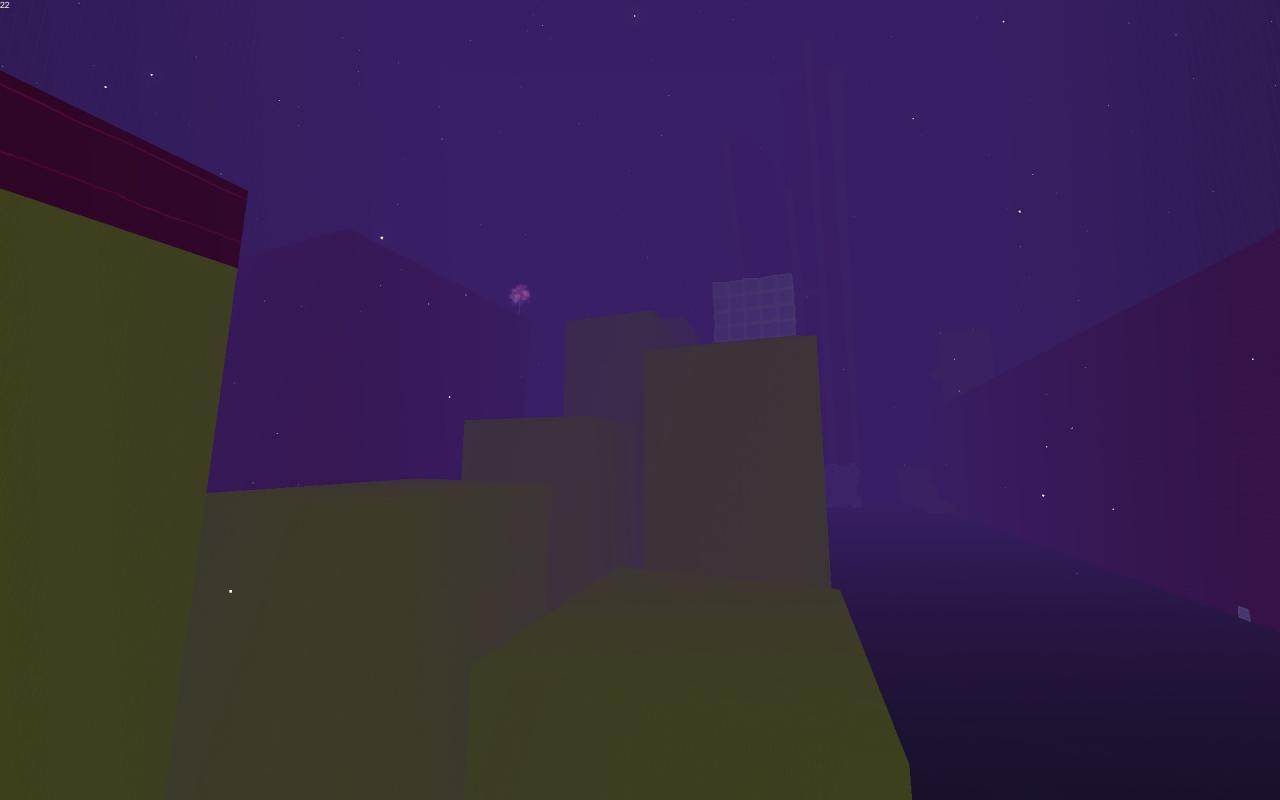 You can now explore the main hall. Head over to the yellow pillars and jump all the way up until you reach the tallest one adorned with what I call Ice Cubes.
Once inside, you’ll get the 2nd Ability: Fireball. You can blast your way out and head back up the yellow steps to where we started.
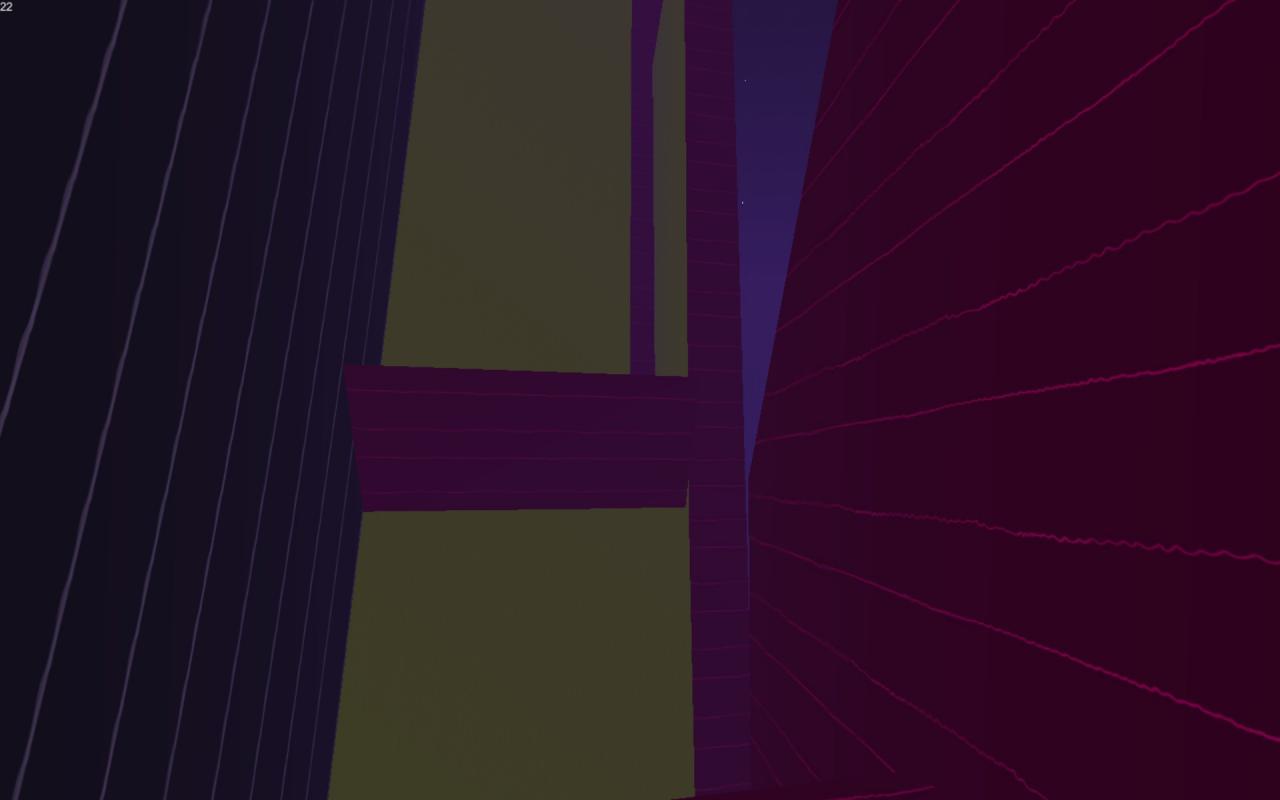
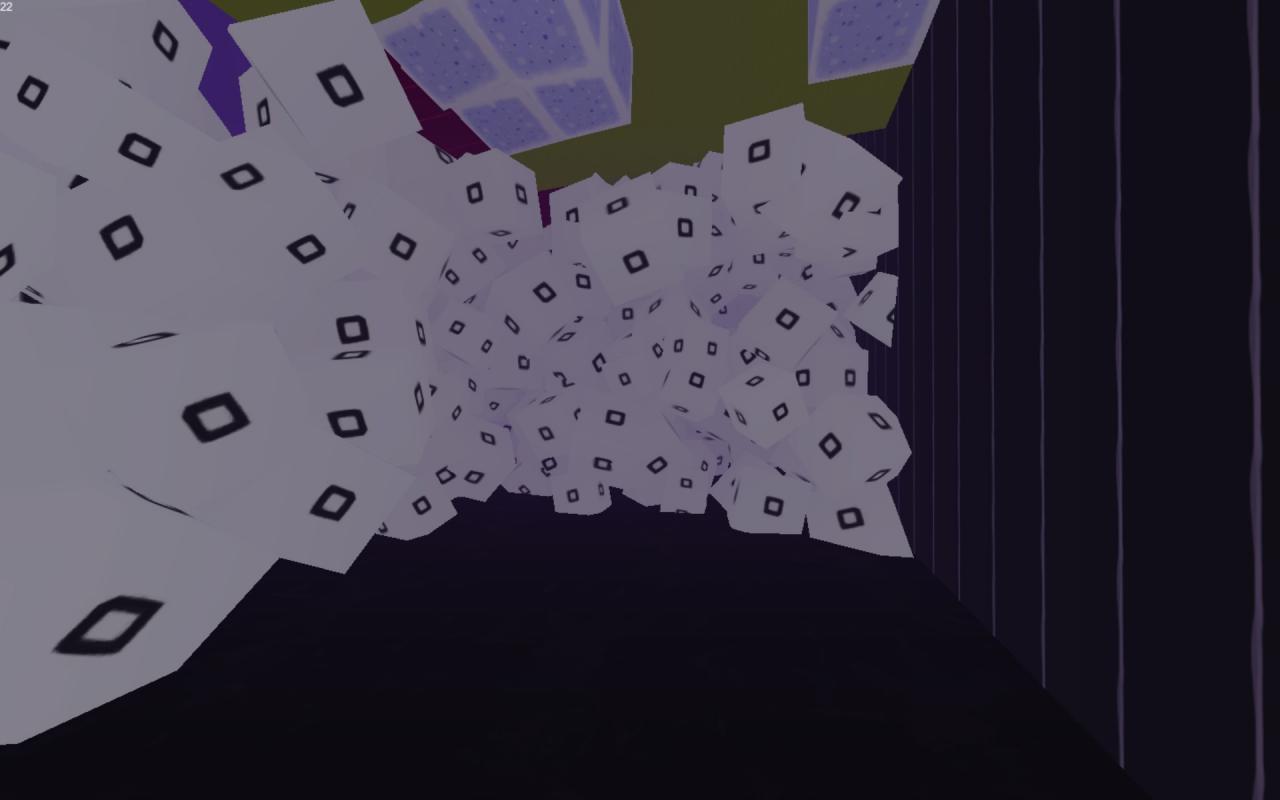
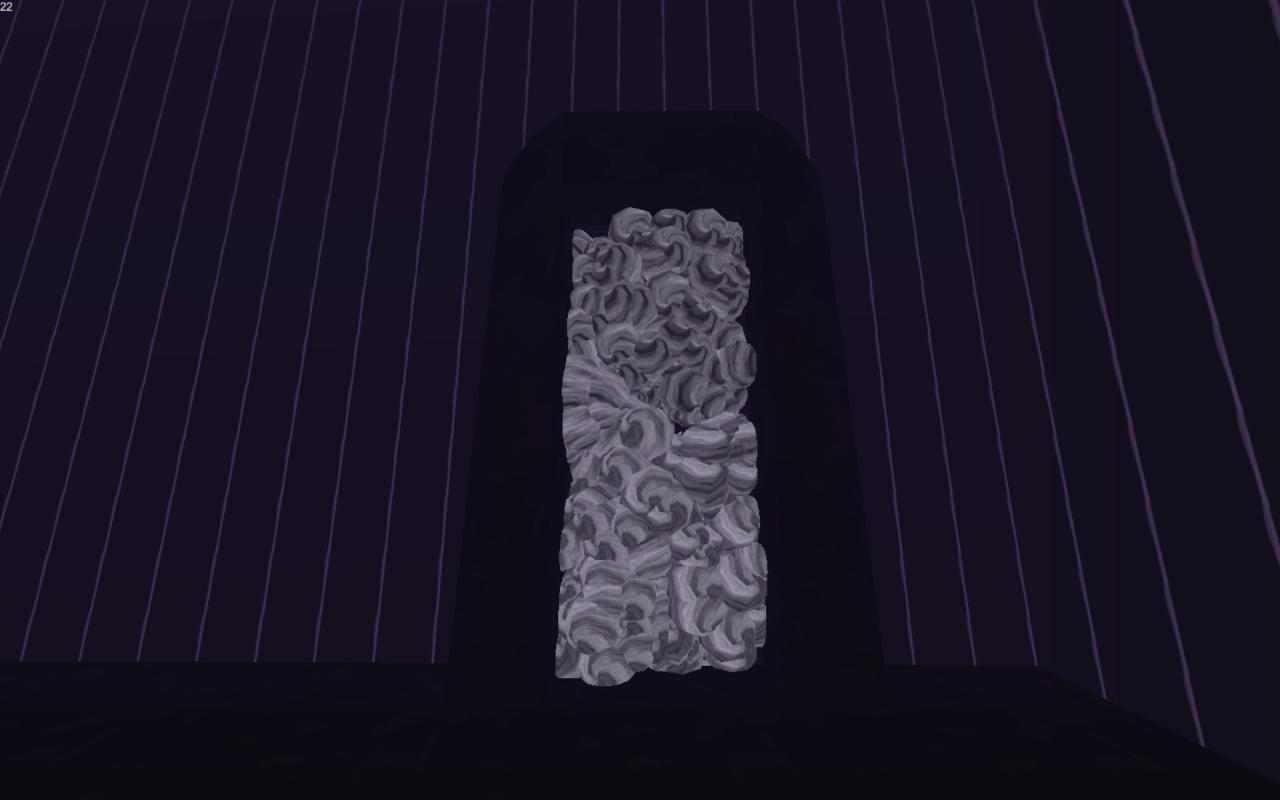
 Head to the 2-block “door” you saw before. Once inside head through the confetti garden to find the 3rd Ability: Double Jump. There is a distinct chime when pressing SPACE in the air for the 2nd jump.
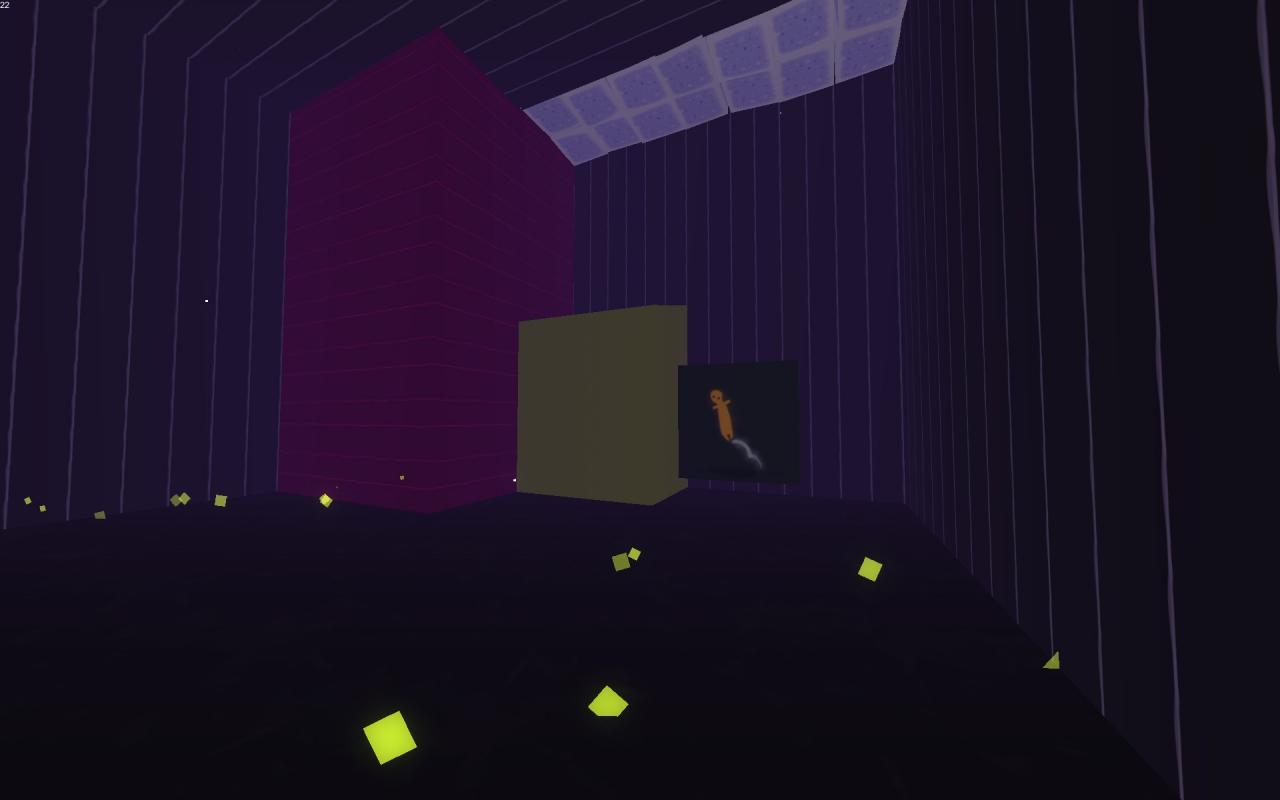
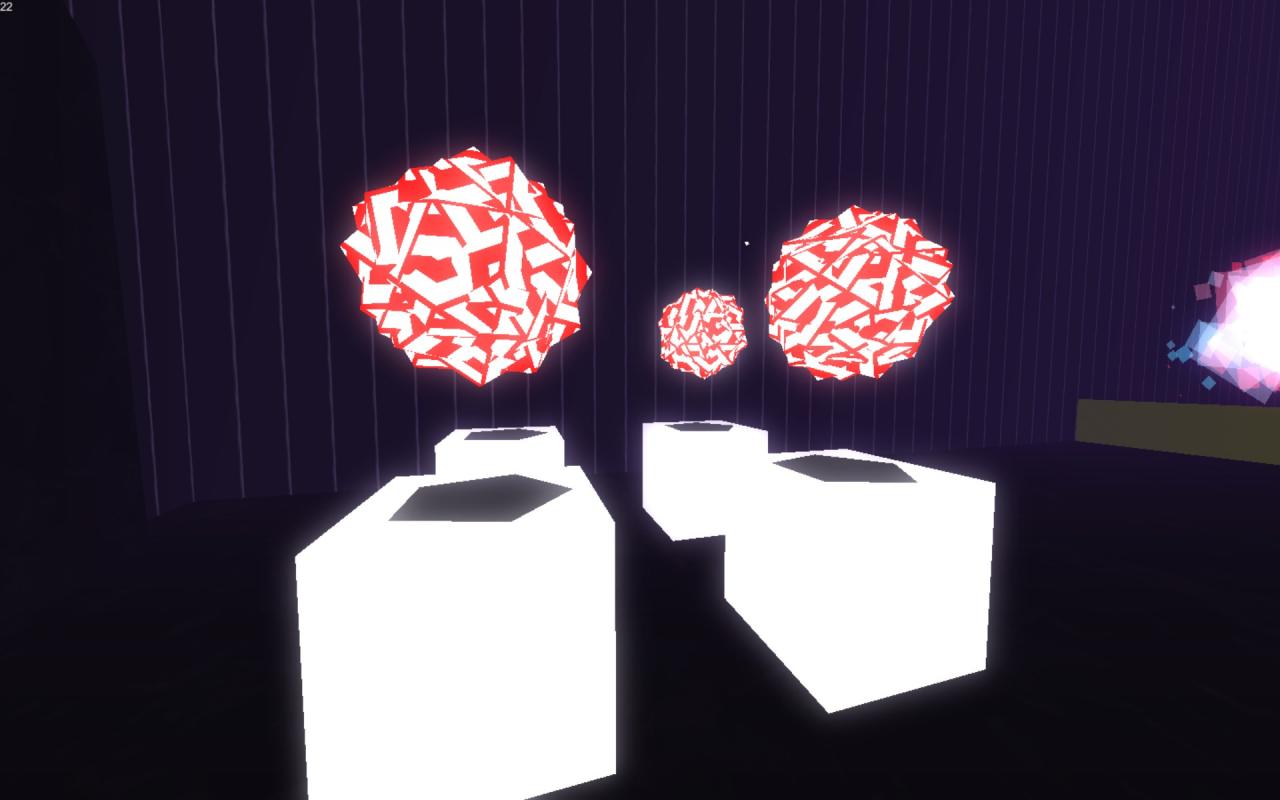
You can shoot your way up through the ceiling and up here we can hop on the raised rail and hop down to catch Orb #1. You can only carry one orb at a time, so take it over to the pedestals it will be placed.
 Head back to the cut in the ground and we can get Orb #2 from behind the Ice Cubes down here.
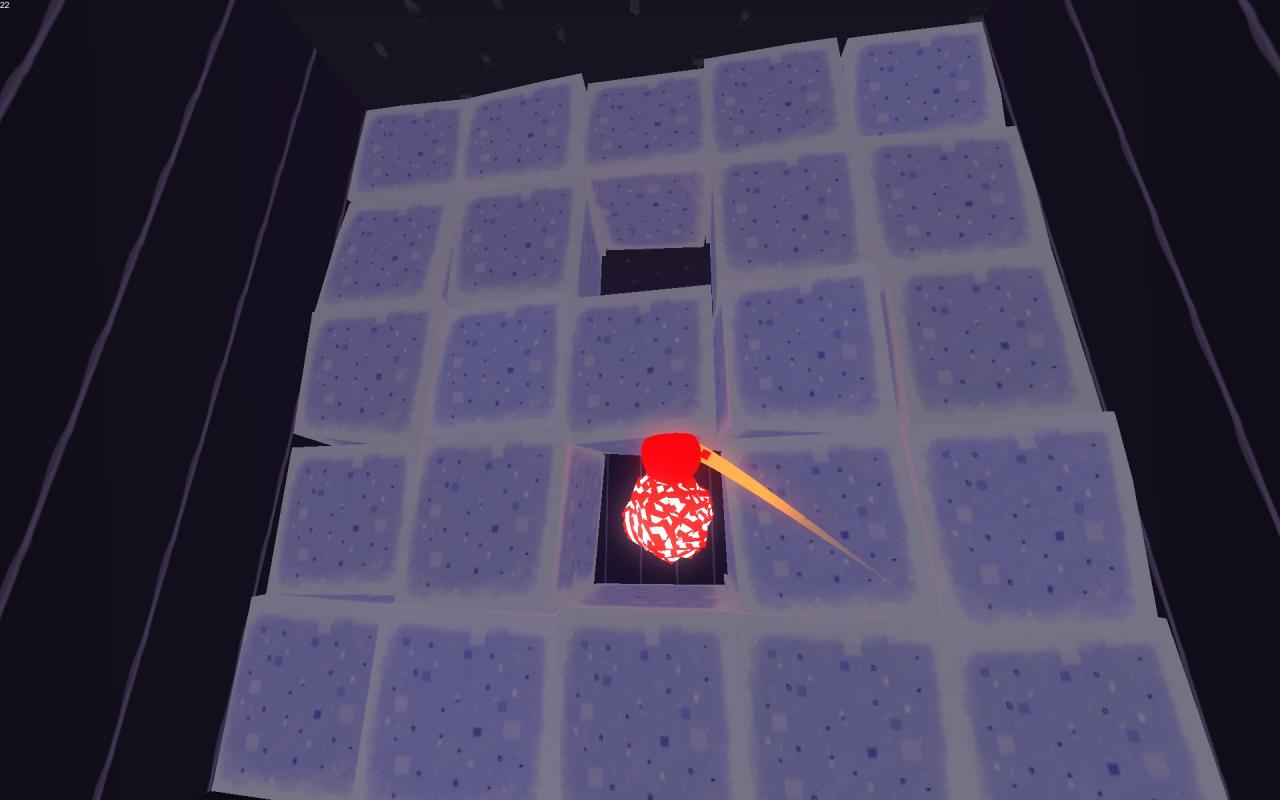
Part II: Abilities 4 and 5 & Orb 3
 The 4th pillar here is going to be blocked by more Ice Blocks, so let’s melt a path directly through and continue on.
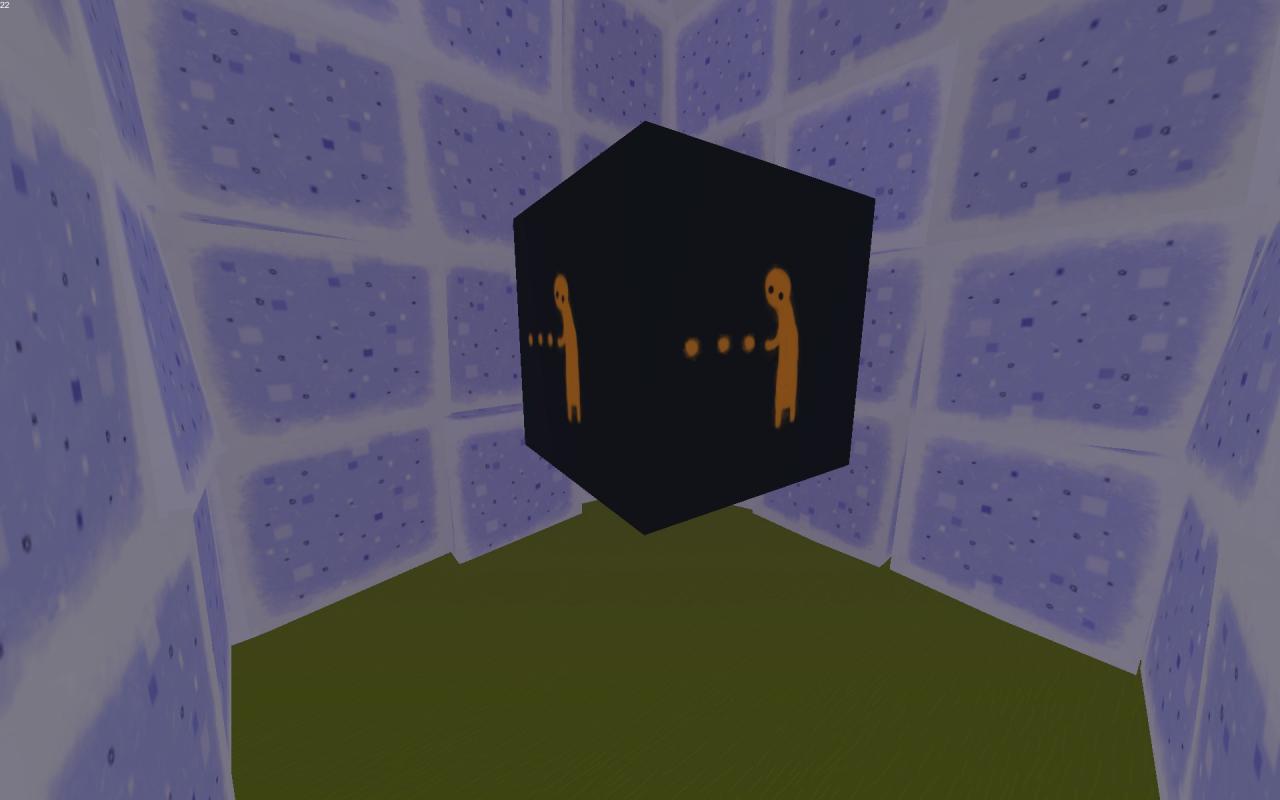
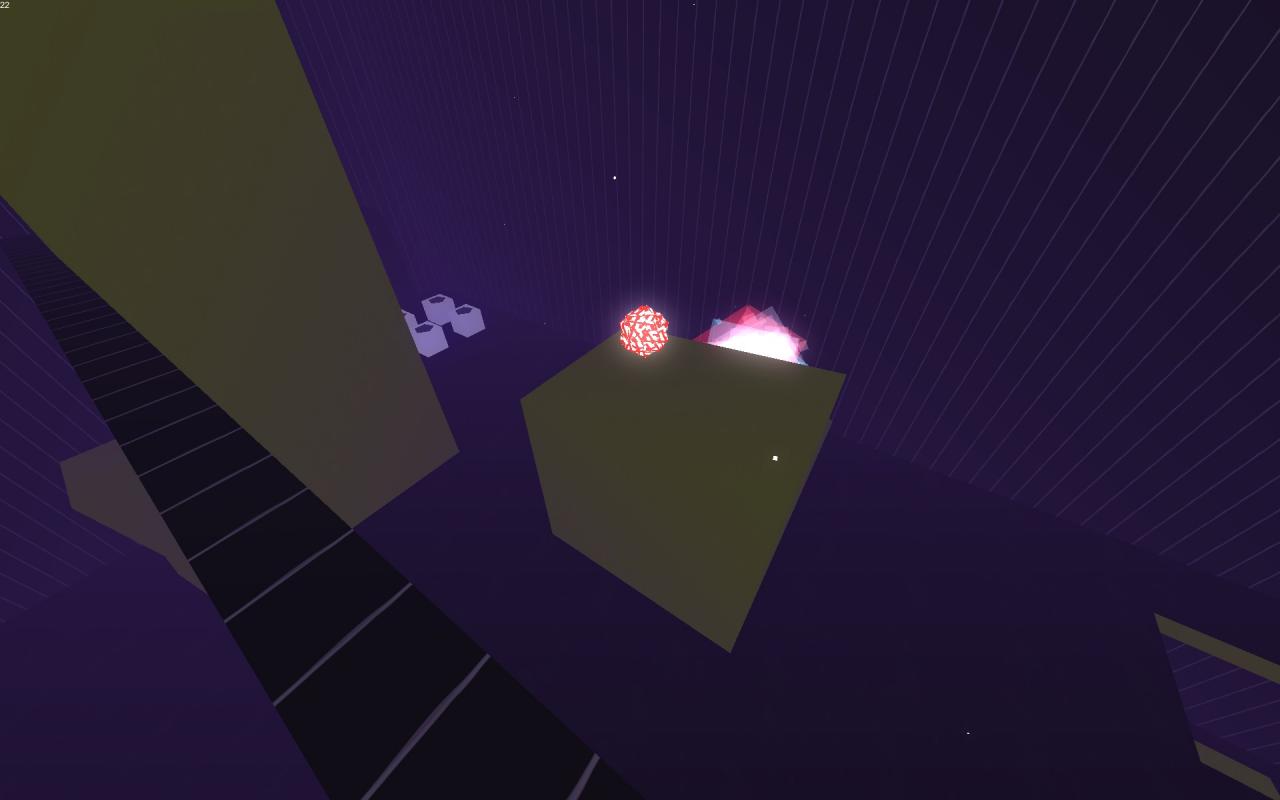
Only two more pillars and we’ll reach a much larger surface the same height as the last pillar. Straight ahead you should already see the 4th Ability: Reveal. You can just jump right into it. Wait for it. It’s pretty neat.
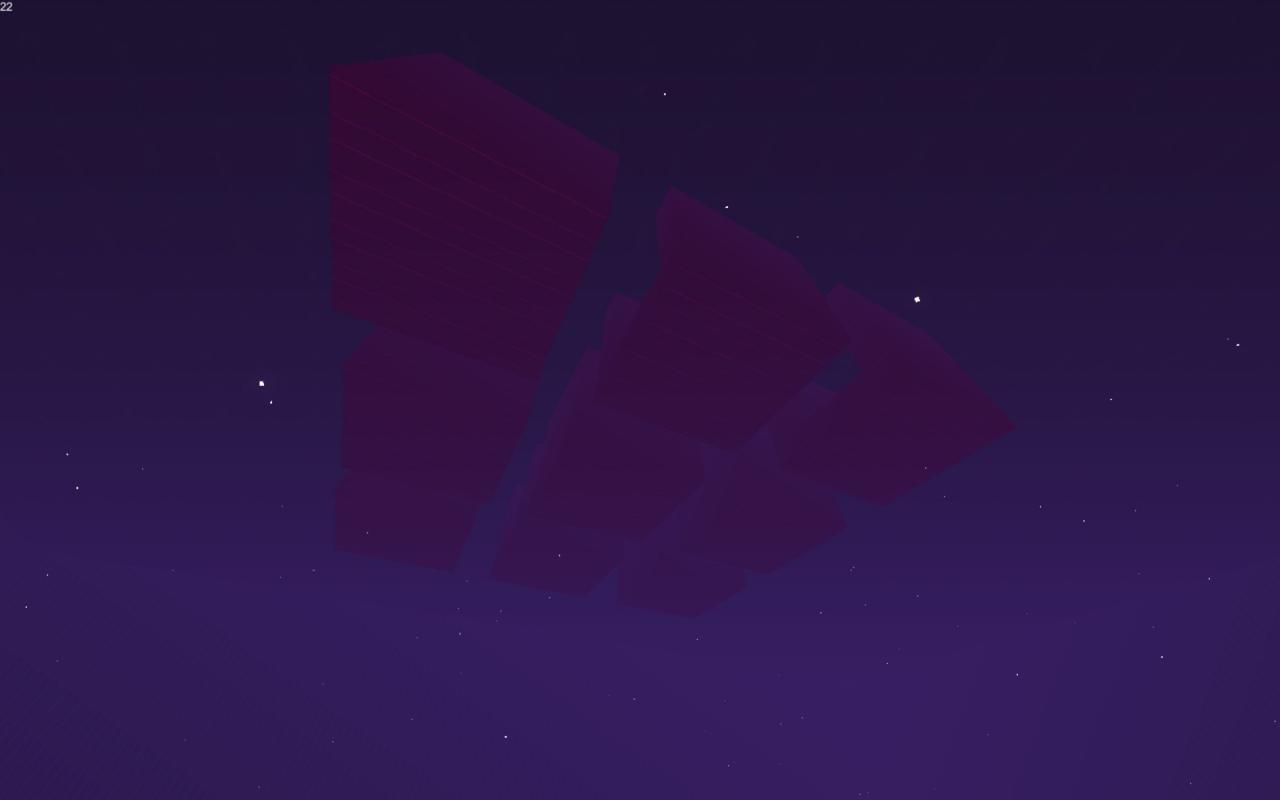
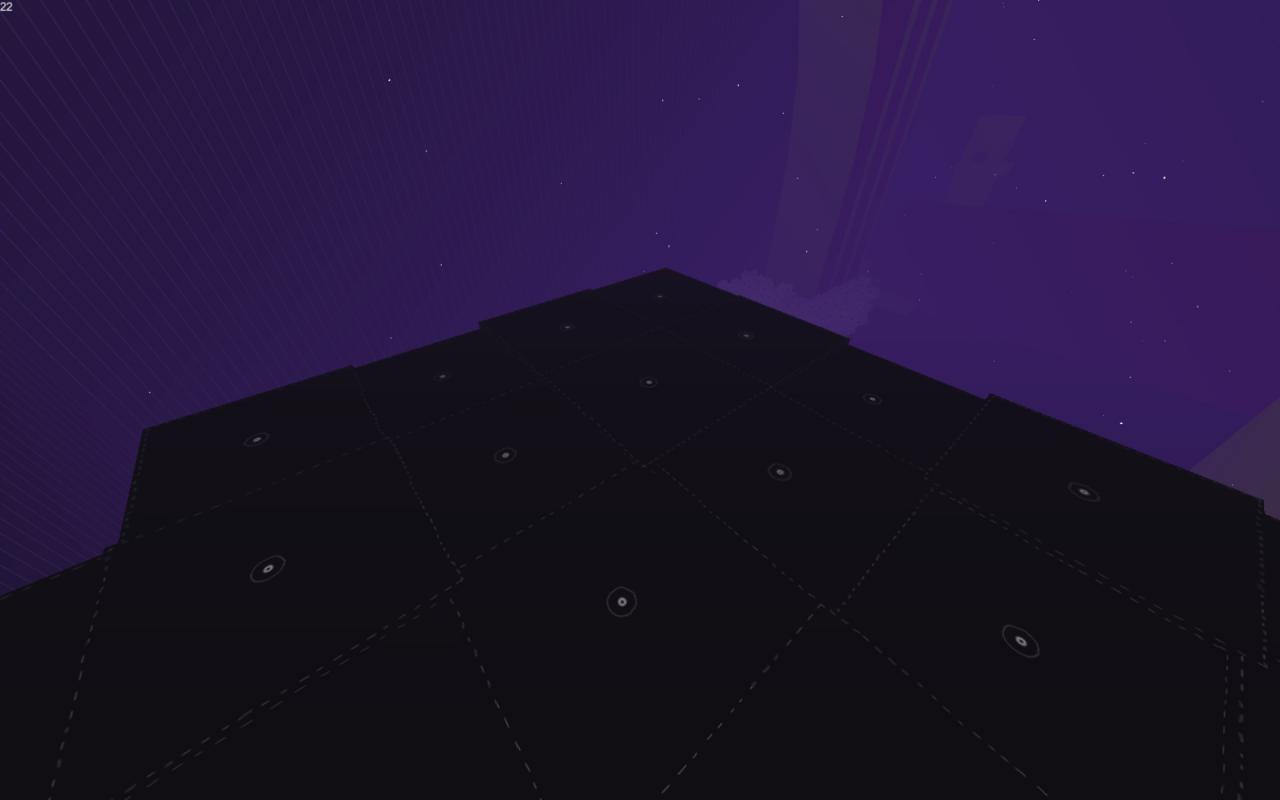 This ability is really cool. It reveals these hidden black blocks that look like their edges are sewn (I’ll refer to them as Fabric Blocks), so they look like they’re made of leather or some kind of fabric. Once revealed, they can be seen permanently. They will show up as you walk, but be careful, the ability has a low field of range. You need to make and take the path slowly.
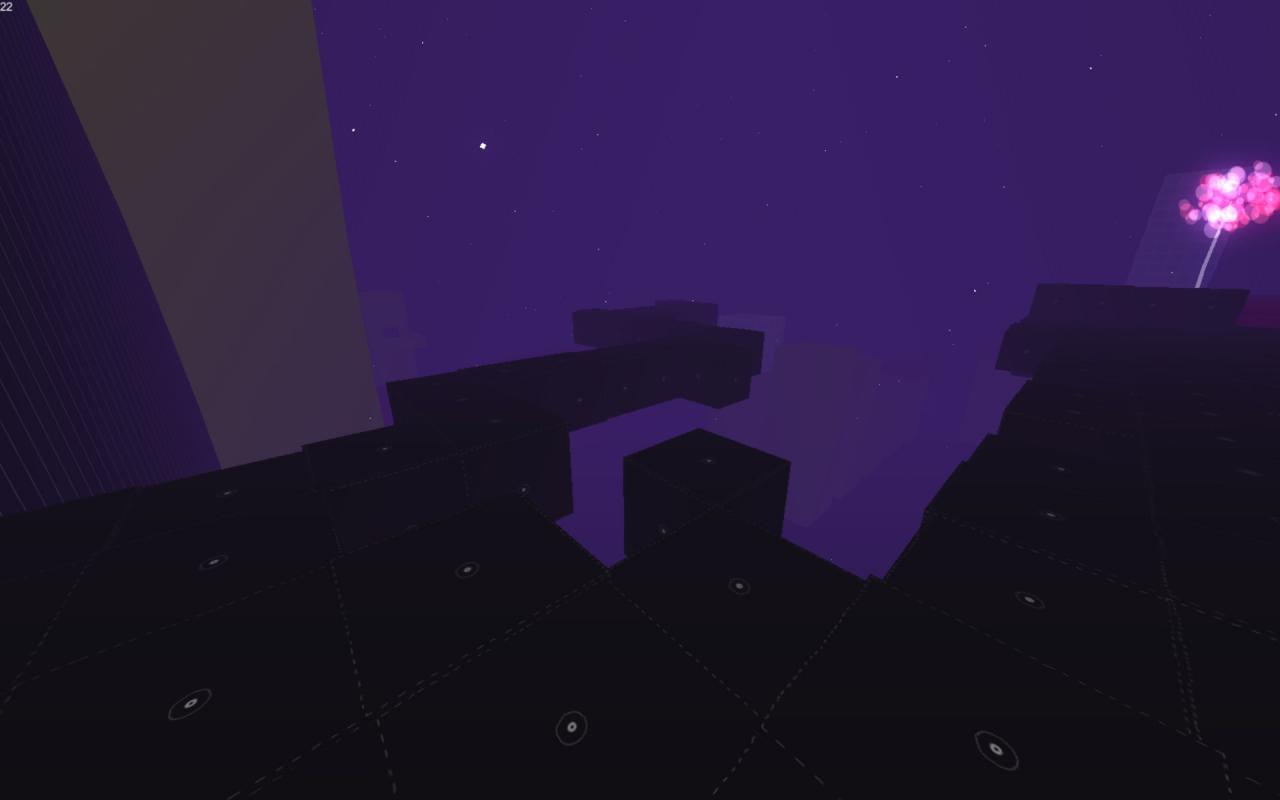
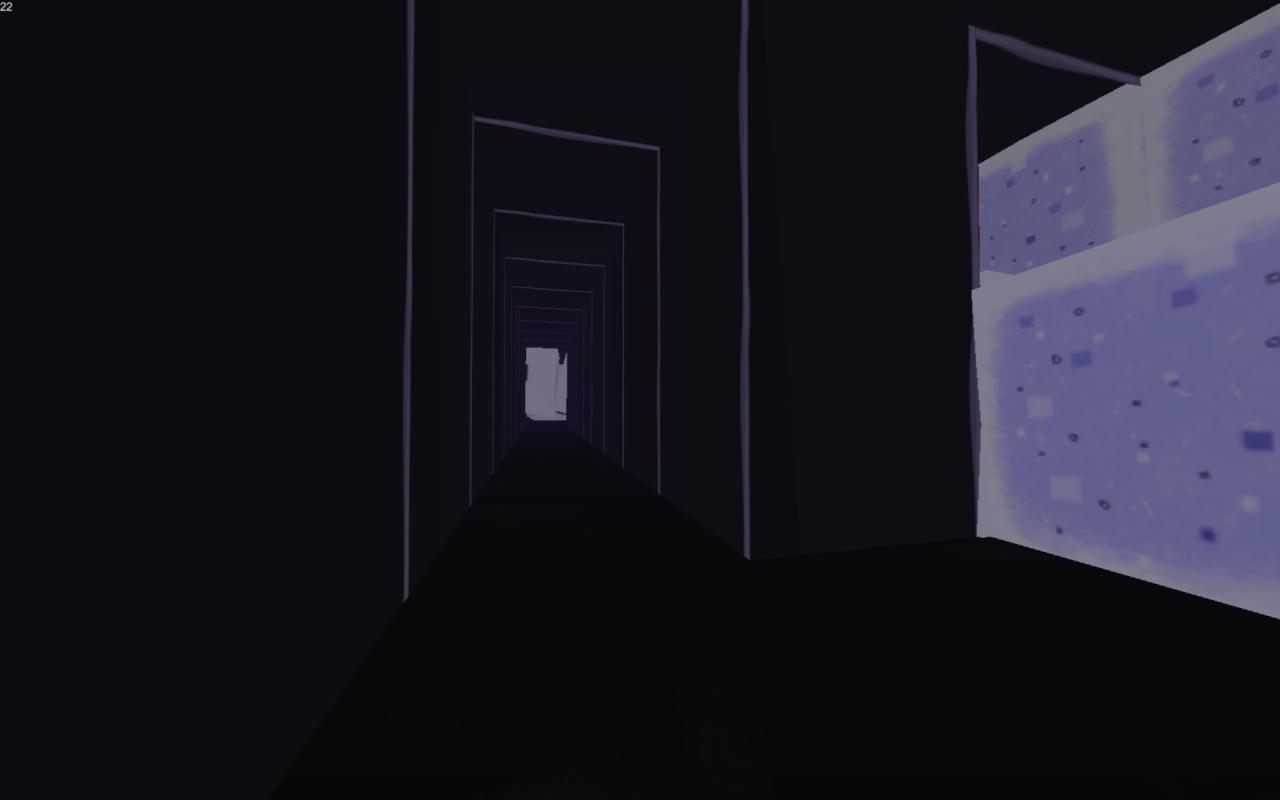
As you walk, you’ll reach a wall as shown in the next screenshot. You should reveal some blocks that go to the left. For right now, reveal this 1-block wide path (I’ve already revealed in the screenshot) until it reaches the far wall in the corner. Blast at the wall and you’ll reveal a small hole. We’ll be back for this space in a while, as we can’t get in there yet.
 Head back along the path we were initially taking. Be cautious to reveal the path as it will wind a bit out and around the very large structure against the wall that will be our destination.
The path will get bigger leading to it and then you’ll need to reveal platforms to hop up to the top. You can do this by firing fire balls into the structure to find them, but you can also jump for your reveal ability to show them.
 Once you’re at the top of the structure, you can jump up on the left and then over into the doorway on the right. Part of the floor will be ice blocks here.
 You can just head down this housing-like structure, blasting through the ice blocks to reveal each lower floor. Once you’re at the bottom, you can drop down to the ground floor. This will be next to the yellow steps that led to the guard-tower where we spawned.
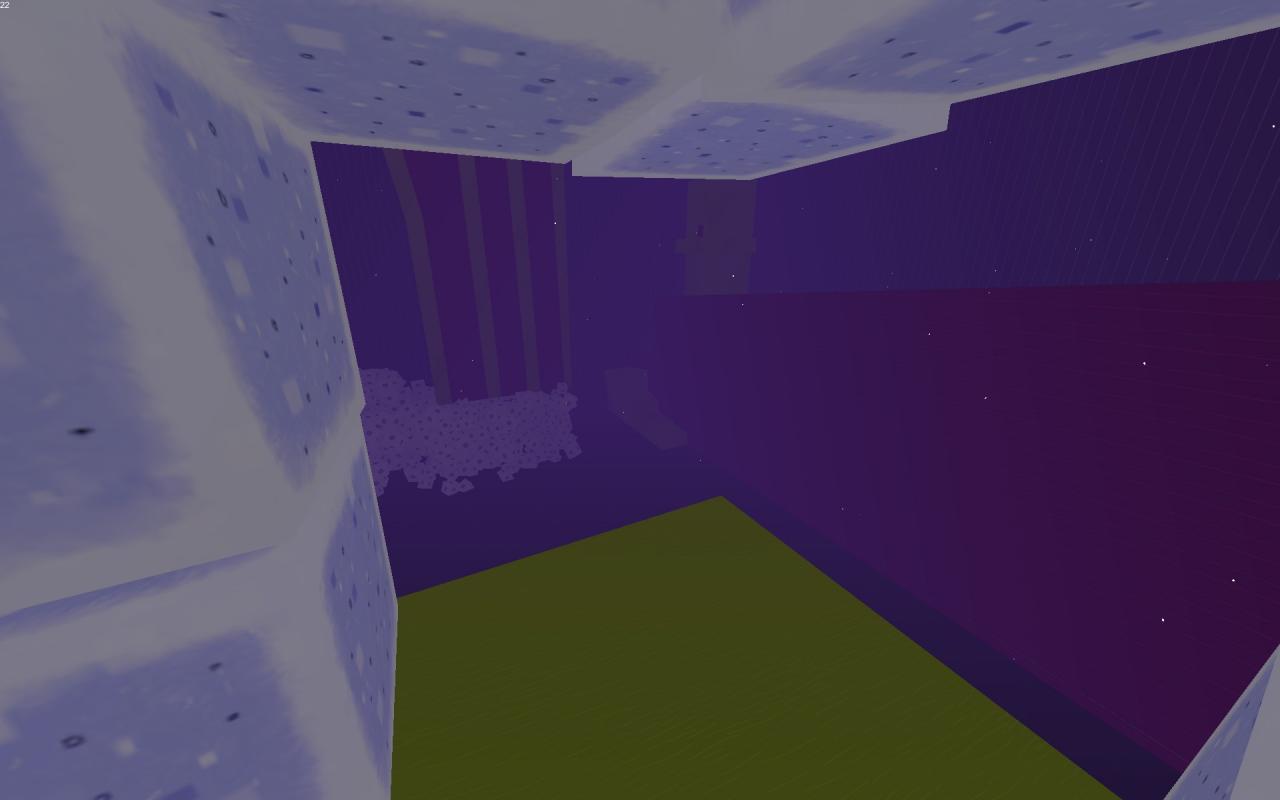
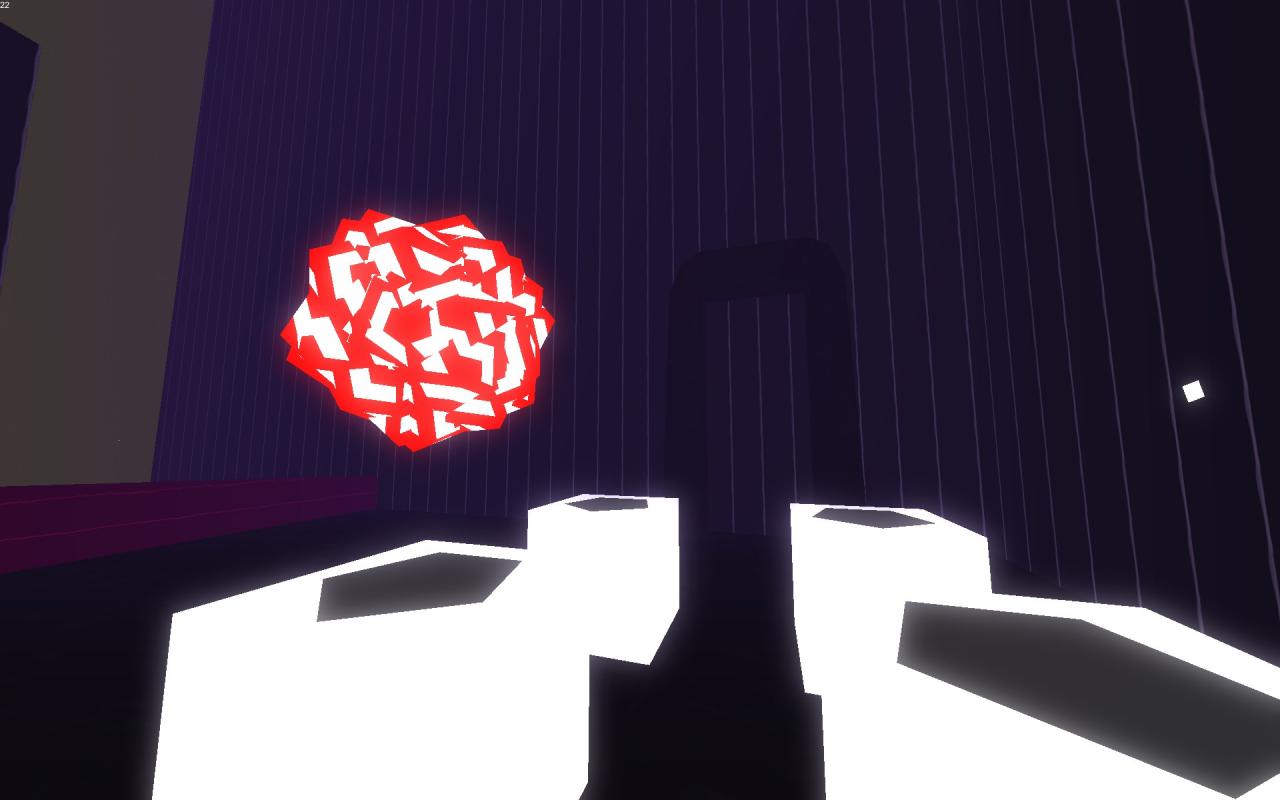
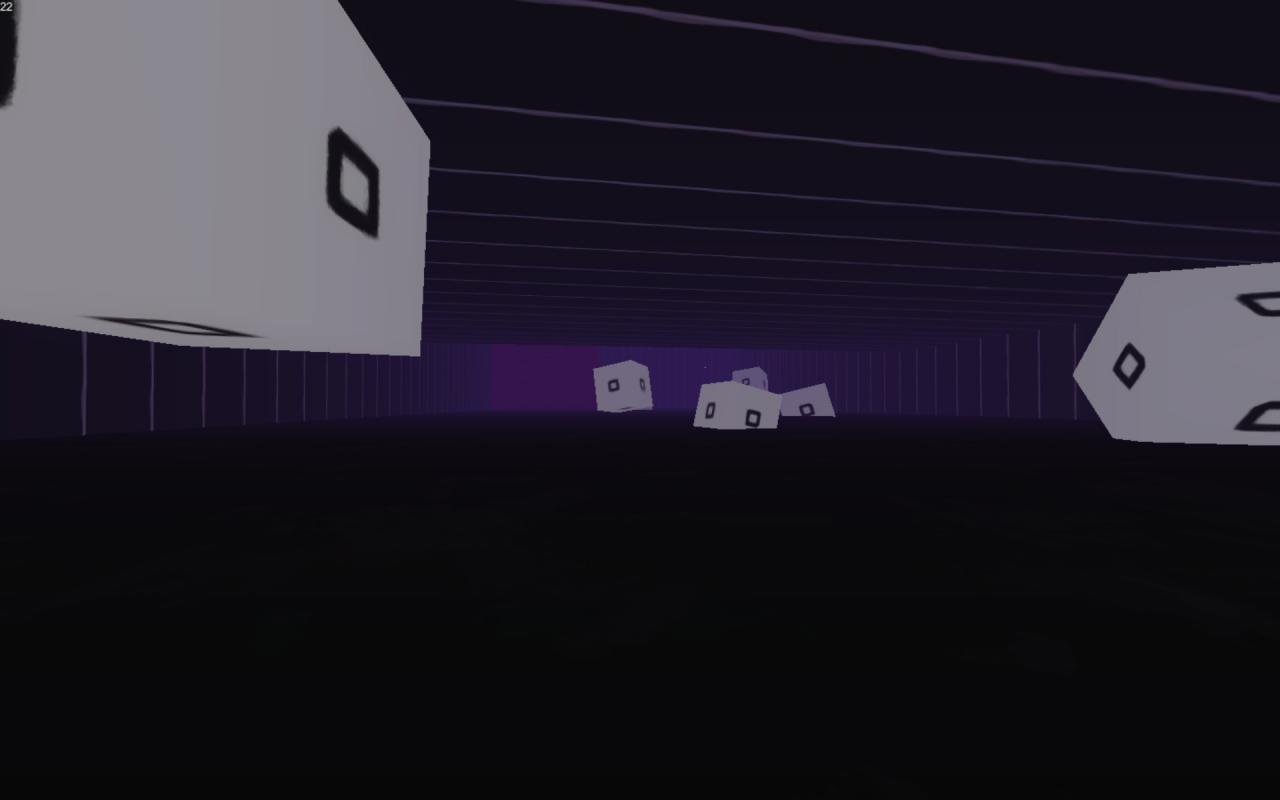
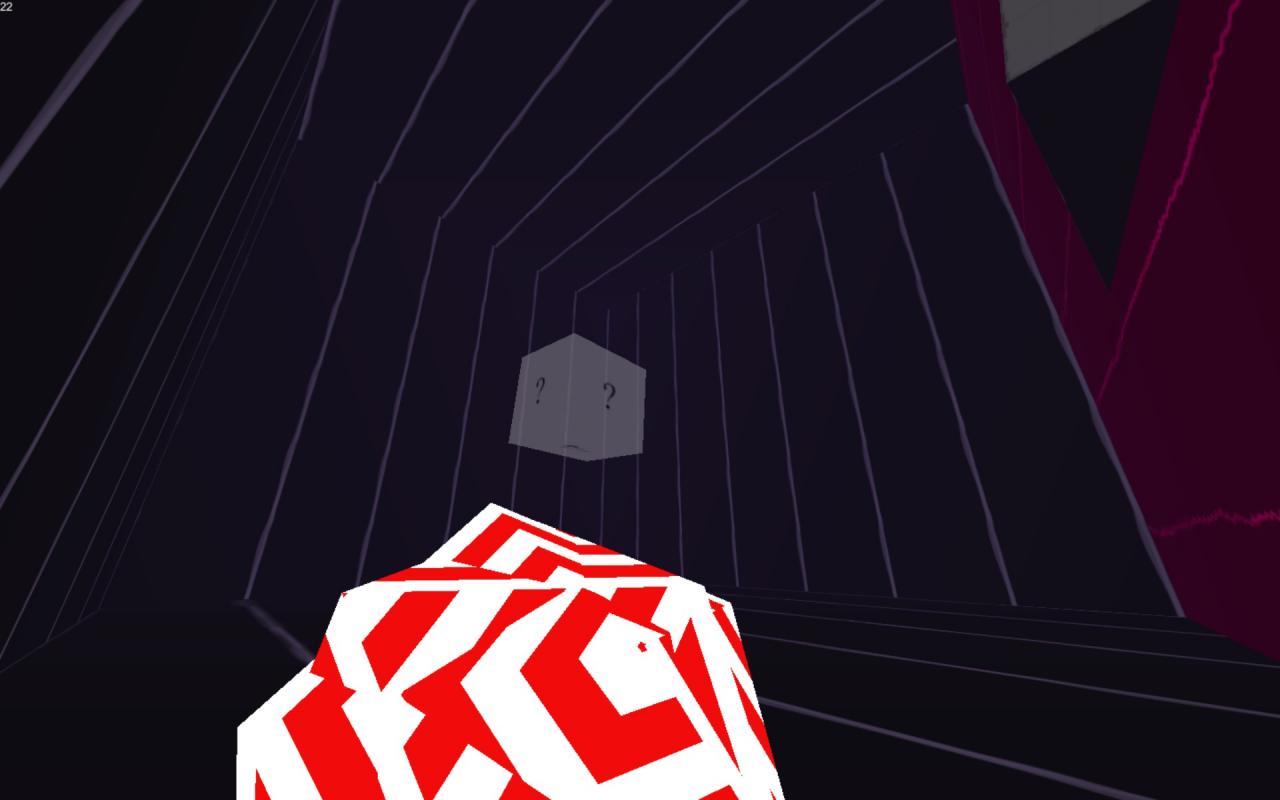
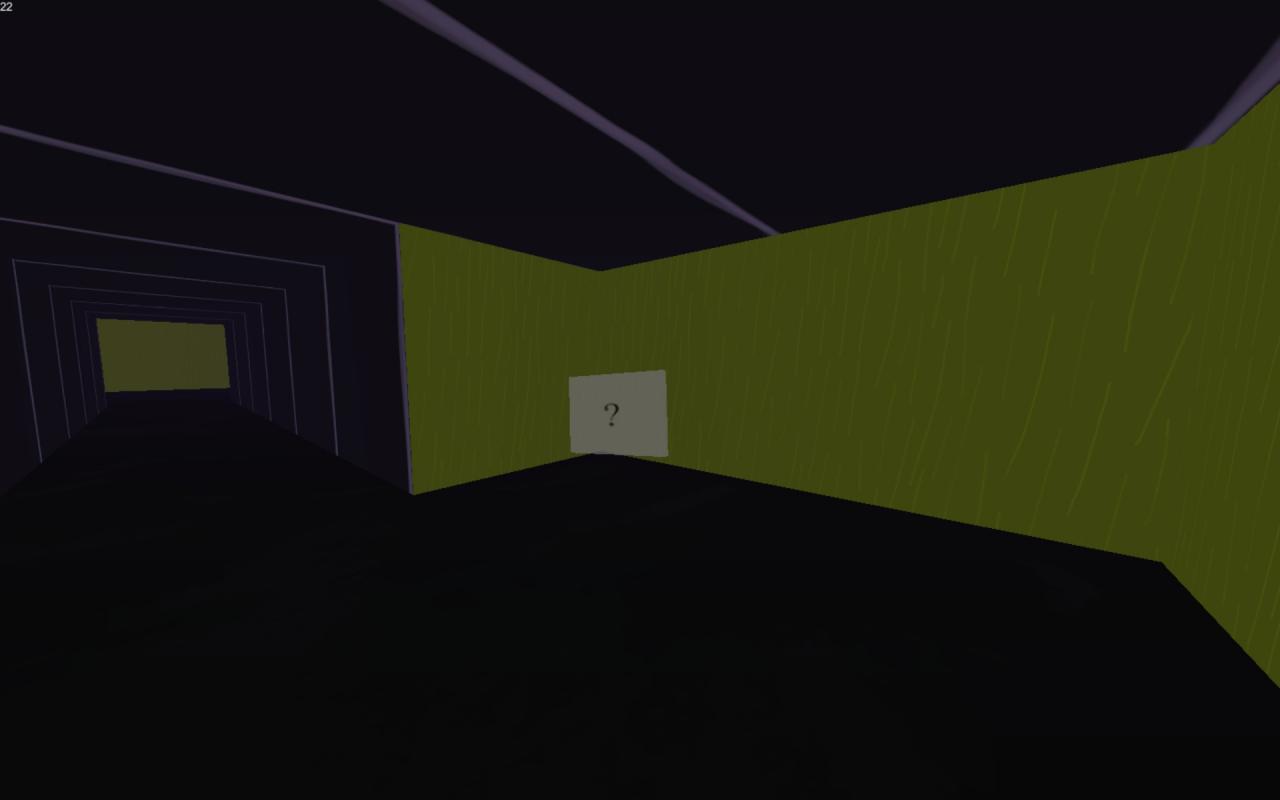
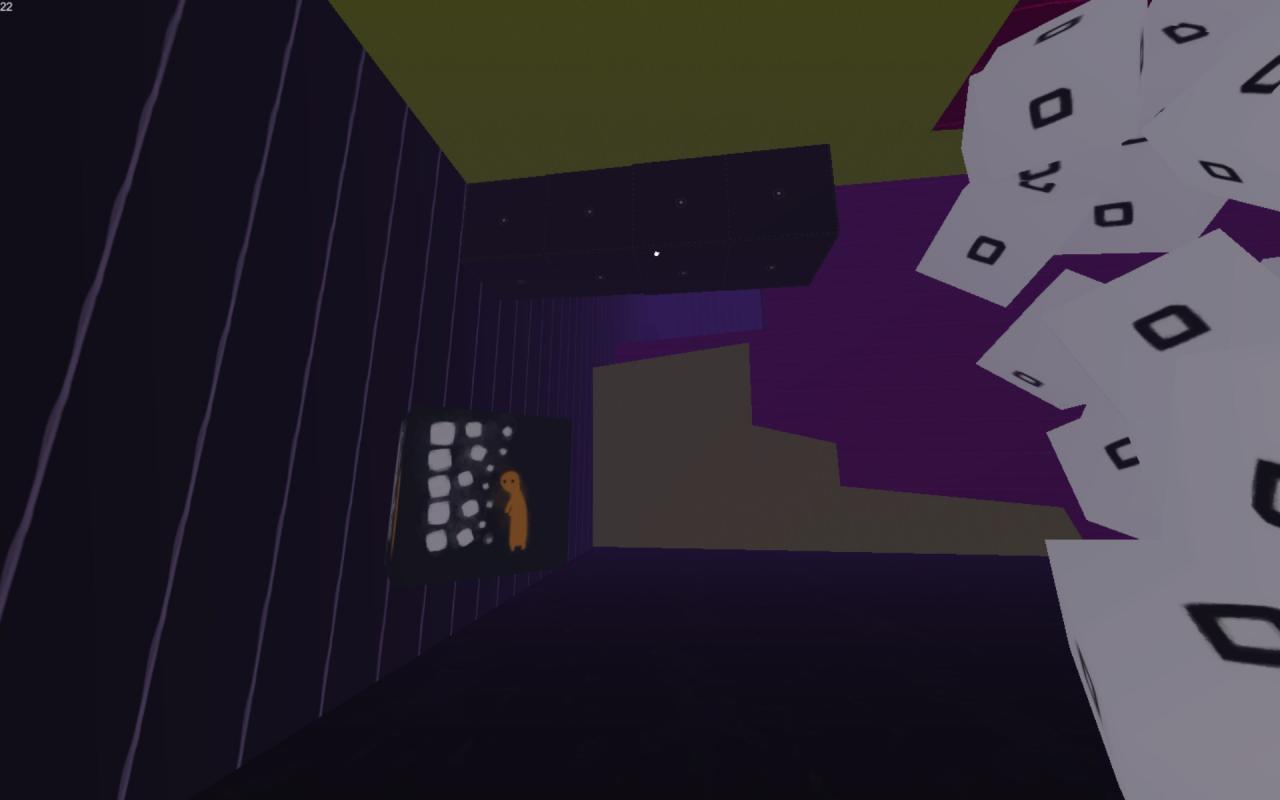 You’ll receive the 5th Ability: Remove. This will, up to a certain field around you, collapse the white blocks with little black squares as you walk through them. I call these ones Shy Blocks.
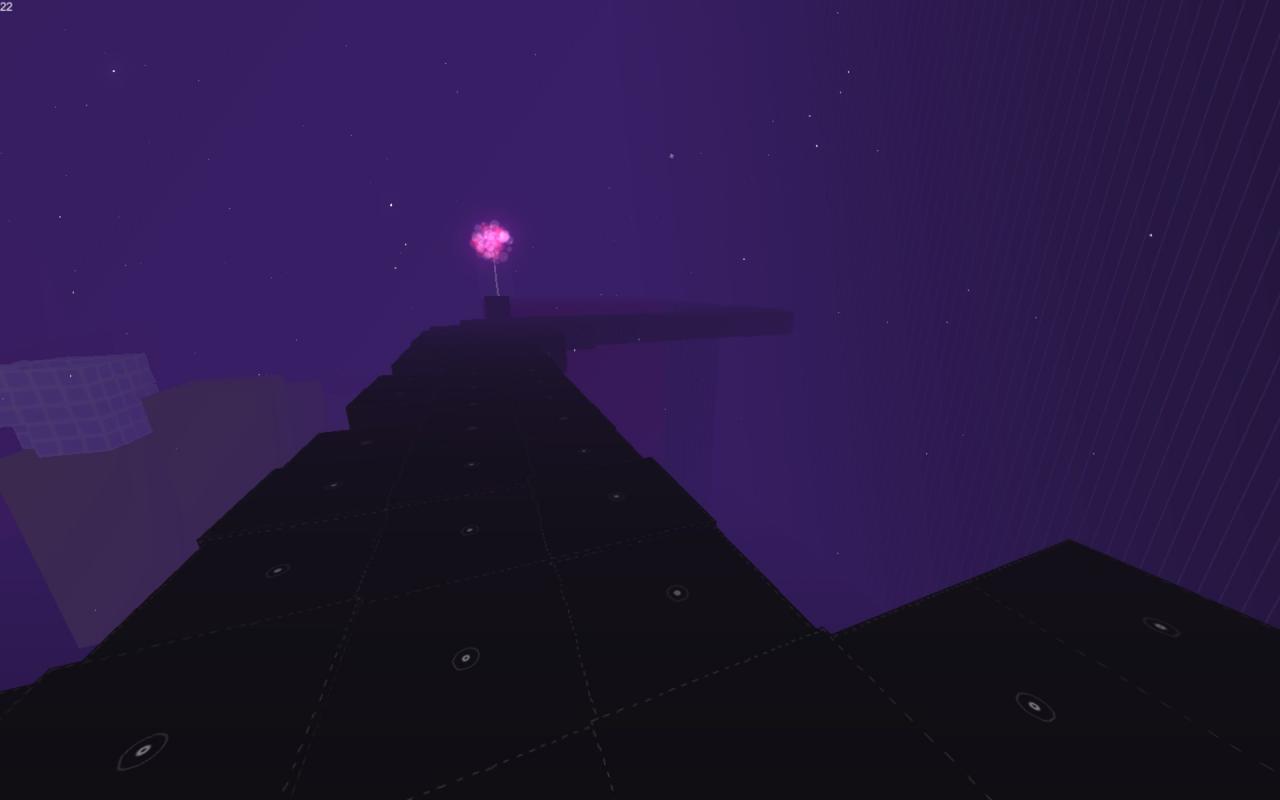
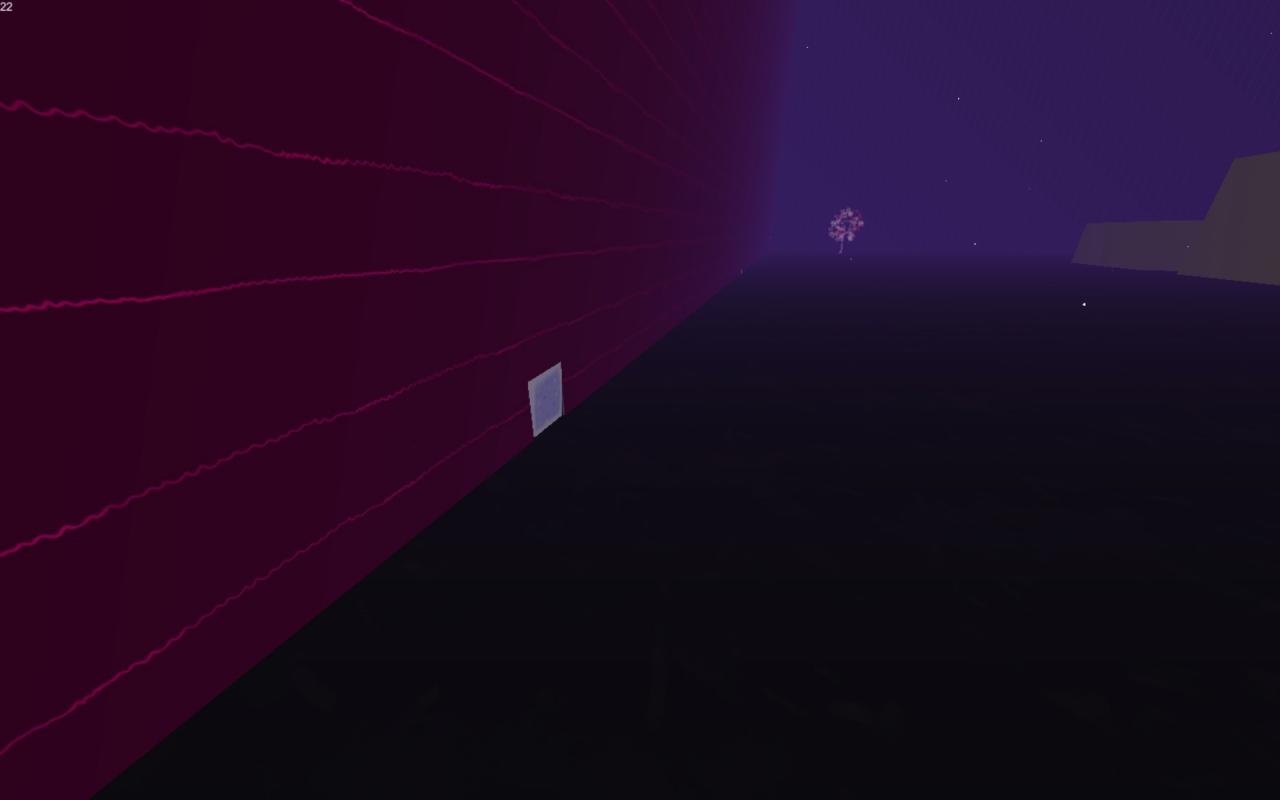
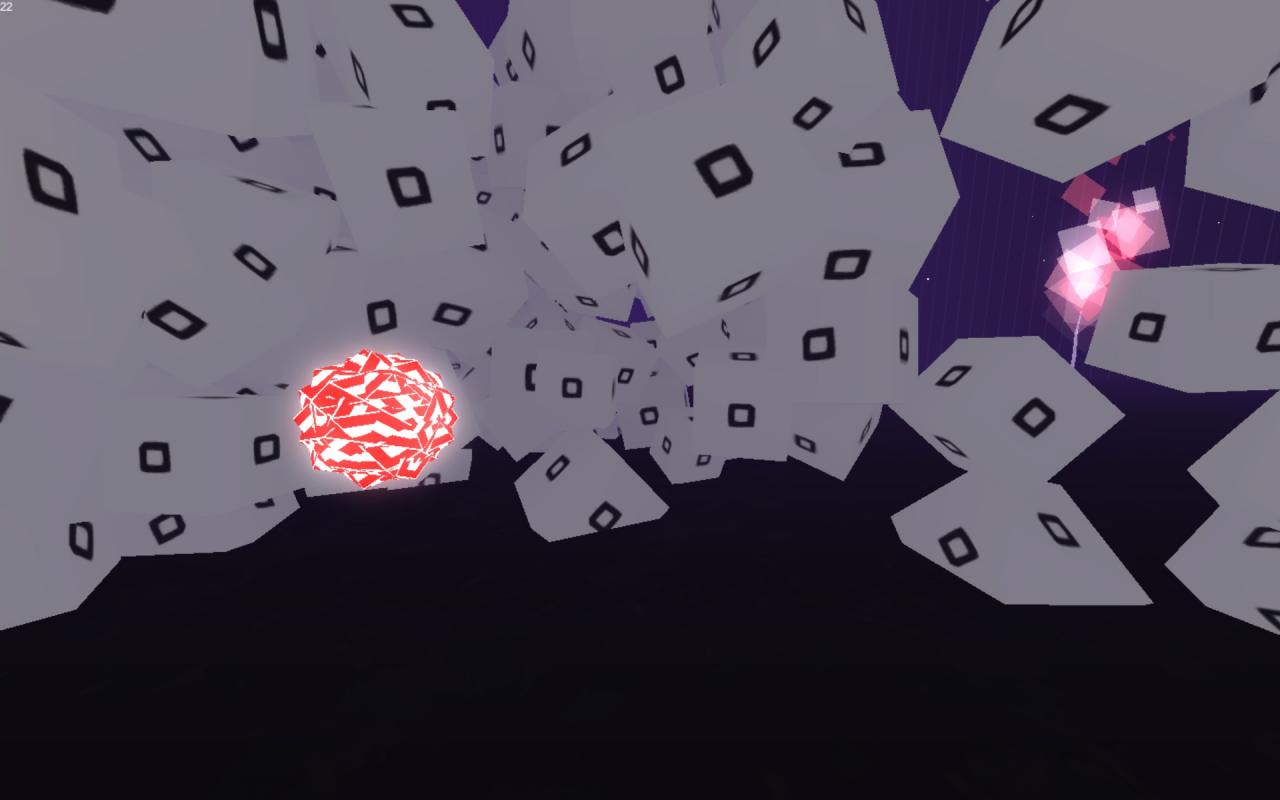 Head through them, going the opposite direction of the steps. You’ll come to the end of the cluster in the Main Hall and you can find Orb #3 here. (You can use the glowing tree for reference if you’re having trouble finding it.) Head back to the pedestal to place it.
Part III: Abilities 6 and 7 & Secret 1
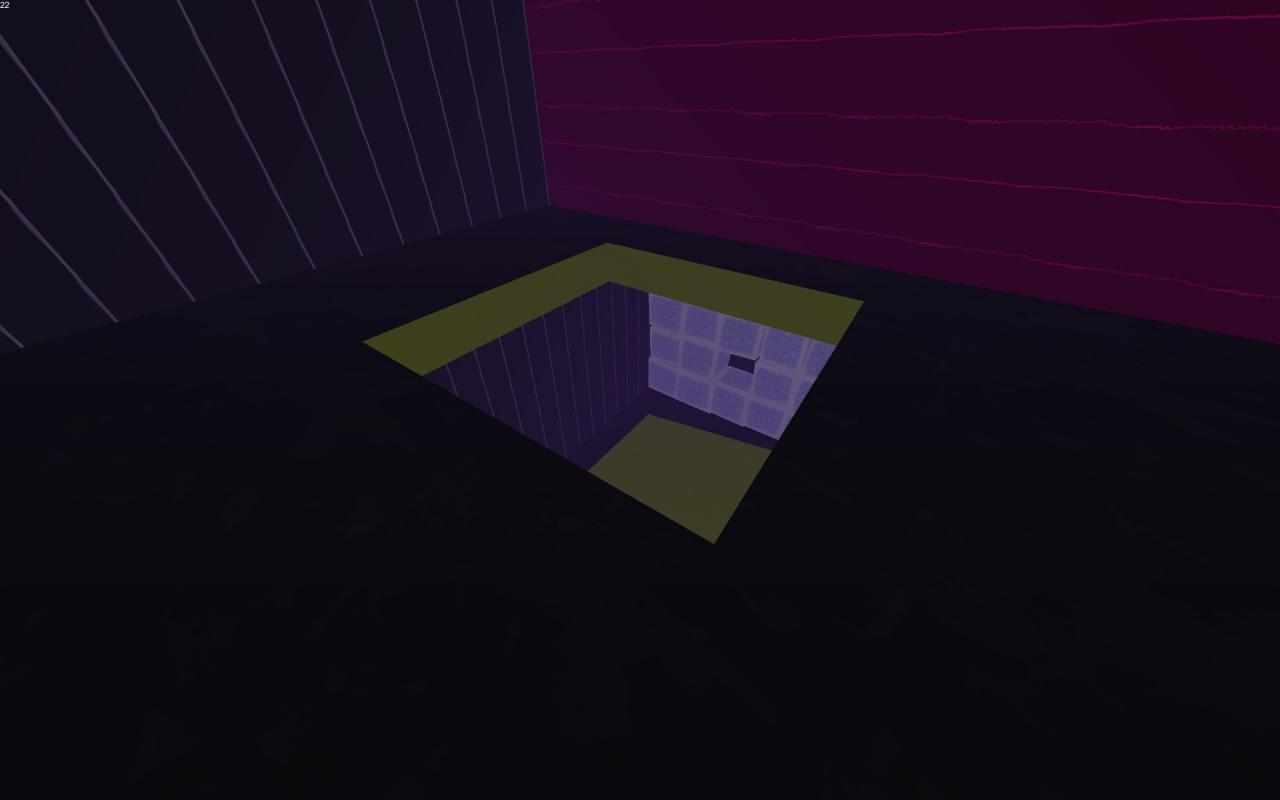
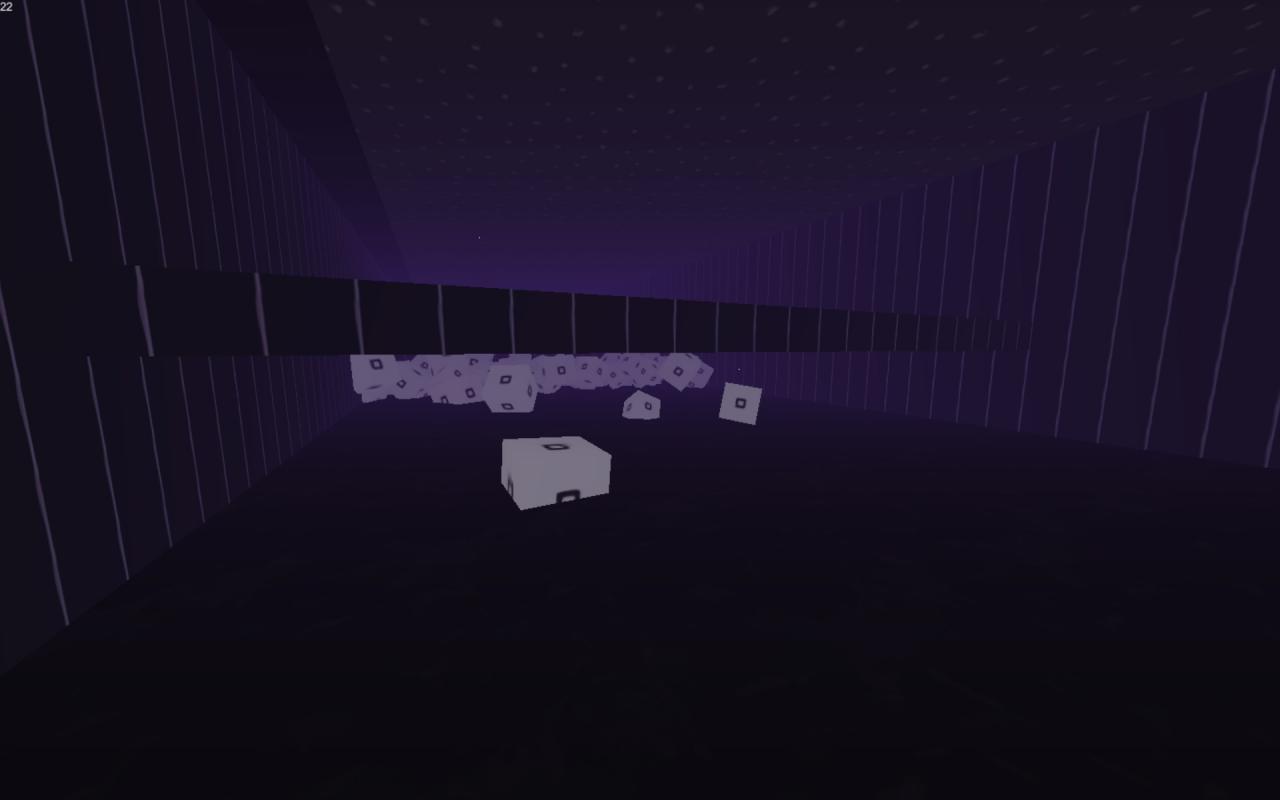
 From the pedestal, head over to the square cut in the ground. You’ll find another cluster of Shy Blocks and at their end you’ll discover the 6th Ability: Shrink.
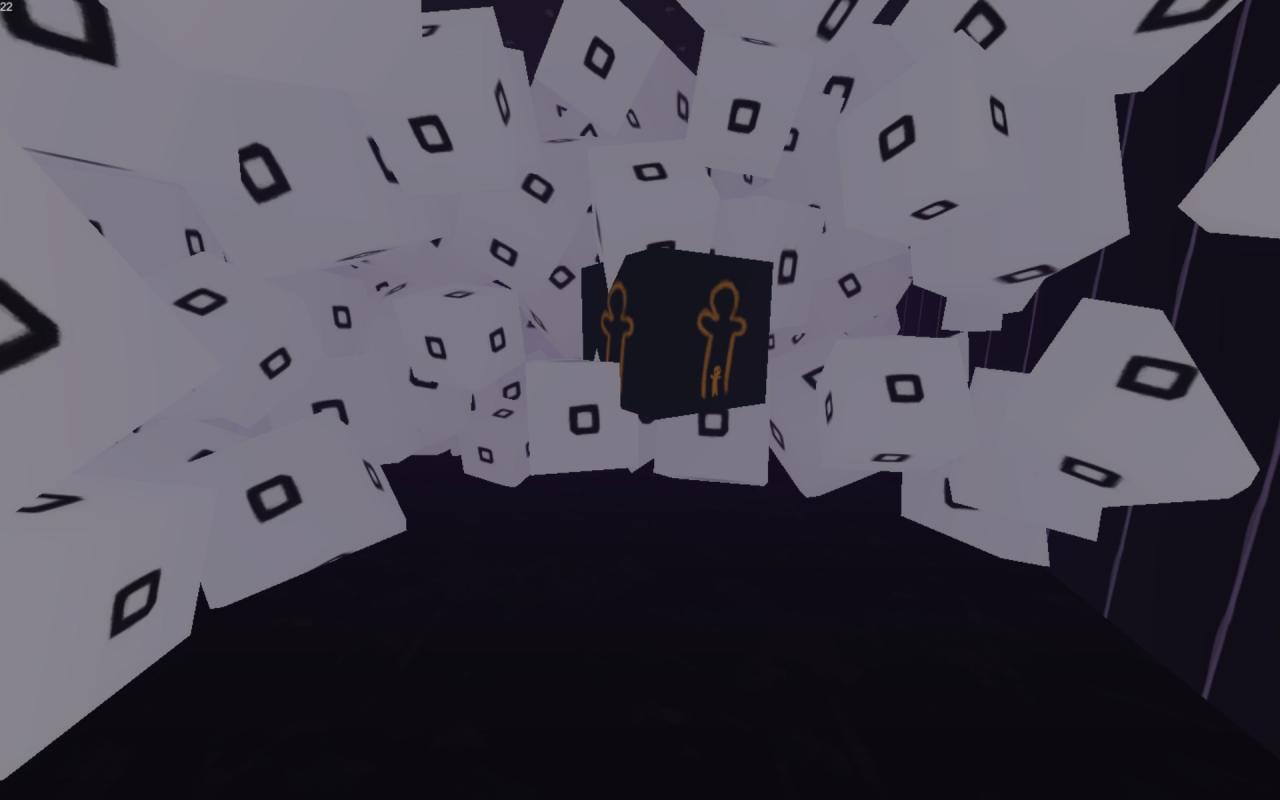
You want to head back to the Main Hall once again, but hug the wall to your left until you see a very tiny Ice Block in said wall. You can activate your Shrink Ability with Right Click. Head through using your fireballs.
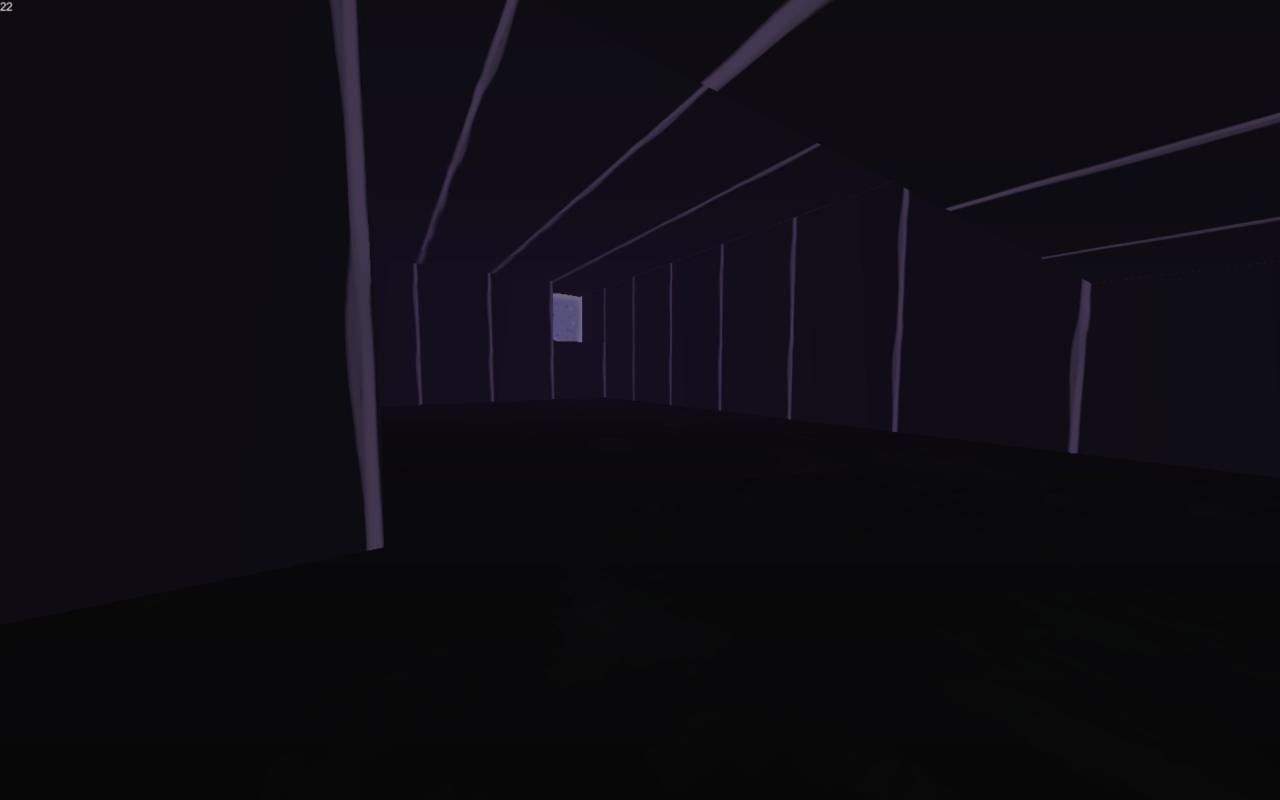
Once inside, you’ll traverse some black-walled hallways. You’ll find another Ice Block path soon after. Melt a direct straight path. At the end of this path you made, melt the block on the left and create another straight path. These next screenshots are precisely the path you should take.


At the end of the final screenshot’s path. You’ll find a doorway to the next section of this area with another cluster of Shy Blocks.
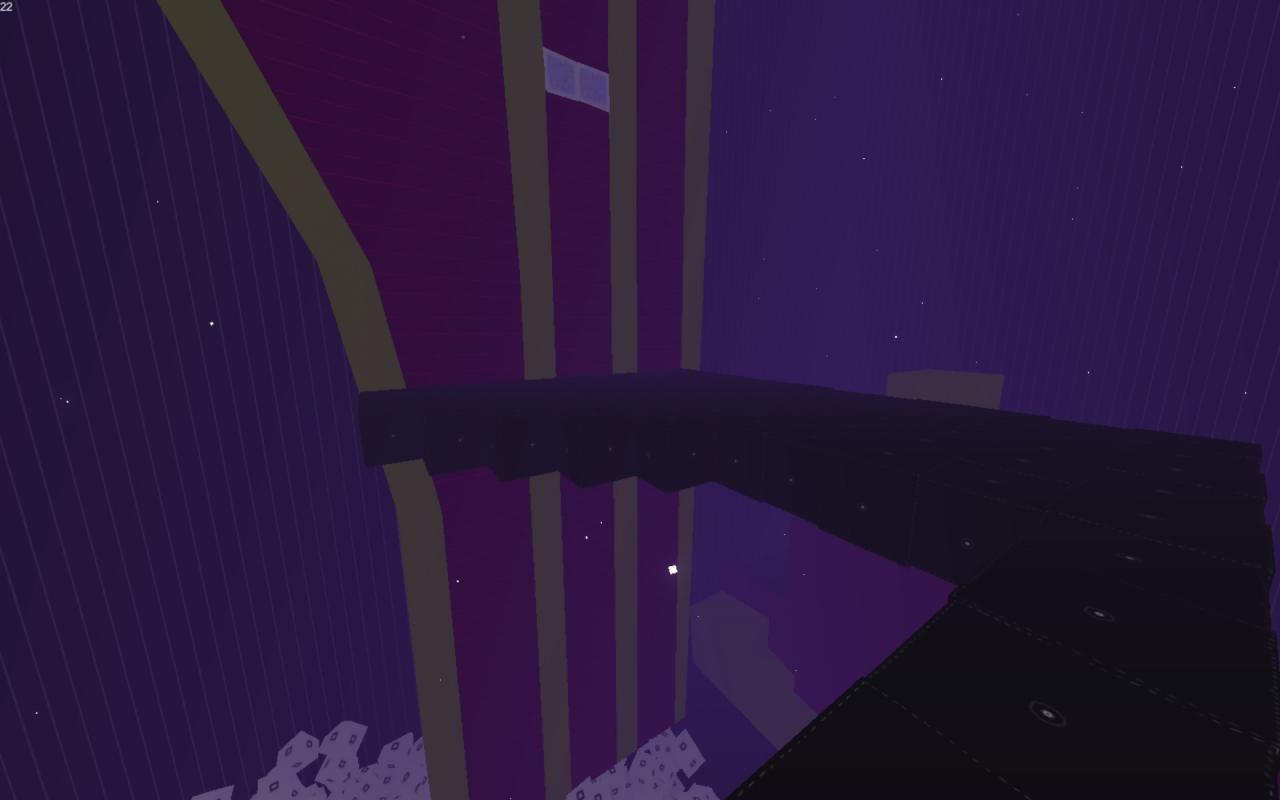
Before you head behind the red wall in the corner, turn around and jump on top of the black platform that subdivides the room. Go to the end until you reach a depression in the floor, similar to a trough. Since we never revisit this area, we’ll take the time to grab Secret 1/9 here.
 Then head back to the red wall and into a doorway on the side. You can collect the 7th Ability: Fly here. You now have all the abilities in the game. The Fly Ability will replace both your Jump/Double Jump abilities when you use SPACE. You can now fly out of the chimney-like structure here to escape.
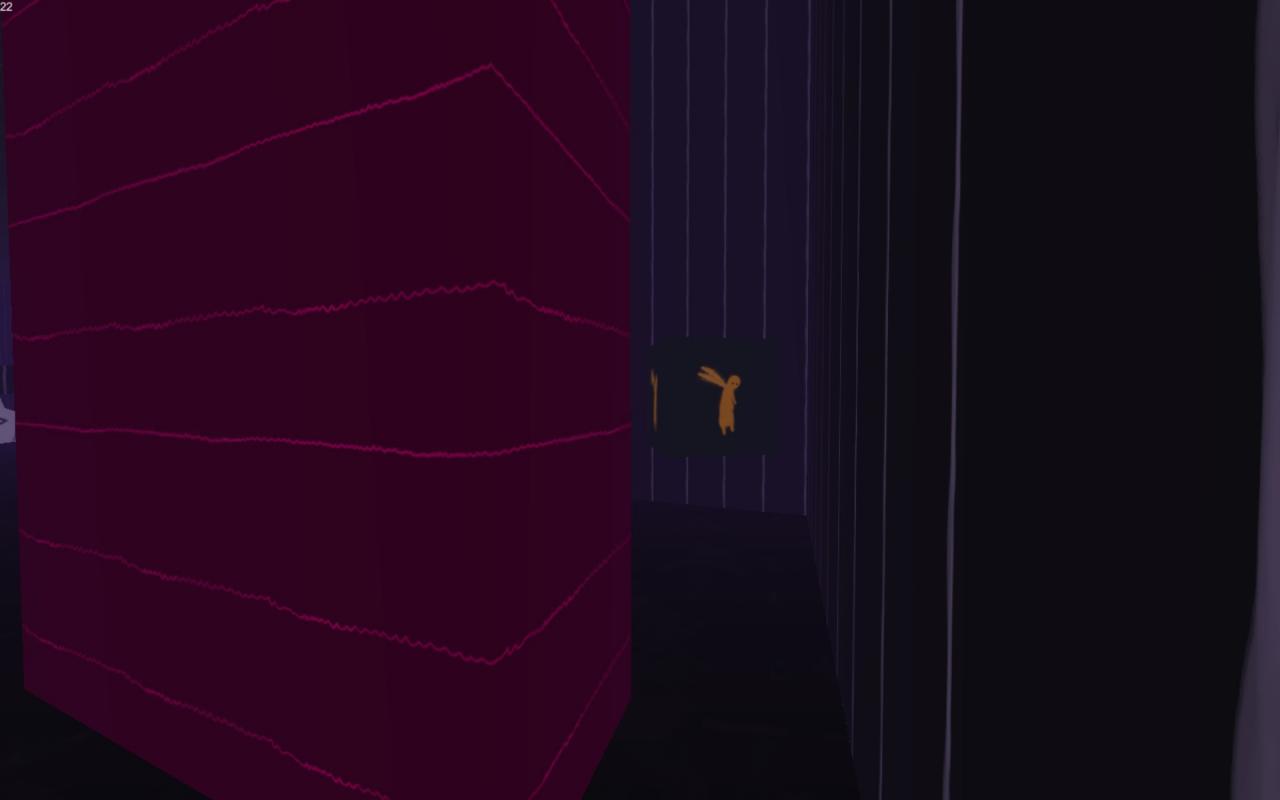

Part IV: Orb 4 and Secrets 2-9
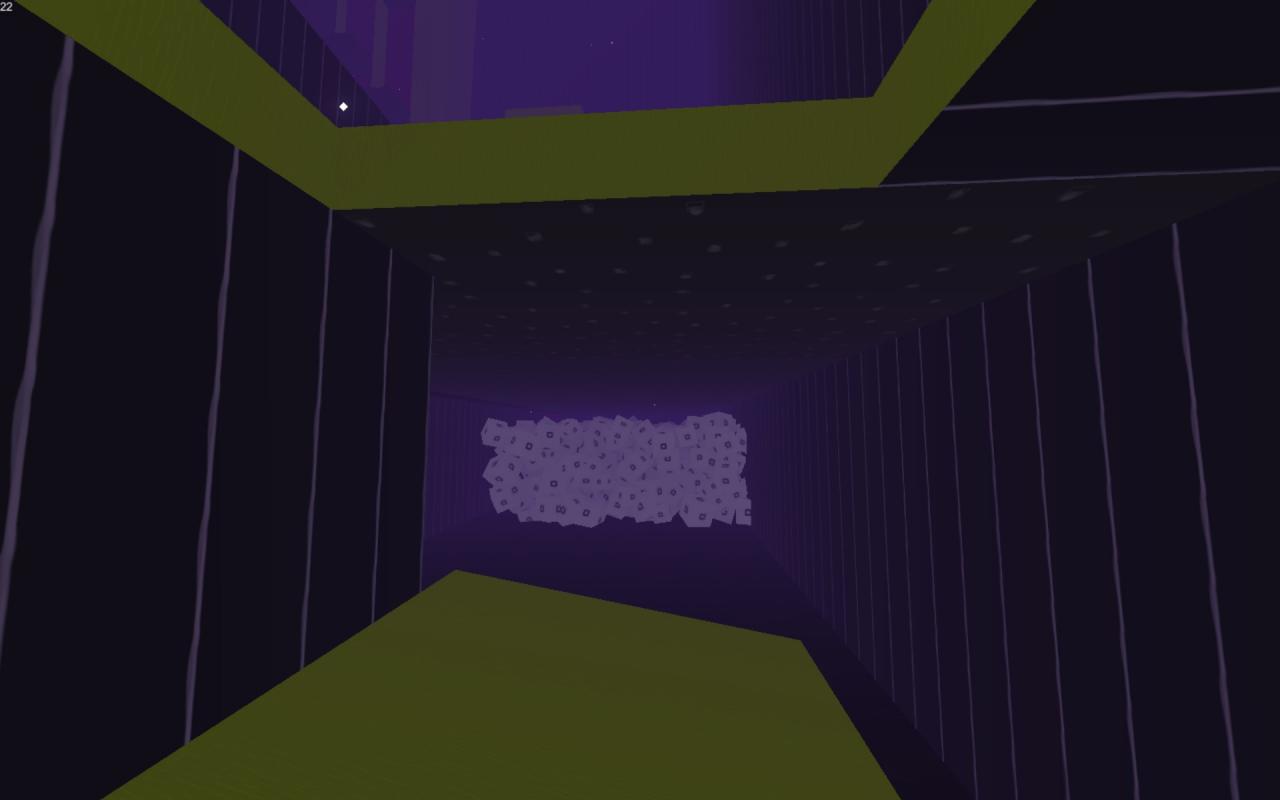
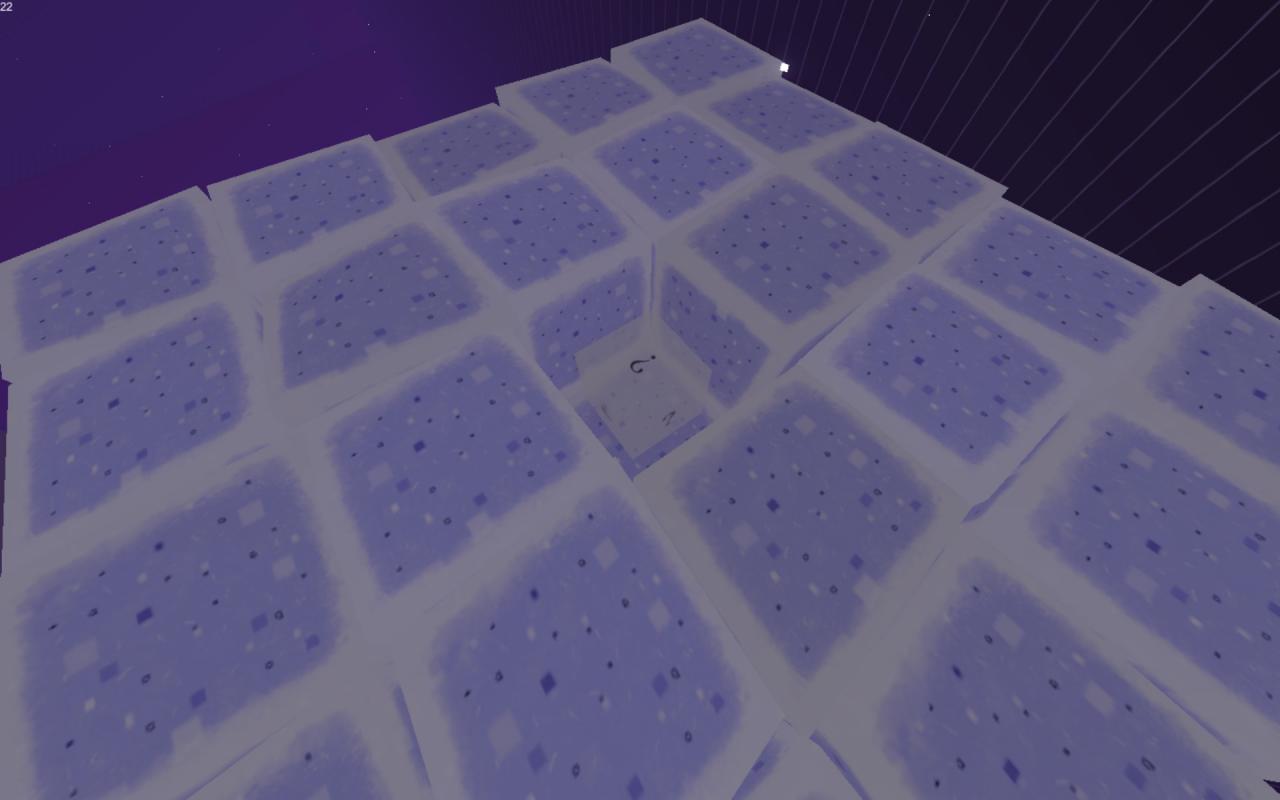
 Head to the square in the next screenshot, you’ll notice the Ice Block tower we had to carve through is visible down below. This will be Orb #4. You now have all Orbs. We’re not done up here yet, though.
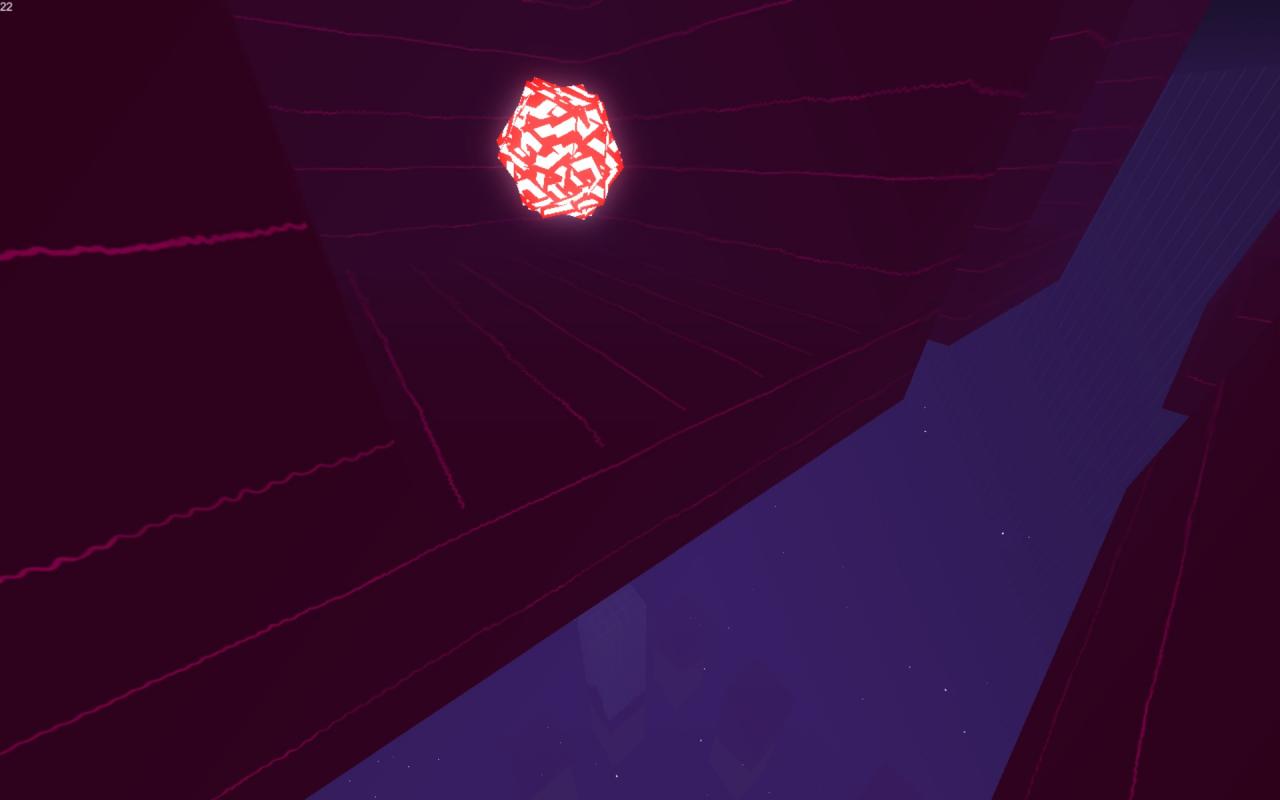
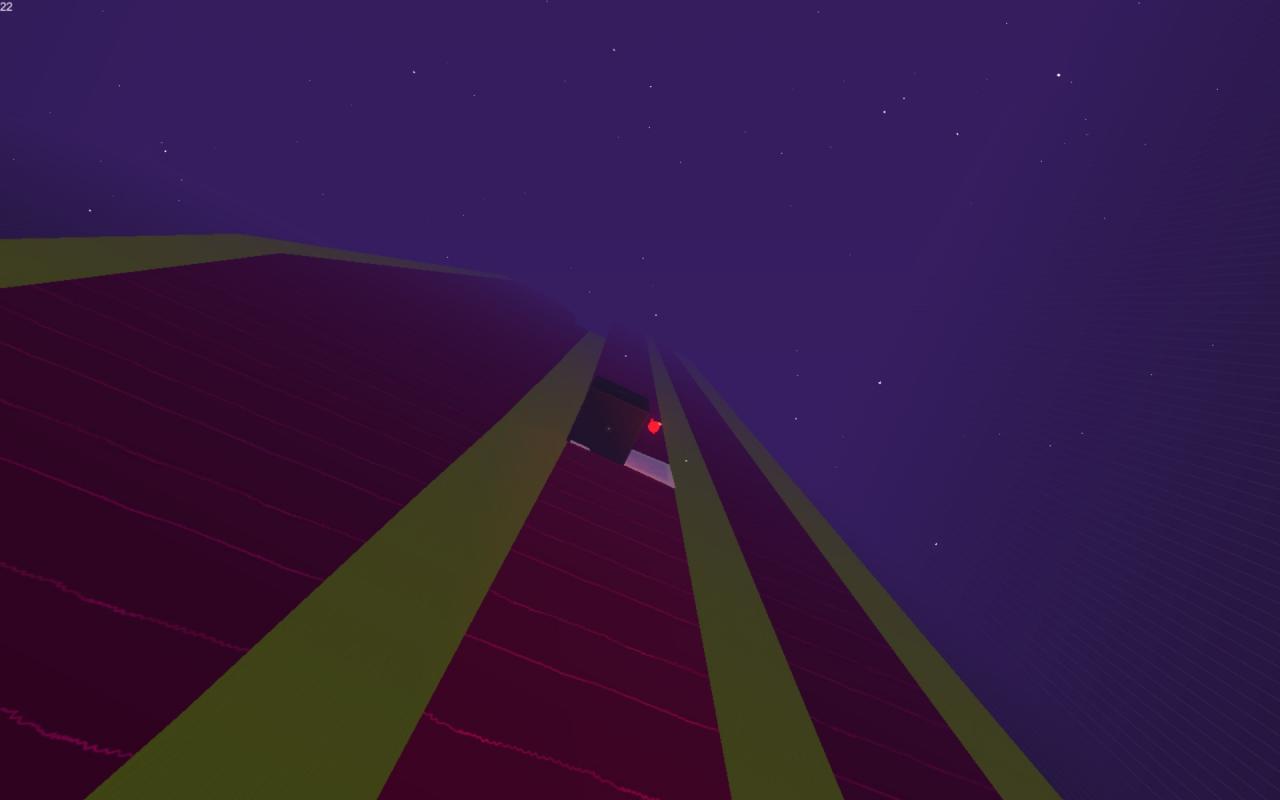
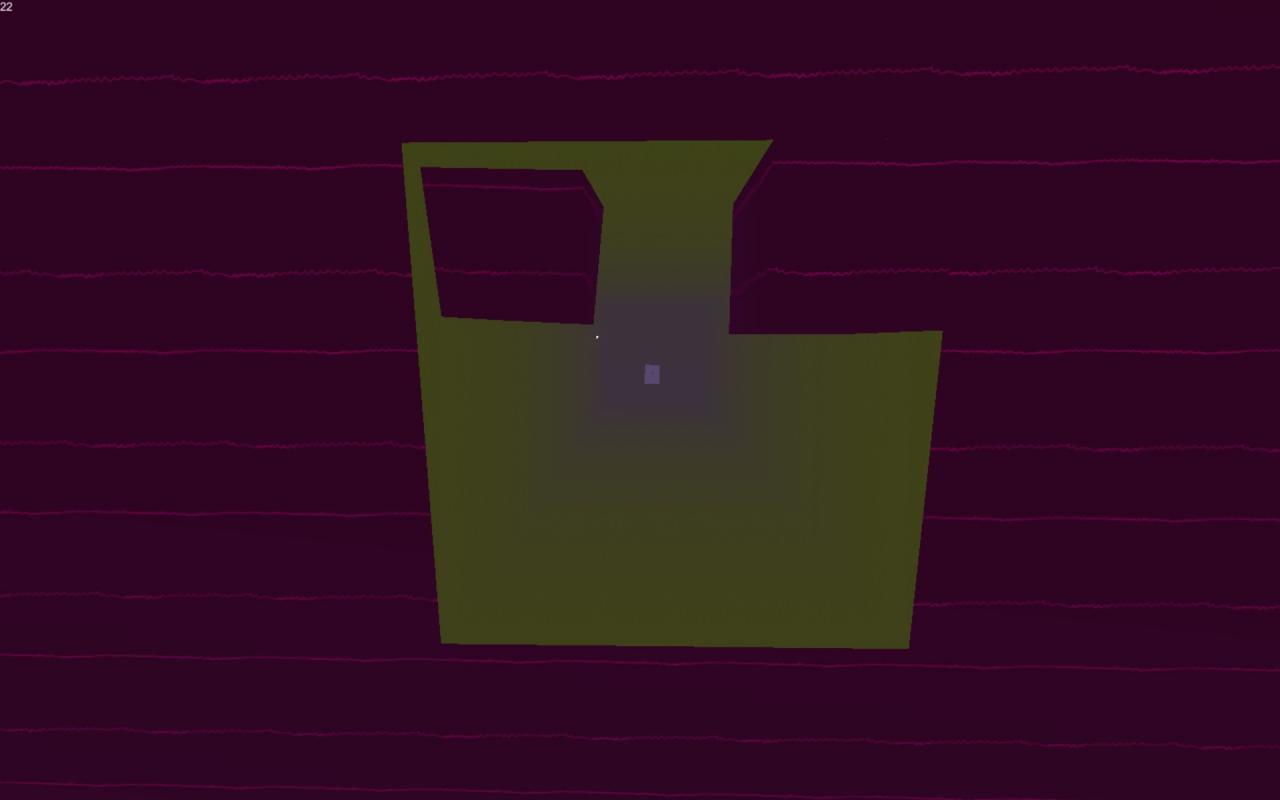
Head to the red square that doesn’t have an alcove and break it open with fireballs. It’s above the Fabric Block path we had to reveal after getting the Reveal Ability (as you can see from the second screenshot). This will be Secret 2/9.
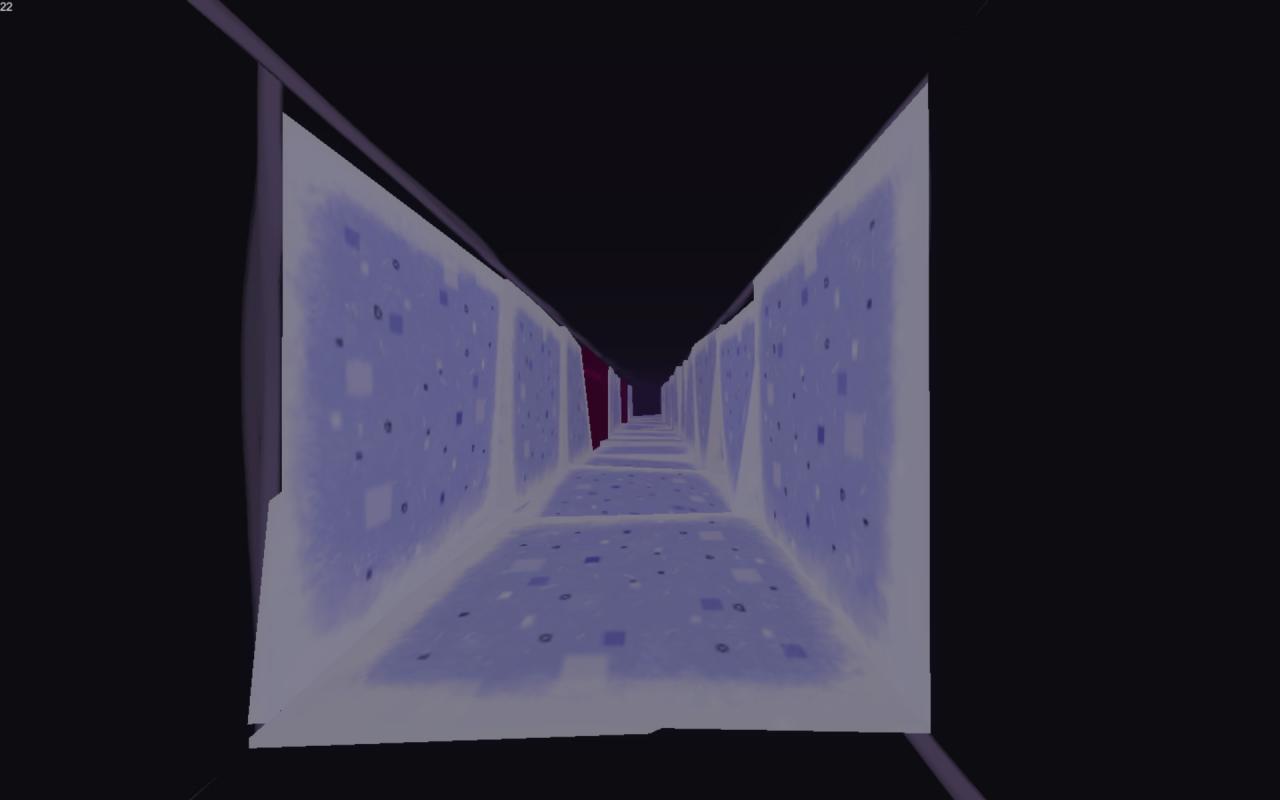
 Let’s actually head straight back down to the Fabric Block Path next. Remember this 1-block path from before? Now we can get in hole we revealed to get Secret 3/9, using the Shrink Ability.
 After this, return to the pedestal to place Orb 4.
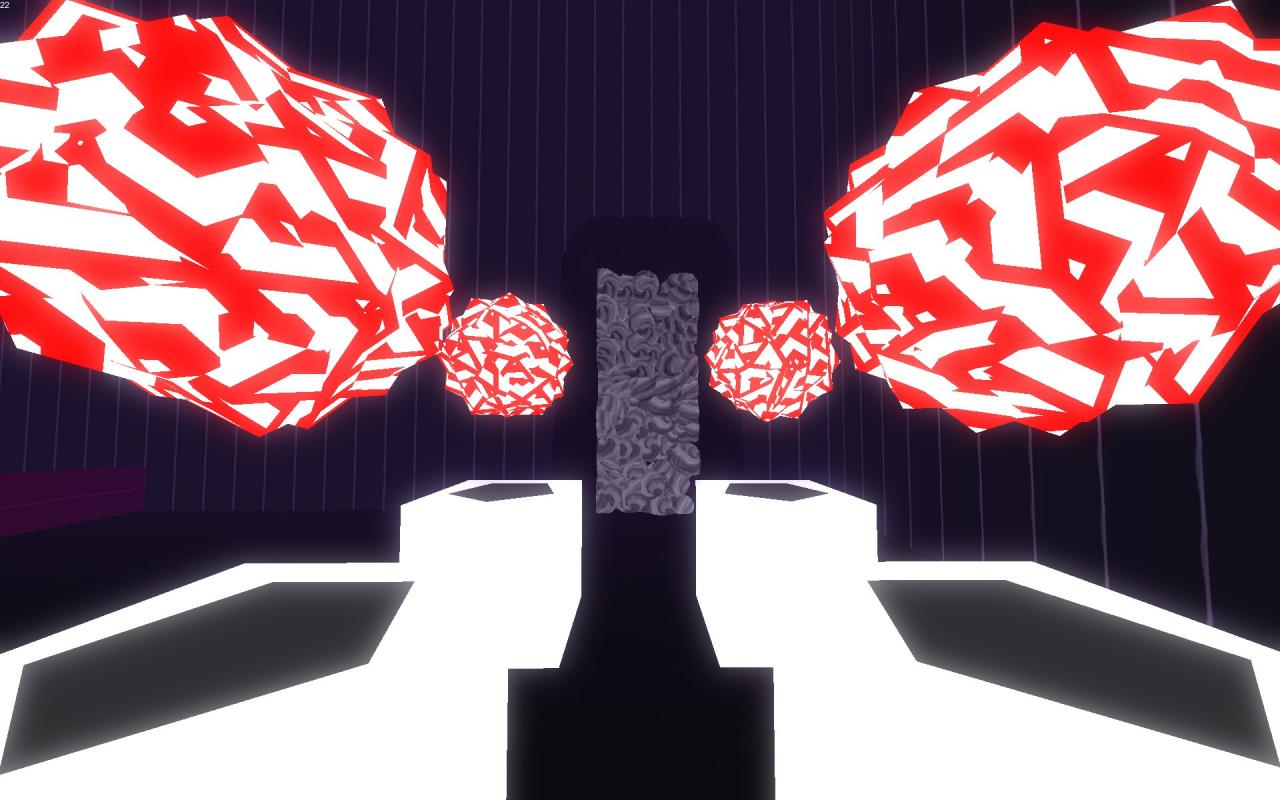 The doorway will be open now, but we still have several secrets to get. A lot of them on this side of the room, so let’s head back up to our spawning point in the guard-tower to get Secret 4/9.
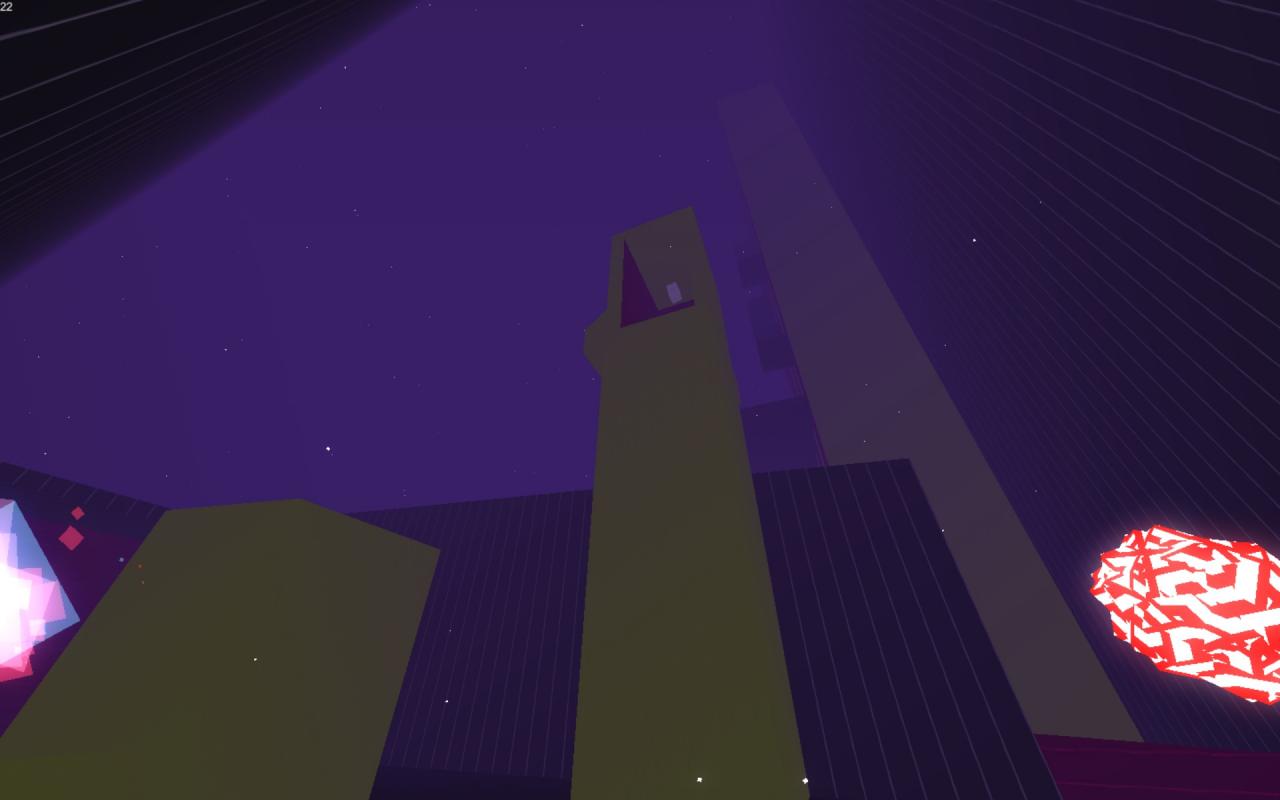
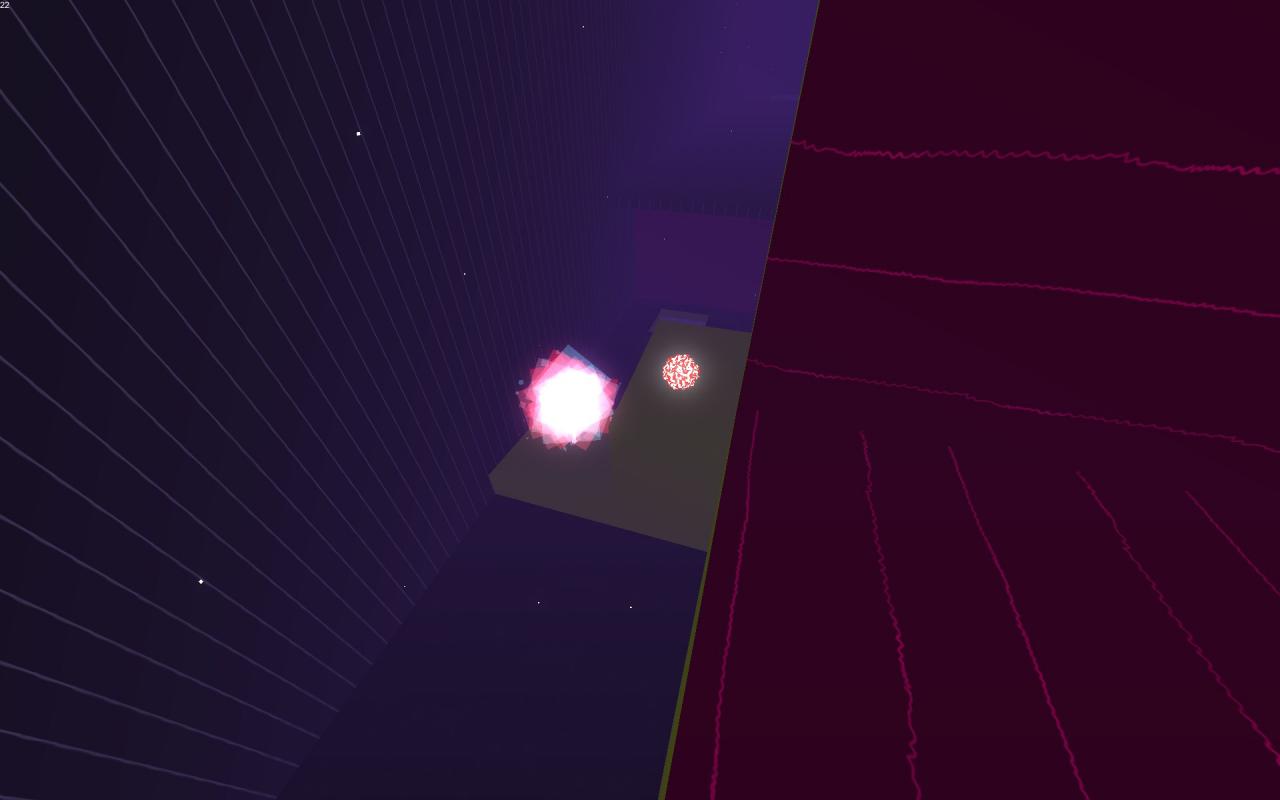
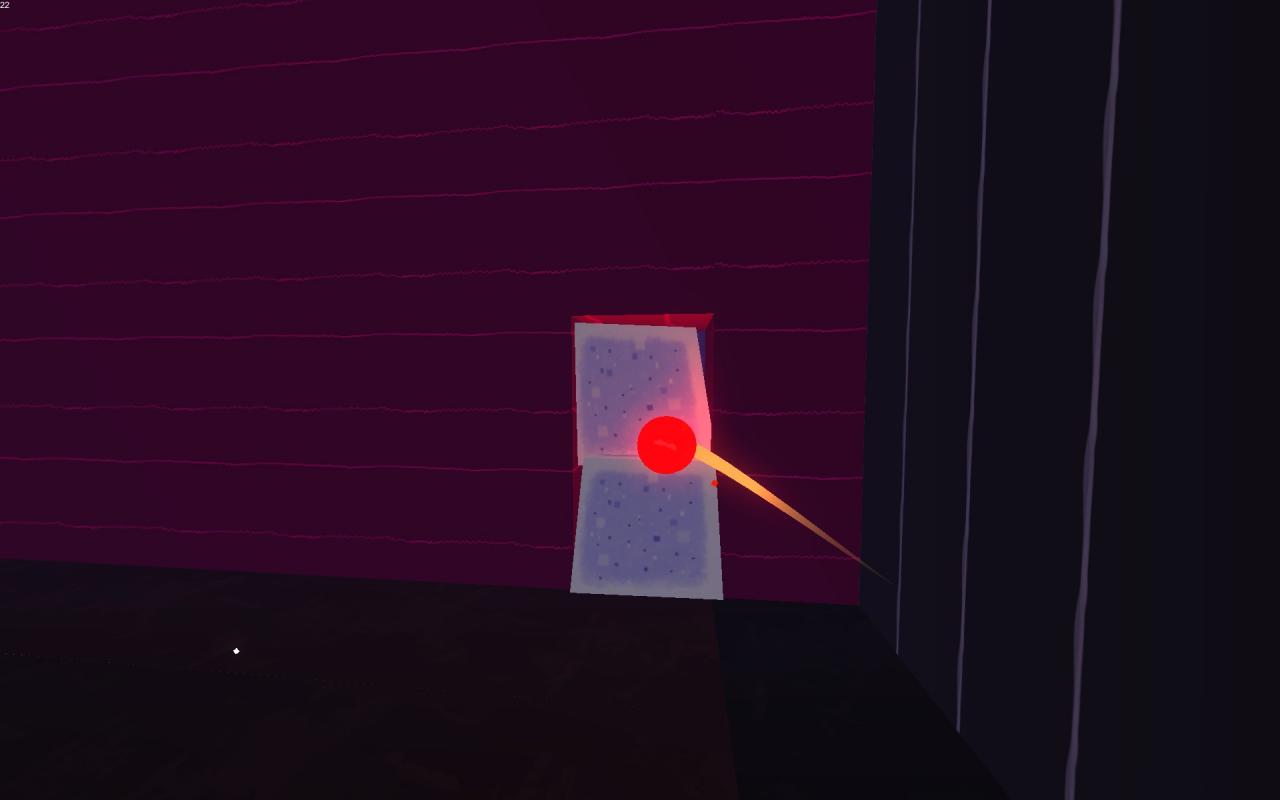
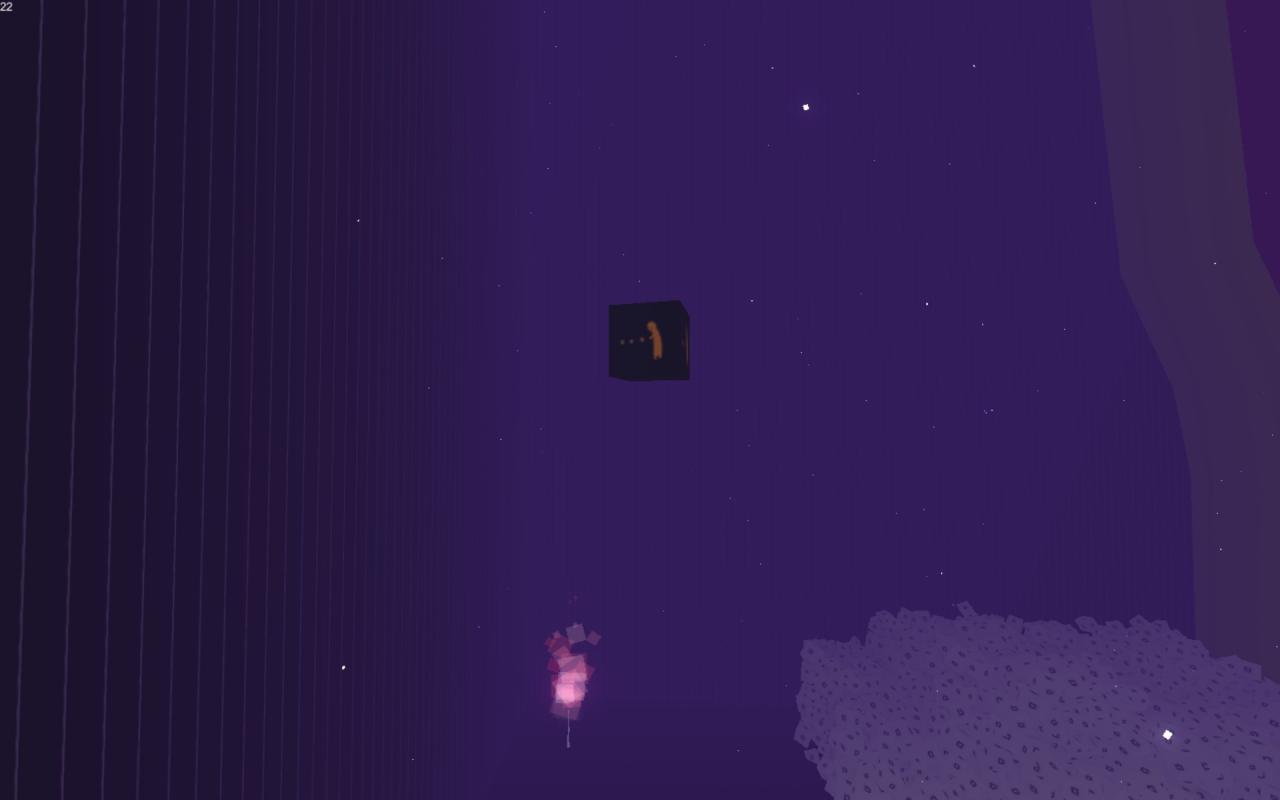
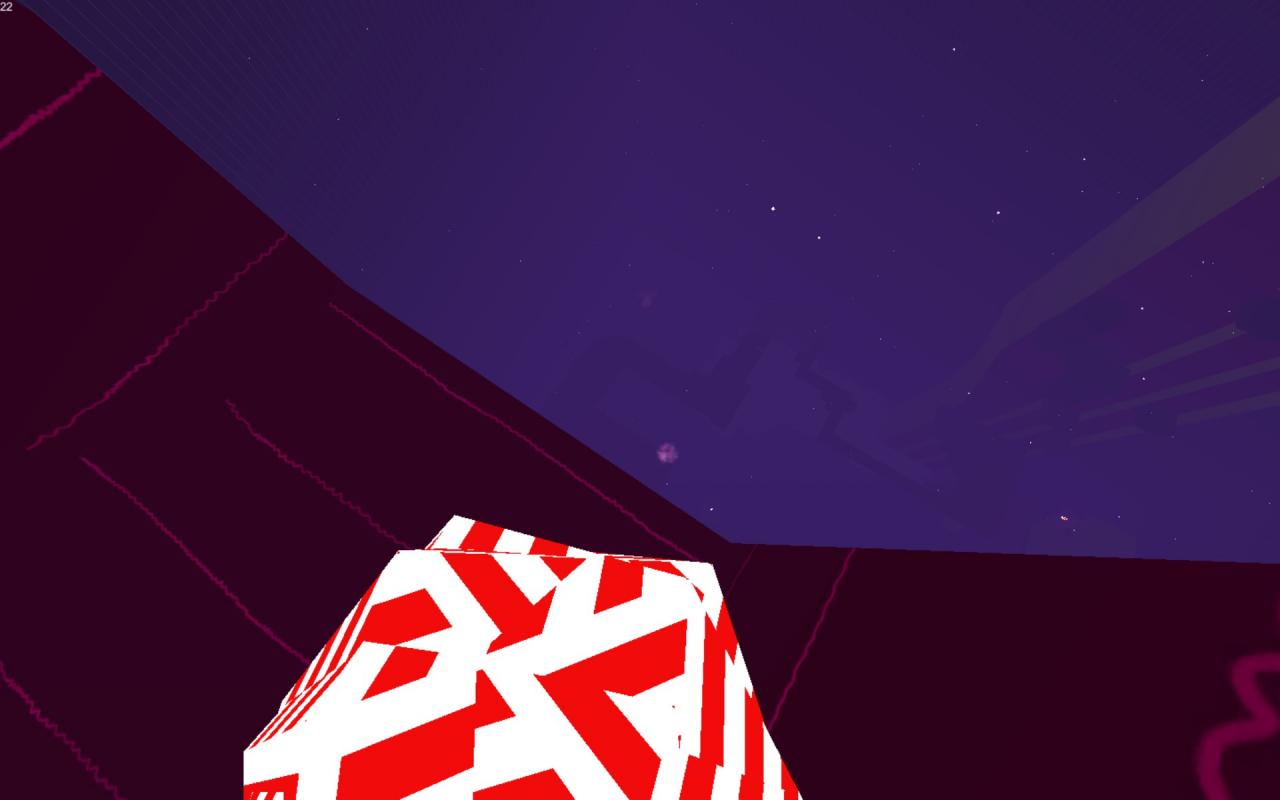
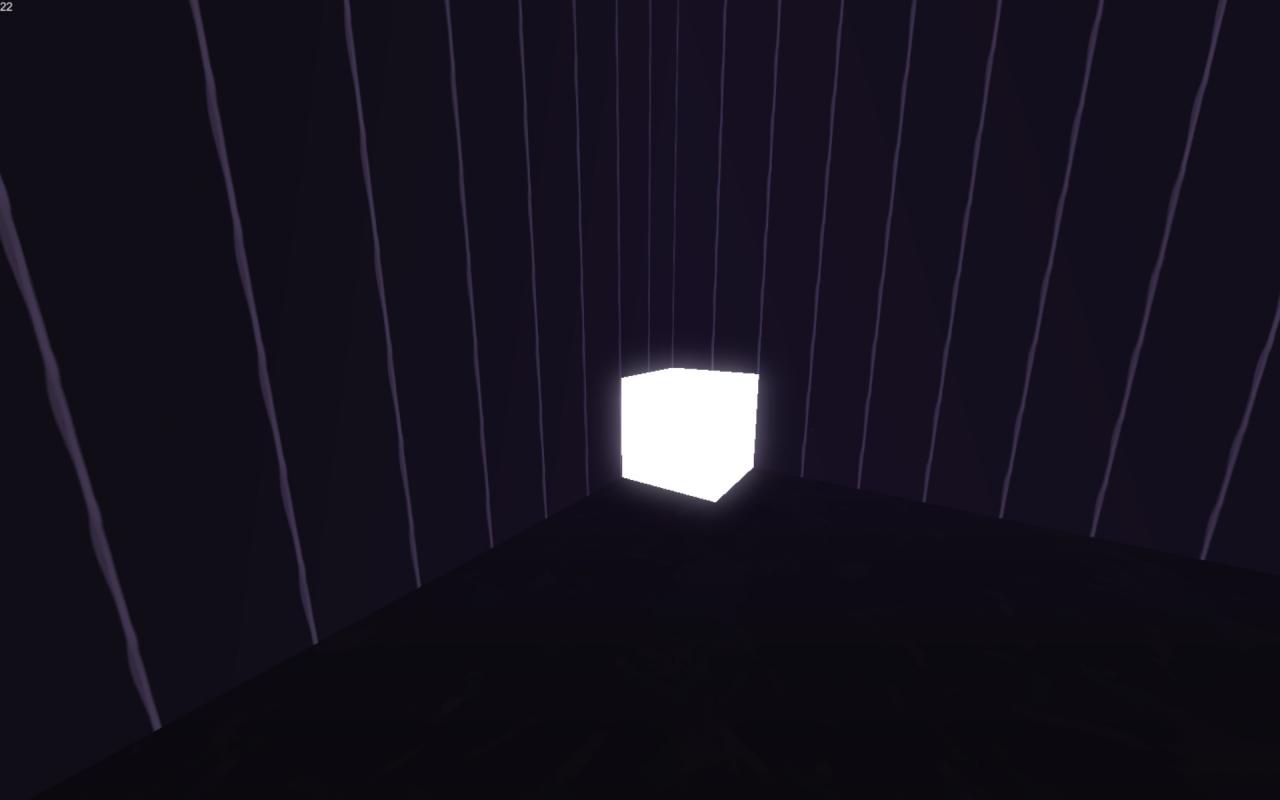
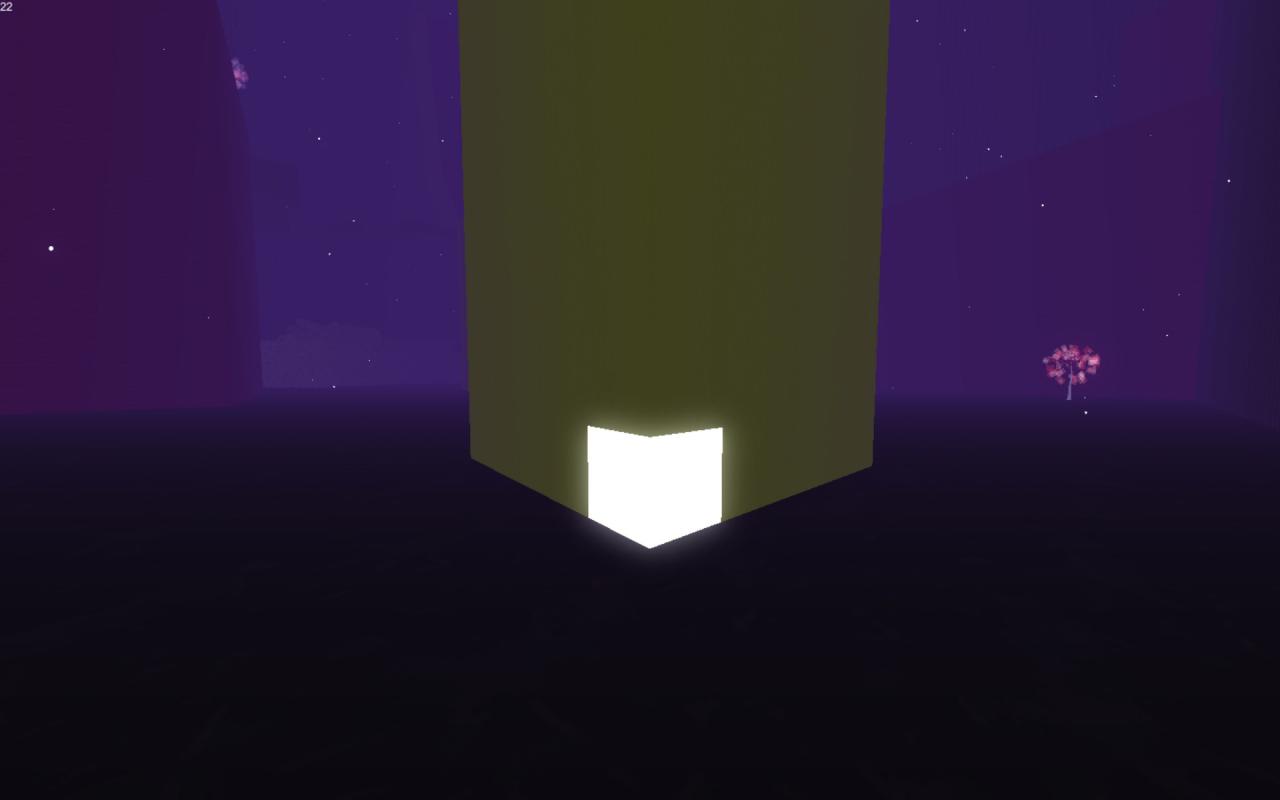
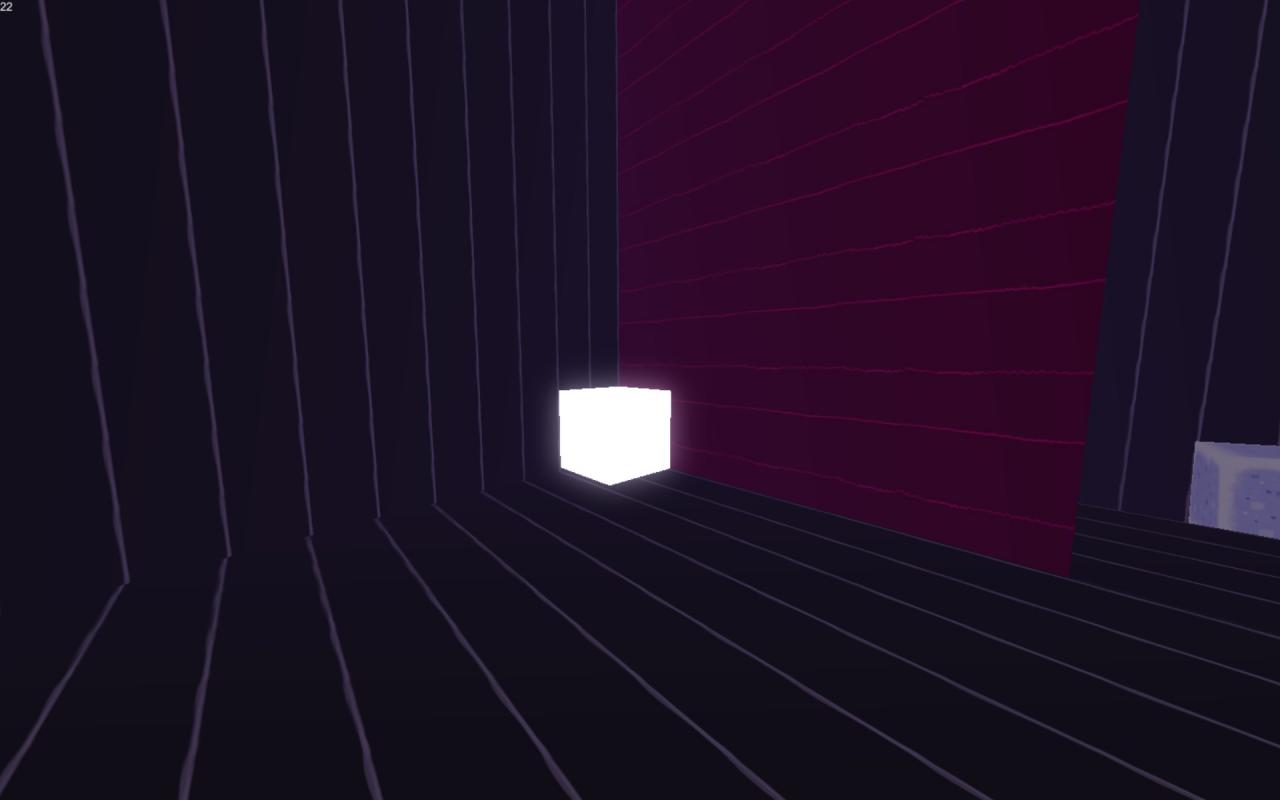
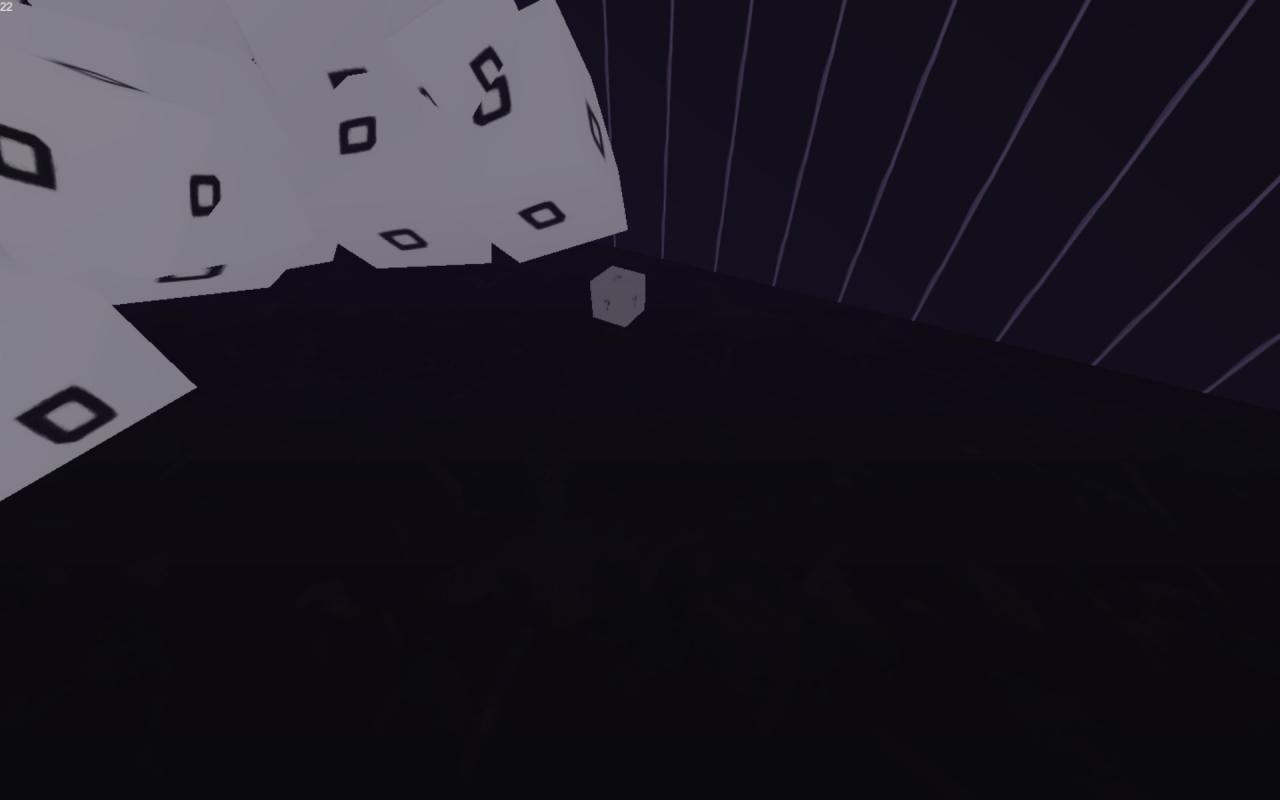
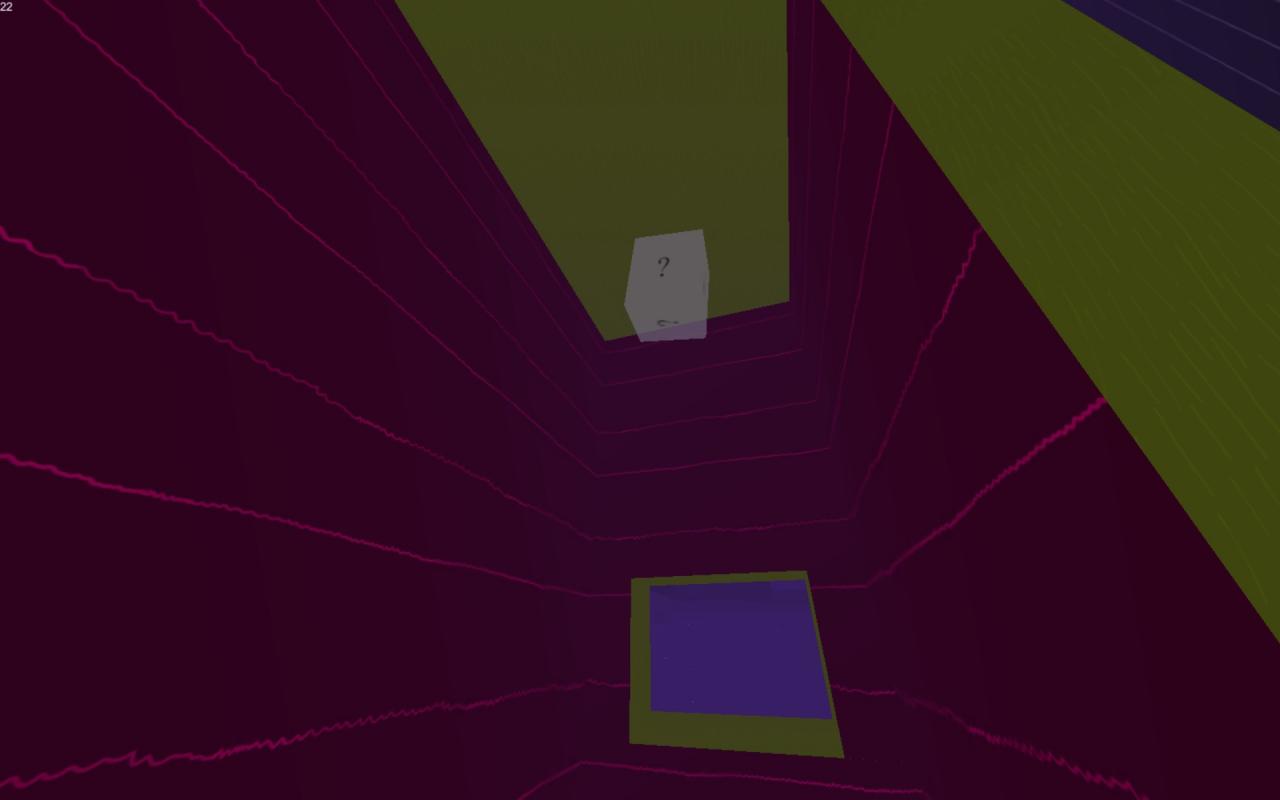 Head back to the cut square in the ground (this will be the last time you visit here). And shoot the Black Block 1/4 in the corner, to make it shine.
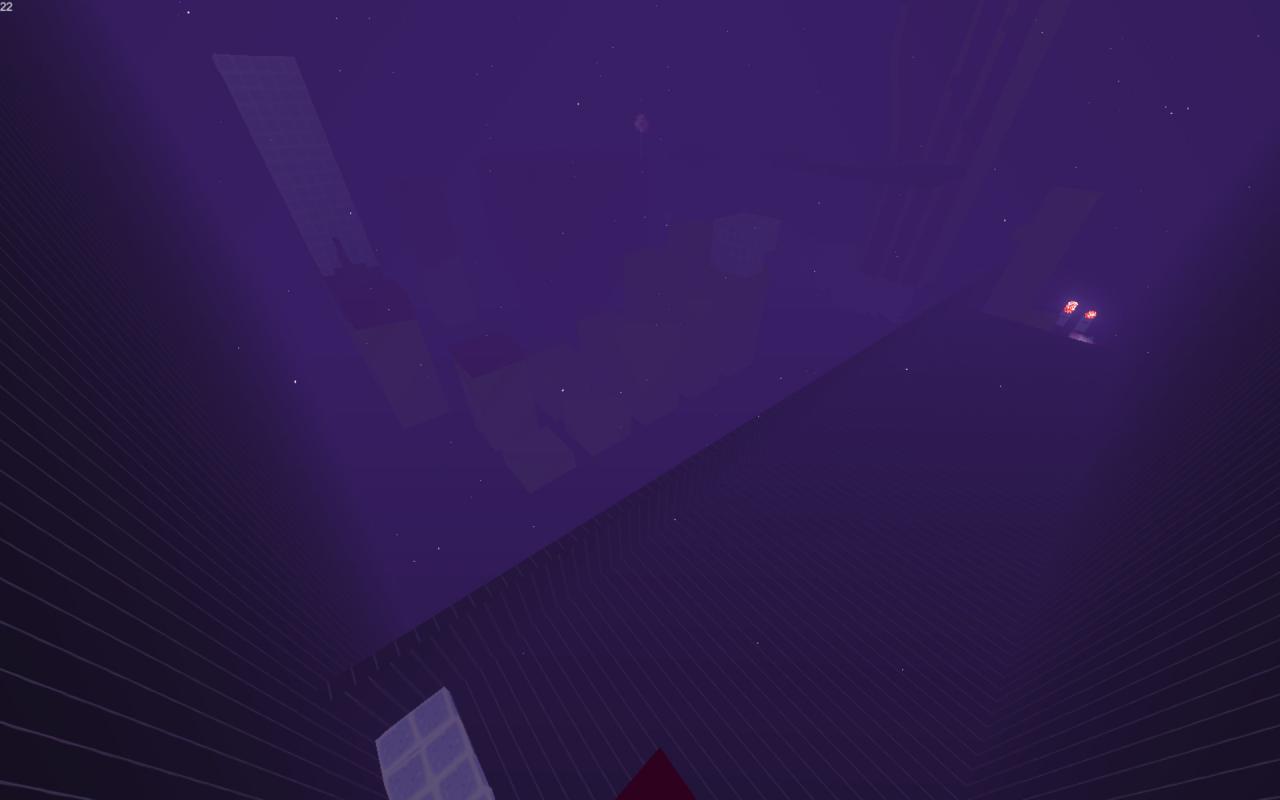
Go to the Main Hall and over to the yellow pillars. Face them in the way I’ve shown in the next screenshot. This will be with the larger red block structure to your back.
 You’ll notice Black Block 2/4 here at the base of the yellow pillar before the one holding up the Ice Block Tower. Shoot it to get it to shine.
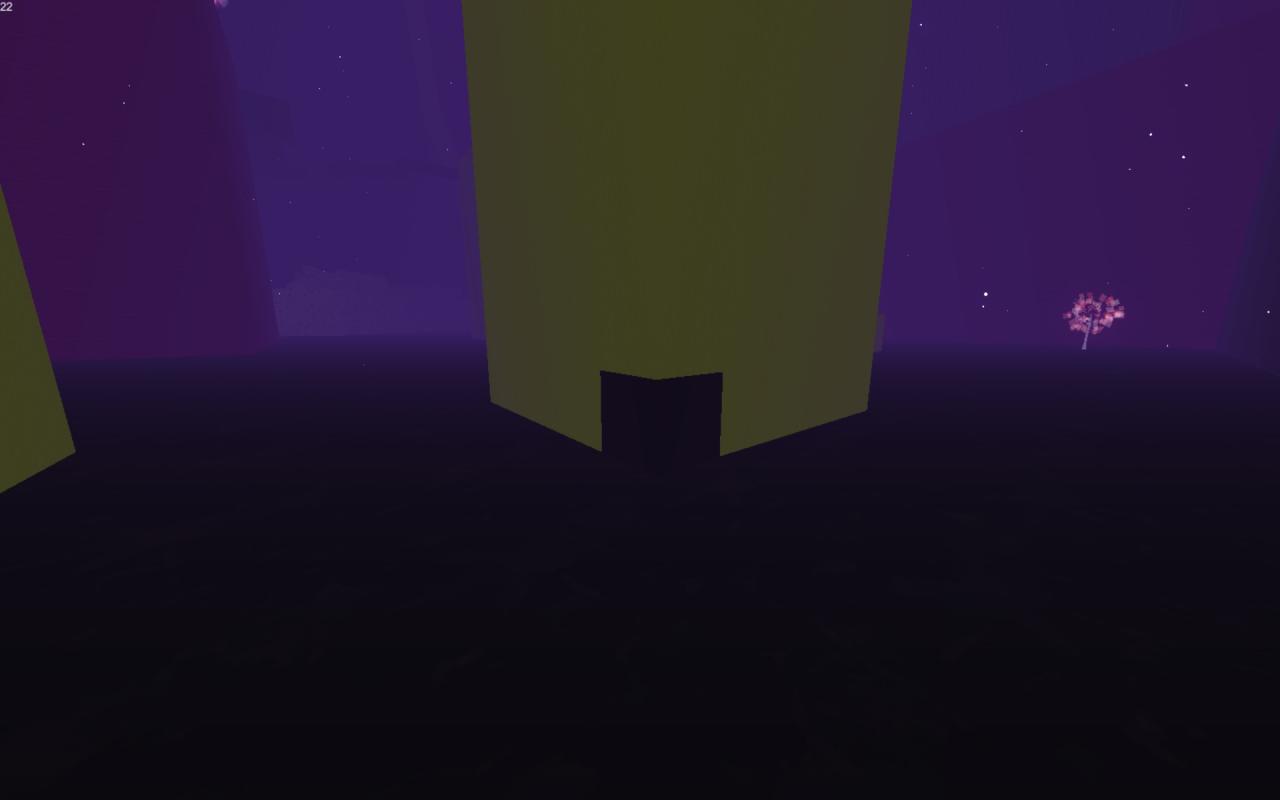
 Turn to your left and look at the last yellow pillar. You’ll notice there’s a block that doesn’t look quite right. Shoot at this pillar to reveal Secret 5/9.
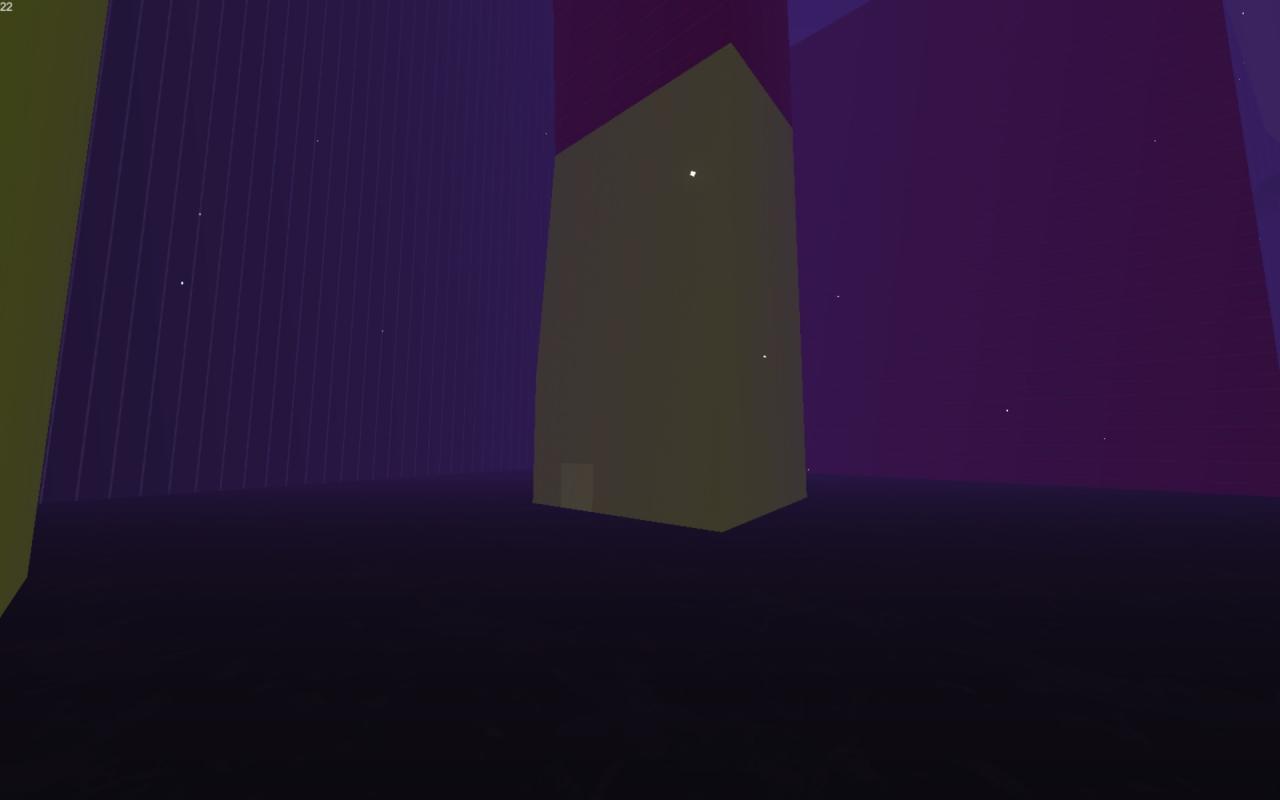
 One last secret lies inside these yellow pillars. Find where the hole in the wall where we first used the Shrink Ability. You’ll see another small hole in the yellow pillar directly across from that red wall, head in to get Secret 6/9.
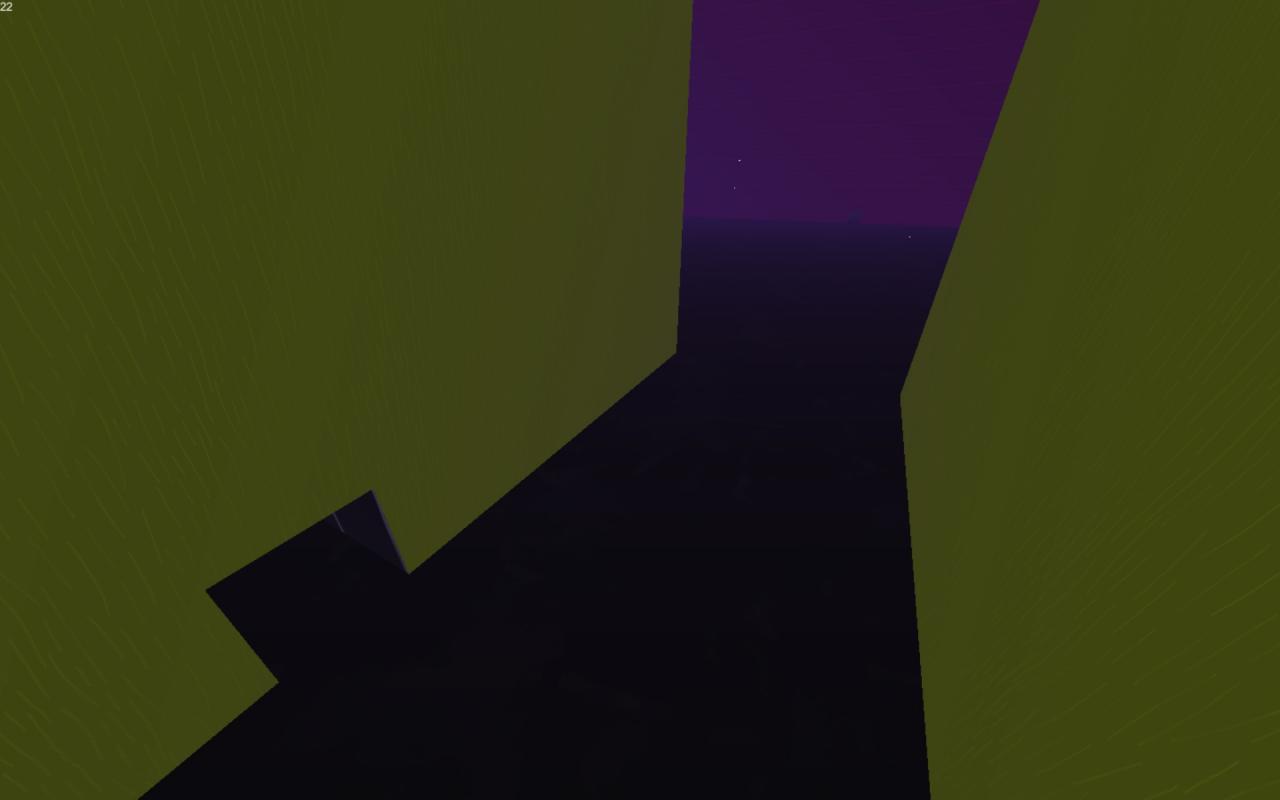
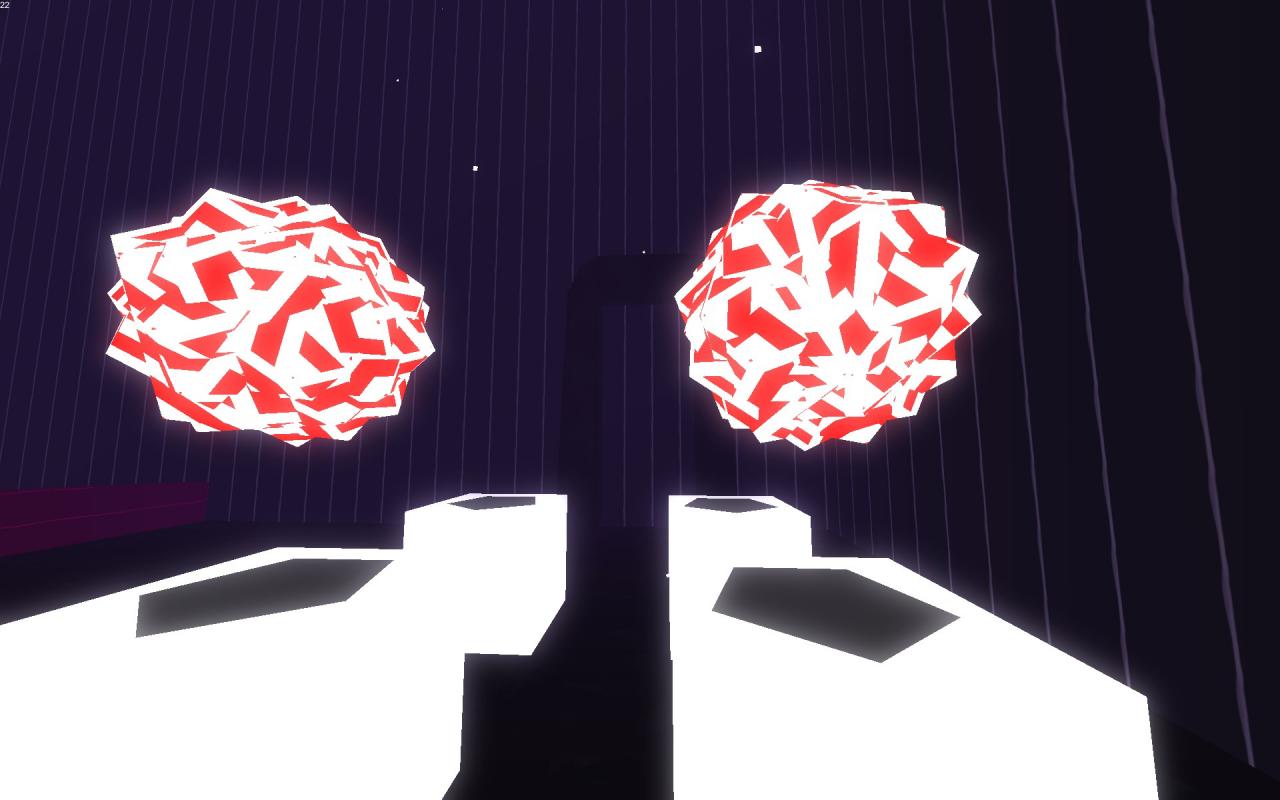
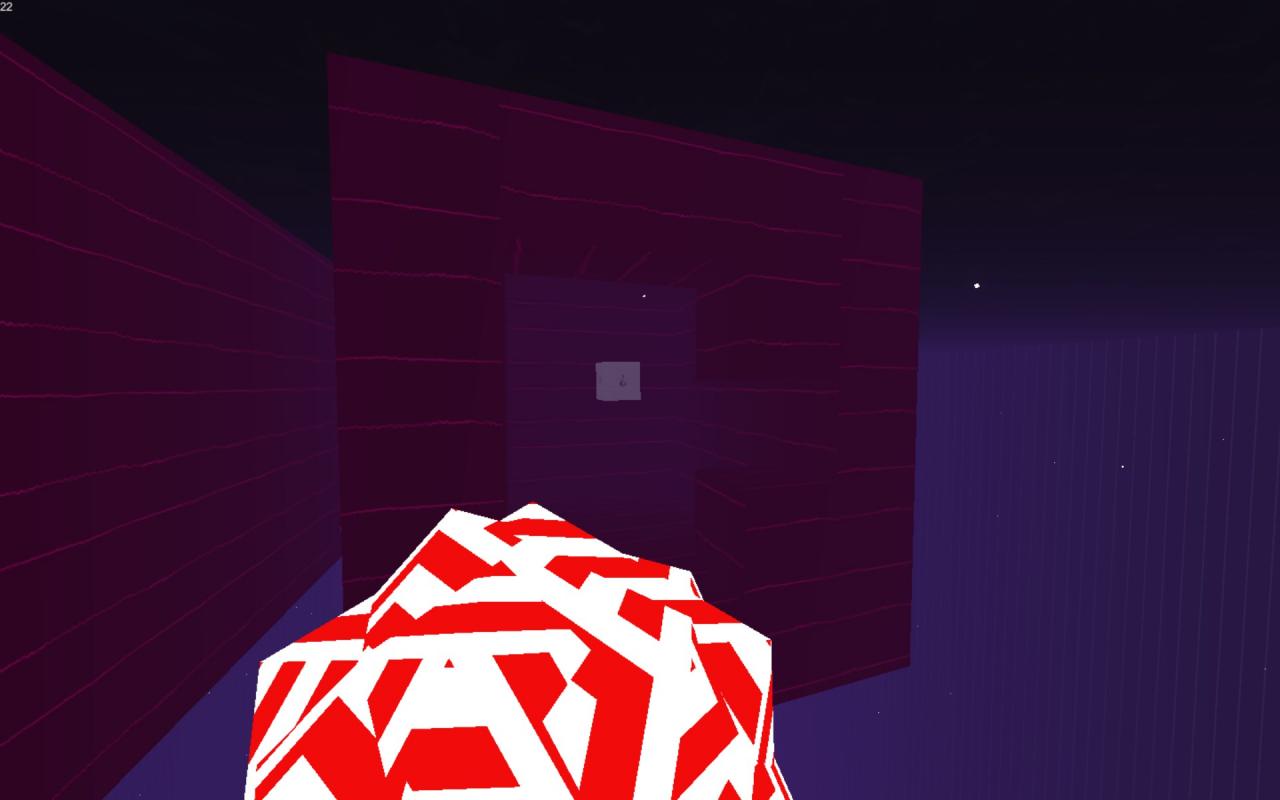
 As you leave the small tunnel, turn to your right. See the massive red block in the Main Hall? There’s a secret wall in the center. You can even see how some of the blocks don’t match up. Fly up and the blocks will disappear as you get close. Inside will be Secret 7/9.
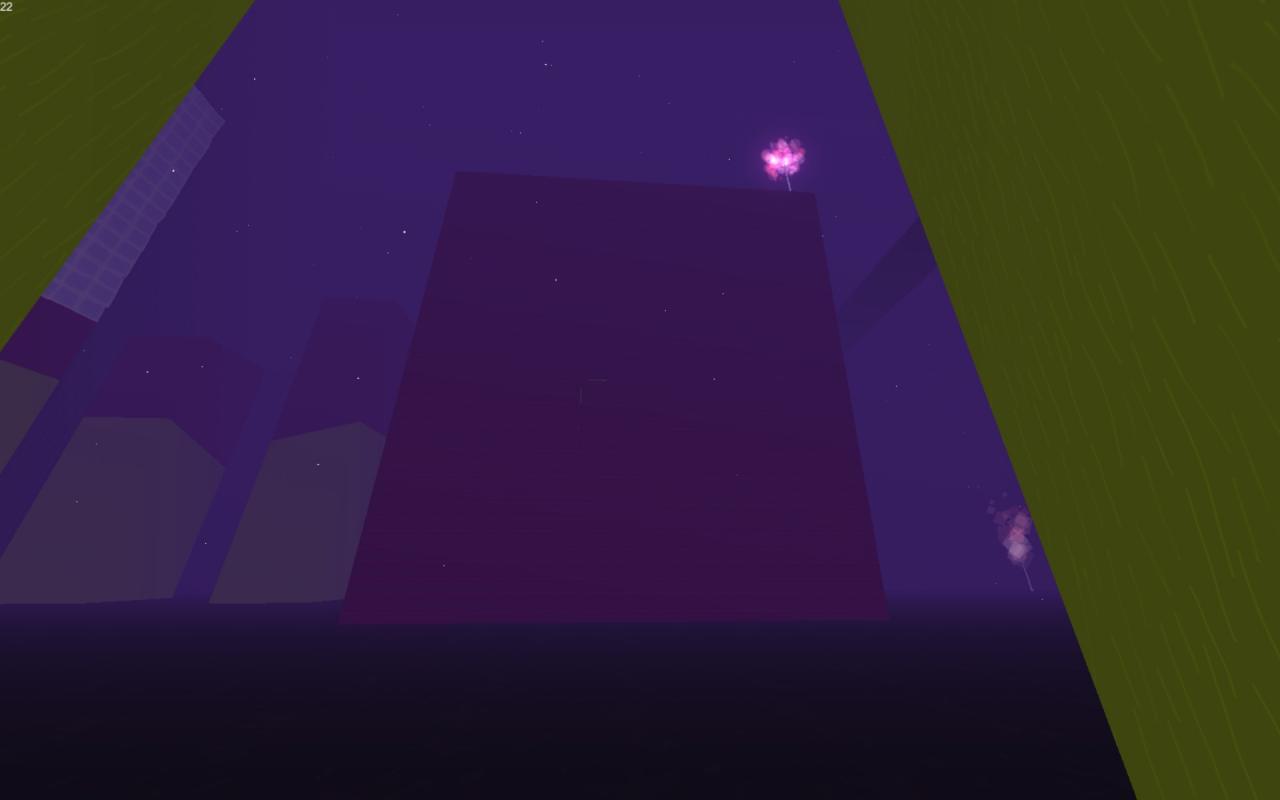
 For the last secret in this area, we’ll need to fly to the top of the Ice Block Tower, shoot and melt the center Ice Cube to grab Secret 8/9.
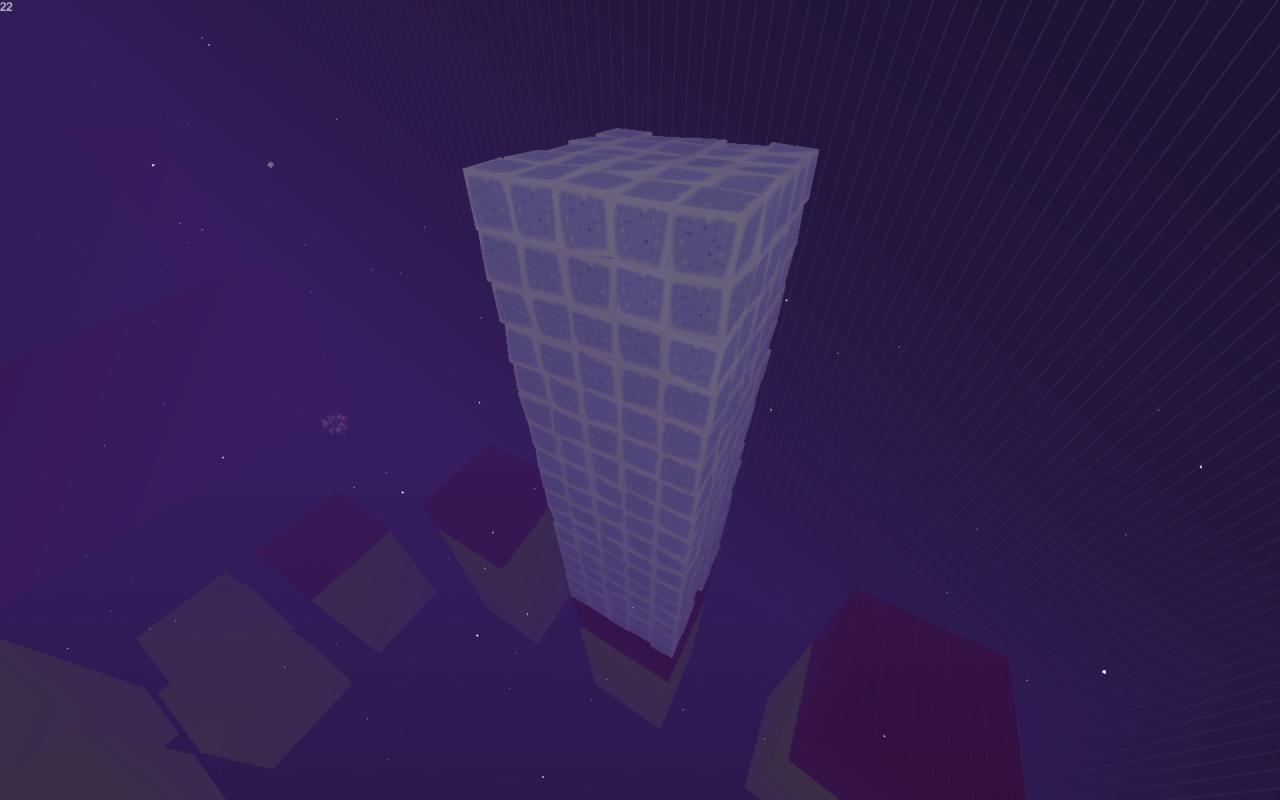
 Now Fly over to the black roof of the area overlooking the pedestals. This is where we escaped the confetti garden after getting the Double Jump Ability.
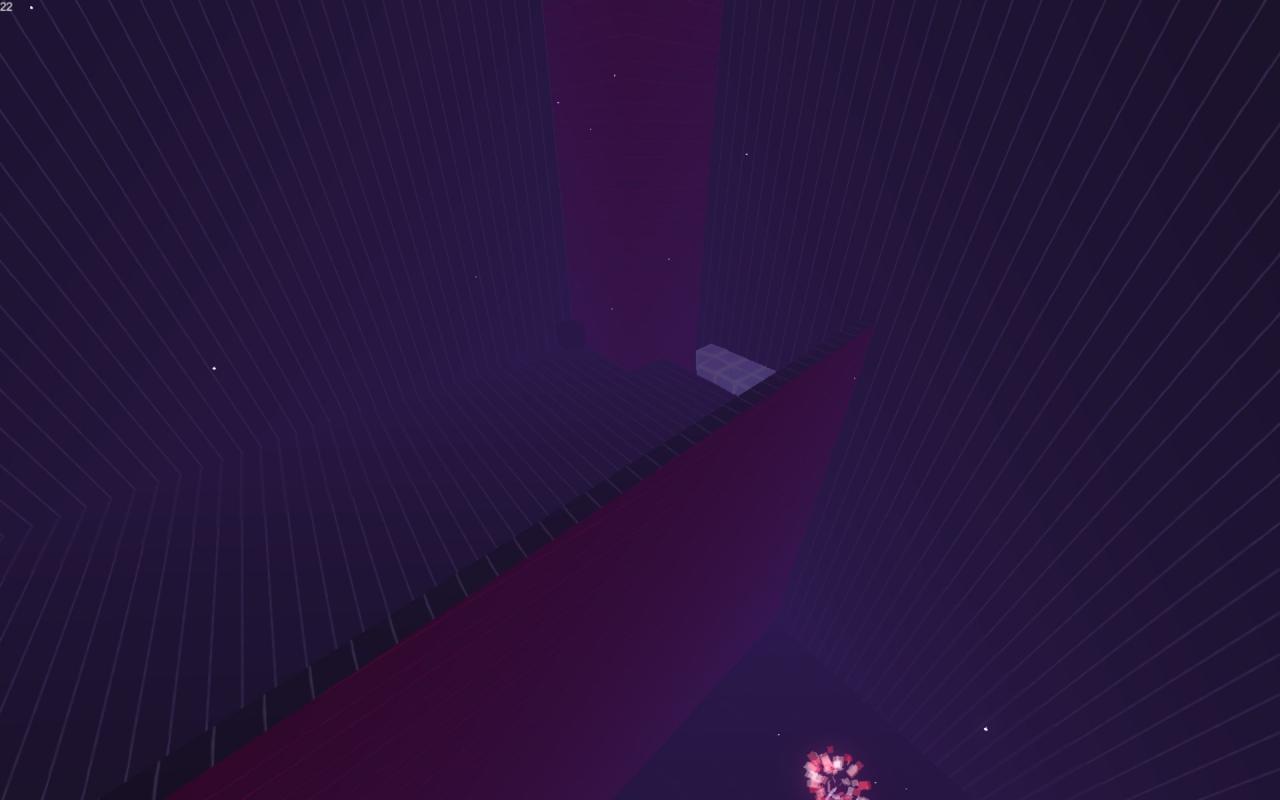 You’ll see Black Block 3/4 here in the corner. Shoot it to activate it.
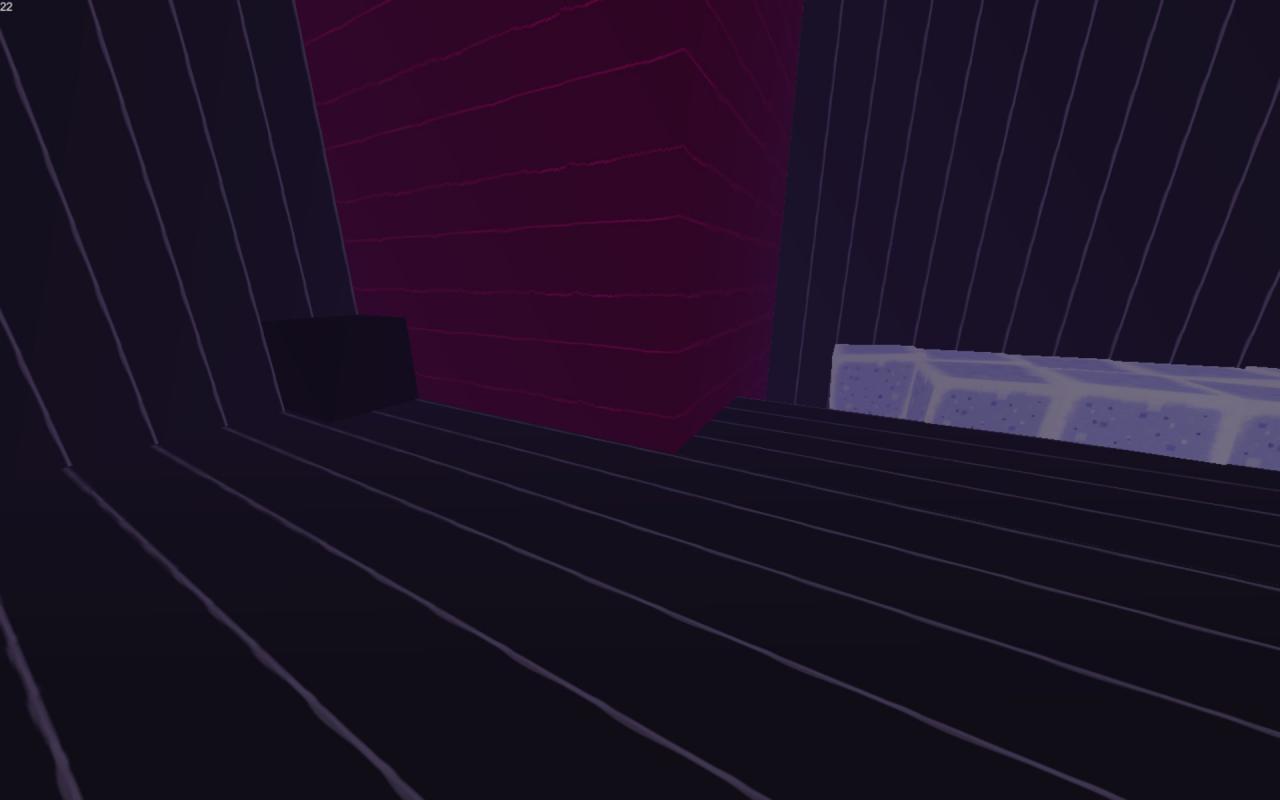
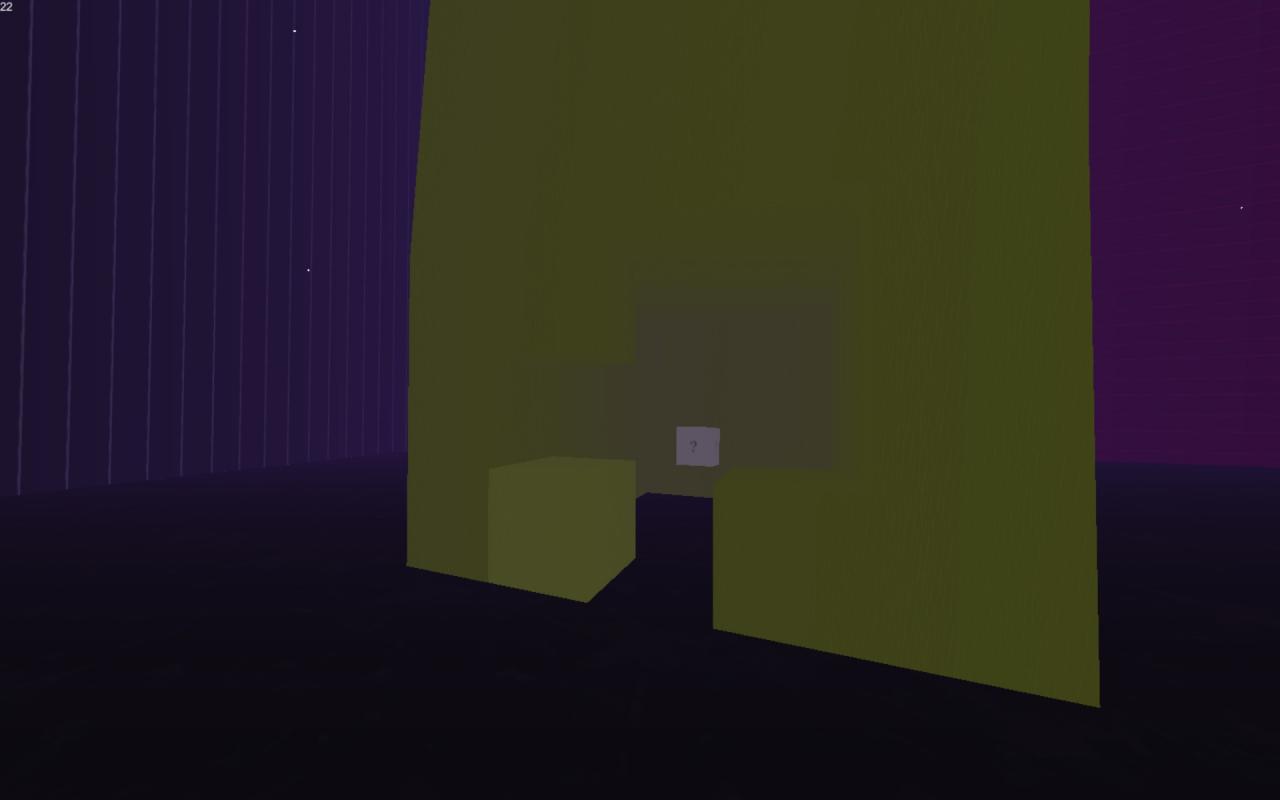
 Head down the yellow stairs and into the first cluster of Shy Blocks.
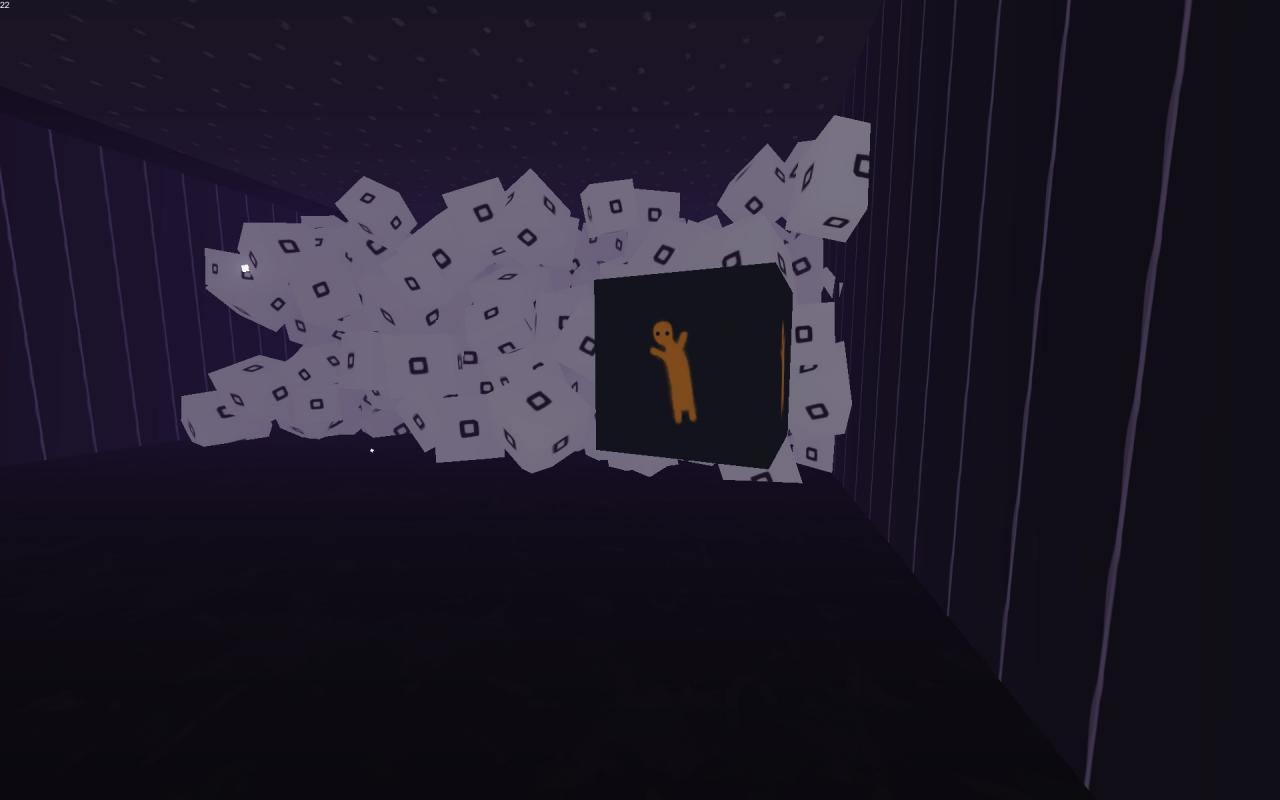
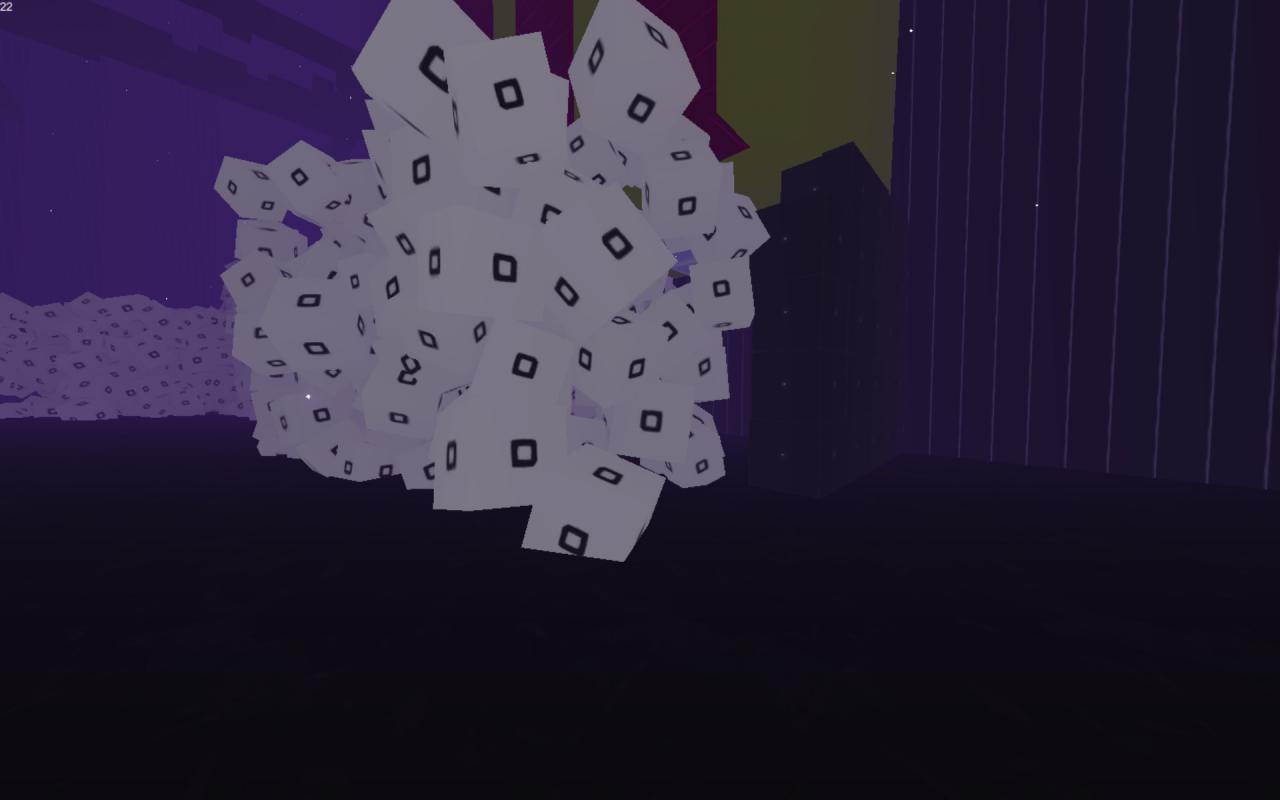 Within these, you’ll find Black Block 4/4. Shoot it to illuminate it, but instead it turns into Secret 9/9.
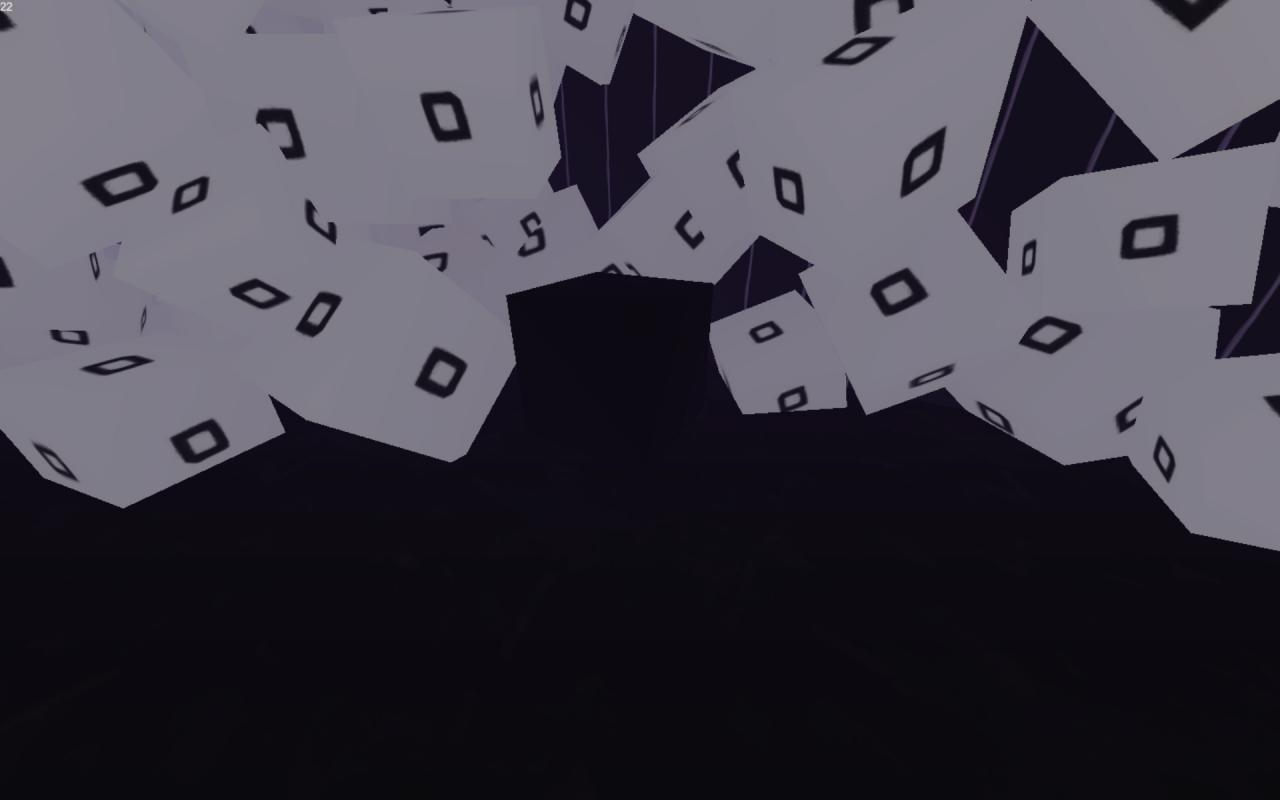
 You now have all the Secrets.
You can now head through the doorway!
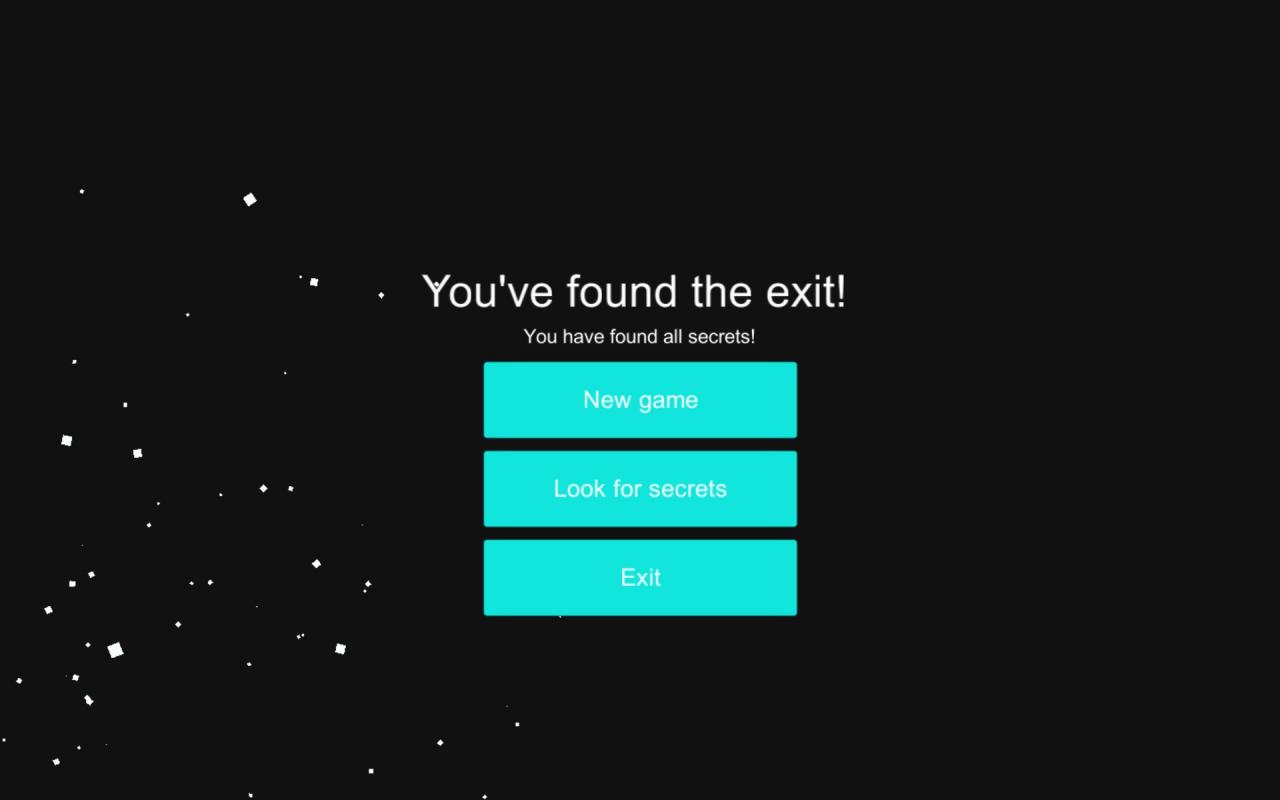 On the other side you’ll be rewarded with Achievement. The achievement for completing the game with all 9 Secrets found! Congratulations!
