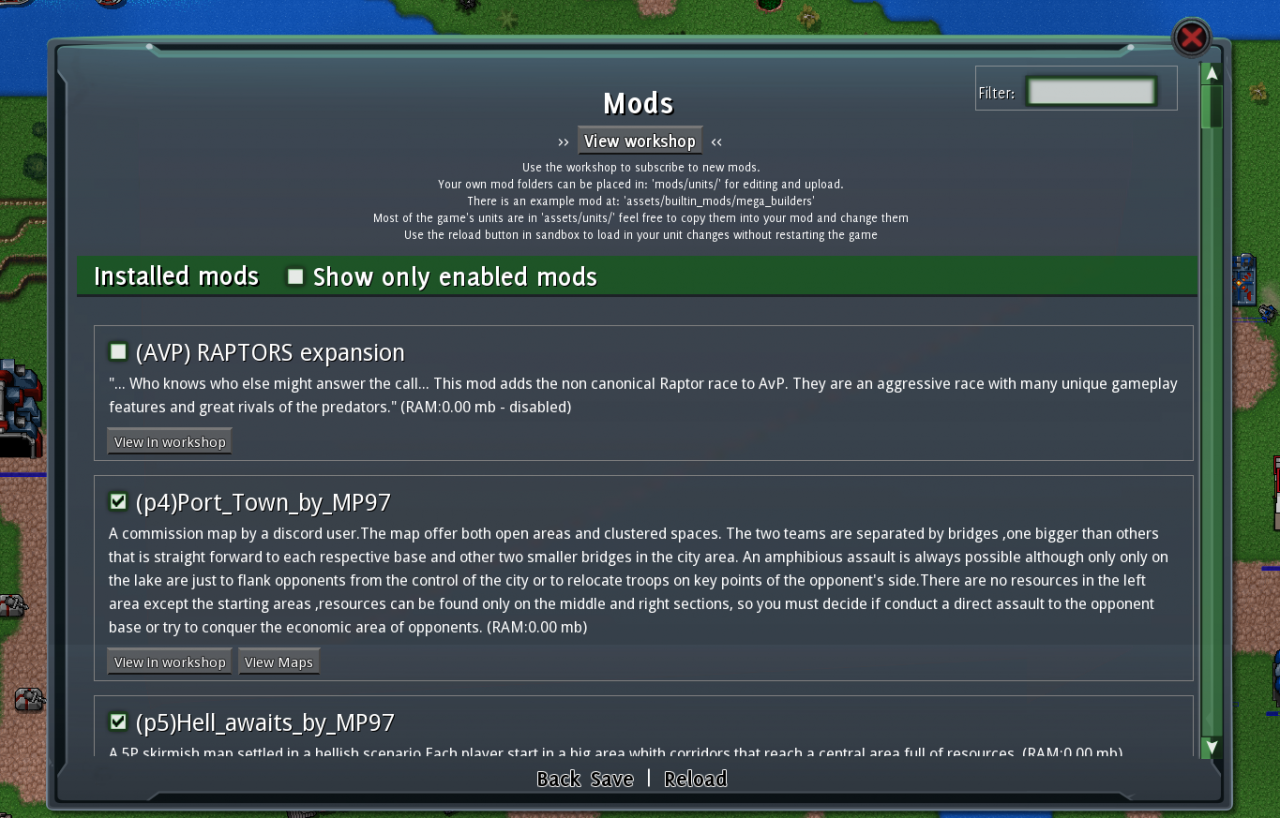
It is surprisingly easy, really. In this guide I will be providing a surface, and occasionally indepth guide on how to create a total overhaul mod for Rusted Warfare. It can be rather complicated, or simple. I will provide, or show you where to go, for tools and basics when it comes to making your own mod.
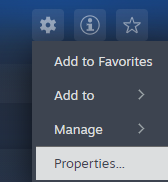
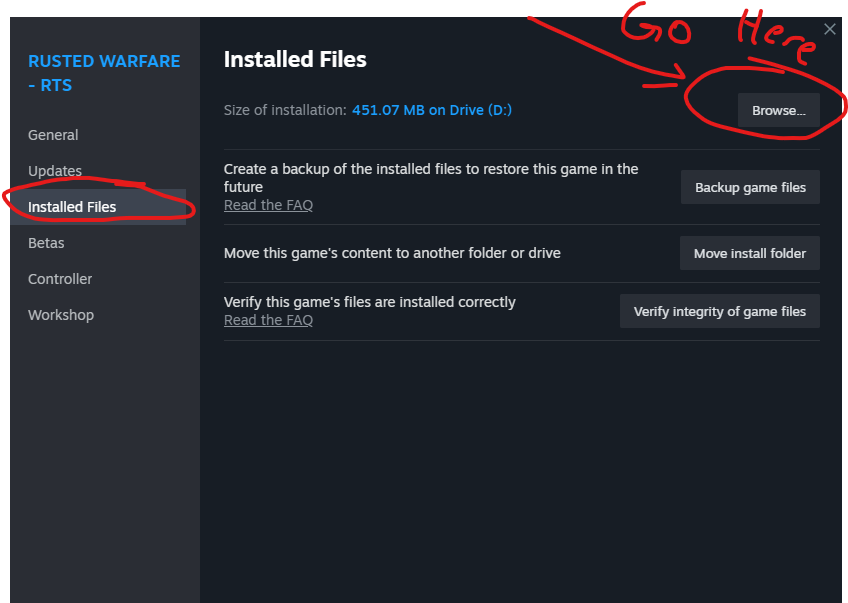
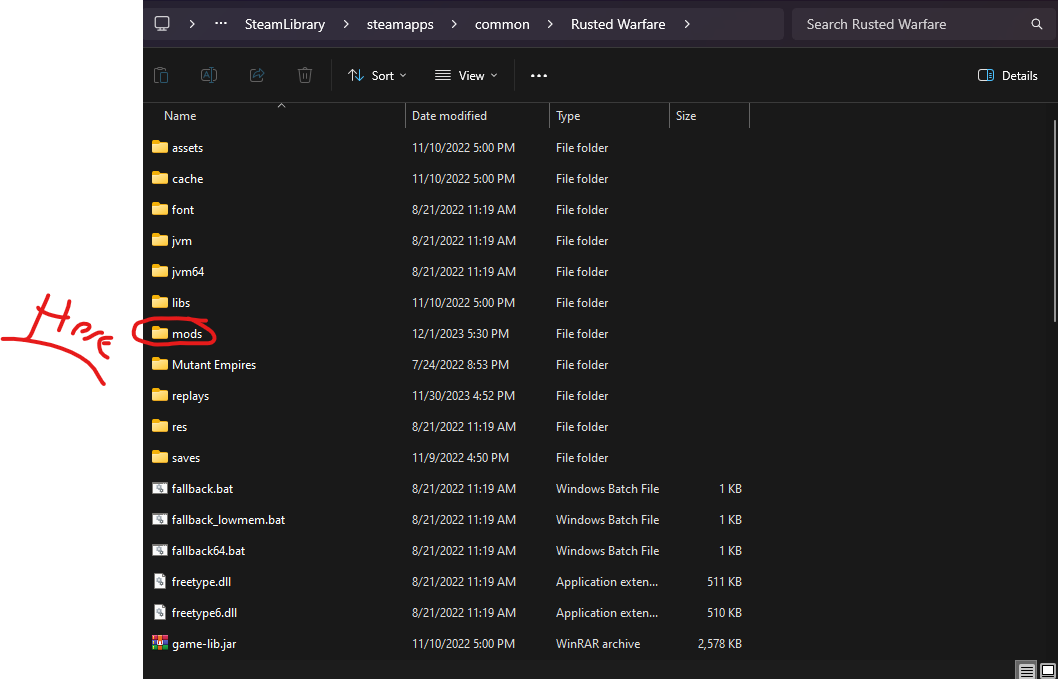
Basics: File Access
Starting notes:
.rwmod is the same as a .zip or .winrar file, just with the end tag renamed to .rwmod instead of .zip or whatever method of file compression was used. By continuing on inside this guide you will discover how to change a .txt to a .template. The same logic applies to changing a .zip to a .rwmod.
Basics: Mod Creation, Core.
Create a new folder.
There are three file types we will be using regularly, one of which is mostly optional.
.txt
.ini
.template
Txt extensions are pretty basic
– Two .txt Documents
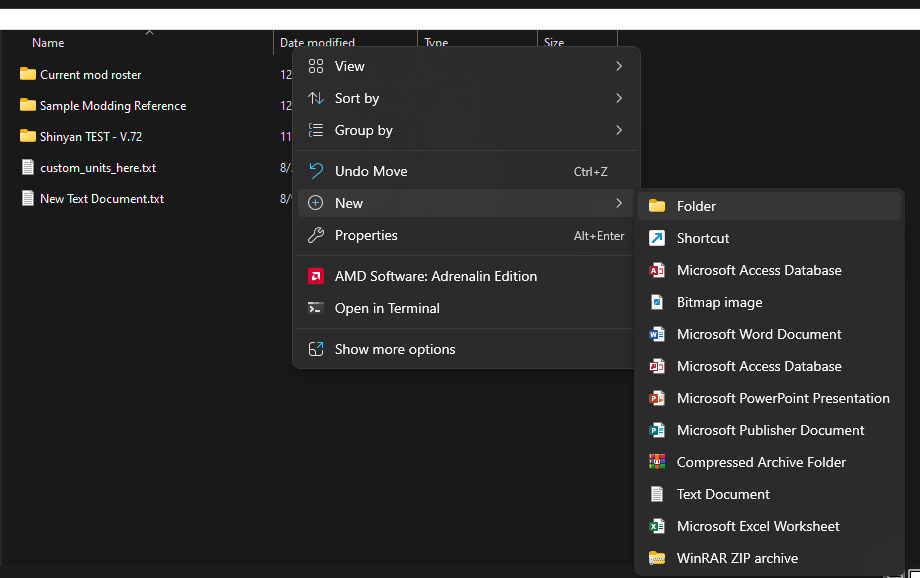
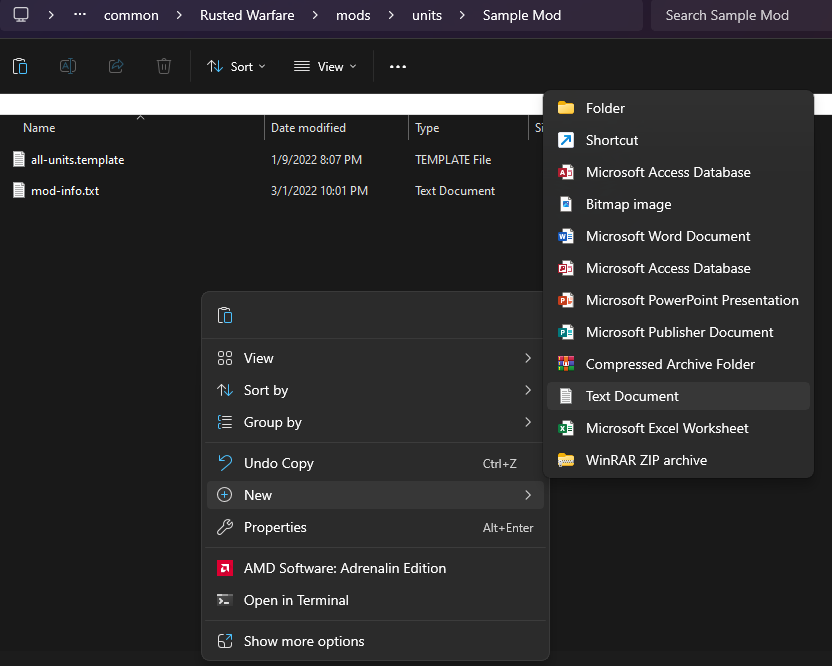
Right click the open space in the folder, move to new, select create .txt.
Click your created .txt file, and Ctrl+C, Ctrl+V.
You have two txt files!
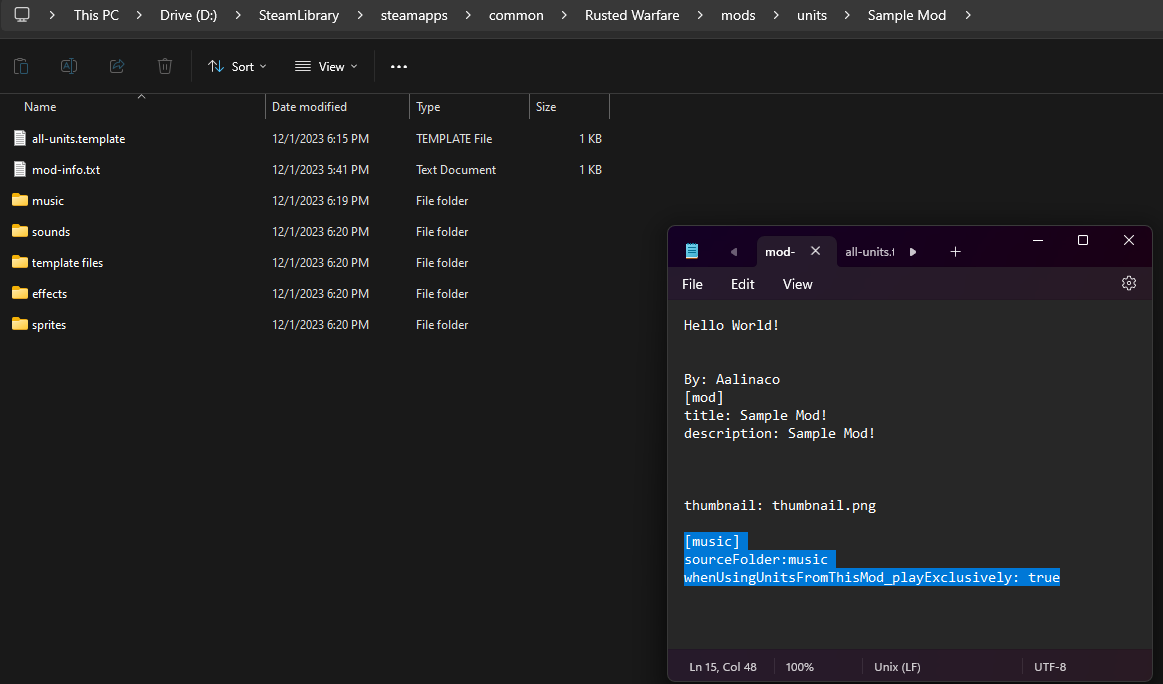
Rename one of them to mod-info.txt
[mod]
title: Sample Mod!
description: Sample Mod!
thumbnail: thumbnail.png
[music]
sourceFolder:music
whenUsingUnitsFromThisMod_playExclusively: true
Ok, now that other txt file we made?
We need to turn it into a template file.
Click onto the txt document, dont enter it. Normally you single click the name, or double click the name, or long click the name, then you can change the name of the document/folder/file. In this case, we can also change the file type. Change it into a .template.
Then rename it to all-units.template.

Now I will layout some things you may want in this file.
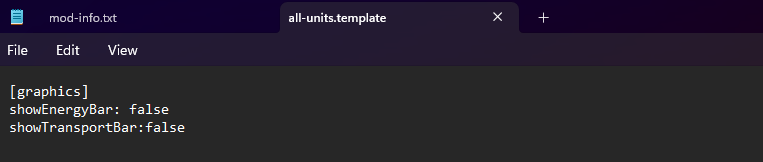
First off: Graphics
[graphics]
showEnergyBar: false
showTransportBar:false
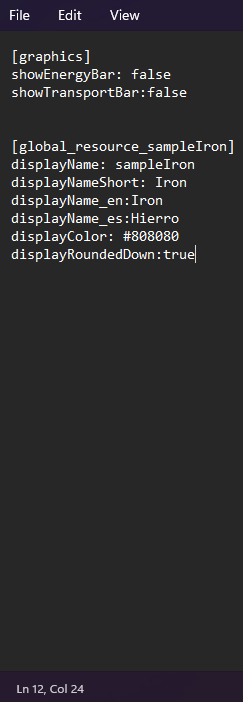
Lets say you want your own special resource… Iron. You need iron to make tanks? Sure.
[global_resource_sampleIron]
displayName: sampleIron
displayNameShort: Iron
displayName_en:Iron
displayName_es:Hierro
displayColor: #808080
displayRoundedDown:true
Change sampleIron to just Iron, or maybe Bullets, or perhaps… Construction Supplies?
displayName: What people see
displayName_en: English people see
displayName_es: Espanol la gente ve
displayName_InsertLanguageHere: Is what people will see depending on language settings.
Mod accessibility for all!
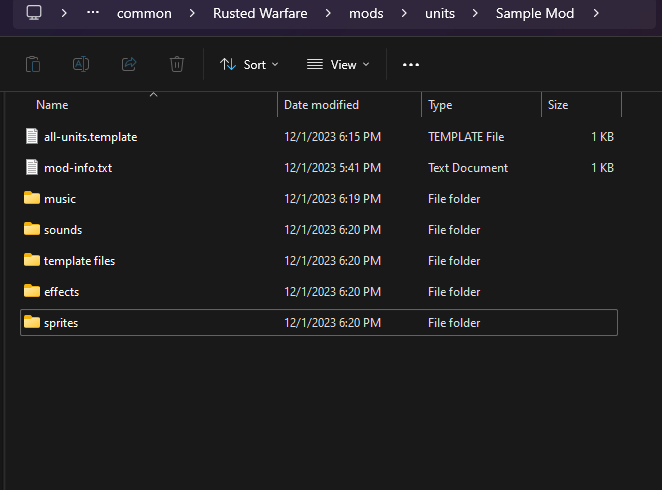
Create a folder for: music, sprites, sounds, effects, and template files.
Basics: Music
First off, ensure you have a mod-info.txt file inside of your mod folder. Now ensure the following code is inside of it:
– – – – – – – – – – – – – – – –
[music]
sourceFolder:music
whenUsingUnitsFromThisMod_playExclusively: true
– – – – – – – – – – – – – – – – – – – – – – – – – – – –
This will force the game to play THIS music when units from THIS mod folder are being used.
Ingame you can, instead of playing exclusively, go into settings and select the Next Track, option under audio for music. This will play the next track, that next track may be yours.
Or just force the game to play YOUR music and YOURS alone.
Your choice.
Now Rusted Warfare is peculiar about it’s music… .wav or .ogg is the way to go. These are file extensions for the music.
You can use a website online, or an app on your device to modify a file into a .ogg or .wav, sometimes you can just manually change the file extension by clicking the file and renaming it like I showed you earlier.
This doesnt always work. And can sometimes cause issues. But it does SOMETIMES work. And yes, it is dumb.
So if you want quality, use an app or website for .ogg/.wav conversions.
Personally, I use .ogg, as I could never get .wav to work. Other people do it though, I think.
Put the .ogg/.wav file into this folder, and walla. Mission accomplished- you have made a custom music for Rusted Warfare!

Basics: Spriting
You can make sprites using any number of apps, I will proceed to tell you what a sprite is, and how to make one… easily…ish.
Clicking this hyperlink should take you to a website called paint.net, this is what I use for creating sprites.[www.getpaint.net]
This should take you to a tutorial for the basics of paint.net. Alternatively, find your own tutorial on youtube or other sites. For my part, I will give you some basics.

Make sure the background is transparent, elsewise the unit will be surrounded by whiteness, or whatever your background is, ingame.
Basics: Core Code
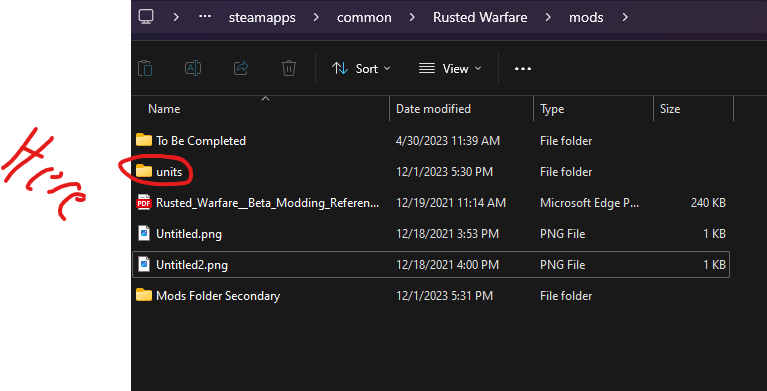
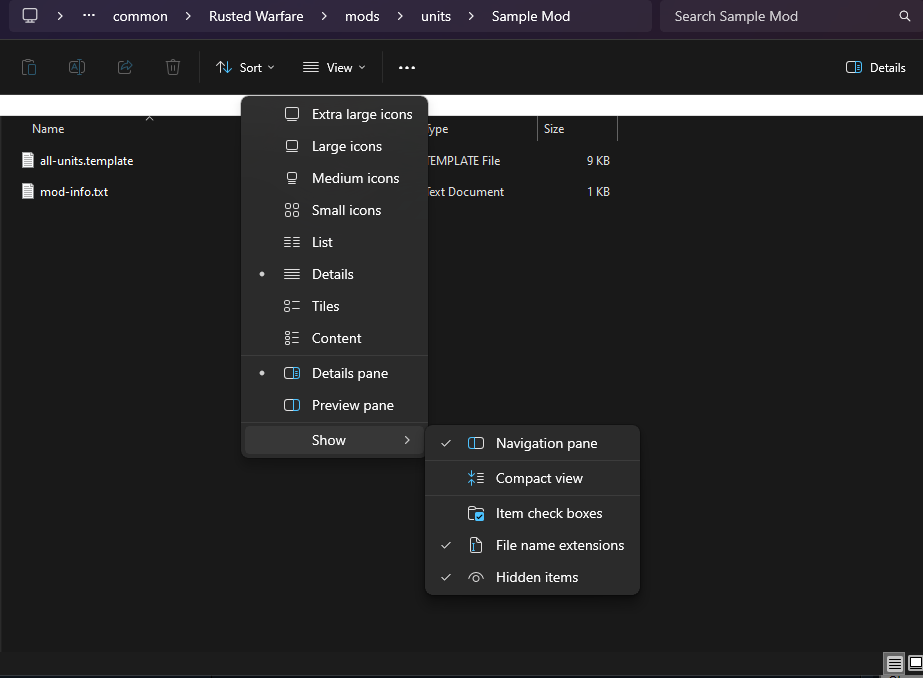
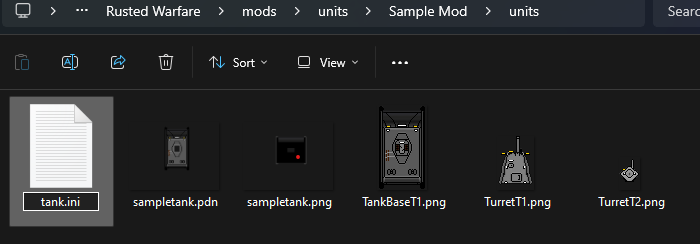
Go to your mod folder. Make a new folder, lets call it “units”
Enter this folder, make a folder called tank, then make a txt file… lets call it tank.
Download and drop the below images in this folder, or follow along.

![]()

Change the txt file, tank, into an ini. Ex: tank.txt > tank.ini


[effect_trailM]
createWhenZoomedOut: false
image: ROOT:\sprites\trail.png
spawnChance: 0.5
life: 10
priority: verylow
fadeOut: true
attachedToUnit: false
scaleFrom: 0.5
scaleTo: 0.1
alpha: 1
drawUnderUnits:false
[effect_trailT]
createWhenZoomedOut: false
image: ROOT:\sprites\trail.png
spawnChance: 0.8
life: 12
priority: verylow
fadeOut: true
attachedToUnit: false
scaleFrom: 0.6
scaleTo: 0.1
alpha: 1
drawUnderUnits:false
[core]
name: sst1
displayText: Super Sample Tank
displayDescription: -Two Guns!
energyMax: 1
energyRegen: 0.01
energyNeedsToRechargeToFull: true
armour:50
class: CustomUnitMetadata
price: 5000
maxHp: 3000
mass:5000
tags:medium, tank,
showActionsWithMixedSelectionIfOtherUnitsHaveTag: true
techLevel: 1
buildSpeed: 20s
radius: 20
isBio: false
isBug: false
isBuilder: false
numBitsOnDeath: 10
softCollisionOnAll: 14
selfRegenRate:0.01
[graphics]
image: TankBaseT1.png
image_wreak: none
image_turret: none
dustEffect: true
imageScale:0.9
turretImageScale:0.9
[attack]
canAttack: true
canAttackFlyingUnits: false
canAttackLandUnits: true
canAttackUnderwaterUnits: false
isFixedFiring:false
turretMultiTargeting: true
turretSize: 20
turretTurnSpeed: 1.5
maxAttackRange: 500
shootDelay: 8s
[turret_cannon]
#
x: 0
y: -6
barrelX:5
barrelY:28
canShoot: true
image:TurretT1.png
projectile: shell
limitingMinRange:15
turnSpeedAcceleration: 0.05
shoot_flame: smoke, large
energyUsage: 0
recoilOffset: -2
recoilOutTime: 8
recoilReturnTime: 16
[turret_mg]
#
x: 1
y: -12
barrelX:3
barrelY:15
canShoot: true
image:TurretT2.png
attachedTo: cannon
projectile: mg
limitingRange: 300
limitingMinRange:30
limitingAngle: 270
delay: 0.3s
NOTE: limitingMinRange is the minimum range, got a really big gun? Kinda unrealistic to shoot a target that is meleeing you. Minimum range makes it so this turret cant shoot a unit that is closer than the value.
turnSpeedAcceleration: 0.1
shoot_flame: smoke, small,
energyUsage: 0
recoilOffset: 0
recoilOutTime: 0
recoilReturnTime: 0
[turret_Melee]
#
x: 0
y: 10
NOTE:Where turret center is located. Refer to the main body png and place the turret appropriately
barrelY:0
barrelX:0
NOTE:Where it shoots from, look at the png and measure the pixels from the center to decide where this should be.
limitingAngle: 100
NOTE:100 degrees facing forwards. Turret cannot hit turrets behind itself. 360 will allow it to. You can remove limitingAngle entirely so turret will have full rotation.
projectile: melee
NOTE:Put the projectile name you want here.
turnSpeedAcceleration: 0
delay:1.0s
limitingRange:40
NOTE:These hijack the main turret fire delay and range. Basically, delay is how long it takes to fire another shot. limitingRange limits this turret to 40 instead of what it says far above.
canOnlyAttackUnitsWithTags: small, medium
NOTE:Self explanatory, you can only target units with THESE tags
canShoot: true
NOTE:Special, making this false willl prevent it from shooting. This is useful for making autospawners and map renderers, etc. Healing, special actions…
energyUsage: 0
NOTE:How much energy this costs to fire once.
recoilOffset: 0
recoilOutTime: 0
recoilReturnTime: 0
[projectile_melee]
targetGround: false
targetGroundSpread: 0
areaRadius: 20
directDamage: 0
areaDamage: 50
life: 60
speed: 15
frame: 1
drawSize: 0.0
image: none
explodeEffect: NONE
armourIgnoreAmount: 40
areaHitAirAndLandAtSameTime: false
NOTE:Want your explosion to hit air and ground units, like flak? Use this. Set it to true.
mutator1_ifUnitWithTags:small
mutator1_areaDamageMultiplier: 2
mutator2_ifUnitWithTags:medium
mutator2_areaDamageMultiplier:0.5
buildingDamageMultiplier: 0.5
[projectile_mg]
targetGround: true
targetGroundSpread: 5.0
directDamage: 0
areaRadius: 5
areaDamage: 50
life: 70
NOTE:how long the bullet will last before it reaches target. Low llife means it wont reach.
speed: 15
NOTE:Speed
frame: 1
drawSize: 0.5
image: ROOT:\sprites\tankmachinegunshot.png
friendlyFire: true
targetGround_includeTargetHeight:true
explodeEffect: none
armourIgnoreAmount: 10
NOTE:Ignores this much armor.
pushForce: 0
NOTE: Will push enemy units with this much force, enemy MASS: willl play a role. Refer to further up for mass.
mutator1_ifUnitWithTags:infantry, light
mutator1_areaDamageMultiplier:1.5
trailEffect:CUSTOM:trailM
trailEffectRate:1
[projectile_shell]
targetGround: true
NOTE: This makes it target the ground around the enemy unit, then it rolls a die, fires in area of five around the enemy. It may directly hit, it may not. make targetGround: false in order to remove rng. GroundSpread is what indicates the width of the rng. areaRadius says how large the damage area will be. Use this if you want AOE. You need this if you use targetGround. directDamage will only really function if you dont use targetGround
targetGroundSpread: 5
areaRadius: 35
directDamage: 0
areaDamage: 350
life: 180
speed: 15
frame: 1
NOTE:frame is the amount of frames, take a png with three bullet models, single frame will render alll of them, frame 2 will render the second and not the first. THis relies on even spacing. This is also fairly advanced, so keep it singlle frame.
drawSize: 0.8
image: ROOT:\sprites\tankshot.png
explodeEffect: large, smoke,
hitSound: true
NOTE: Firstly, I did no custom explode effects, but I couldve, doing CUSTOM:smokesmple*1 is done in the same way I did the traileffect. Take a png, add some data, mess with the alll-units.template file, and walla. Custom smoke will waft from the barrel upon firing. Elsewise look at the already present unit inis and data for pre-made effects.
mutator1_ifUnitWithTags:none
mutator1_areaDamageMultiplier:1
trailEffect:CUSTOM:trailT
trailEffectRate:1
NOTE: mutator1/2/3/4/etc_ifUnitWithTags or ifUnitWithoutTags: medium, small, tank, etc. Add any tag you want to a unit, any word. And if this turret shoots that unit with that tag, adding a value multiplier of 1=100% damage, aka: normal damage. 0.5=50% damage to the enemy unit. 2=200%, and so on.
NOTE: Traileffect stems from all-units.template, the custom effect we added earlier.
[movement]
movementType: LAND
moveSpeed: 0.50
moveAccelerationSpeed: 0.02
moveDecelerationSpeed: 0.2
maxTurnSpeed: 0.2
turnAcceleration: 0.15
moveSlidingMode :false
moveIgnoringBody:false
reverseSpeedPercentage:0.1
[ai]
buildPriority: 0.05
Note: if you want to add sounds, add this into each Turret you want to play a sound when it shoots, or hits something.
shoot_sound:ROOT:\sounds\sample.ogg
shoot_sound_vol:0.1.
Elsewise, I intentionally left it blank due to the fact that I cannot add sound files onto here.
Basics: Core Code Continued
Advanced: Code Segments
mod-info.txt:
[mod]
title: Sample Mod!
description: Sample Mod!
thumbnail: thumbnail.png
Music: (Also goes in mod-info)
[music]
sourceFolder:music
whenUsingUnitsFromThisMod_playExclusively: true
Change false to true and vice versa if you want.
[graphics]
showEnergyBar: false
showTransportBar:false
[global_resource_sampleIron]
displayName: sampleIron
displayNameShort: Iron
displayName_en:Iron
displayName_es:Hierro
displayColor: #808080
displayRoundedDown:true
[core]
name:constructor1
displayText: Constructor
displayDescription: -Builds Stuff
class: CustomUnitMetadata
price: 100
maxHp: 100
mass: 100
armour:0
selfRegenRate:0
generation_resources: 0
tags: infantry, tank, vehicle, sample
techLevel: 1
experimental: false
buildSpeed: 10s
radius: 10
isBio: false
isBug: false
isBuilder: true
canRepairBuildings: true
canRepairUnits : true
autoRepair:True
canReclaimResources: false
nanoRangeForReclaim:100
nanoRangeForReclaimIsMelee:true
energyMax: 15
energyRegen: 0.1
energyNeedsToRechargeToFull: true
softCollisionOnAll: 10
dieOnConstruct: false
hideScorchMark: true
transportSlotsNeeded:100
canBuild_2_name: repair, reclaim
canBuild_2_pos: 1
[canBuild_Sample]
name:Sample
[canBuild_Sample]
isVisible: if not self.isControlledByAI
name:Sample
[canBuild_Sample]
isVisible: if self.isControlledByAI
name:Sample
[action_convertunitinto]
convertTo: tank (putting in constructor1 will turn this into itself, but it will take your money! Also gives full hp and stats)
price: 100
text: Converts into something else, like a tank, or building
displayType: upgrade
buildSpeed: 10s
whenBuilding_cannotMove: 1
spawnUnits: Somewhat repeptitive, constructor1, tank, etc. Use or dont. Do constructor1*2 to make two new constructors and change this unit into something else.(alwayStartDirAtZero=true)
deleteSelf:true (basically, this unit turns itself into a something else, and if you use the previous function, you will spawn a new unit, creating an illusion of sorts.) (idleDir relegates what direction the render renders in, rule of the thumb, always ALWAYS use 180 for buildings.)
pos: 1
[action_overhaul]
isVisible: if (numberOfUnitsInTeam(withTag=’factory’, withinRange=200, greaterThan=0) or self.numberOfUnitsInAllyNotOwnTeam(withTag=’factory’, withinRange=200, greaterThan=0))
ai_isHighPriority:false
unitShownInUI:constructor2.0
convertTo:constructor2.0
addResources: hp=550
displayType: upgrade
price: 100000000
text: Super Constructor
description:Mad science
descriptionAddUnitStats:constructor2.0
buildSpeed: 1000s
whenBuilding_cannotMove:true
pos:1
[effect_dirt]
alpha:2
attachedToUnit: false
life: 75
physics: true
scaleFrom:0.7
scaleTo: 0.7
#physics: true
xSpeedRelativeRandom: 0.8
ySpeedRelative: 2
hSpeedRandom: 3
hOffsetRandom:2
image: dirt.png
priority: high
dirOffsetRandom:360
dirSpeed:3
[effect_smoke]
attachedToUnit: false
life: 120
alpha: 0.5
scaleFrom:0.8
scaleTo: 2
#physics: true
xSpeedRelativeRandom: 0.3
ySpeedRelativeRandom: 0.3
hSpeed: 0.1
image: smoke.png
priority: high
drawUnderUnits:false
atmospheric:true
[graphics]
total_frames: 2
repairEffect:CUSTOM:dirt*2
repairEffectAtTarget:CUSTOM:smoke*2
repairEffectRate:50
reclaimEffectAtTarget: CUSTOM:smoke*1
reclaimEffectRate:50
image: Sample.png
image_wreak: Samplepng
image_turret: NONE
image_shadow: SHADOW:ROOT:\sprites\shadow.png
shadowOffsetX:1
shadowOffsetY:1
showTransportBar:false
animation_moving_start: 1
animation_moving_end: 1
animation_moving_speed: 0.2
dustEffect: false
lock_body_rotation_with_main_turret: true
imageScale:1
[attack]
canAttack: false
canAttackFlyingUnits: false
canAttackLandUnits: false
canAttackUnderwaterUnits: false
isMelee: false
canOnlyAttackUnitsWithoutTags:none
turretSize: 20
turretTurnSpeed: 2
maxAttackRange: 0
shootDelay: 0s
isFixedFiring: true
[movement]
movementType: LAND
moveSpeed: 0.45
moveAccelerationSpeed: 0.07
moveDecelerationSpeed: 0.12
maxTurnSpeed: 8.5
turnAcceleration: 0.5
moveSlidingMode :false
moveIgnoringBody:false
moveSlidingDir: 180 (use this for buildings, elsewise you can remove safely)
reverseSpeedPercentage:0
joinsGroupFormations:true
[ai]
buildPriority: 0.7