Here is a guide for Lone Rider Character.
Overview
That being said, Lone Rider is heavily Card Reliant and Hyper Reliant, and needs a strong deck that both boosts his chances of activating Lonesome Road when it matters and guarantees he catches up with his target. Not only that, but his Hyper runs out quite fast and at higher stacks it becomes quite expensive, forcing him to choose his fights carefully. His influence usually shows at Norma 3-4, where his opponents already have +100 stars and might have taken some damage he can take advantage of to both turn the tides in his favor and set another player back considerably.
Strong Points:
- Above average HP.
- Excelent stats when Lonesome Road is active.
- Hyper at higher stacks not only guarantees a stat boost, but also helps him reach any player in the board with ease and avoid Boss and Drop Panels if Upshift covers the range.
- His passive / Hyper combos well with offensive Battle Cards, guaranteeing heavy damage if timed correctly.
Neutral:
- Card Reliant.
- Slightly below average stats when Lonesome Road is off.
- Has to choose his fights carefully so as to not waste Upshift stacks on failed snipe attempts.
Weaknesses:
- *Hyper Reliant.
- Expensive Hyper at higher stacks.
- Usually terrible matchup against Units with high DEF.
- When commiting to Upshift he often has to rely on landing on a Home Panel rather than stopping on his own for Norma Checks and HP Recovery so as to not lose stacks.
* While Upshift at higher stacks guarantees Lonesome Road, there are still a few number of Cards that can also activate it, albeit a tad unreliable at times.
Cards With The Best Synergy
Tier S:
Upgraded Dash! that comes into play relatively early while being fairly cheap, with 3 dice guaranteeing you are reaching your target while activating Lonesome Road. Even if it ends in another player’s hand only Bully-Type Units would really benefit from it, as other Unit archetypes most likely will use it to run away and/or go Home, and you or other players still have a chance to catch up while they skip their turn.
Tier A:
Chances are Dash! will be your go to card for activating Lonesome Road when an opportunity arrives or to avoid getting bullied early on, while the occasional Saki’s Cookie helps you recover HP you otherwhise would have to stop at your own Home Panel or land in another player’s Home to get. Lone Rider’s arsenal can be quite expensive, and getting KO’d sets him back considerably, so bringing Extend is a good option to mitigate this. This cards really benefit anyone, but they certainly are not game changing or considerably hurt Lone Rider if other players get them.
Tier B:
While Dash! and Overtime help Lone Rider activate Lonesome Road, they are not as reliable as multiple stacks of Upshift. Nice Present and Passionate Research are the go to cards for fishing your Hyper. At best you get it, at worst other players get theirs.
Tier C:
Princess Privilege is also a great card to fish for your Hyper or get a new hand, but it comes into play fairly late and its just a tad expensive considering you might not get what you were looking for, also at times it can be somewhat awkward when you are stuck at 2 cards and can’t land in a Draw Panel. President Privilege on the other hand is excellent to combo into higher stacks of Upshift, but putting it in the deck instead of more flexible cards feels like a bit of a waste for Lone Rider.
Tier S:
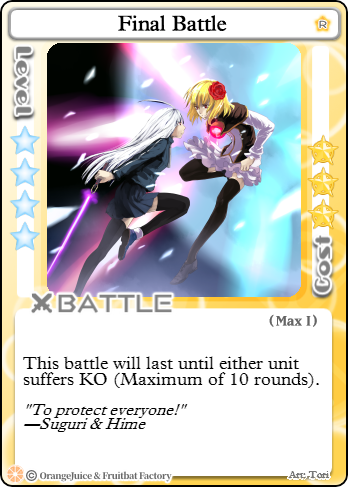
Final Battle denies the opportunity for botched snipe attemps to happen, forcing the other Unit to a battle with you for 10 turns. Combined with Lonesome Road you have excellent stats that help evade low ATK rolls and tanking high ATK rolls. The main downside being that the other Unit is able to use a Battle Card, like a good Hyper, that could put you at a disadvantage. Against Units with good Battle Card Hypers it could be hell (Peat, Syura, etc), against everything else you have great odds.
Tier A:
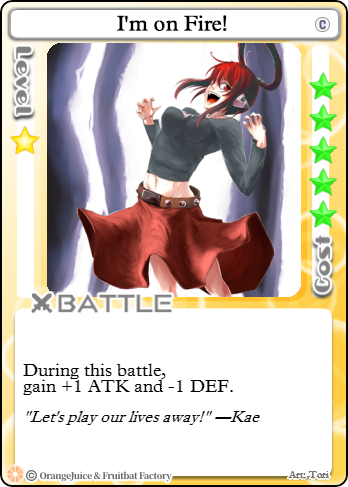
I’m on Fire! is your go to card for when wanting to make some extra damage while not wanting to commit to Big Magnum or Super All-Out Mode. Its cheap, comes into play early, and Lonesome Road helps mitigate the DEF debuff while giving Lone Rider +2 ATK. While Lone Rider has the HP to bring Big Magnum to the deck, or the movility to reach targets after using Super All-Out Mode, they are risky cards in the sense that others Units benefit better from them than himself, like Starbo or Yuki, who could easily turn them against him.
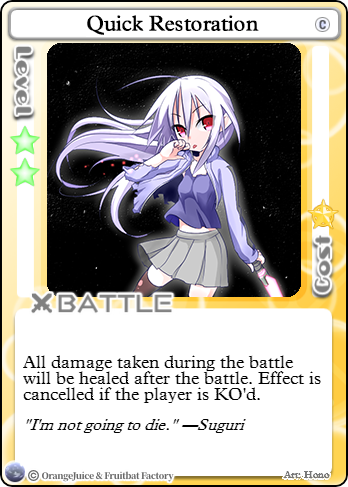
Quick Restoration, on the other hand, its pretty handy to help Lone Rider stay healthy after tough battles, and it doesnt help Units on low HP or with a low base HP. At best you go back to full health after a rough encounter, at worst other player does, but its definitely not the end of the world.
Tier B:

For when you are sure you are KO’ing your target. Big Magnum its a pretty strong card, but it benefits other Units better, its fairly expensive, and if you fail you just lowered your odds of survival, especially below full HP. Bring at your own risk.
Tier S:

Stupid good with a few Upshift stacks. At its best you can set ALL players back while being untouchable, and its effects only increase at higher Norma Levels, and even if other Units catch up to you they still have to go through your 5 HP and +1 DEF. Trying to fish for it after Level 2 its best.
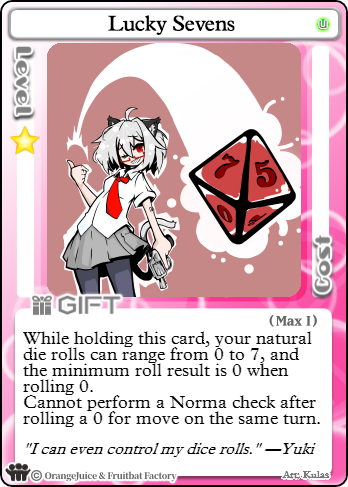
Lucky Sevens its pretty much an upgrade to Windy Enchantment, and having the chance to roll 7 / activate Lonesome Road without wasting another card AND being able to Norma Check is always nice. Discard when its absolutely necessary you don’t roll 0.
Tier S:
Your ultimate desperation card against Units with high HP and DEF, and unlike most Units Lone Rider has great chances at catching up with his target, not making it a waste. Its expensive, risky, and it comes into play extremely late, but its also a sort of necessary evil as you have pretty much no game against Units with good defense. Try to be patient with it, if you can help it.
Tier A:
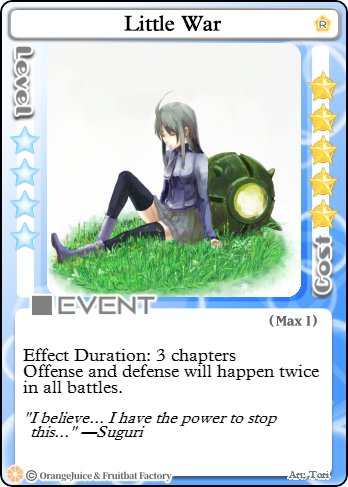
While Final Battle does the job better and cheaper on most occasions, Little War is also a great alternative, albeit costly, and against Units with base +2ATK it could be hell, but Lone Rider with Upshift its pretty hard to reach, so if you have the stacks the odds of being used against you are low. You can also combo Battle Cards into it, unlike Final Battle.

Windy Enchantment at first may sound like an excellent card for Lone Rider, but the fact that you can’t Norma Check with it hinders it greatly. Its pretty useless if drawn early as you will be forced to discard it anyway to level up. With that said, Lucky Sevens its more consistent in everything except battles, as you can Norma Check with it and sometimes rolling 0 can be a good thing when in a Home, Draw, or Bonus Panel.
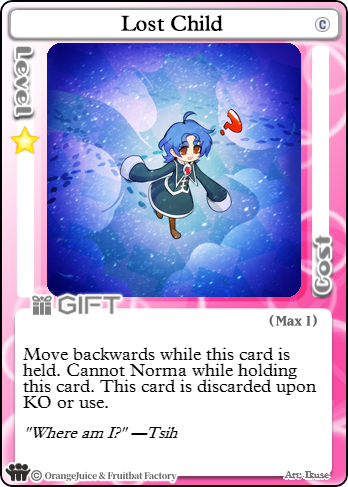
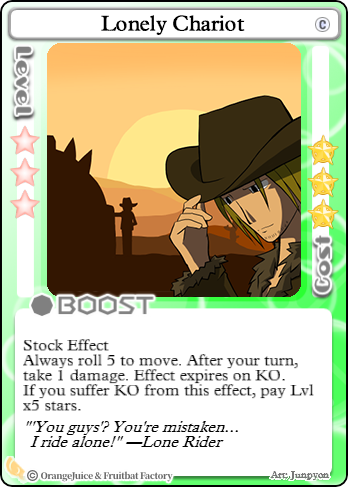
The same goes for Lost Child and Lonely Chariot, with enough Upshift / Dash! / Overtime Cards chances are you are reaching whoever you are targeting without the need to go the opposite way to catch up, and Lonely Chariot is quite the desperate Card that is not only expensive, but also lowers your odds of survival with each turn, while also helping Units with high HP and DEF to go home safely if they draw it, which at Norma 4 its pretty much GGs if they have the stars (Poppo, Fernet, Kyoko).
General Strategy
At Norma 2-3, what follows depends heavily on what you have drawn so far and the flow of the game. Chances are its a good time to start using Upshift and wait until other players have enough stars to make bullying them worth the investment. You don’t want to wait too long for using your Hyper, as you could draw good cards and then be forced to discard other tools in your hand to keep them, and every good card Lone Rider gets counts. At this stage you also won’t be able to go Home at will without losing stacks, so keep that in mind when landing into another player’s House is an option.
When other players reach +100 stars is generally the signal to start looking for fights, you can’t brute force your way in as you will burn Upshift right away, so try to combo it with Battle Cards that greatly increase your odds of winning right away (Final Battle, Big Magnum), otherwhise prioritize Bonus Panels to recover what you wasted or will waste using your Hyper. Lone Rider specialises in exploiting opportunities, but not making them himself usually, so keep that in mind. The best case scenario would be you succesfully KO’ing a Unit with enough stars for you to win and just start running for your Home with the help of your Hyper or your Boost Cards, which by then chances are it will be GGs.
Alternatively, If you drawed Poppo The Snatcher don’t let it go and try to steal as many stars as possible with the help of Upshift, which just gets more ridiculous the more Upshift stacks you have. Drawing this card means you don’t have to go looking for fights anymore as you are now able to set back everyone else every time you run pass them while they can do little about it, which is a huge advantage at higher Norma Levels. If you drawed it at Norma 2 still try to keep it as the stars you steal are based on the Norma Level of the other players, not yours, and your hyper or cards that boost your MOV roll will help you get home afterwards, but be careful as you still will have to go to a Home Panel at least 3 times to win the game.
A few words
That being said, if you are not getting your cards you are pretty much a discount QP free for bullying and without a Hyper to save you. I recommend it if you like to be careful with your deck building and like to read the flow of the game to make do with what do you end up getting.
fruitbat please lower lonesome road requirement to 6 and upshift cost to 10 + 5x, thanks