Getting started in Road to Vostok can be daunting. One of your first and most crucial goals is to locate a trader to sell loot and acquire essential supplies. This guide will show you the safest and most efficient route to find that first key merchant from your initial spawn point.
(Player Perspective): Okay, I just read a player’s note titled “Road to Vostok: Where’s your first trader.” Basically, it says the trader is in a building you can see from spawn. It mentions three ways to get there: going left around the lake (dangerous but good for looting), crossing the bridge (the “golden middle” path), or just sprinting along the railway tracks from the start for a hassle-free run. It also warns to stay alert for enemies and notes that to return to your shelter, you just go back to your spawn door.
Tips and Tricks
Let’s break that down with clearer, actionable tips.
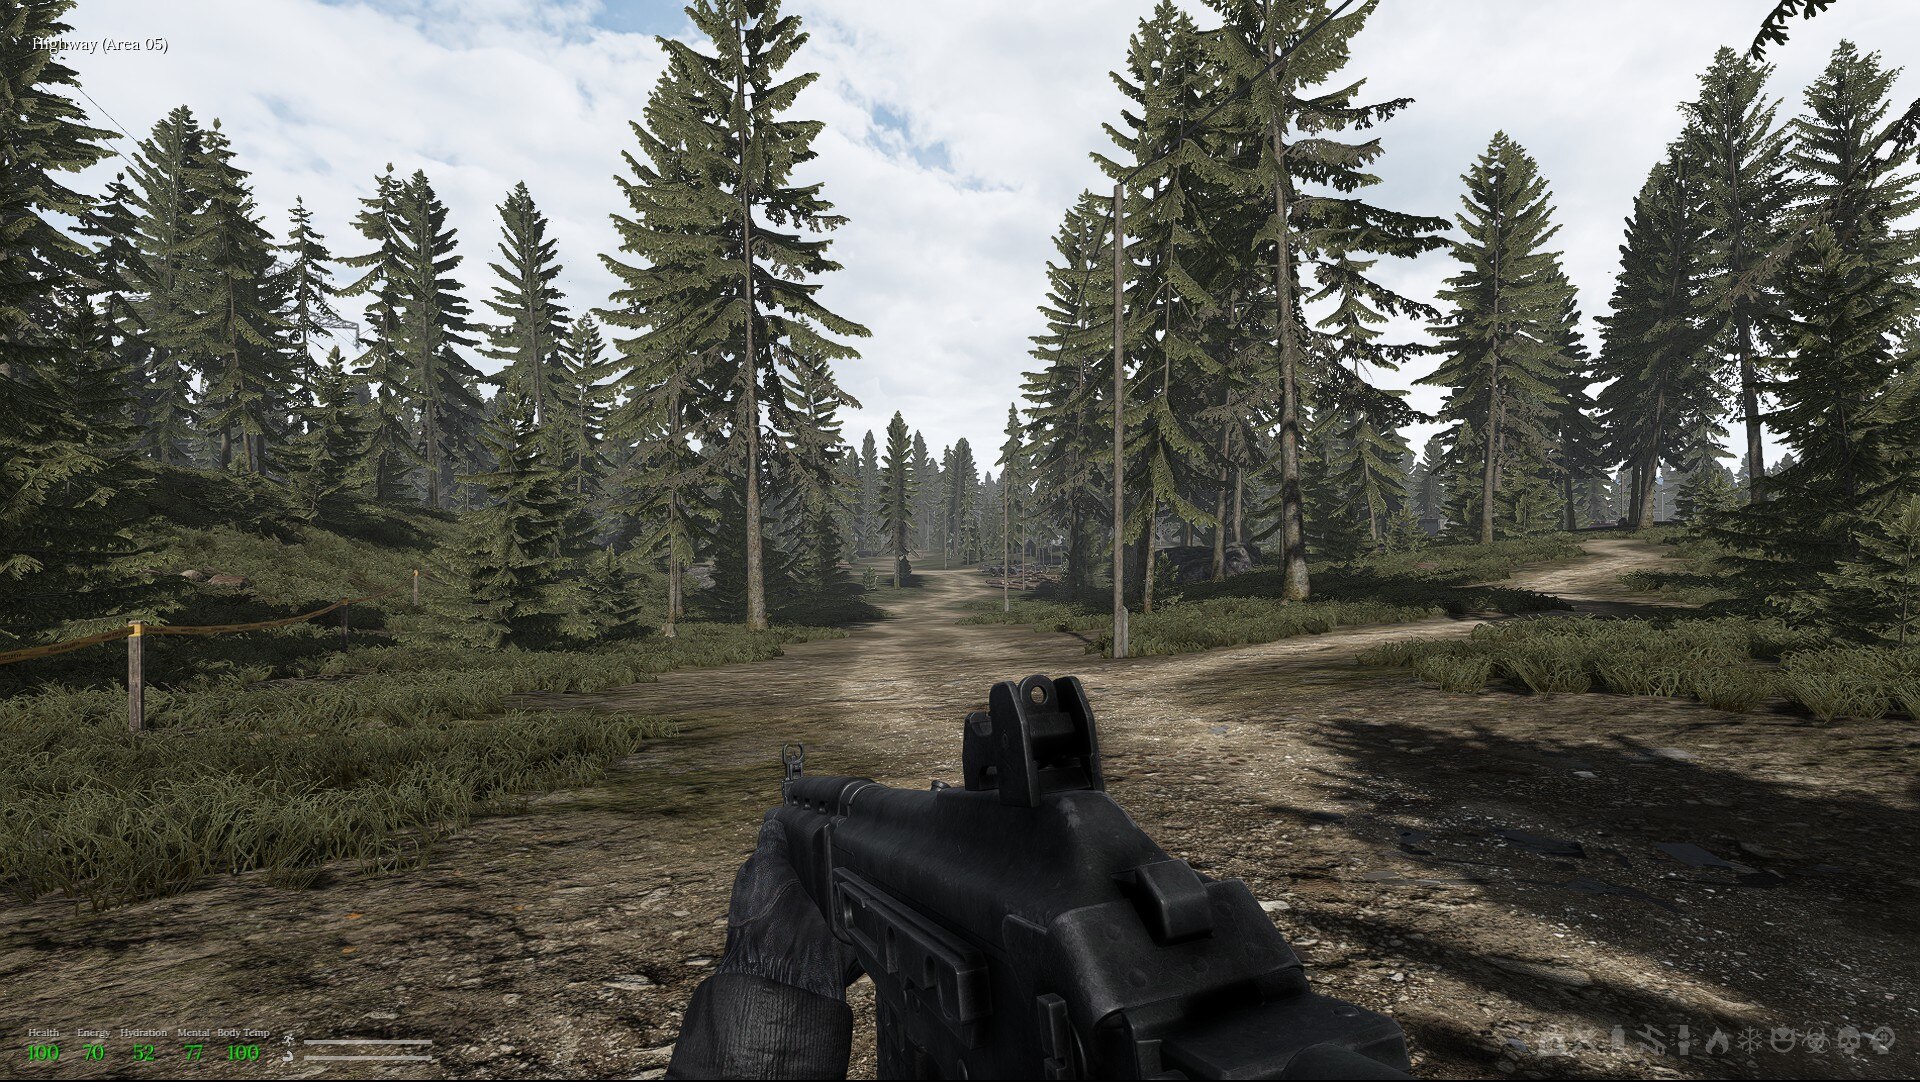
TIP 1: Spot the Target Immediately. As you spawn in, take a moment to look ahead and slightly to your right. You’ll spot a distinct building. That’s your destination—the first trader’s outpost. Mark it mentally.
TIP 2: Choose Your Path Wisely. You have three primary routes from the spawn to the trader’s building. Your choice depends on your immediate priorities: safety, looting, or speed.
- The Railway Sprint (Safest & Fastest): If you want zero hassle and minimal risk on this first run, this is the way. Immediately upon entering the location, find the railway tracks and simply sprint along them straight to the trader’s building. It’s a direct line with minimal exposure.
- The Bridge Route (Balanced Approach): This is the recommended “middle ground” for most early trips. It offers a reasonably safe path while allowing some environmental awareness. It’s less predictable than the rails but avoids the high-risk looting zones.
- The Lakeside Path (High Risk, High Reward): This route involves going left around the lake. While it offers valuable early looting opportunities, the original note and community observations suggest it’s the most dangerous route with a higher chance of enemy encounters. Save this for when you’re better equipped.
TIP 3: Situational Awareness is Key. Even on the “safer” paths, always scan your surroundings. This is an alpha build, and enemy patrols or spawns can be unpredictable. A quick 360-degree check before moving never hurts.
TIP 4: Returning to Your Shelter. Remember, your safe haven is right where you started. To return, simply make your way back to the exact spawn point and interact with the door you initially appeared at.
Summary
To recap, your first merchant run in Road to Vostok is straightforward: identify the building, pick your path based on your current goal (speed, safety, or looting), and stay alert. The railway tracks provide the most reliable initial sprint to establish contact.
Now that you’ve found the trader, the real survival begins. What are you hoping to see from this merchant in future updates? Should he offer rare item orders with dynamic pricing and delivery delays? Should his supply lines be threatened by looters, creating retrieval tasks? How do you think permanent death should affect story progression beyond just losing your gear? Share your thoughts in the comments below—your ideas could shape the future of the zone!
Good luck, Stalker. Watch your back out there.
More Guides:
- Road to Vostok: Where to Find Oil Sample
- Road to Vostok: How to Find and Rescue the Missing Cat
- Road to Vostok: How to Reload the Mosin Rifle and RM-870 Shotgun