
Twenty thousand gold per Endless Dungeon run, a free flying mount before level 10, and a tea that saves your team from a full wipe — none of that gets explained clearly in the game’s own tutorial. This guide pulls together the systems that actually matter in the first few hours of DragonSword: Awakening: cooking, mounts, gold farming, and team composition, so you spend your early playtime building progress instead of guessing.
Unlock Cooking Early – The Resurrection Tea
Pick up the quest “In Search of the Ascension Mushroom” as soon as you see it. An NPC near the starting area hands it out, and it’s your gateway into the entire cooking system.
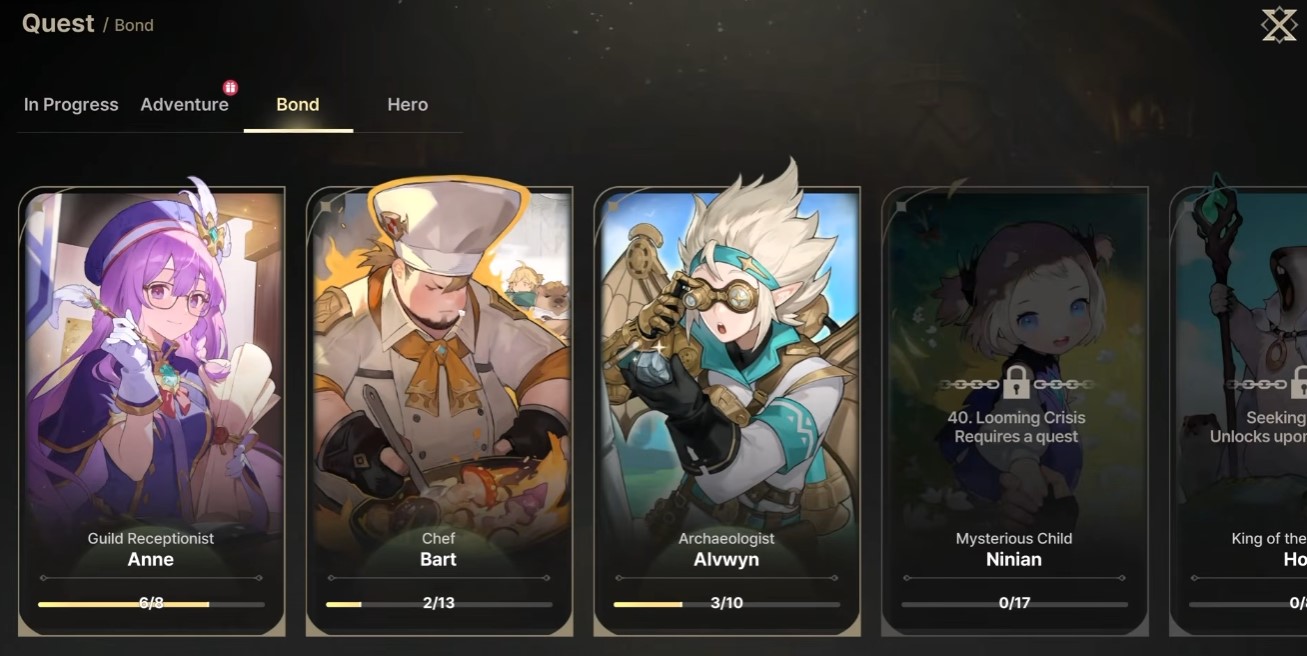
The recipe you want out of that questline is Resurrection Tea, made from mushrooms. This single item revives a downed teammate mid-combat. Without it, your only option is walking back to a resurrection statue, which usually means losing the fight you were mid-way through.
Tip: Craft Resurrection Tea in bulk and pin it to your quick bar immediately. Running out of it during a boss fight is a mistake you only make once.
Cooking Methods and Ingredient Quality
Cooking isn’t just a side system — it scales into end-game content, and understanding the three preparation methods early saves you from wasting ingredients on the wrong dish.
| Method | Result | Notes |
|---|---|---|
| Grilling | Recovery food | Personal heal or full-party heal, depending on recipe |
| Boiling | Team buff | Offensive or defensive, varies by ingredients |
| Slicing | Stamina buff | Affects swimming, gliding, and similar actions |
Ingredient star quality directly affects how strong the finished meal is. A walnut-based grilled meal, for example, delivers a 1.3K party heal — swap out a single ingredient and the game cycles to a different variant of that same dish instead of failing the recipe. Rare ingredients like honey push into different territory entirely: some produce a full resurrection effect rather than a heal.
Once you cook something for the first time, it’s saved to your cookbook. From that point on you can multi-craft it in batches instead of assembling it ingredient-by-ingredient every time, which matters once you’re trying to stock ten Resurrection Teas before a dungeon run.
Herb Locations & Map Marking
Herbs show up early and often, but the good spots aren’t obvious on a first pass. One reliable early herb patch sits around the 2:36 mark if you’re following along with video reference — worth checking the moment cooking unlocks.
Get in the habit of marking herb patches, egg spawns, and other resource nodes on your in-game map the first time you find them. You will absolutely forget the location otherwise, and running back and forth guessing wastes more time than the marking itself.
An interactive community map (RaiderKing on Google Sheets) covers most of these spots already. It’s roughly 99% accurate and still being updated, so treat it as a strong starting point rather than gospel.
Best Ingredient Farming Spots
Meat, fish, and wheat all come from different actions, and knowing which one applies where stops you from standing in a field wondering why nothing is happening.
- Wild animals and meat: specific zones are noticeably better for hunting than others. Higher-level areas host stronger boars, and stronger boars drop higher-tier meat.
- Fishing: approach a fish in water and mash the interact button. A smaller wolf mount helps here thanks to its underwater buffs.
- Wheat and plants: these aren’t picked, they’re attacked. Swing at a wheat field like you would an enemy and it yields the resource.
- Ingredient merchants: scattered across the map with a distinct icon, selling ingredients you can’t easily farm.
- Barrels: smash them on sight. They drop a mix of items, food included, and cost nothing but a swing.
Note: Animals and plants respawn after you relaunch the game, so a farming loop of hunt, log out, hunt again is a legitimate strategy early on.
Learning Recipes Through Passive Quests
A large chunk of the recipe list isn’t handed to you directly — it comes through side quests you’d otherwise walk past. NPCs with three dots hovering over their head are the tell. Talk to them.
These passive quests typically reward a new recipe or adventure rank experience on completion. Seagull Village is a good early example: an NPC on the docks asks for a seafood brisket, and completing that request adds the recipe to your book permanently.
Mount Versatility & Free Mounts
The starting beetle mount does more than it looks like it should. It flies from ground level, dives underwater, and can fish while you’re riding it — one mount covering three traversal problems most games split across separate unlocks.
Free mounts sit behind Menu > Codex > Familiar. The first beetle costs emblems, which you’ll have from early quests and dailies. Open the Codex early just to see the full list of mounts available for free — several players miss this menu entirely for the first few hours.
Breakables & Farming Team
Every box, bell, and cracked wall in this game is worth hitting. Chests and valuable drops hide inside breakables constantly, and building the habit of smashing everything in sight pays off in gold and materials you’d otherwise walk past.
Set up a second team dedicated to farming, separate from your main combat squad. Go to Menu > Team and assign a strong damage dealer to this roster. The point is efficiency: you harvest wheat, break objects, and clear light resistance without switching back to your main team every time something needs killing.
Aria earns a specific mention here. She can burn cobwebs blocking paths and puzzle areas, which makes her a strong pick for this secondary team even if she’s not your hardest hitter.
Dailies & Hidden Resources
Unlock the Emerk Guide (also called the Merc Guide) as early as possible — it’s your access point for daily tasks. Dailies cover normal dungeon clears and regional missions, reset every day, and provide resources you genuinely need to keep pace.
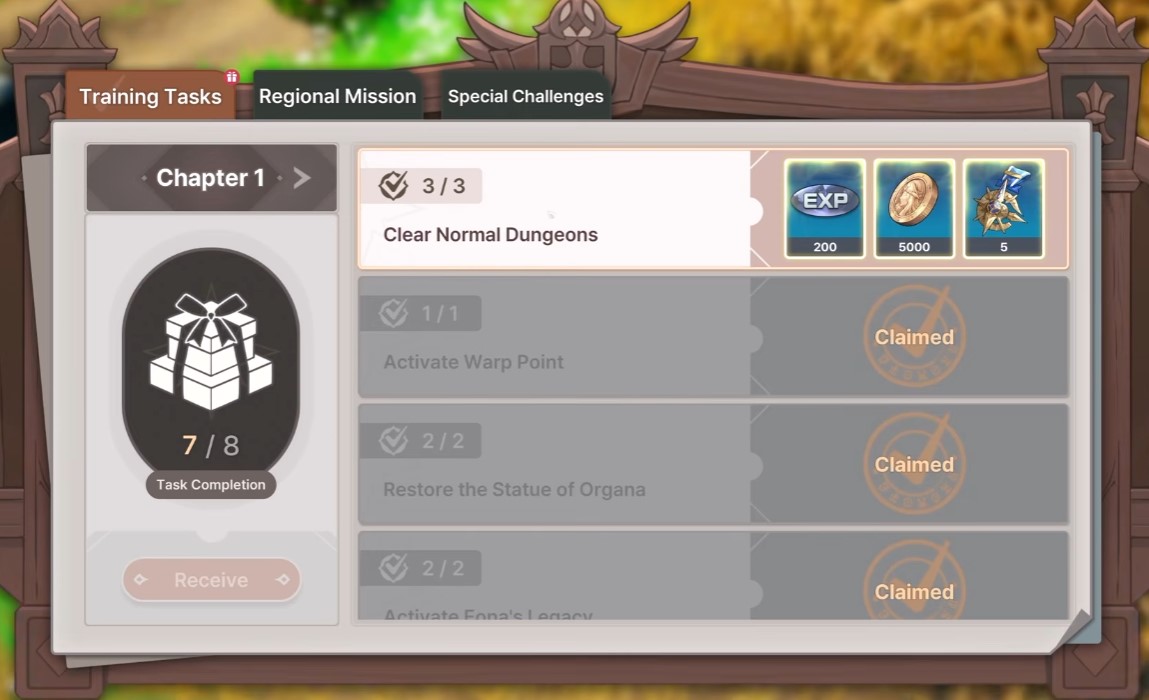
Separately, check every menu for a gift box icon sitting over an option. These contain free emblems, gold, and other materials, and they don’t claim themselves. Skipping them for a few days adds up to a real resource shortfall later.
Gold Farming – Endless Dungeon
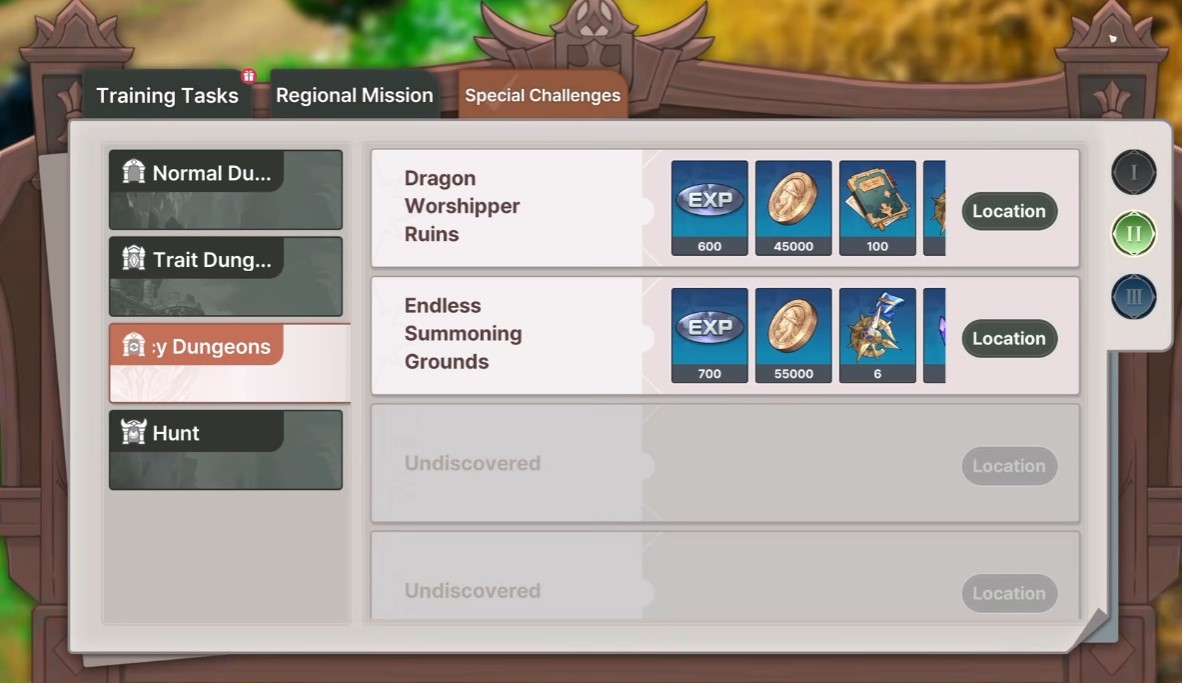
Gold disappears fast once crafting and upgrading kick in, and the standard drip from quests doesn’t keep up. The fix is the Endless Dungeon, found at Merc Guide > Special Challenges > Currency.
| Activity | Gold Yield | Frequency |
|---|---|---|
| Endless Dungeon run | 20,000+ gold | Multiple runs available daily |
A few runs a day keeps your gold supply healthy enough to cover crafting and gear upgrades without stalling. This is the single most efficient gold source available in the early game, and it’s easy to overlook since it’s buried under a submenu.
Building Your Dream Team & Synergy
Dana makes a strong first pick as a starting character — her Ogre summon effectively functions as a second unit on the field, giving you extra damage and utility from one character slot.
Synergy matters more than raw stats once you have a few characters unlocked. Charlotte and Johnny both apply poison, and running them together stacks that effect rather than wasting it. That said, the game doesn’t lock you into meta combinations. Ice-focused teams, off-meta pairings, whatever you find fun — build around what you enjoy playing, then keep a separate farming or puzzle team on the side for the reasons covered above.
Important NPCs & Skill Upgrades
Two NPC types are worth recognizing on sight. Those with a bag icon over their head sell cooking ingredients for gold — useful when farming isn’t fast enough. Those with three dots hand out tasks that reward recipes, gold, and other resources, and they’re worth talking to every time you see one.
For character progression, the character menu has two main damage buttons that scale your output more than any other stat option. Put points there first if damage is your priority, though nothing stops you from balancing stats differently if survivability matters more for your playstyle.
Between the cooking system, a dedicated farming team, and a couple of Endless Dungeon runs a day, the early resource crunch stops being a problem within the first few sessions. The rest comes down to picking a team you actually enjoy playing and sticking with it.
More Guides:
- DragonSword: Awakening – Recipes Guide (Best Dishes & Cooking Tips)
- DragonSword: Awakening – How to Farm Free Rice Early
- DragonSword: Awakening – How to Restore the Statue of Organa and Unlock the Goddess’s Blessings


