
NPC quests in Mortal Shell 2 are easy to miss and even easier to botch. They’re not required for progression, and the rewards are modest at best — but each one peels back a little more of the world’s strange, quiet tragedy. This guide covers every step for Gorf & Hilga, Grisha Pup, Egon, and Vlas, including the exact reload points, item requirements, and what happens when you finish each line. No guesswork, no wasted gloom.
How NPC Quests Work in Mortal Shell 2
There are six main NPCs with questlines in Mortal Shell 2. Bagghad’s quest is covered in a separate guide; the other four are below. Every one of them follows the same basic rhythm: talk to the NPC, walk to a beacon to reload the area, then talk to them again. Sometimes they’ll have new dialogue, sometimes they’ll have moved entirely.
The pattern matters more than the individual steps. If an NPC isn’t progressing, you almost always need to reload the area again — not rest at a bonfire, not die, but actually trigger the beacon reload.
Gorf & Hilga: Mushrooms, Poison, and a Shared End
Gorf is waiting near the first beacon you encounter. Talk to him, reload the area, and talk again. He’ll hand you a marsh pearl each time — up to five total. Keep cycling until his dialogue stops changing.
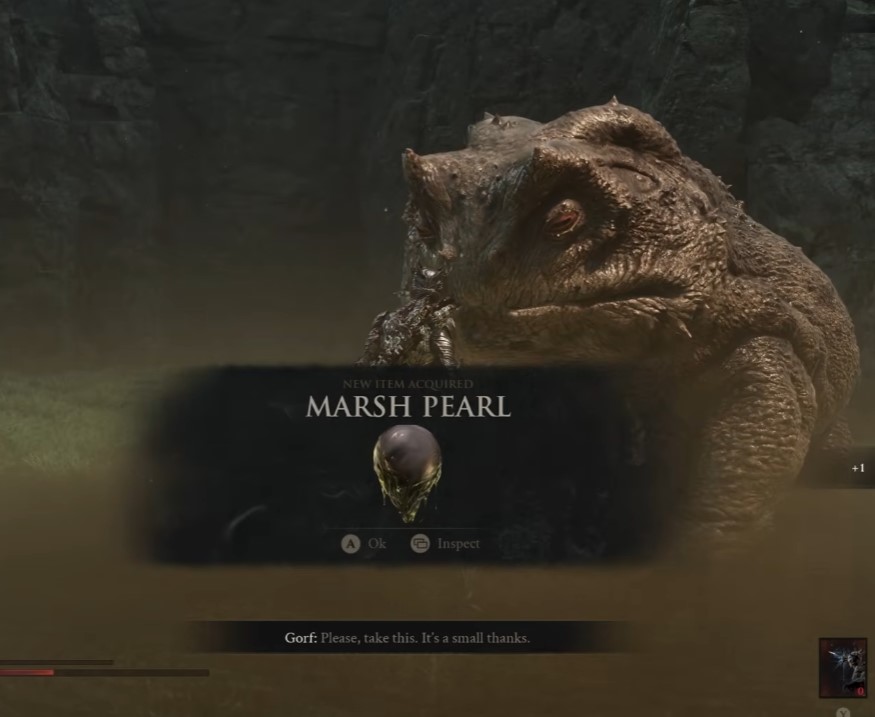
Once you’ve exhausted Gorf’s dialogue, he’ll ask for mushrooms. Give them to him. He gets sick — this is intended — and rewards you with a poison dagger. Don’t sell it. It’s the key to Hilga’s half of the quest.
Head to the mushroom village and find Hilga and Grom. Exhaust both of their dialogue trees. Eventually, the option to give Hilga the poison dagger appears. Do it. She disappears.
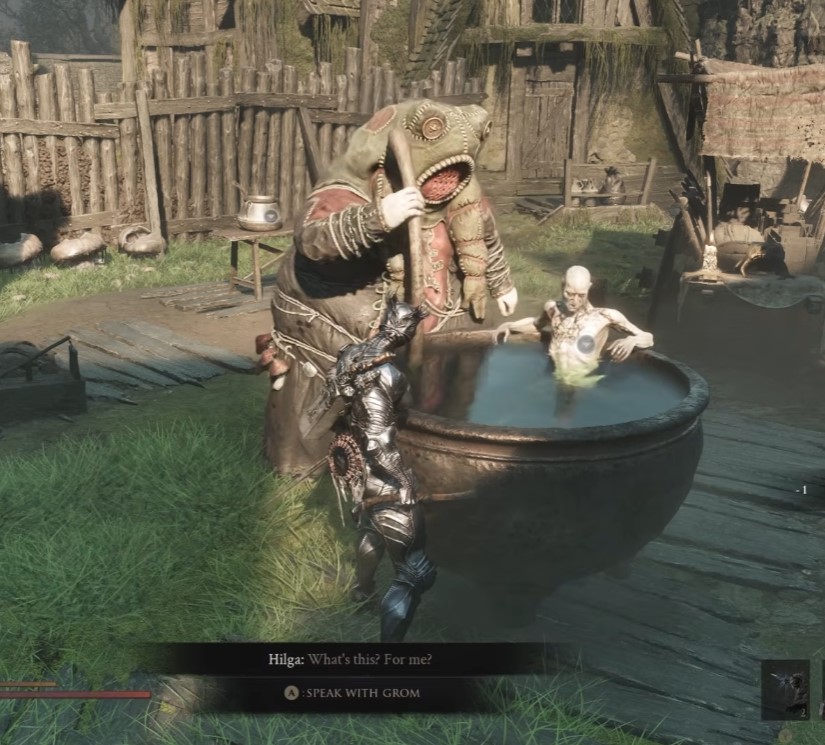
Reload the area and return to Gorf. Hilga will be standing there with him. Keep reloading and talking to both of them until the quest closes out. There’s no dramatic finale — just two people who found each other again.
| Step | Action | Reward |
|---|---|---|
| 1 | Talk to Gorf near first beacon | Marsh pearl (repeatable, up to 5) |
| 2 | Give mushrooms after dialogue exhausts | Poison dagger |
| 3 | Give dagger to Hilga in mushroom village | Quest progression |
| 4 | Reload and return to Gorf | Quest completion |
Tip: The marsh pearls are a decent early-game consumable, but don’t hoard them. You’ll find better healing options within a couple of hours.
Grisha Pup: A Key, a Corpse, and a Dead End
The Grisha Pup quest is short, grim, and currently unresolved. Buy the key from the vendor near the pup’s cage and use it to release the creature.
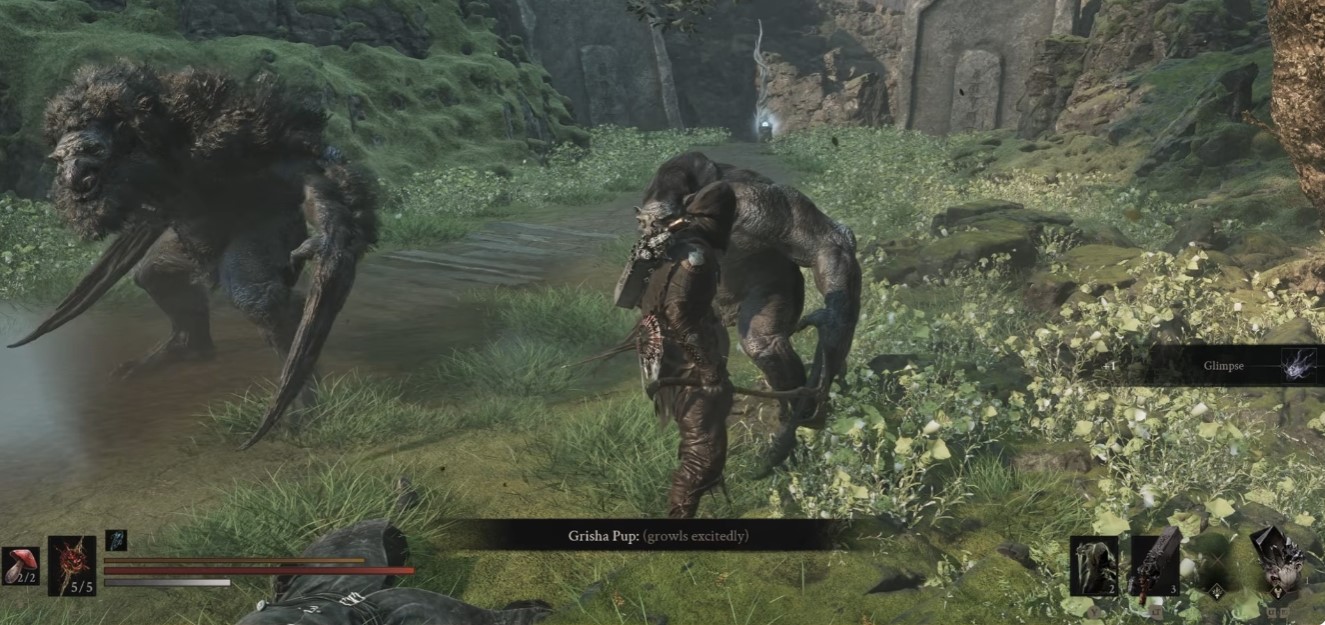
That’s the trigger. When you reload the area, you’ll find the vendor dead. The Grisha Pup and its mother are responsible — they’re standing over the body.
After that, the Grisha vanish. No one has found them anywhere else in the game as of the current patch. This appears to be the end of their story, though it’s possible future content will extend it.
Warning: Releasing the Grisha Pup permanently kills the vendor. Make sure you’ve bought everything you need from them before using that key.
Egon: Double Your Gloom Before It’s Gone
Egon is in a small castle at Castigator’s Keep. He’s not a fighter — he’s a banker with a strange ritual. Talk to him and he’ll ask for tribute. Give him 20,000 gloom and he’ll die on the spot, returning your gloom doubled.
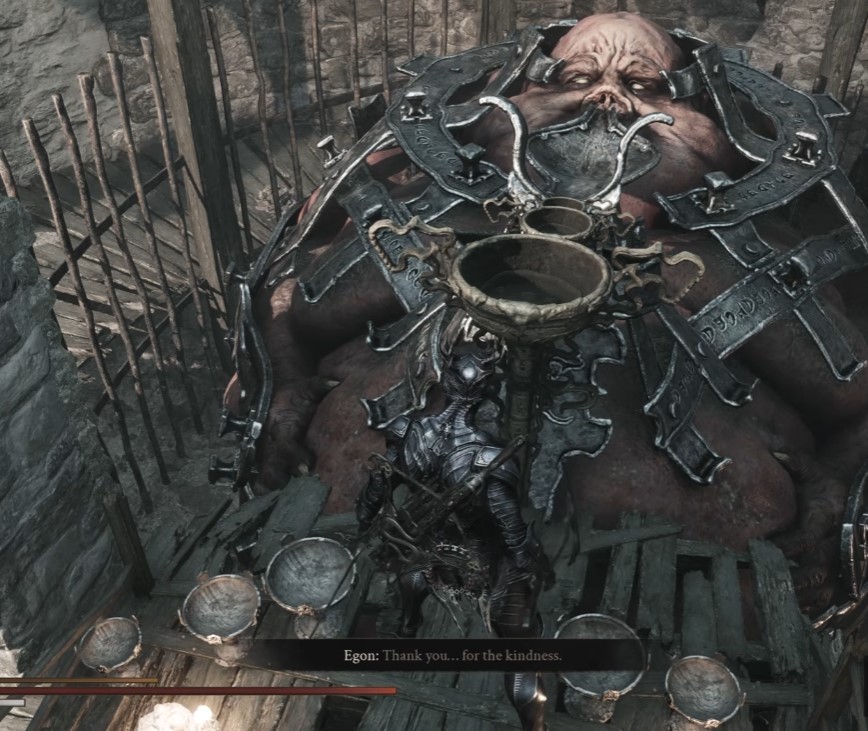
This is the fastest way to multiply gloom in the game, and it’s worth abusing while you can. During the review period, you could double your entire carried amount. The day one patch capped this significantly, so test with a small amount first to see what the current limit is. Give him as much as the cap allows, reload, and repeat.
The doubled gloom funds weapon upgrades and infusions, which are expensive. If you’re planning a specific build, run this loop a few times before moving on — it saves hours of grinding.
Compare: Gloom doubling via Egon is far more efficient than farming enemies, but the cap means you can’t skip the grind entirely. Pair it with the Tarforge Upgrade Locations to spend your doubled gloom efficiently.
Vlas: A Lost Cat, a Cage, and a Letter
Vlas is in the outskirts of Mammon, and he’s lost his cat. Talk to him, then investigate the area nearby. Keep talking and reloading — after a couple of cycles, he’ll disappear.
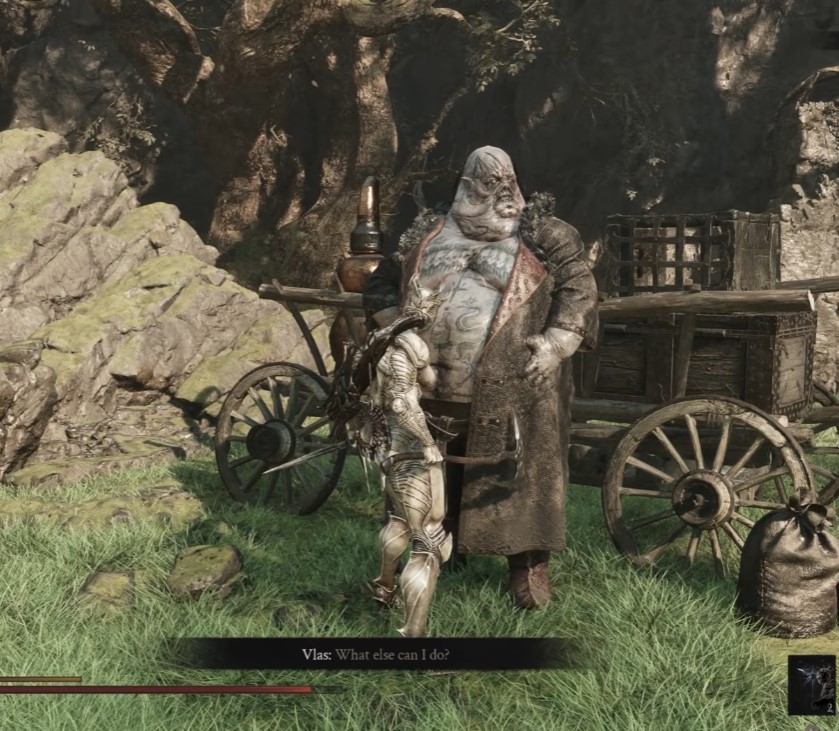
Head to the Lonesome Spire. You’ll find Vlas in a cage near the vendor. A key for the cage is nearby — search the immediate area, not the wider zone. Give him the key to end the quest.
Before you hand over that key, buy everything you need from the vendor at Lonesome Spire. Once Vlas is free, that vendor becomes permanently unavailable. Stock up on consumables, gear, and anything else you might want.
After the cage, return to where you first found Vlas in Mammon. There’s a letter waiting there. Pick it up, then head to Mu’s Keep to find Vlas one last time. That closes his questline.
Tip: The vendor at Lonesome Spire has a few unique items that don’t appear anywhere else. If you skip them before freeing Vlas, you’ll need another playthrough to get them.


