
I put this guide together because *Heartfall — A Tale in Three Lives* has a lot of endings, and a lot of them hide behind small choices you won’t notice until it’s too late. The original notes I worked from are incomplete — the author was still finding endings — so I’ve kept that honesty intact. You’ll see which achievements are confirmed and which are still guesswork.
Big spoilers live in here. I’ve tried to keep story details optional where I can, but getting you to the right ending means describing what happens. Save each session separately. That one habit will save you hours of replaying from the start.
Overview
This is a walkthrough for finding every ending and unlocking the achievements in Heartfall — A Tale in Three Lives. The author of the original notes updates it whenever a new ending turns up — they’re a student juggling two jobs, so progress comes in bursts, and that’s part of why this guide is honest about being unfinished. I’m passing that same information along to anyone chasing a full achievement list.
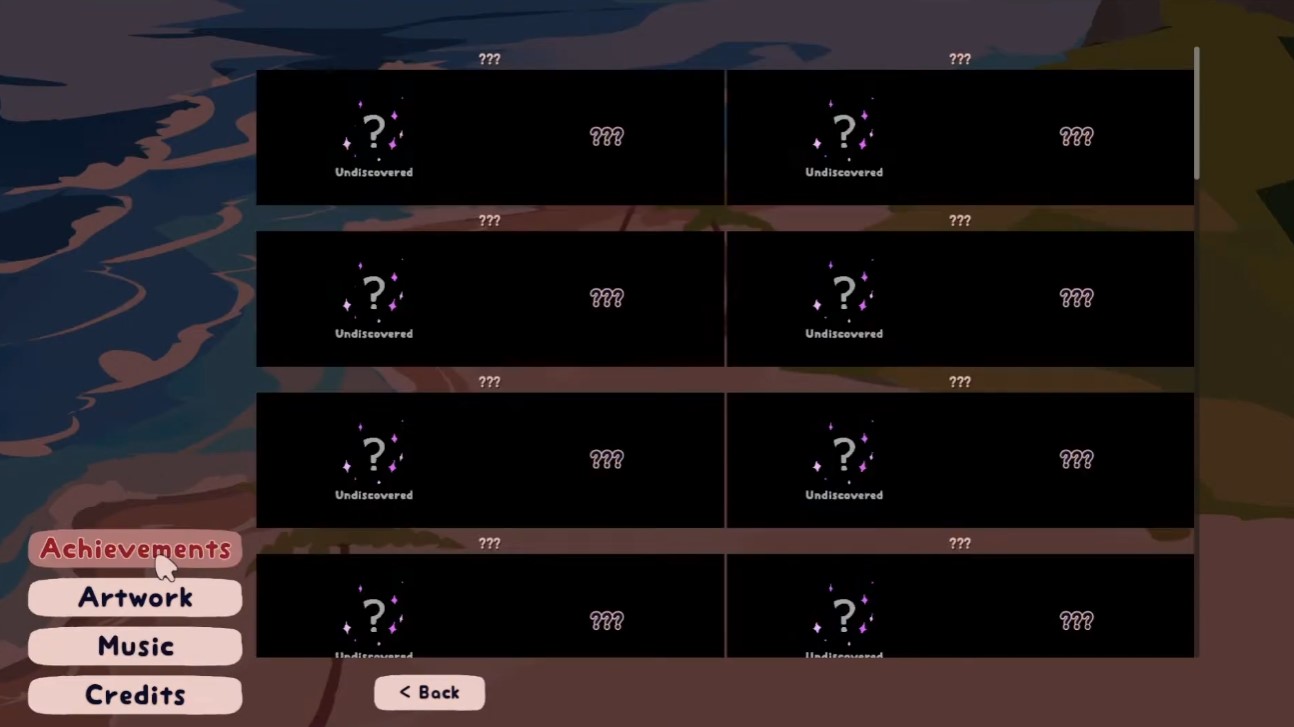
Spoilers ahead. Where I can, I keep the story details out of your way so you can still read the achievement info without ruining the plot. But reaching the right ending sometimes means describing what happens, so a few spoilers are unavoidable.
Notes and Progress
The original author went digging through the game’s code and pulled out the full list of endings, along with the routes they’re tied to. I should be upfront: that person admitted they’re not much of a coder and couldn’t pin down the exact choice-by-choice steps for everything. So what follows is a route map, not a walkthrough — some entries are locked down, others are still guesswork.
Here’s how the marks work in the list below, and I’ve kept them because they tell you honestly what you’re getting:
- Bold — the achievement is confirmed and the exact steps are known. These are the ones written up in full later in this guide.
- Italic — the achievement exists, but the exact choices that trigger it are still unclear. Not written up yet.
- Underlined — not yet found, but there’s a theory on how to reach it. Also not written up yet.
A couple of routes below carry a note from the original author about uncertainty. I’ve left those notes in place rather than quietly guessing, because being told “this might be wrong” is more useful than being told nothing.
| Route | Name | How the Route Starts | Achievements Listed |
|---|---|---|---|
| Route 0 | Have We Been Here Before? | Burn the Mystic Tree with Scar, kill him with a creeper, pledge loyalty, and stay with him through the night. | So That’s How it Went, That’s Not How It Went |
| Route 1 | The Dark Forest | Build your own base, burn the Mystic Tree with Scar, kill him with a creeper, pledge loyalty, then return to your base and insist you stay despite your oath. | Alone, Beloved, Die, Together |
| Route 2 | Dog-Eat-Dog World | Follow Route 0 through the first day, then find Martyn in the village and complain to him when he asks how you’re doing. | All For Naught, Almost Home, Back Where It Started, I’ll Be Waiting |
| Route 3 | Live, Laugh, Divorce | Choose to build your own base, then agree to go with Jimmy and Scott when they offer an alliance. | Happily Egger After, Hate Loses, Hate Wins, Love Loses, Love Wins |
| Route 4 | Ashes and Alliances | Help Joel tame his wolves and agree to build a cabin with him. | A Lonely Death, A New Family, A Violent End |
| Route 5 | Should’ve Aimed for the Hand | Follow Route 0 through the first day, find Martyn in the village, complain, then retract and say you were joking. When he returns after the magic act, agree to commit a crime with him. | Can we go to the desert? |
| Route 6 | The Cow Heist | Follow Route 0, then — before gathering materials to build a base — talk to Scott and Jimmy and agree to help with the cow heist. | Perennial Garden, Scorched Earth |
| Route 7 | Welcome Home, Ally | Talk to Jimmy after leaving the village, agree to help him, but then follow Route 0 instead. Select “Remember” when you sleep. | It’s Us Until The End, To Have Your Alliances and Keep Them Too, Together in the Desert, What Else Did You Expect |
| Route 8 | Music is Magic | Talk to Impulse after leaving the library, and help him get materials to make a music box. | Dal Segno al Coda, Dal Segno al Fin, Fallen Companions, Self-Inflicted Solitude, Solitude |
| Route 9 | The Court of Last Chances | Follow Route 0 until day 3, then go to the flower forest and interact with the goose. | A Home Where You Are, Dusk Til Dawn, Minutes Past Midnight |
| Route 10 | Any-fin is Possible | Go to the sign by the dock on day 1, and fish until you receive a book. | Bass Friends Forever: True Pacifish, Fish or Be Fished: Fishmaster, Goodbye Krill World: Fishing Anonymous |
| Route 11 | Wolf in Sheep’s Wool | Interact with the statue on the beach near where Grian wakes up, then stare at it until it blinks. | A Promise Fulfilled, Never Alone Again |
Two things in this table are worth flagging. First, the original author wasn’t fully certain the achievements under Routes 2 and 5 belong where they’re listed. In that part of the code the routes go by different names — “Ren WhoDunnit” and “Dogwarts Deception” — so the mapping is fuzzy. Treat both starts as best guesses. Second, Route 7’s start line comes with a plain “not quite sure if this is right” from the source, and I’ve kept that doubt in rather than removing it.
Notice that most routes branch off the same early sequence. Following Route 0 through its opening day unlocks paths into Routes 2, 5, 6, and 9, which is why this guide keeps coming back to it. If you’re planning a run, that shared opening is the part you’ll replay most.
Finally, the code contains three entries — catch_all, impy_ending, and scar_ending — that look like test leftovers. They aren’t attached to any route and don’t carry proper achievement names, so I’ve left them out of the table entirely.
[Route 0] So That’s How It Went
This is the one to start with. You kick off the Have We Been Here Before? route by talking to Scar after you’ve explored the library, then agreeing to help him burn down the Mythic Tree. The Flint and Steel he wants sits on the mountain in the cave, close to where Tango is standing — grab it on the way.
During the night at the village, the game makes you lead the creeper to Scar, and it kills him. As an apology, you promise to stay with him until you lose your first life. Follow him into the desert and stay there through the night. Nothing tricky here, just stick with him.
Before you go further: save each session separately. A lot of routes branch off from Route 0, so keeping your saves split will save you from replaying the whole opening every time.
Past that, this route follows the original 3rd Life closely. If you’ve seen that series, you can basically follow what Grian did. There are a few moments where you need to hold back, though — miss one and you can lose the achievement.
After the first night, Jimmy and Scott will offer to go on a cow heist with you if you talk to them in the forest while you’re heading out for base materials. Decline it and keep gathering.
While collecting things for your base, you might speak to Martyn in the village. Don’t complain too much about Scar, and don’t go with Martyn if he offers. I kept these conversations short to be safe.
After the tree magic trick, Martyn may show up at the trail to the forest and ask you to commit a crime with him. Decline and let him go.
The one that really matters is the fight at Dogwarts. Martyn will swing his axe at you and Scar — do not choose to take the blow. Taking it kills you and locks you out of the achievement. Pick the other option and Scar lives.
From there the story runs roughly like 3rd Life. Once the battle against Dogwarts is won, BigB, BDubs, Impulse, you, and Scar are left standing. Scar wins BDubs’ loyalty with a clock and orders him to kill BigB after BigB uses his friendship pass. BDubs then kills Impulse. When it’s just the three of you, Scar has you and BDubs fight over a No Kill Pass, and there’s no way to stop BDubs from getting it. Scar then kills you and leaves you on red. When you catch up to Scar and BDubs, BDubs dies no matter who you attack. That makes you stop trying to murder Scar, but the voices of the dead tell you to fight. Scar lets you look around before meeting him in the desert, you win the fight that follows, and then you jump off the cliff. After you die, the achievement pops.
[Route 0] That’s Not How It Went
Now for the other branch off Route 0. To start this one, talk to Scar after you’ve explored the library and agree to help him burn down the Mythic Tree. That’s the trigger for the Have We Been Here Before? route. The Flint and Steel he asks for is up on the mountain in the cave, near where Tango is standing — easy to grab on your way through.
When night falls at the village, the game puts you on creeper duty: you lead it to Scar, and it kills him. Then comes the apology — you promise to stay with him until you lose your first life. Follow him into the desert and stay out there for the night. Save in a separate slot again before you commit. Most of these routes split off from Route 0, so I keep a save at each branch point.
Follow the Original 3rd Life
This route tracks the original 3rd Life pretty closely. If you’ve seen that series before, you can mirror what Grian did in it. Just like with So That’s How It Went, there are a few moments you have to intentionally avoid.
After the first night, when you head out to gather base materials, Jimmy and Scott will offer a cow heist if you talk to them in the forest. Decline it and keep collecting your materials.
While you’re gathering things for your base, you may run into Martyn in the village. Don’t complain too much about Scar in that conversation, and don’t go with Martyn if he offers.
Once the tree magic trick is over, Martyn might show up at the trail to the forest and ask you to commit a crime with him. Decline and let him go on his way.
[Route 4] The Blow You Have to Take
Here’s where this route flips from So That’s How It Went. When you get the option to take the blow from Martyn, take it. His hit lands, and you’re left on red. That does lock you into this alternate ending — because you’re on red too early, there’s no way for things to play out the way they did in the original 3rd Life. Don’t second-guess it; red here is the point, not a mistake.
Scar survives the fight and meets back up with you when you respawn. In this version of the Dogwarts fight, you and Scar both die while you’re still alive together. The achievement pops afterward.
Route 4 starts differently from the Route 0 endings. To begin the Ashes and Alliances route, talk to Joel after you’ve explored the library. He’s in the Forest, west of where Jimmy and the cows are. When you find him, Joel is struggling to tame wolves. Follow the dialogue path and help him tame several of them. At first he just thanks you, but talk to him again and he’ll offer to build a cabin together. Accept, and the Ashes and Alliances route is underway.
The route carries one trigger warning: extreme blood. Keep that in mind before you commit.
From here the route doesn’t branch much until session 6, so you can mostly enjoy the story. You and Joel start out alone. Joel loses his first life in Tango’s Dare to Flare, and you lose yours when a wolf kills you after you try to tame it. I looked for a way around both and didn’t find one. If you try to stop Joel from playing Dare to Flare, Tango calls him a chicken and goads him into it anyway, and even though Joel warns you not to mess with the wolf, the game doesn’t let you heed that warning.
Joel ends up on red when the cabin catches fire while you sleep. You both get out alive at first, but Joel goes back inside to save the wolves. One wolf escapes, but Joel and the rest of the wolves die when the burning wolf collapses. Asking around eventually reveals that Cleo set the fire as revenge for Joel hoarding Mystic Wood earlier — it got out of control, and Cleo feels bad about it. Cleo offers you both a place in the Crastle. Things are tense at first, but you become allies once the threat of Dogwarts rises. You go red after sacrificing yourself for Joel in that fight, which gives you plenty of chances to tell Joel you’d die for him. It upsets him — he doesn’t want to see you die — but eventually he tells you he’d die for you too.
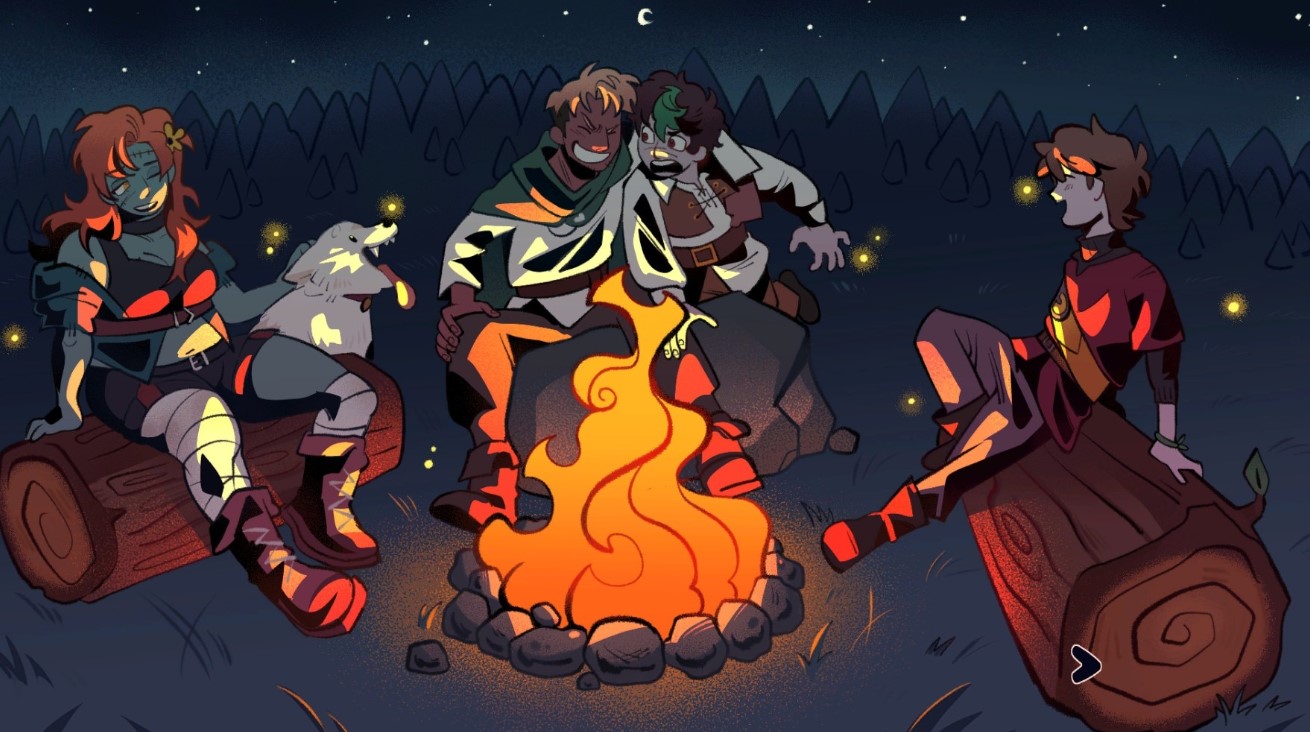
As the final battle with Dogwarts approaches, Cleo and BDubs send you and Joel out to find allies. You ask Etho, Scar, Jimmy, and Scott; only Jimmy seems excited to join. That night you and Joel sit around the fire with Cleo and BDubs, everyone admits they’re afraid of tomorrow, and you call yourselves family.
Save the game when prompted on the night of session 5. Both achievements on this route — this one and A Violent End — branch from that same choice, so the save is worth keeping.
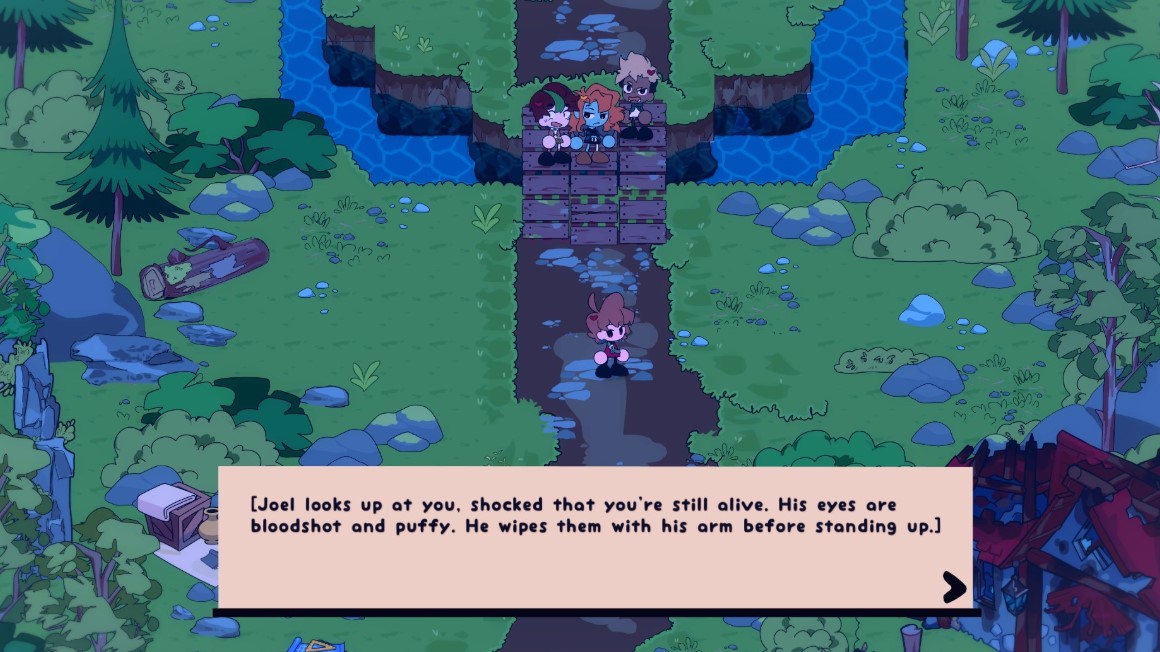
On the morning of session 6, Grian goes outside and finds Joel sitting outside the Crastle. Talk to him and he shares his worries about the coming battle. After that conversation you’re offered a choice: stay with Cleo and BDubs, or run away with Joel. For this achievement, pick running away with Joel. The ending locks in right there, and you immediately lose reputation with Cleo and BDubs even though they haven’t noticed you’ve left yet.
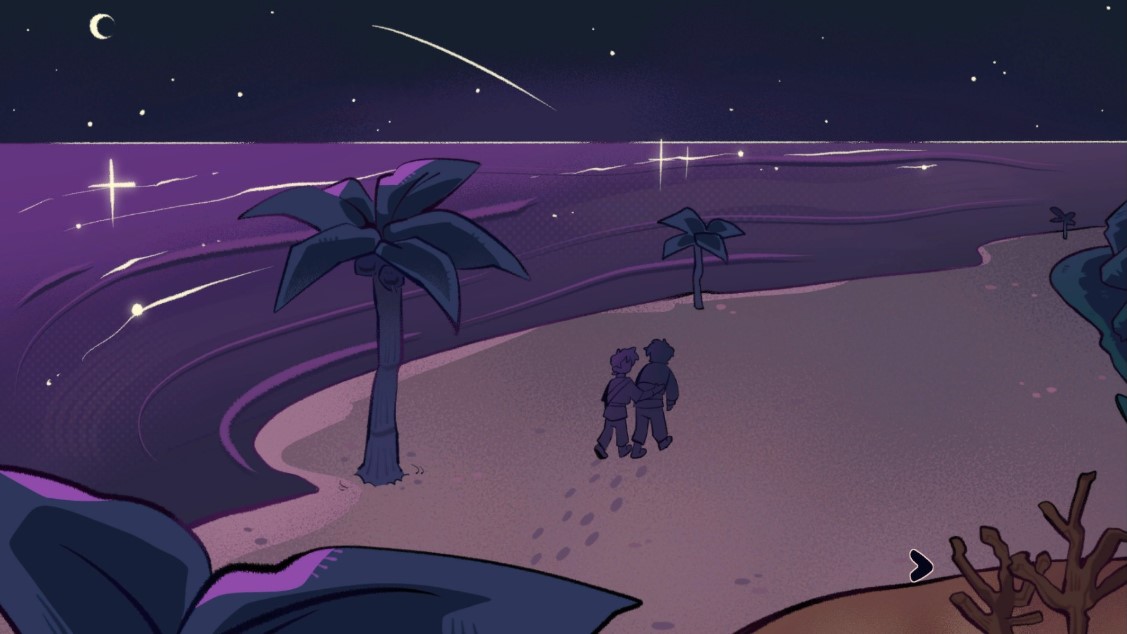
You head to Scott and Jimmy to ask for shelter, but find that Jimmy has died. Scott guesses correctly that you’re running away, calls you cowards, and refuses to help, so you and Joel go to the beach. Martyn eventually finds you there and tells you Scott, Etho, and Scar showed up to fight and all died — Cleo and BDubs included. Then Martyn fights you, and Joel takes the blow for you and dies. With no reason to keep going without Joel, you don’t fight back when Martyn turns on you too.
That earns you the A Lonely Death achievement.
[Route 8] Dal Segno al Coda
This one starts with a music box, not a fight. To open the Music is Magic route, talk to Impulse after you leave the library and agree to gather the materials he asks for. The wood comes from chopping down a tree in the forest, and the diamonds sit in a crate on the beach. Bring both back to him. He’ll tell you it’s for a music box, then hint that he knows you found something in the house you entered when you first arrived at the village. Agree to show him and the route is live.
Before you commit, know what you’re walking into: this route has body horror. That’s not me being dramatic — it’s the trigger warning on the route, and I’d rather you see it now than mid-scene.
Spend the rest of the day doing what Impulse asks. At day’s end, Pearl reveals herself to you. If she asks you for food, say yes — she stays friendly with you on the way back to Impulse, and that goodwill matters later.
For the next several days, be helpful to Impulse as you collect books from other people and dig into what’s happening on the island and with his music box. He’ll try to play both sides at first, but he, Pearl, and you end up siding with the Crastle. While you study the library books, Impulse works out how to mount the Red Jasper on the music box so it can rewind time. Injuries don’t reverse — you find that out when Cleo gets hurt — but he does use it to undo damage on armour. He lets you try it, and you can’t get it to work. That failure is scripted, so don’t waste time retrying.
Impulse eventually goes off to trap Dogwarts, and while he’s gone there’s a fight against Dogwarts in the desert. You show up with Cleo, BDubs, and Pearl. Cleo and BDubs run off to help Scar, and you’re prompted to either help the Crastle or pretend you’re still with Dogwarts. Pick whichever you like — Cleo and BDubs never learn your answer, and Martyn attacks you regardless.
Here’s the part I’d underlined twice: when Martyn fights you, tell Pearl to run. She does not have three lives. If she dies, she’s gone for good and this achievement becomes impossible, so that order isn’t optional. Pearl distracts Martyn long enough for you both to escape, and you regroup with Impulse at the village. After he turns red, he hands you his music box and you keep hold of it.
At the final Dogwarts battle, everyone dies except you, BDubs, Impulse, Pearl, Scar, and Martyn. You and Pearl are sent to find and kill Martyn while Impulse stays behind to comfort BDubs, who is mourning Cleo. You find Martyn at the village — weakened and outnumbered, he goes down easily.
Back at the Crastle, Scar is dead, and BDubs blames Impulse for it. He kills Impulse before you and Pearl can stop him. Choose to kill BDubs in retaliation.
Now it’s just you and Pearl, mourning Impulse. She suggests using the music box to rewind the island and maybe bring him back. Agree, and choose to rewind the music box. The game ends right there, and Dal Segno al Coda is yours.
[Route 8] Fallen Companions
To start the Music is Magic route, talk to Impulse after you leave the library and agree to help him gather the materials he asked for. Chop down a tree in the forest for the wood, and look in the crate on the beach for the diamonds. Deliver both to Impulse, and he tells you he’s making a music box. He then hints that he knows you found something in the house you entered when you first arrived at the village, and he asks you to show him. Agree, and the route begins.
Before you commit to this one, note the route trigger warning: body horror. If that’s not something you want to sit through, pick a different route.
For the rest of the day, do what Impulse says. At the end of the day, Pearl reveals herself to you. If she asks you for food, agree to help her — she stays friendly with you as you head back to Impulse.
Over the next few days, stay helpful to Impulse as you collect books from the other villagers and piece together what’s going on with the island and his music box. That’s the bulk of the route. To actually unlock Fallen Companions, though, your real goal is simpler: get Pearl killed. I’ve found two ways to make that happen.
The fastest way comes in the desert fight against Dogwarts. When Martyn attacks you, don’t tell Pearl to run — tell her to kill Martyn. She obeys. When she struggles, stay silent. Martyn kills her.
The other way takes you further into the story, until BDubs kills Impulse. Instead of killing BDubs, try to talk to him. Pearl moves to kill him instead. If you try to stop her, she gets distracted just long enough for BDubs to kill her.
Either way, once Pearl dies, a short sequence plays and the achievement unlocks.
[Route 8] Self-Inflicted Solitude
This route starts before the Dogwarts fight even happens. After you leave the library, talk to Impulse and agree to help him gather materials. The wood is simply a matter of chopping down a tree in the forest. For the diamonds, check the crate on the beach. Hand both over to Impulse and he’ll explain he’s building a music box. He also lets slip that he knows you found something inside the house you entered when you first arrived in the village, and he wants you to show him. Agree, and the route is live.
Please note the trigger warning here: body horror. Keep that in mind before you commit.
From this point, follow the same path I laid out in the Del Segno al Coda section. Once the Dogwarts fight is done and Martyn is dead, you and Pearl head back to the Crastle. Scar is dead when you arrive, and BDubs is pointing the finger at Impulse. Before either of you can react, BDubs kills Impulse. Kill BDubs in return.
With BDubs gone, you and Pearl mourn Impulse. She suggests using the music box to rewind the island and bring him back.
For this achievement, push back on the idea. Voice your concerns. Pearl will insist anyway. Every time the game prompts you to play the music box, refuse. Keep choosing not to play it until the prompt stops appearing — that’s when the achievement locks in. I found it easy to accidentally accept a prompt by reflex, so slow down on these choices.
Pearl gets frustrated that you won’t play it. After an argument, you break the music box so she can’t try it herself.
She tells you she never wants to see you again, then leaves. You end up alone. Once she’s gone, the achievement unlocks.
[Route 8] Solitude
This one shares its opening with the other Route 8 endings, so you’ll walk the same first steps before things split. Start the Music is Magic route by talking to Impulse after you leave the library, and agree to gather the materials he asks for. The wood comes from chopping down a tree in the forest. The diamonds are in a crate on the beach.
Bring both back to Impulse and he’ll tell you he’s building a music box with them. Then he hints that he knows you found something inside the house you entered when you first arrived at the village, and asks you to show him what it was. Agree, and the route is officially underway.
Worth saying plainly: this route carries a trigger warning for body horror. If that bothers you, keep it in mind before you commit.
Follow Impulse‘s instructions for the rest of the day. At day’s end, Pearl reveals herself to you. Talk to her again and she’ll say she’s hungry and ask you to get her food. For this achievement, you do the opposite of what instinct tells you — refuse her, over and over. She gets angry and storms off. Head back to the village and Impulse admits he already knew Pearl, decides you’re not a good fit, and turns you away. After a short dialogue, the achievement unlocks.
I had to fight the urge to feed her on reflex, so if you’re the helpful type, stay deliberate here. Refusing repeatedly is the whole point, and the game won’t nudge you toward it.
[Route 11] A Promise Fulfilled
To open this route, head back to the statue sitting behind the pool where you first woke up. It doesn’t sparkle or glow like a typical interactable, so I walked straight past it the first time. Walk up and press Space (or your usual interact key) anyway — the game initially just tells you it’s a statue. Keep interacting a couple more times and you’ll get an option to stare at it. The game actively tries to discourage you from staring. Ignore that and keep going until the statue blinks. That’s your cue to move.
Leave the area you woke up in and head west along the shore. You’ll find an altar there. Interact with it and accept the quest to find the missing pieces.
You need three missing pieces, scattered across the map:
- The forest
- The house with the “Who’s Who” board
- The cave in the mountain
Once you have all three, bring them back to the statue. That closes out the setup.
Before you commit, know what this route contains. The trigger warnings are horror, body horror, starvation, depersonalisation, derealisation, trypophobia, and scopophobia. I’m listing them plainly because a few of these caught me off guard and I’d rather you go in knowing.
After the route starts, mostly you just follow the story — there’s very little you can actually influence until the end. One thing I do recommend: talk to the former Evolutionists you meet (Jimmy, Martyn, and BigB). They can sense something is wrong too, and those conversations are worth the detour.
You’ll start regaining your Watcher powers and seeing strange things about the world. Most people will think you’re losing it. The Evolutionists react more strongly to it. Eventually you’ll remember the Watchers and what the games really are, and you’ll want to get your friends out. They keep fighting each other but team up to stop you when you steal the Enchanter and throw it into the lava at the volcano. You try to explain what’s happening and how to escape — but Martyn figures out you’re a Watcher, warns everyone not to trust you, and they all run.
The next morning, Scar and Joel show up at your tent on the beach, hoping to get a chaotic ally out of the situation. You can convince them to help you by destroying the altars, and they agree before running off to find them. The former Evolutionists are at the beach too — still wary, but you can talk them into helping. The rest of the island joins in. Everyone heads to the volcano where you plan to escape.
As you go to join them, the Watchers block you multiple times. You play tough and make it to the others, but they follow and try to stop you leaving. You can pick either to act strong or exploit their weaknesses — it has no effect either way, so just pick whichever you like.
Then comes the choice that matters: stay with your friends, or do something drastic. For this achievement, pick the drastic option.
You open the portal beneath the others without escaping yourself. They protest but can’t stop it. You’re left alone with the Watchers, who kill you — though you die without regrets. The achievement unlocks afterward.
[Route 11] Never Alone Again
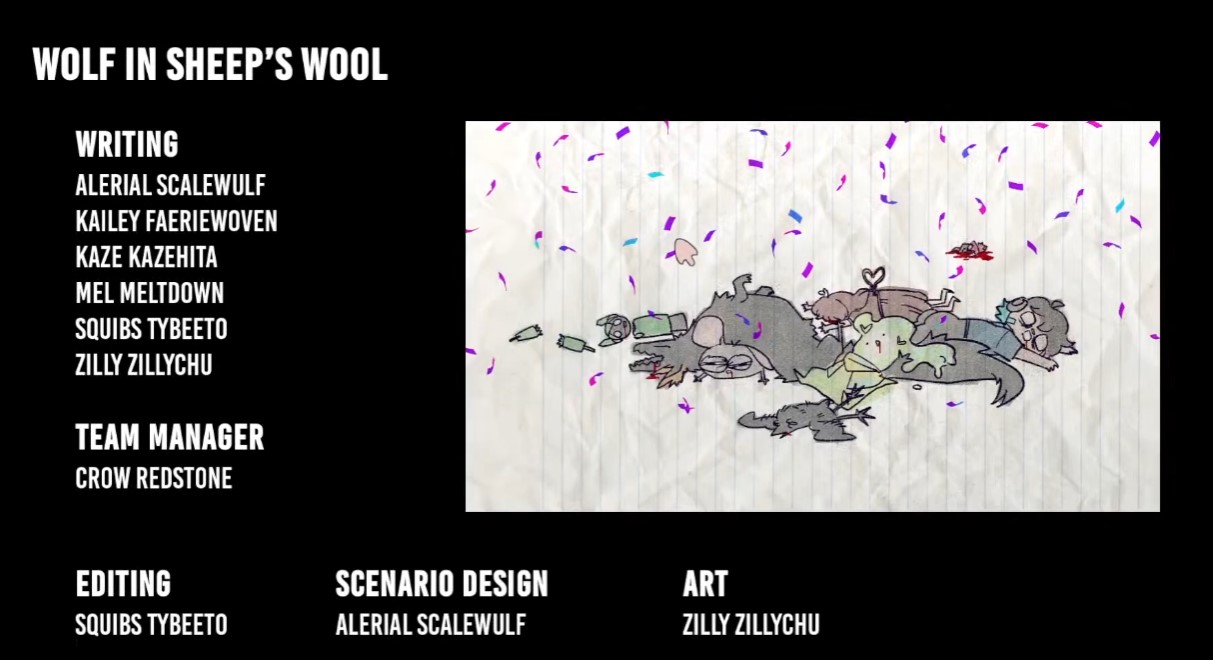
This one finishes the same route as before, so if you already read the A Promise Fulfilled section, the setup will look familiar. The route itself is called Wolf in Sheep’s Wool, and it starts with a statue behind the pool where you wake up. It doesn’t sparkle, so it’s easy to walk right past. Just go up to it and press space, or whatever interaction key you have bound.
The first few interactions only tell you it’s a statue. Keep going. After a couple more tries, you’ll get an option to stare at it. The game will try to talk you out of it — keep staring anyway. Eventually the statue blinks.
Once that happens, leave the area you woke up in. Head west along the shore and you’ll find an altar. Interact with it and accept the quest to find the missing pieces.
The pieces are scattered around: one in the forest, one in the house with the who’s who board, and one in the cave in the mountain. Collect all three, then bring them back to the statue.
Before you commit to this route, be aware of what it contains. The original notes list the trigger warnings as horror, body horror, starvation, depersonalisation, derealisation, trypophobia, and scopophobia. I’d rather you know up front than get surprised partway through.
After the first several days, everyone heads to the volcano where you plan to escape from. As you move to join them, the Watchers stop you several times. You play tough and reach the others anyway, but the Watchers follow and try to block your way out. When you get the option to act strong or exploit their weaknesses, it doesn’t matter which you choose — the result is the same either way.
Then comes the same fork as the previous section: stay with your friends, or do something drastic. For this achievement, pick to stay with your friends.
Fair warning on what that means. Staying apparently leads to you eating them. It’s a choice, all right. The achievement pops soon after.
Conclusion
That’s the last of the endings I have solid notes for. This guide stays incomplete because the original author was still mapping routes when they stopped — if you find an ending I haven’t covered, that’s not a mistake on your end.


