
The build is intentionally simple and beginner-friendly. It relies on a small number of core machines arranged in a clean layout, so you can drop it down, wire up the power, and let it run while you focus on exploring the moon. If you have been hand-feeding machines or running out of power at night, this setup is the fix.
What You Need Before You Start
- A cleared, flat patch of ground large enough for three pressure chambers, three stone presses, two capsule catchers, and your solar field.
- Enough materials to build the machines themselves plus the connecting belts or pipes between them.
- Access to large solar trackers — the only power source this build uses.
- At least one Junice machine at your base to receive the finished output.
How the Production Chain Fits Together
Before placing a single machine, it helps to understand the flow. Capsule catchers gather incoming resource capsules and feed them into pressure chambers. The pressure chambers process that material and pass it onward to stone presses, which turn it into usable output. A second capsule catcher handles lunar dust so the presses always have what they need. Finally, a solar grid keeps the whole line energized so nothing stalls overnight. Once every link is connected, the factory runs itself.
Building the Automated Factory
Capsule Catchers and Pressure Chambers
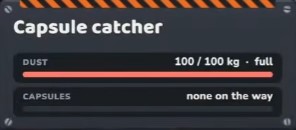
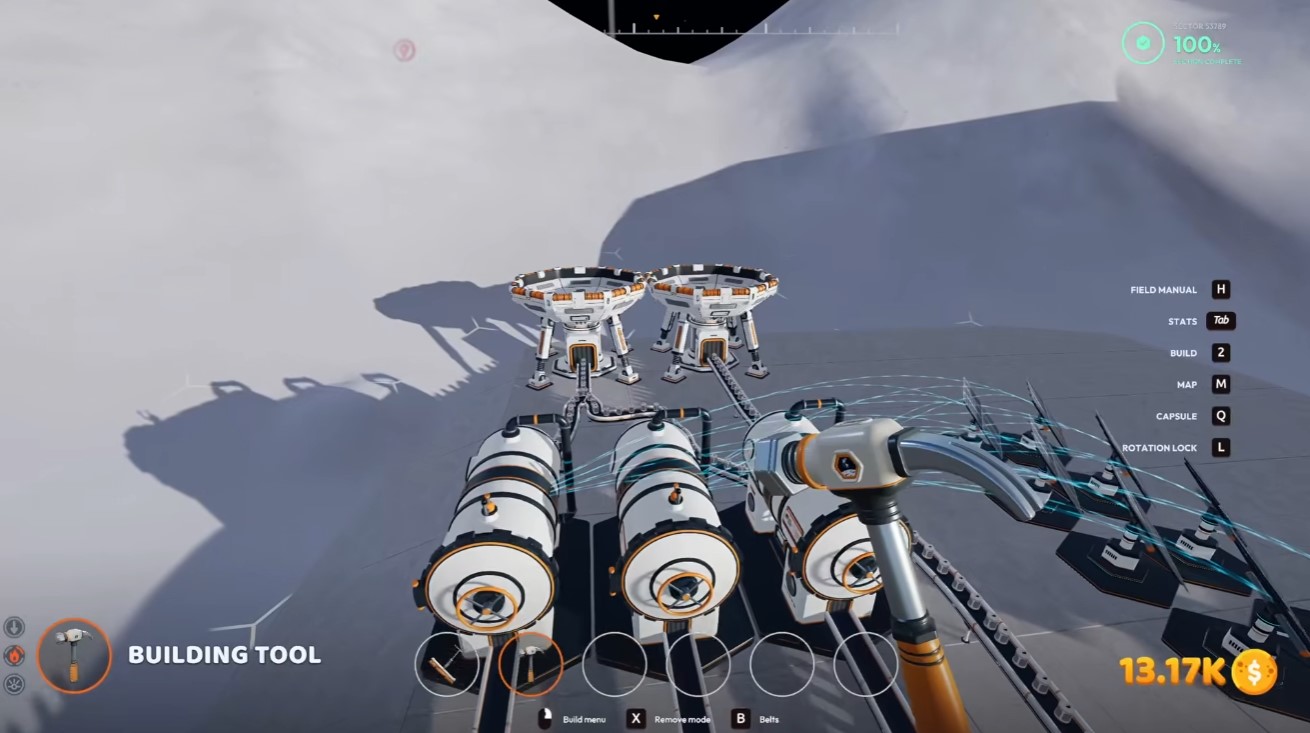
Start with a single capsule catcher and route its output directly into your pressure chambers. The sweet spot here is three pressure chambers fed by that one catcher. Three keeps the line busy without overcomplicating how you split the incoming capsules, and it produces a steady, balanced throughput.
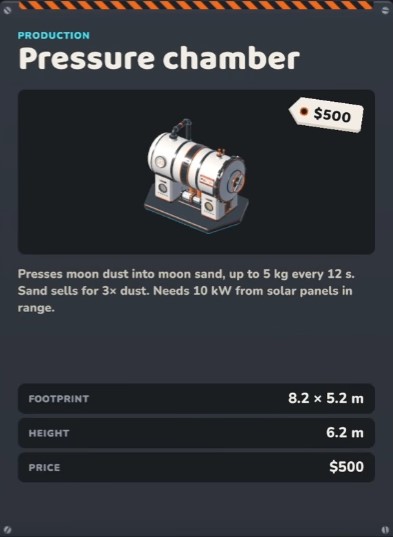
- Place the capsule catcher so its output feeds straight into the pressure chambers with no long detours.
- Keep the chambers close together so the splitter feeding them stays tidy.
- Three chambers is the recommended number; four can work but makes splitter placement fiddlier and can leave machines starved.
Stick with three pressure chambers for a clean, balanced build. Adding a fourth is possible, but the extra splitting often causes uneven feeding and complicates your layout.
Connecting Pressure Chambers to Stone Presses
Each pressure chamber should feed into its own stone press so processed material moves straight into pressing without backing up. If your layout demands it, you can split the output from a single pressure chamber across multiple stone presses, but the cleanest and most reliable arrangement is a one-to-one pairing.
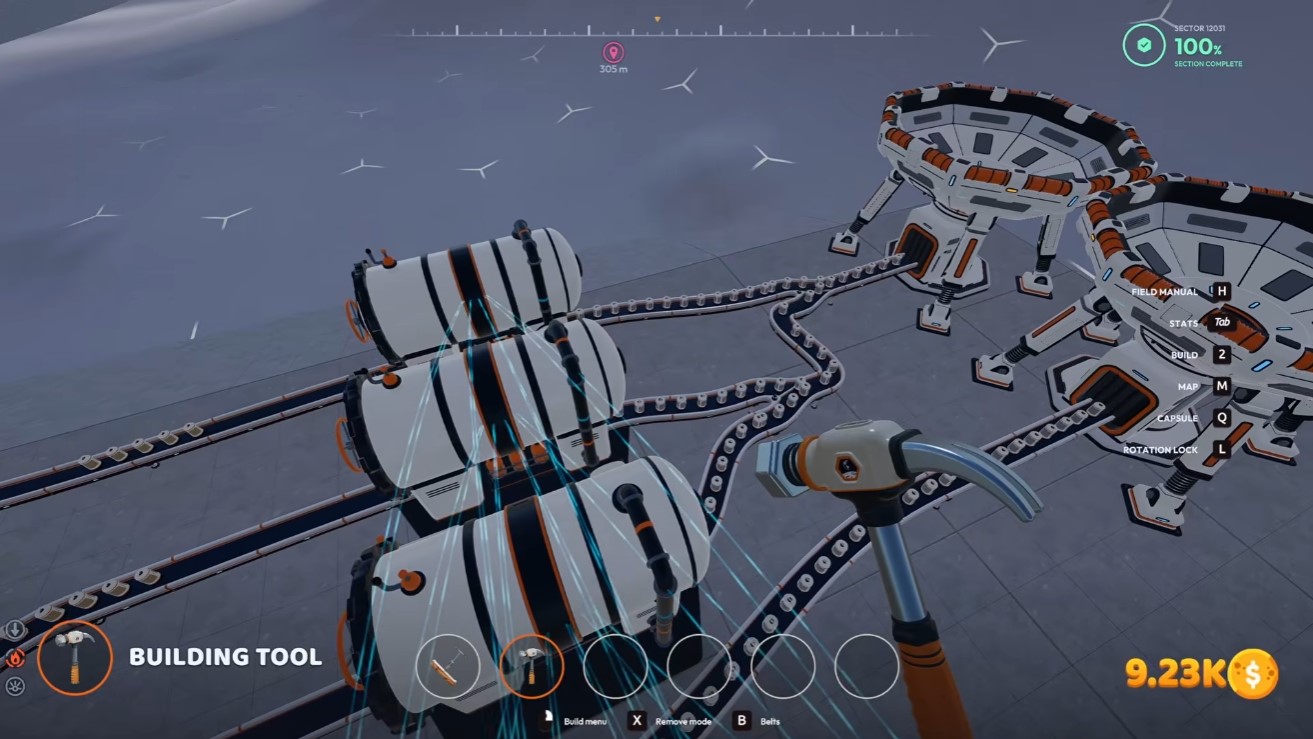
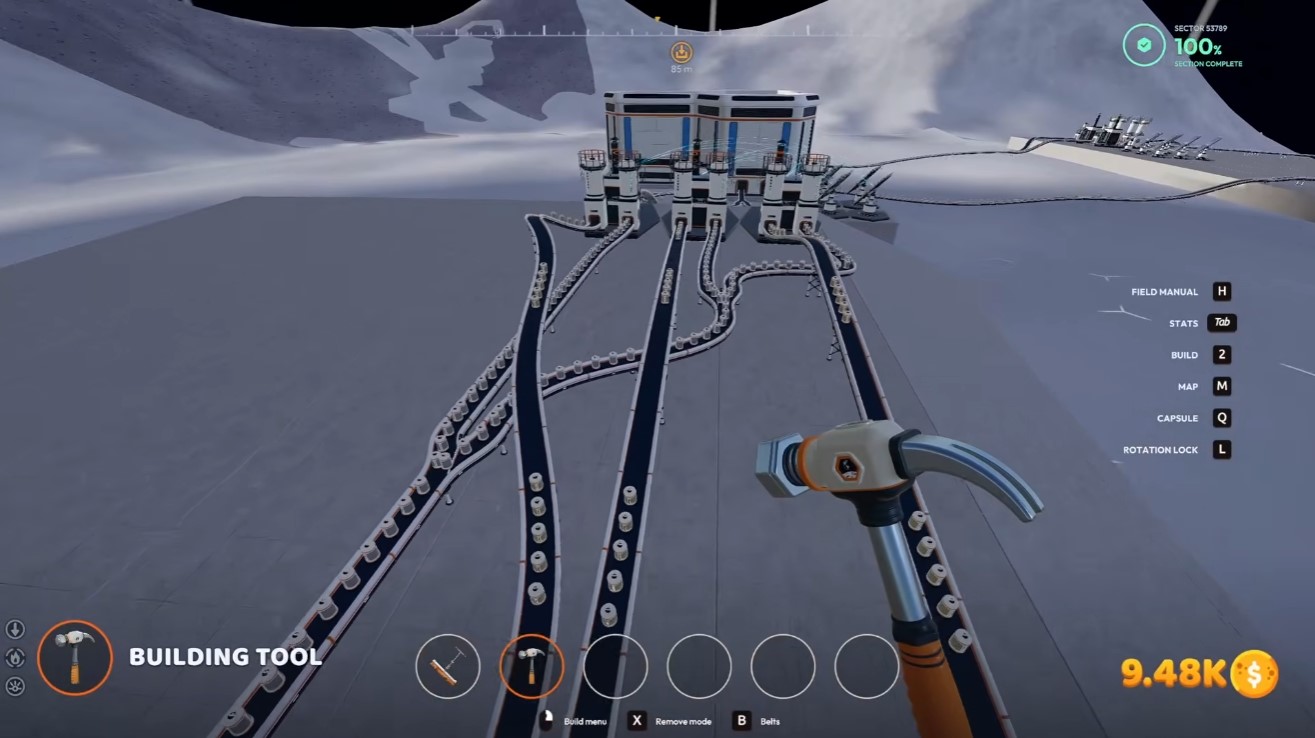
- Align each chamber’s output with the input of its stone press to avoid bottlenecks.
- Double-check that belts or connectors actually touch both machines — a small gap silently halts production.
- Watch the presses for a moment after connecting; if one sits idle, its feed is misaligned.
Adding a Second Capsule Catcher for Lunar Dust
Lunar dust is a key input, and a single catcher handling everything can leave your presses waiting. Place a second capsule catcher dedicated to lunar dust and connect it to the same three stone presses. This keeps a constant supply flowing so the presses never run dry while the first catcher handles the primary material.
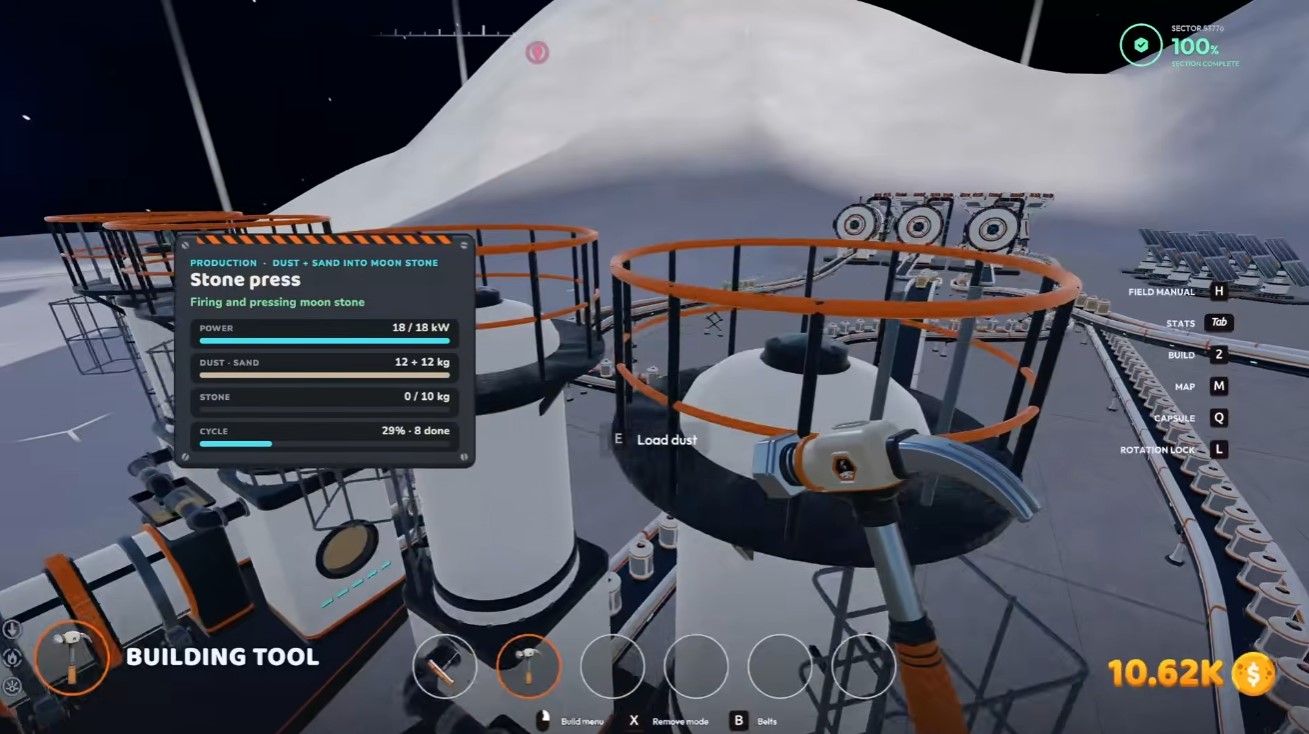
- Dedicate the second catcher purely to lunar dust for predictable, uninterrupted feeding.
- Route it into the same stone presses so both resource streams converge where they are needed.
- Confirm the dust line reaches every press, not just the nearest one.
Powering the Factory with Large Solar Trackers
Power is where many automated builds fail, so keep it simple: build only large solar trackers. Other power options are not worth the time or space in this setup. The rule of thumb is two large solar trackers per pressure chamber, which gives you enough stored and generated energy to keep the factory running continuously — including through the night.
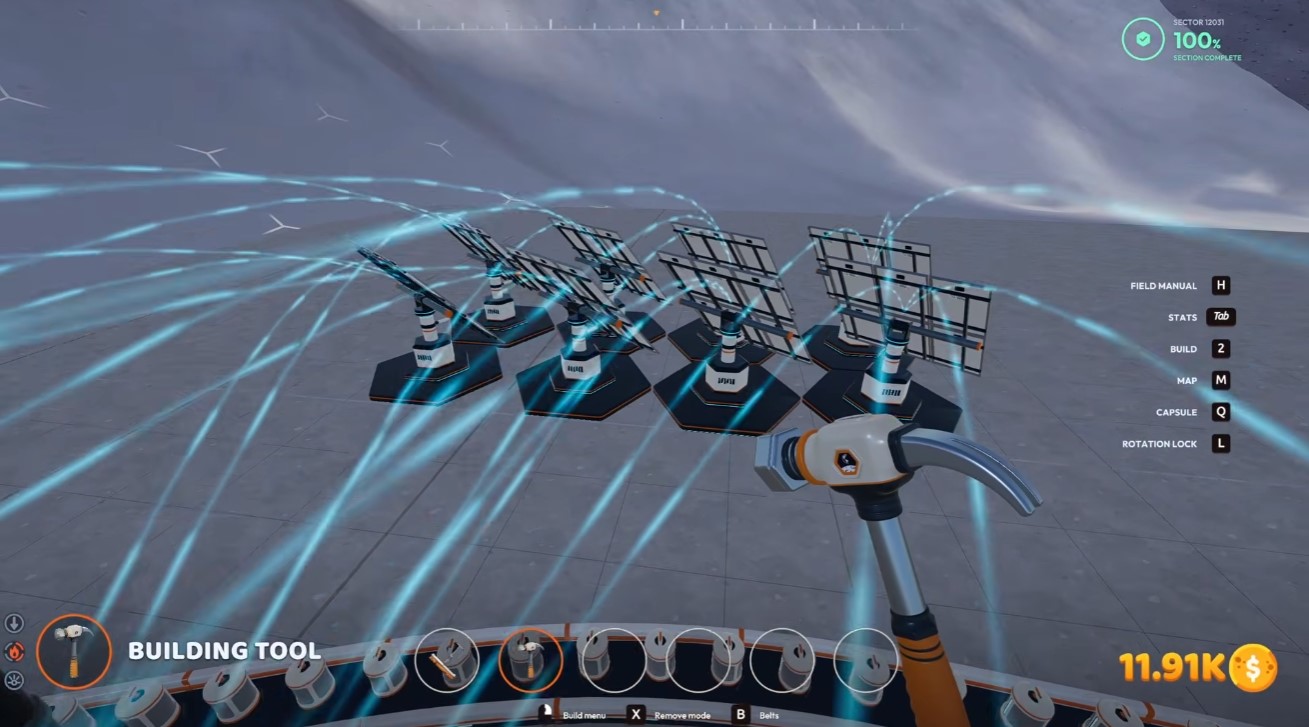
- Place two large solar trackers for each pressure chamber you built.
- Keep the solar field clear of obstructions so trackers can follow the sun and maximize output.
- Verify the grid holds steady overnight; if machines slow down after dark, add capacity.
Skip the alternative power sources entirely. Large solar trackers are the only generator worth building here — two per pressure chamber keeps the whole line alive through the night.
Keeping Junice Machines Running
The final piece is your Junice machines at base. These accept capsules from anywhere on the moon, so as long as they stay supplied, they will keep processing your factory’s output. A reliable trick is to have a capsule catcher dump directly into the Junice machines so they are always moving and never idle.
- Make sure your Junice machines are built and operational at your base.
- Feed them continuously — a dedicated capsule catcher dumping straight in keeps them busy at all times.
- Do a final pass to confirm every machine in the chain is running before you walk away.
Final Activation Check
With all machines placed and connected, take a lap around the factory and confirm the full chain is live. Capsules should be flowing into the catchers, pressure chambers should be processing, stone presses should be receiving both material and lunar dust, and the solar grid should be keeping everything powered. If any machine sits idle, trace its input line back to the source — the culprit is almost always a misaligned connection or an underfed splitter.


