Not sure if you understand something about Atelier Resleriana: Forgotten Alchemy and the Polar Night Liberator? Look here!
INTRO: What does this guide explain?
Everything will be separated into sections, so you can easily jump to what you wanna know more of.
Character Attributes & Damage Types
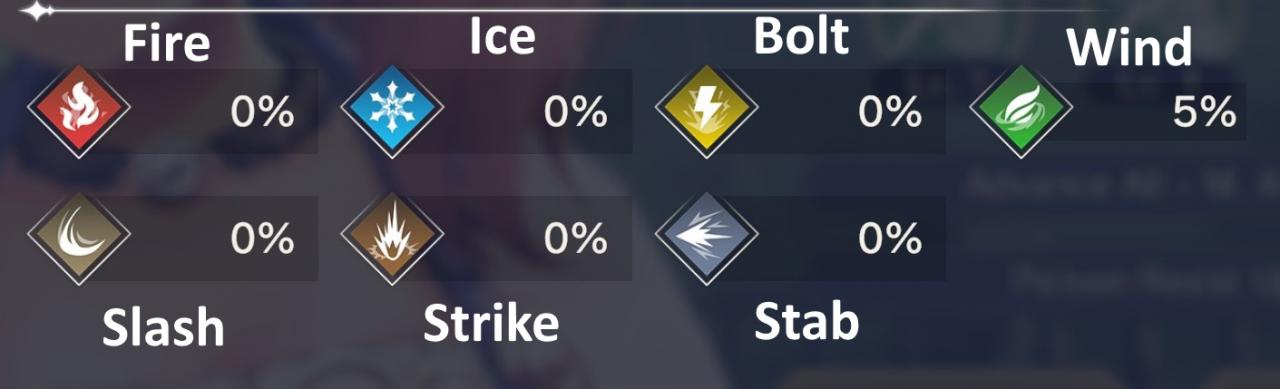
These are all the attributes/elements in the game. It’s important to know what is Magic damage and what is Physical damage, because when synthesizing/picking Memoria, you will want to know what type of damage a character deals so you can take advantage of the bonuses.
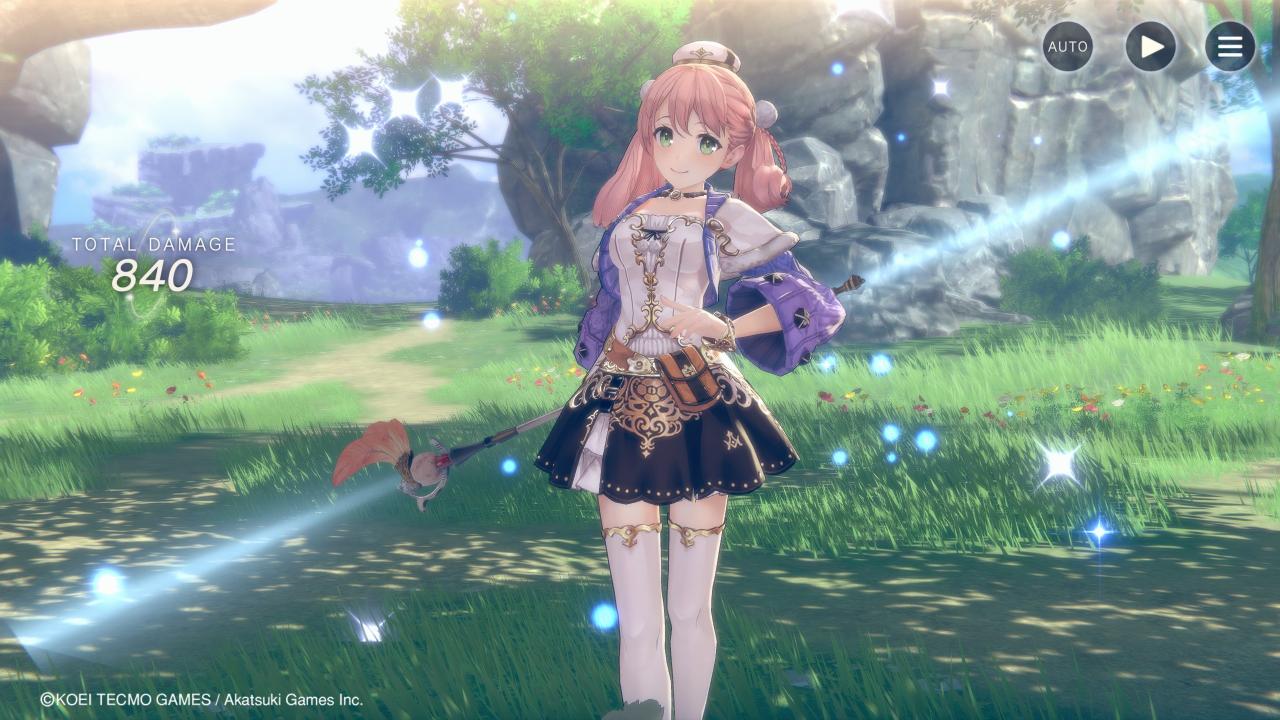
If you need to check what attribute a character has just to be sure, you can either check the color of the icons near their name or skills (In this case, Escha’s icons are green, indicating she’s Wind.

Any character that has Fire, Ice, Bolt, or Wind attributes will deal Magic damage to enemies.

Inversely, any character that has Slash, Strike, or Stab attributes will deal Physical damage to enemies.
Like I said, when it comes to picking memoria or synthesis traits, you’ll want to pick the appropriate things so you can take advantage of those stat bonuses.
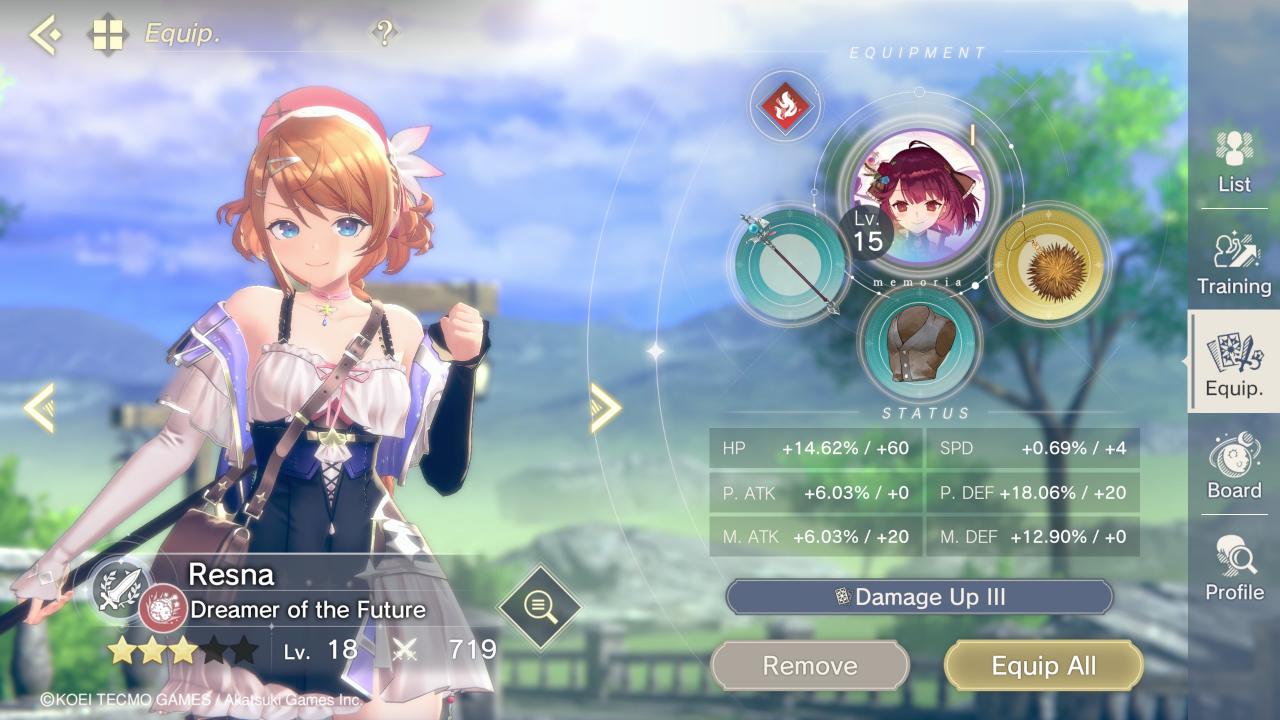
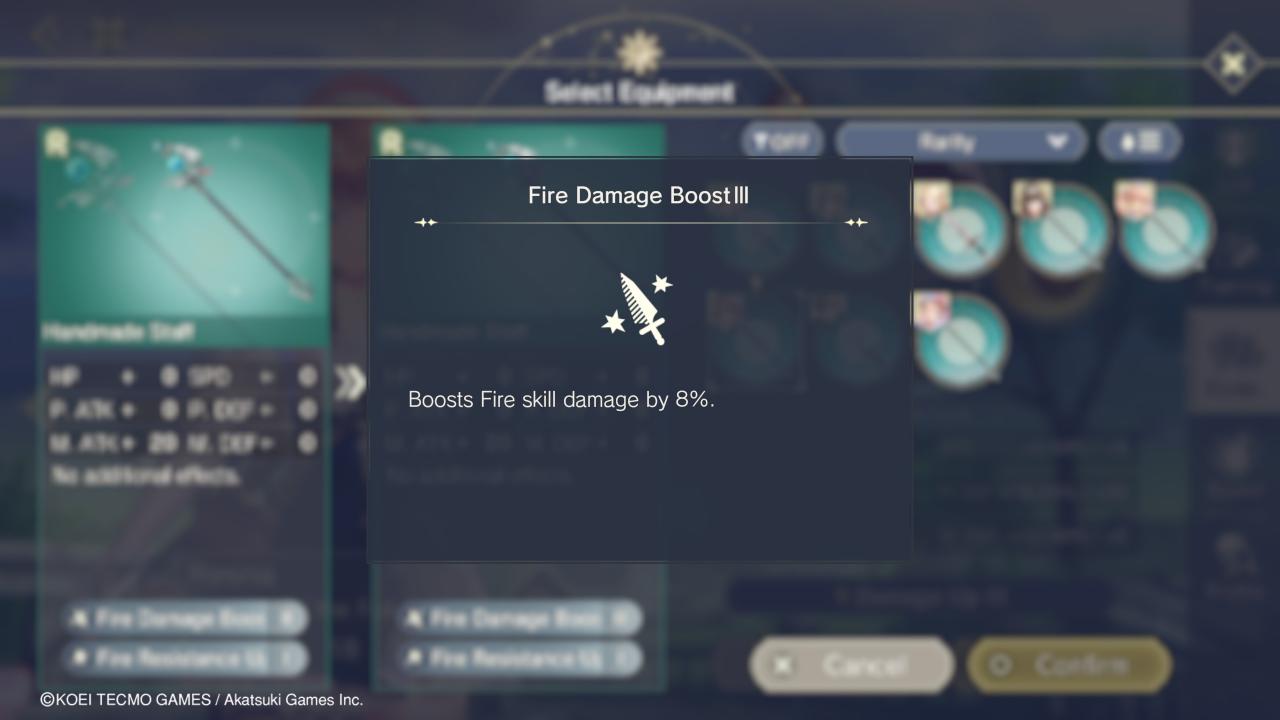
In this case, Resna’s weapon has a “Fire Damage Boost” trait, which will benefit her because she deals fire damage.
Character Roles
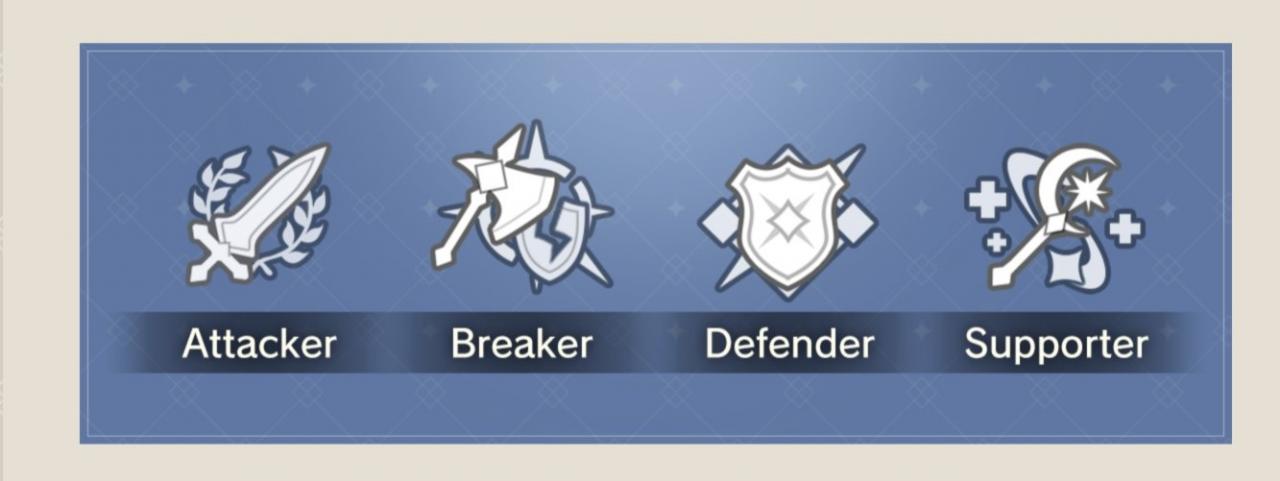
- Attackers deal lots of damage to an enemy’s HP bar; basically your primary damage dealers.
- Breakers can easily deplete an enemy’s Stun/Break gauge which makes them take more damage and greatly take back their position in the turn order
- Defenders can take more damage from enemies than usual, are more likely to be targeted by enemies, and/or can protect their teammates from incoming damage.
- Supporters are good at buffing or healing allies to keep them in good shape.
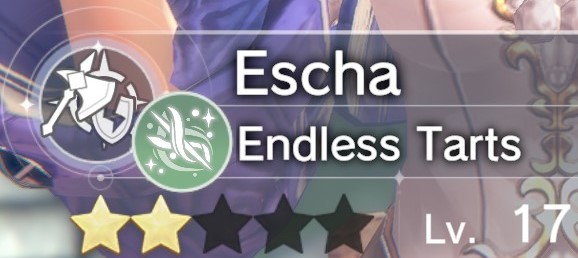
You can easily check what role a character has next to their name when you select them, just like the attributes (In this case, you can see Escha is a Breaker).
Synthesis Basics
Firstly, you pick the item you wanna make. Simple enough. You need the required materials to be able to make the item in the first place.
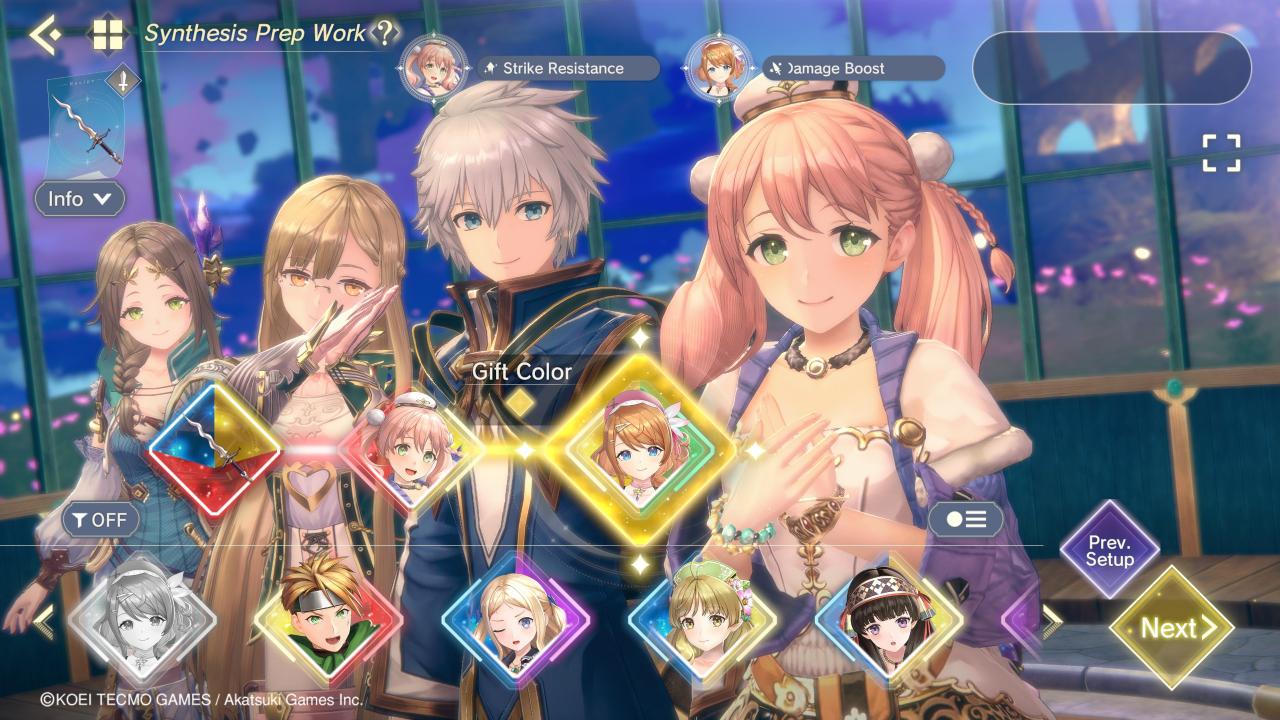
Next, you’ll be selecting which two characters will be participating in Synthesis (The first three characters are purely cosmetic and do not effect the outcome of the synthesis)., along with an extra material. These characters/mats you select will determine what traits will potentially be put onto the item. Their traits might change depending on what type of item it is.
What traits are actually applied to the final item, along with their rank, is random.
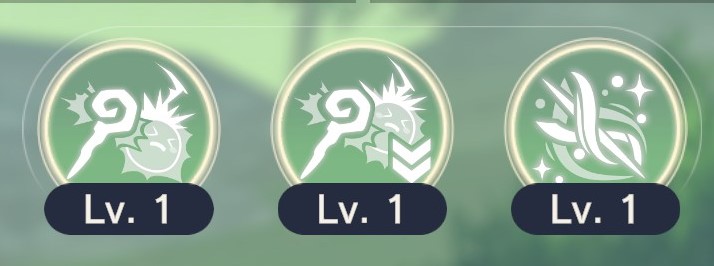
In general, these traits are known as “Gifts”. Each character has specific gifts which could appear on a synthesized item, as stated before. Each character also has a “Gift Bonus” which affect the synthesis as a whole.
Let’s look at Escha’s gift as an example.
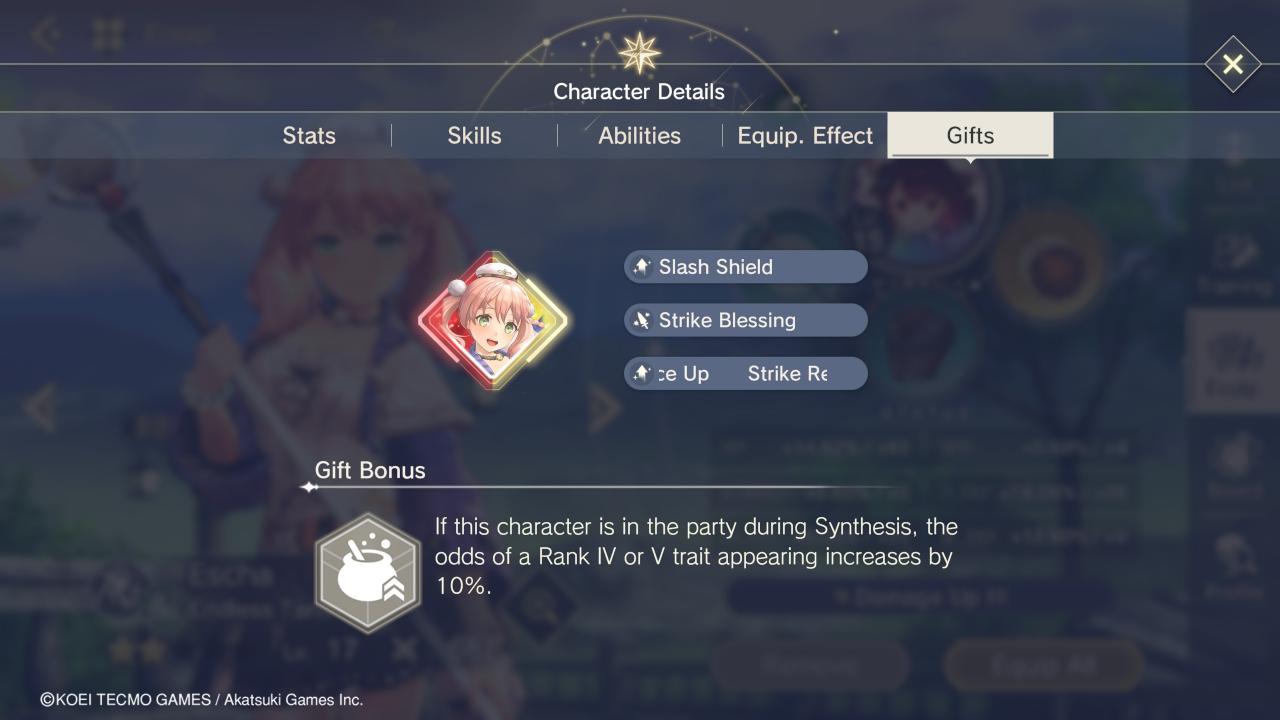
The three gifts next to Escha’s icon are the traits that can potentially be applied to the synthesized item. The Gift Bonus on the bottom affects the synthesis as a whole, as previously stated.
The gifts often have different ranks, likely from I to V (1 to 5). The higher the rank, the more powerful the trait will be.
It should be noted, not every gift a character has will work on every item. The traits that won’t do anything will be darkened on the prep screen, but will still have a chance of being applied to the final item. Do keep in mind that using a character with a trait that doesn’t apply will lessen your chances of having a more useful item.
The other important aspect to keep in mind is the color of each character’s icon during synthesis. In general, it works like this:
– Each character has two colors on their icon. You want to match the colors of each character and material in order to get the most benefits. Think of it like putting two pieces of a puzzle together.
Let’s look at an example to better illustrate this.
– As you can see, the initial material will have 3 colors on it’s icon, this indicates the starting point of who to select. The color on the left side of a character’s icon should connect to the previous icon, while the color on the right side should connect to the upcoming icon. In this example, one of the colors of the sword is Red, and Escha’s left color is Red, therefore they will connect. Resna follows Escha; Escha’s right color is yellow, and Resna’s left color is yellow, therefore they will connect. Makes sense, right?
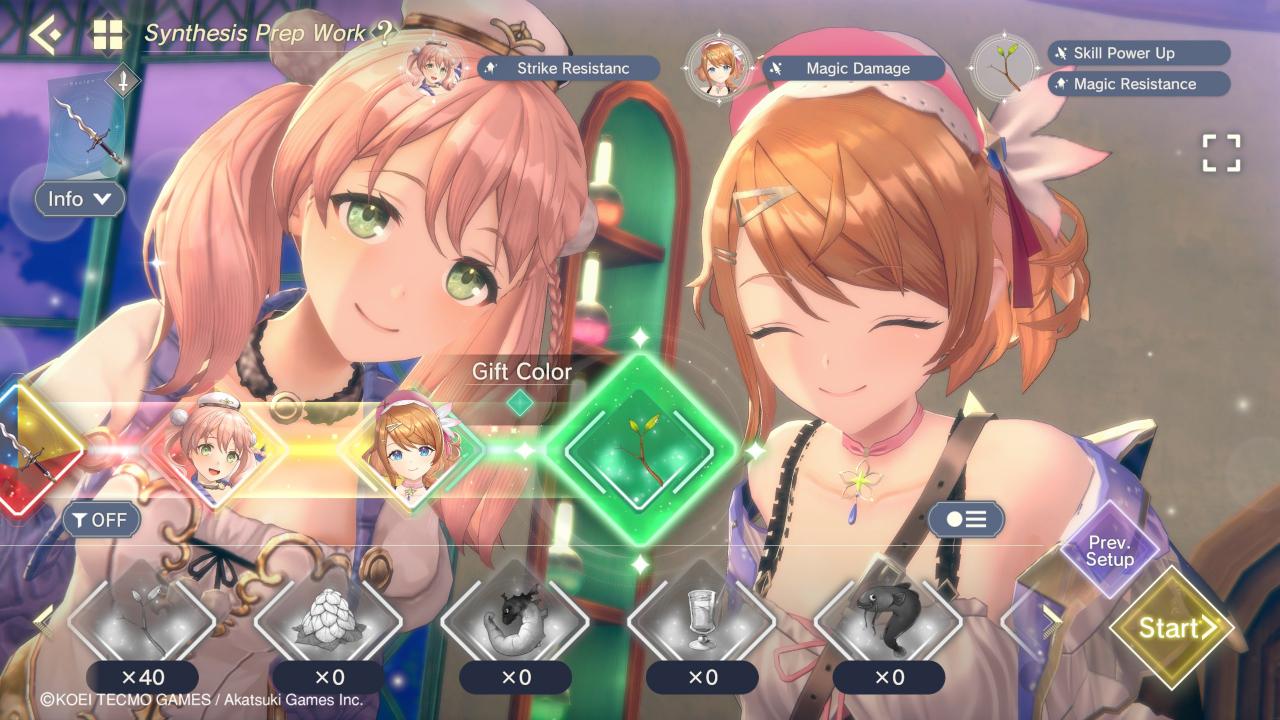
– Now, after you select your two characters, the second character’s right color will determine what type of materials you can select. Each material also have their own traits which can potentially apply to the final item. In this case, Resna’s right color is green, so we can only pick materials that are colored green. If we wanna pick from a different list of materials, we would have to use somebody other than Resna as the second character.
Battle Basics
On the battle timeline, you’ll see various icons. There are only 3, but they’re important to keep in mind as you’re fighting to take advantage of them.
– The blue crystal icon will Increase that character’s damage by 40% on that turn. Obviously, a big deal that you wanna take advantage of. Ideally, your Attackers will be able to take advantage of this buff. Keep away from enemies.
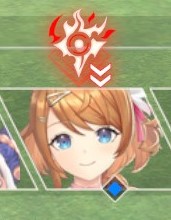
– The red crystal icon does the opposite, it decreases that character’s damage by 40% on that turn. Ideally, you want either your non-damage characters (such as supports) to have this burden, or even better, the enemies so they deal less damage to you. It would be a shame if your Attackers happen to have this debuff.
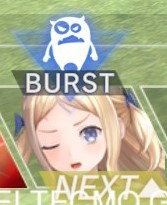
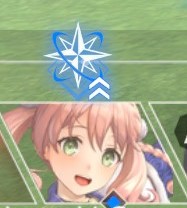
– And this one is most important: the burst icon. This means the character will be able to use their burst ability on that turn. Bursts are basically ultimates. If you choose not to use your character’s burst on that turn, then the opportunity is lost, so in the vast majority of cases, you wanna use someone’s burst whenever you’re able to.
Obviously, it’s bad news for you if the enemy is able to use their burst on you. Prevent that from happening at all costs.
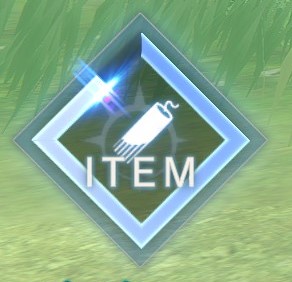
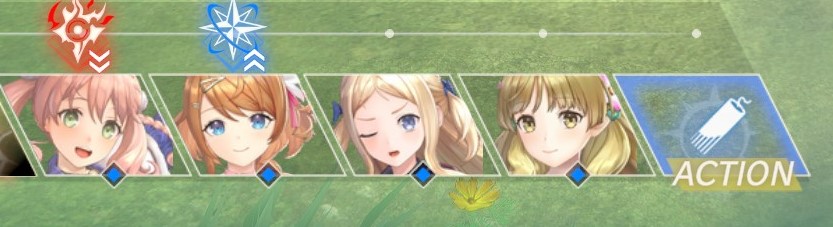
-Items you create via synthesis are able to be used in battle. Now it’s important to know: These items will not disappear if you use them too much and will exist forever, but they have finite uses in individual battles.
– Firstly, you gotta fill up the item gauge which is on the left side of the screen. It fills up naturally as the battle progresses.
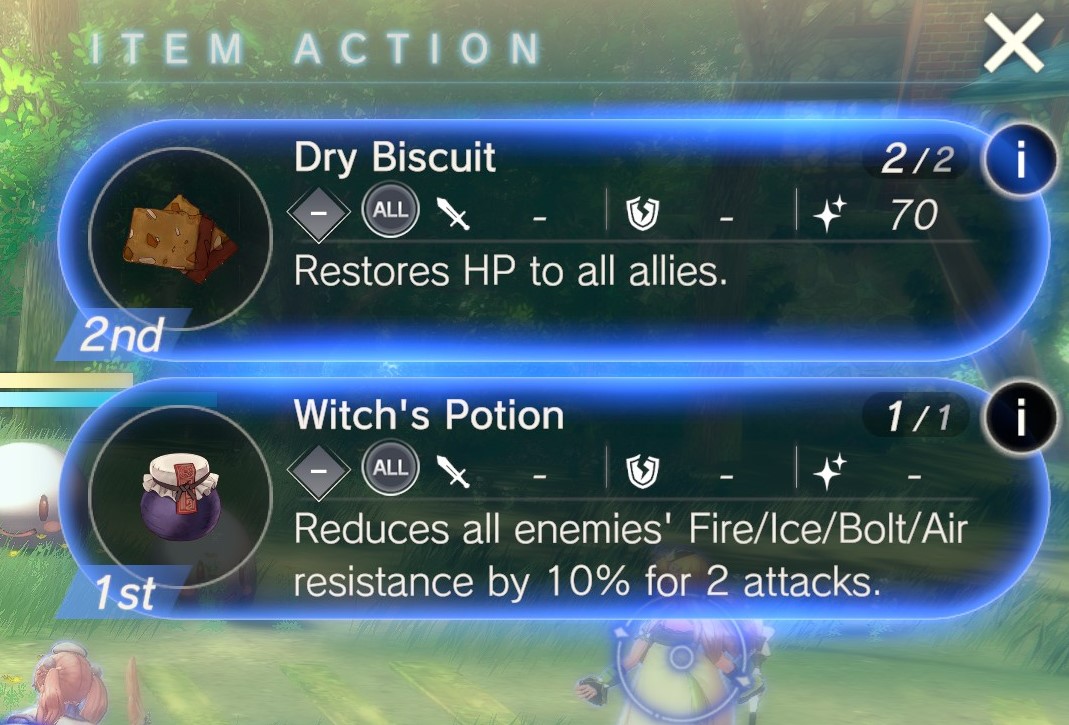
– After that, you can pick either one, or multiple items to use. And yes, you can use multiple items in a single go if you so please. Simply click the items in the order you want them to be used, then execute the action.
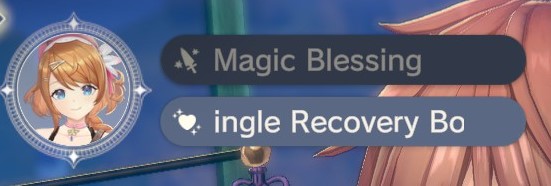
– The number counter on the top right of the item’s window indicates how many more times the item can be used in this battle. In this case, the Dry Biscuits have 2 uses, and the Witch’s Potion only has 1 use. Use them at just the right time.
So you wanna take advantage of these buffs, but you’re completely helpless as to control them right? Wrong, there are a few ways you can influence the battle timeline so you can line up these buffs the way you want them to happen. Generally, keep these three methods in mind:
– Think of which skill to use. In general, a character’s first skill does weaker damage than their second skill, but the wait time between actions is shorter, so that character will be able to perform their next turn sooner. You can see the specific amount of delay a skill will cause by looking at the clock icon on their skill description by hitting the “i” icon near the skill window.
You will also see where on the timeline that character will be next time before you execute the skill, indicated by the “NEXT” text below them.
– Use items. If you decide to use an item, every character’s action in the timeline will go back 1 space. This can give you just the right amount of space you need to get the right buffs or debuffs you want. In this example, you can see Resna (an Attacker) is able to take advantage of the damage buff instead of Escha because of using an item.
– Break enemy’s stun gauges. Clearing the timeline of enemy turns just makes things cleaner so you can have more opportunities to get the buffs you want. Pretty self-explanatory.