Bored of plainly popping bloons and looking for a challenge? This guide will help you to become the chad monkey general who dominates the game in mastery mode.
Before beginning
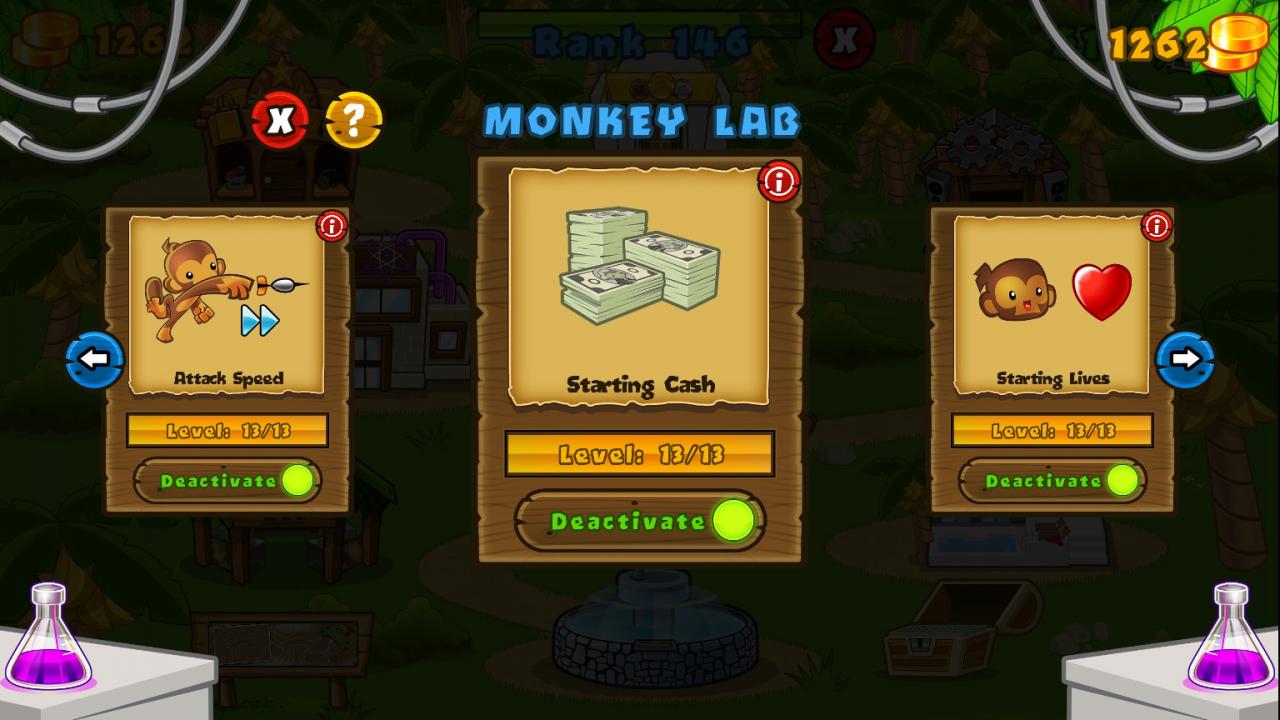
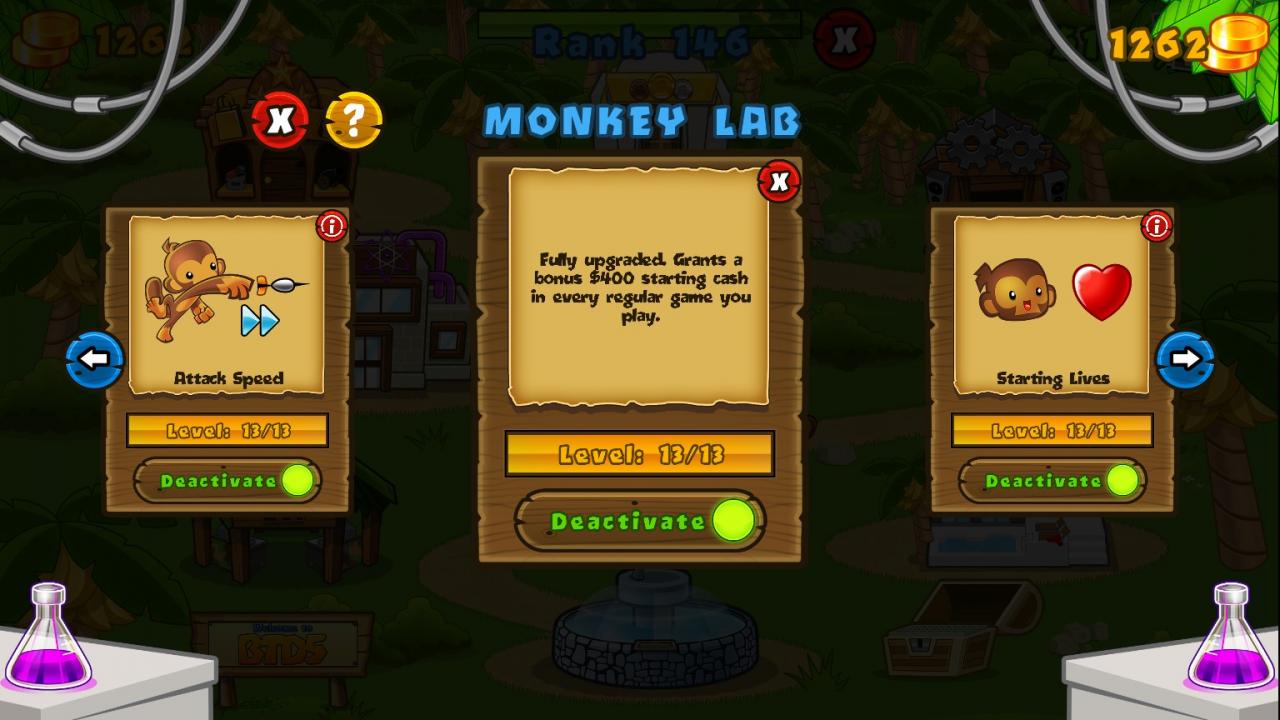
Needless to say, this mode is not for beginners and you better have some upgrades done in the monkey laboratory. My foremost suggestion is starting cash since getting a banana farm as early as possible plays a crucial role in defeating Mastery mode. If you manage to max out starting cash along with the double cash upgrade, you will begin with 2100 money, which will grant you an immediate banana farm at the beginning.
Choosing Map
One trick is to use the Reverse Track option to obtain a more favourable bloon location. Take the Advanced map of Water Hazard for instance.
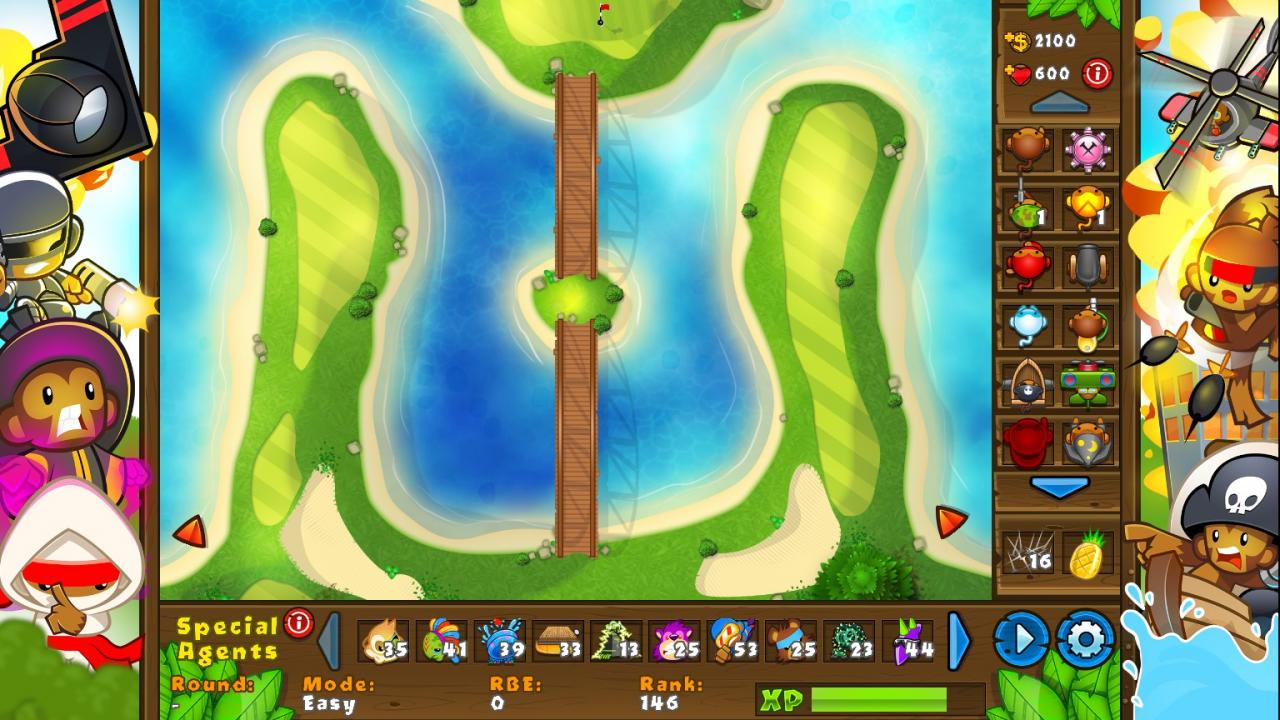
This map contains two totally separated bloon tracks that come very closer near the end of the map. It is not impossible to beat without giving a fair amount of effort, however, you would need to either split your forces or concentrate them further from the initial spawn points of bloons. It is not enjoyable to deal with such a case, especially in Mastery mode. You will want to have enough room to make a move if bloons manage to make a run for it.
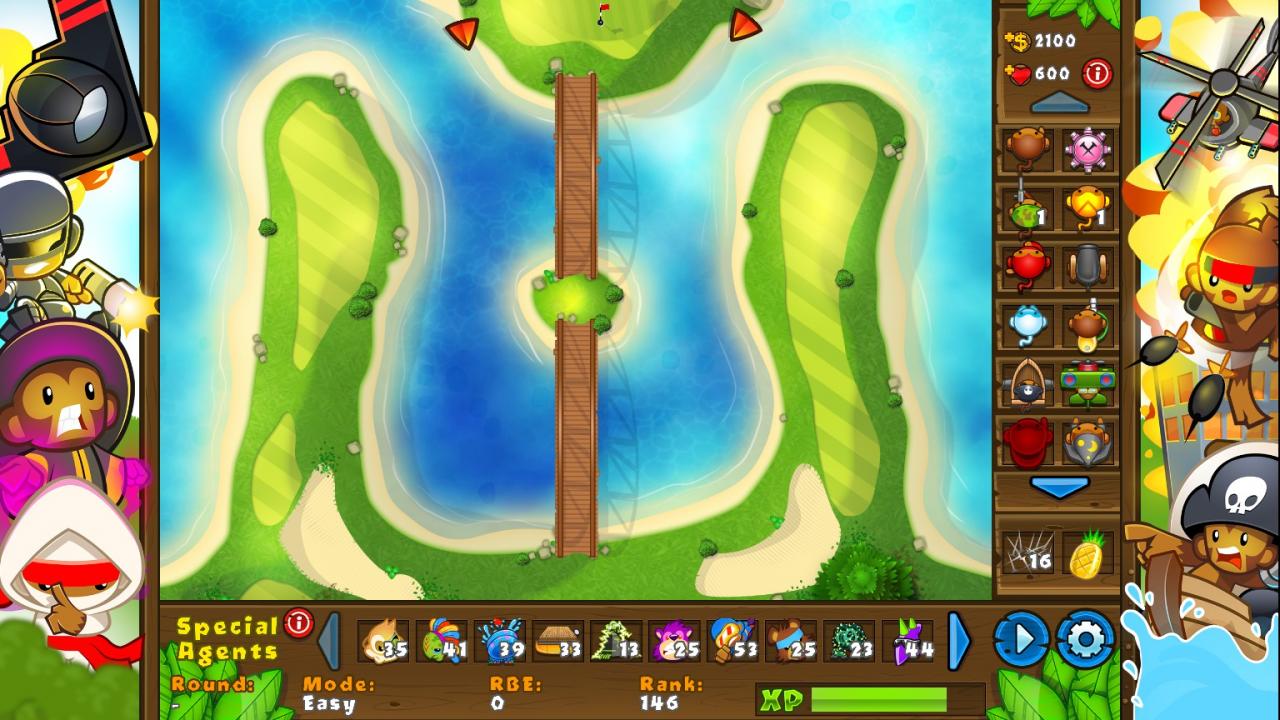
Using the Reverse option helps a lot in putting bloons tighter and easier to track. This does not work on all maps and Reverse sometimes works in the opposite way, separating bloons instead.

Crypt Keeper is one such map and the Reverse mode is advised to be used in easy mode only.
Early Game

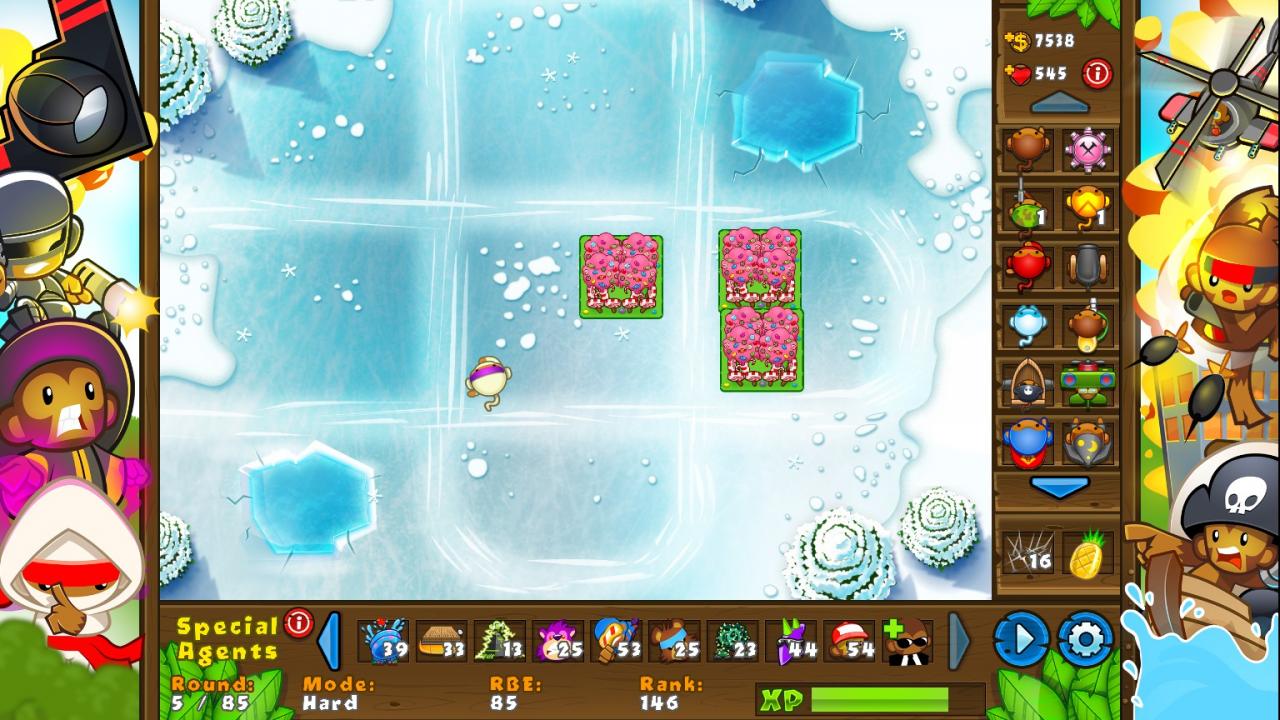
As said before, you will most likely need banana farms to acquire the necessary finances. The difficulty in Mastery mode increases similar to that of an exponential function and there are many jail rounds that will mow all your efforts if not well-prepared.
Furthermore, you should NOT upgrade your Banana Plantation to Banana Republic immediately. Banana Republic puts up a slightly lower performance / price ratio than Banana Plantation. This is, of course, assuming that there is feasible space to build farms.
Middle Game
The Banana Farms produce the same amount of products regardless of the in-round changes. Therefore if you upgrade a Banana Republic to a Banana Research Facility at the very beginning of the round, you are going to get 13 crates of banana for that round. If you have Sell Price upgraded to a decent level, you can sell your facility, buy a republic, start the round, upgrade it to the facility again, and repeat the whole process. You should stay focused though since as mentioned before, there are unpredictable difficulty spikes that can catch you off-guard.
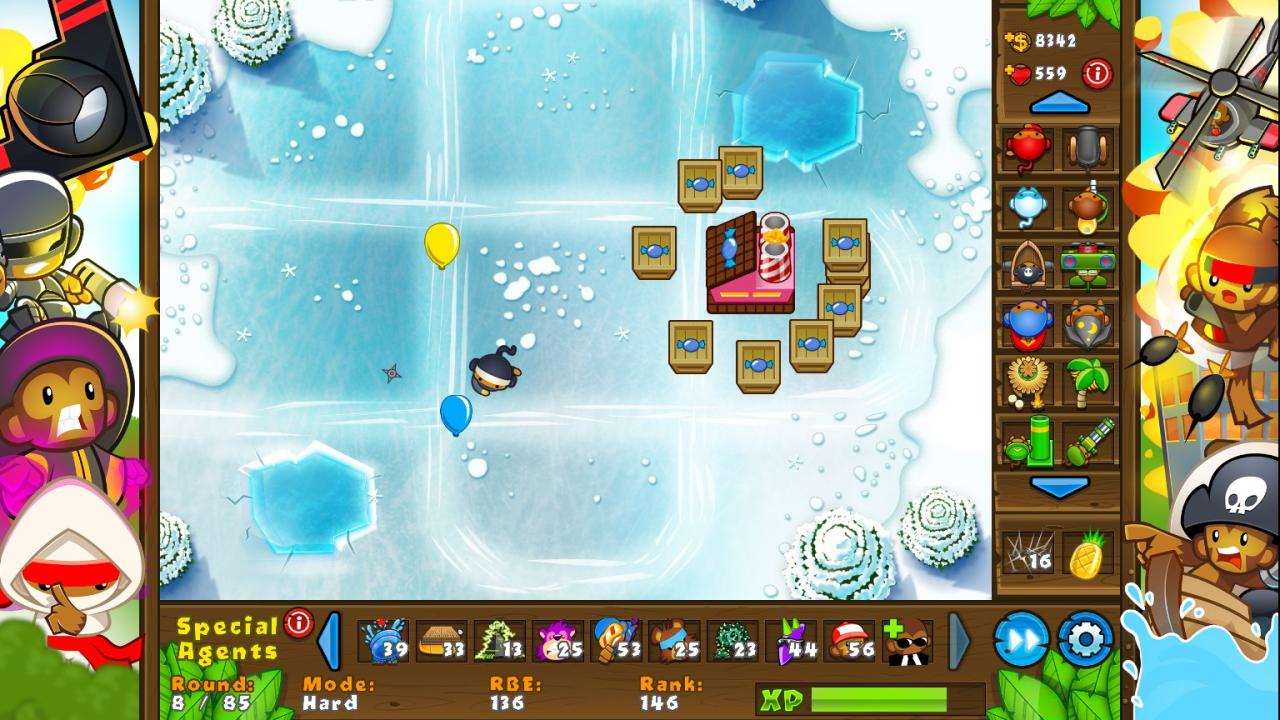
Apart from Banana Farms, the first MOAB shows up in round 40, the BFB and ZOMG appear in rounds 46 and 60 respectively. 4-X Bloonchippers are especially useful in protecting your flourishing towers from bloons in these rounds. Be careful not to build up your MOAB popping power solely using Bloonchippers since MOAB rush rounds can be deadly dangerous and overwhelm your Bloonchippers.
This part of the game is the one that requires the most attention. There may be cases where you could readily defeat a round and be demolished in the very next. Stay sharp and have your Super Monkey Storms ready just in case.
Again, if you have a decent level in Sell Price upgrade, you can skill-abuse by quickly selling and rebuying towers with useful skills. Ground Zero of Monkey Ace, Spike Storm of Spike Factory, Artillery Battery of Mortar Tower come in especially handy since they act in an immediate fashion. Do NOT get greedy. If necessary, sacrifice your towers which you can replace a round later.
Late Game
Do not upgrade a Sun God to Temple without upgrades. Except for the range, its popping power will increase only slightly.

If the angle between bloon tracks is too wide, try to align your towers with them. Spectre or even Sun God can fail to track some high-speed bloons.
Aside from these, you are on your own at this rate.
Reaping the Rewards