A quick guide put together that might help you get along for the first few days…
Quick Guide To Start the Game
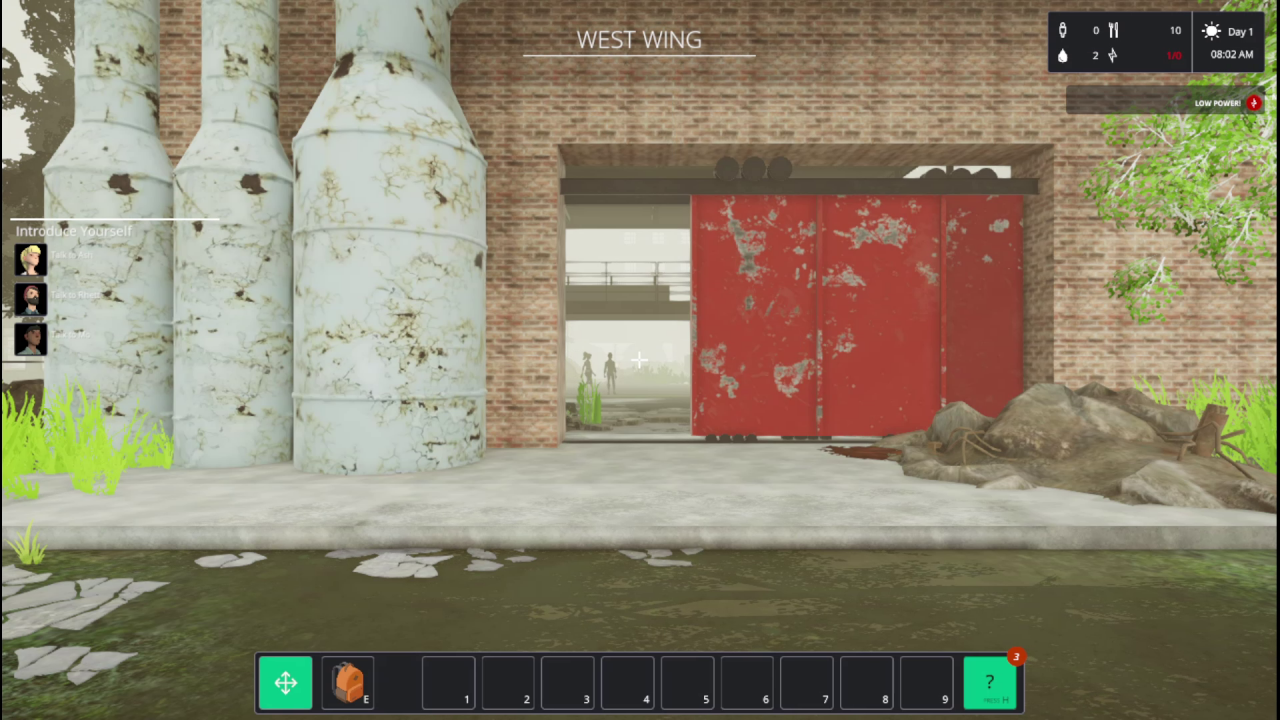 It’s best to get used the controls here and loot EVERYTHING outside i.e the soil piles and rubble.
Enter the factory and talk to the NPCs to get the missions going so you can start unlocking stuff.
Loot the ENTIRE available area for anything like wood, crates and various other crafting materials.
Open the inventory once you have met everyone and you should have your starter gear like your tent, workbench, fathers books and generator.
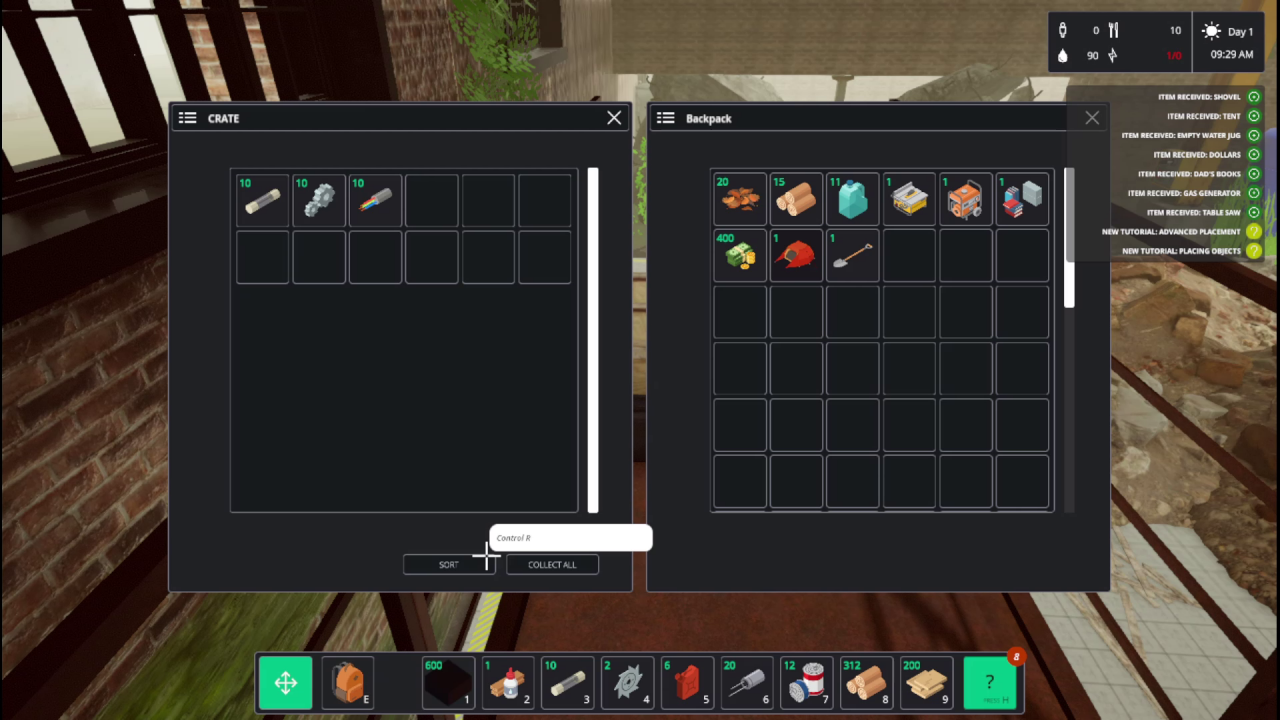 Place all these items by dragging them out of your inventory into your hotbar below and then placing them in an appropriate area.
Generators don’t matter where they get placed as they will provide power all over your settlement.
Place Dad’s Books and open the research tab in the inventory. Research Machine Manufacturing to start researching the Planar to complete the mission.
 Interact with Dad’s Books to start researching and press SPACEBAR to fast forward and complete the mission and unlock on of the most used workbenches of early game.
Dad’s books must always be in use for the research to progress and you can assign NPCs to it later to research for you.
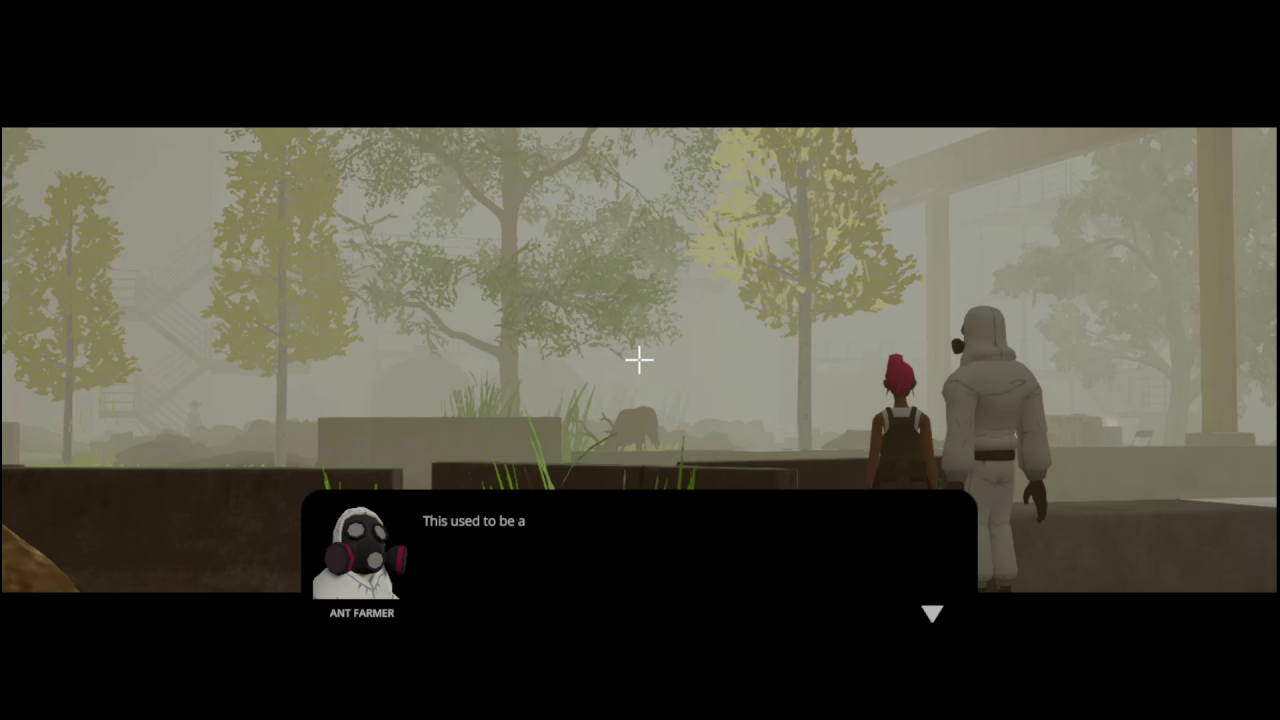
Meet ALL the NPC’s including the gasmask npc.
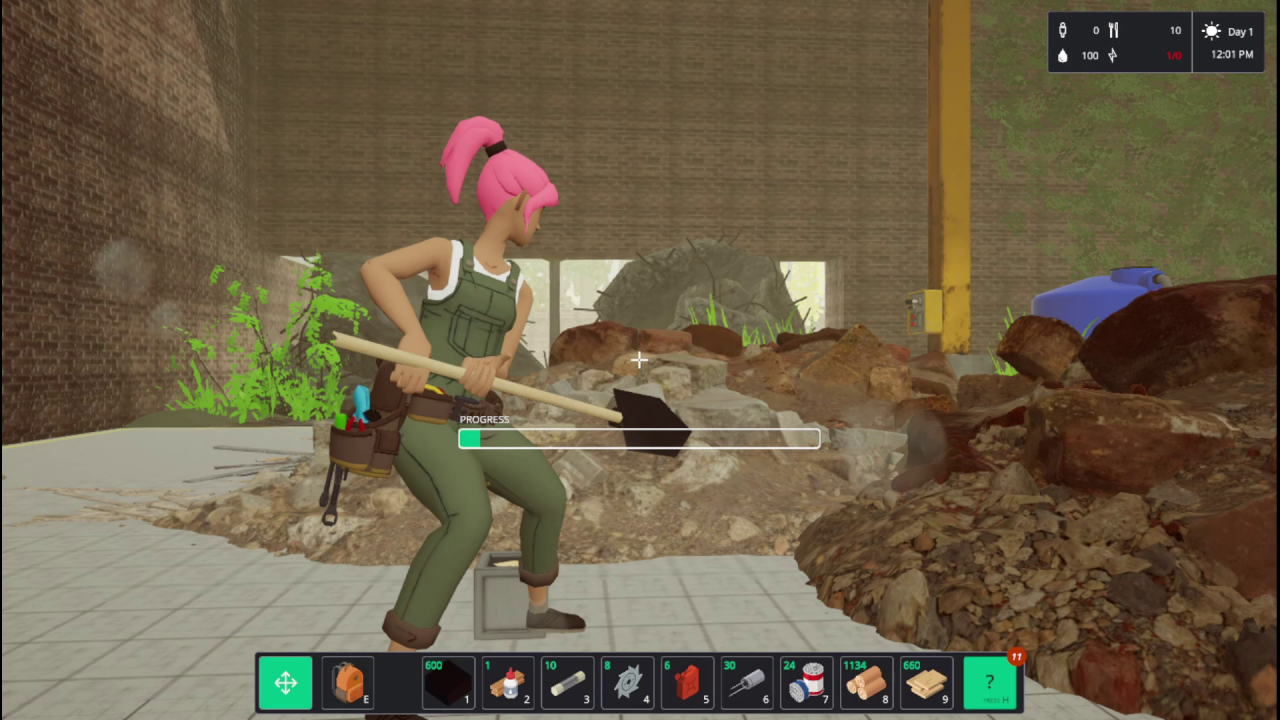
By now you should also have a shovel so you can clear the area with the rubble to not only complete another mission but score some free resources.
 Keep an eye on the missions and try to finish them ASAP as gain you trust with the NPCs and lets you schedule them for longer times the more they trust you.
Repair the workbench opposite the trader (you might need to buy some things from the trader).
Use the table saw to make the wooden beams to finish up the mission then make a planter using the given blueprint.
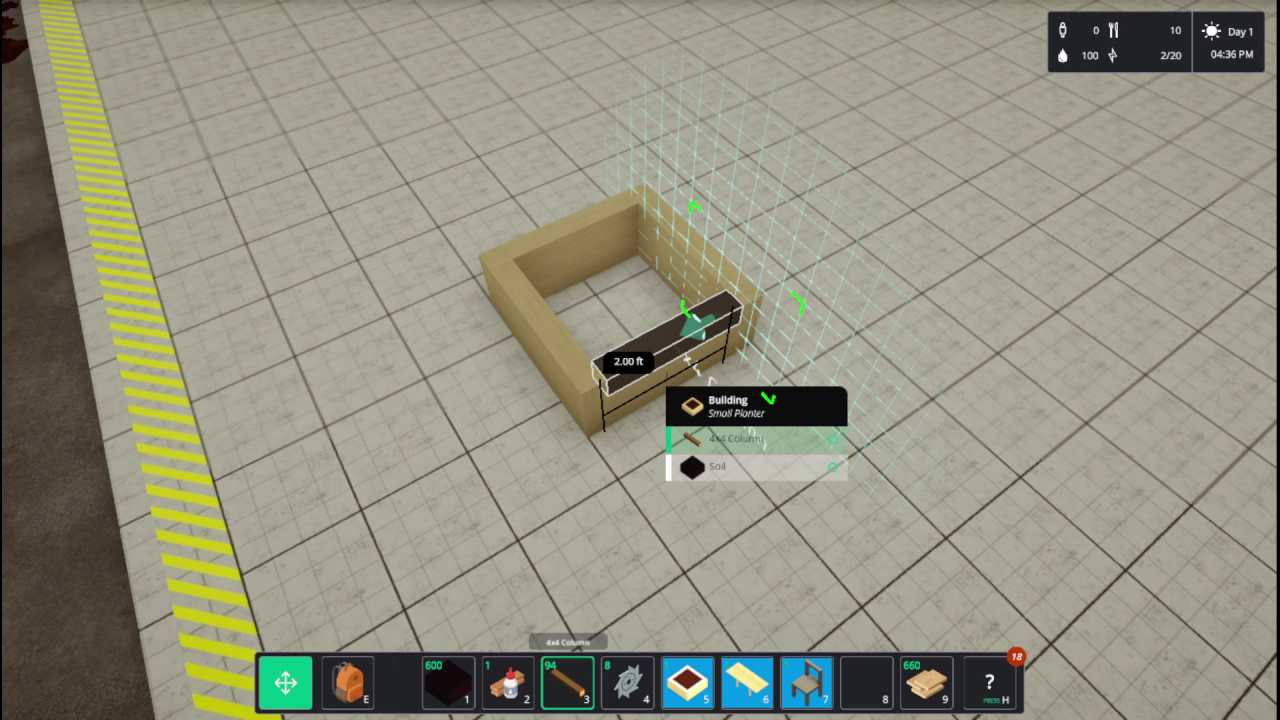
Blueprints can be tricky in the beginning so take it slow and carefully place the requested items from your hotbar into the blueprint to create a planter.
Follow the instructions and plant a potato or two and water it.
Food is important in this game for your settlement, your character DOES NOT EAT and you can store all your food in the community FOOD shelter with the red double door coming out of the ground near the campsite.
You should be able to get all of this and maybe more done on your first day and once it reaches 9 PM you will start to get tired and lose the ability to interact with certain objects.
You need to go to your tent if you have placed it already and sleep.
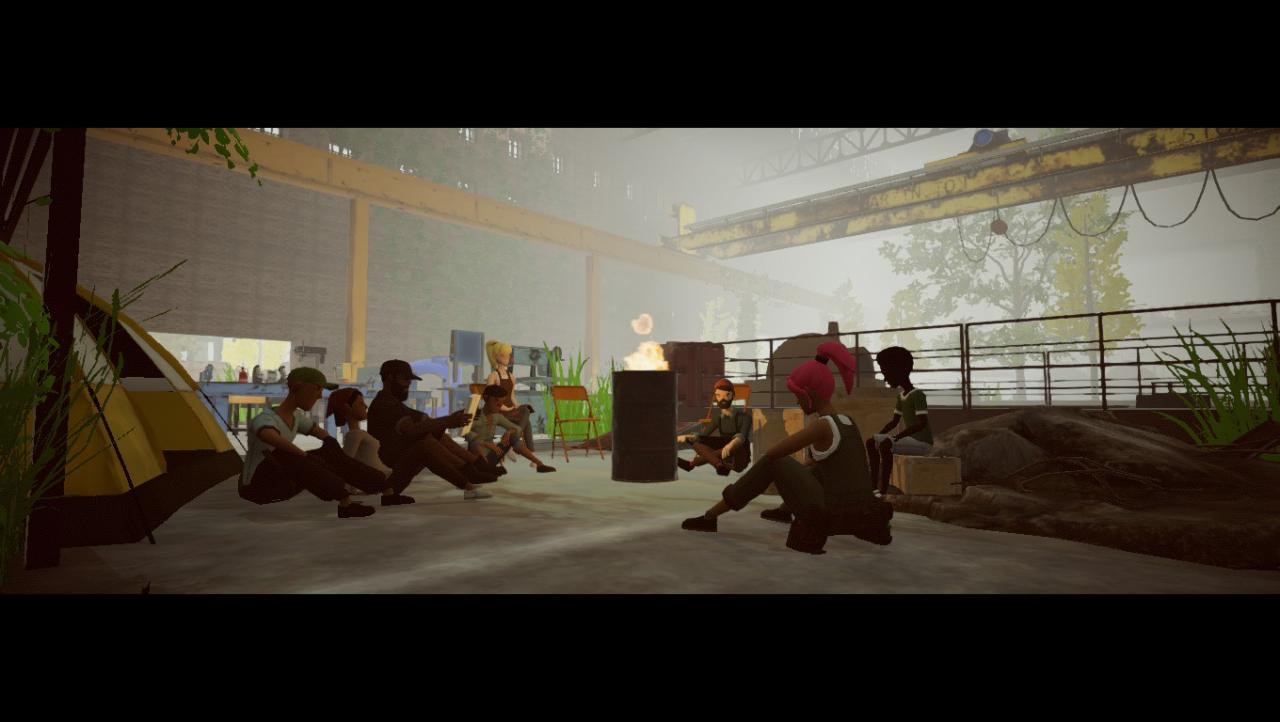
This will bring up an END OF DAY screen where you get to see your character and all unlocked “joined” NPCs sitting at a fireplace and a screen showcasing what you have achieved for the day.
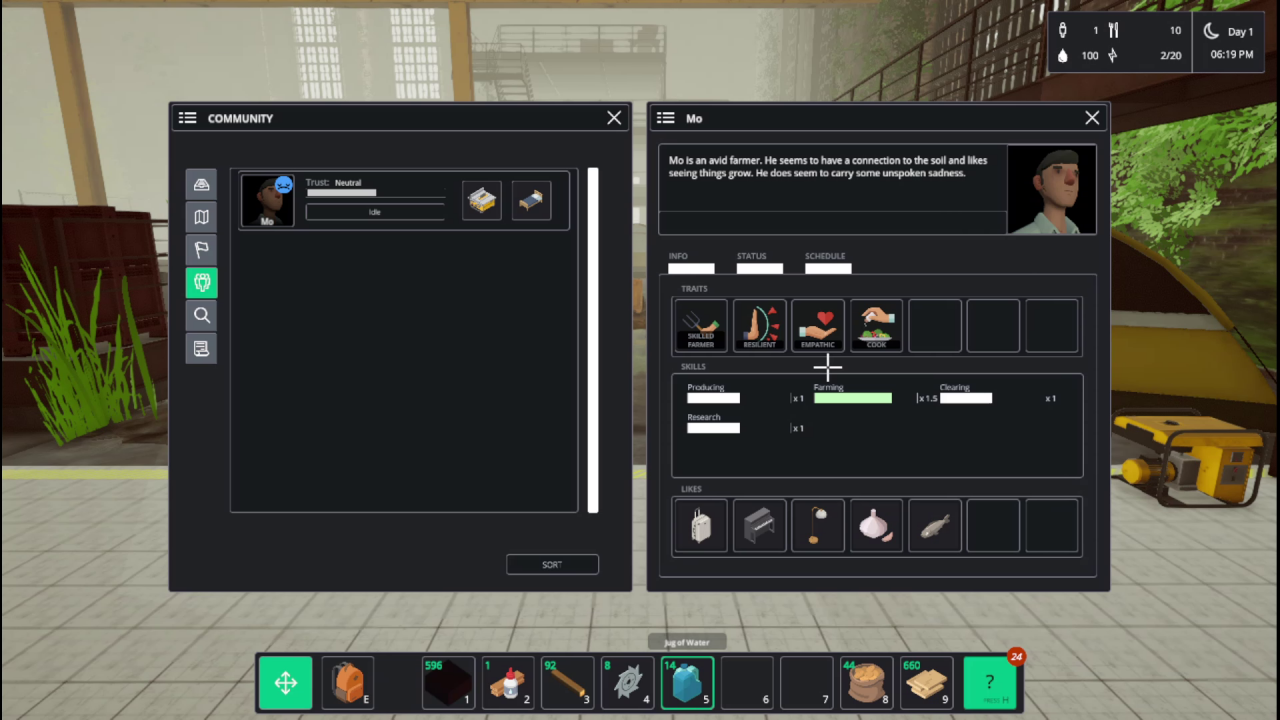
In the inventory menu under the community tab you will see any NPCs that have joined you and you can assign them to various tasks and automation activities in the Schedule Tab.
Click new job and it will add a BUILDING task by default. Click it’s drop down menu and you can assign them to other tasks then drag the arrow down to lengthen the duration they will be doing this tasks.
Certain NPCs are better at certain jobs so get to know them by checking out their specialities and likes/dislikes.
Don’t forget to keep researching the mission items requested by the NPCs and crafting the various blueprint items like the chair and floorboards.
Keep a healthy amount of common crafting materials in your hotbar or inventory to save you having to run back and forth from the workbenches for supplies.
Also note that crafting benches take damage when used and will need to be repaired using various items which may also need to be crafted like saw blades and wires.
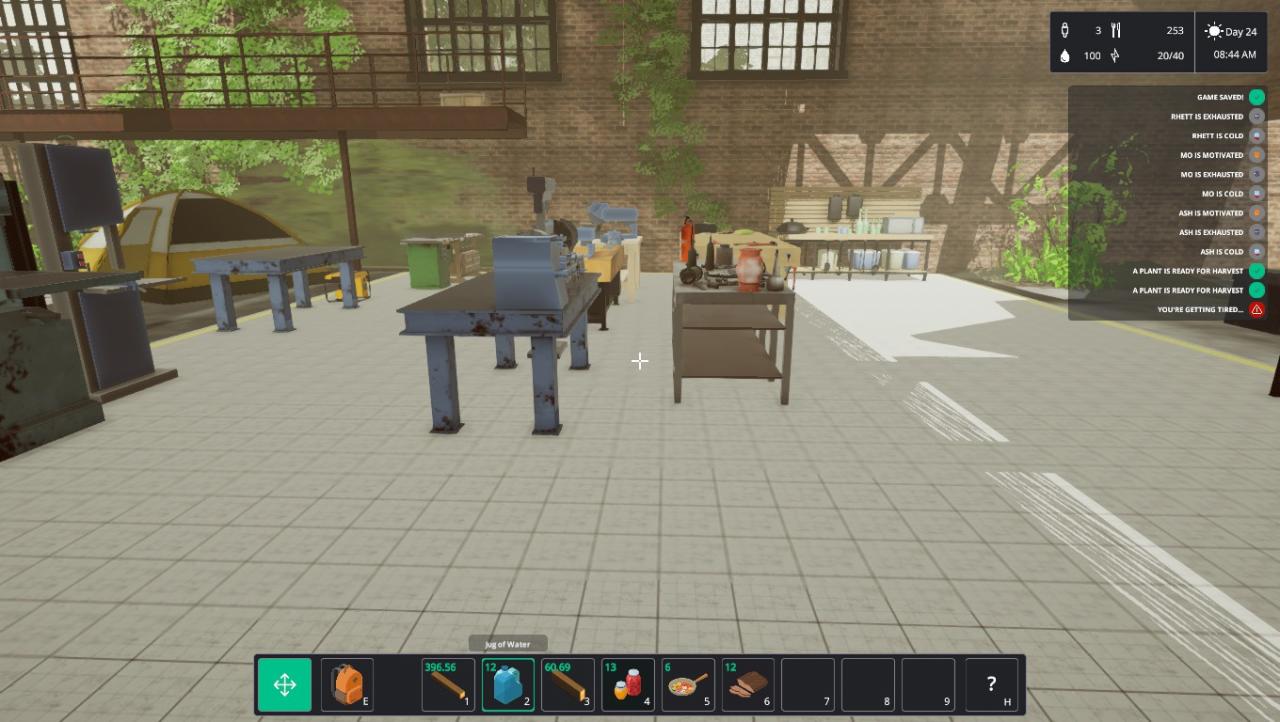
Build the metal workbench (having researched the necessary nodes) and place it.
The metal workbench will grant you crafting access to various other crafting tables but more importantly the Planar can be crafted here to progress the mission.
Gather what you need and create the Planar.
The rest of it is pretty simple, craft items to make workbenches, which themselves craft new items for better workbenches and so on.
After fixing the crane and building the bridge it will unlock a new area on the other side of the sinkhole and with this another area called the pumping grounds. There is a lot of resources here, another Quest NPC and more space to build.
The elevator to the rest of the map and and factory is also here but it needs to be repaired first to continue.
Keep crafting workbenches for materials and start building a settlement on one of the open build areas so you can start moving NPCs out of their tents by assigning them to beds which can be bought at the trader.
NPCs are ok living in their tents for now but it does debuff them and slow down their crafting or building speeds so it helps to give them a nice room eventually.
Keep doing missions and making money by selling items or food to the vendor to complete contracts to increase the store inventories.
The goal is to gain the trust of all the NPCs so you can fully automate your settlement and have a thriving community.