All relics in the game, with added descriptions, extra notes, and when they are most useful.
Introduction
Please also comment if you know what unlockable relics you get after completing floor 20 and 30, so that I can complete that section.
Overall Relics Tips:
- You cannot get the same relic twice in the same game! Relics do not stack, instead you get a blank box which provides no abilities.
- For each Relic, I have provided a score of 1 to 5 as to my opinion on how good the relic is, with 1 being the worst, and 5 being the best. This is not taking into account how difficult the relics are to obtain.
- Some relics are bad and these are relics you will want to avoid. These relics are listed in the section: Negative Relics.
- After a play-through, a few relics will unlock for future runs depending on which floor is reached. These relics are listed in the section: Unlockable Relics.
- You can skip nearly all relics and decisions using the skip button.
 This appears on nearly every choice (other than negative choices) and means if you do not like the choices you aren’t stuck with them.
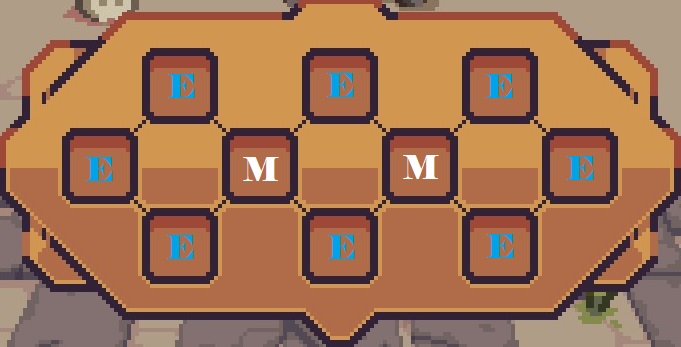
 - On some cards (particularly the Bullseye and Lone Island Relics) they mention Centre and Corner slots on the board. In the image below, Centre Slots contain M in white (for Middle), and Corner Slots contain E in blue (for Edge):
Common Relics (with white outlines)
Heal 2 HP at the end of a battle.

This currently only heals 1 HP at the end of a battle. As far as healing relics, this is not great, but all healing relics are very useful so would still recommend if you are struggling to not take damage.
Score: 3/5
Every 3rd die of the same type you place on the board will cost no energy.
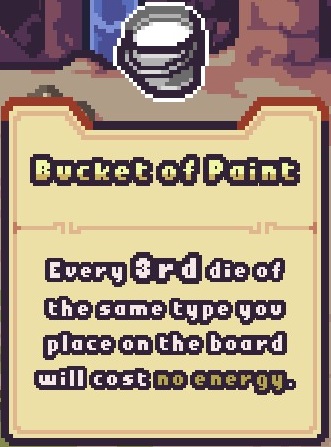
This is not particularly useful at low levels, but at higher levels this is useful, particularly if you focus on a large dice set with small variety, such as a lot of terrain dice stacking.
Score: 2/5
If you have any remaining block at the end of the turn, heal 1 HP.
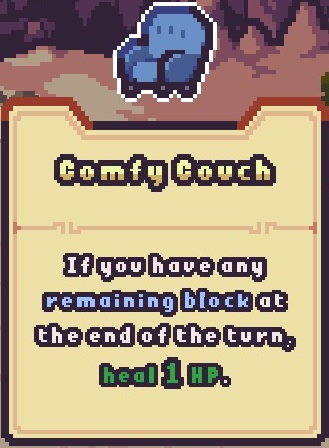
This is a particularly good healing relic, as you can just use your block dice to create block, which stops any damage and can also heal. Very useful at all levels, as you can get down to one enemy, and then just keep healing and blocking on your turns until back up to full health. It is important to be aware, this is any block that has not been destroyed by damage by the end of the enemies turn.
Score: 4/5
Gain +1 block for every die in your hand at the end of your turn.
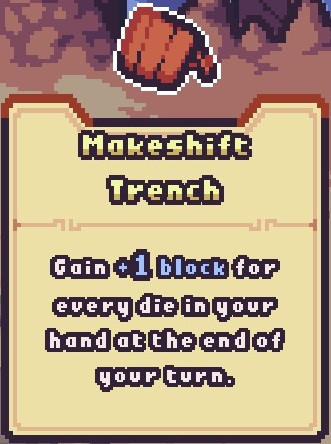
This can be really useful at low levels, as it can provide free block without spending energy and could be the difference between staying healthy and taking damage. This doesn’t really scale well for high levels though.
Score: 2/5
Accurate kills will heal you +2 HP and give you +3 block.
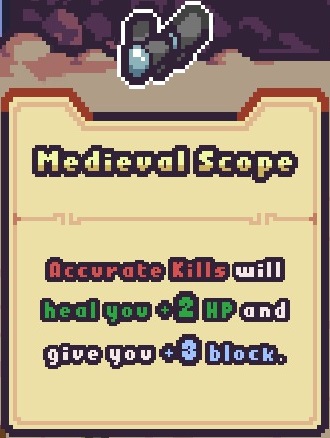
Although this gives good healing and block, it is quite difficult to get accurate kills. Accurate kills are when the damage provided is equal to the HP that is left of the targeted enemy, and so means you would need to have a range of levels of damage dice. Can be very useful at low levels though, when you have some enemies that require accurate kills to defeat them.
Score: 2/5
Start every battle with 2 block.
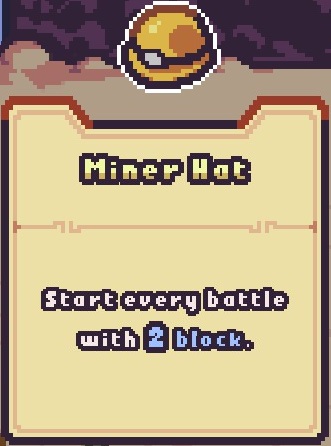
This provides an additional 2 block for the first round of combat, where all the enemies will be alive and so you might take more damage than the following rounds. This relic is not useful with the Chocolate Muffin relic though.
Score: 3/5
Each time you receive unblocked damage, deal back 2 damage.
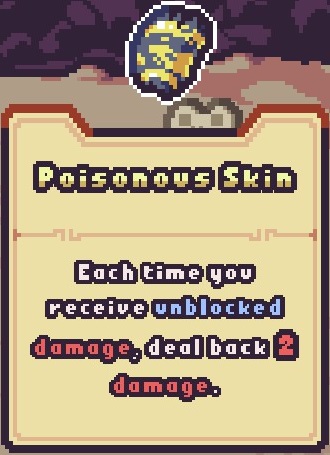
This will deal 2 damage to each enemy that hits after all your block has run out or if you never had any block that round. If you are taking damage, this is a very good relic to have, but you probably should be aiming to not take any damage using block.
Score 2/5
If there are no block dice on the board at the end of your turn, you receive +3 block.
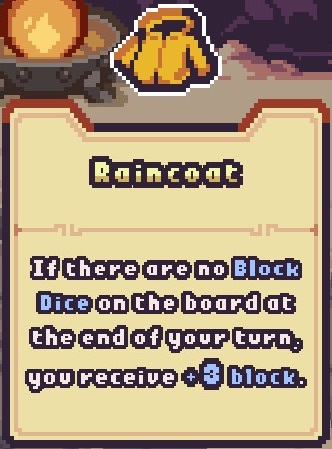
This is extremely useful at low levels when the enemies don’t do much damage, and you need all the energy you have for boost and damage dice. Combining this with the Makeshift Trench is a good pair. This is also useful if your block dice have the Flash property.
Score: 3/5
All dice receive +1 to their value on odd turns and -1 on even turns.
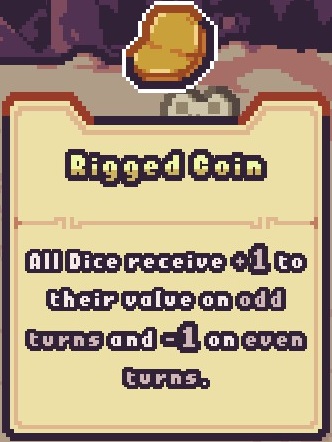
This relic is both good and bad, and so isn’t ideal when you have alternative good only options. The benefit of this card is that the first round is an odd round, so if you complete each floor in one round you only experience the benefits, but this is a very bad card to have with Chocolate Muffin.
Score: 1/5
Boost dice will gain a +1 boost value when all available target slots have dice on them.
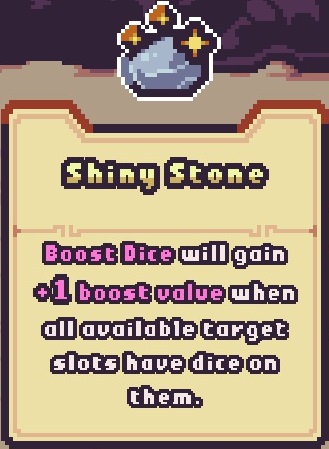
If you have lots of dice options and you have enough energy (or hollow dice) this can be very useful as it can be used for all dice, and is helpful at all levels. The blue tiles that sometimes appear on the board by enemies are considered as a dice occupying them for boost purposes, but be aware that any boost provided to the blue tiles will increase the damage the enemy does.
Score: 3/5
Target enemy receives -1 to all their attacks.

This relic can be quite useful on enemies that have multiple attacks each round, but as it only affects the targeted enemy it can limit who you do damage on.
Score: 2/5
If you use 3 or more different types of dice, draw +1 dice next turn.
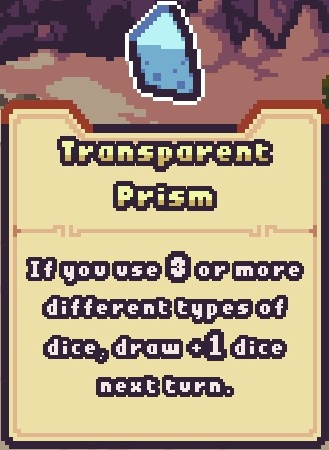
Although this is an easy relic to activate each round, as you will probably use more than 2 types of dice, it doesn’t provide much of a benefit until higher levels when you have more hollow dice or energy boosting relics.
Score: 2/5
Uncommon Relics (with green outlines)
Heal 1 HP each time you deal 2 or more damage.

This relic is very good to pick up as it passively helps with healing, which is a main area you can struggle with at low levels. Unless you are focusing on blocking attacks, you are very likely to deal at least 2 damage to an enemy each round. Even at high levels when most attacks will be fully blocked, it means you don’t necessarily need to use heal dice and can use the energy for block or attack.
Score: 4/5
Reduce to 0 all damage done on turn 1.
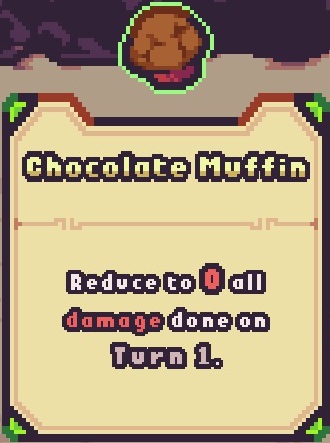
This can be useful, such as if you need to heal, you have the Shadow Cloak relic, or you use terrain dice. But overall, this relic can negatively affect many more relics who change behaviours on odd turns, as it stops any damage done that round by relics, your dice, or the enemies.
Score: 1/5
Deal 3 damage to a random enemy for every 6 dice used.
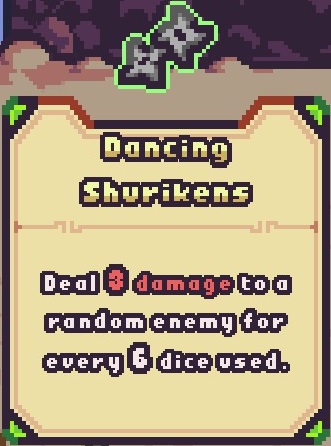
This relic can be useful, particularly at low levels or if you have a lot of hollow dice. This will retain the dice count across rounds which means that if you use 4 dice in round 1, you only need to use 2 dice in round 2 to trigger the relic damage.
Score: 3/5
Gain +1 energy on turn 1.
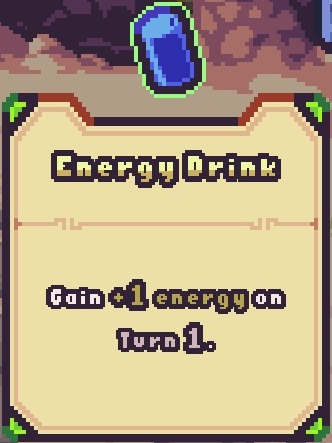
This is a good relic if you don’t have many hollow dice and frequently run out of energy, and can mean you are more likely to use glass dice on the first round, particularly healing dice or terrain dice. This is not very good with the Chocolate Muffin relic though.
Score: 2/5
Increase +6 your max HP.
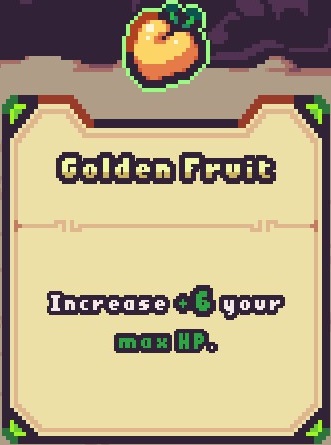
This is a particularly good relic when at low levels, but as you cannot stack relics, you can only get the benefit of this once.
Score: 2/5
Three random slots on the board will get +1 each turn.
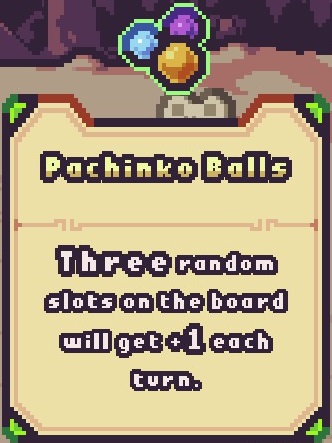
Although you cannot control which slots get this bonus, it is still very useful, particularly at higher levels with terrain dice, and using the Mark of the Chosen One and Bullseye relics.
Score: 3/5
Increase +3 your max HP. Heal +1 every turn.
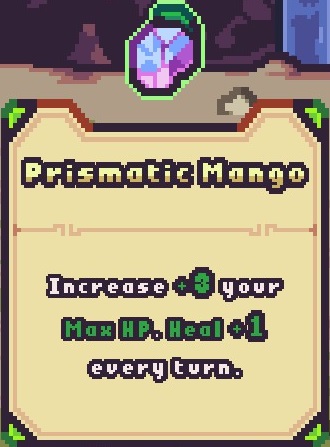
This is a very good relic to have, as it passively heals you each round, as well as providing a small increase to the max HP you have. If you sometimes take damage on a floor, this relic is extremely useful to pick up.
Score: 4/5
Each time you heal when at max HP, deal 1 damage to all enemies.
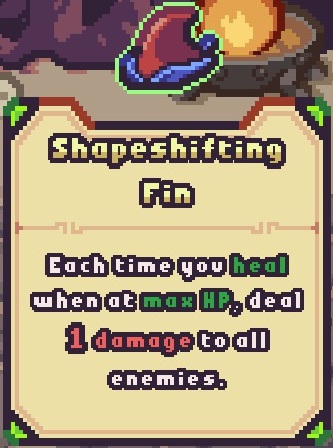
This relic is only particularly useful with other relics, as you will not often use heal dice when already at full health, and it only provides 1 damage, although it does apply this to all enemies. This relic is very good with the Bloody Fang, Comfy Couch, Medieval Scope and Prismatic Mango relics.
Score: 2/5
Dice with the value of 1 cost no energy.
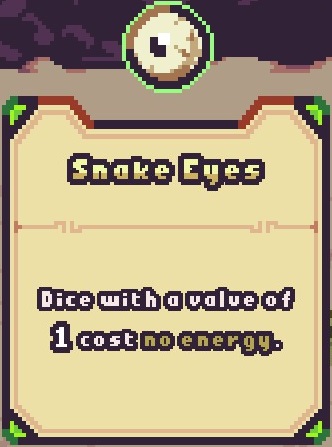
This is an okay relic at low levels, especially if you need more energy or have basic block dice. However, once dice have been upgraded to silver or you have the Crooked Hourglass or Providential Vial relics this is not really used.
Score: 2/5
Dice with the glass property receive +3 to their value.
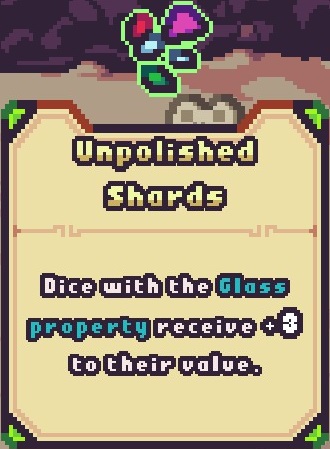
This relic can be quite useful, particularly at low levels when your healing dice will be made of glass. This relic is extremely good when paired with the Evergreen Sap relic.
Score: 3/5
Rare Relics (with blue outlines)
Deal 2 damage to all enemies when dice with the flash property are used.
This is a very good relic for the late game, and pretty good at low levels if you have at least one flash dice, as it applies to all enemies. This relic is obviously not useful if you do not have any flash dice, although it is offered fairly frequently.
Score: 4/5
Dice placed on the centre slots receive x2 to their value. Dice placed on the corner slots receive x0.5 to their value.
Refer to the introduction for which slots are which on the board. This is extremely useful for high levels, and boost dice on the corner slots do not have the penalty applied so you can increase the centre slots with boost dice and terrain dice. Very good alongside the Mark of the Chosen One relic, although this negates the improvements from using boost dice.
Score: 5/5
Attack dice receive +1 to their value. You take 2 damage at the end of the turn.
I have not found a situation where the positive effect outweighs the negative effect. When the event that rewards the blade and knife relics, it is worth going for one of the other two or skipping collecting the relic.
Score: 1/5
The dice in your hand at the end of the turn will roll again to their highest possible face.
If you don’t use all your dice, either due to energy, not needing them yet, or them being glass, this is a good relic to get good values, particularly for healing dice. Can also be useful for attack dice if combined with the Chocolate Muffin relic.
Score: 4/5
Dice with the glass property won’t break if you have any leftover energy at the end of your turn.
Very good for healing and terrain dice, particularly at higher levels when you are more likely to have extra energy and hollow dice.
Score: 4/5
Dice with the heavy property won’t decrease if you have any leftover energy at the end of your turn.
If you frequently use heavy dice, this can be very useful. However, I have not found the heavy property particularly useful, hollow is a lot more beneficial.
Score: 2/5
Block dice receive +1, attack dice receive -1.
Of all the relics offered in the event where this can be collected, this is the best, however it is still not a very good relic due to quite a high negative impact. I would still recommend skipping collecting relics in this event.
Score: 1/5
Max hand +1, Draw +1.
Very good relic for high levels, when energy stops being such a big issue and your range of dice can be quite expansive.
Score: 4/5
The dice placed on the corner slots receive +1 to their value if not next to any other dice.
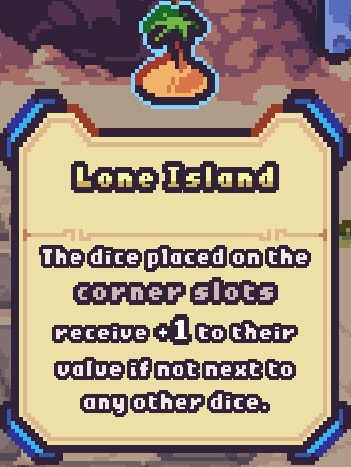
Refer to the introduction for which slots are which on the board. Is an okay relic at low levels, but at high levels it is better to use the Bullseye relic which makes this relic redundant.
Score: 2/5
If there is only one die on the board, it receives x3 to its base value.
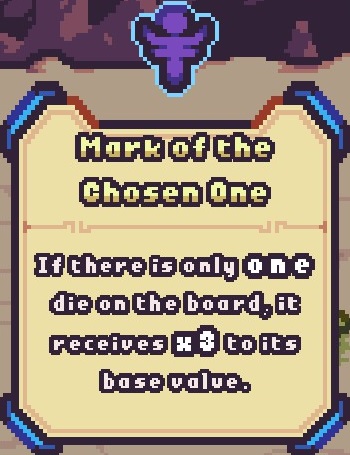
One of the best relics in the game, particularly when paired with the Bullseye relic. Also can be useful when used with flash dice as they are considered the only dice on the board when played, and means multiple effects can be applied per round.
Score: 5/5
Attack dice receive +1, block dice receive -1.
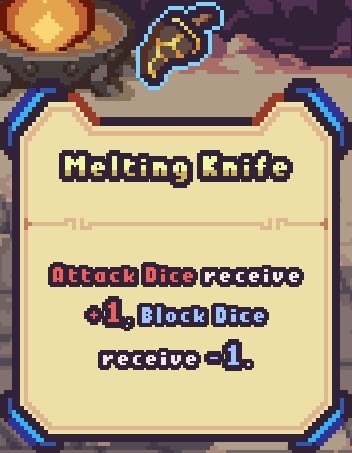
This is better than the Crimson Blade relic, but it is still not a very good relic due to quite a high negative impact. I would recommend skipping collecting relics in this event.
Score: 1/5
If you finish a battle with full health, receive +1 max HP.
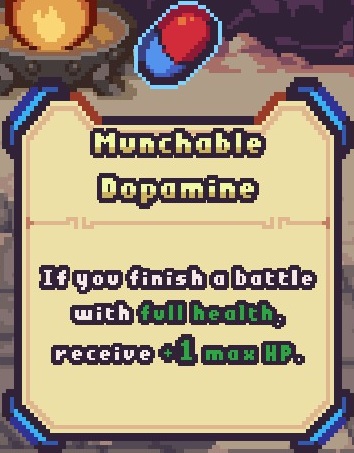
A very good relic if you typically have full health and block all damage. Can increase max health quite a lot after a few levels, so is good at high levels.
Score: 4/5
Dice in hand get +1 at the end of the turn. These dice will reset after use.

Can be useful at lower levels, particularly in combination with the Crooked Hourglass relic. Can stack after each turn on a floor, but resets once the dice is used or the floor is completed.
Score: 3/5
Draw +1 dice on odd turns.
Useful at higher levels when energy is no longer such an issue. Although it is not as good as the Heroic Backpack relic, they can be combined to make a good pair.
Score: 3/5
If there are no attack dice on the board at the end of your turn, deal 2 damage to all enemies.
Very good at low levels where energy is a problem, or when a lot of block dice are needed to prevent damage. Also can be good with attack flash dice.
Score: 4/5
Epic Relics (with pink outlines)
Attack dice cost 0 energy and get +1 to their value. The target will be randomly chosen at the start of the turn. You can no longer change the target.
This is a very good relic for low levels, but can be quite unhelpful at high levels, so only choose this relic if you are aiming to finish the game at around floor 20. It helps a lot with energy for attack dice at low levels, but at high levels it can be very important to select which enemy to target.
To normally change the target, click on the enemy you want to target.
score: 3/5
Dice will always roll its lowest face on even turns. You receive +1 energy on odd turns.
Although the extra energy is useful, the dice rolling their lowest values does not make this relic worthwhile collecting. This relic can be useful however with the Snake Eyes relic.
Score: 1/5
When killed, revive with 25% HP. This relic will be discarded after use.
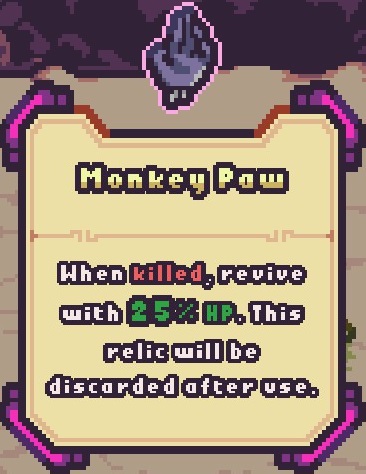
This relic is very difficult to get, as it requires a previous run to have reached level 50, but is very worthwhile collecting as it is a spare life and if a floor goes badly, you can be revived.
Score: 5/5
Dice in your hand at the end of the turn will be discarded. Draw +1.
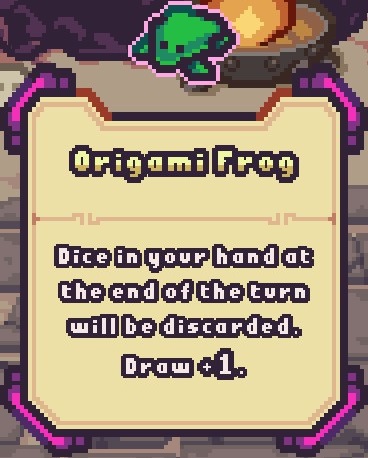
This relic can be useful if you have a lot of dice and have issues with your max hand size. However, this relic does make some relics useless, such as the Crooked Hourglass relic and the Nightmare Plasma relic.
Score: 3/5
Any dice you draw on turn 1 will roll its highest possible face value.
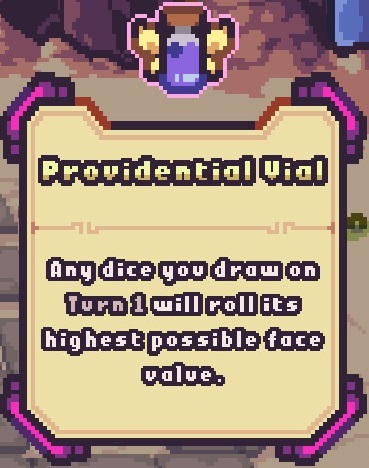
This is a good relic to collect, as it provides high dice values at the beginning of the battle, working similarly to the Crooked Hourglass relic. This is not a good relic to have with the Chocolate Muffin relic, as it makes the attack dice on the first turn do no damage.
Score: 4/5
Get offered +1 rewards at the end of a non-boss battle.
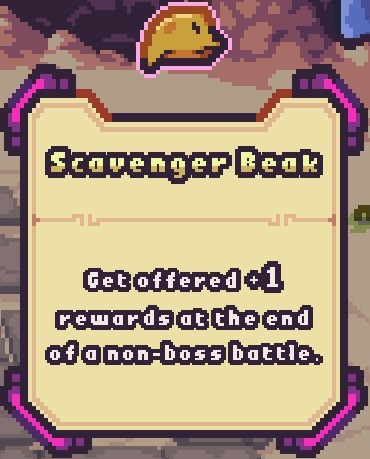
Very good relic, extra rewards typically offered at high levels are the options to collect a new dice, discard a dice, choose a relic, gain a dice property, or increase your max health.
Score: 4/5
Block dice get -2 to their value. Your block now stays at the end of your turn.
At low levels, the -2 to block dice values makes the relic bad, but at high levels, being able to carry block between rounds is very useful and makes this relic worth collecting, as the -2 is a less significant proportion of the block dice value.
Score: 4/5
Any excess damage will also be dealt to the next enemy.
One of the best relics. Being able to carry damage across means that you can defeat all enemies in one hit if you deal enough damage. Is also very good for when you have multiple low health enemies.
Score: 5/5
Can keep up to 1 energy between turns.
This is a good relic if you have issues with getting enough energy. Very good alongside the Evergreen Sap relic, and can keep you alive if you have the Primordial Fear relic.
Score: 4/5
Super Relics (with yellow outlines)
Max hand +1. Draw +1. Deal 1 damage to the target enemy for each dice drawn.
The best relic in the game. It is an improved Heroic Backpack relic that can only be collected in an event that only occurs at high levels. For this event, you will need a glass dice and heavy dice.
Score: 5/5
Unlockable Relics
After reaching floor 40 in any run: Miner Hat (Common)
After reaching floor 50 in any run: Monkey Paw (Epic)
Negative Relics
Each turn, take 1 damage the first time you use all your energy.
This is a negative relic, so try and avoid failing the event that gives this. You will not be able to skip this relic once you have failed the event.
If you get this relic, it can be useful to collect the Survival Kit relic and the Evergreen Sap relic.
Applies the tangled effect to one random slot on the board at the start of the turn.
This is a negative relic, so try and avoid failing the event that gives this. You will not be able to skip this relic once you have failed the event.
The tangled effect reduces the value of dice placed in the slot by 1.
Rating Summary
- Chocolate Muffin (Uncommon)
- Crimson Blade (Rare)
- Frozen Knife (Rare)
- Liquid Karma (Epic)
- Melting Knife (Rare)
- Primordial Fear (Negative)
- Rigged Coin (Common)
- Tangled Mess (Negative)
Score 2/5:
- Bucket of Paint (Common)
- Energy Drink (Uncommon)
- Forge Hammer (Rare)
- Golden Fruit (Uncommon)
- Lone Island (Rare)
- Makeshift Trench (Common)
- Medieval Scope (Common)
- Poisonous Skin (Common)
- Shapeshifting Fin (Uncommon)
- Snake Eyes (Uncommon)
- Suppressing Eye (Common)
- Transparent Prism (Common)
Score 3/5:
- Bittersweet Cake (Common)
- Blindfold of Rage (Epic)
- Dancing Shurikens (Uncommon)
- Miner Hat (Common)
- Nightmare Plasma (Rare)
- Origami Frog (Epic)
- Pachinko Balls (Uncommon)
- Raincoat (Common)
- Shiny Stone (Common)
- The Joker (Rare)
- Unpolished Shards (Uncommon)
Score 4/5:
- Blinding Lightbulb (Rare)
- Bloody Fang (Uncommon)
- Comfy Couch (Common)
- Crooked Hourglass (Rare)
- Evergreen Sap (Rare)
- Heroic Backpack (Rare)
- Munchable Dopamine (Rare)
- Prismatic Mango (Uncommon)
- Providential Vial (Epic)
- Scavenger Beak (Epic)
- Shadow Cloak (Epic)
- Survival Kit (Epic)
- Toxic Cloud (Rare)
Score 5/5:
- Bullseye (Rare)
- Mark of the Chosen One (Rare)
- Monkey Paw (Epic)
- Moon Chakram (Super)
- Star Yo-Yo (Epic)