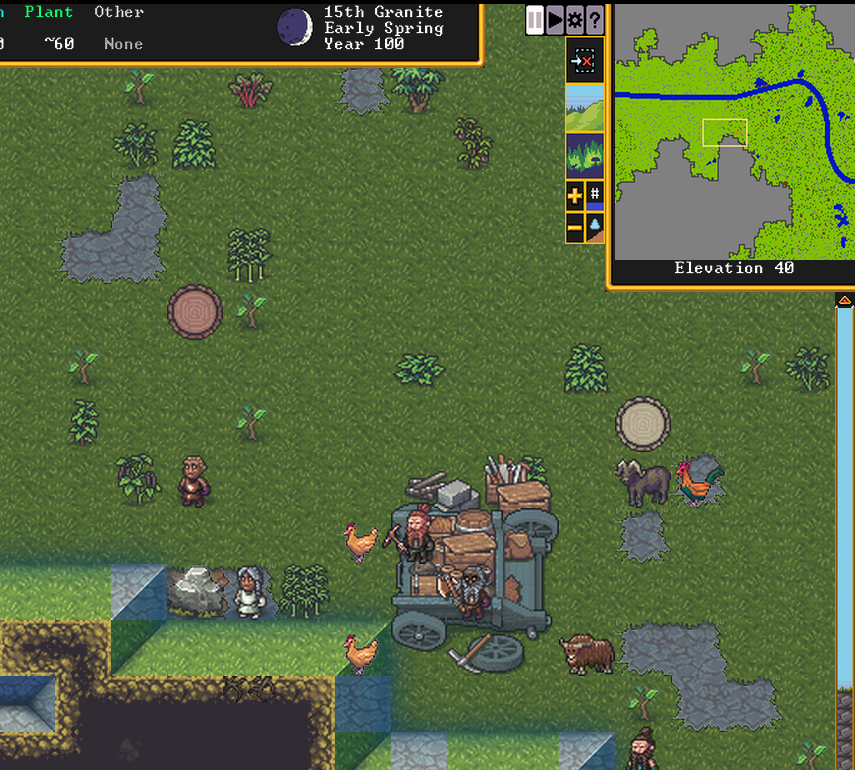
Here is a guide for the basic gameplay in Dwarf Fortress.
Basic Gameplay

You will now receive an Embark message telling you about your mission to survive and the local animal predators. Heed it well and hit ok.
Now make sure it’s PAUSED (top right by map shows II or >)
[Spacebar] will pause and unpause.
Our first goals by Winter will be to have working Defenses, Kitchens, Beds, and a Trade Depot. But how do we make this happen?
In Dwarf Fortress, you do not directly control the dwarves. Instead, Dwarves will perform ONLY jobs which fit their “Labor.” For example, when a stockpile is created, a Job is created for any dwarf of the appropriate Hauling Labor to take a specific item there. That job is completed and deleted when done.
So now, take a look at your UI. This series of windows and their many tabs within are your keys to the kingdom. At this point, the UI is laid out so that “If you click every tab and window here before un-pausing, you’ll be in a good spot”
To get things done:
+ Create Zones (z), where work happens automatically if resources and workers with the correct labors enabled are available (buckets, step-ladders, fisherdwarves, animals & animal-handlers)
+ Create Designations, for Mining or Tree Cutting for example, or for item Dumping.
+ Create Orders at any level (Workshop level for specific or one-time orders, Manager level for repeating tasks)
+ Create Stockpiles (p) where goods are moved by an assortment of Hailing labors.
+ Place buildings (b) – Beds, Tables, Chairs and a Well are important first items. Also how Traps are placed.
+ Assign Nobles, who are required for some functions and make your life bettworse
+ Assign Militia Commander in nobles, who allows for Squads creation.
So before your very first unpause most of this can be done, except maybe you can wait for the first migrants before you have a free guy to assign Sherrif or something.
Seeds Stockpile
– It can be helpful that you have seeds ONLY allowed in stockpiles where ZERO barrels are allowed. This way barrels are used for drinks and planters are not hauling heavy barrels around.
Kitchen Setup
There’s a few important things to remember about the Kitchen menu.
– Seeds are sometimes only given when processed or Brewed. So, Forbid the cooking of anything which can be brewed!
– You can keep some fat/tallows forbidden to cook, to use for soap instead
– Don’t cook seeds
First Steps
As described above, you’ll want to make pretty much one of every zone available because they all have a function (dont worry about clay/sand though) then you can un-pause to get workshops built.
Now all those labors you learned about? They all have workshops. “Masons” and “Carpenter” workshops are most important to build first for blocks, doors, beds & barrels. “Crafter workshops” are also versatile and important for buckets. Mechanic shops can build mechanisms for drawbridges which can be a vital first line of defense.
Most importantly of workshops, create a “Kitchen” and a “Still” ASAP. This is how you get food n drink.
Each of these workshops has tasks which can be automated to a dizzying level of detail.
When you want to create for example an Easy Meal or to Brew a Vegetable:
I just say “add the requirements to start, add when to stop, set to repeat” and done.
Squad Creation
First you need the Militia Commander Noble assigned.
You will probably start with a militia commander squad with one poor sod as your first Squad.
Labor X Military Caveats
Maybe this is fixed, but if not it must be known. You should never assign a Squad to a Dwarf who has the following labors for AI Logic Reasons:
– Fishing
– Hunting
– Wood Cutting
– Mining
– Hammerer (Loyalty Cascade warning)
Squad Schedules
Any month, any amount of Squads can be assigned multiple orders.
For example “2 dwarves of Squad A train and 2 Dwarves of Squad A will patrol and 4 of them will guard a certain spot in X month”
Tip: Rotate your Squads! Dwarves should ideally get 2-3 months off, every 2-3 months of duty.
Tip: You can have 2-3 schedules so that different months, any squad is always on duty.
Squad Uniforms
Each body part on a dwarf has layers. So you can cover each part in a soft and hard layer.
You can also specify that the hard pieces be made of metal.
Until you have a full set of armor for everyone, I recommend that “Uniforms are worn OVER clothing” in the early game.
Armor Set for Militia example
–
Hood with metal Helm
Cloak with metal chain shirt and metal breastplate (or cloak and leather chest armor)
Trousers with Greaves
I am not sure if the tip “You need to add both twice for both feet/gloves protection” applies still but:
Glove(s) with metal Gauntlet(s)
Sock(s) with High Boot(s)
A shield
A weapon of their choice
–
Defenses
Refer to the build menu for available Traps, or the wiki’s articles for the myriad of creative examples again but I’ll say that the standard Year 1 defense can be a smooth wall + drawbridge.
In conclusion, Brew everything at a Still right away, get plantin’ & build that Trade Depot before Autumn.
By Polarbark
