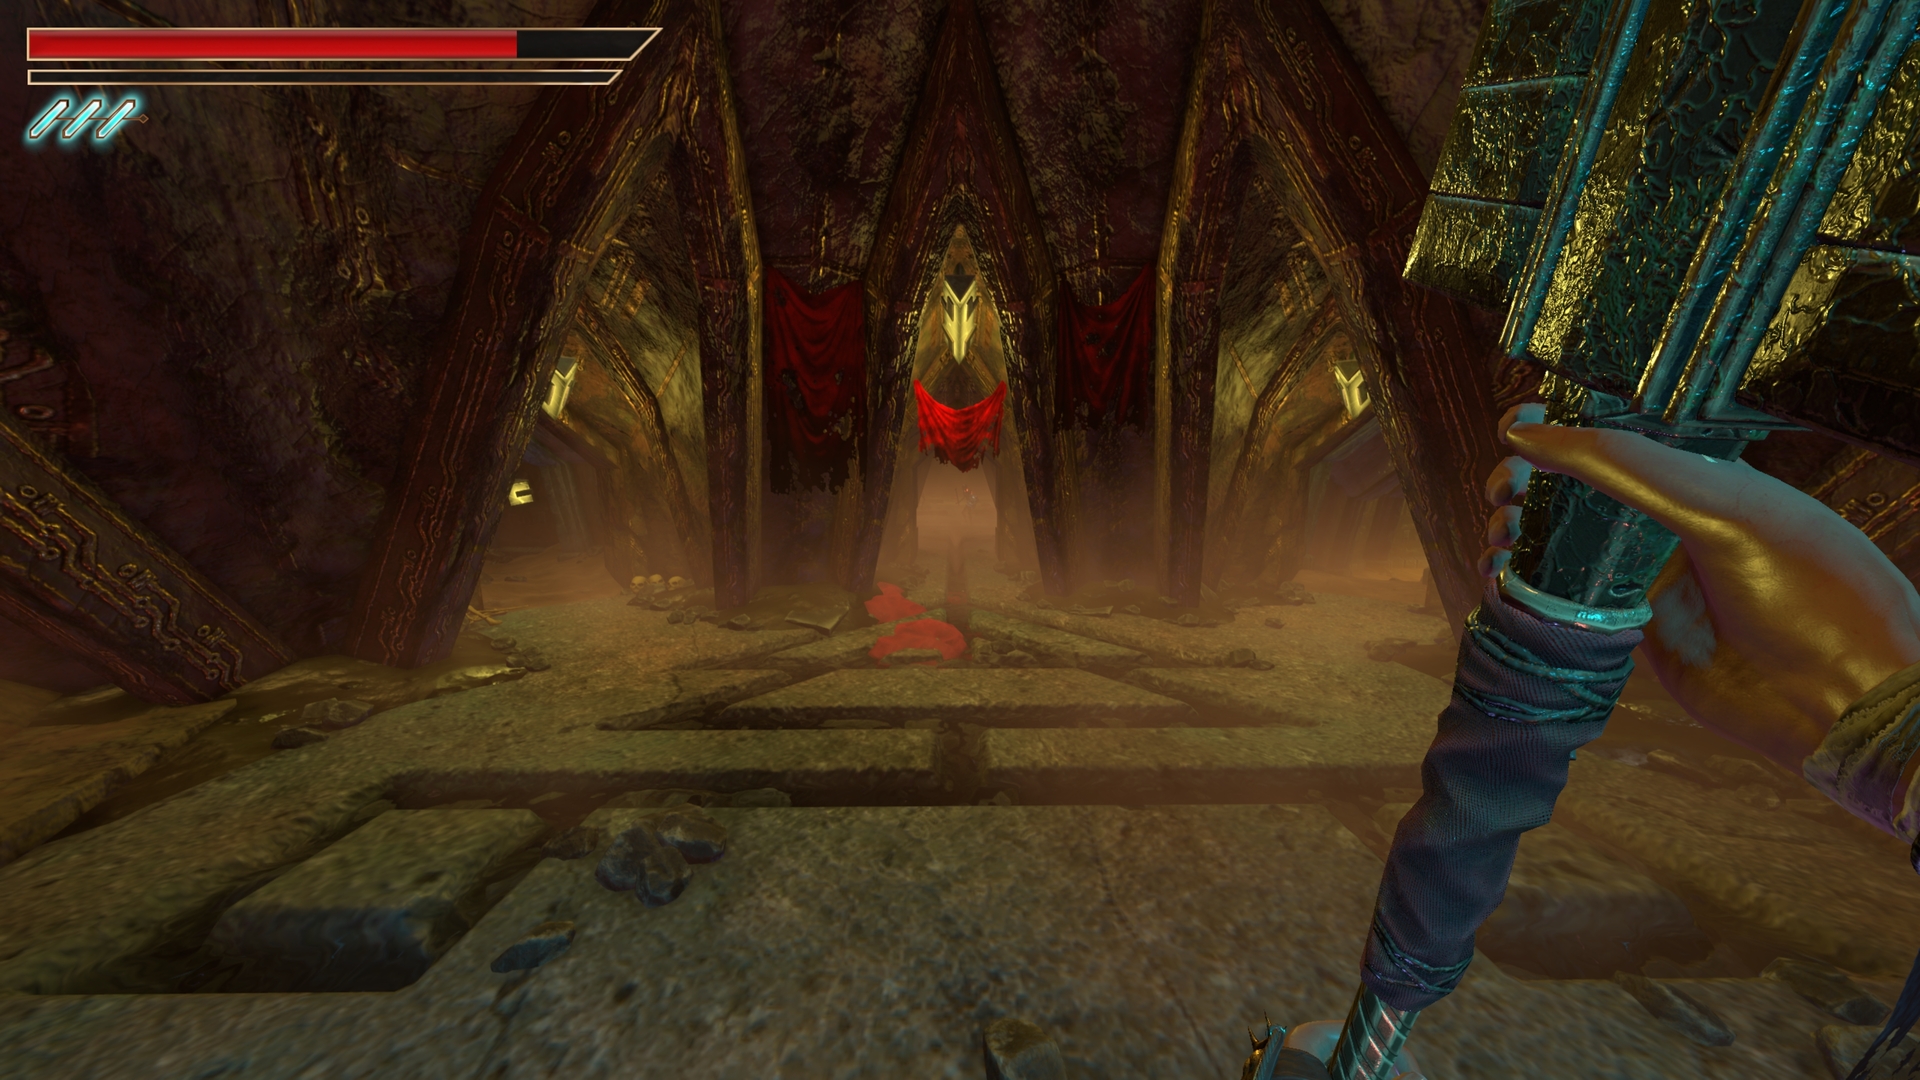
This is a guide on how to obtain the No Chest Left Behind Achievement (As well as the Tomb Raider and Dr. Jones Achievements) by detailing where to find all the chests in the game. Chapter 1 has 50 chests and Chapter 2 has 39 chests.
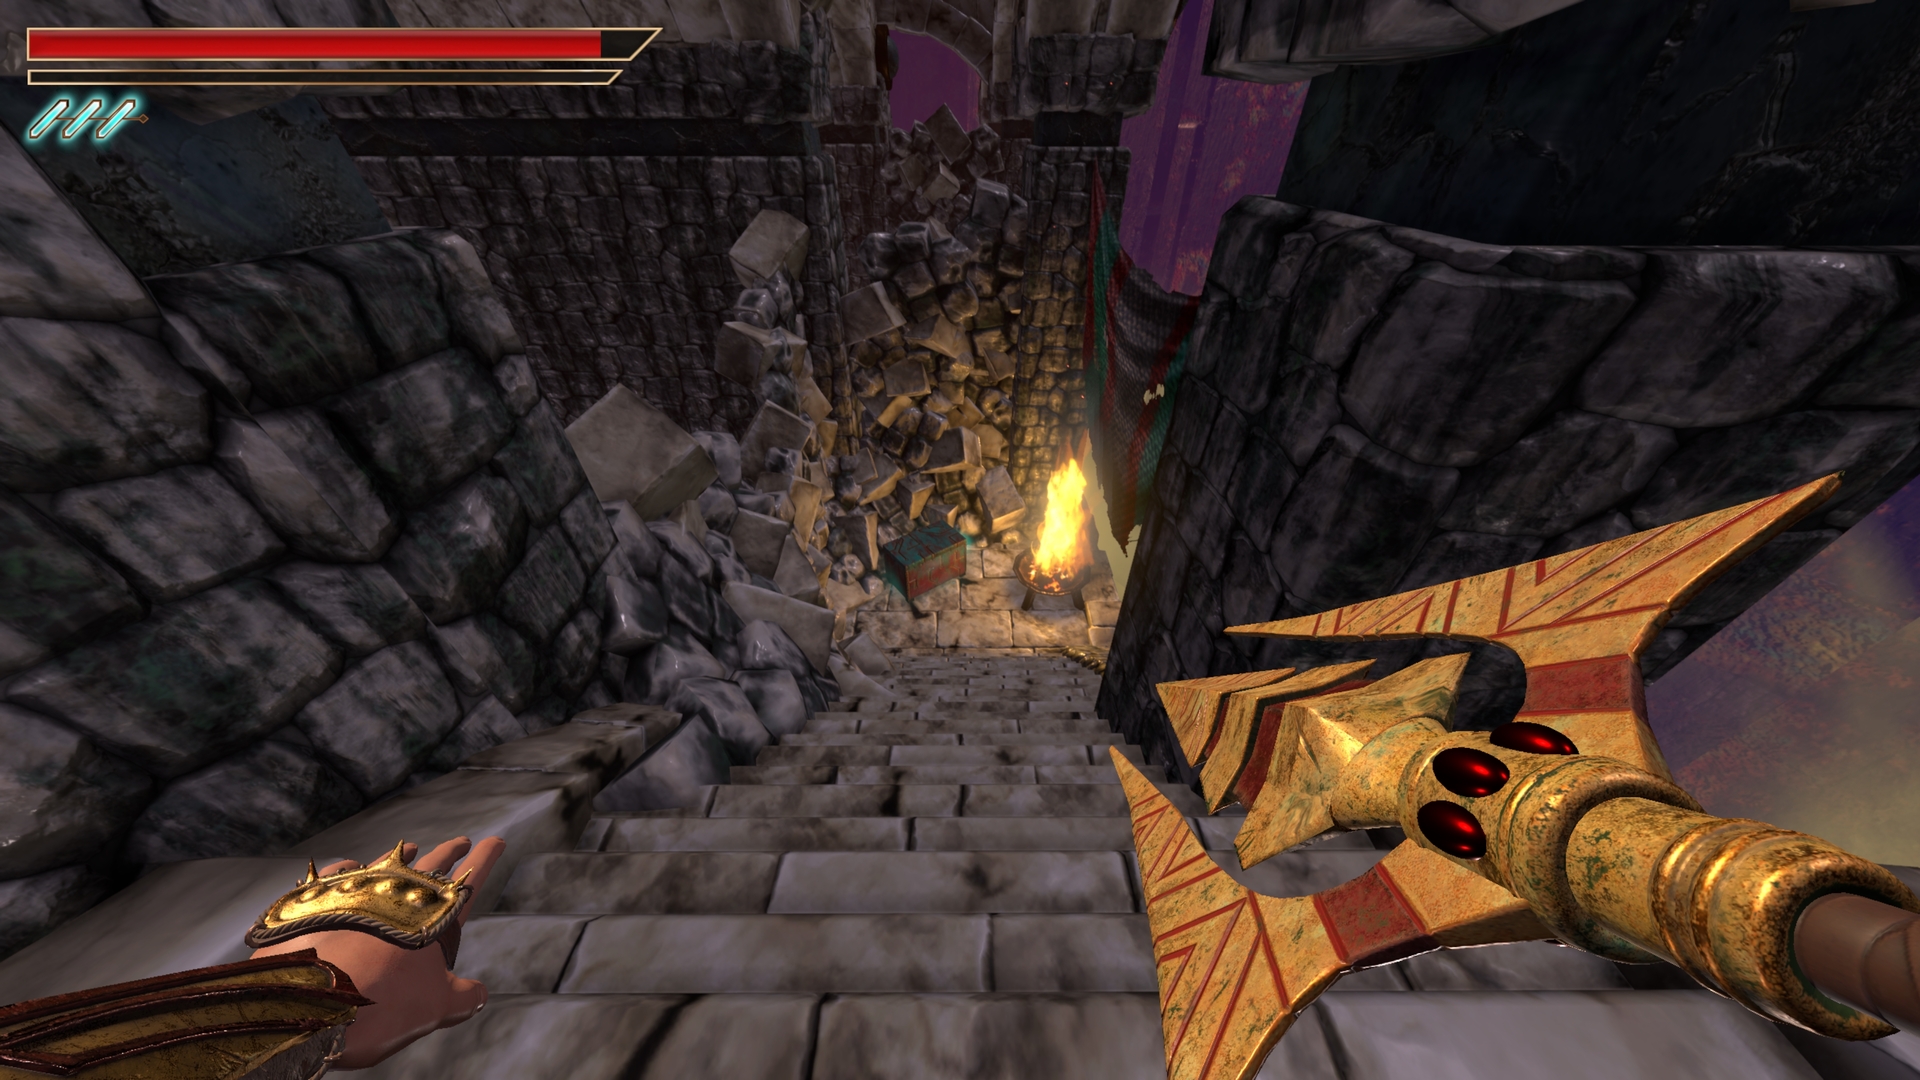
⠀2.) Through the unlocked door, the next chest is on the right path around the gap.
⠀
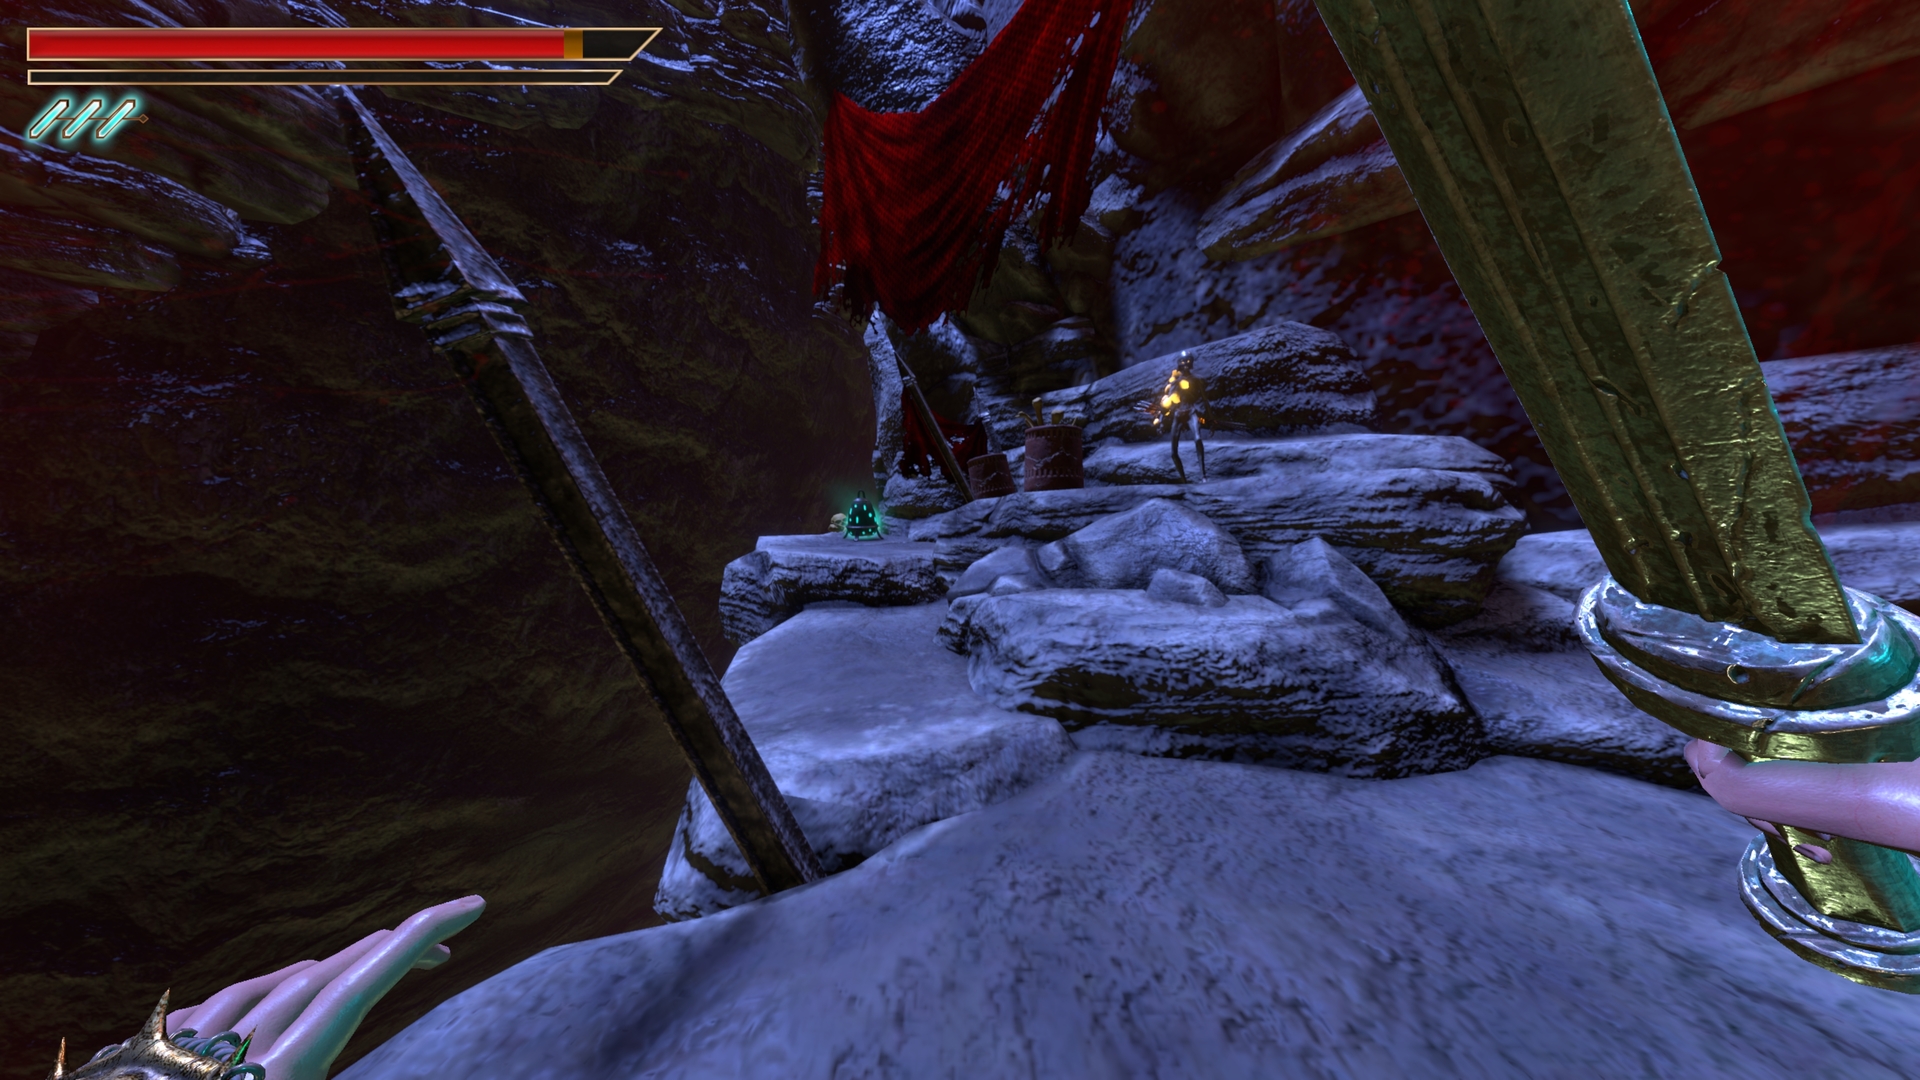
3.) Up the first and 2nd set of rocks and then on the right behind the cloth.
⠀
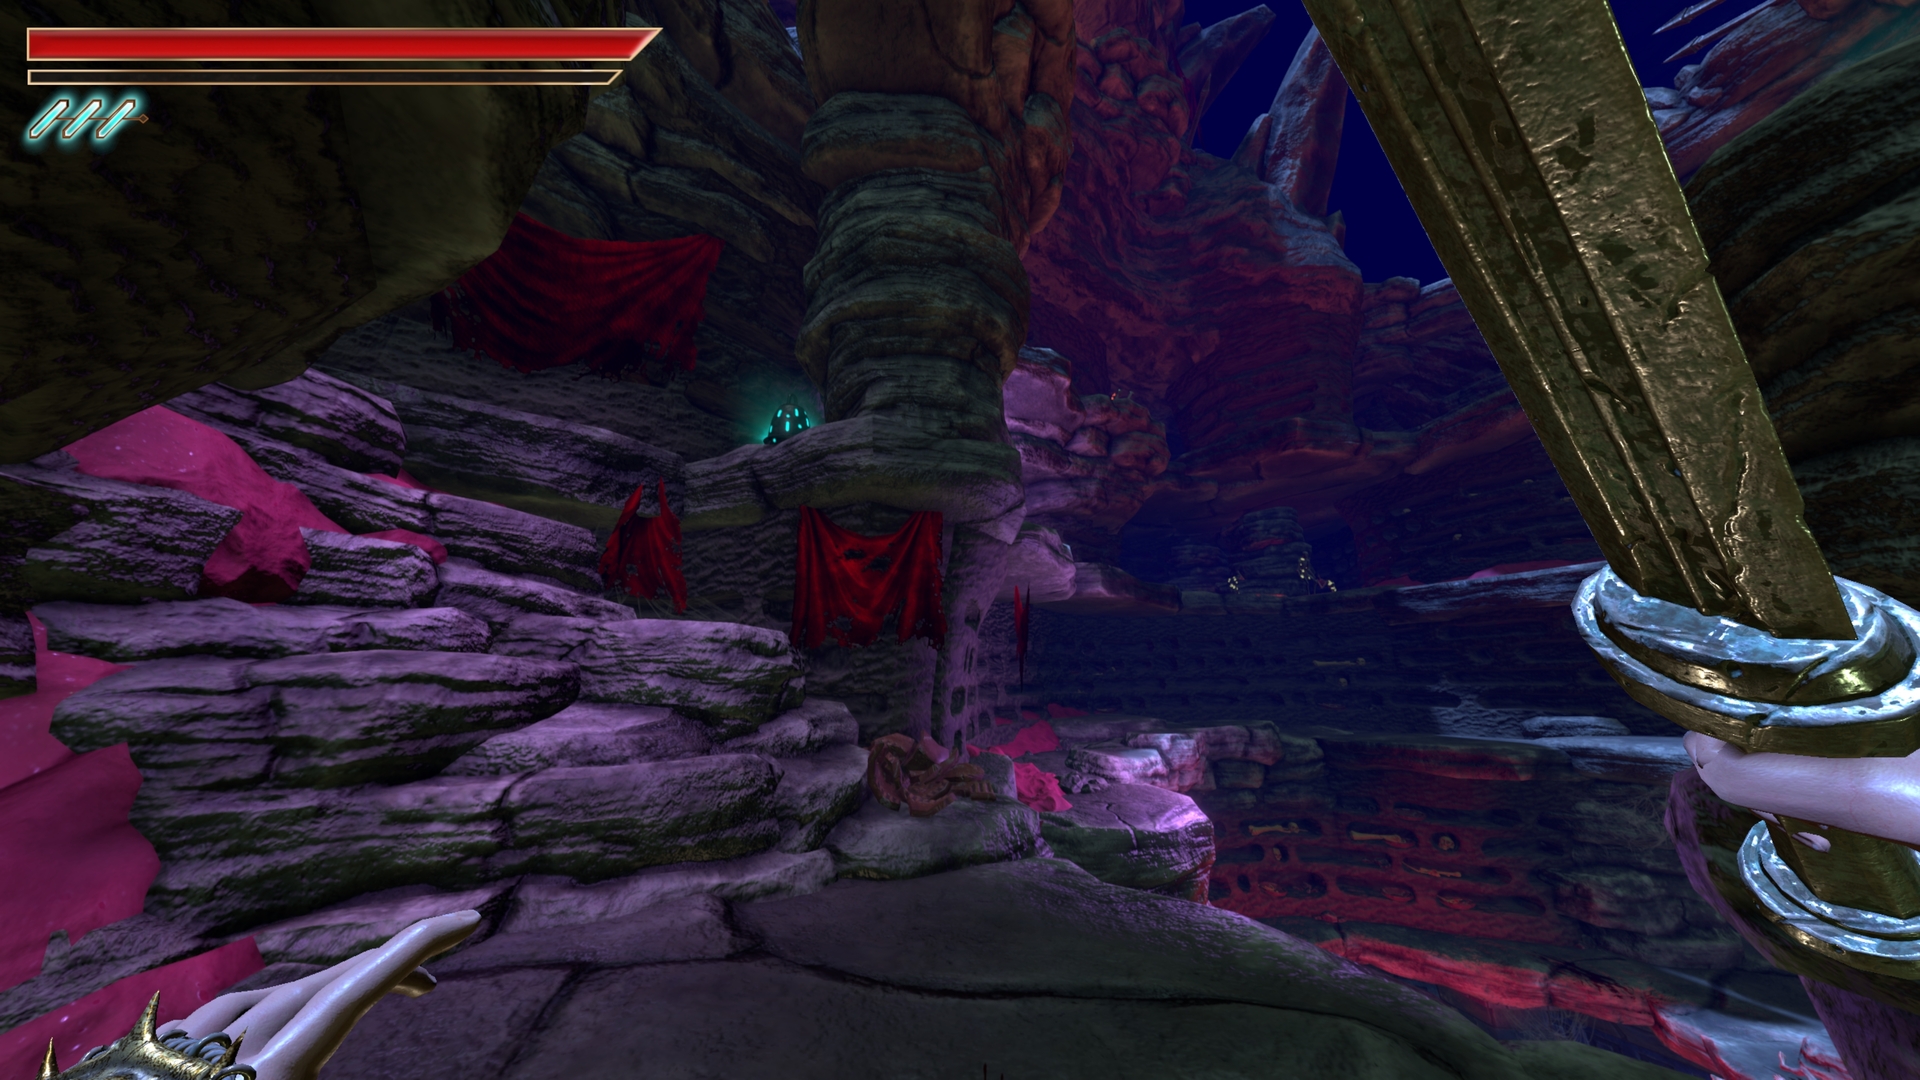
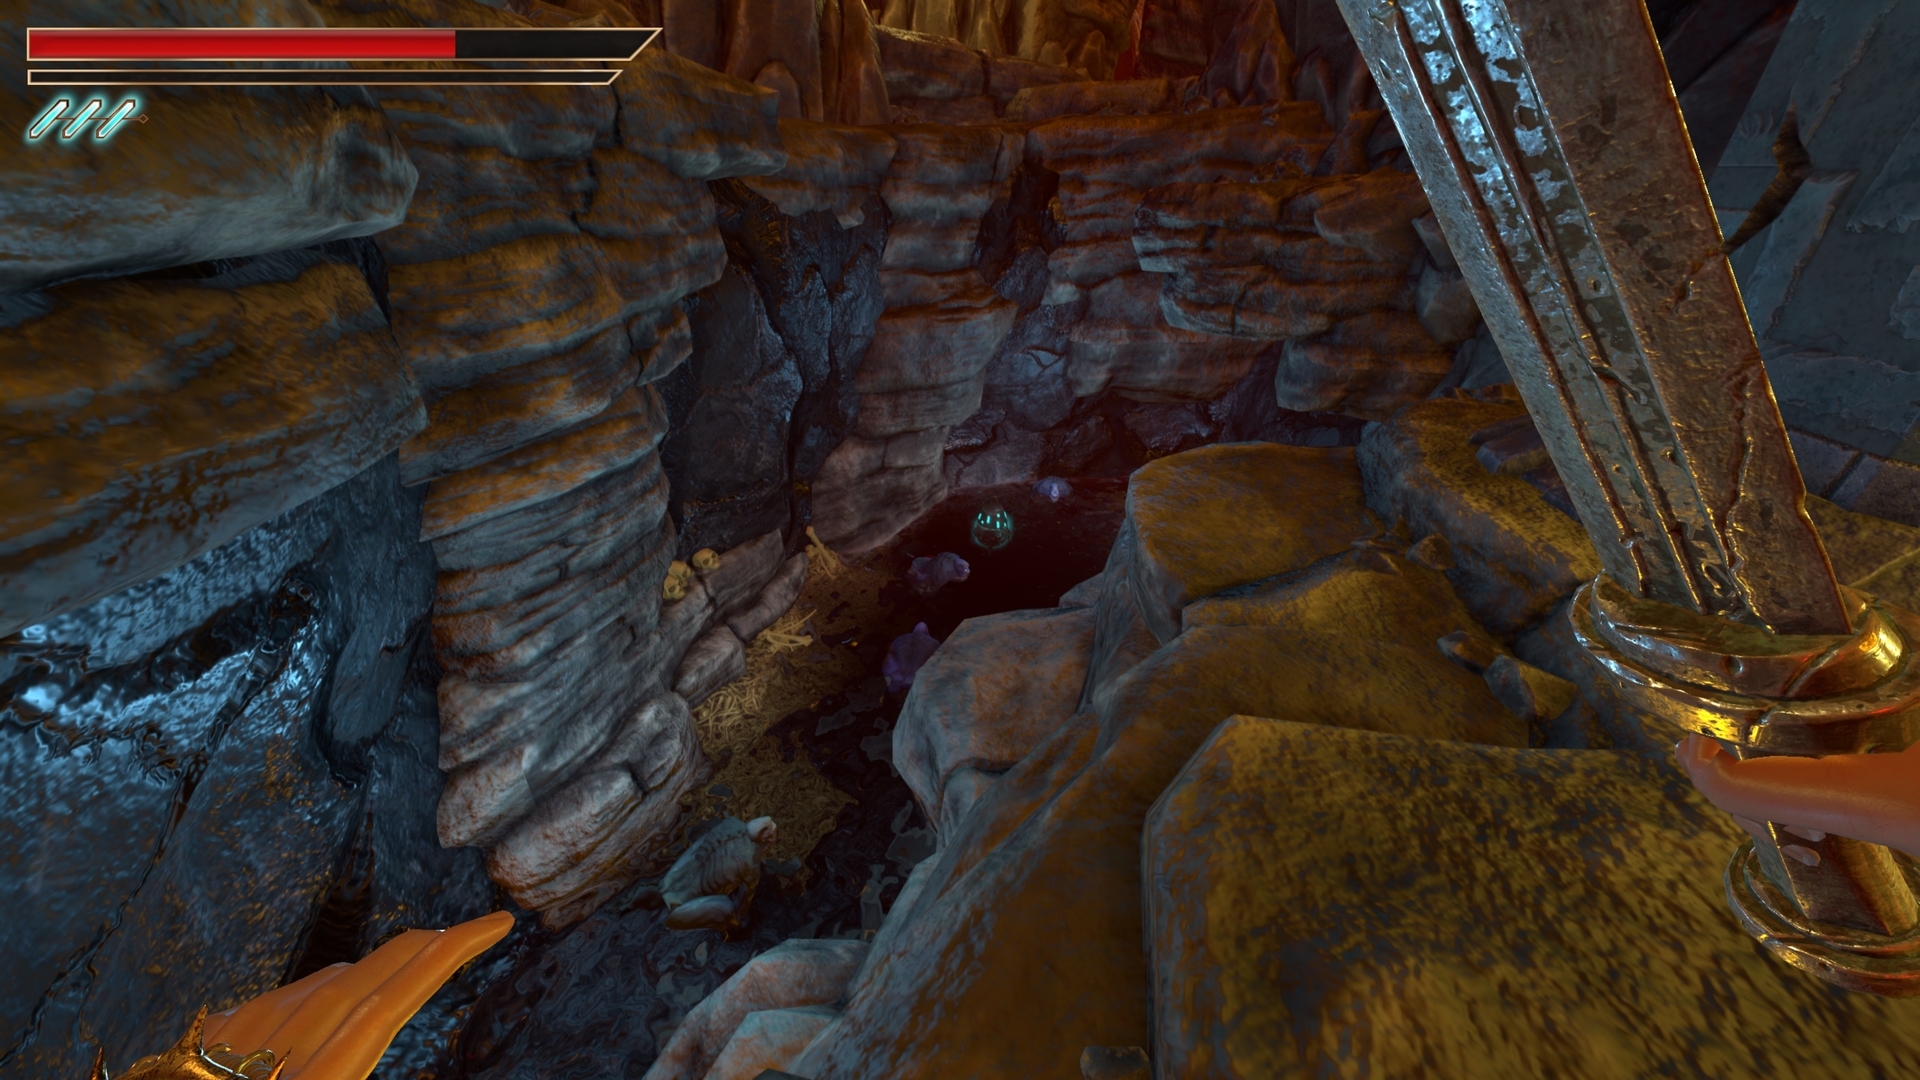
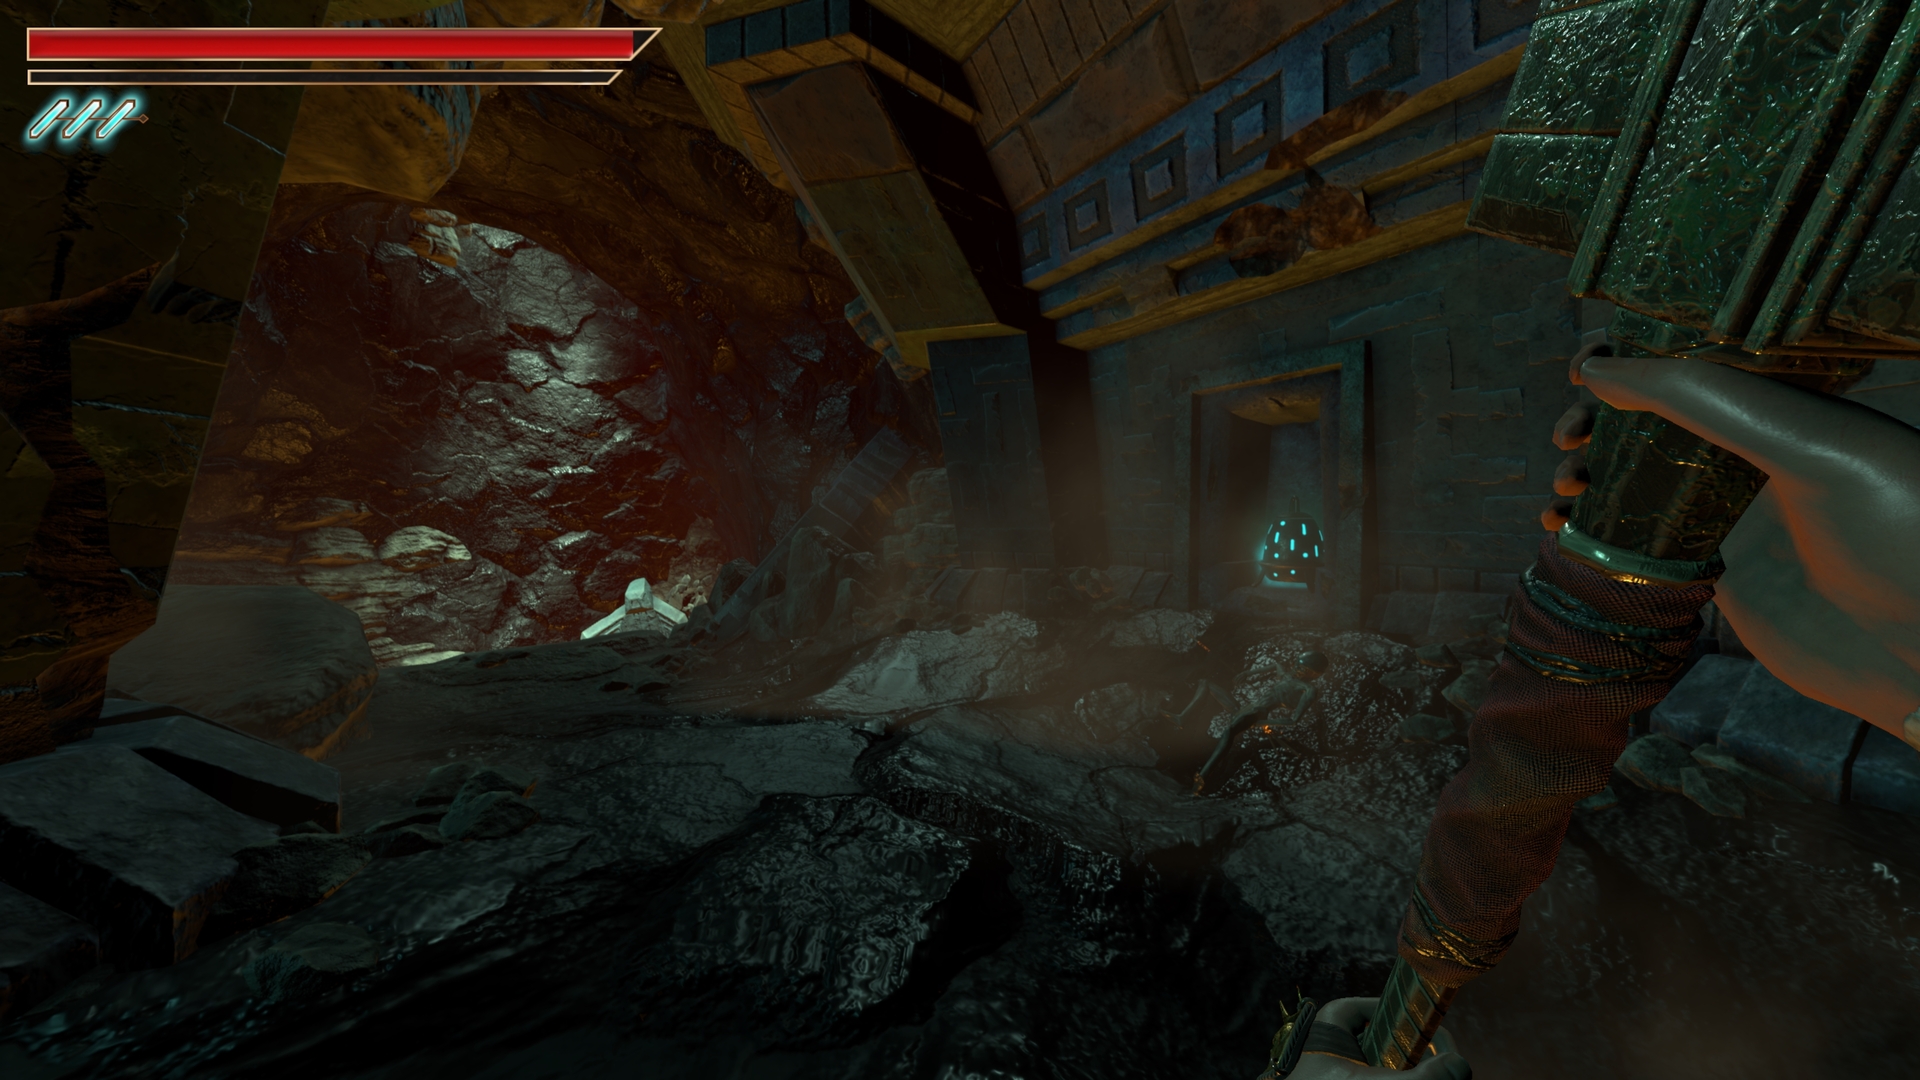
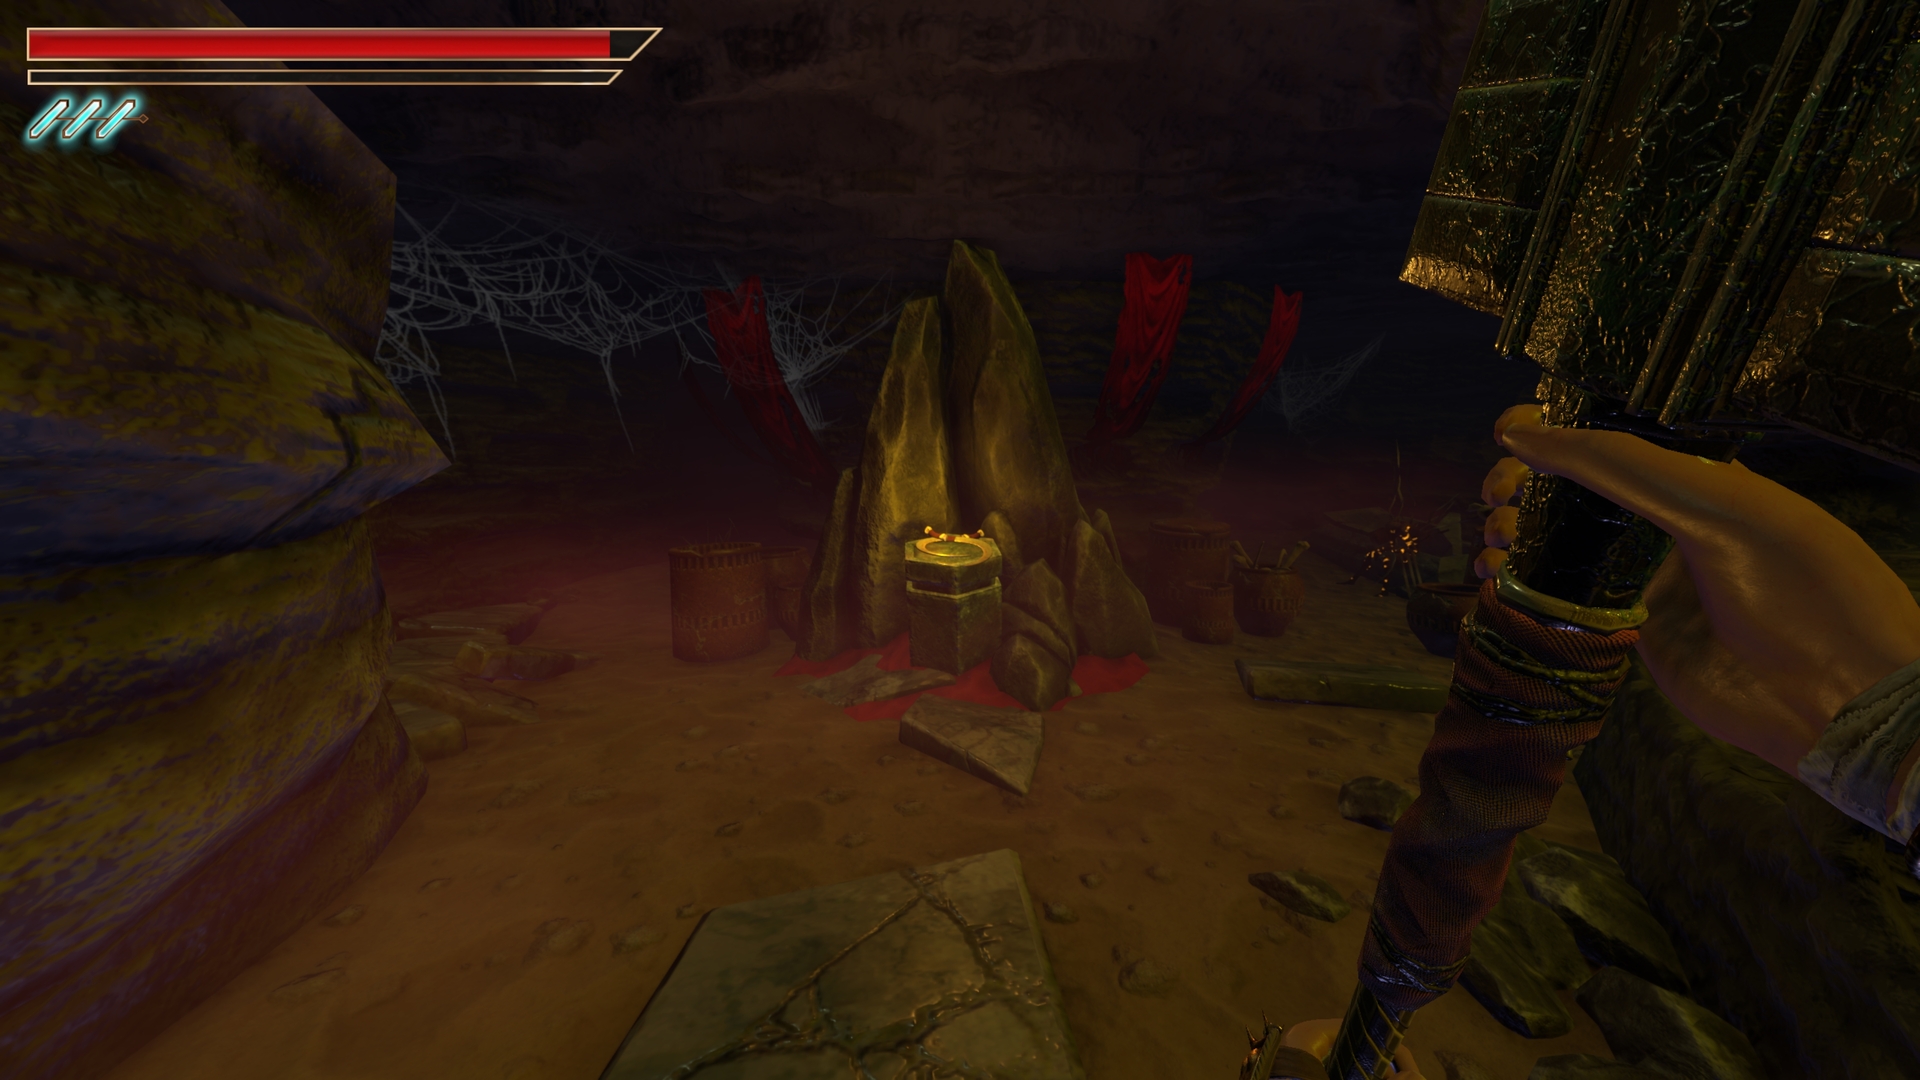
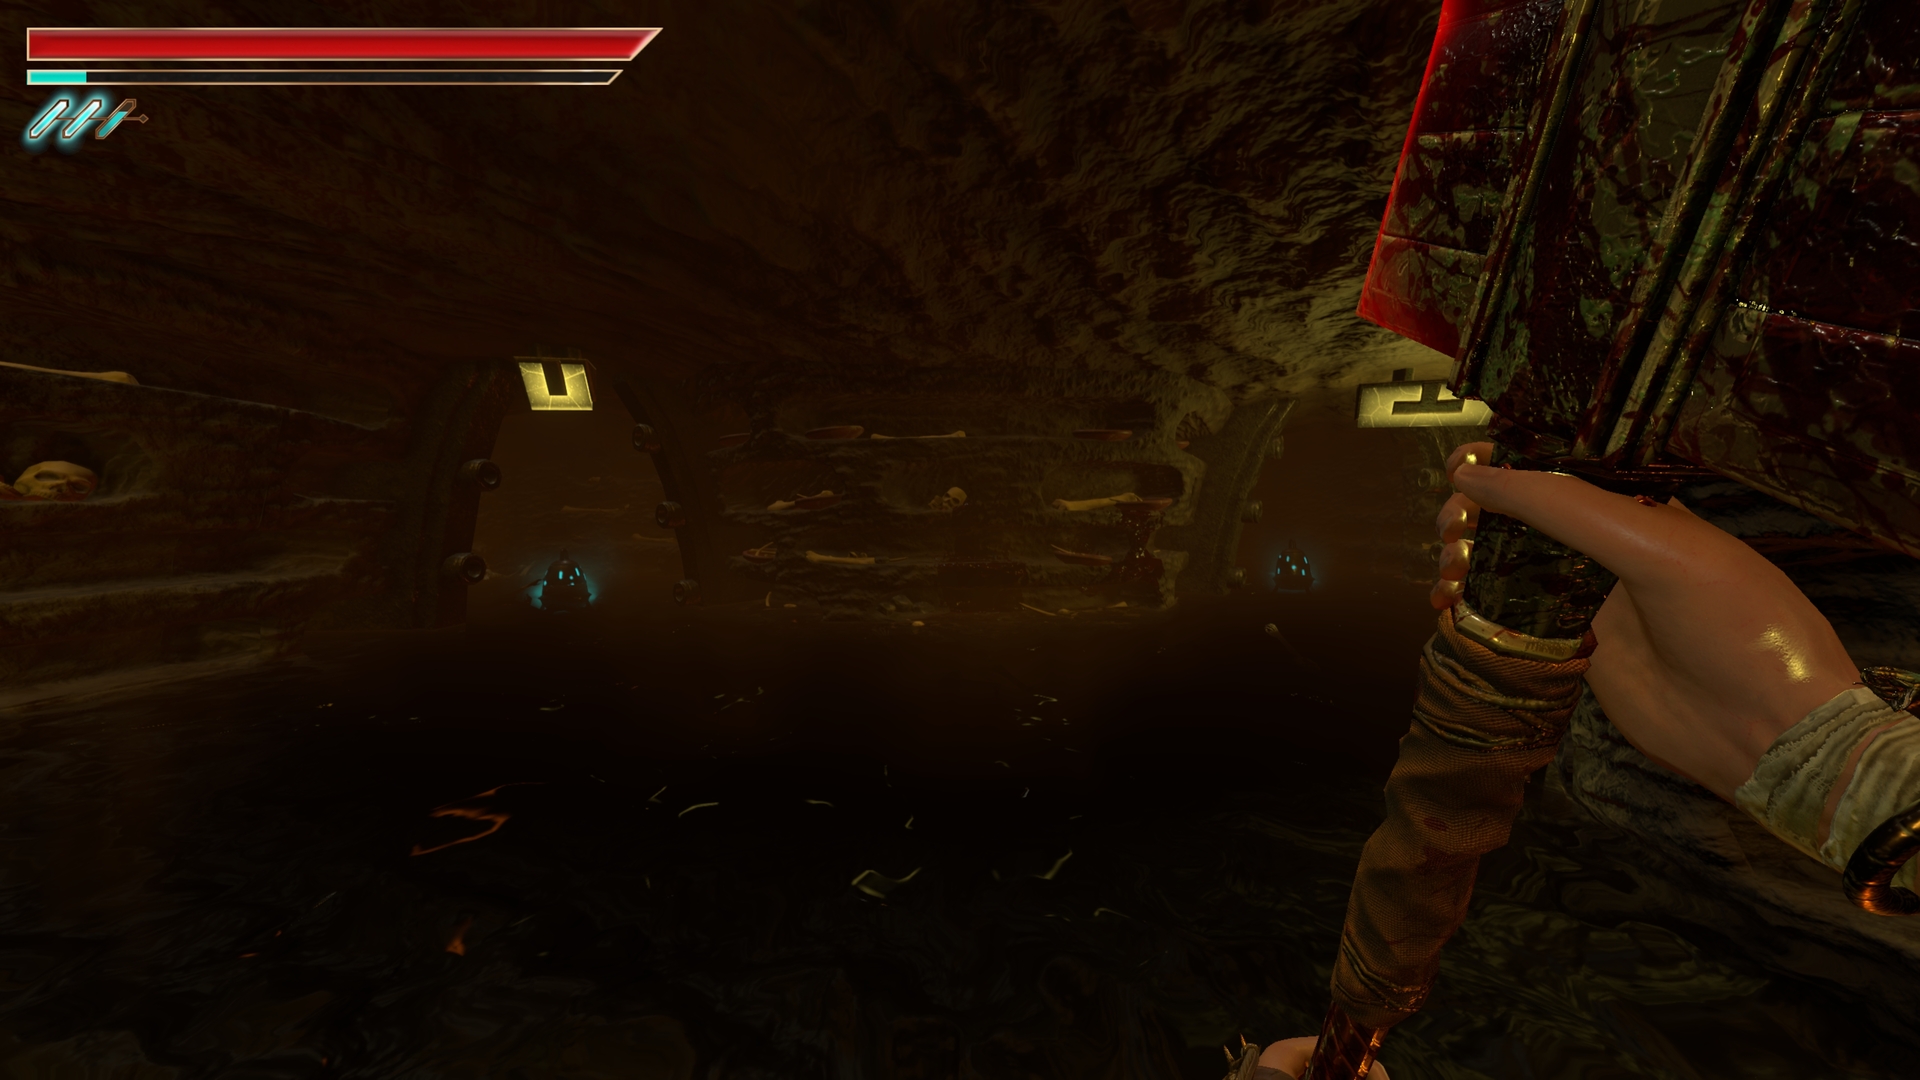
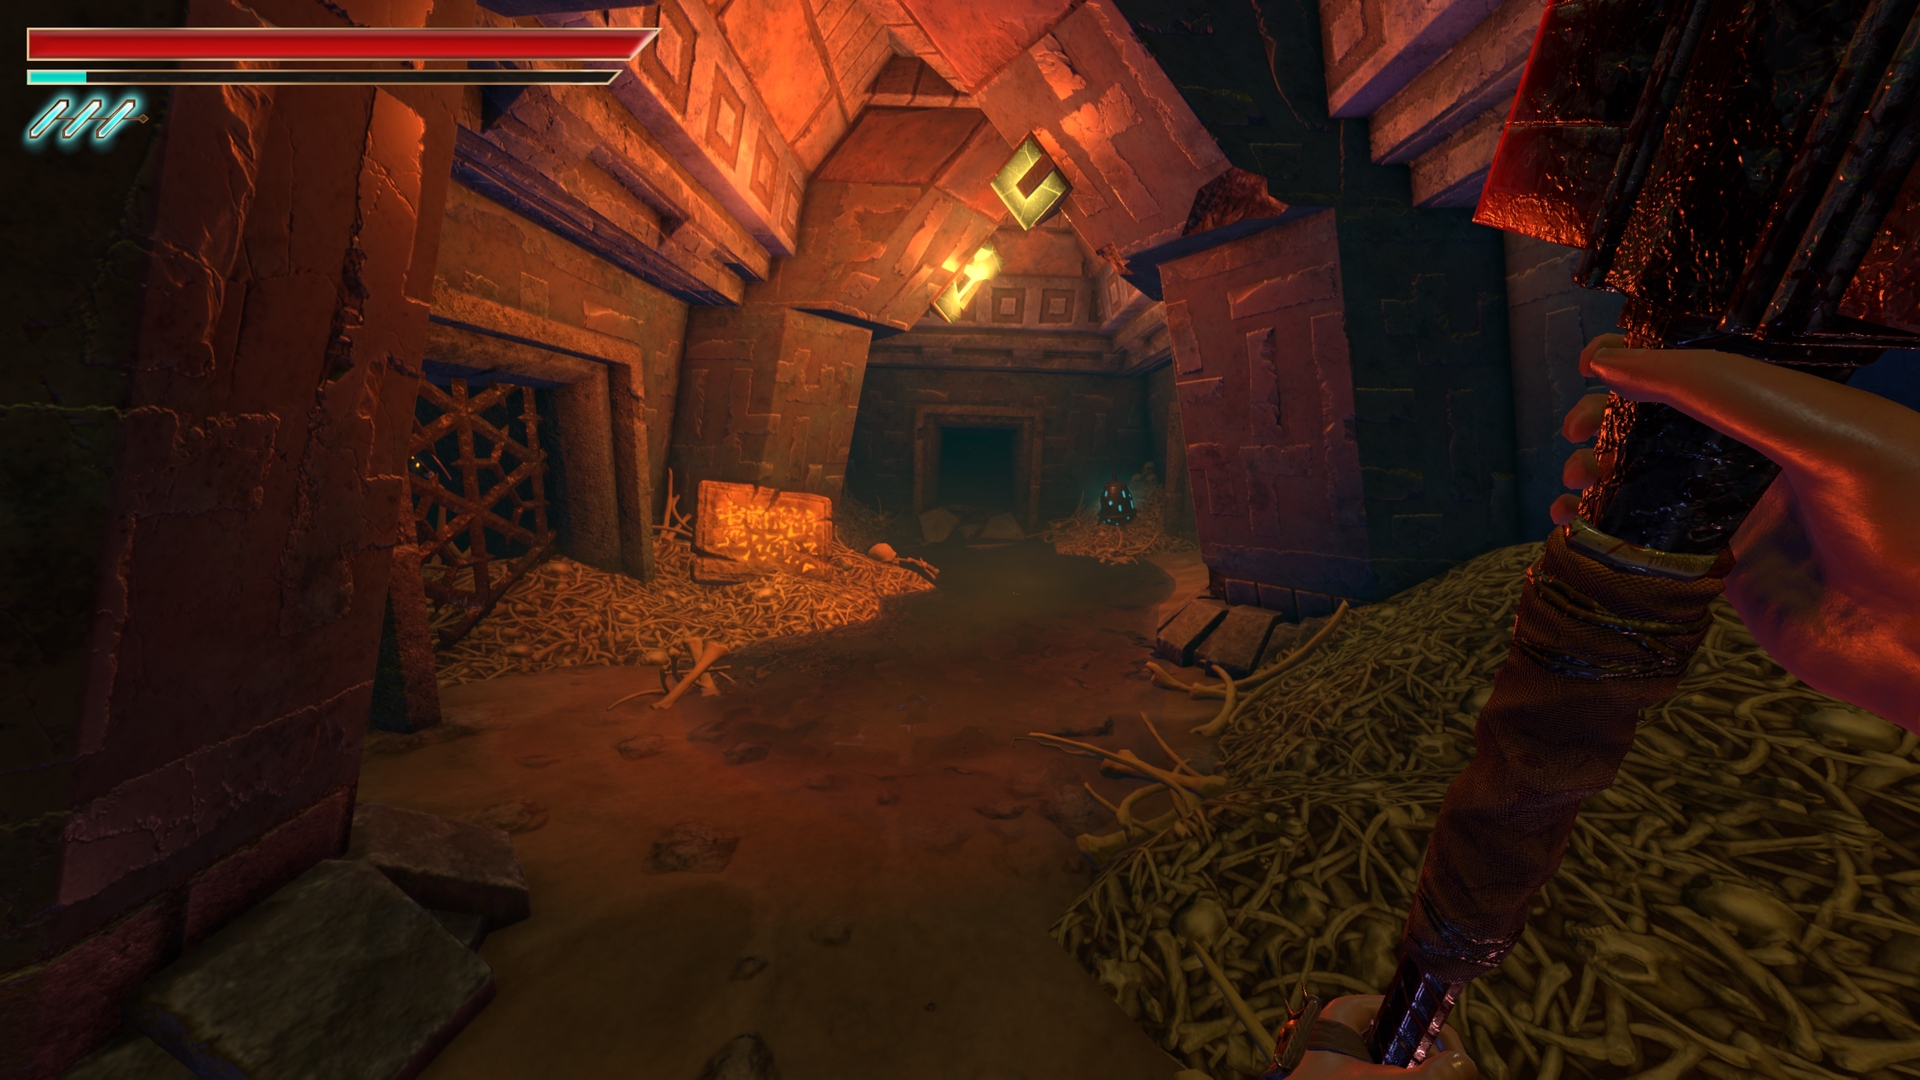
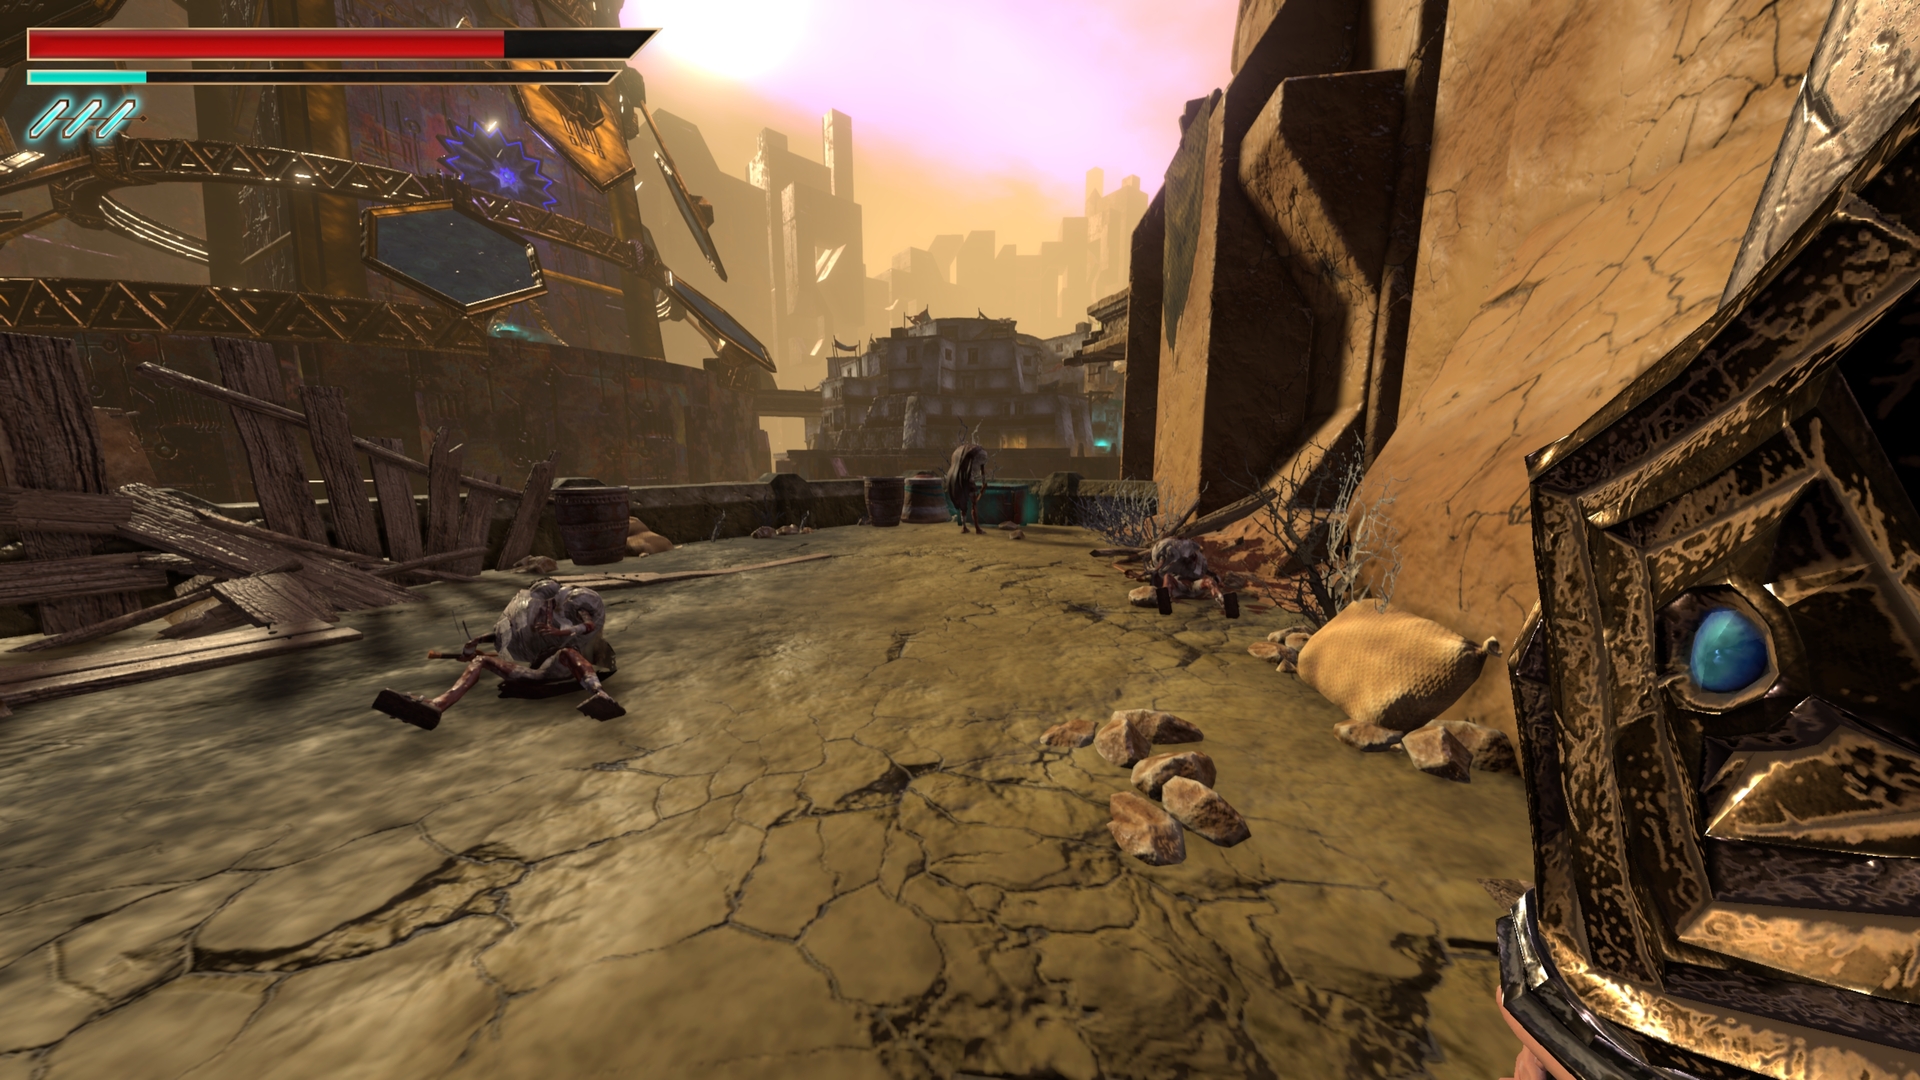
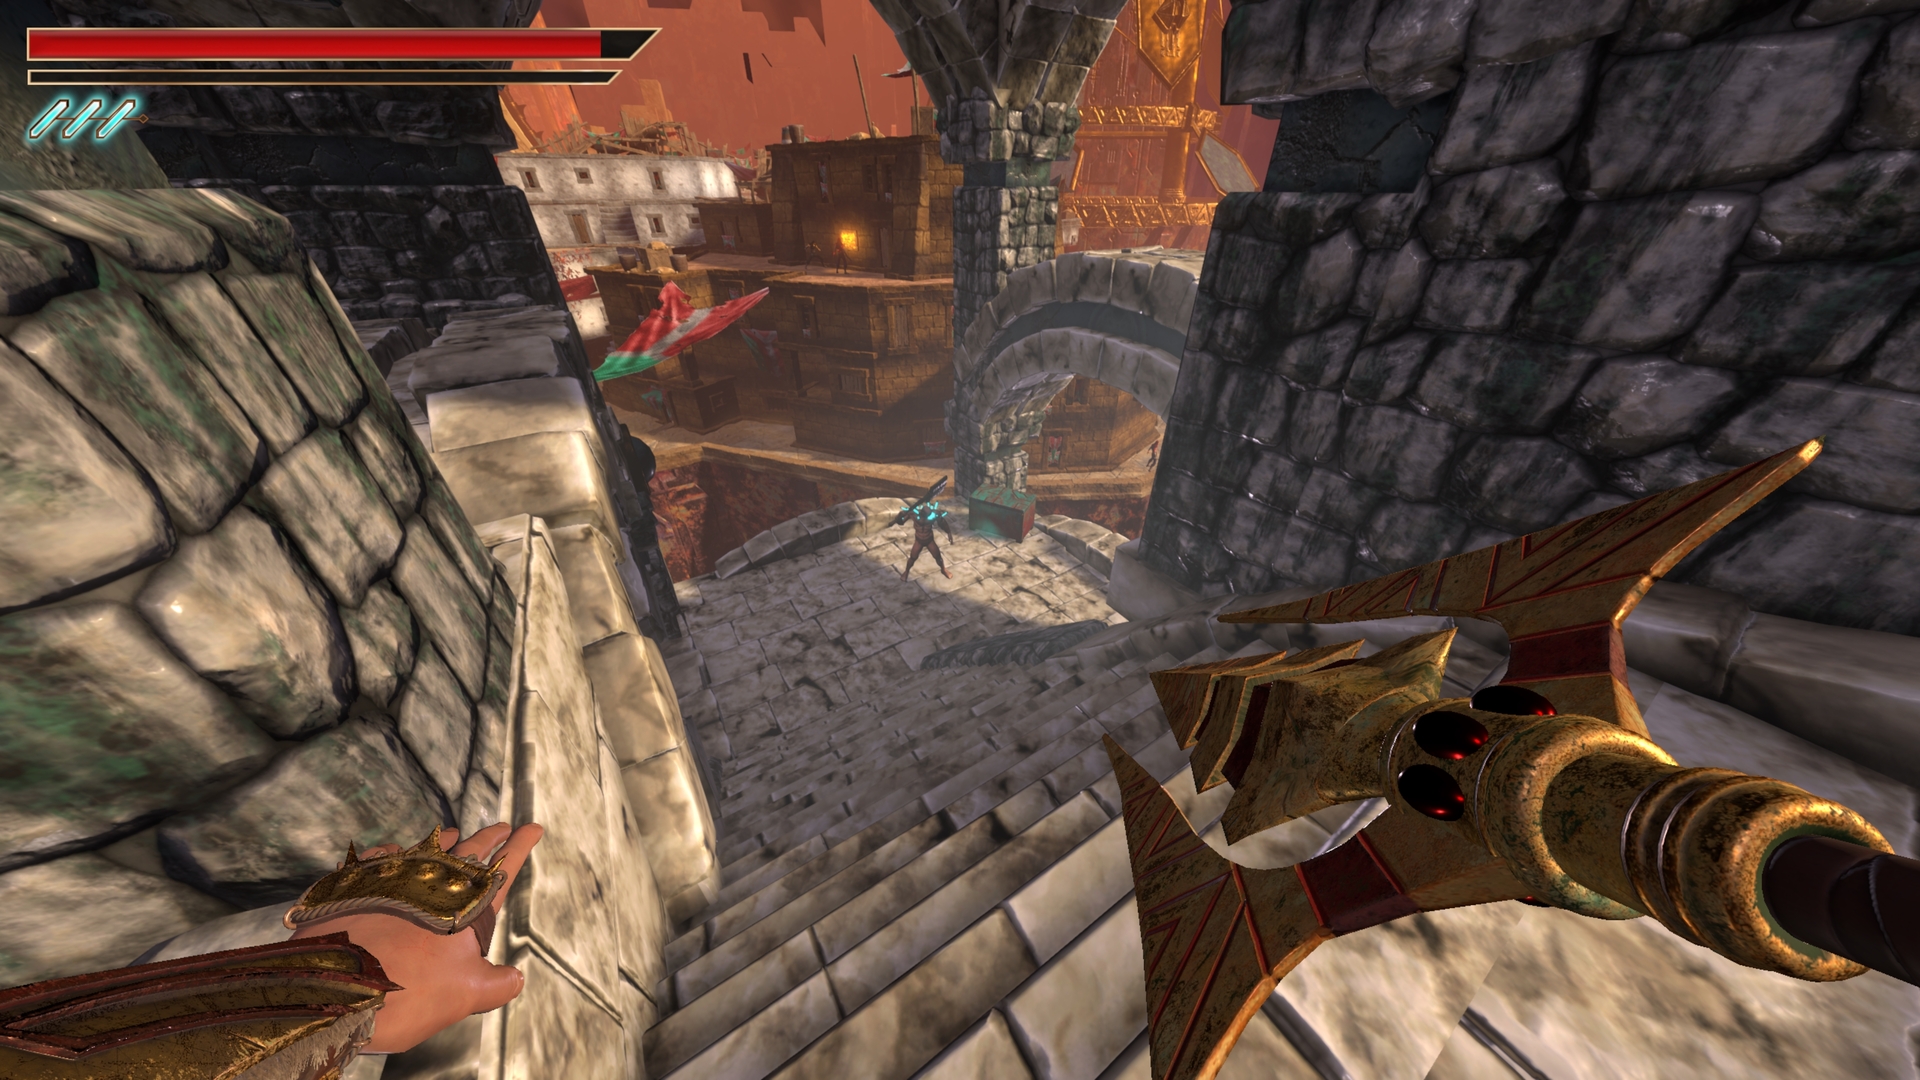
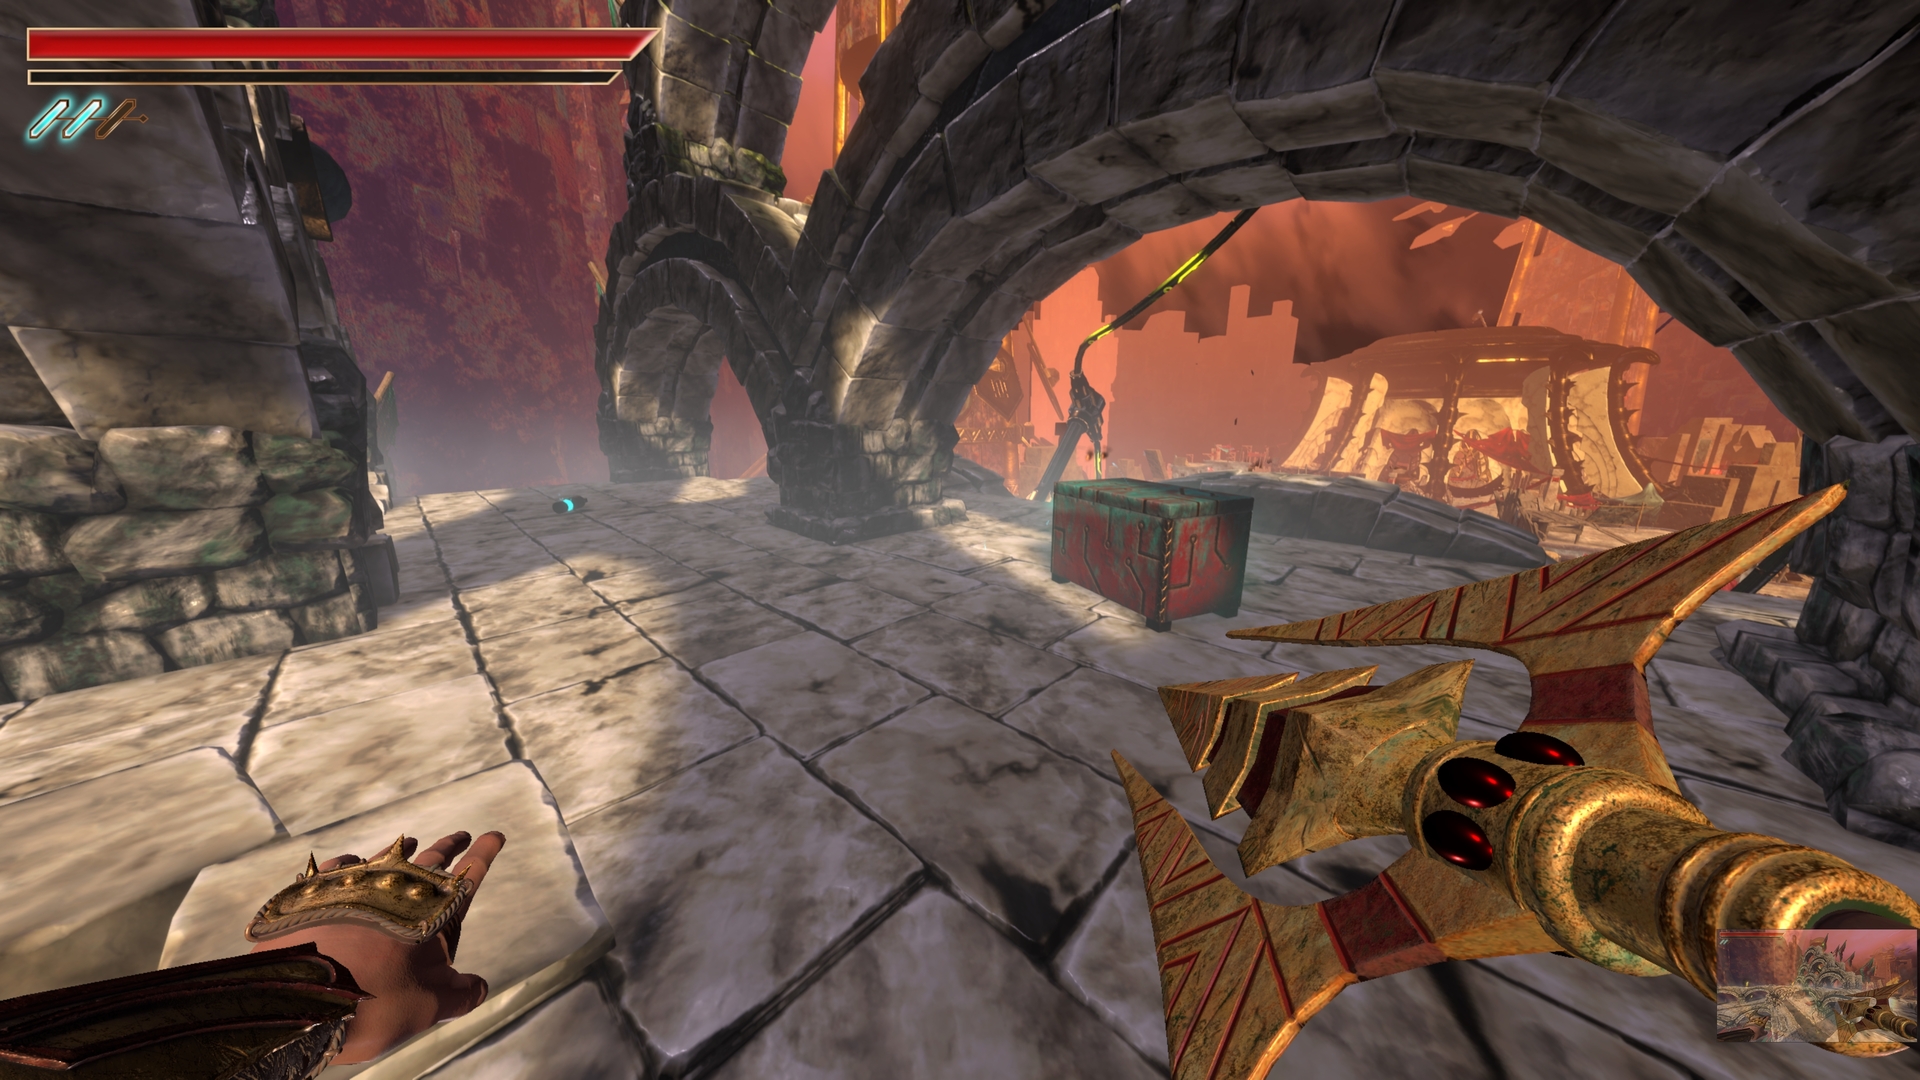
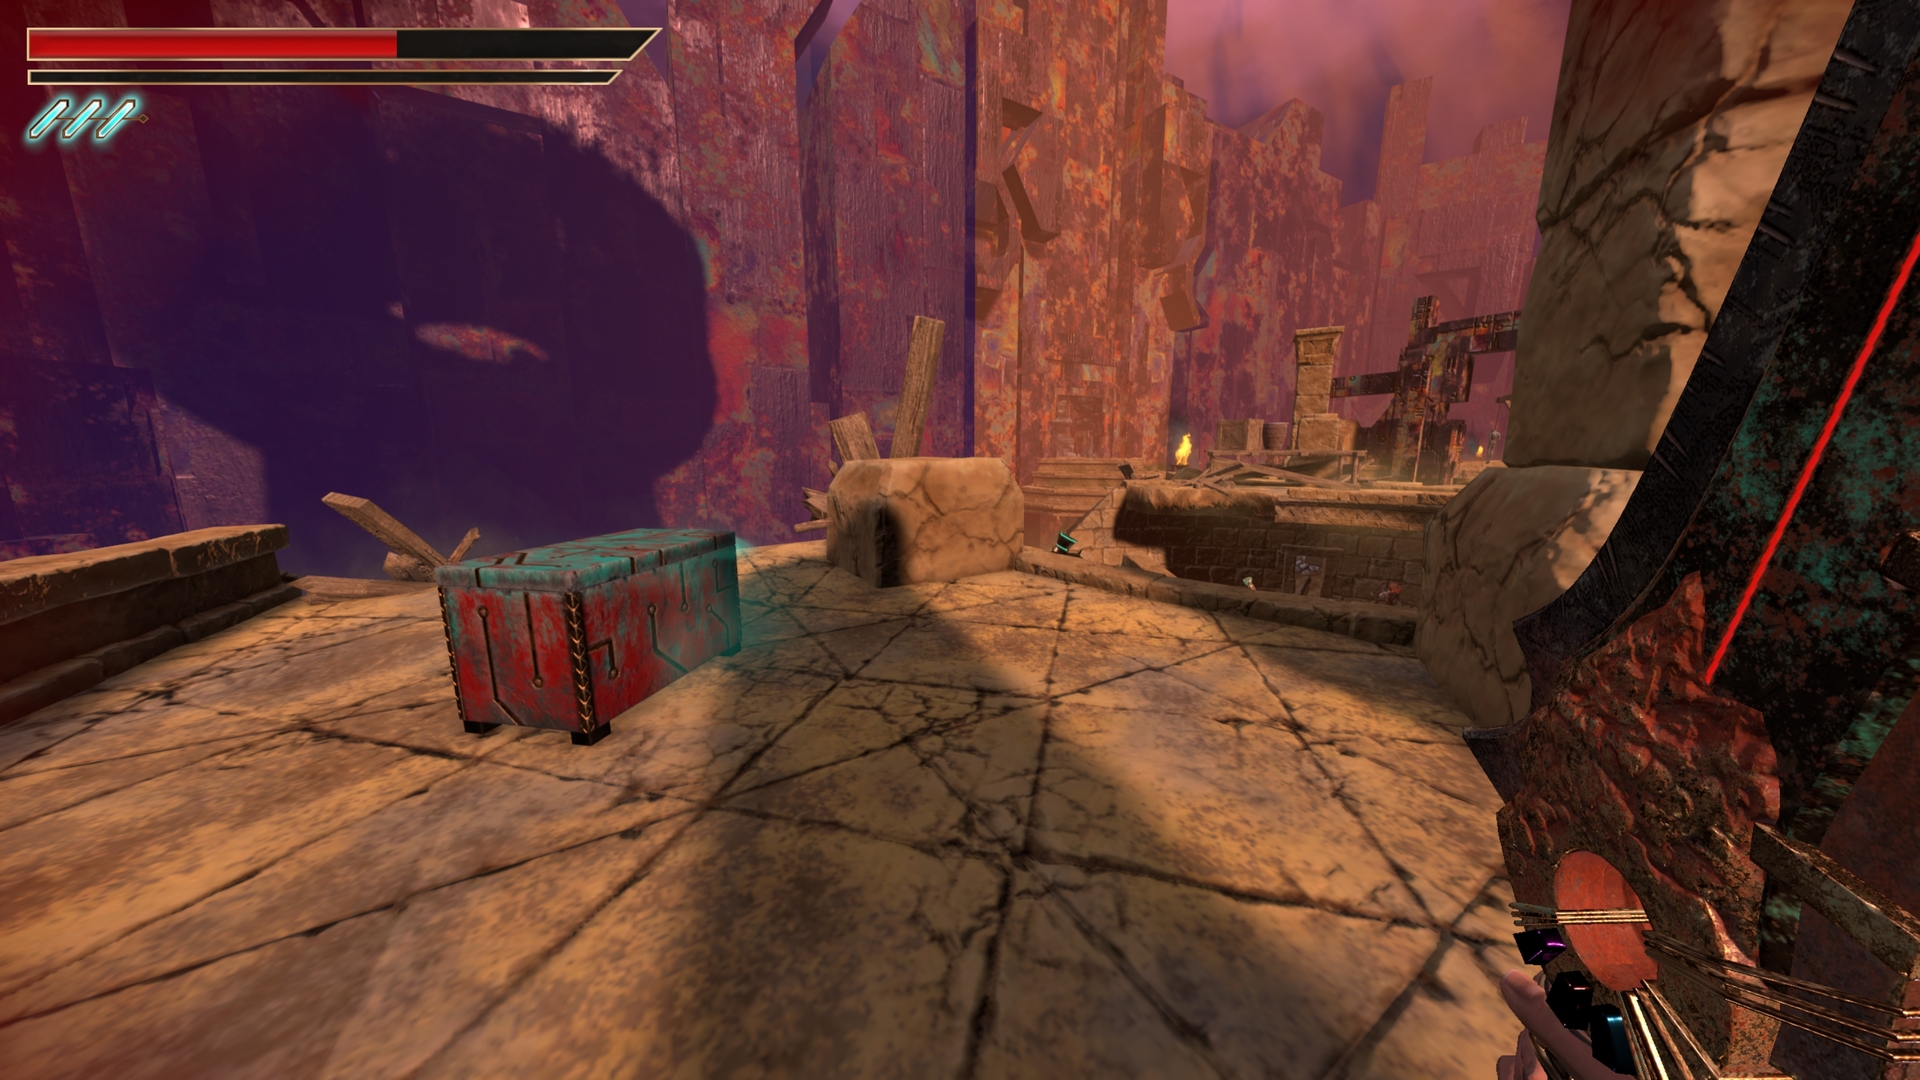
4.) Follow the path around the outside and the chest is in the middle.
⠀
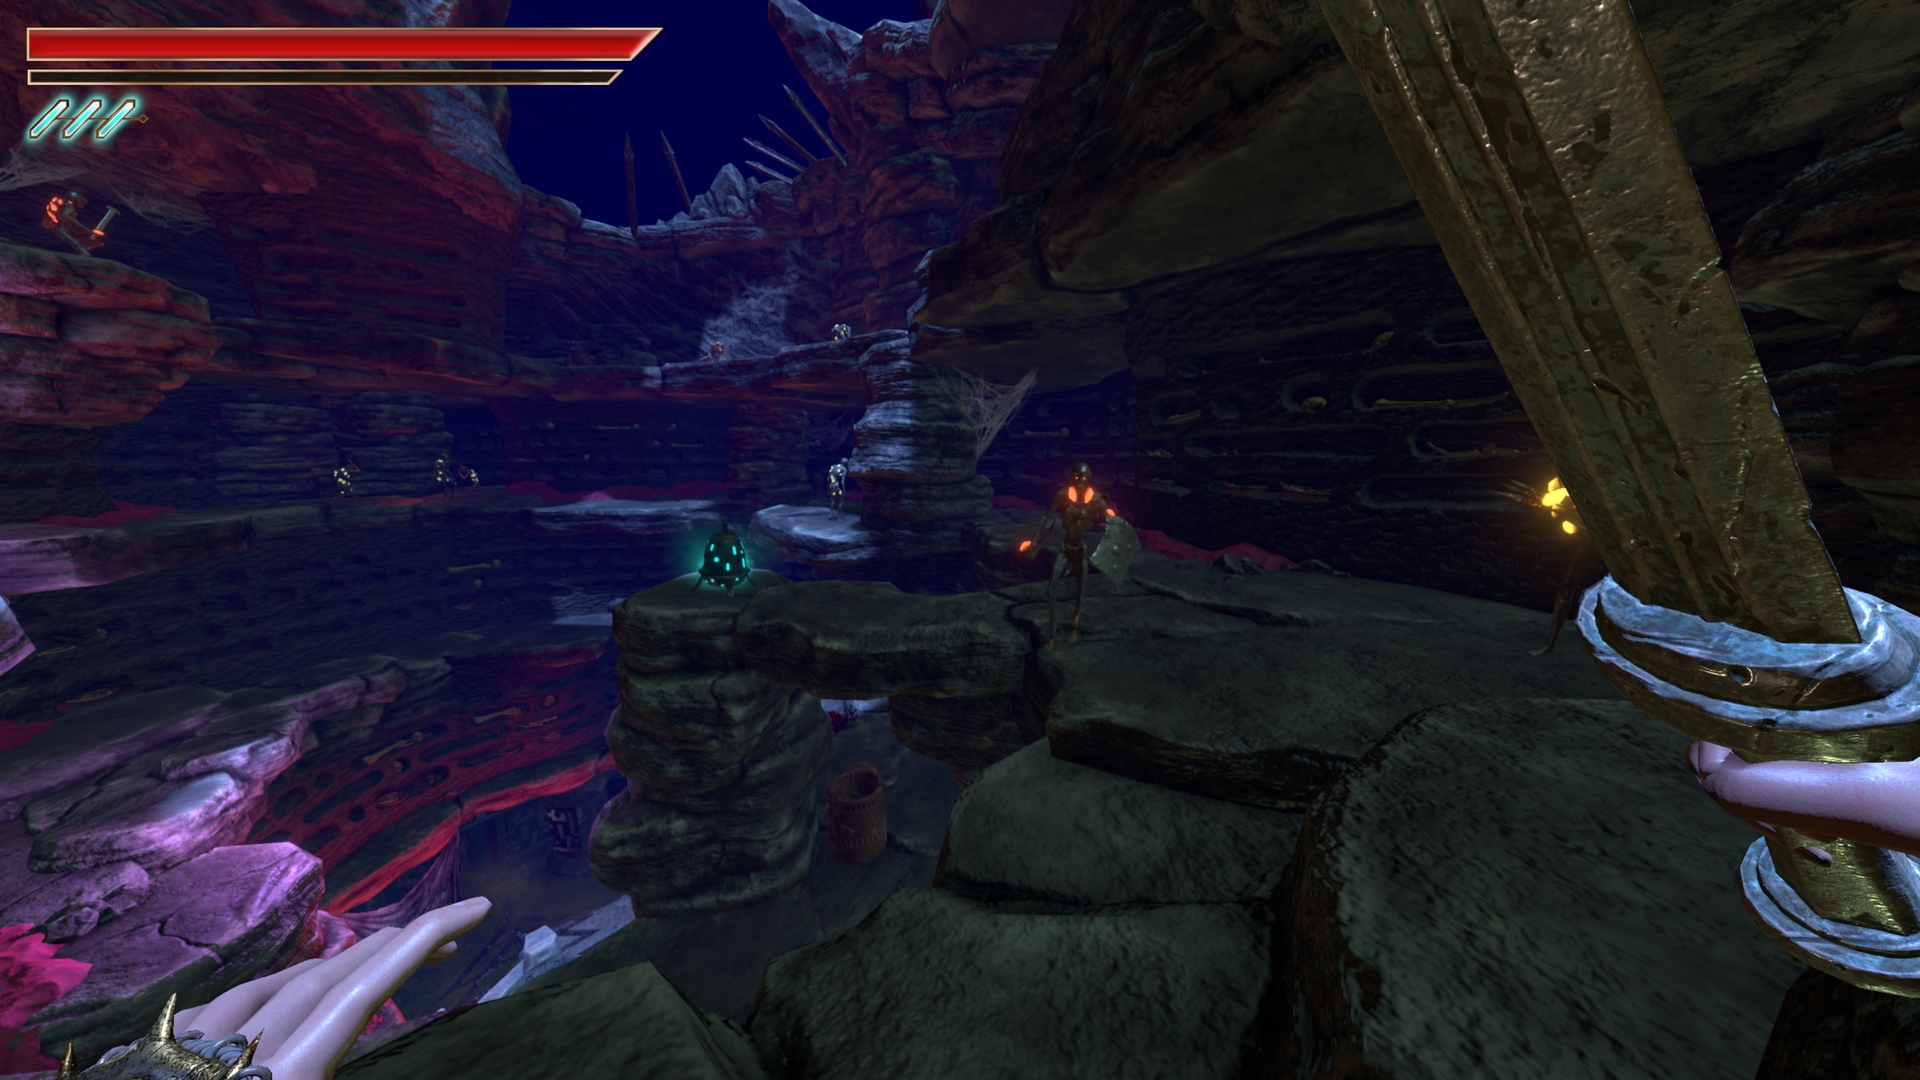
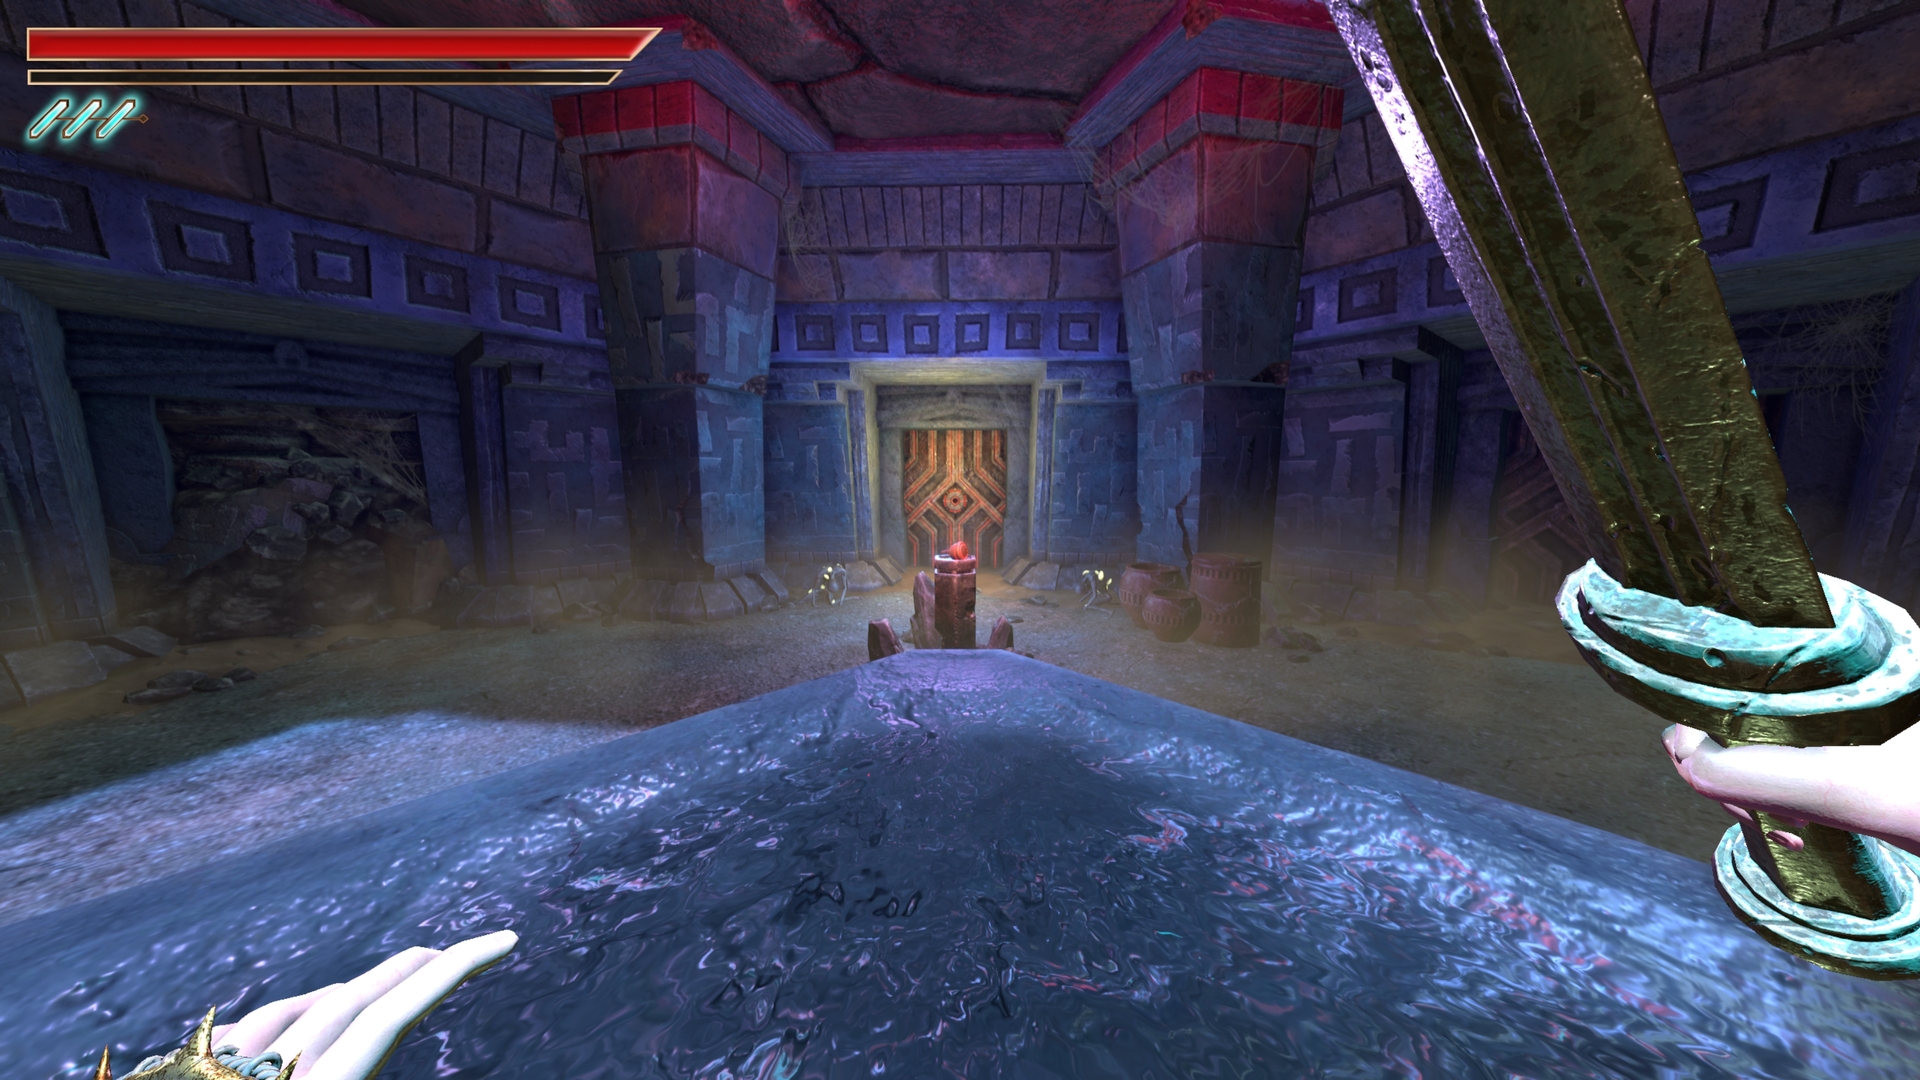
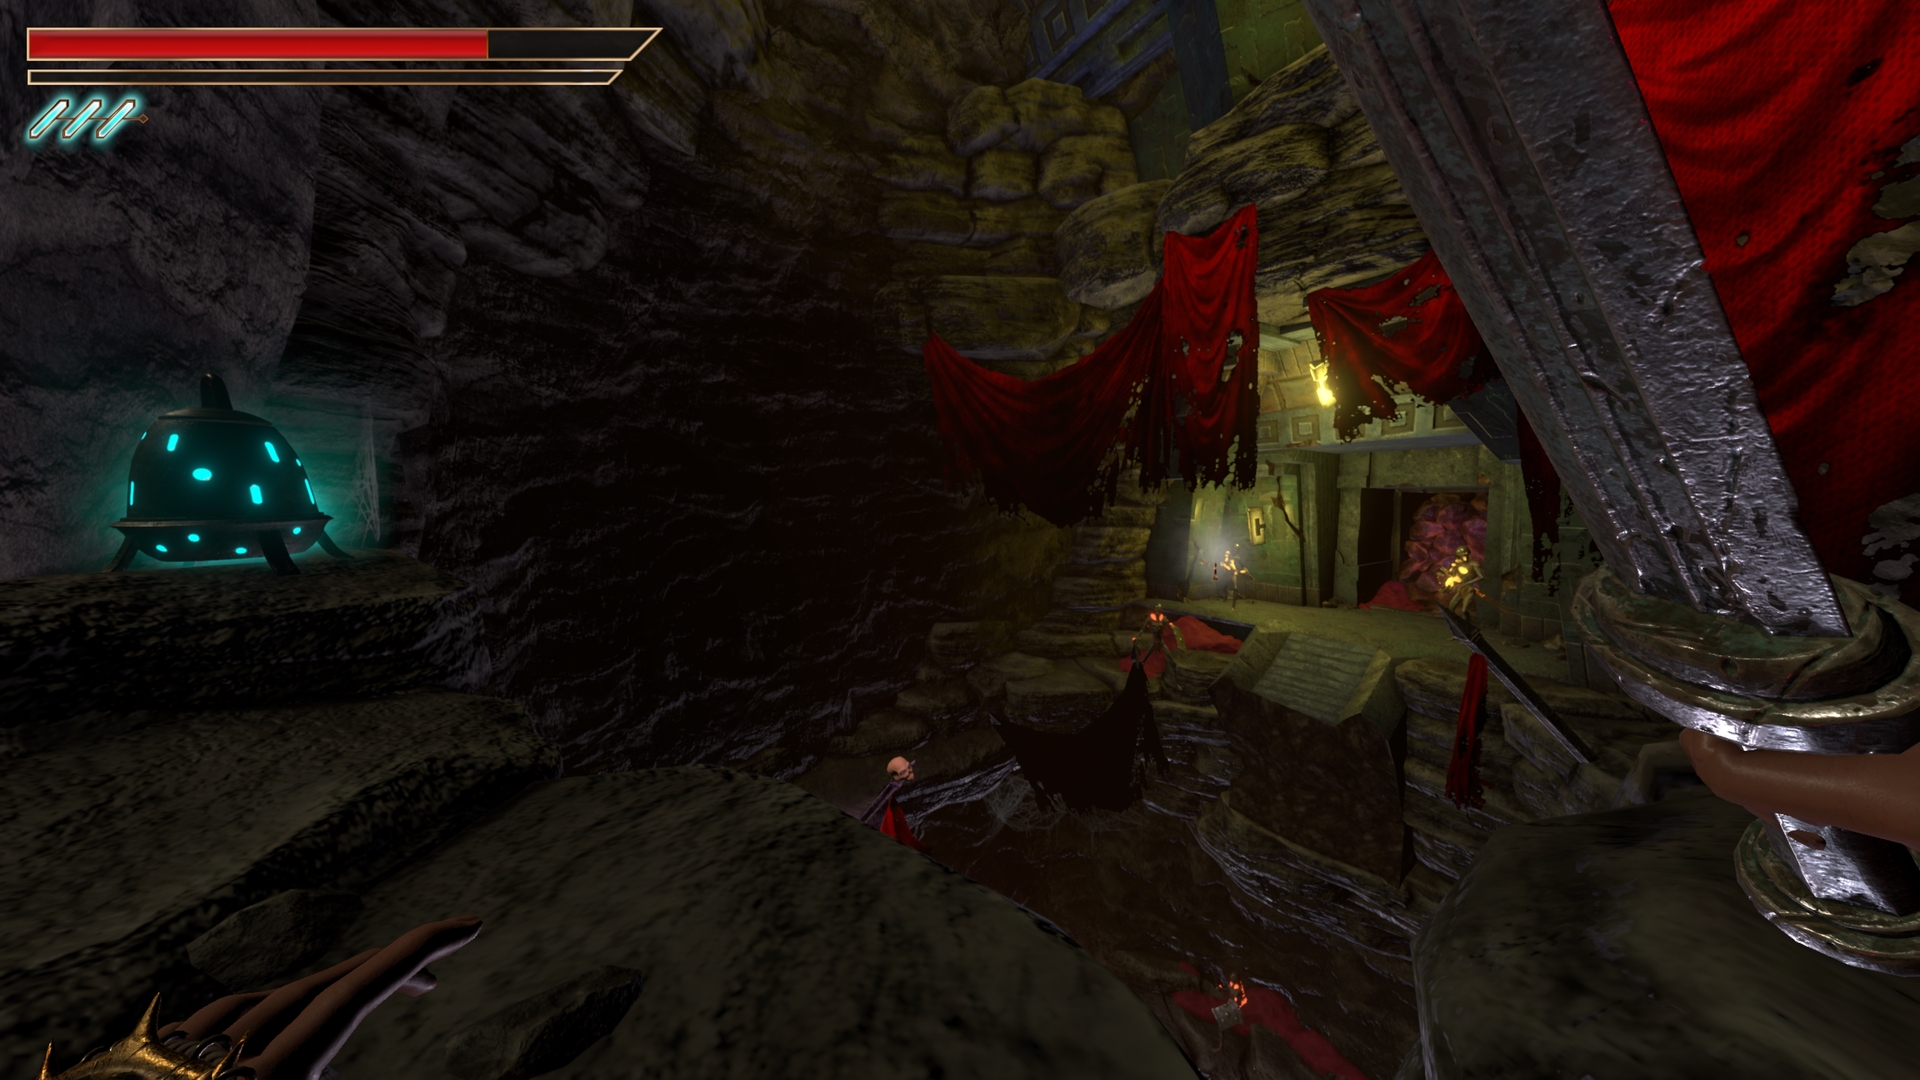
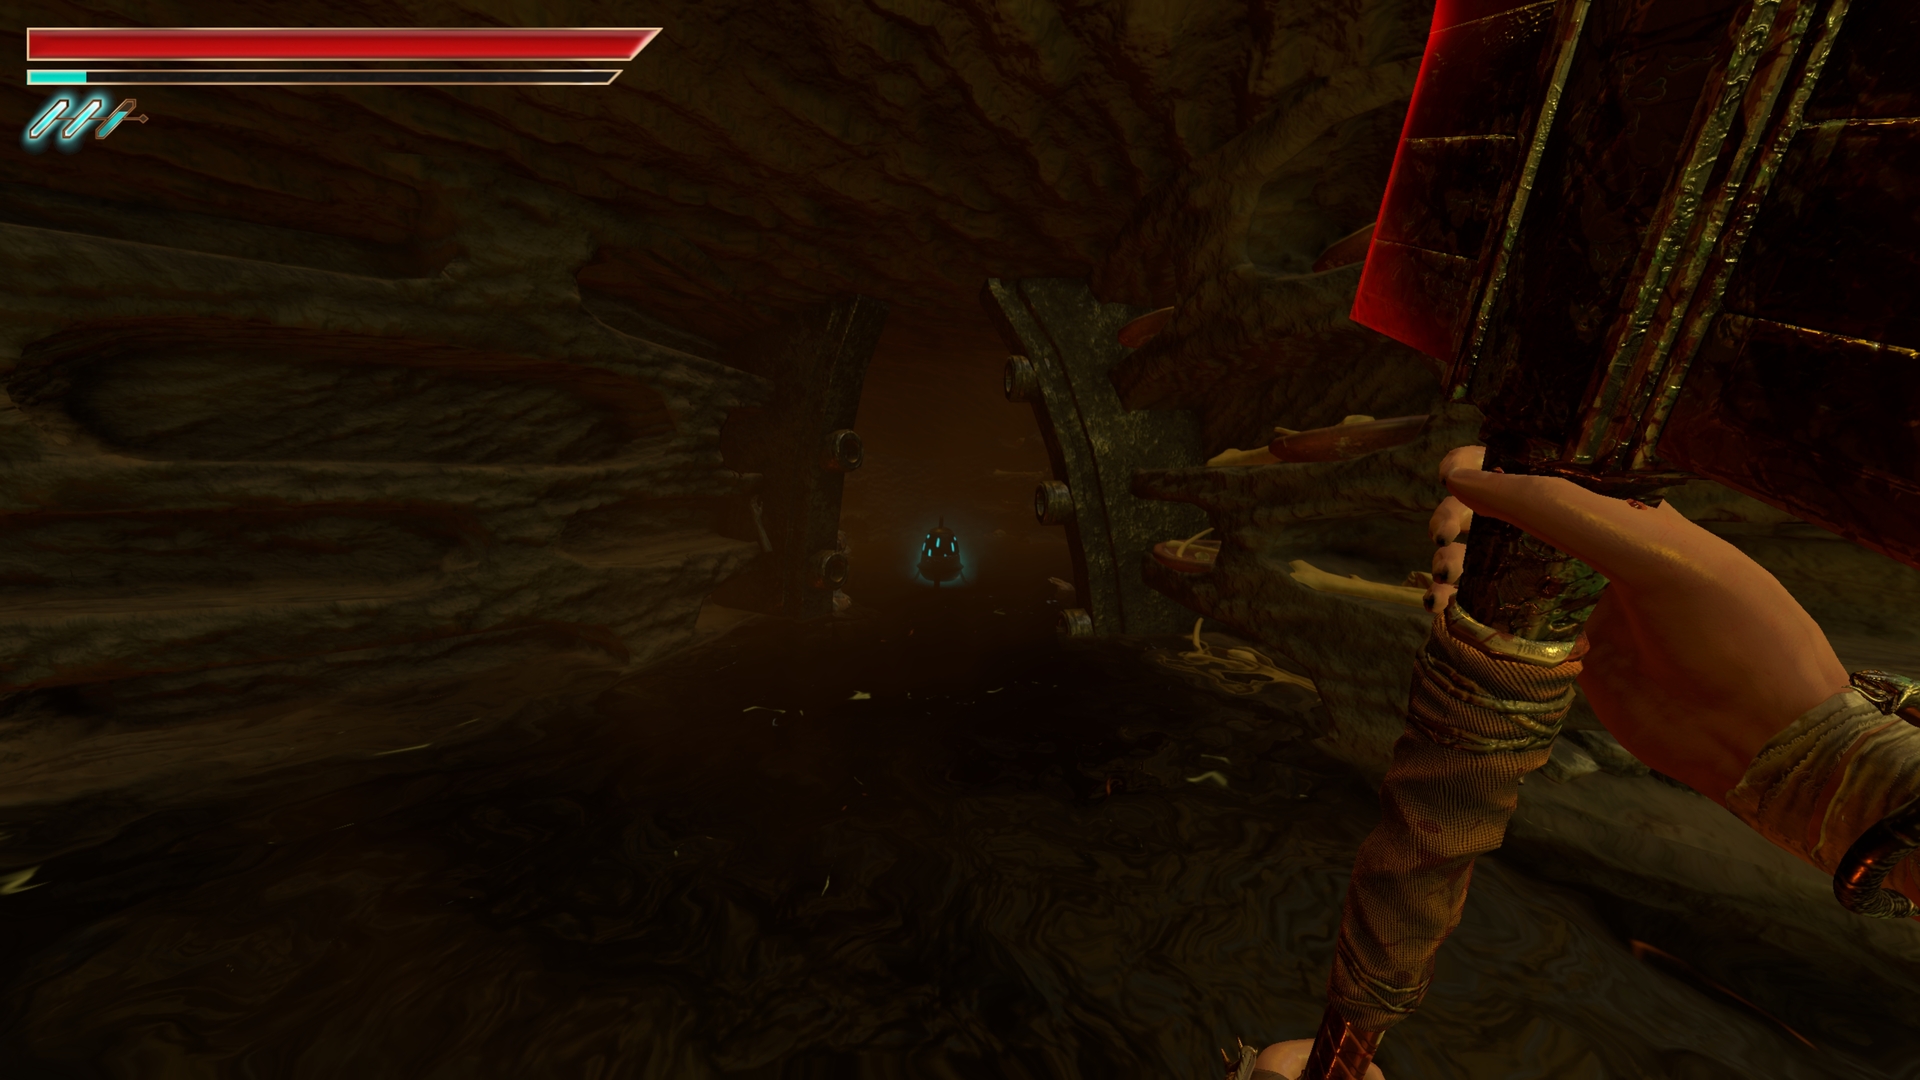
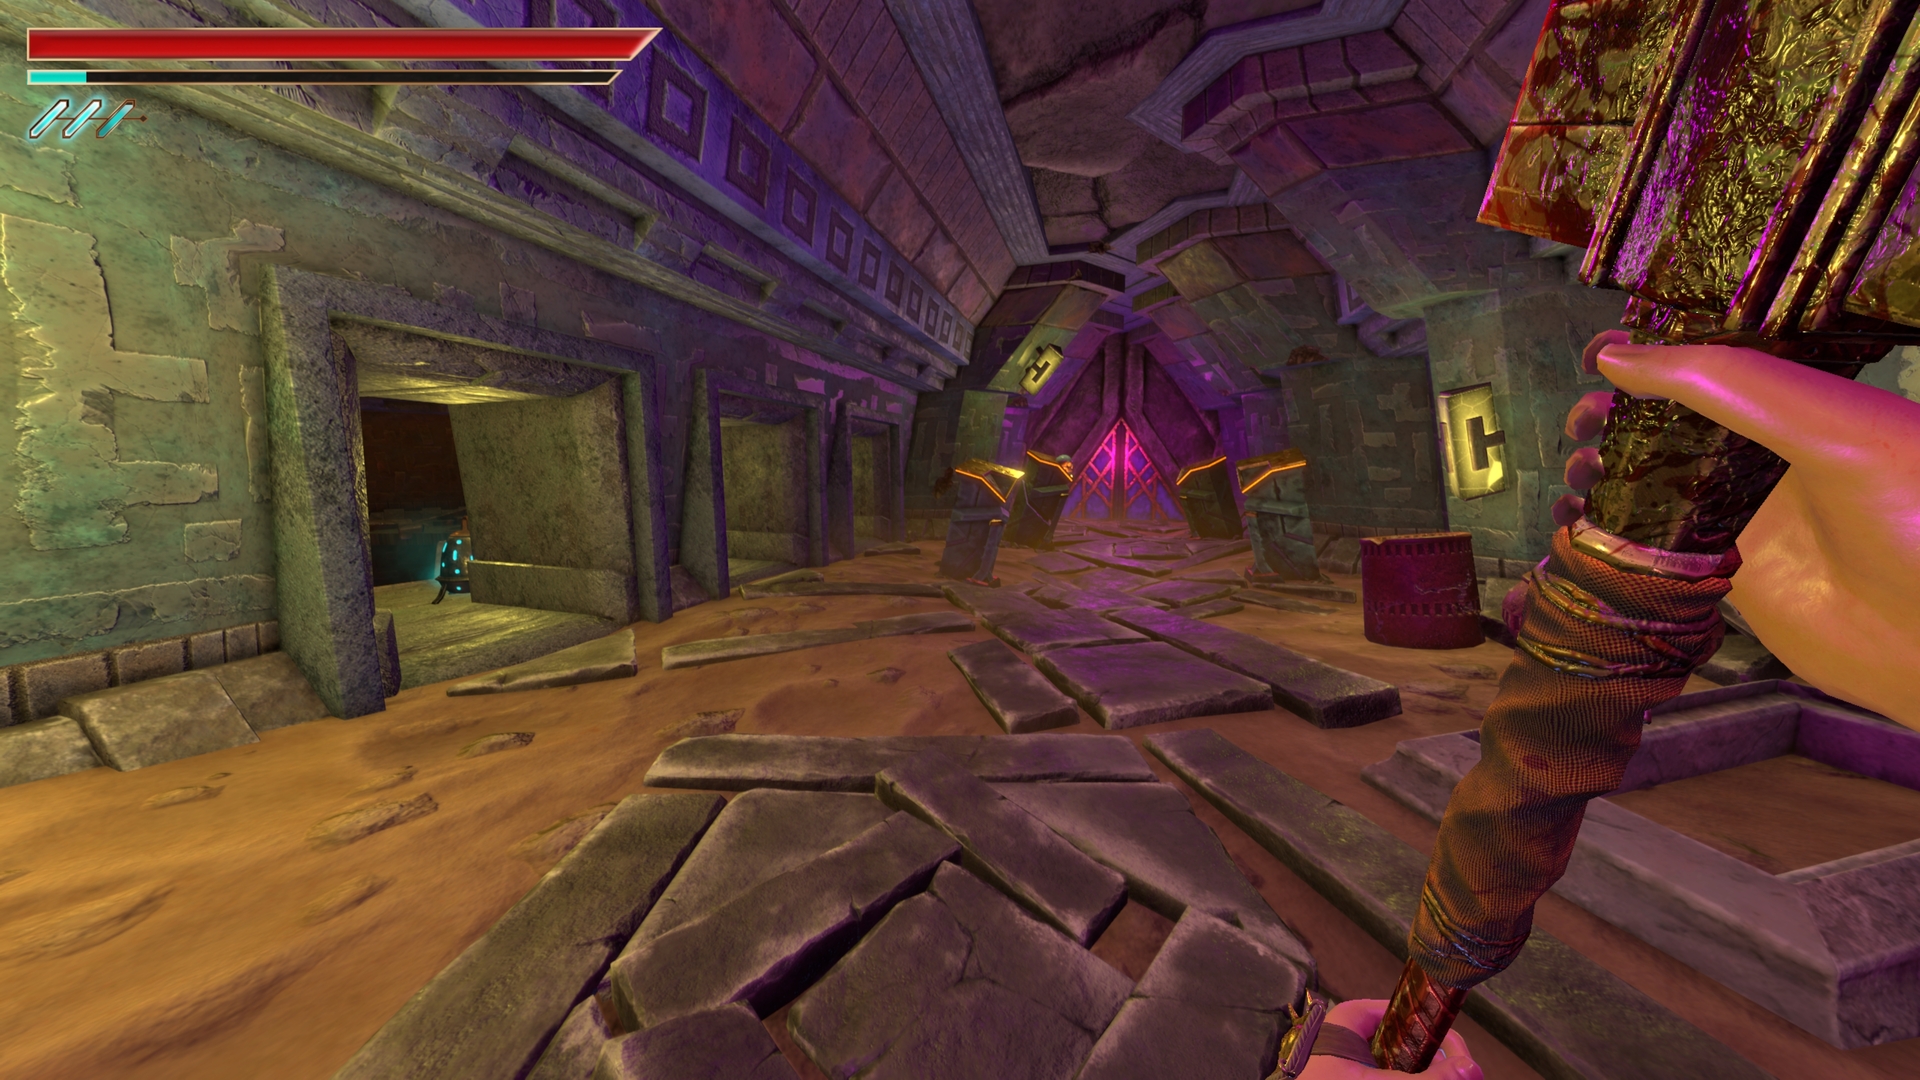
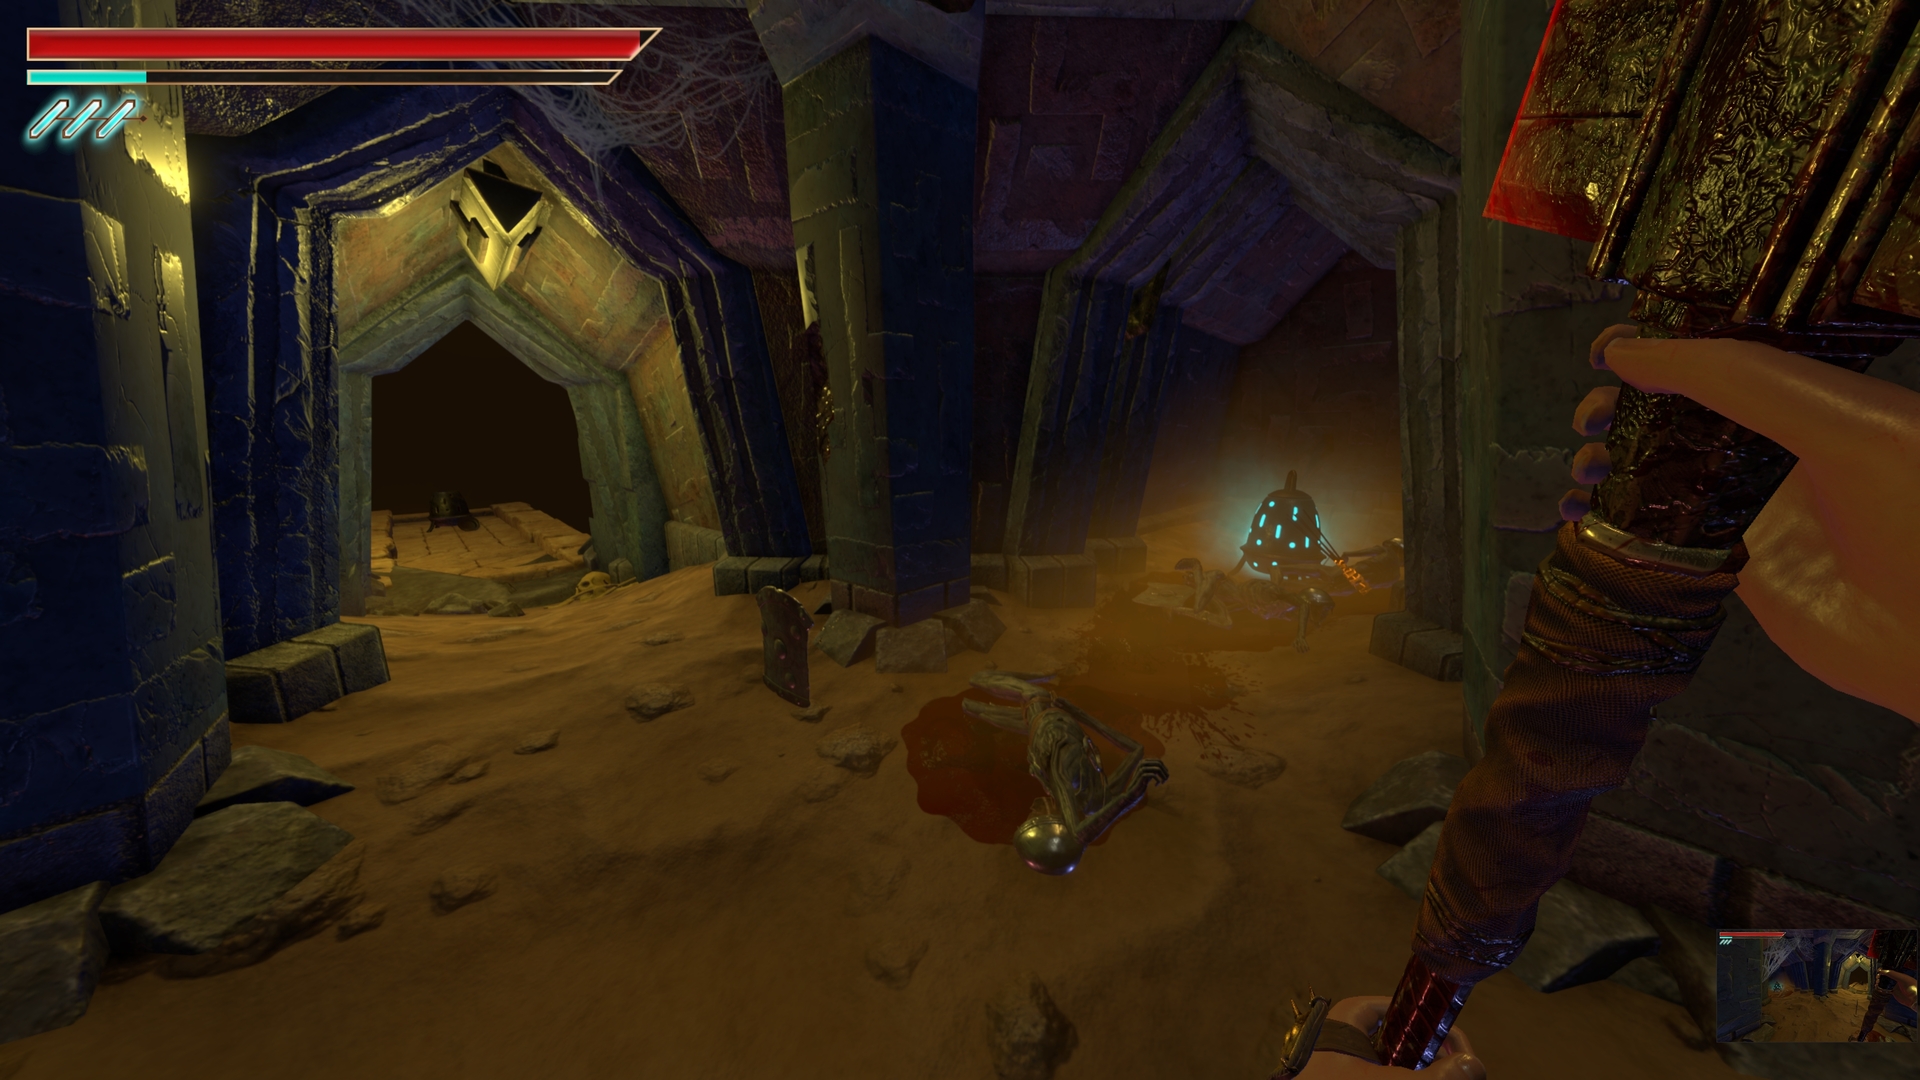
5.) Following the path on the outside, behind the pillar with the 3 enemies.
⠀
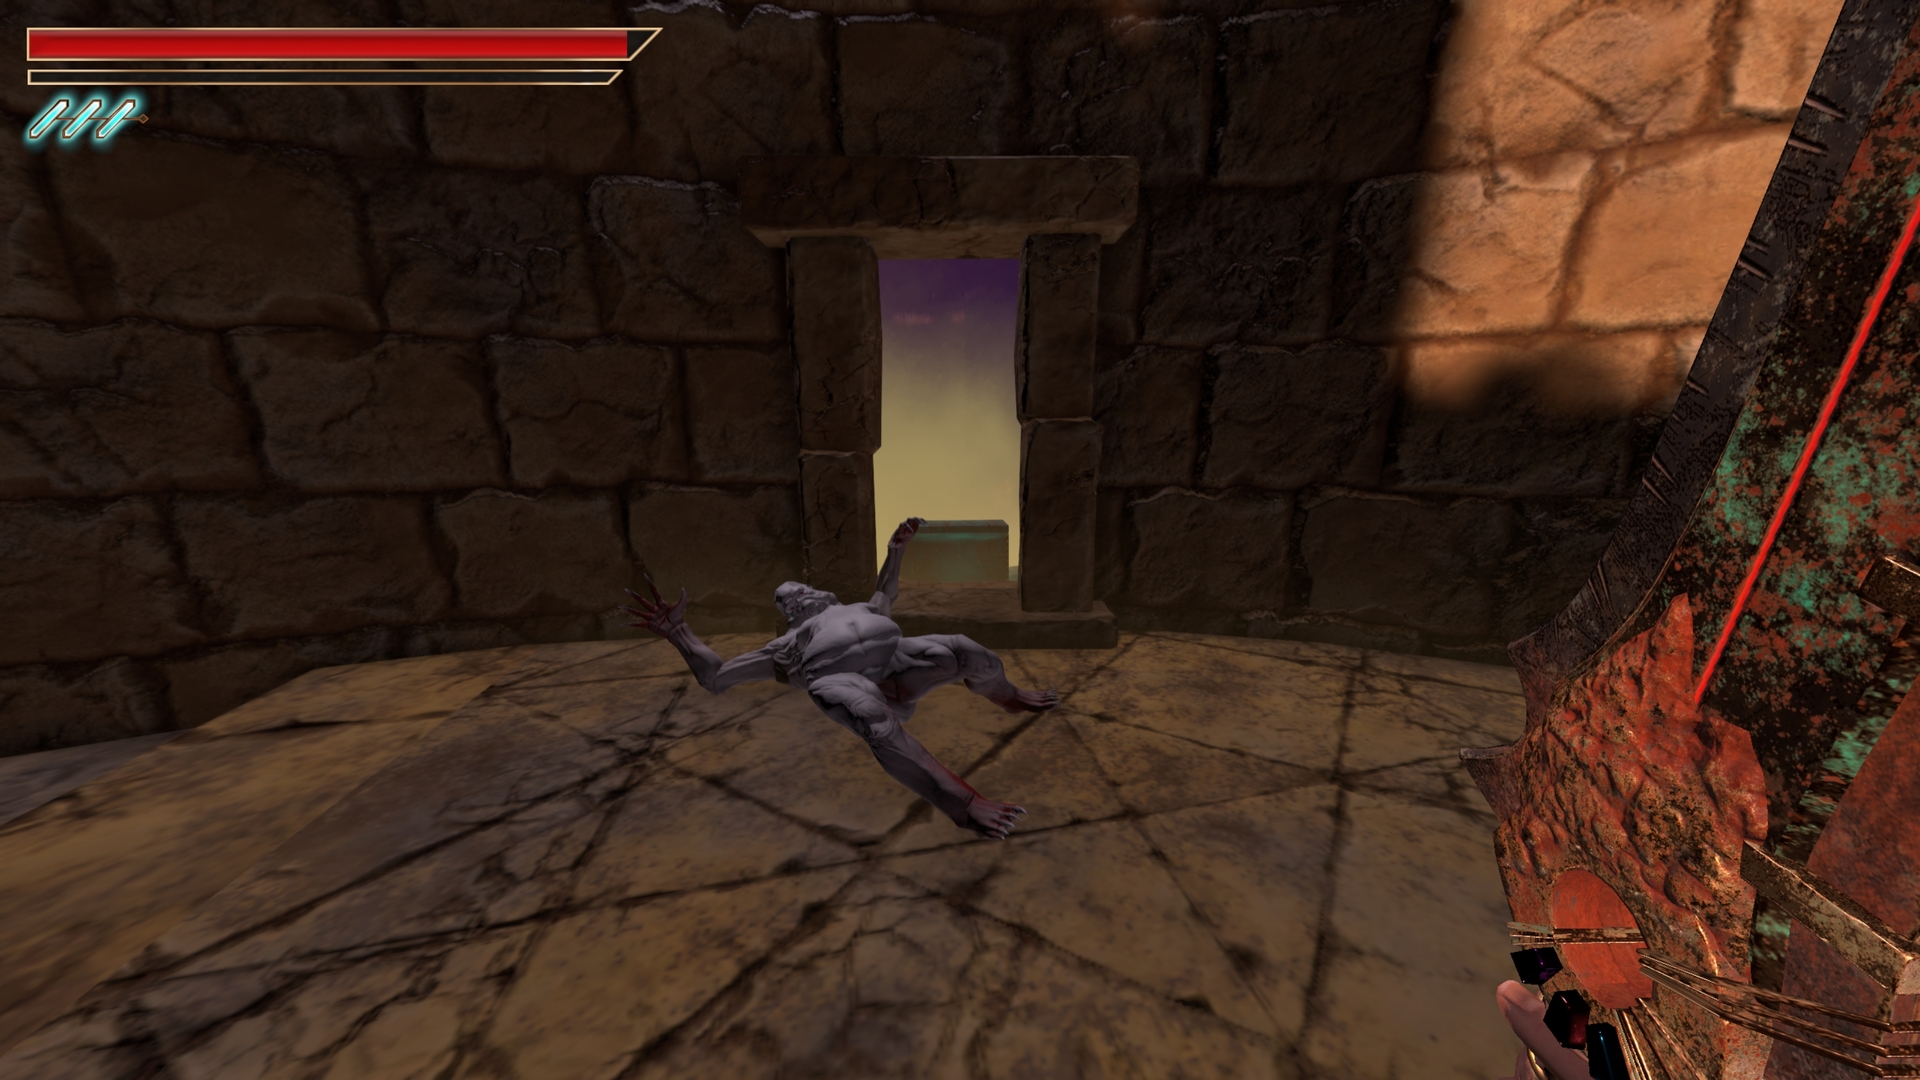
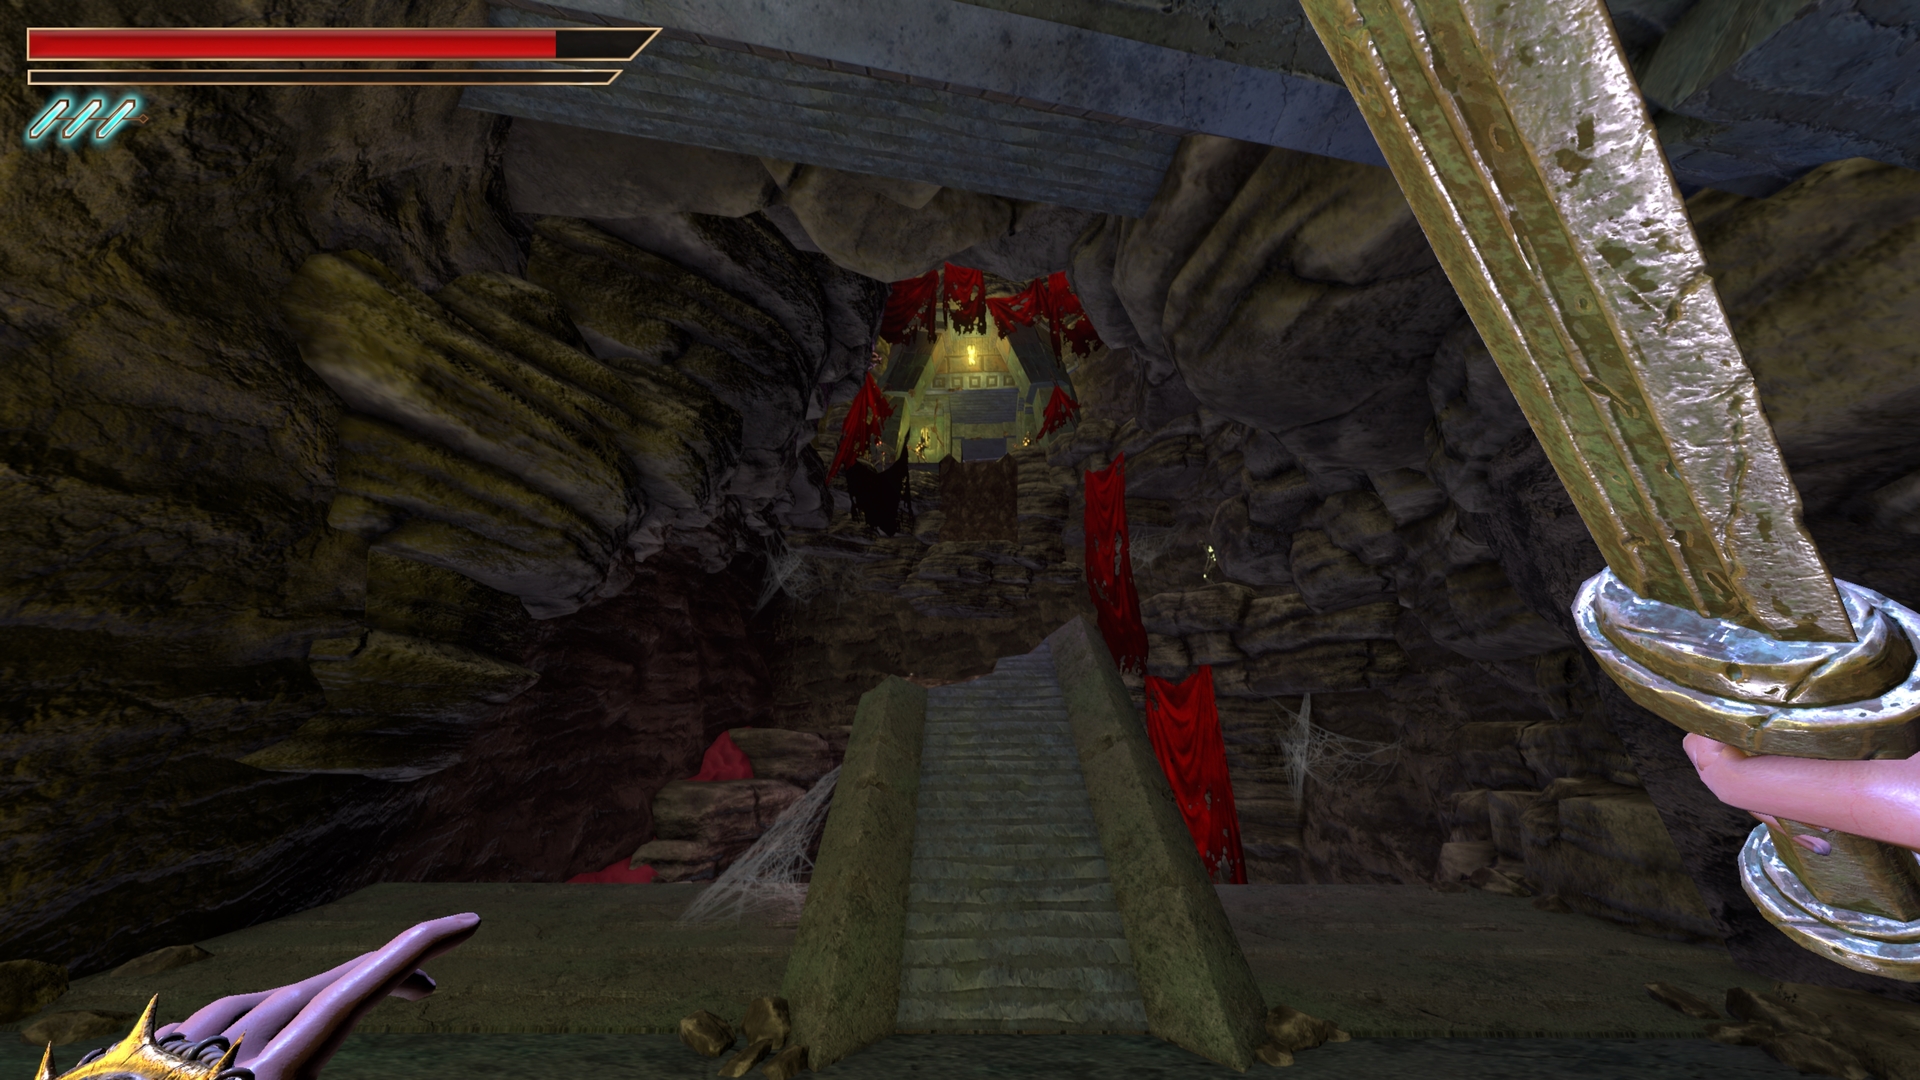
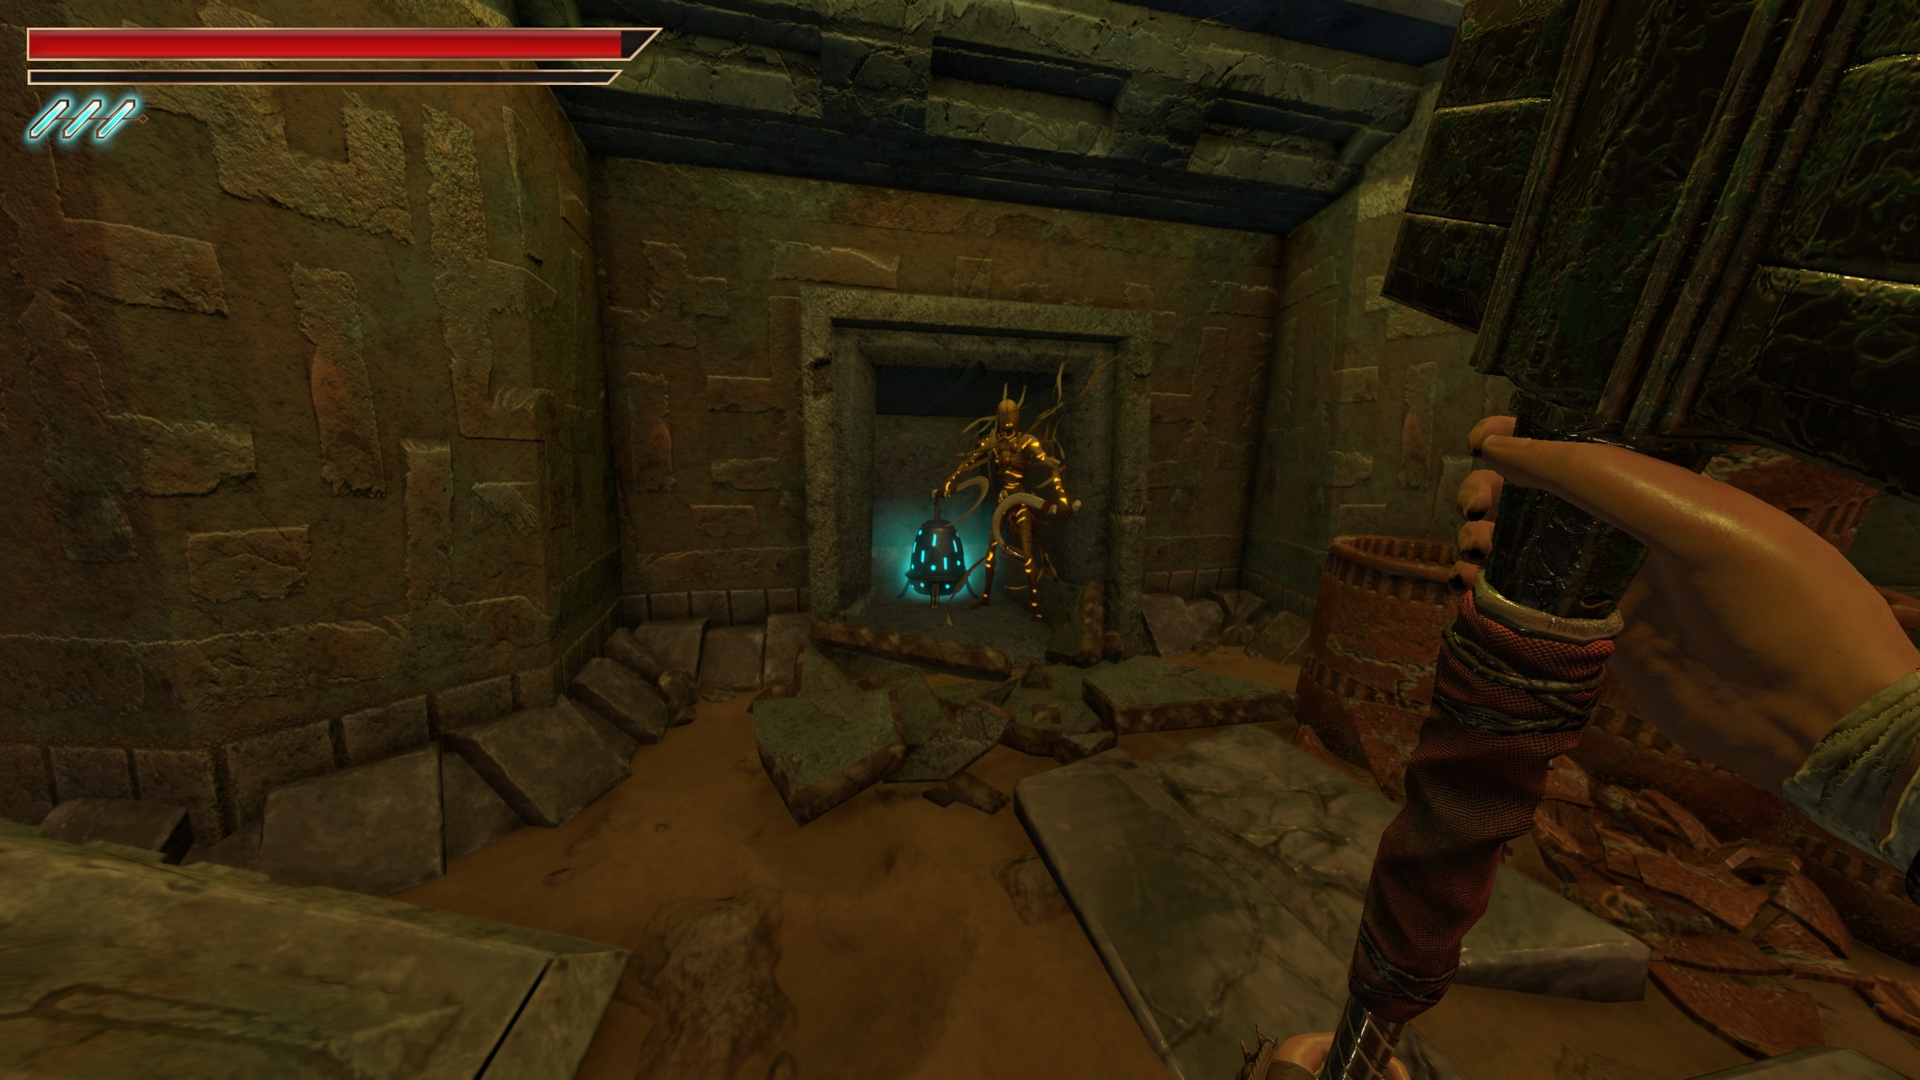
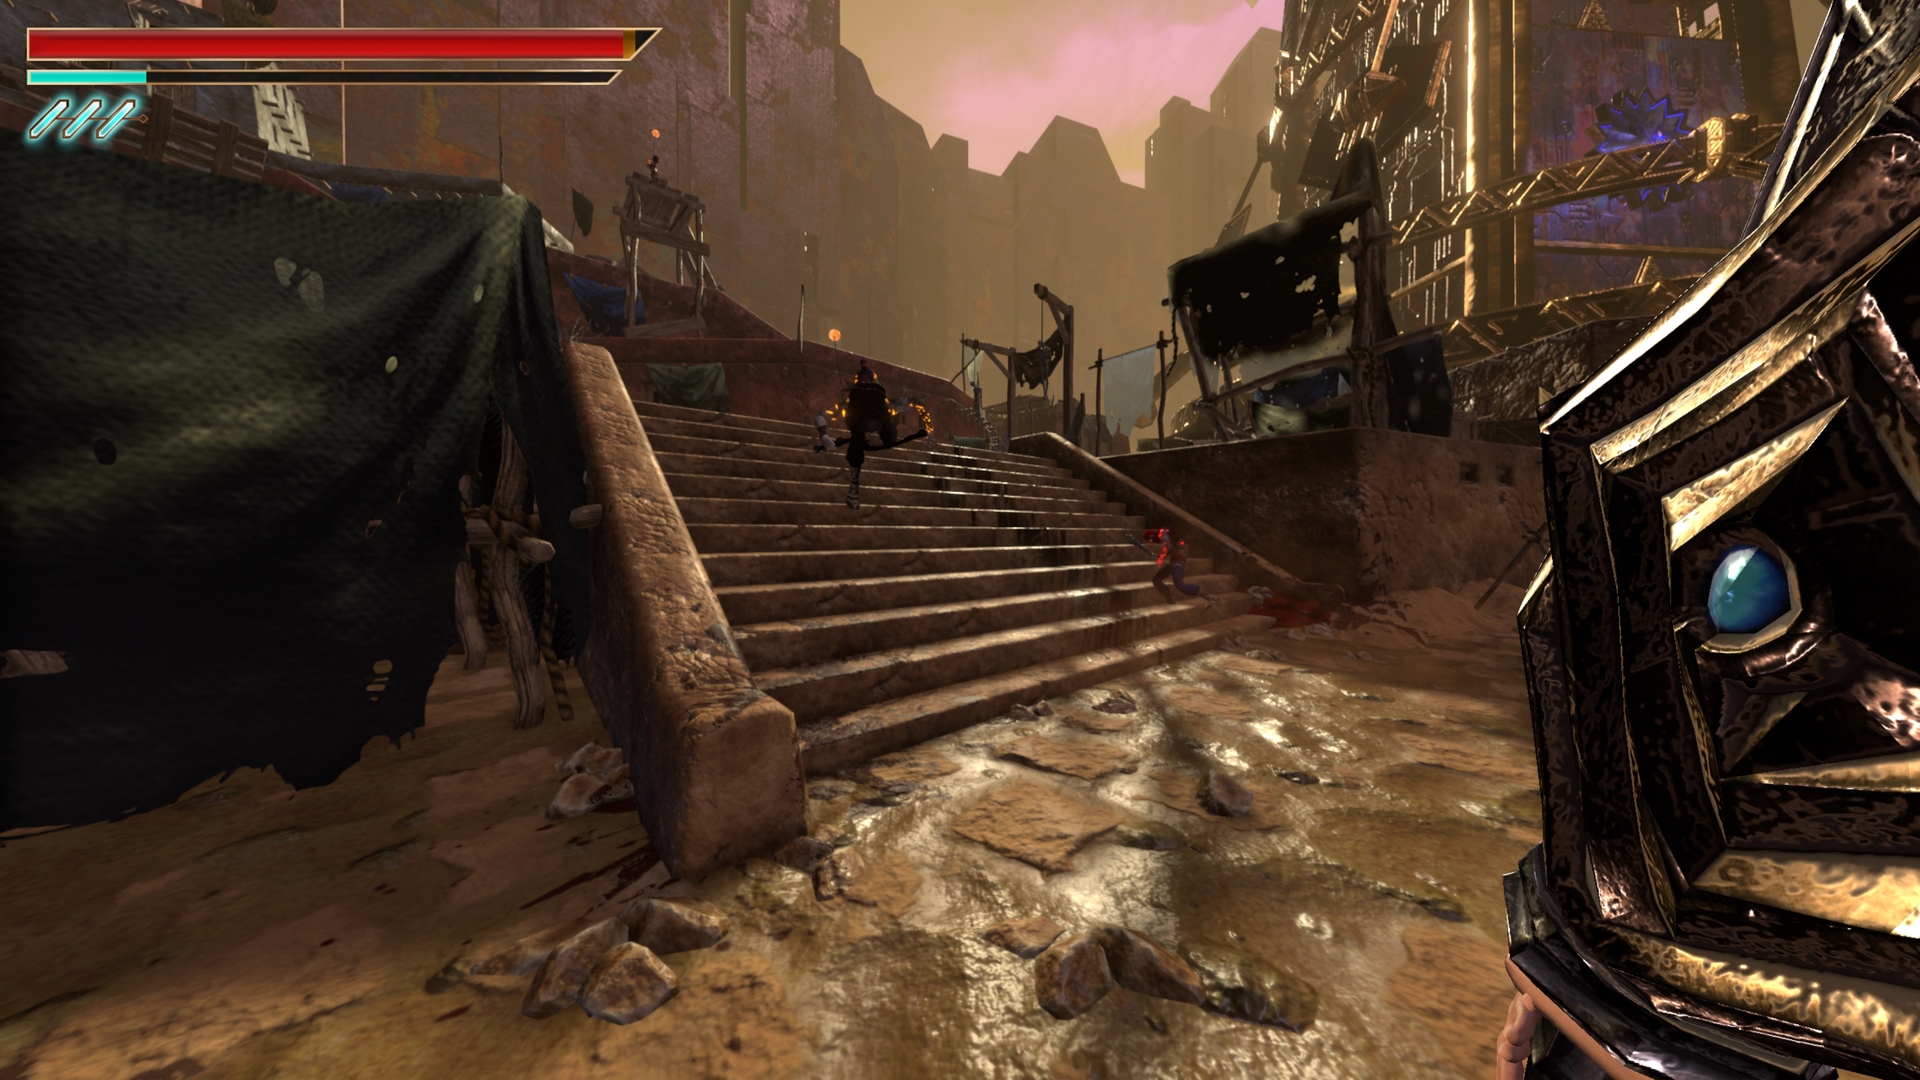
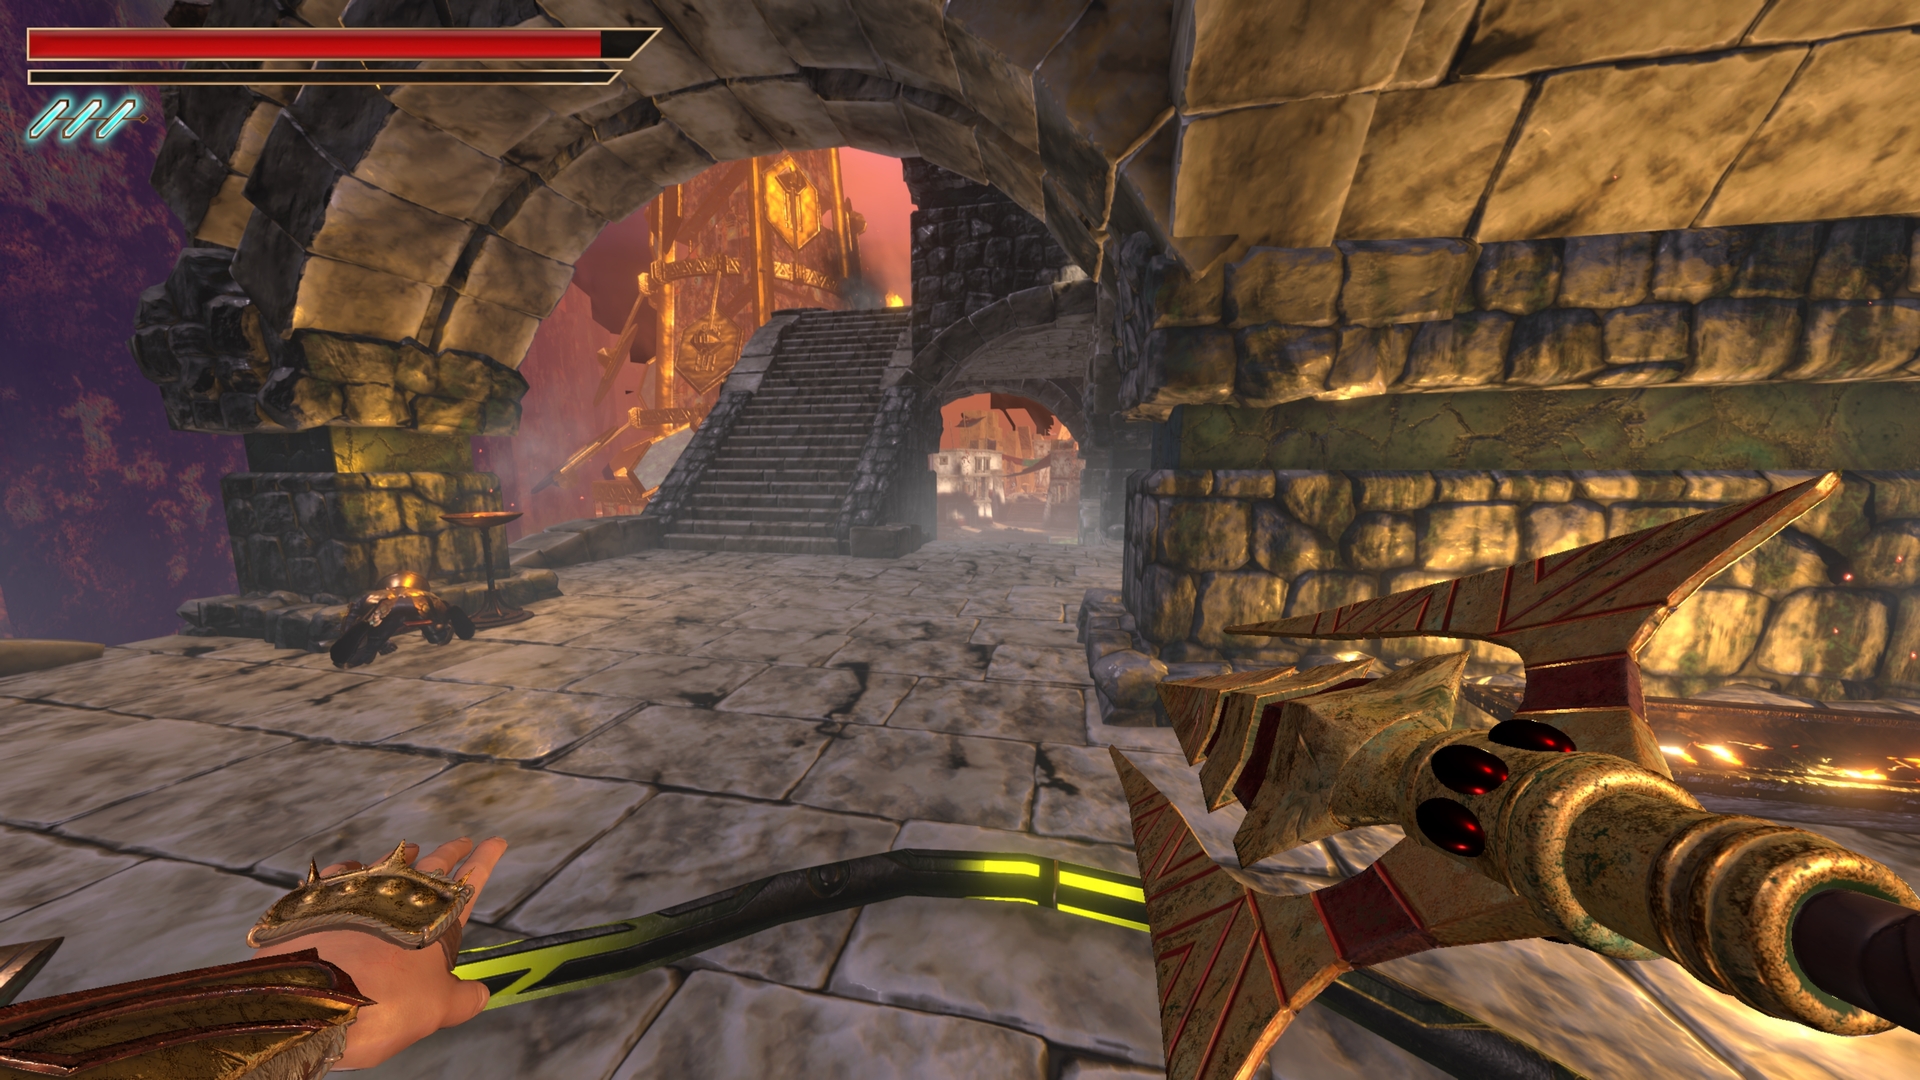
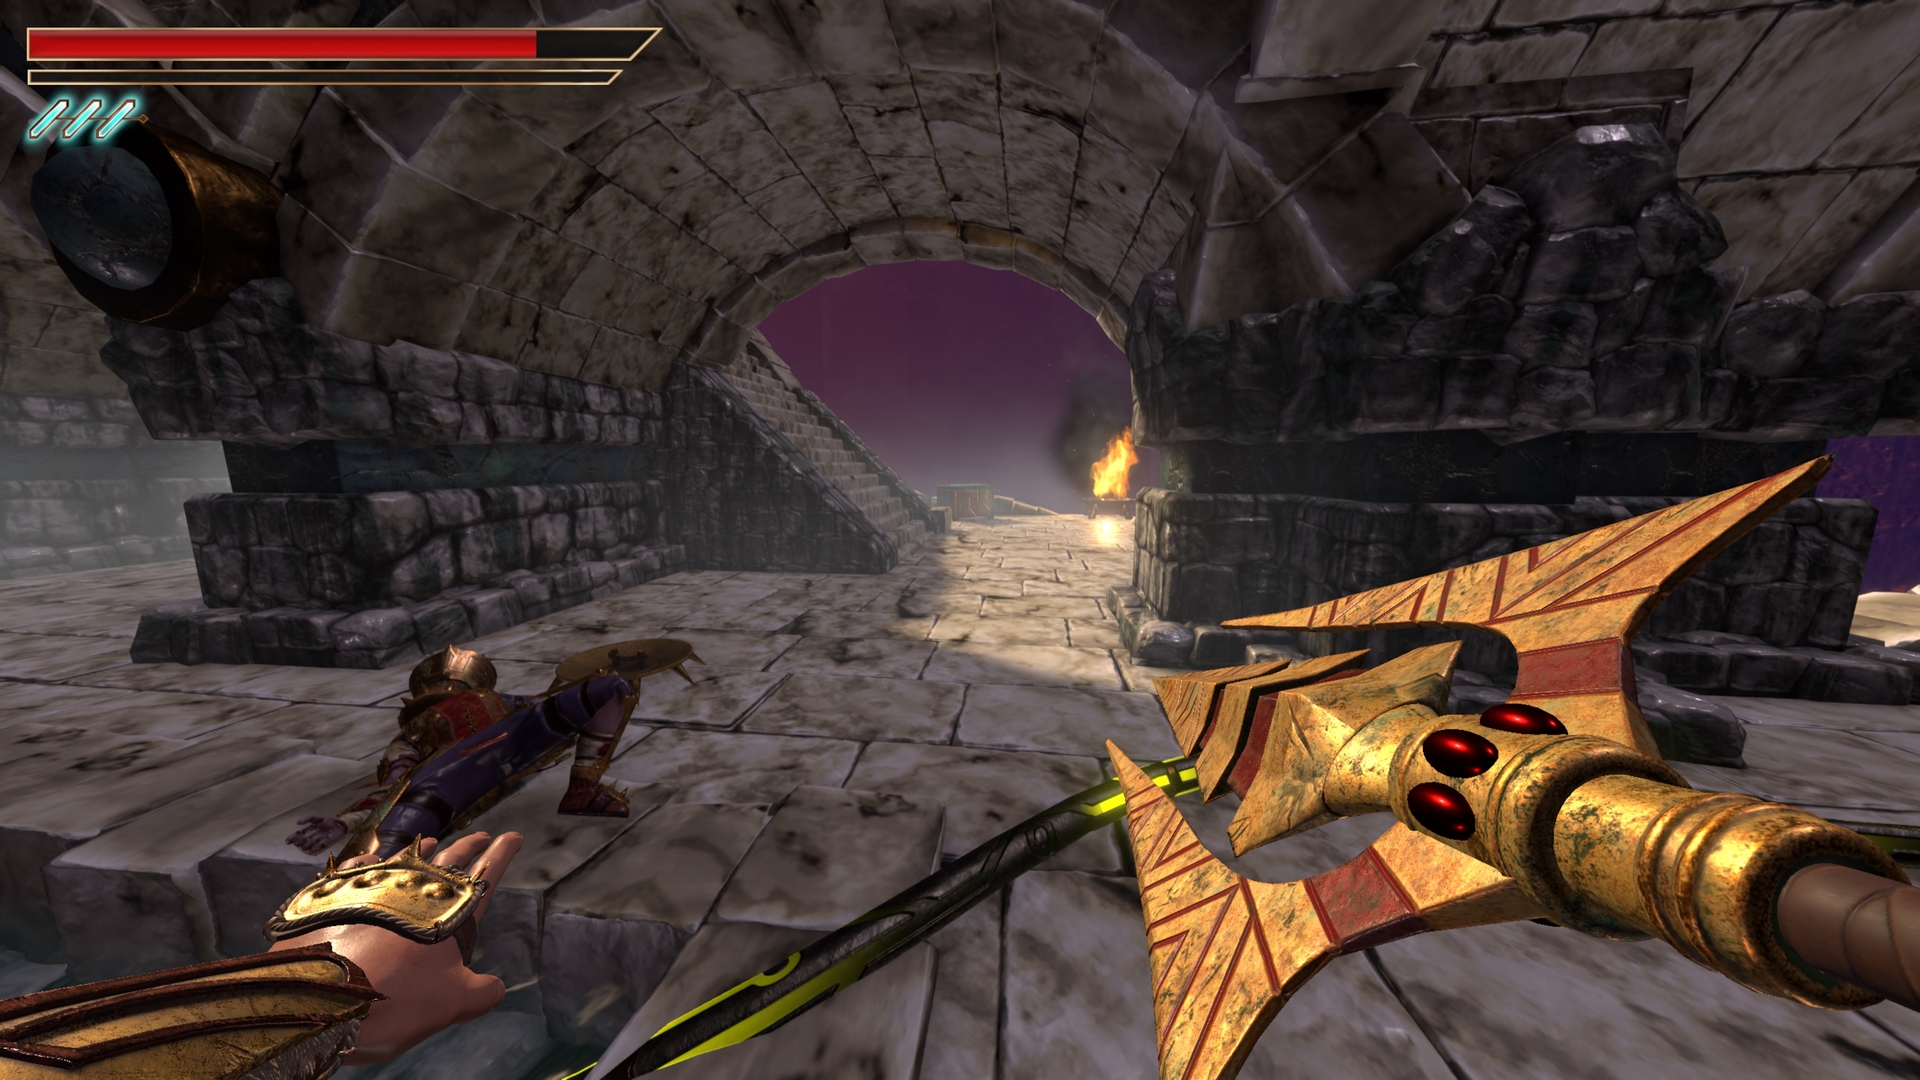
6.) Approaching the red stairs, go up and turn around.


⠀
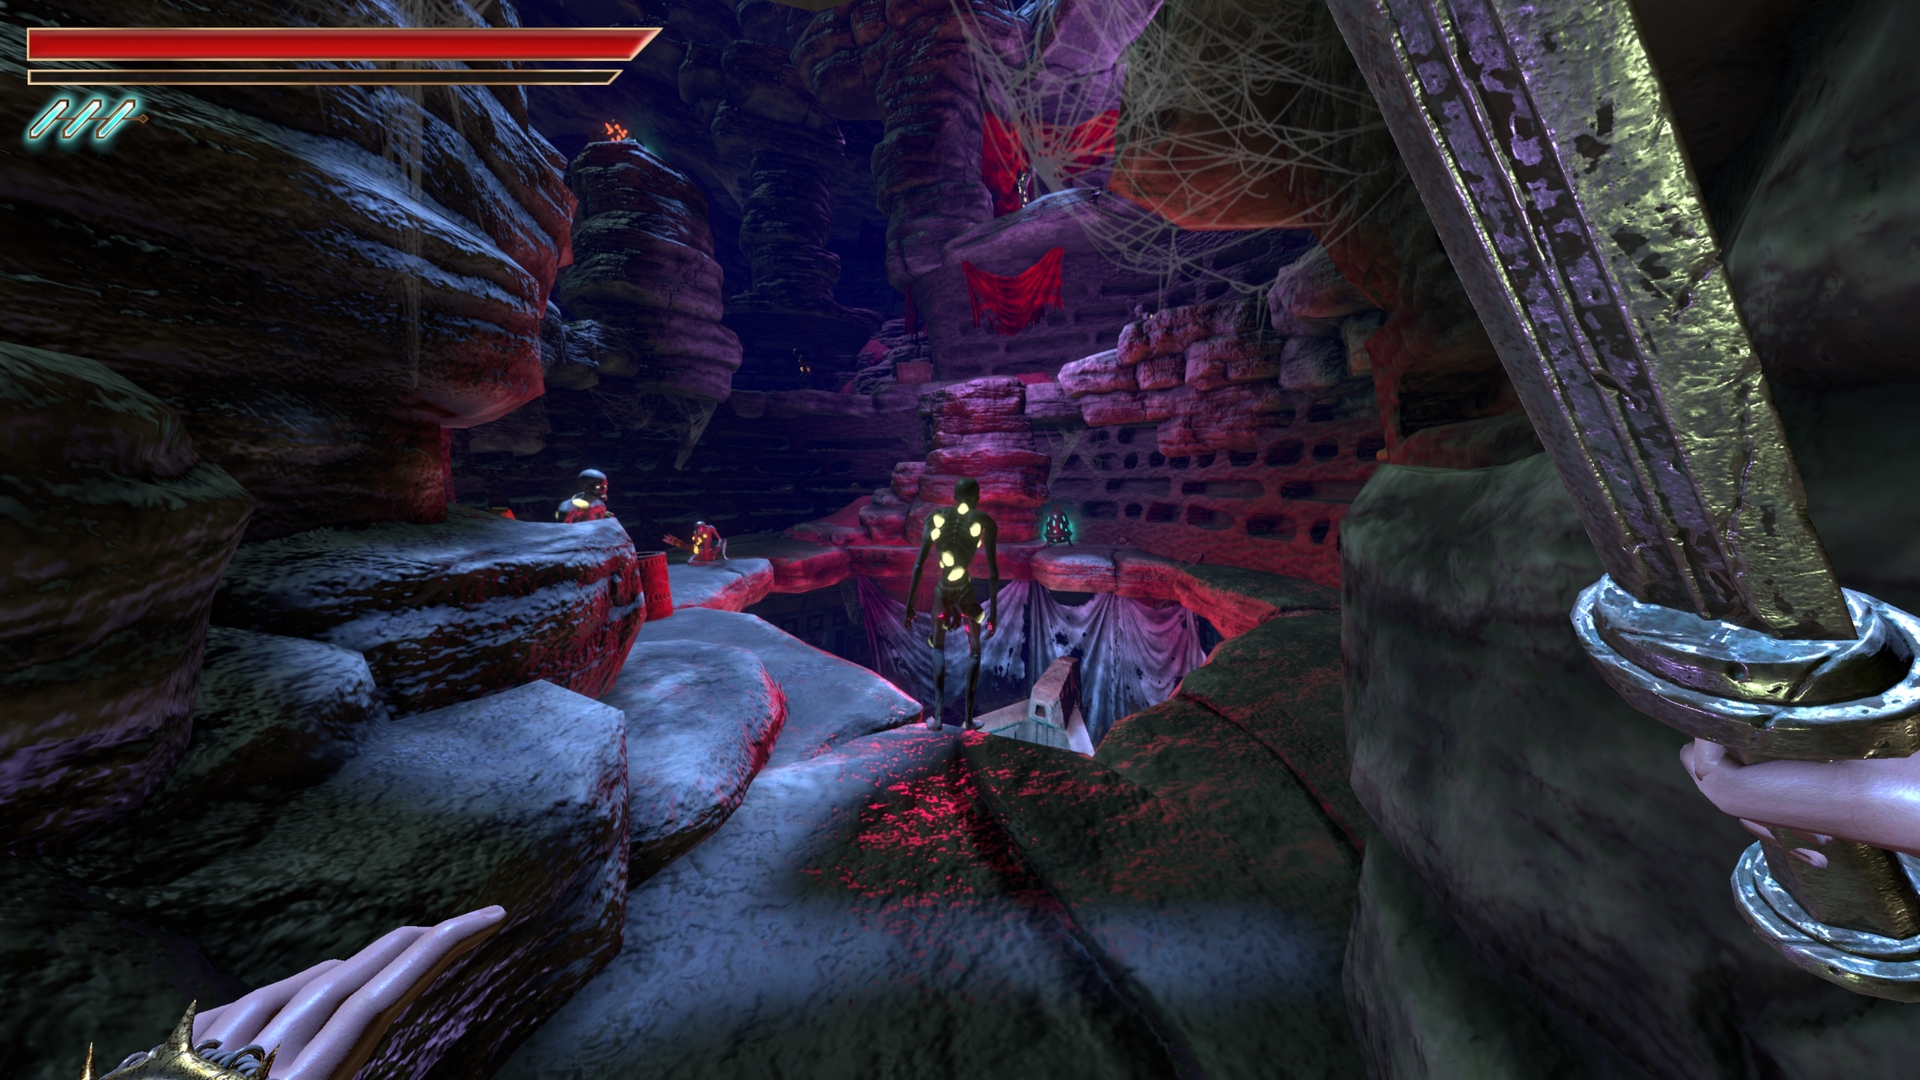
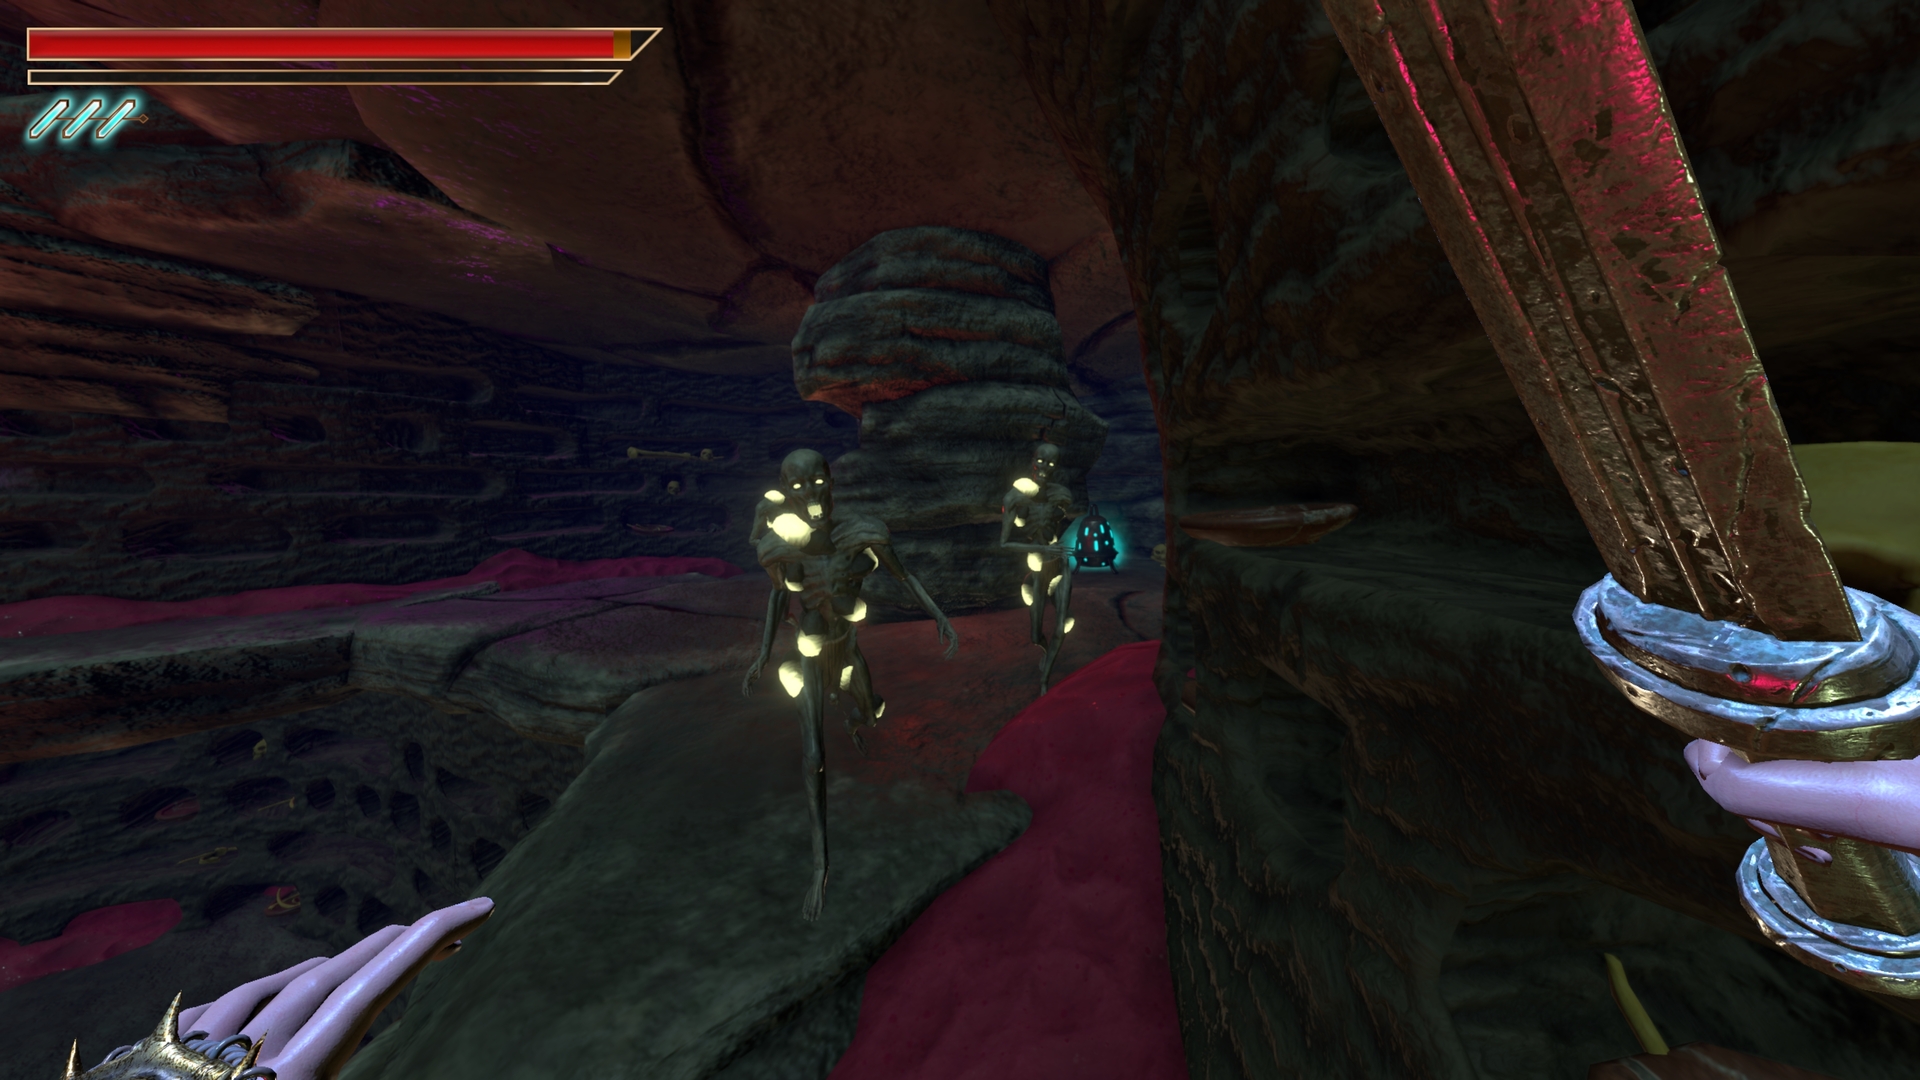
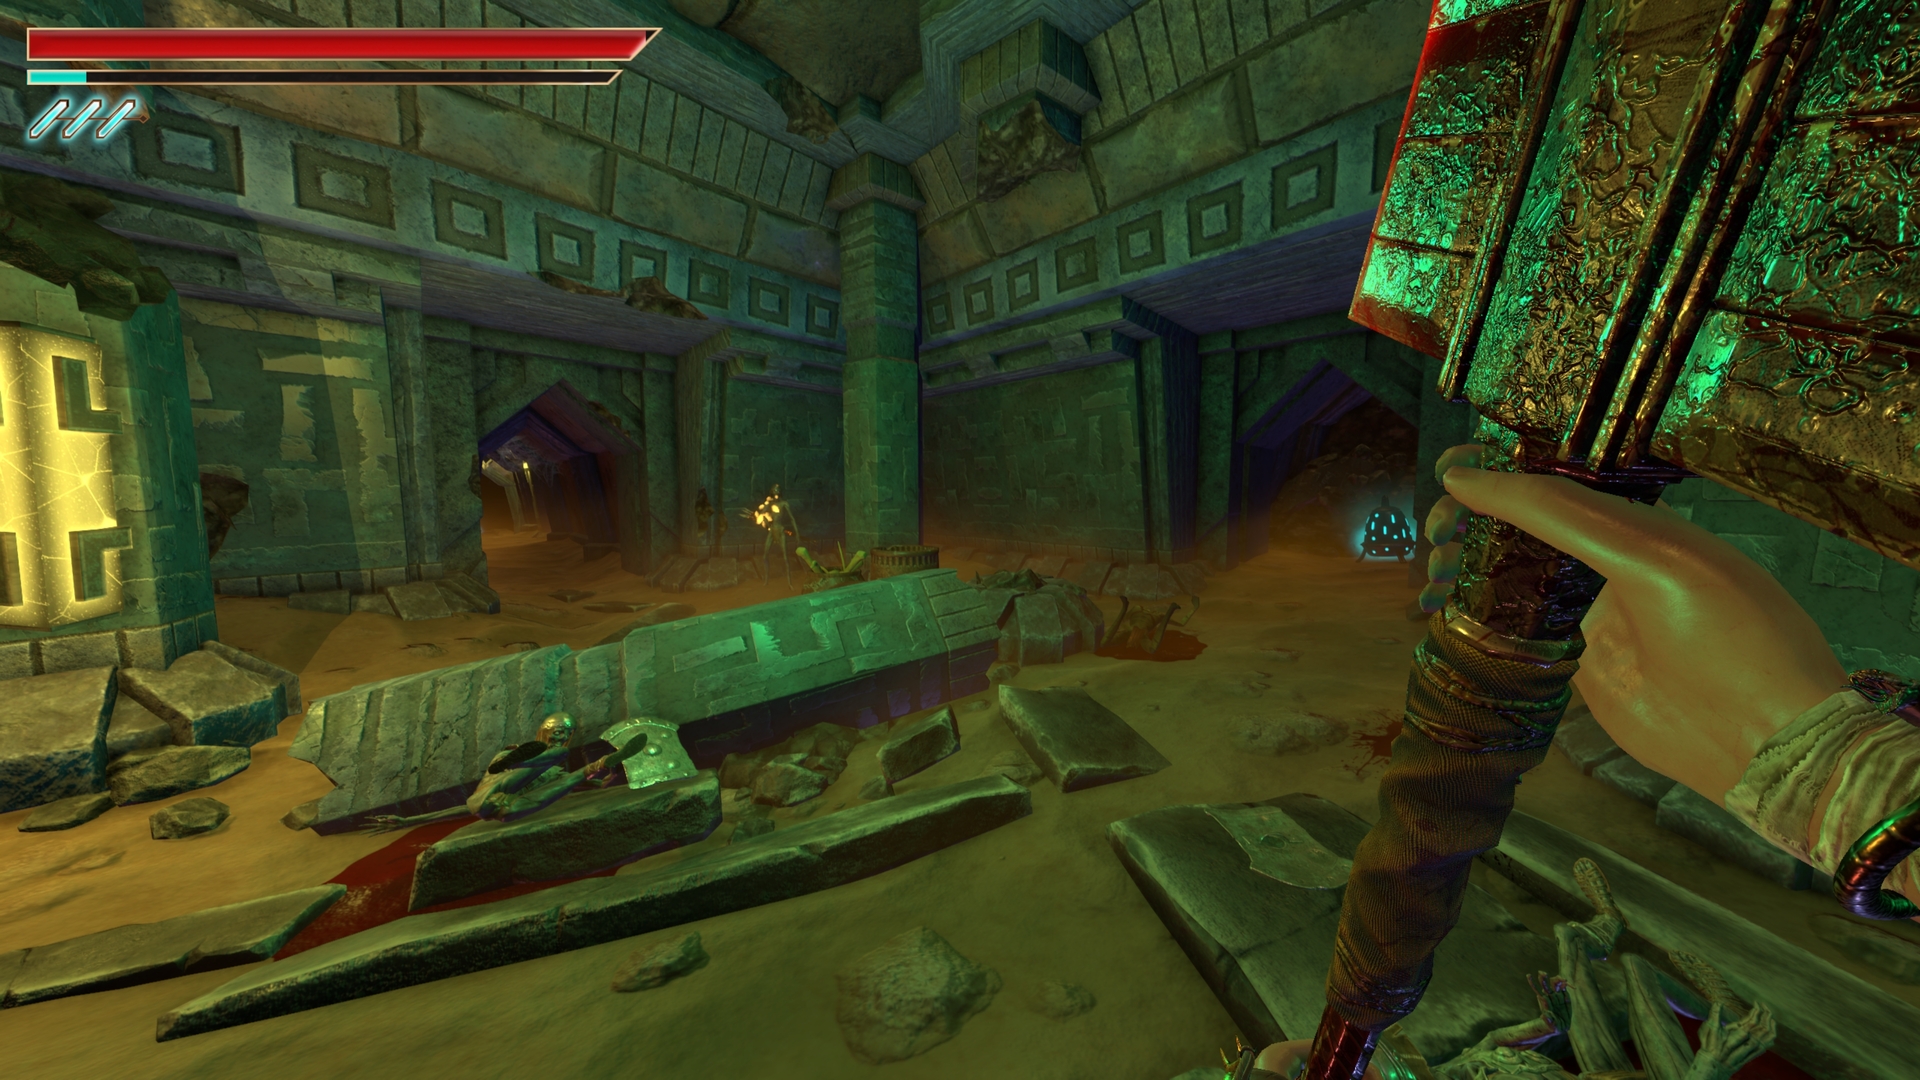
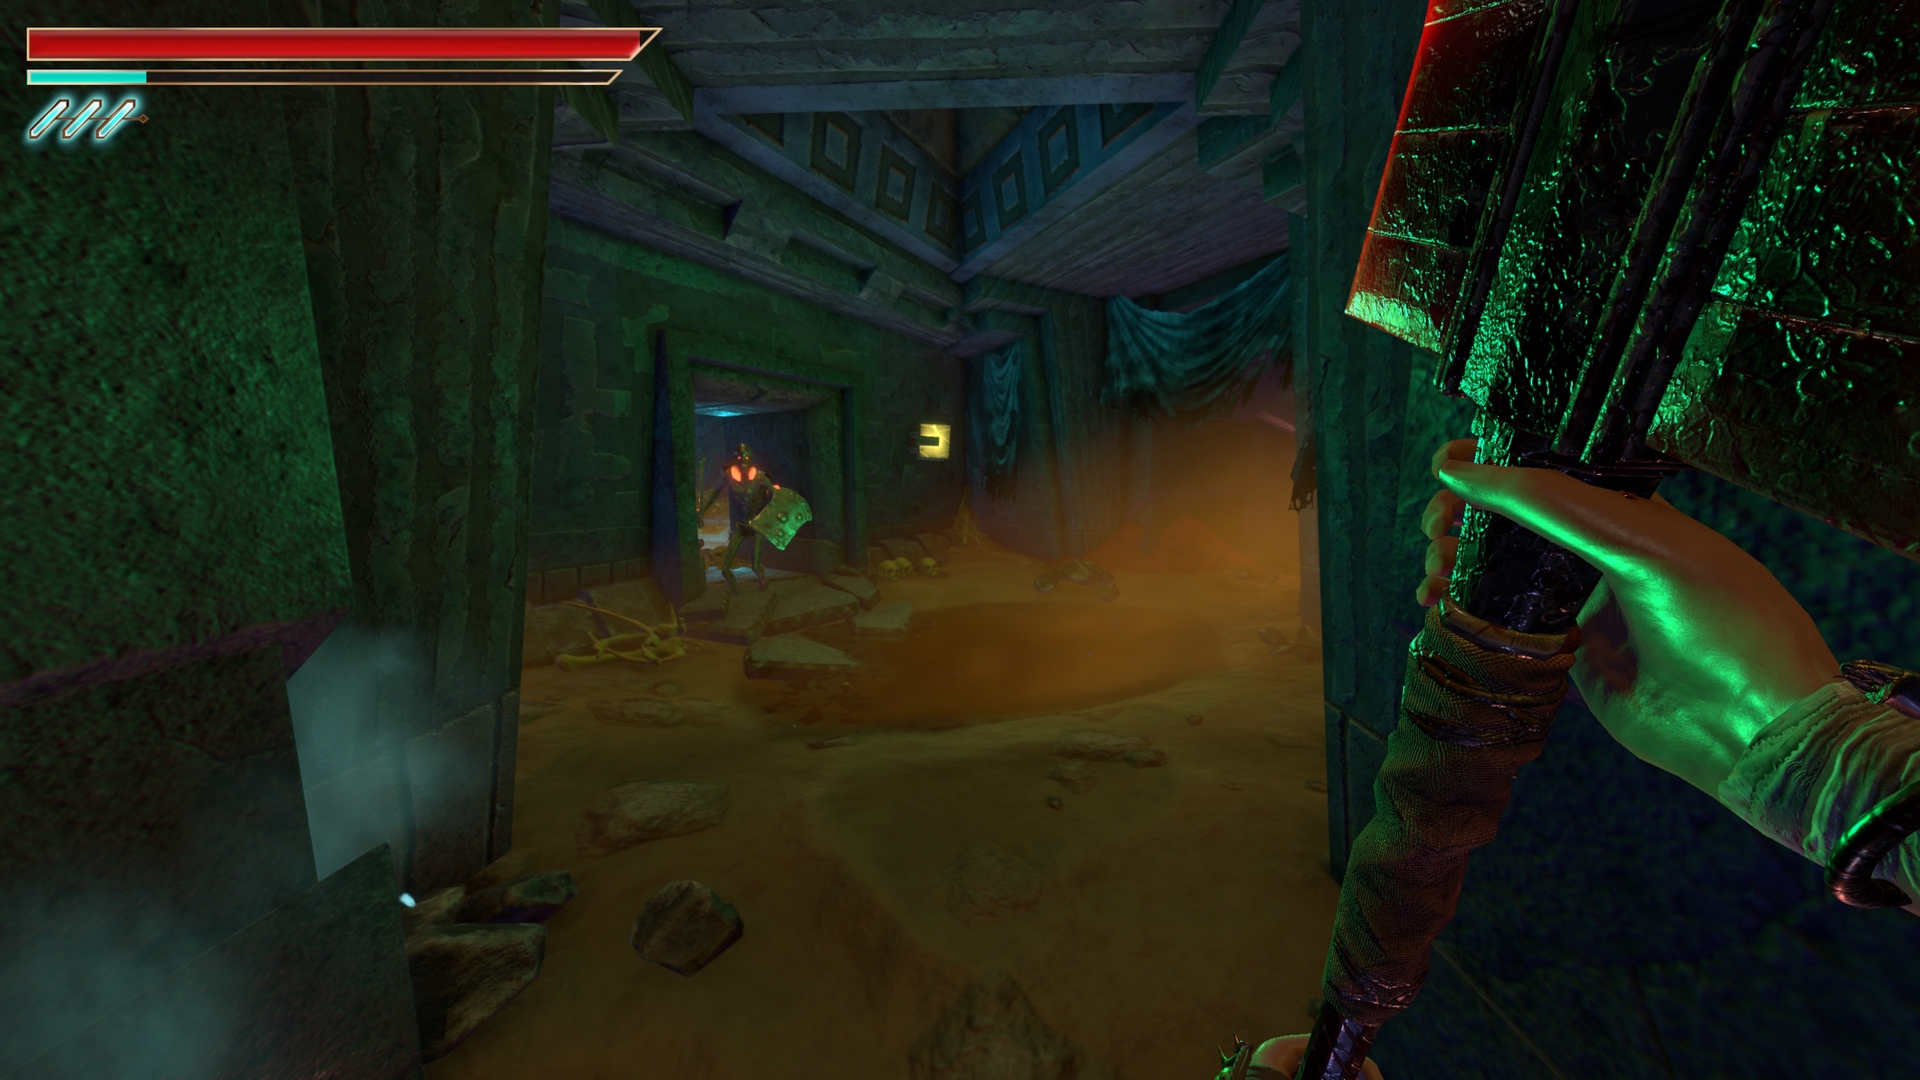
7.) Afterwards, the next chest is surrounded by enemies on the left path.
⠀
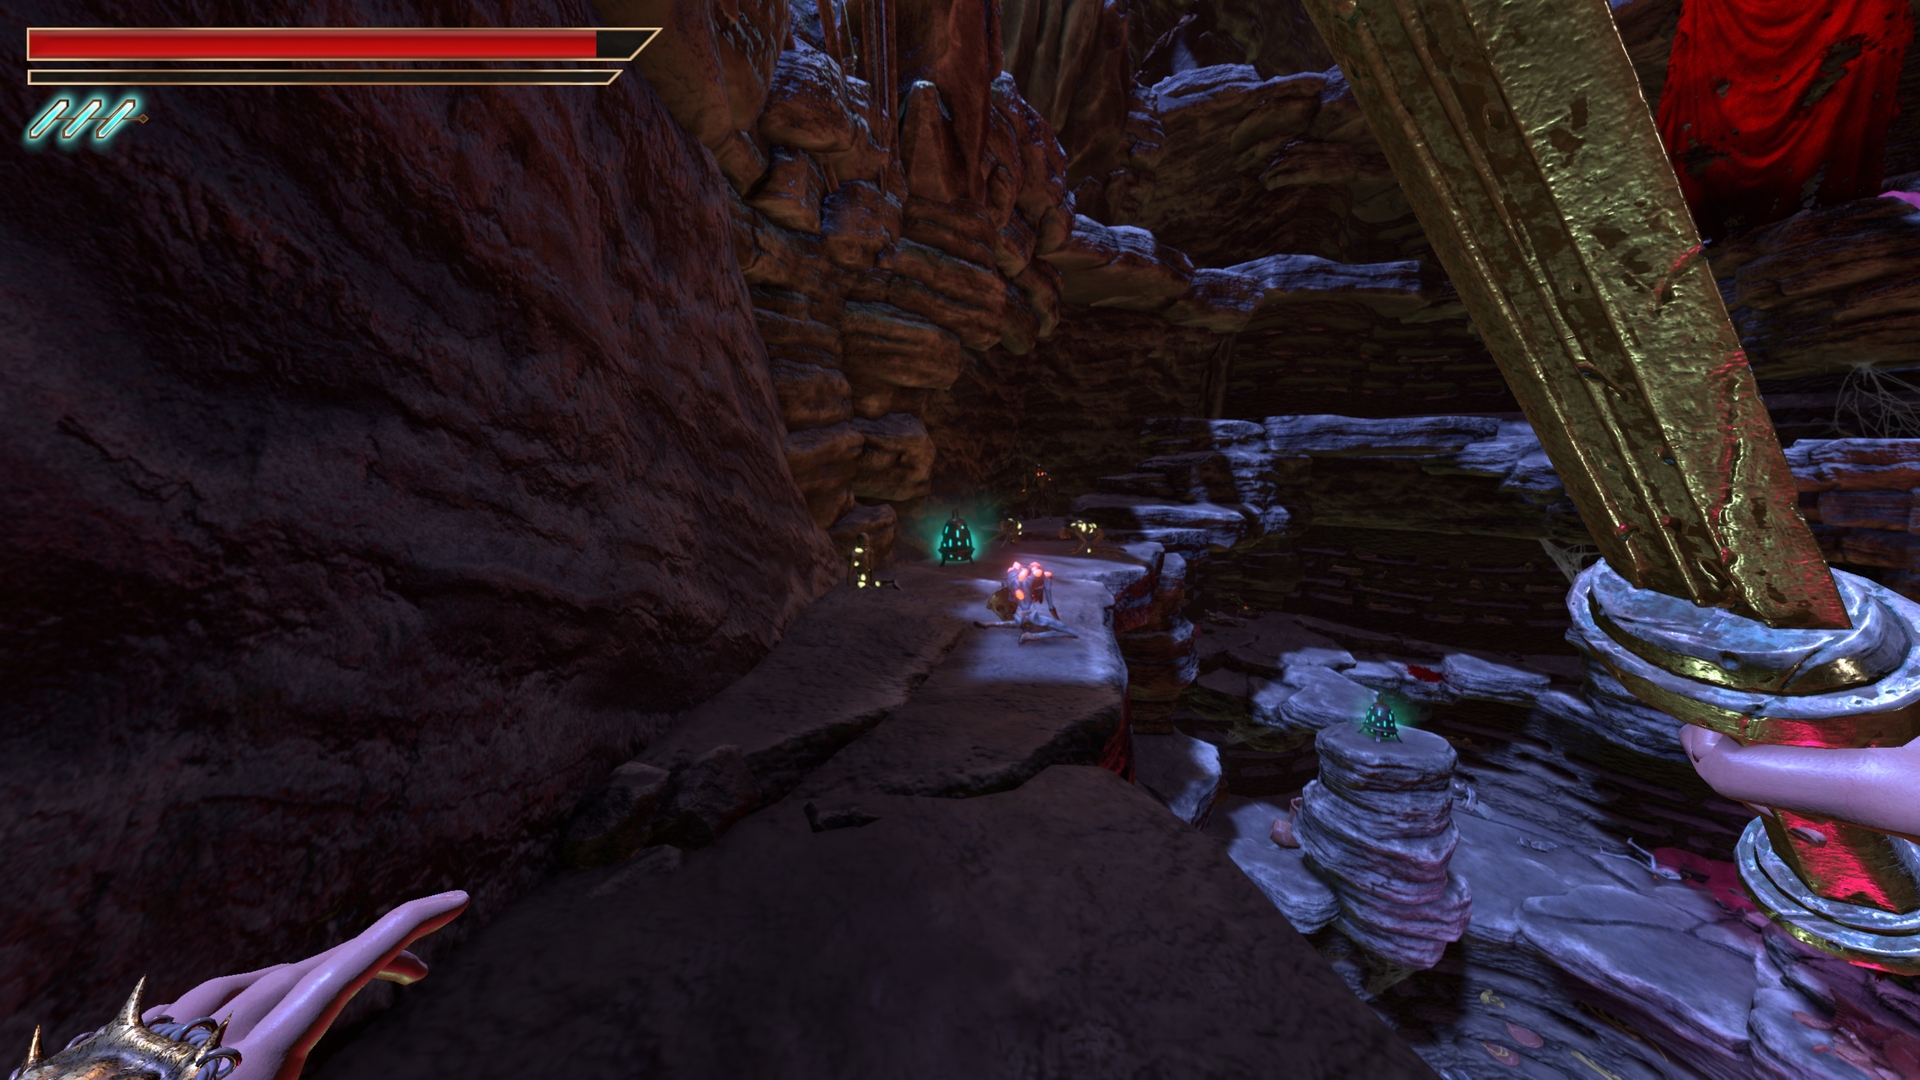
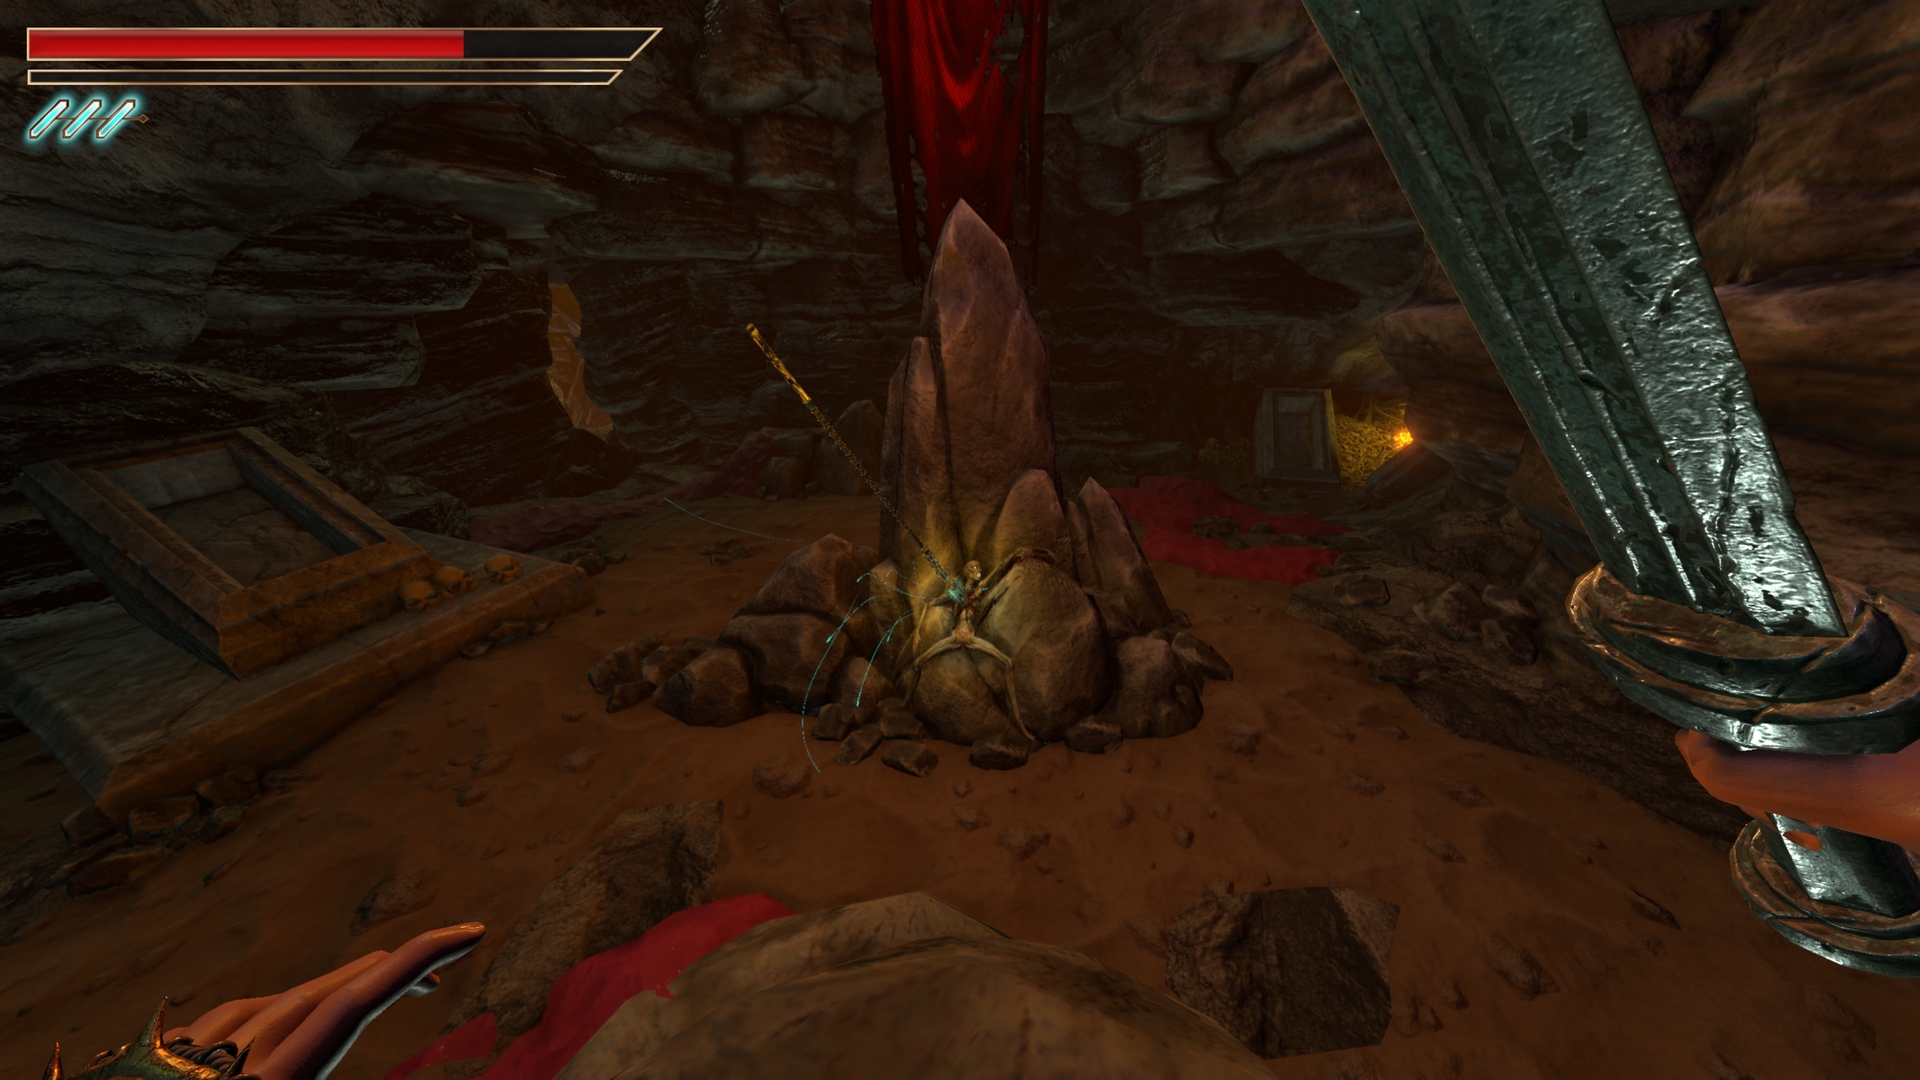
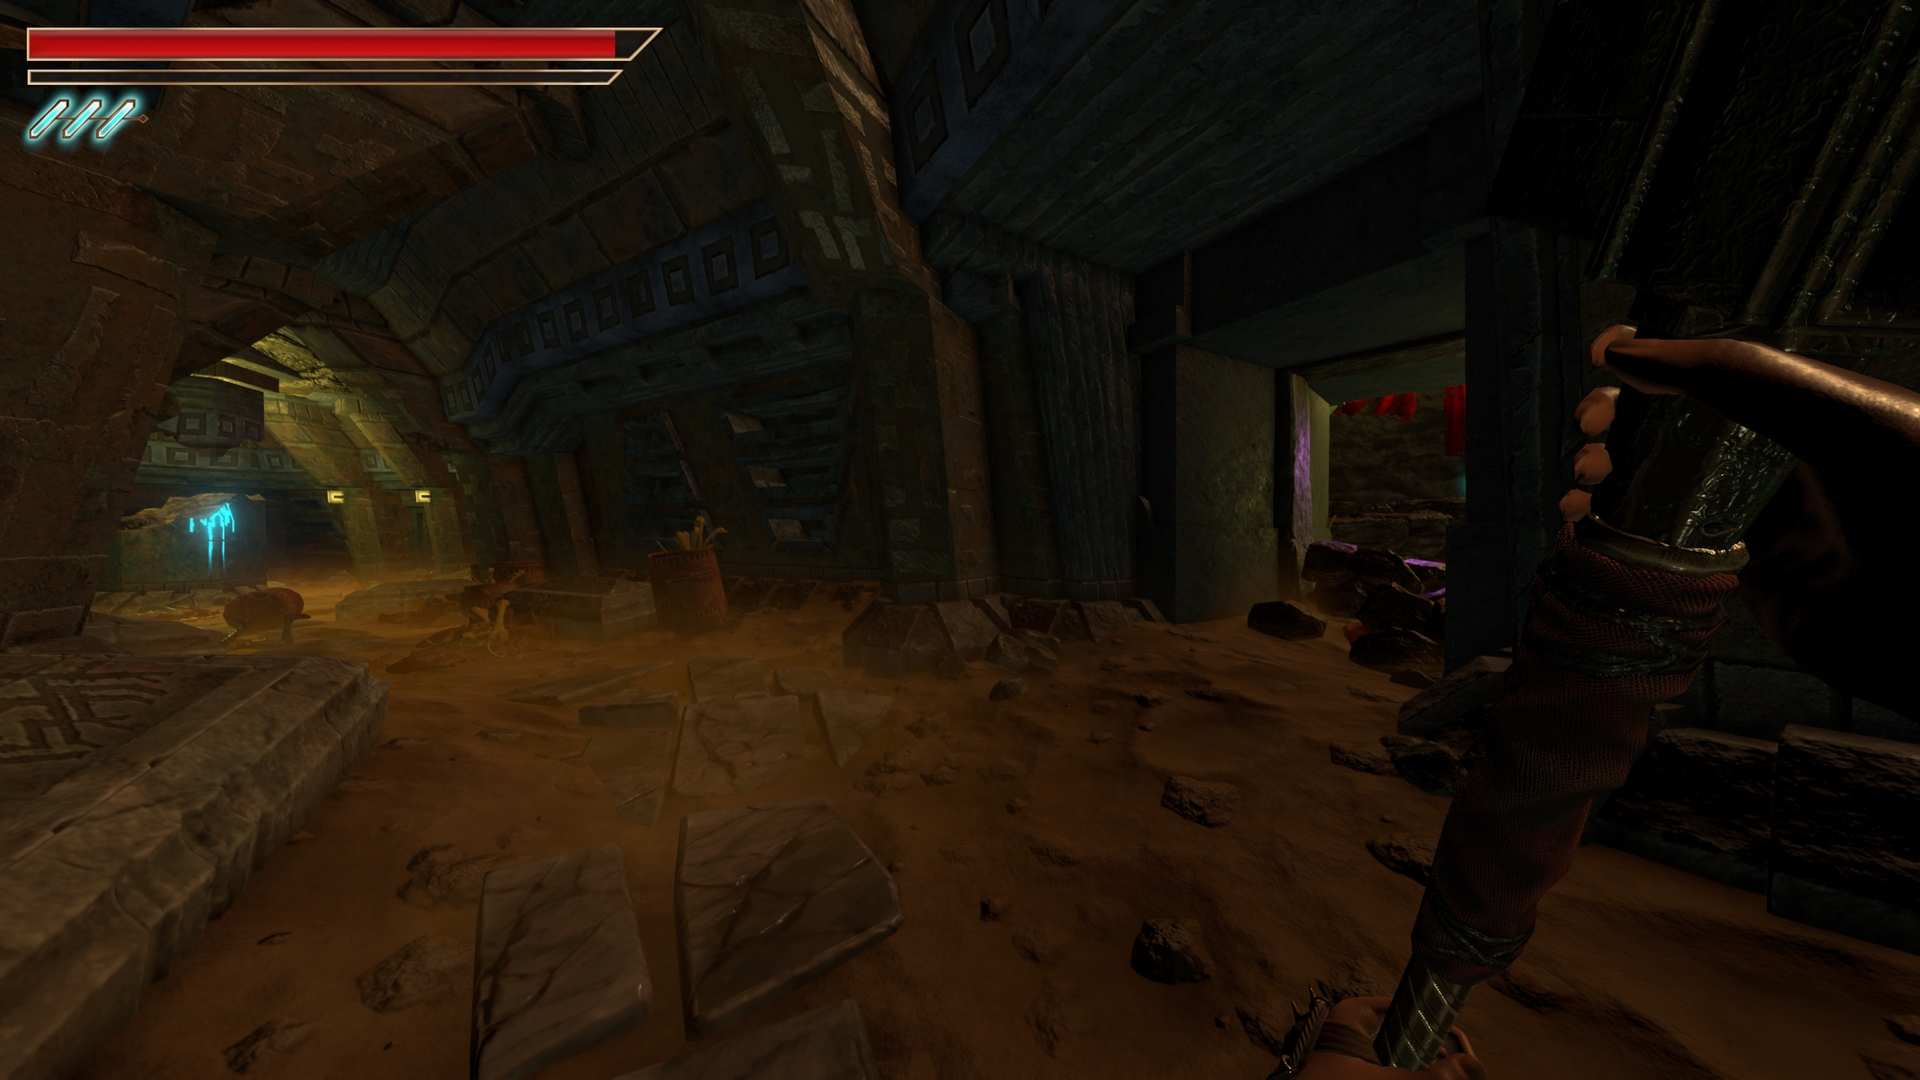
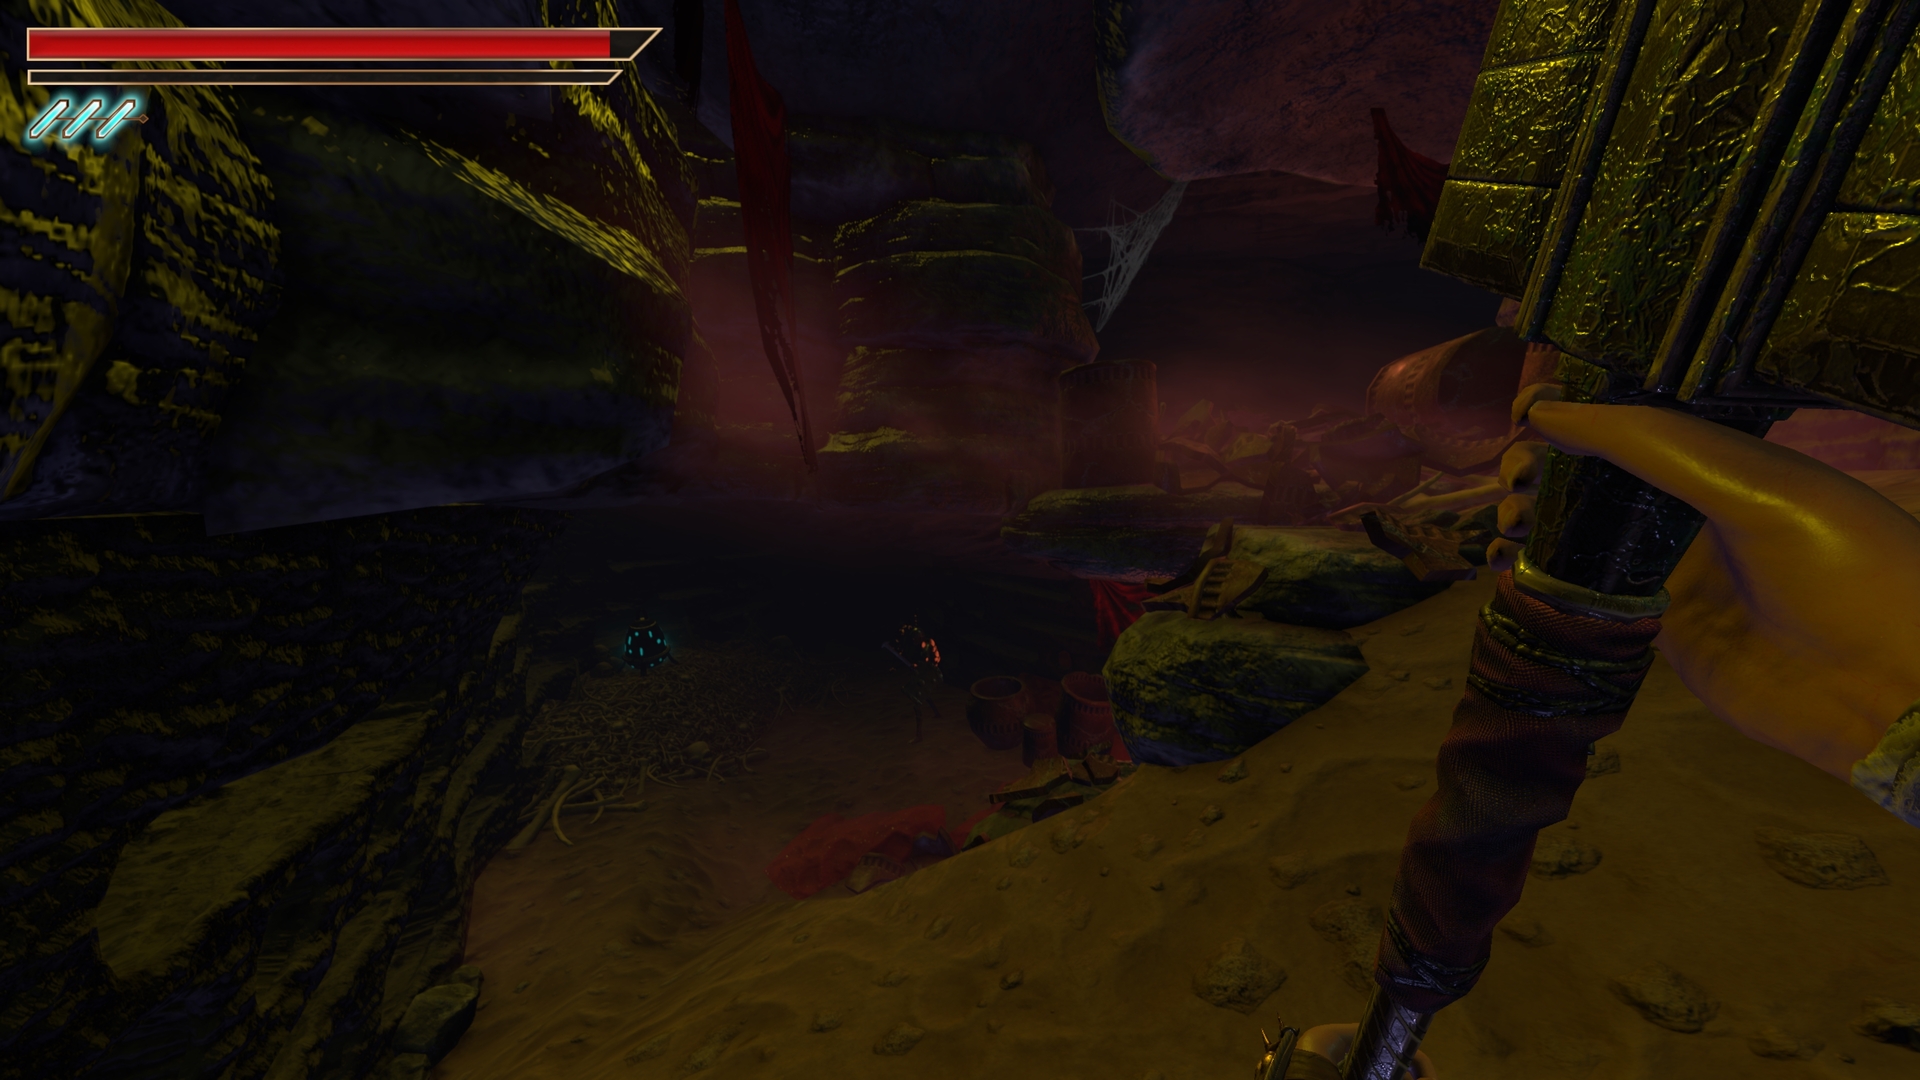
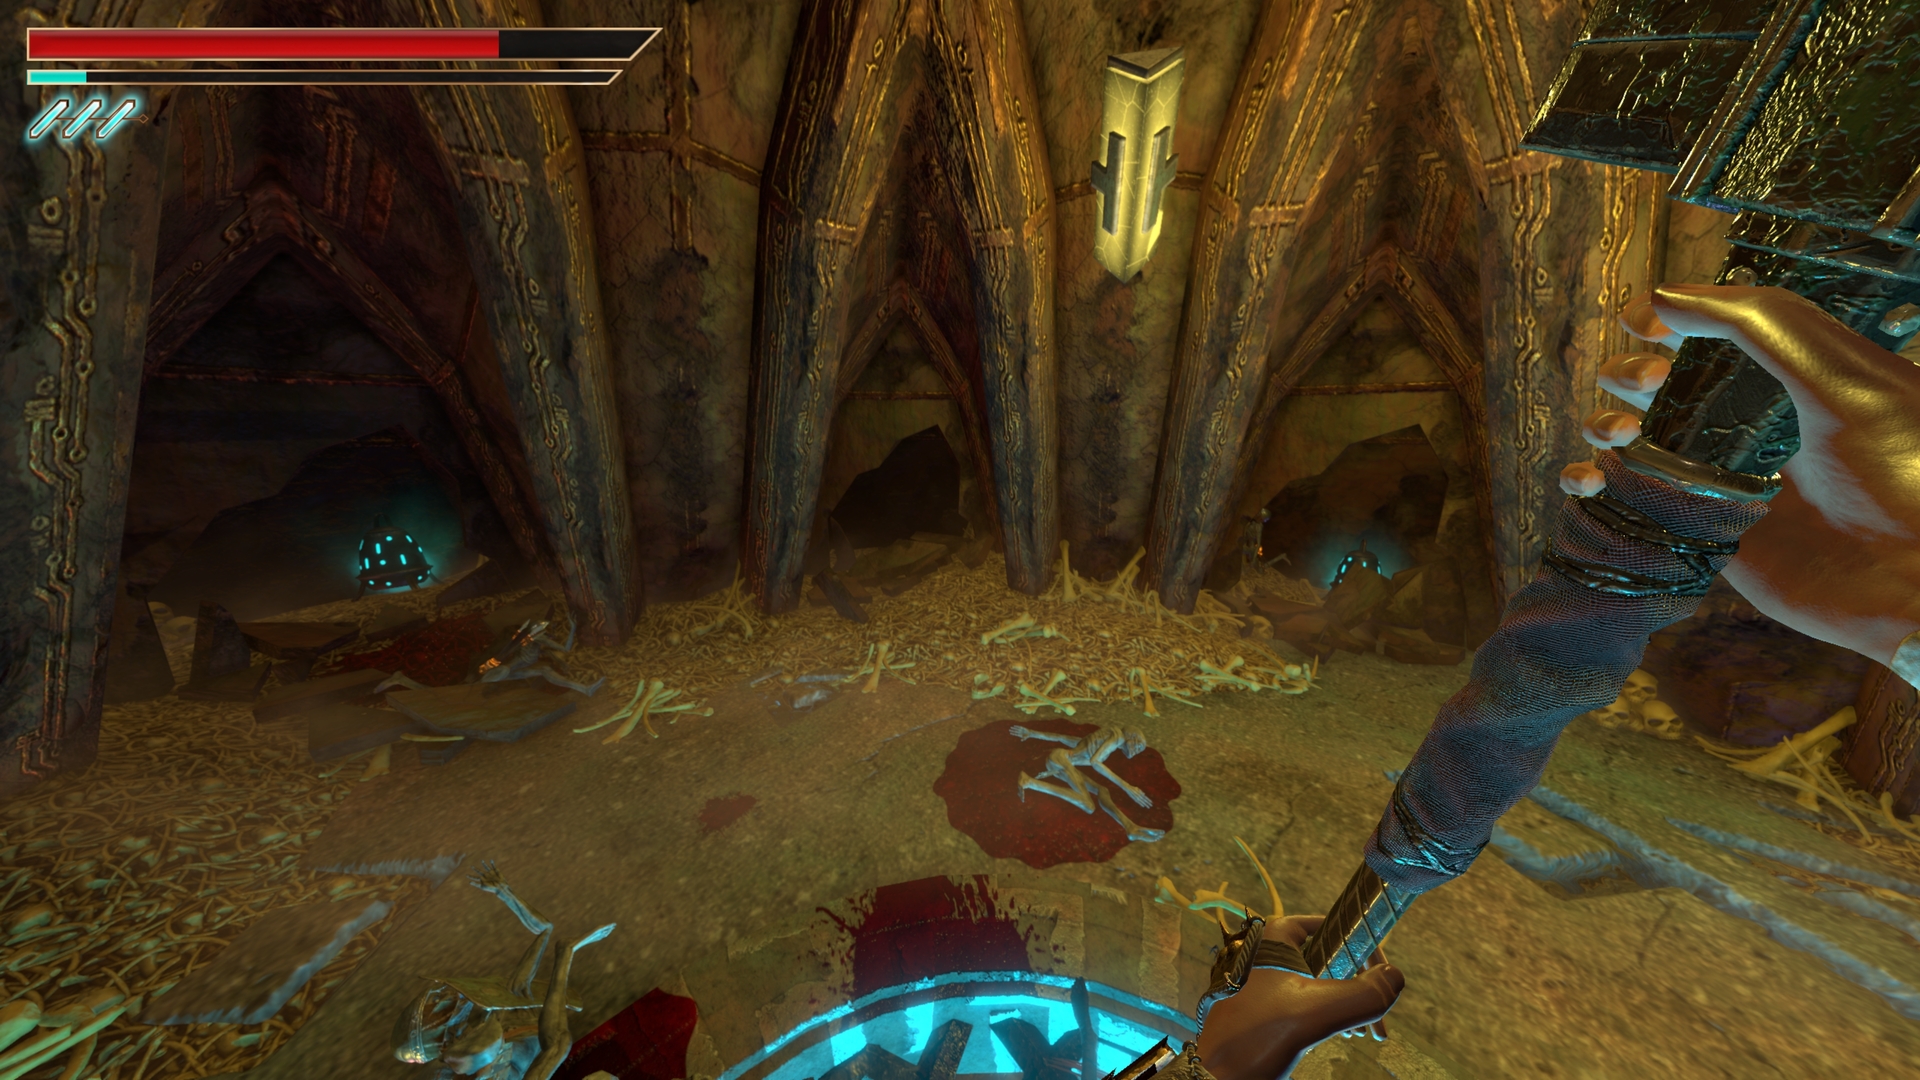
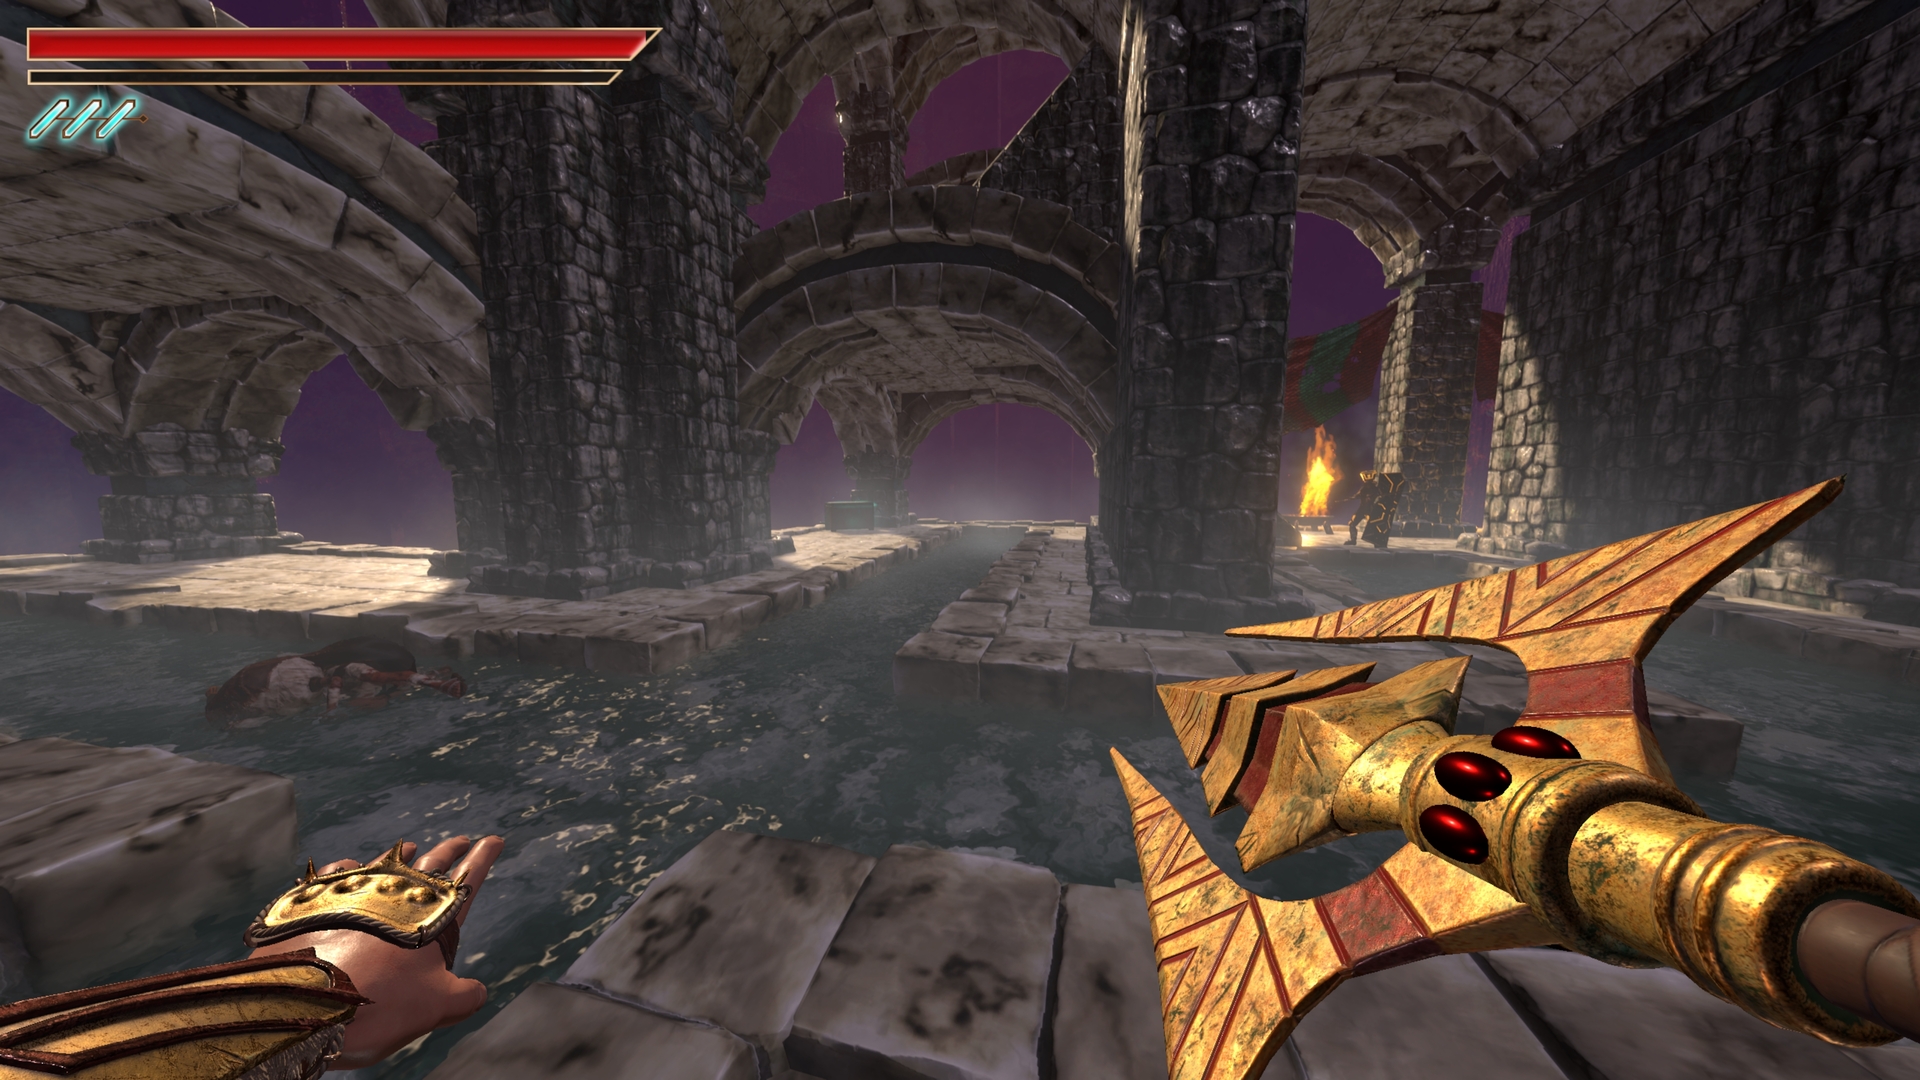
8.) Follow up the path as intended, when you drop down into the area with the pool of water, hug the right wall.
⠀
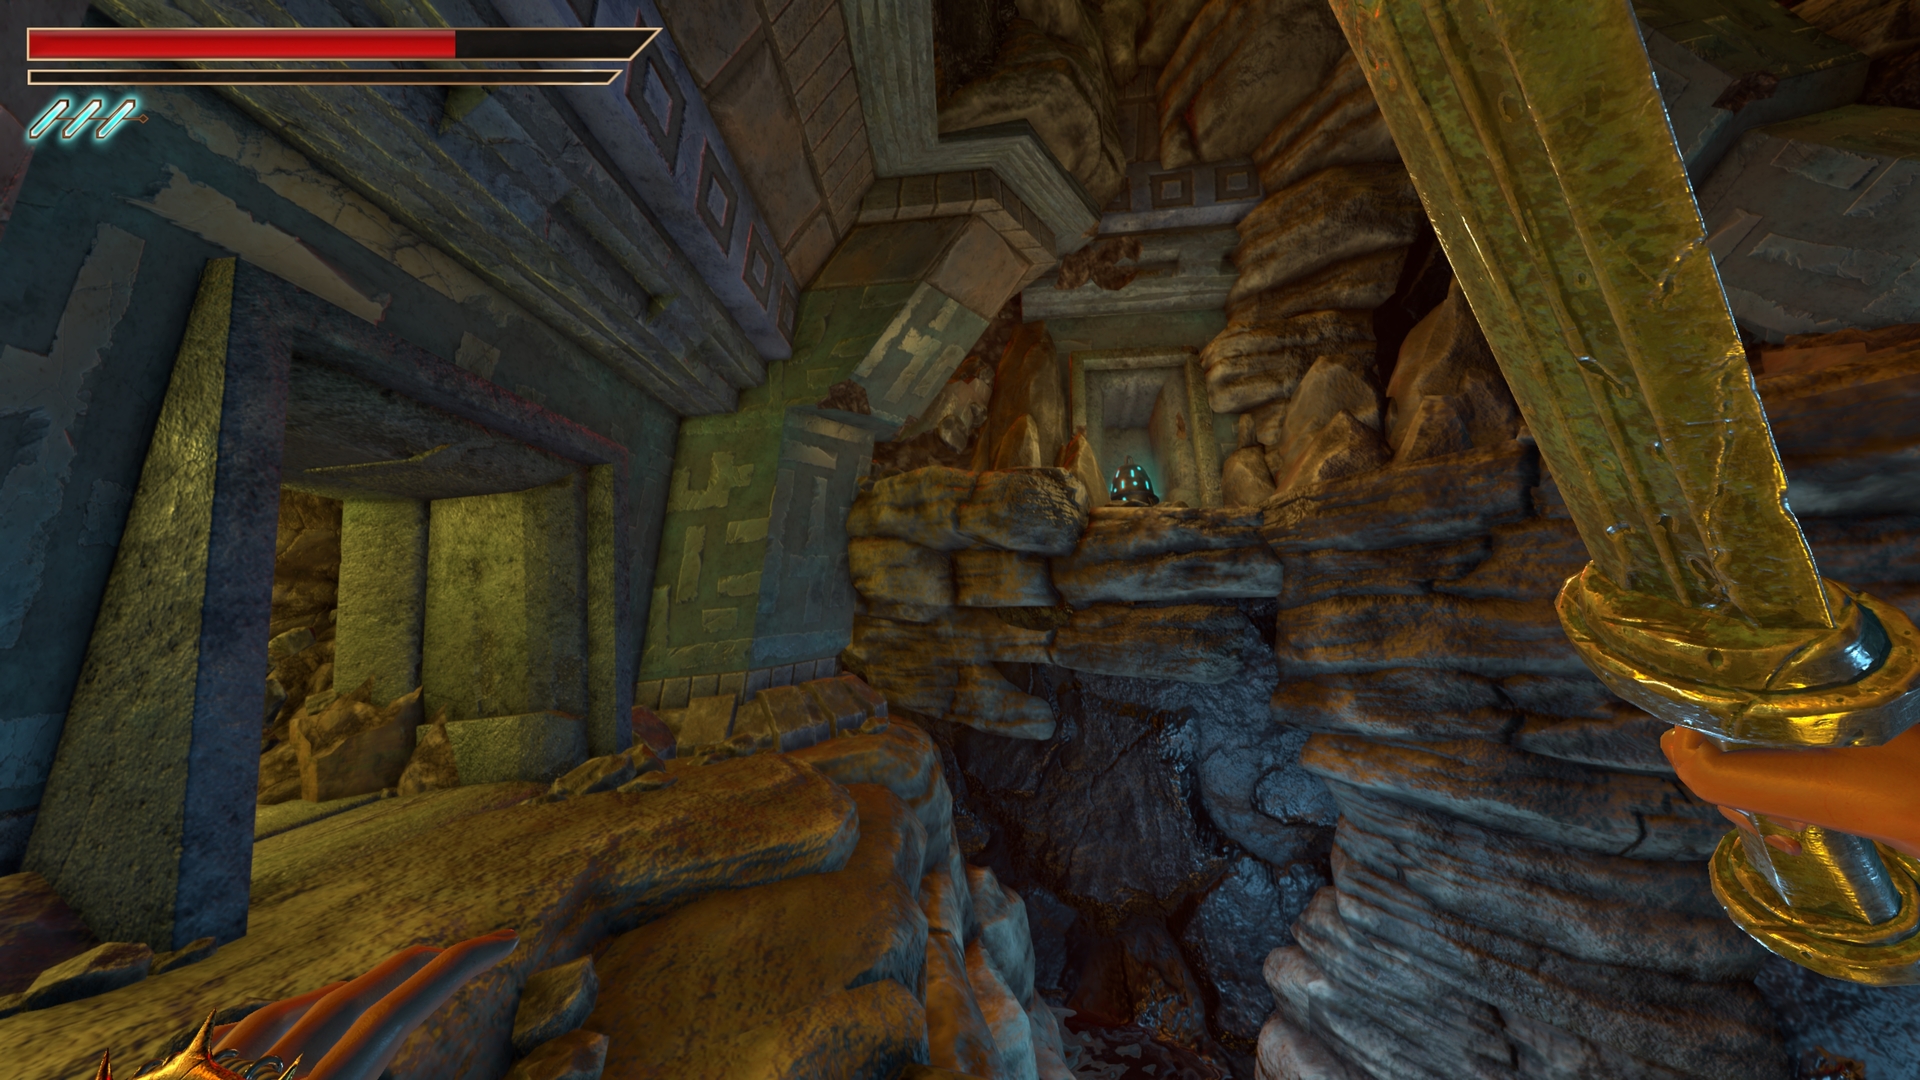
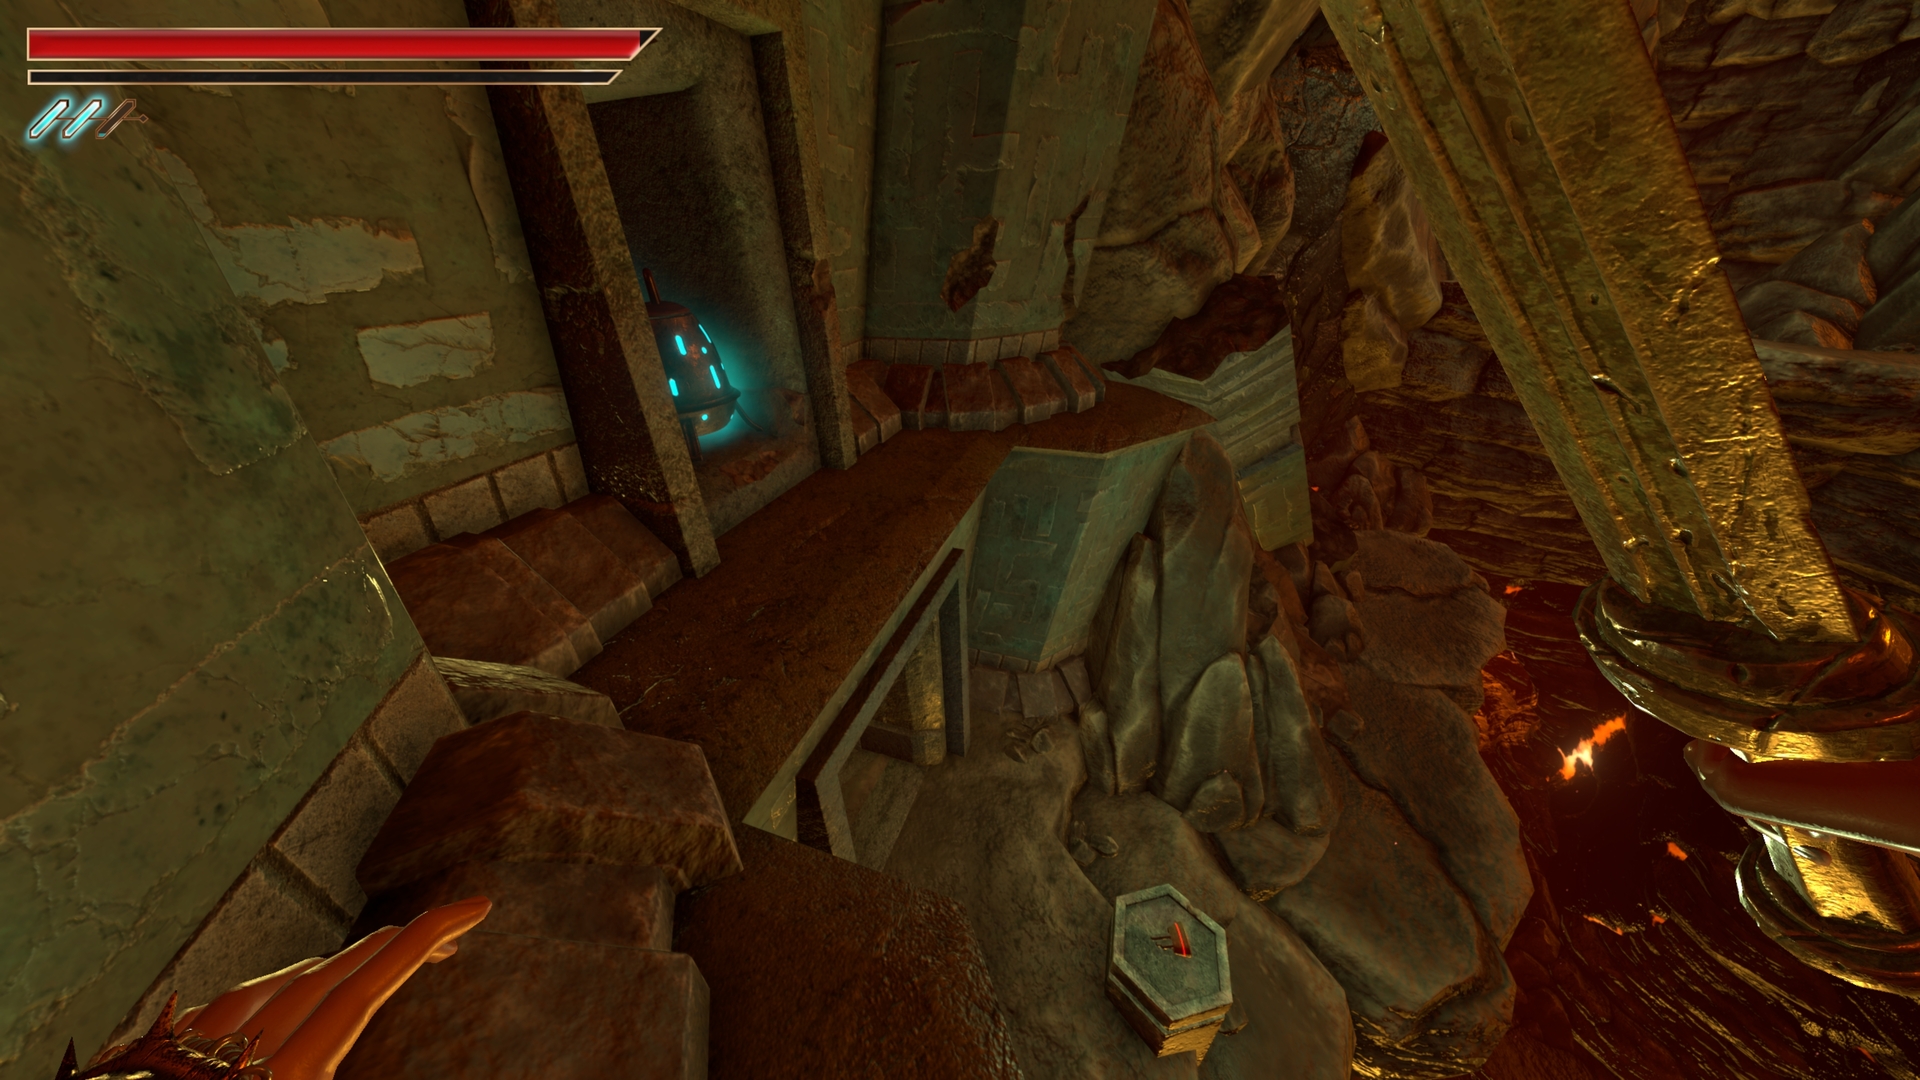
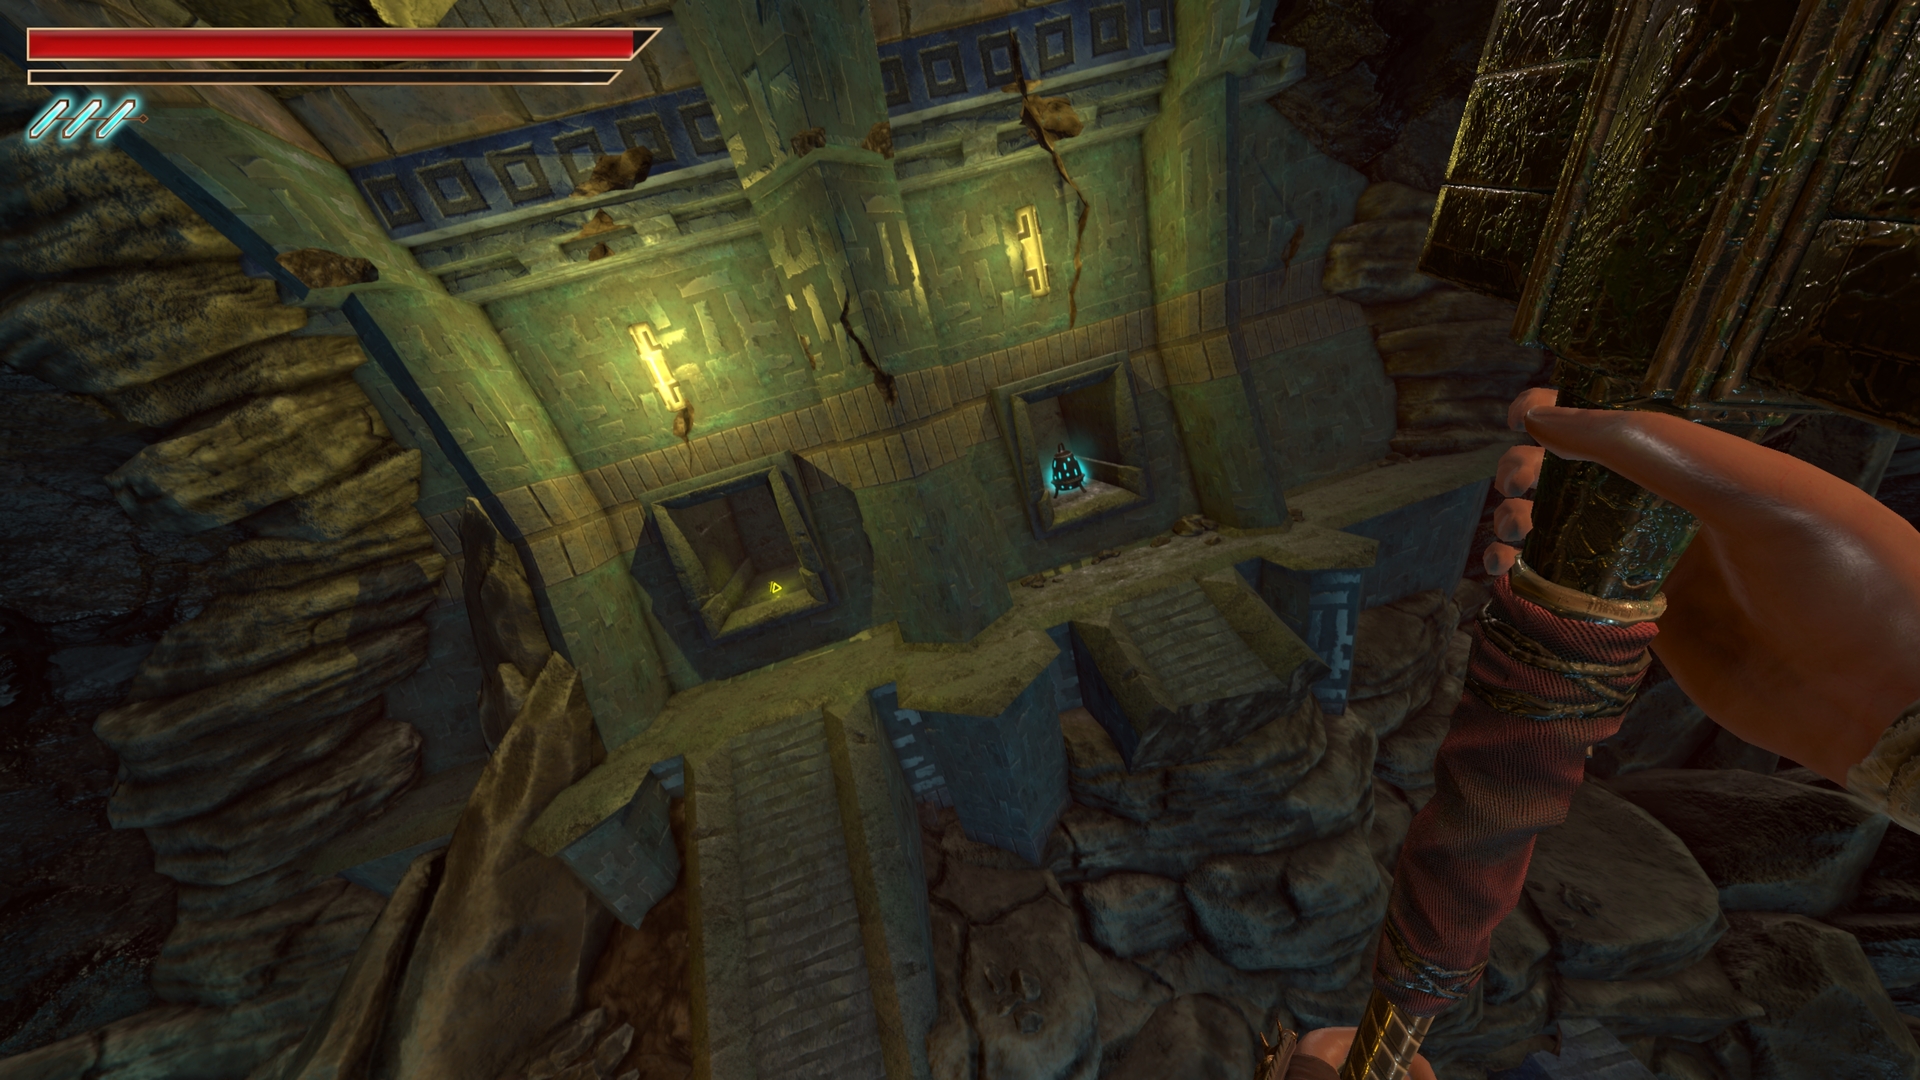
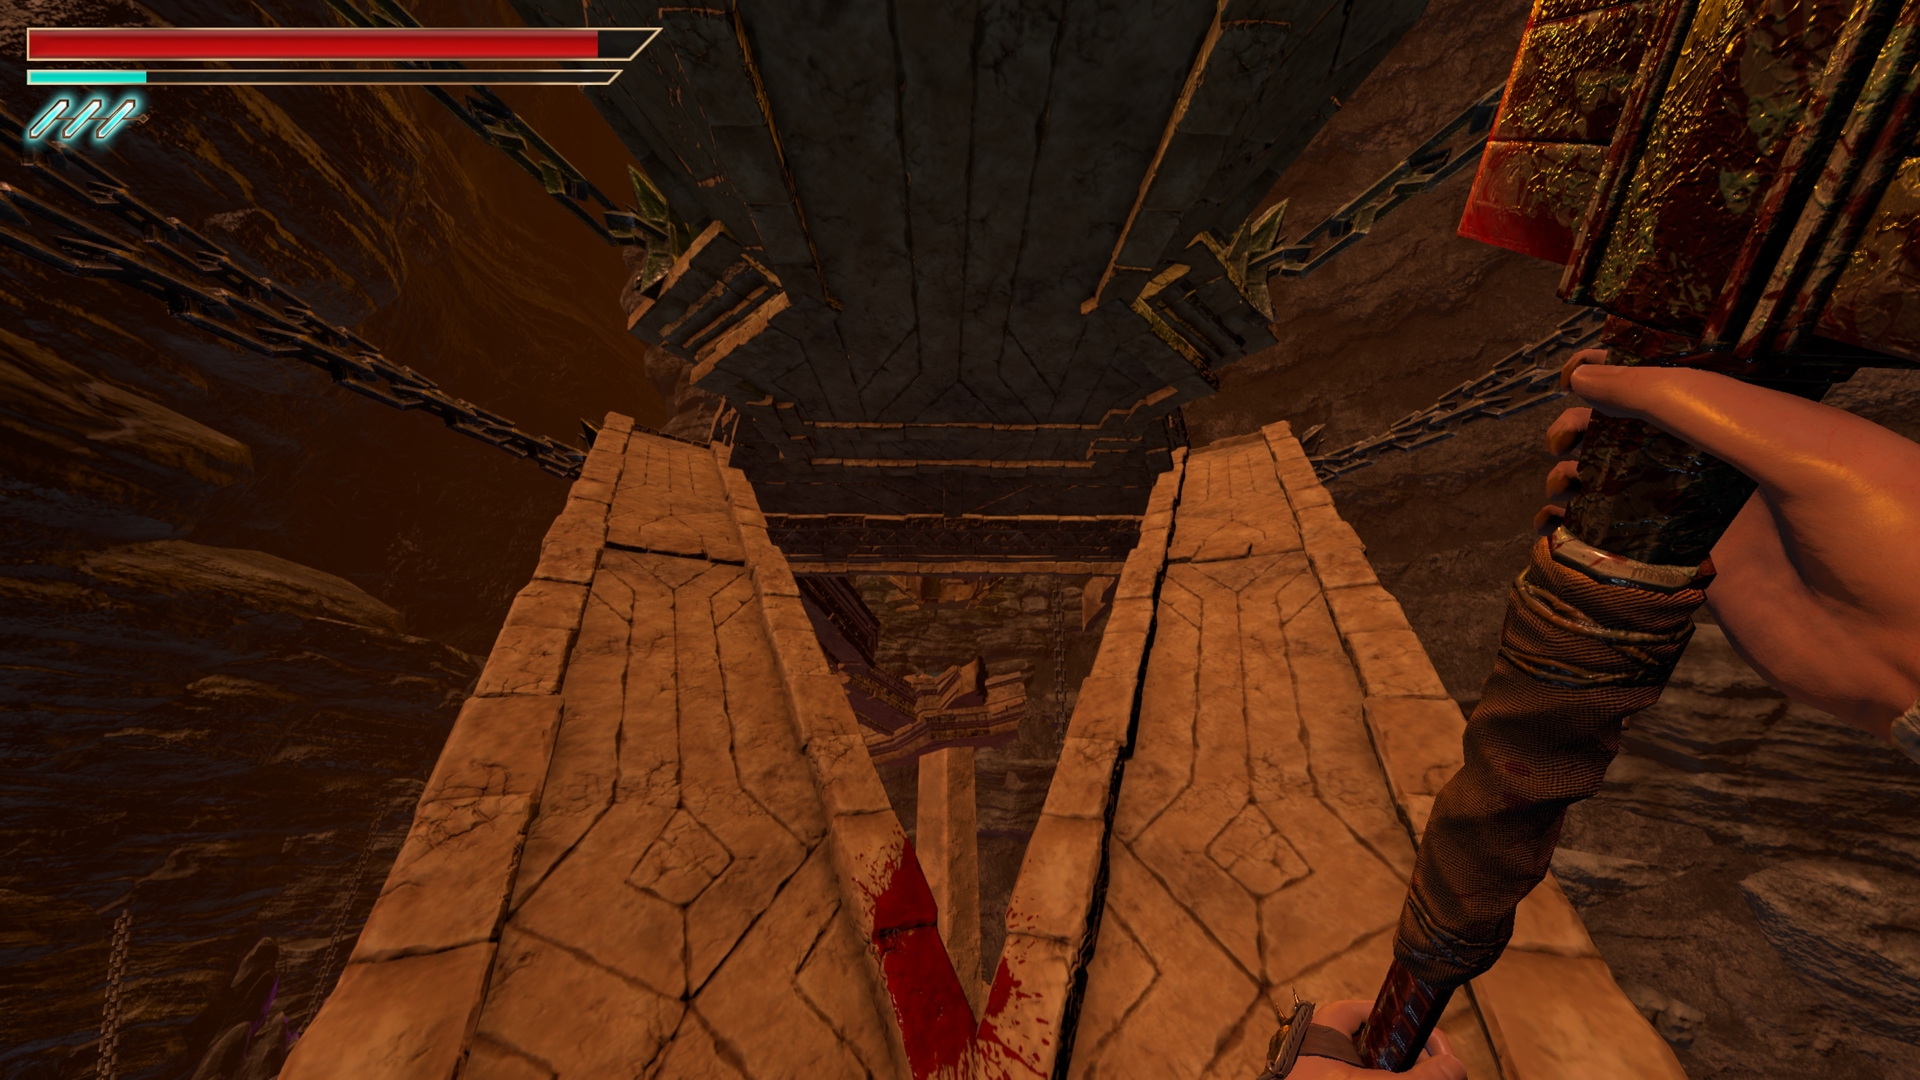
9.) At the vertical spiral stone section go to the very top.
⠀
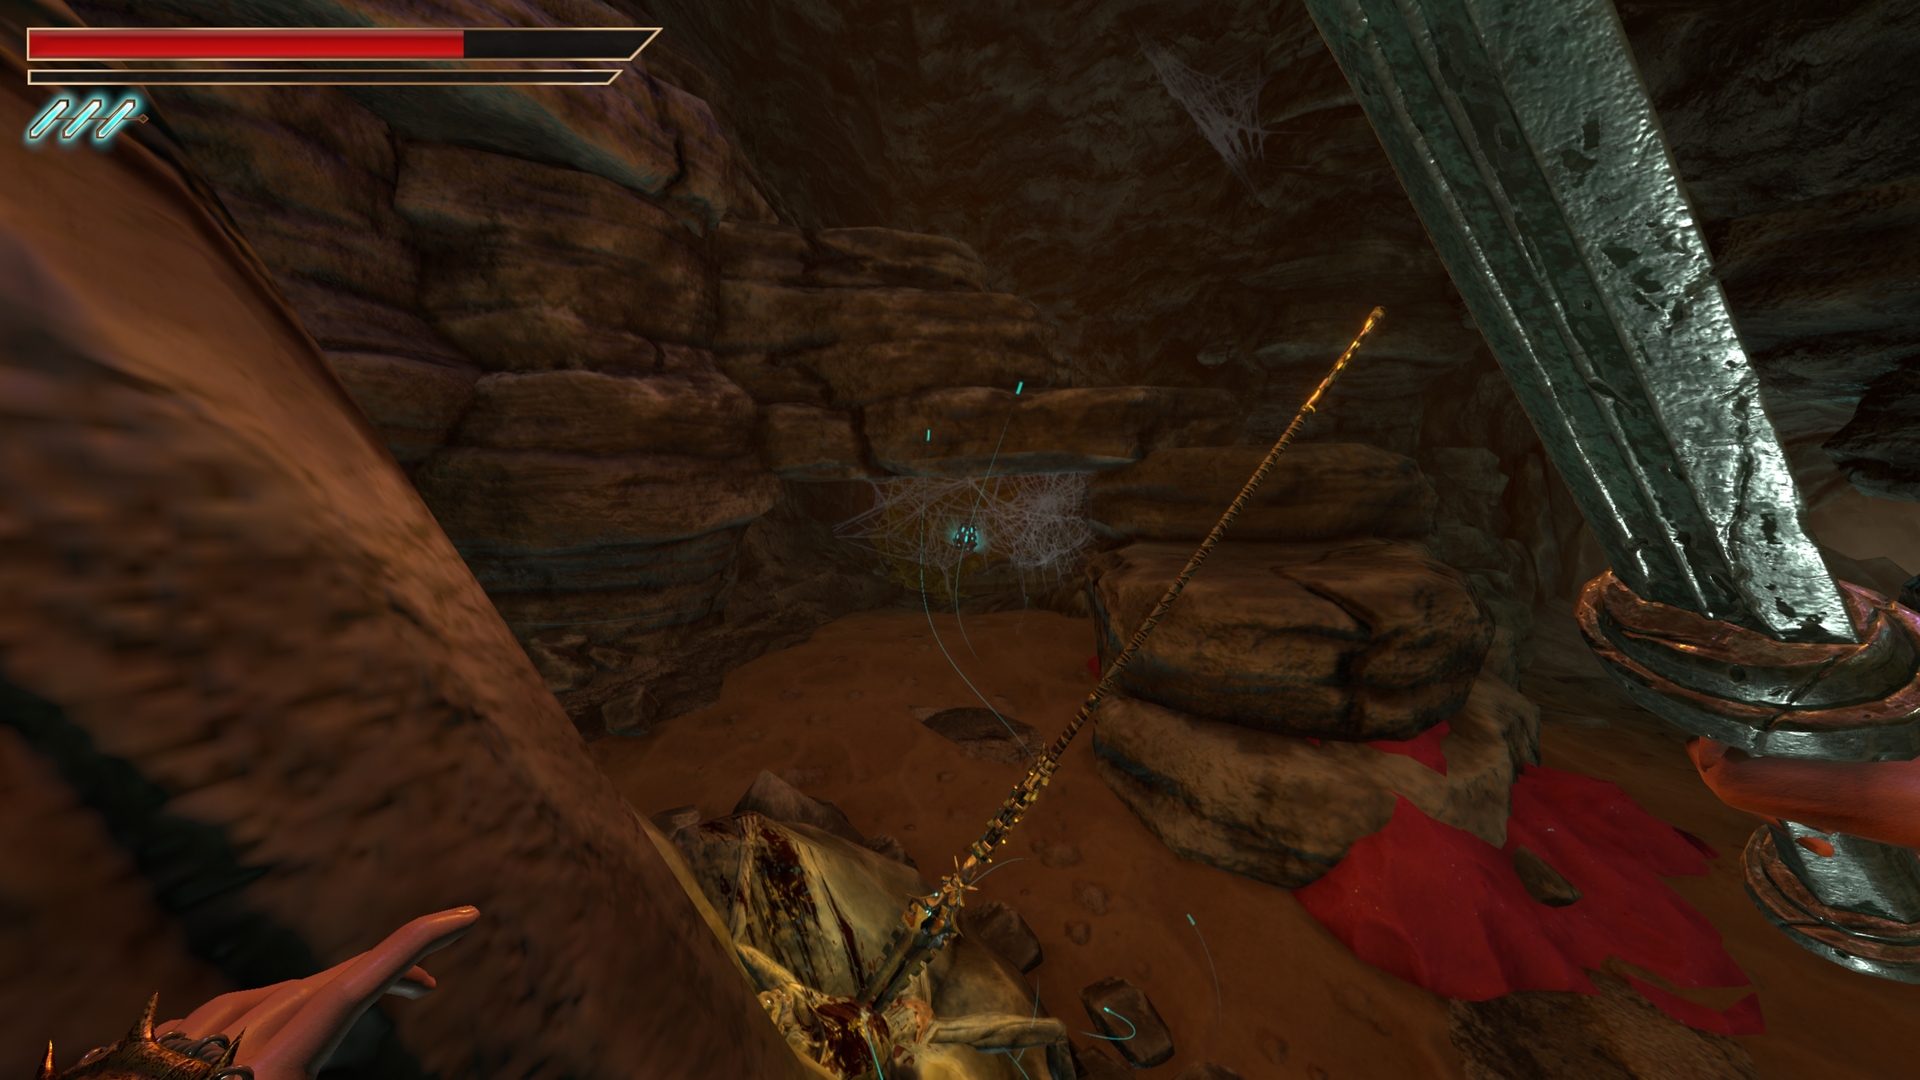
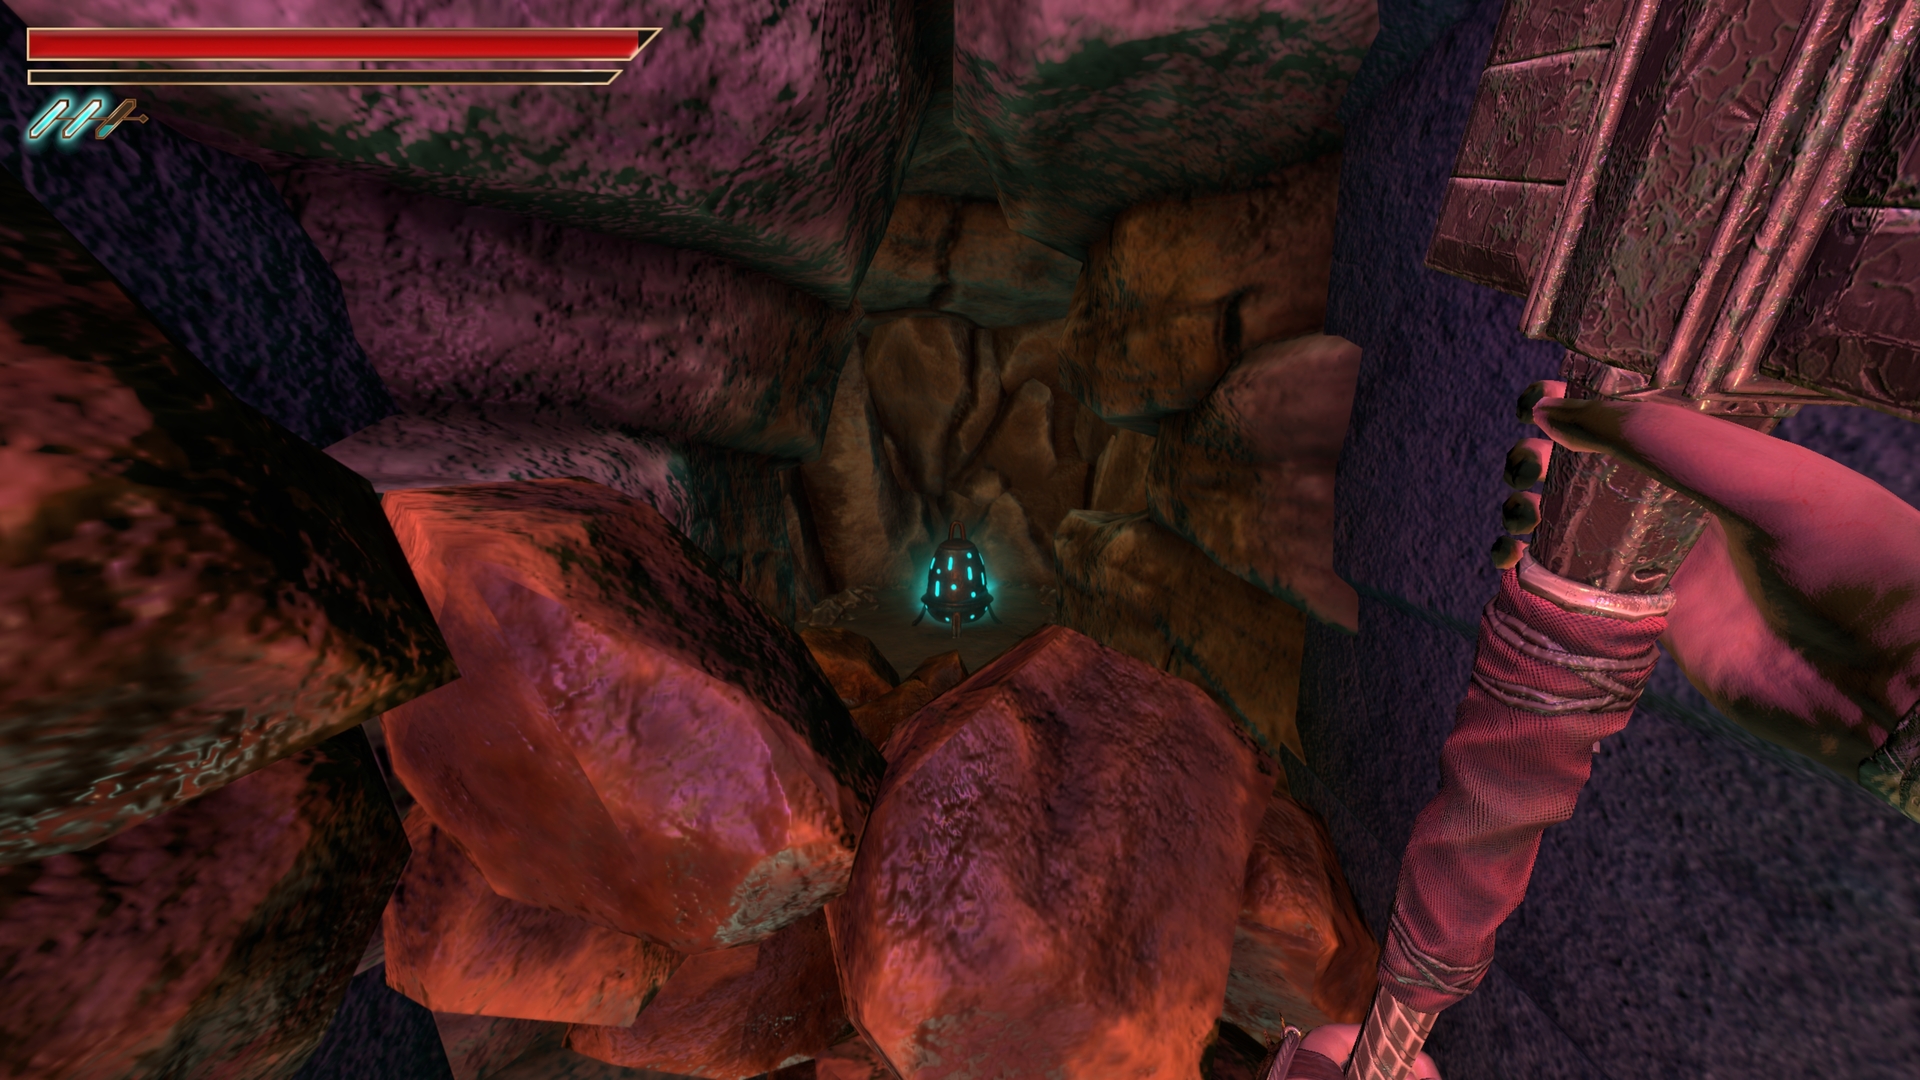
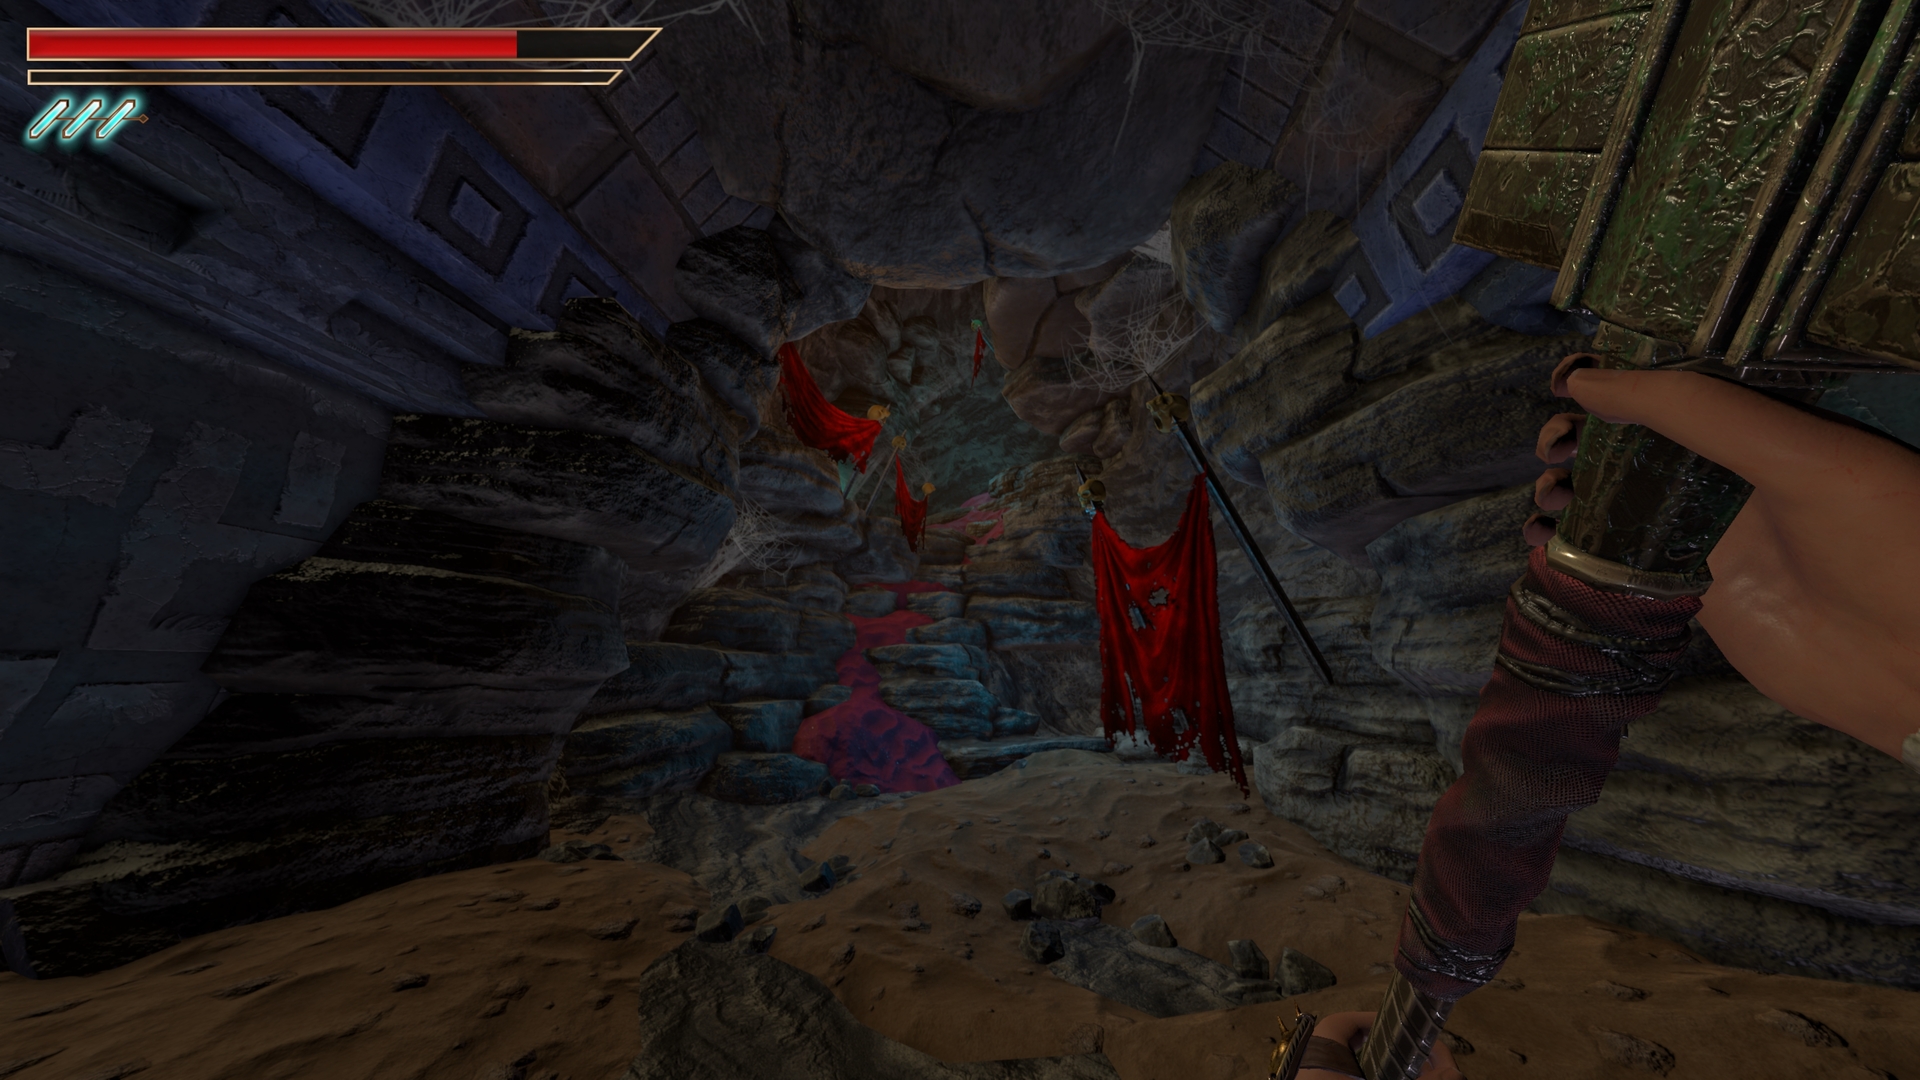
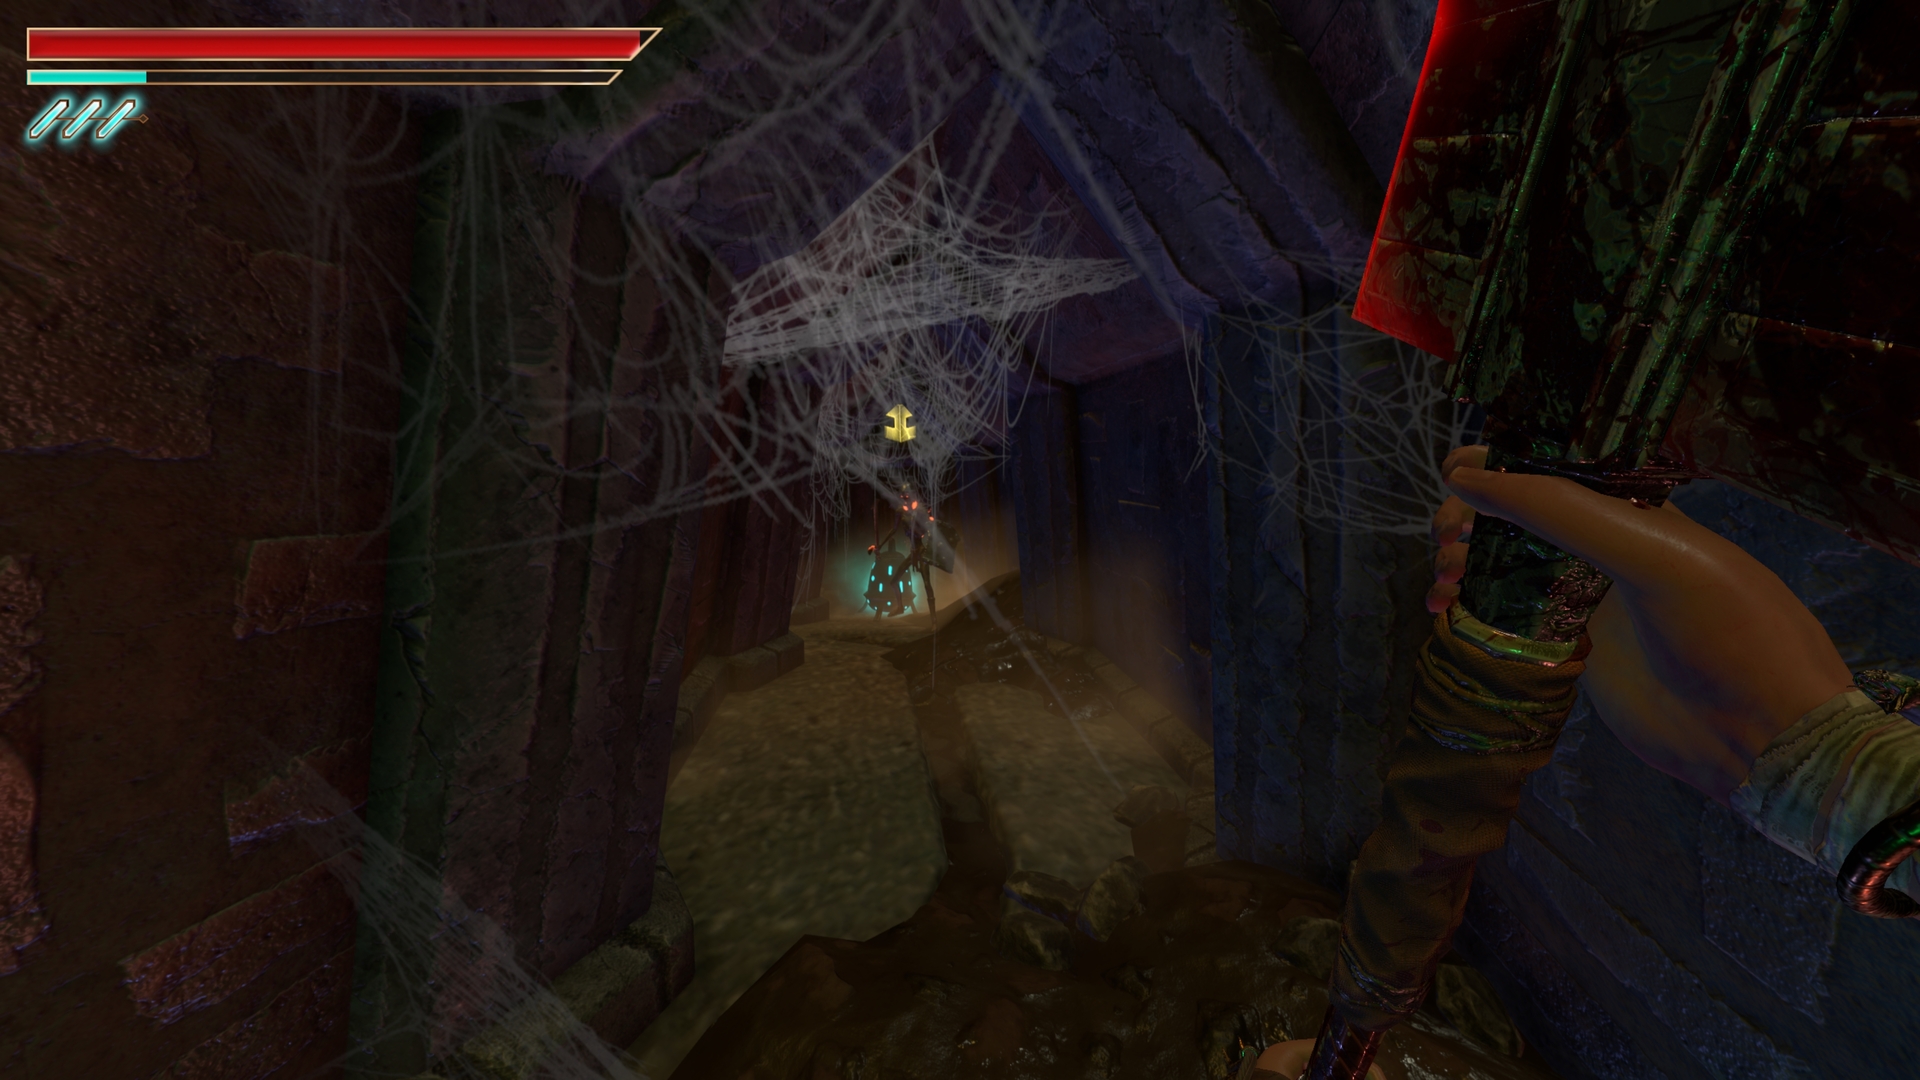
10.) Descend the spiral, when at the spear turn around and go behind the cobweb.
⠀
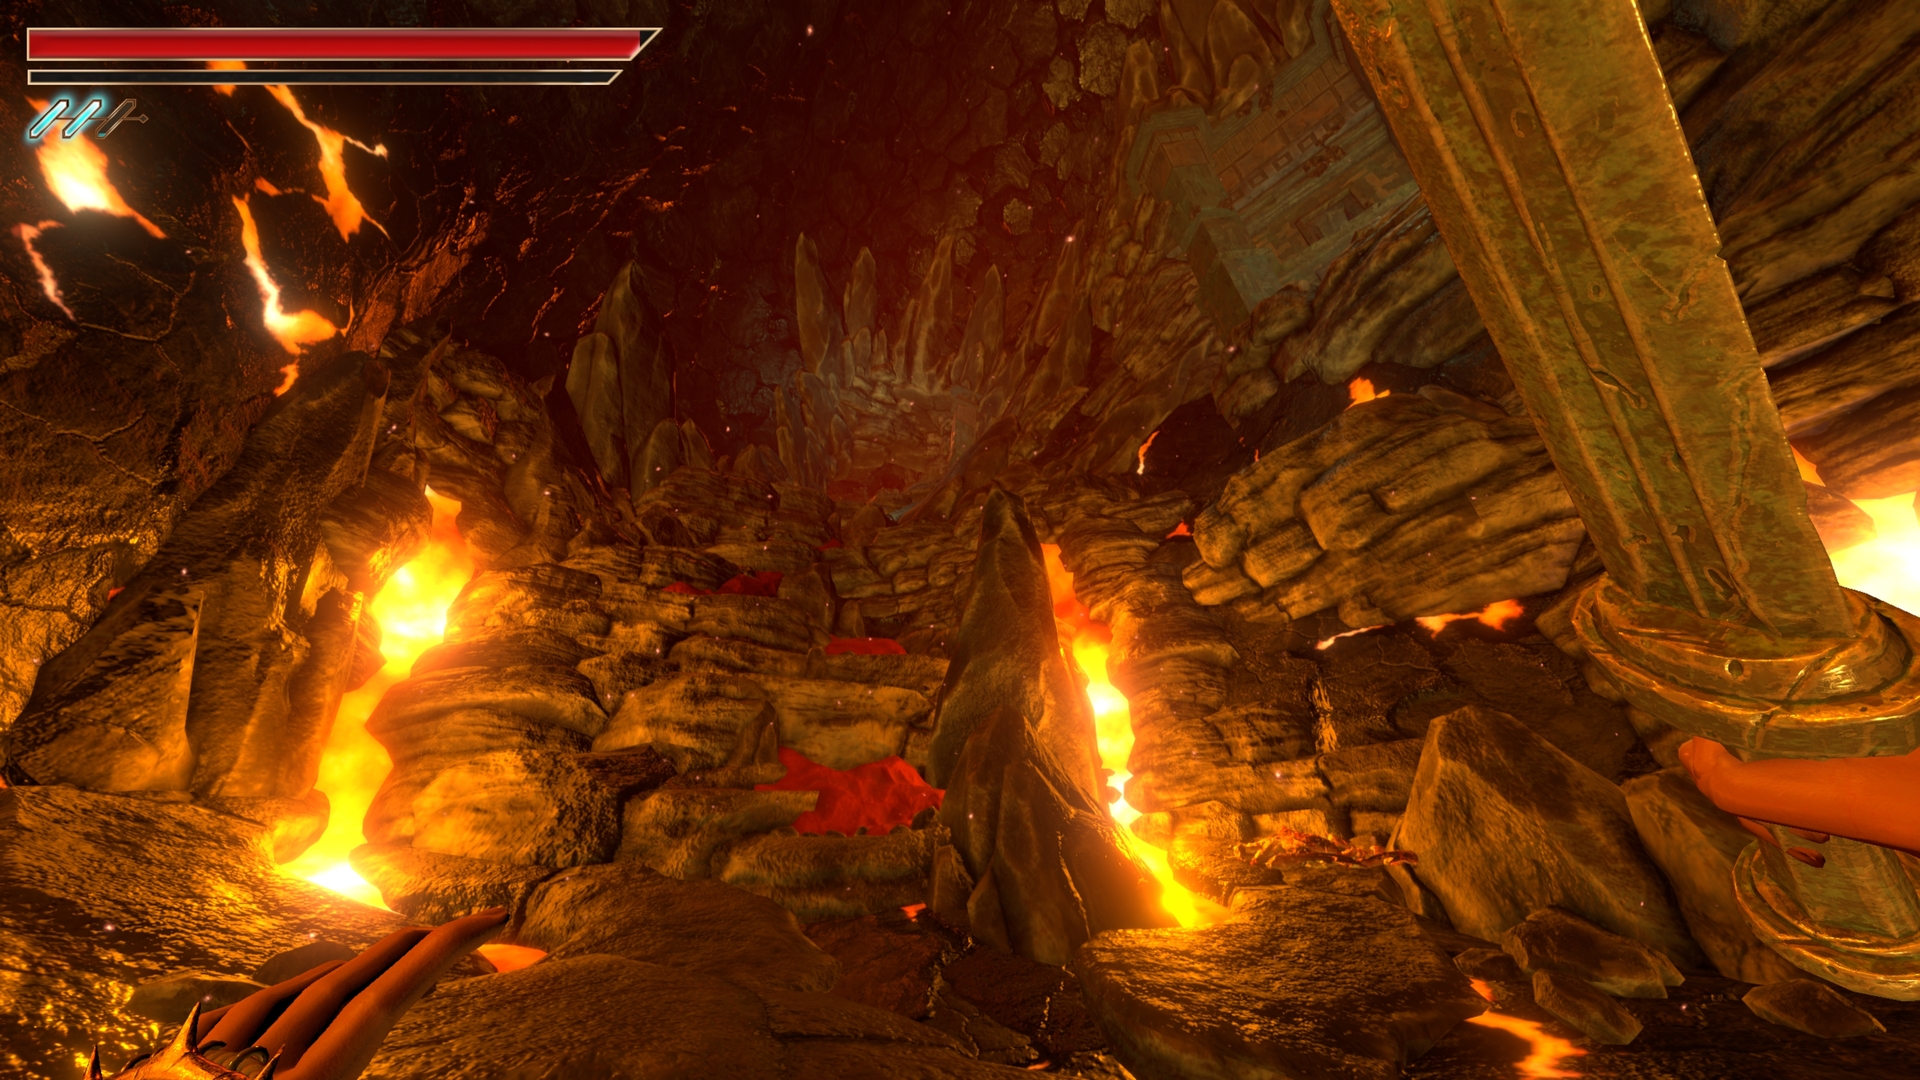
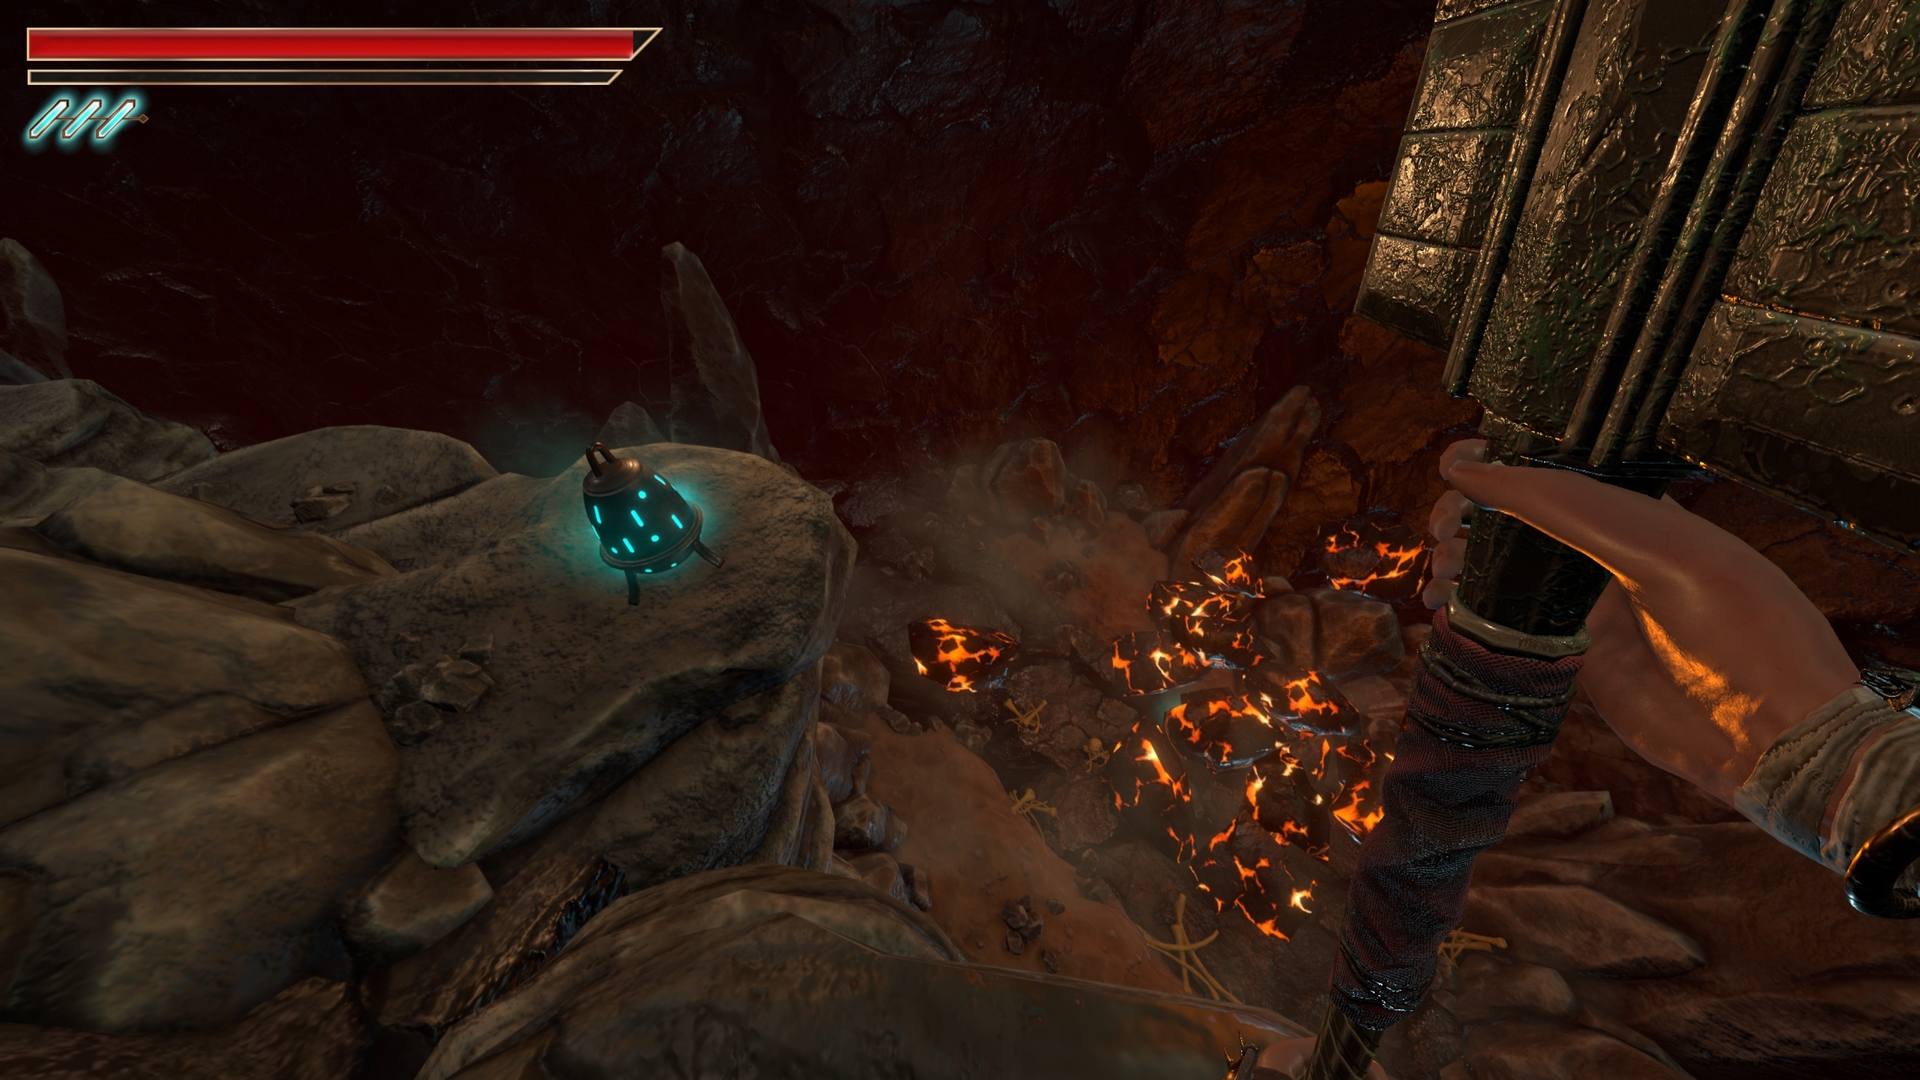
11.) Reaching the first gorilla like enemies, climb the left ledge.
⠀
12.) Before you drop down, follow the left path and grab the chest across the way.
⠀
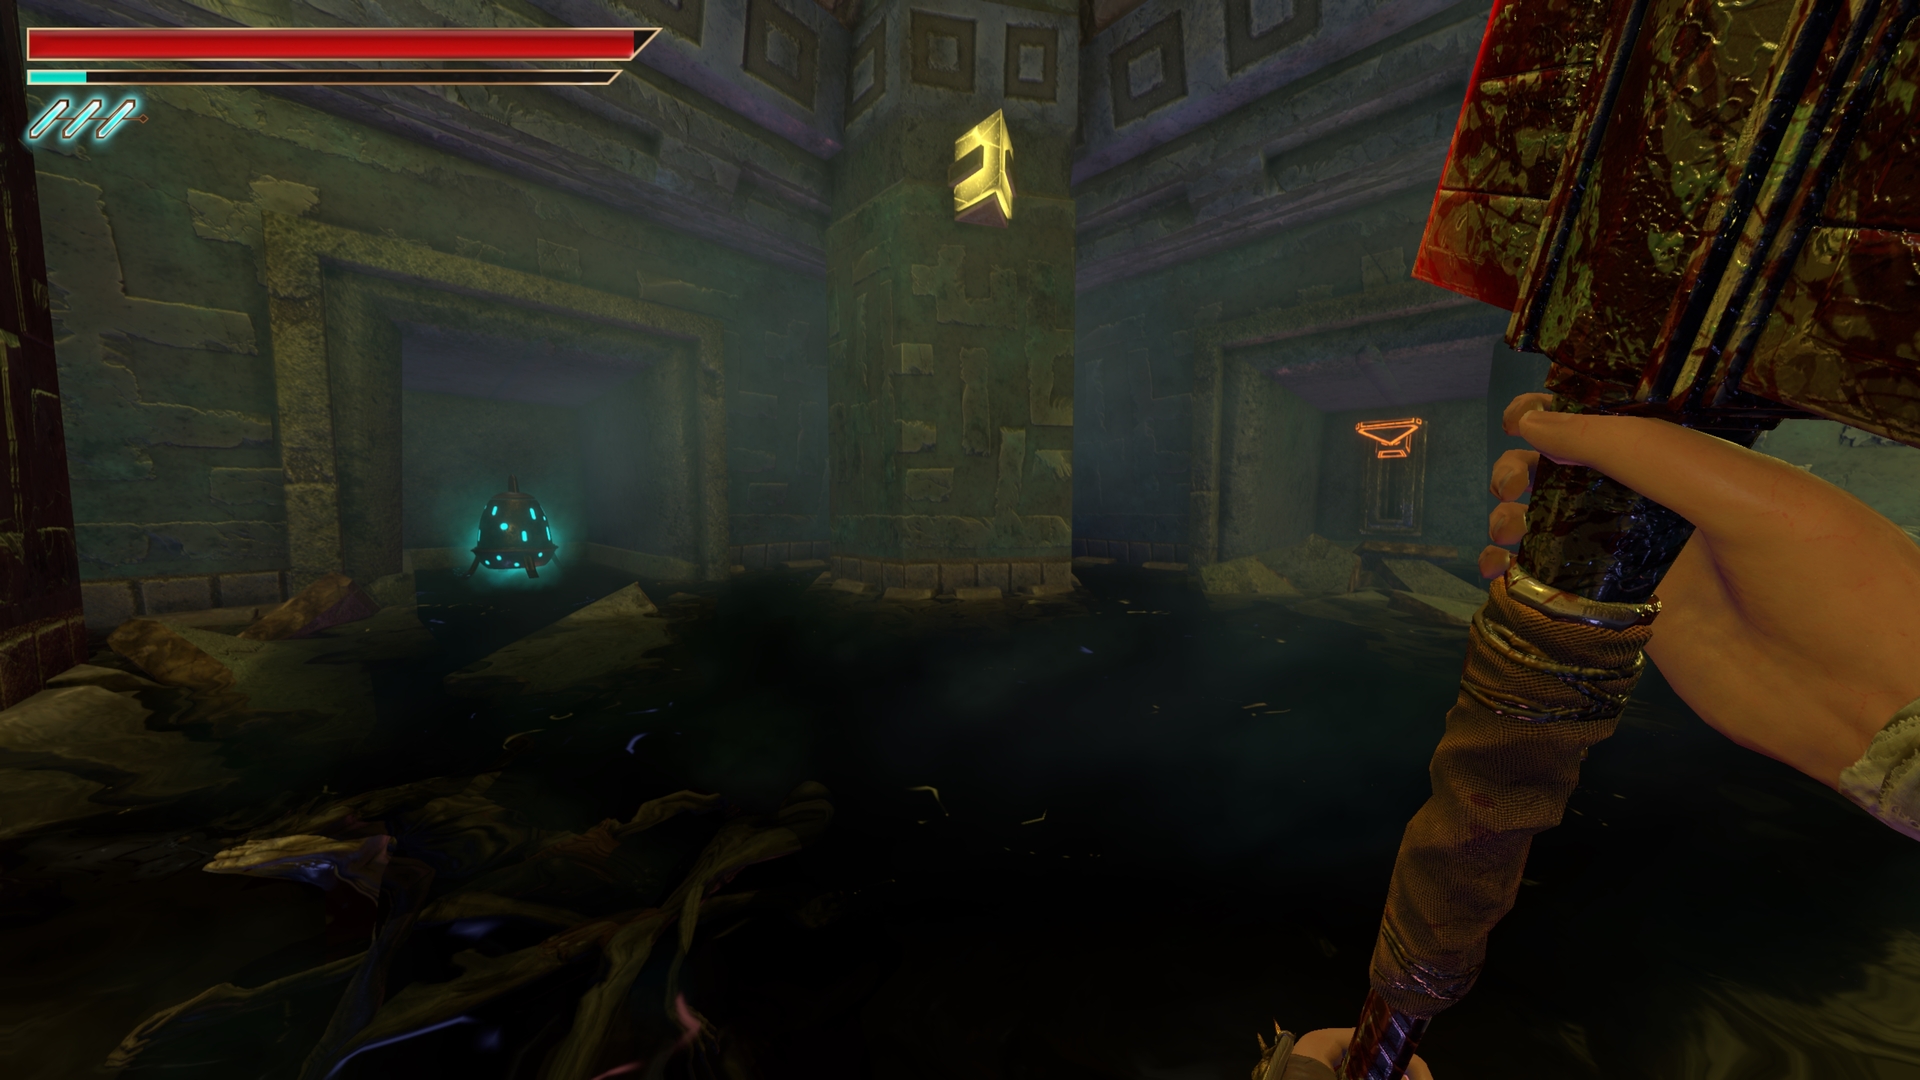
13 & 14.) At the fork take the right path. In the room you have one in the pool below you and one to the left, above the door you came through.
⠀
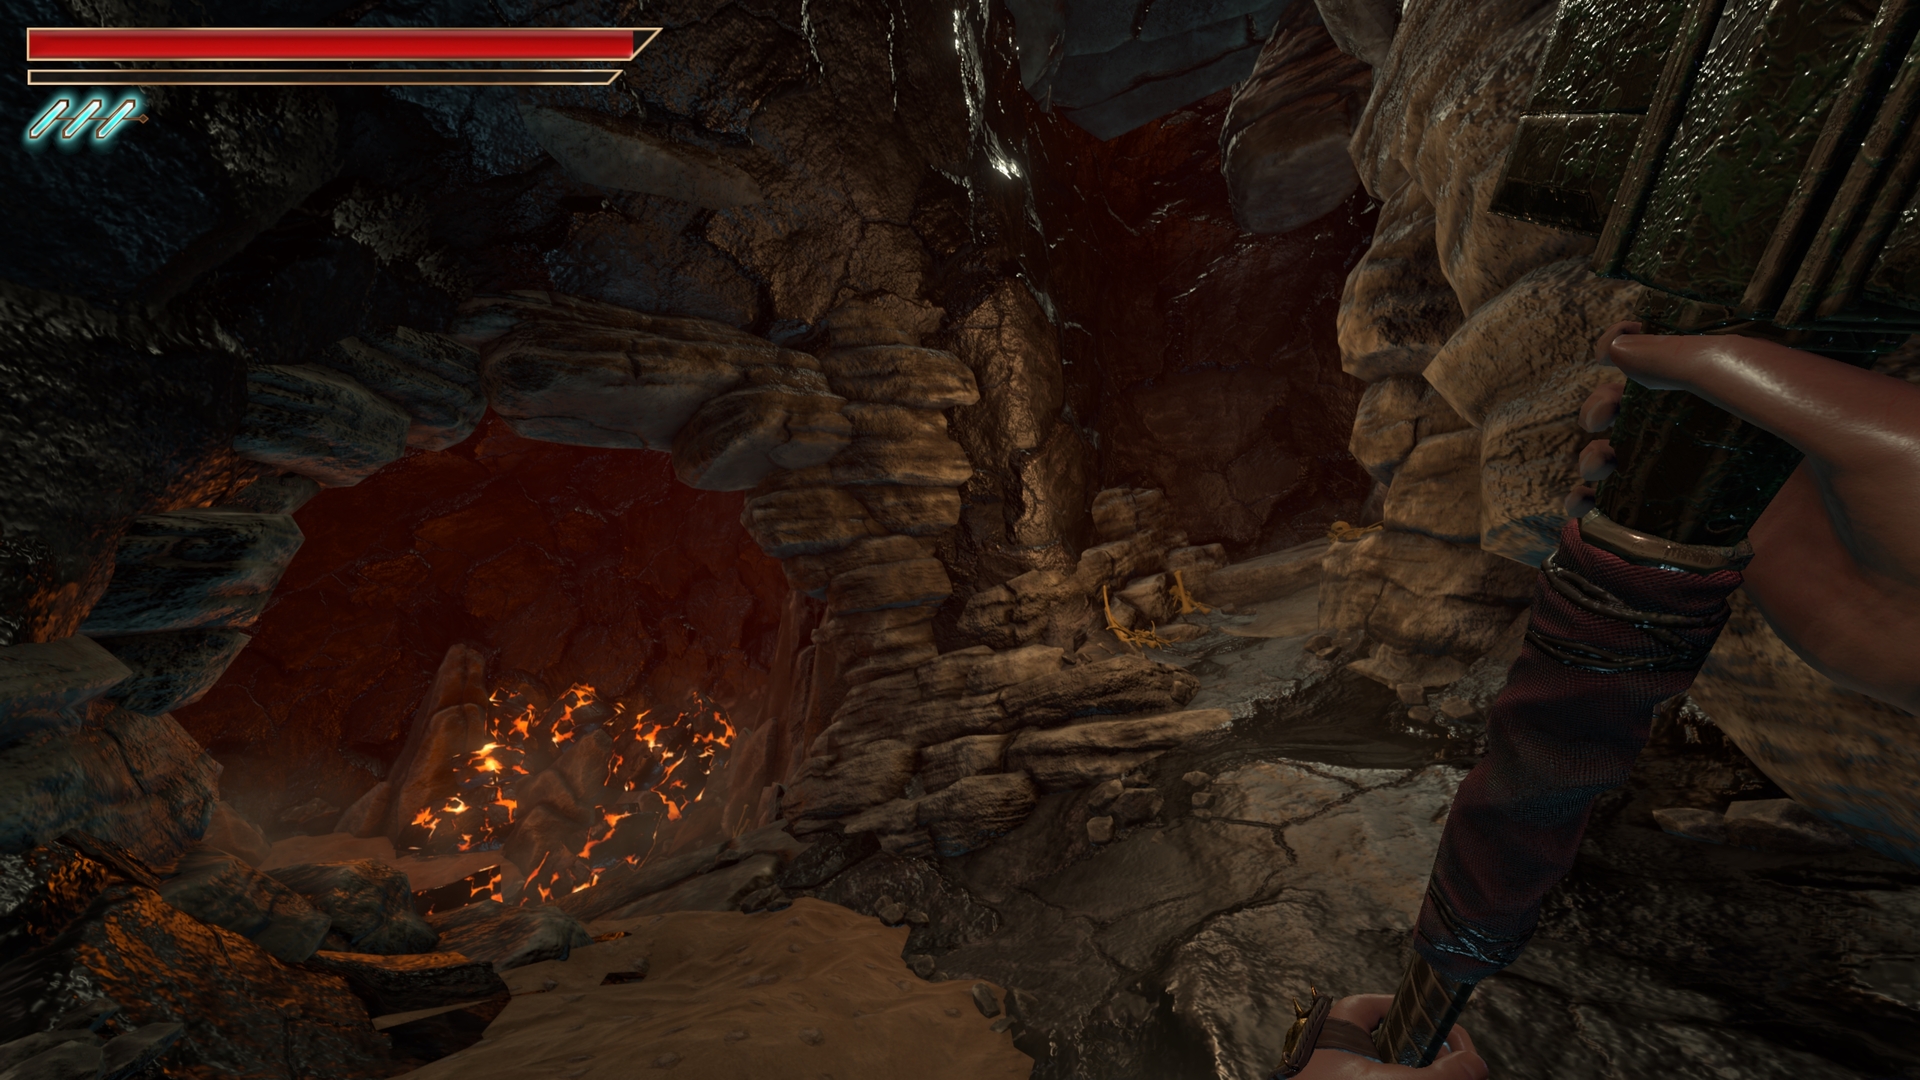
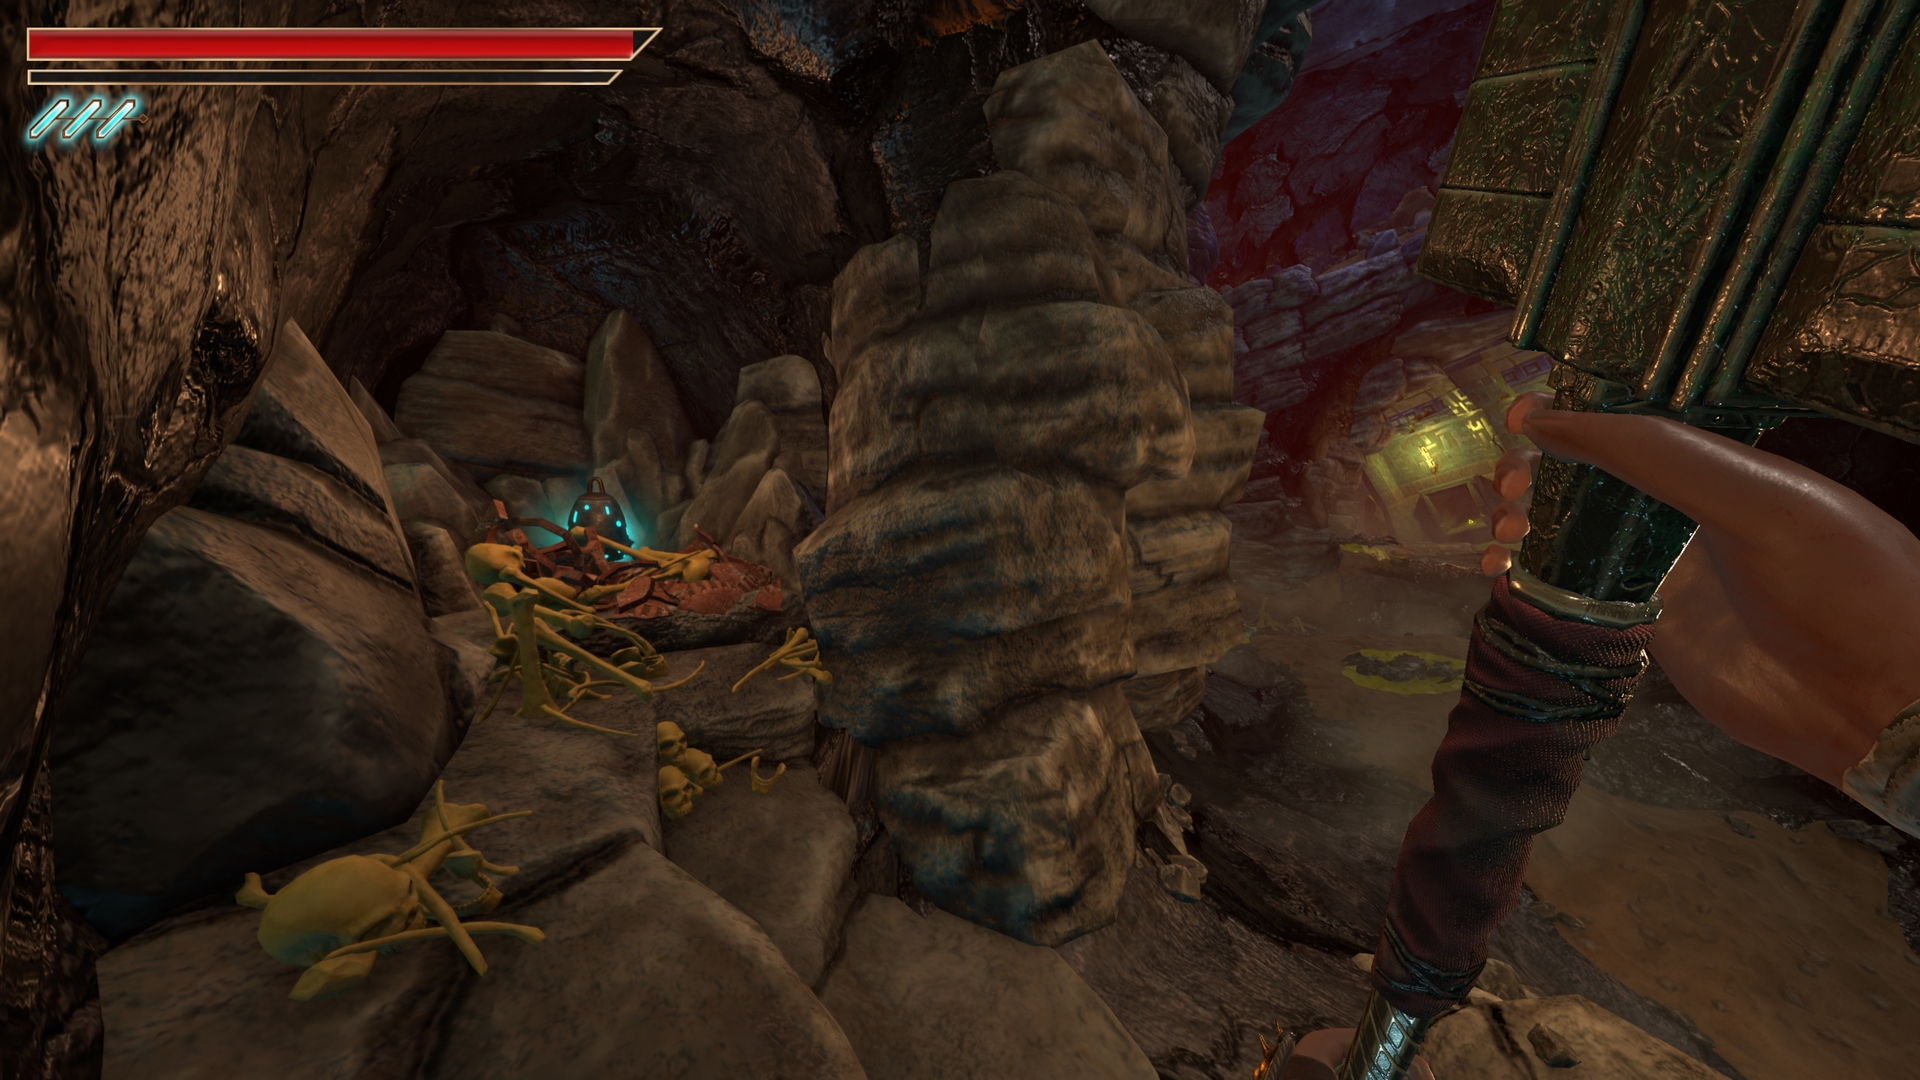
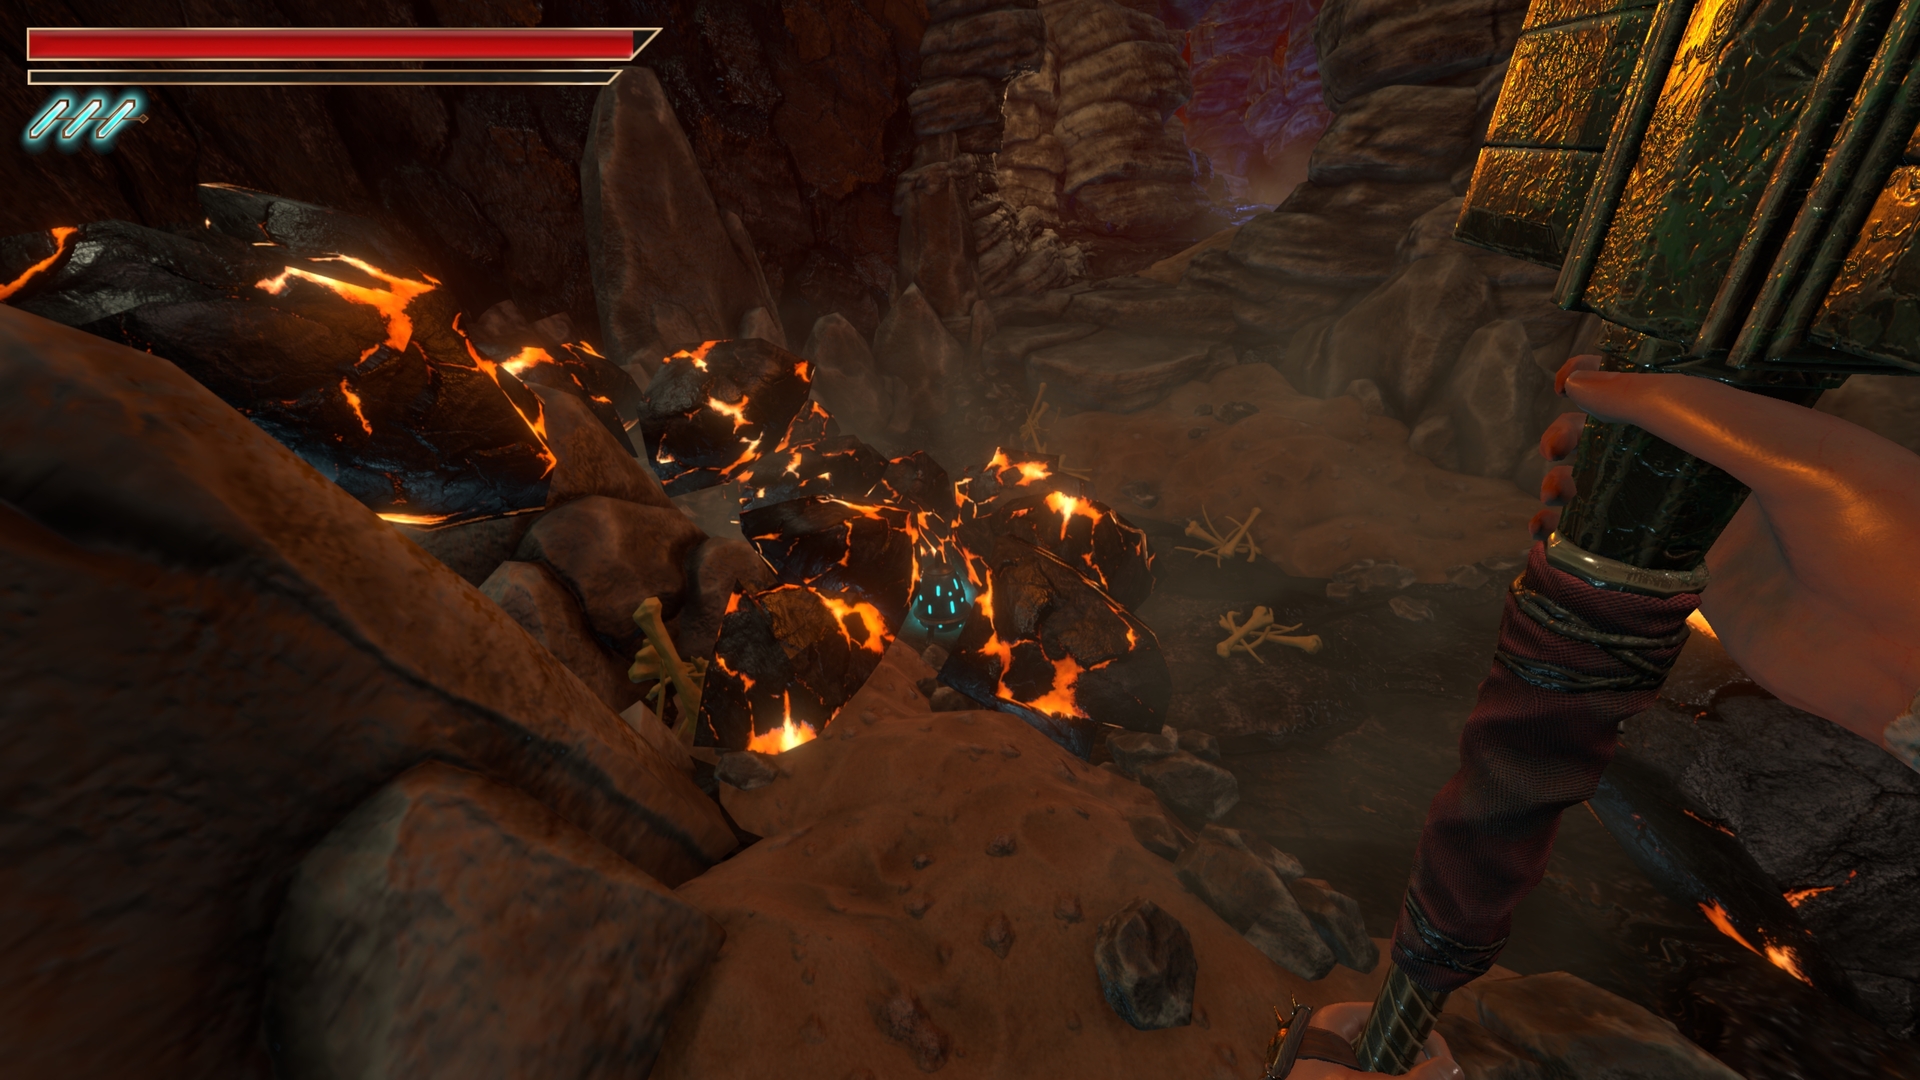
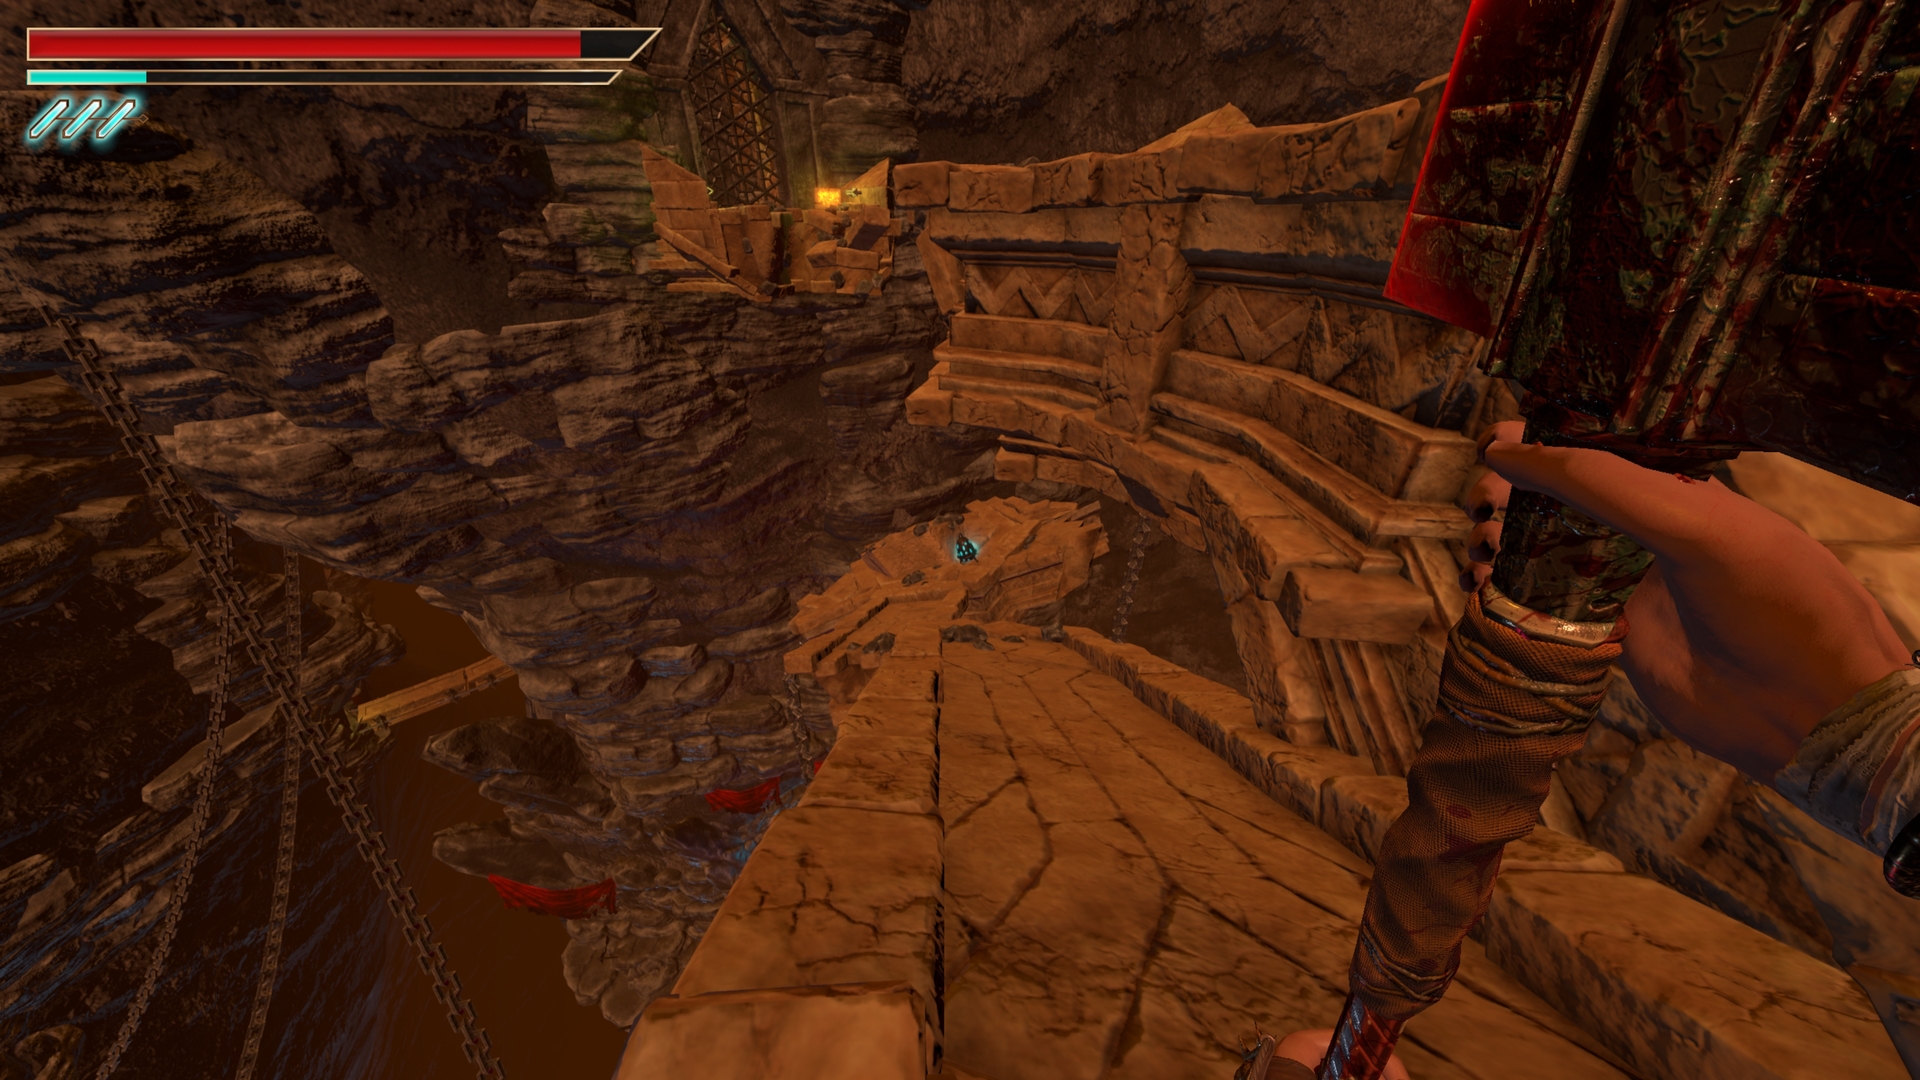
15.) In the open cavern, climb up the rocks and turn around. Then hug the left wall, the chest is above the red key.
⠀
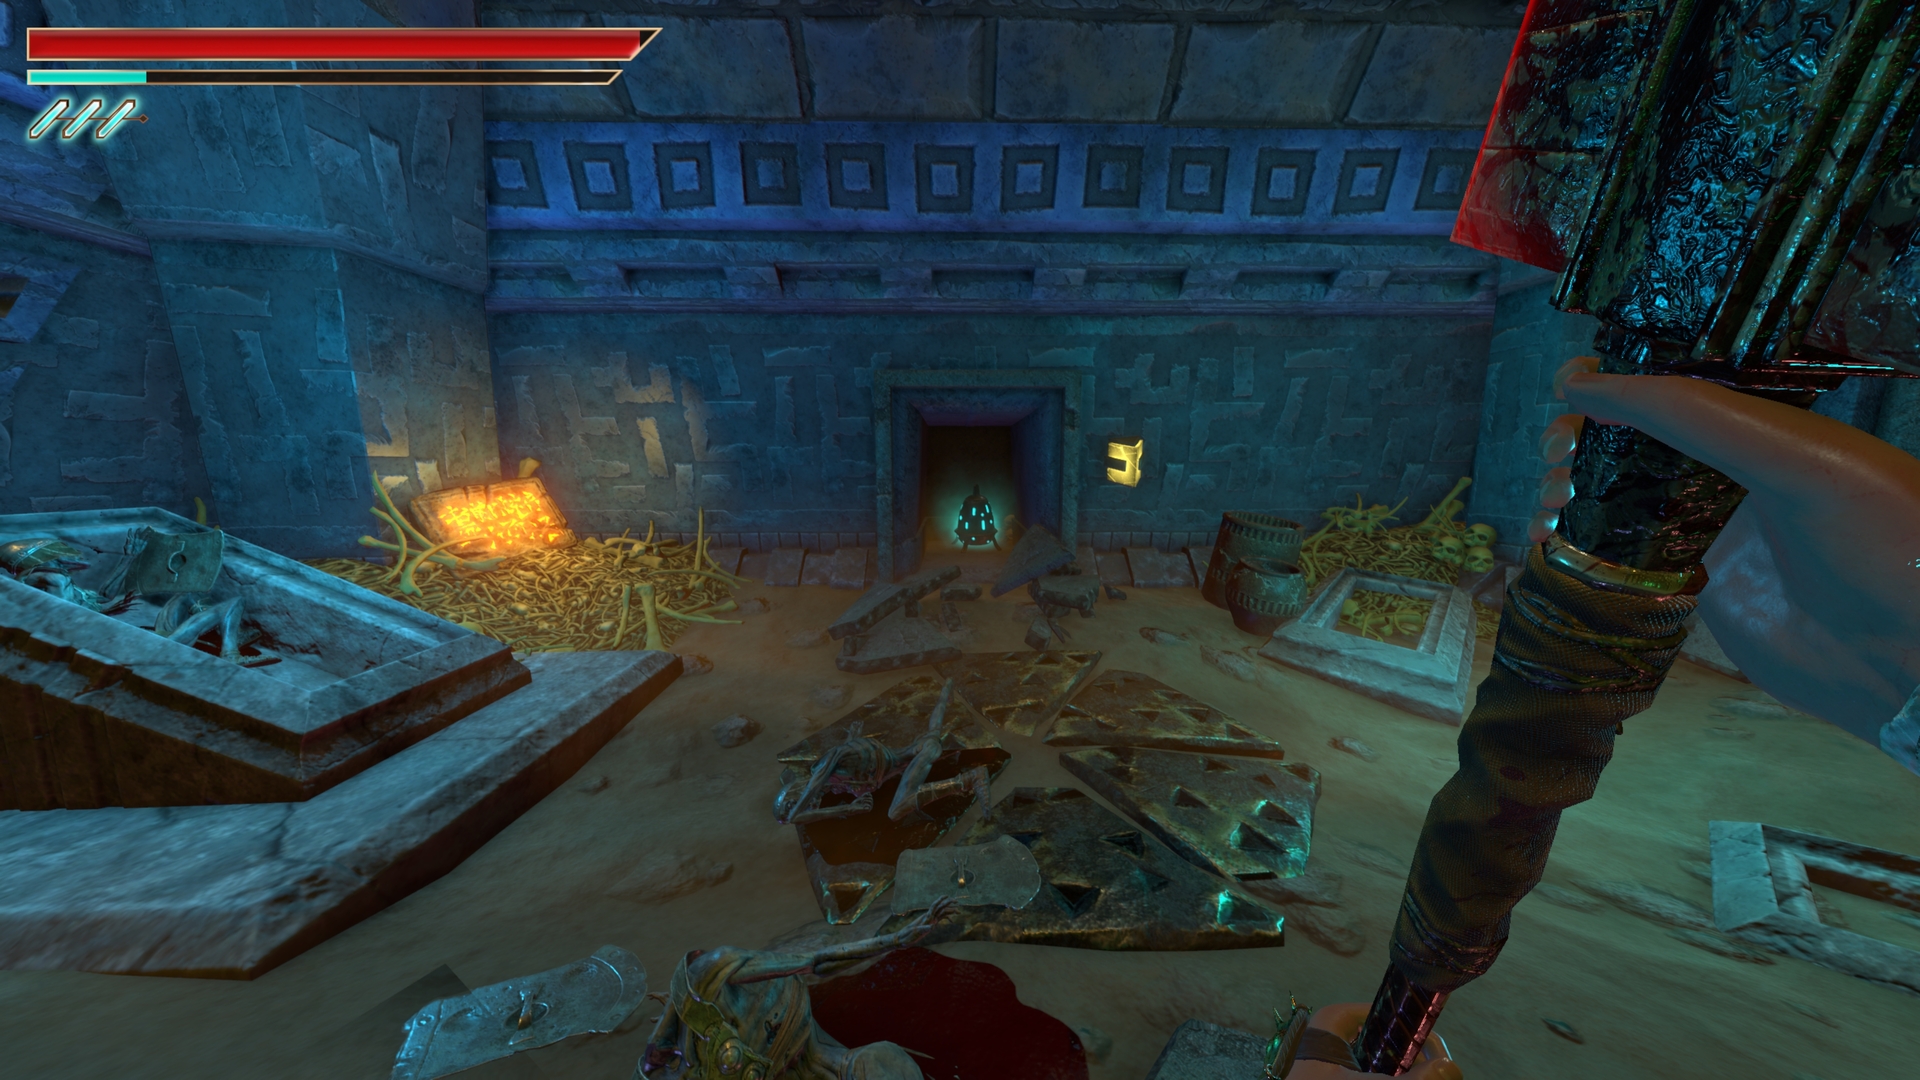
16.) Through the door opposite the red key.
⠀
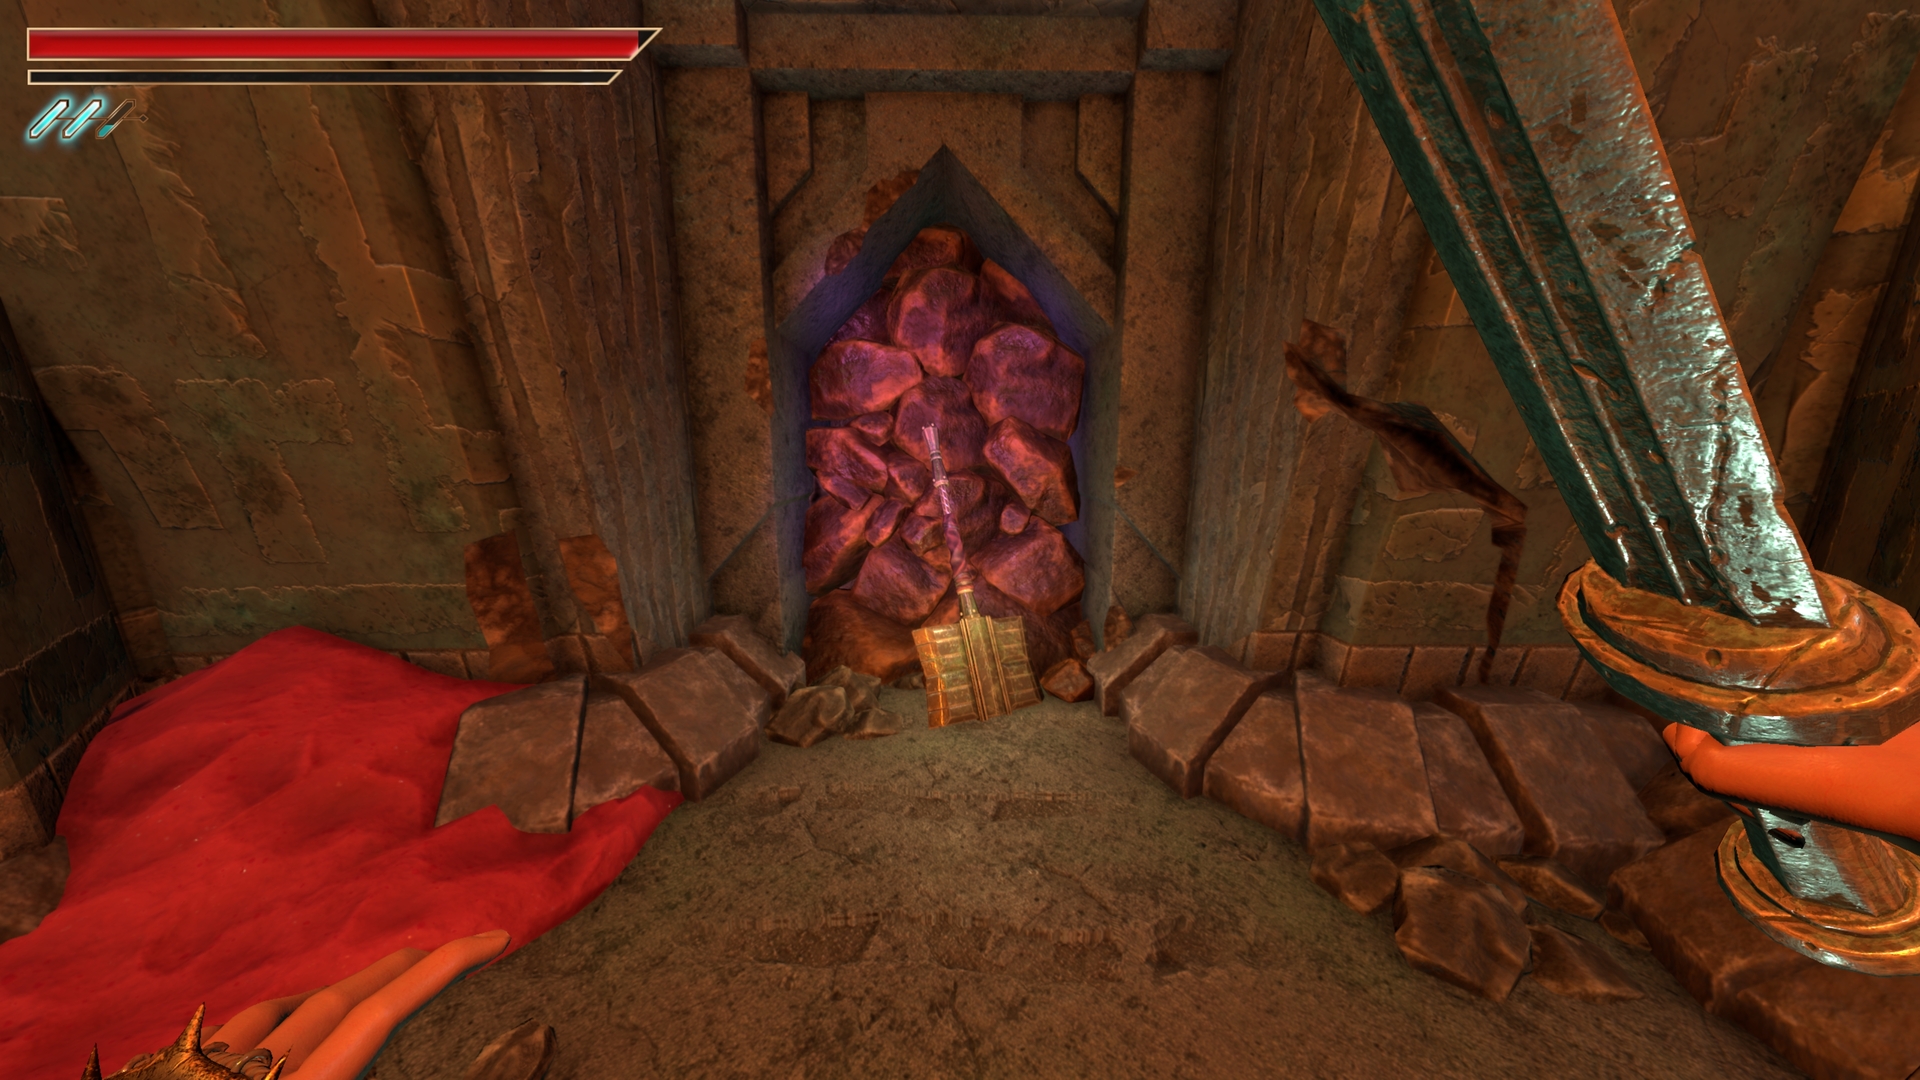
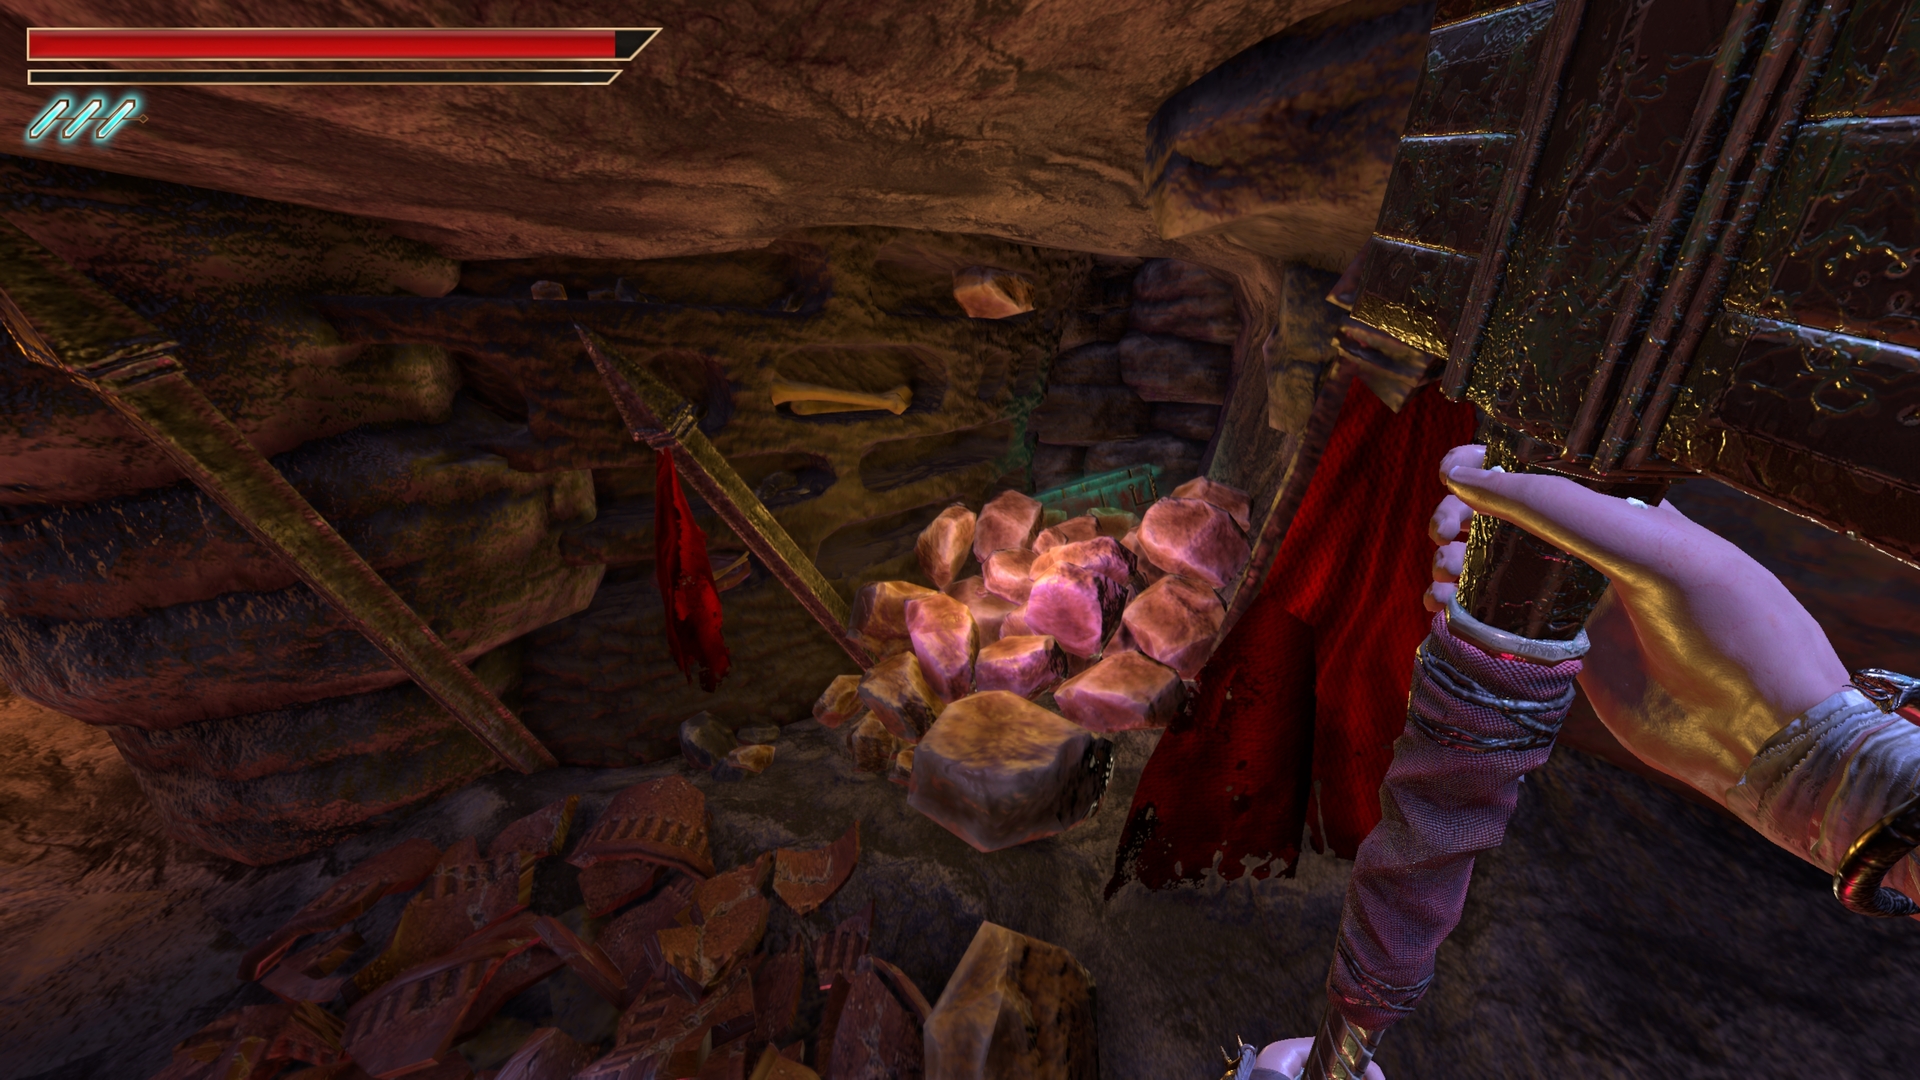
17.) Open the red key door after climbing back up in the main area, grab the hammer and smash the rocks.
⠀
18.) Head back out the red key door and head to the right.
⠀
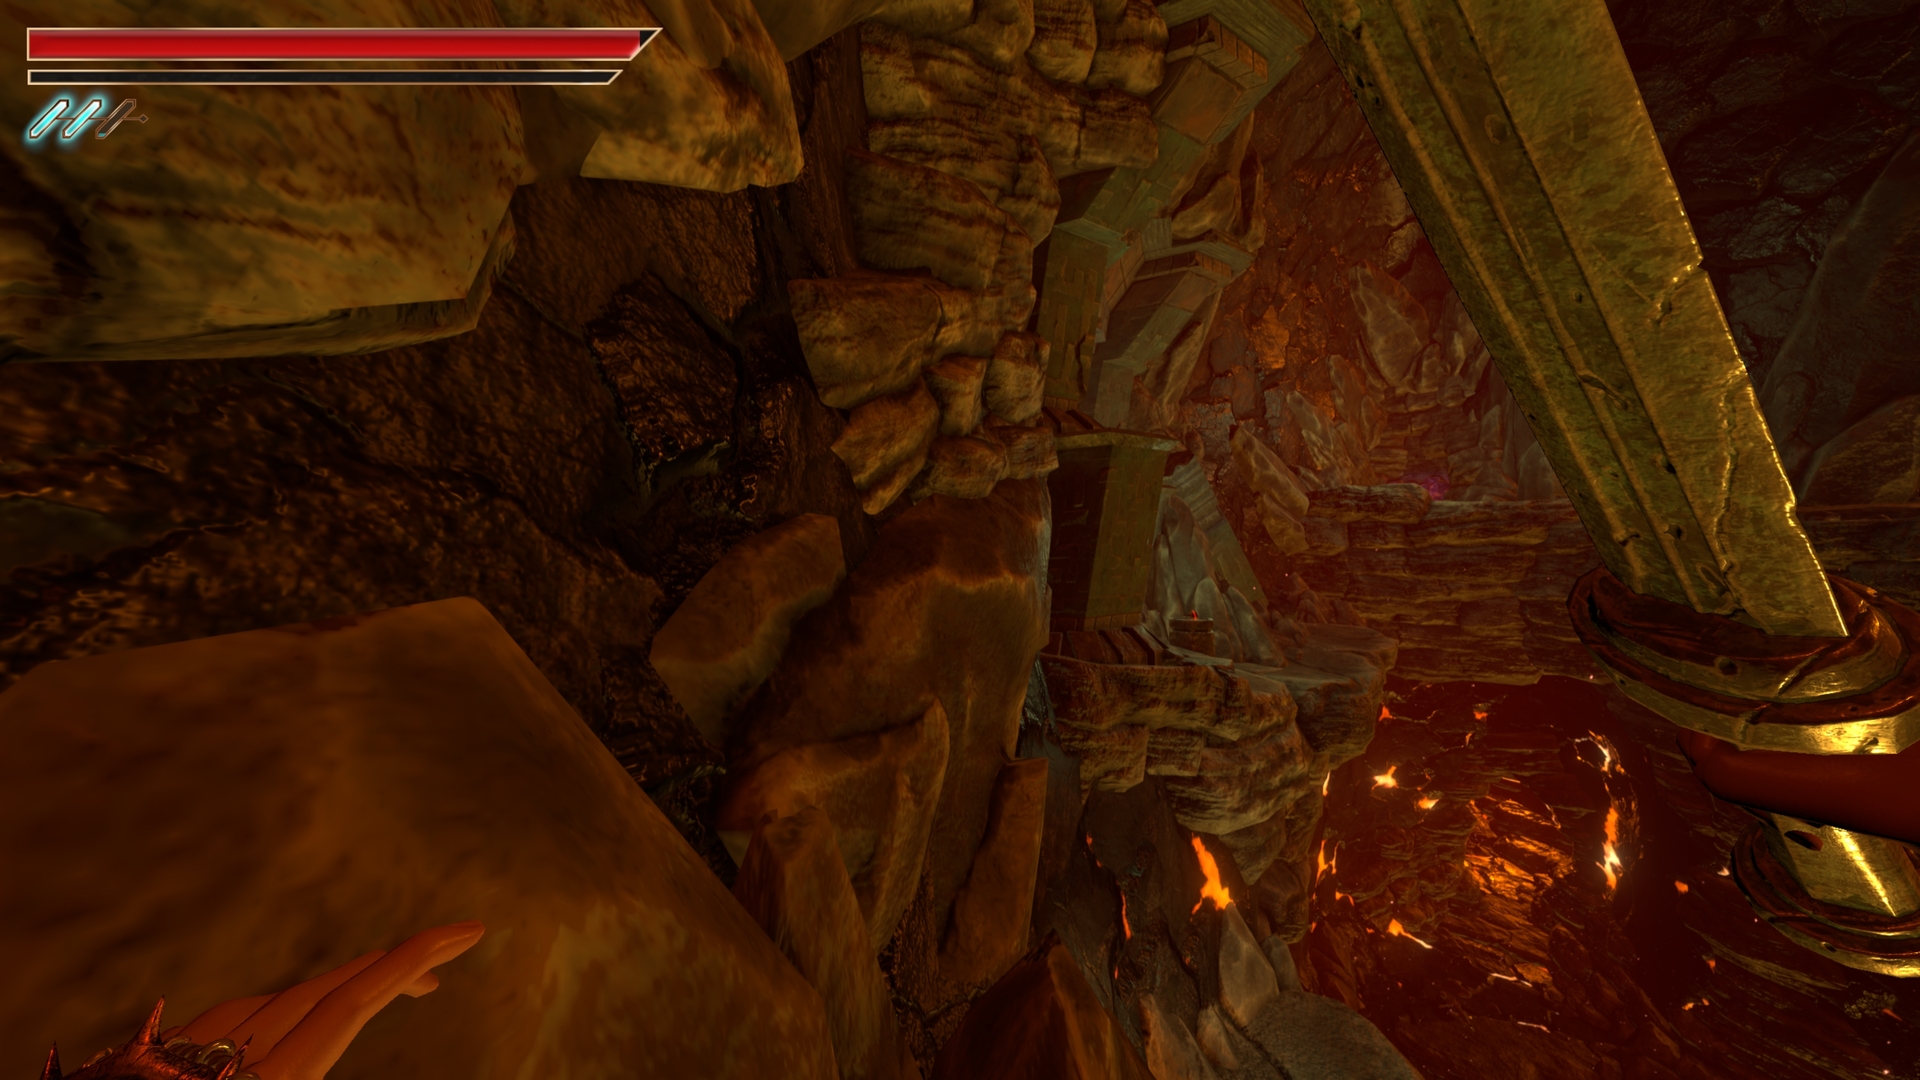
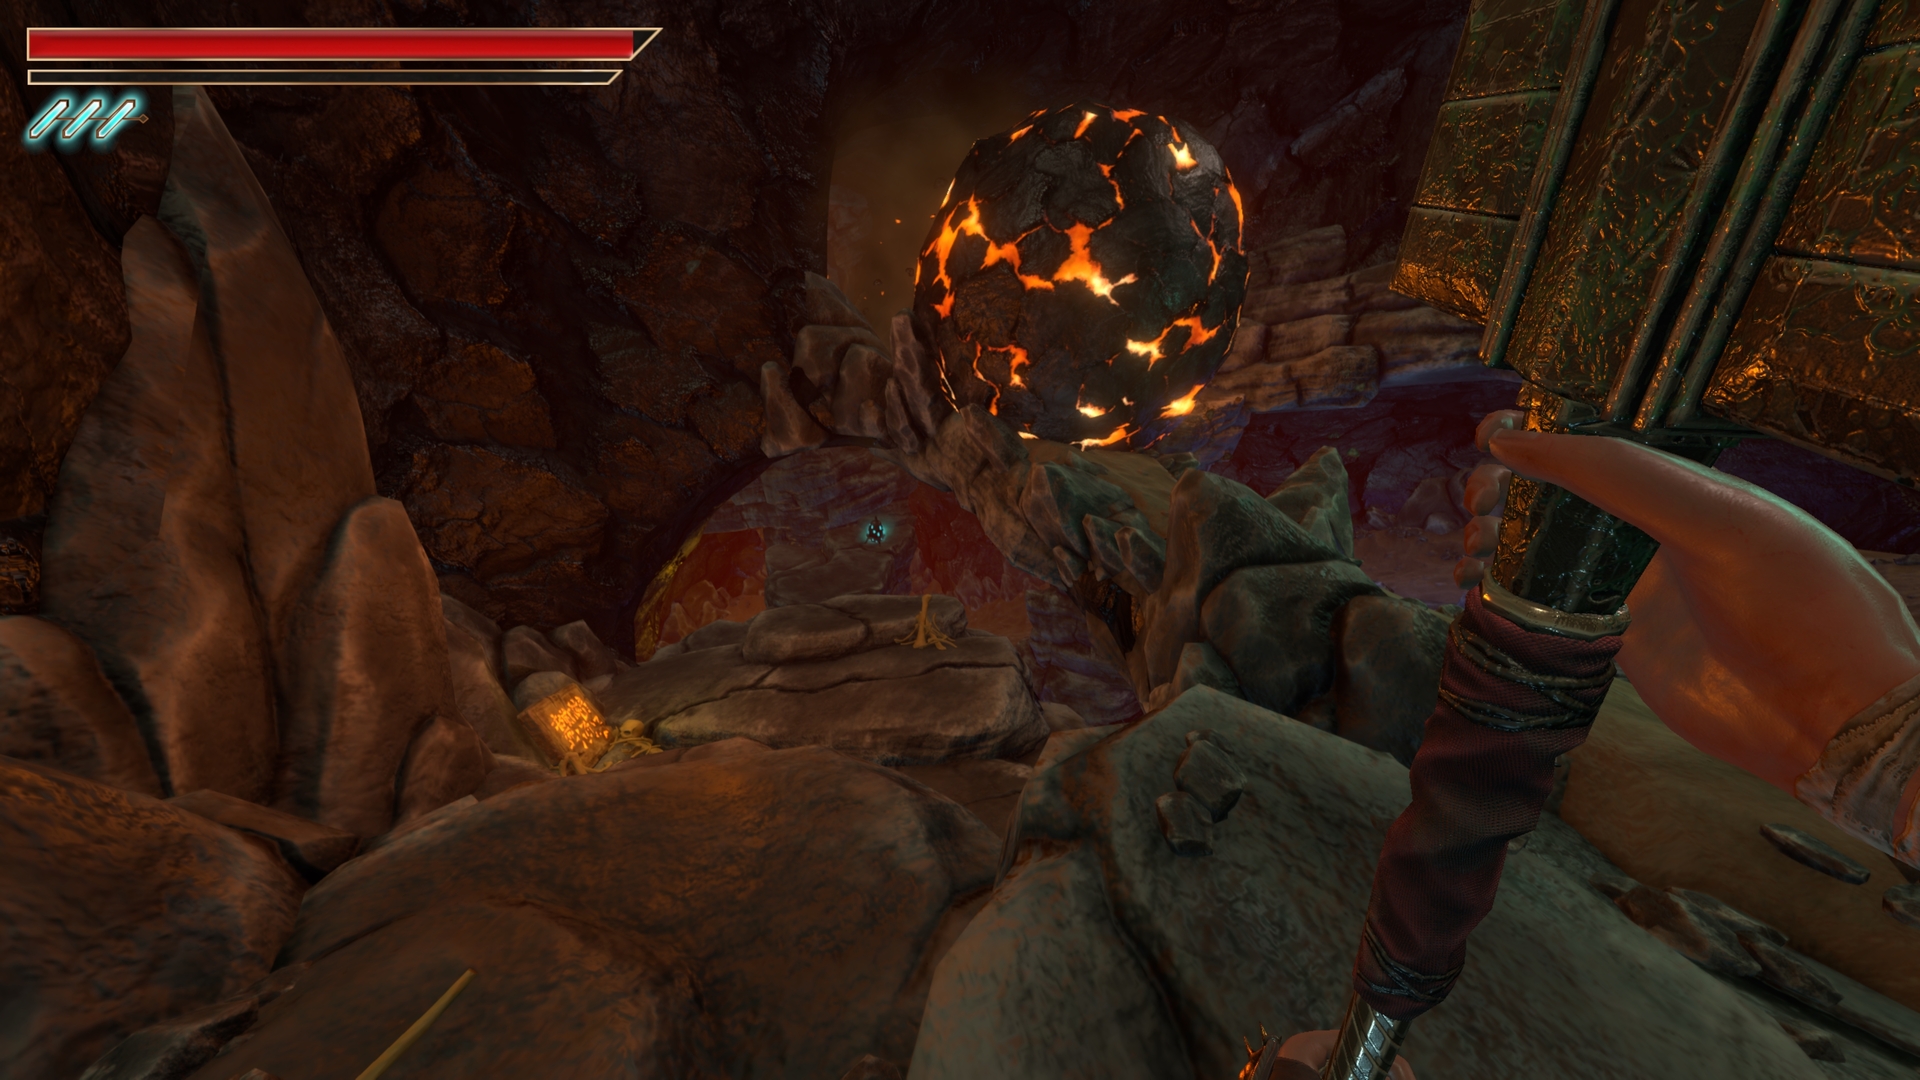
19.) When you reach the boulder section, take the right path (not up) where the boulder crashes into pieces. Climb up the right and break the pots.
⠀
20.) Go back into the room where the boulder smashes.
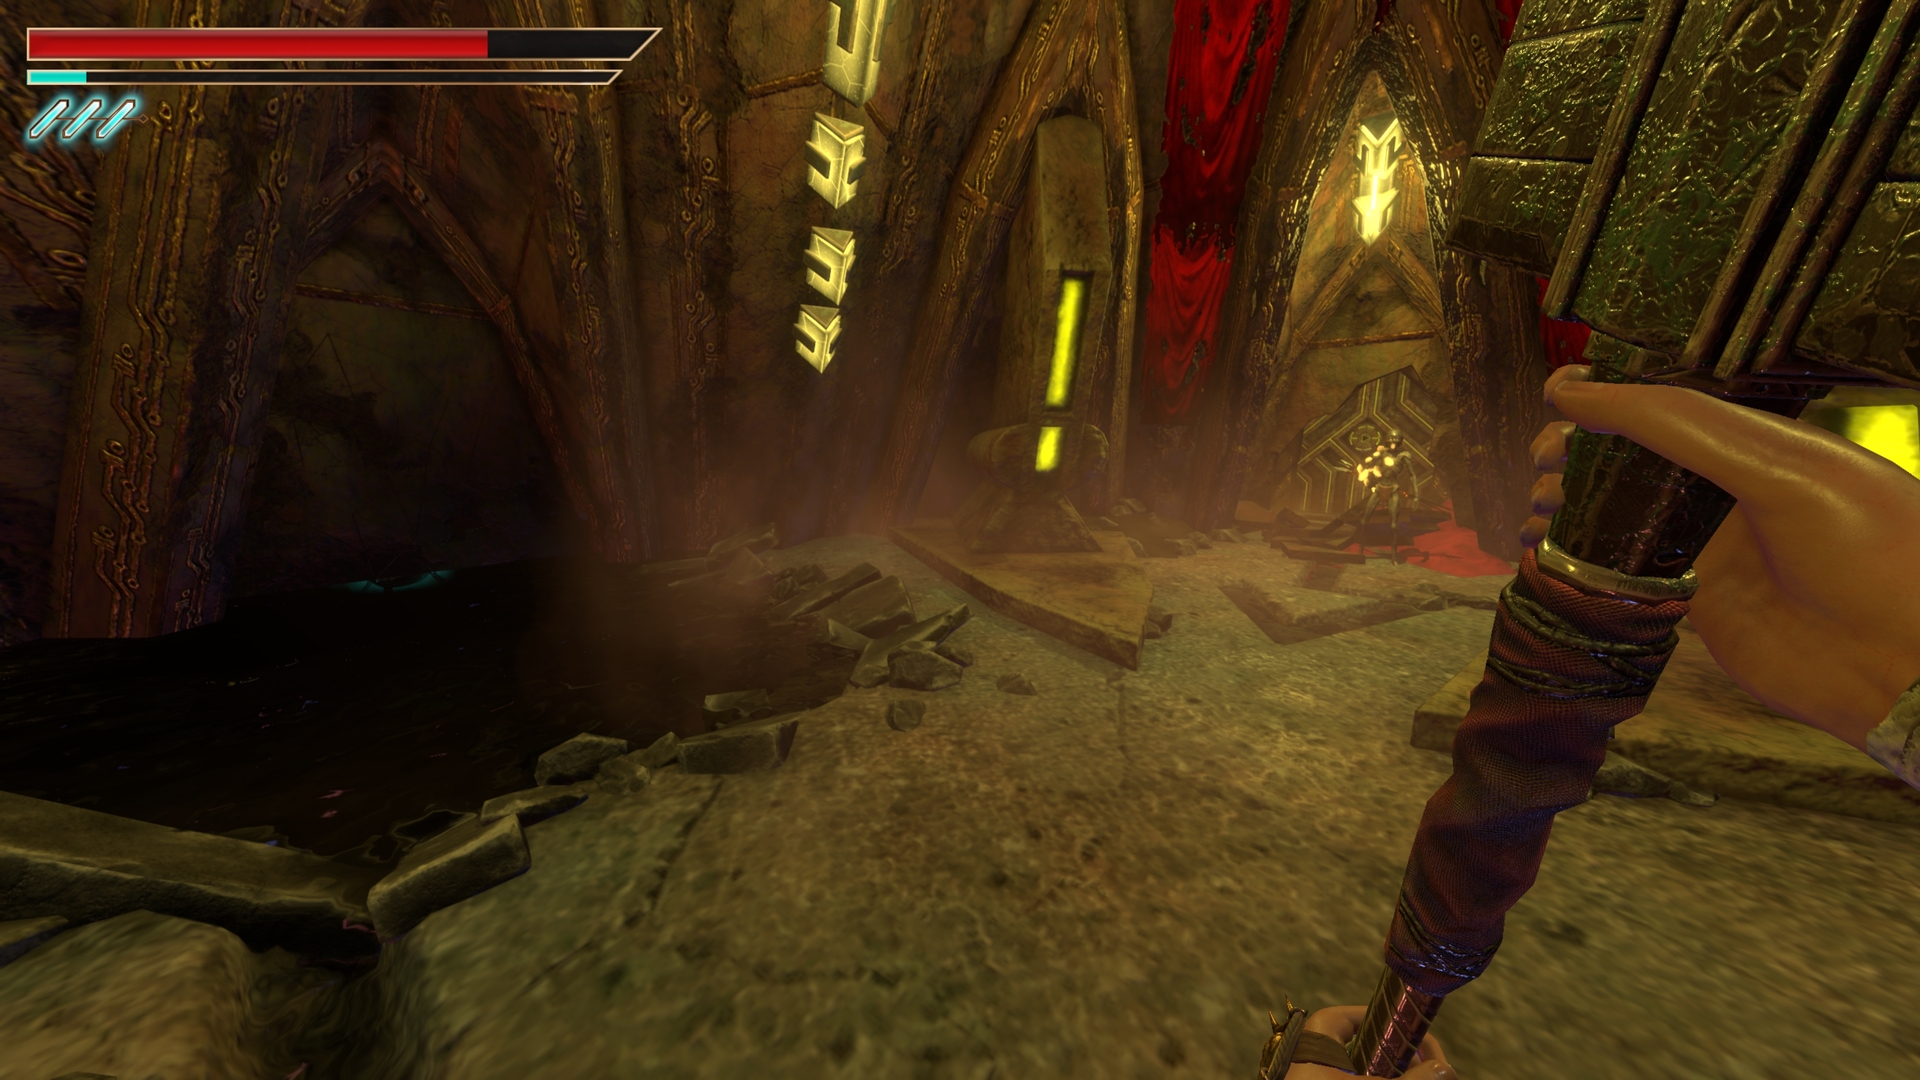
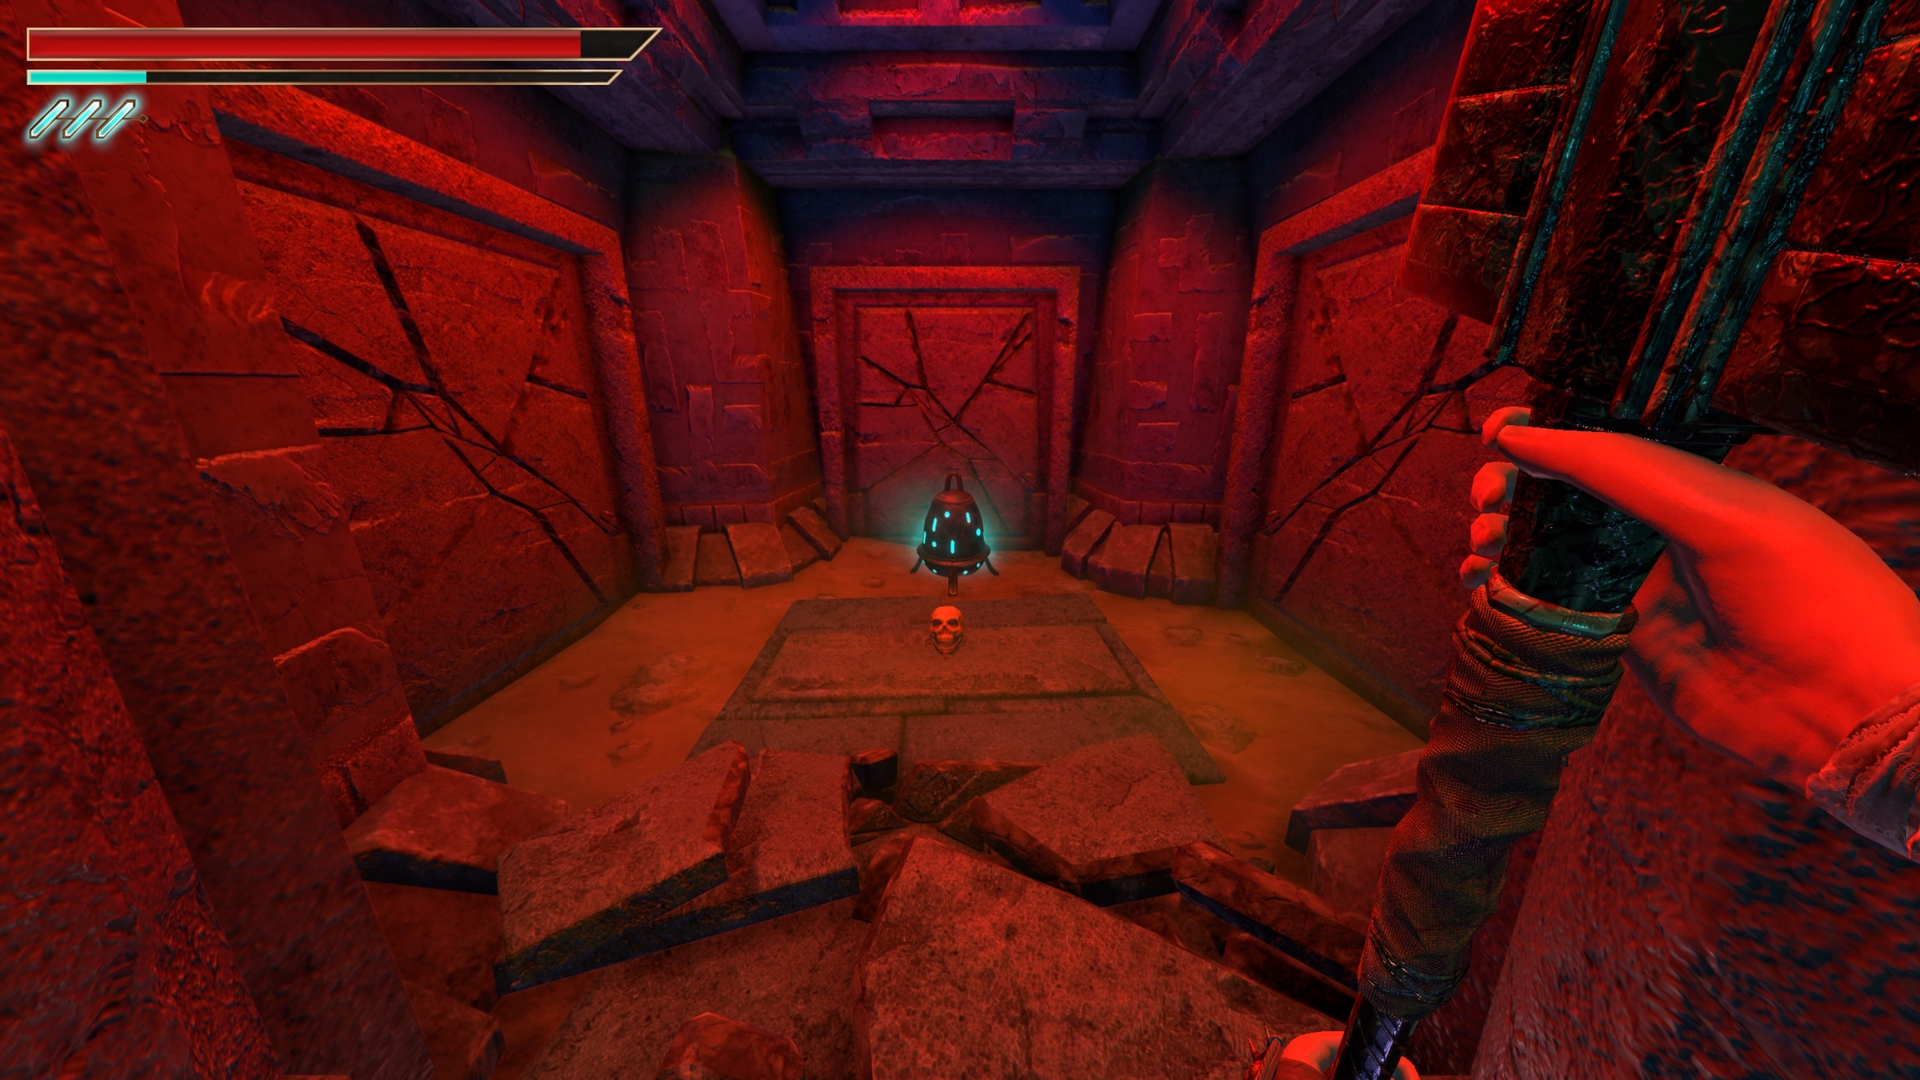
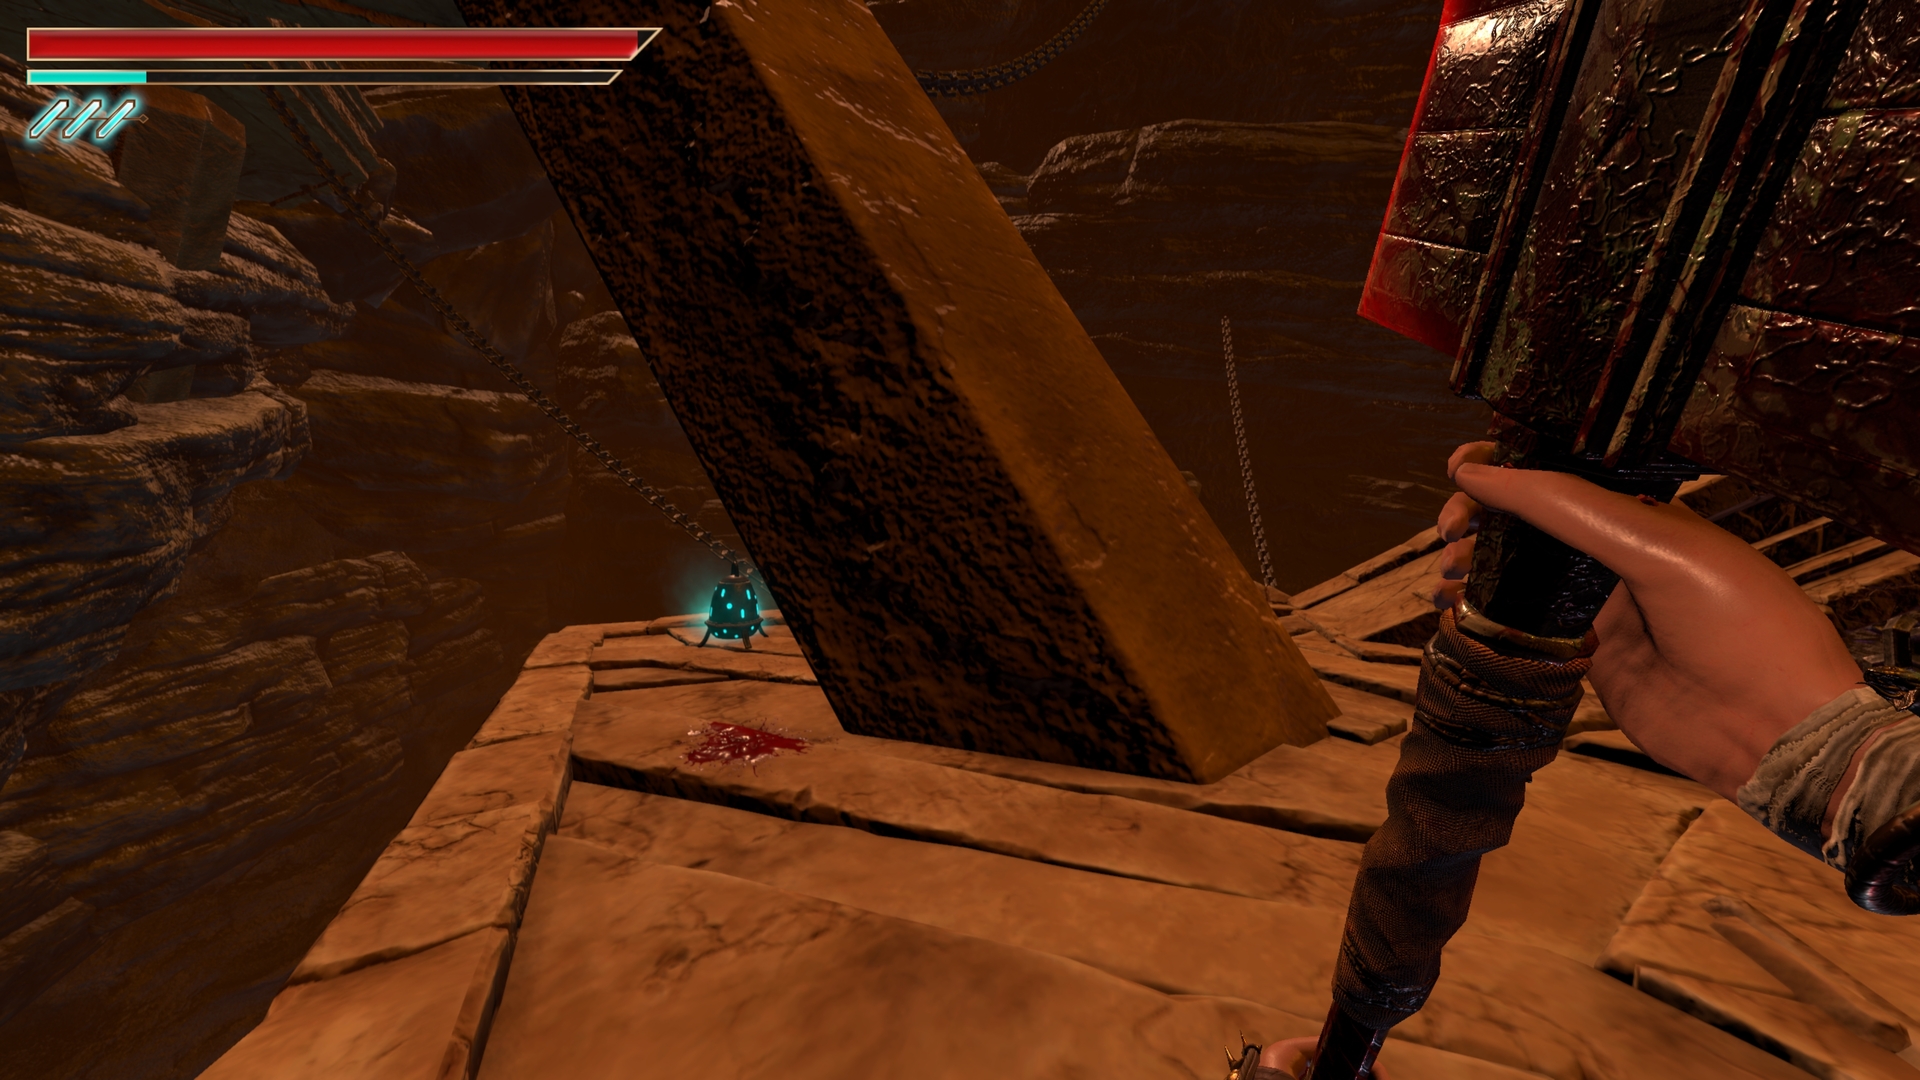
⠀23.) Going up the path where the boulder originates from, before the yellow key door is a section to the left where you are safe from the boulder.
⠀
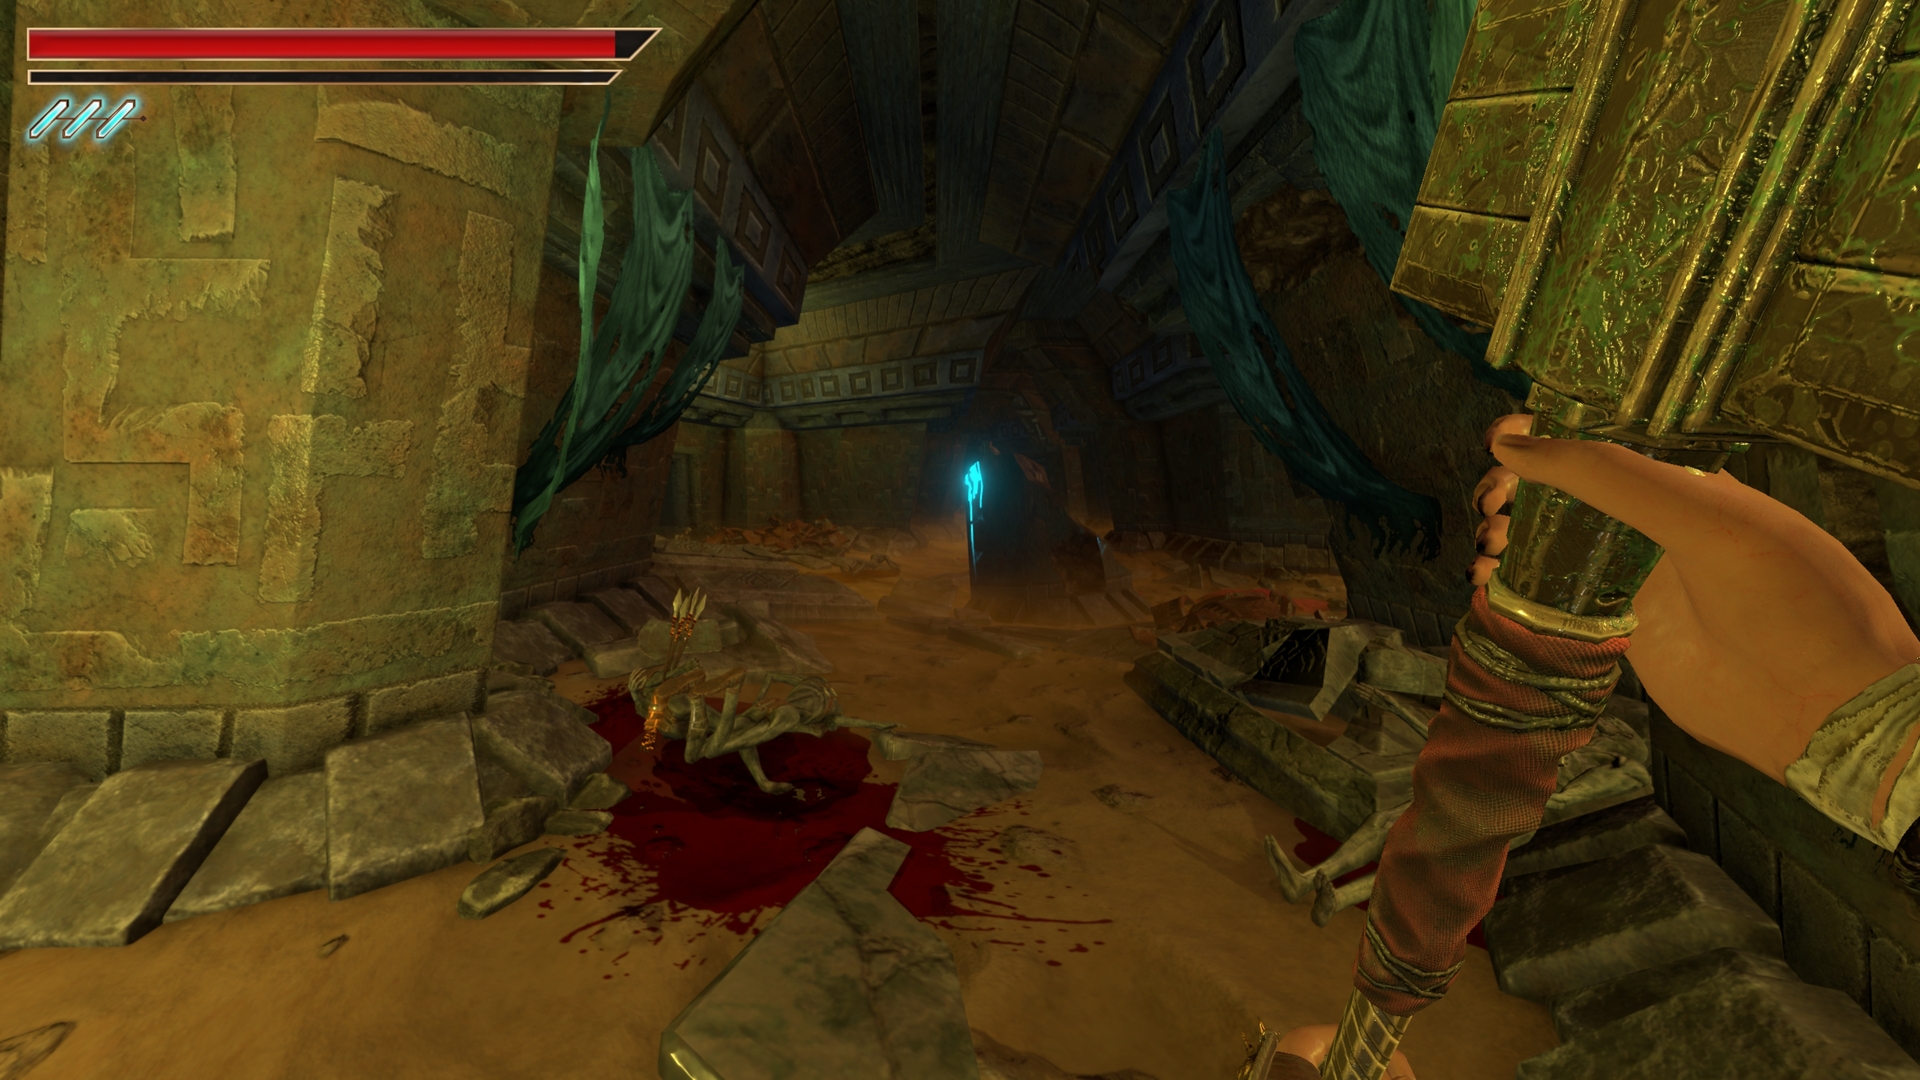
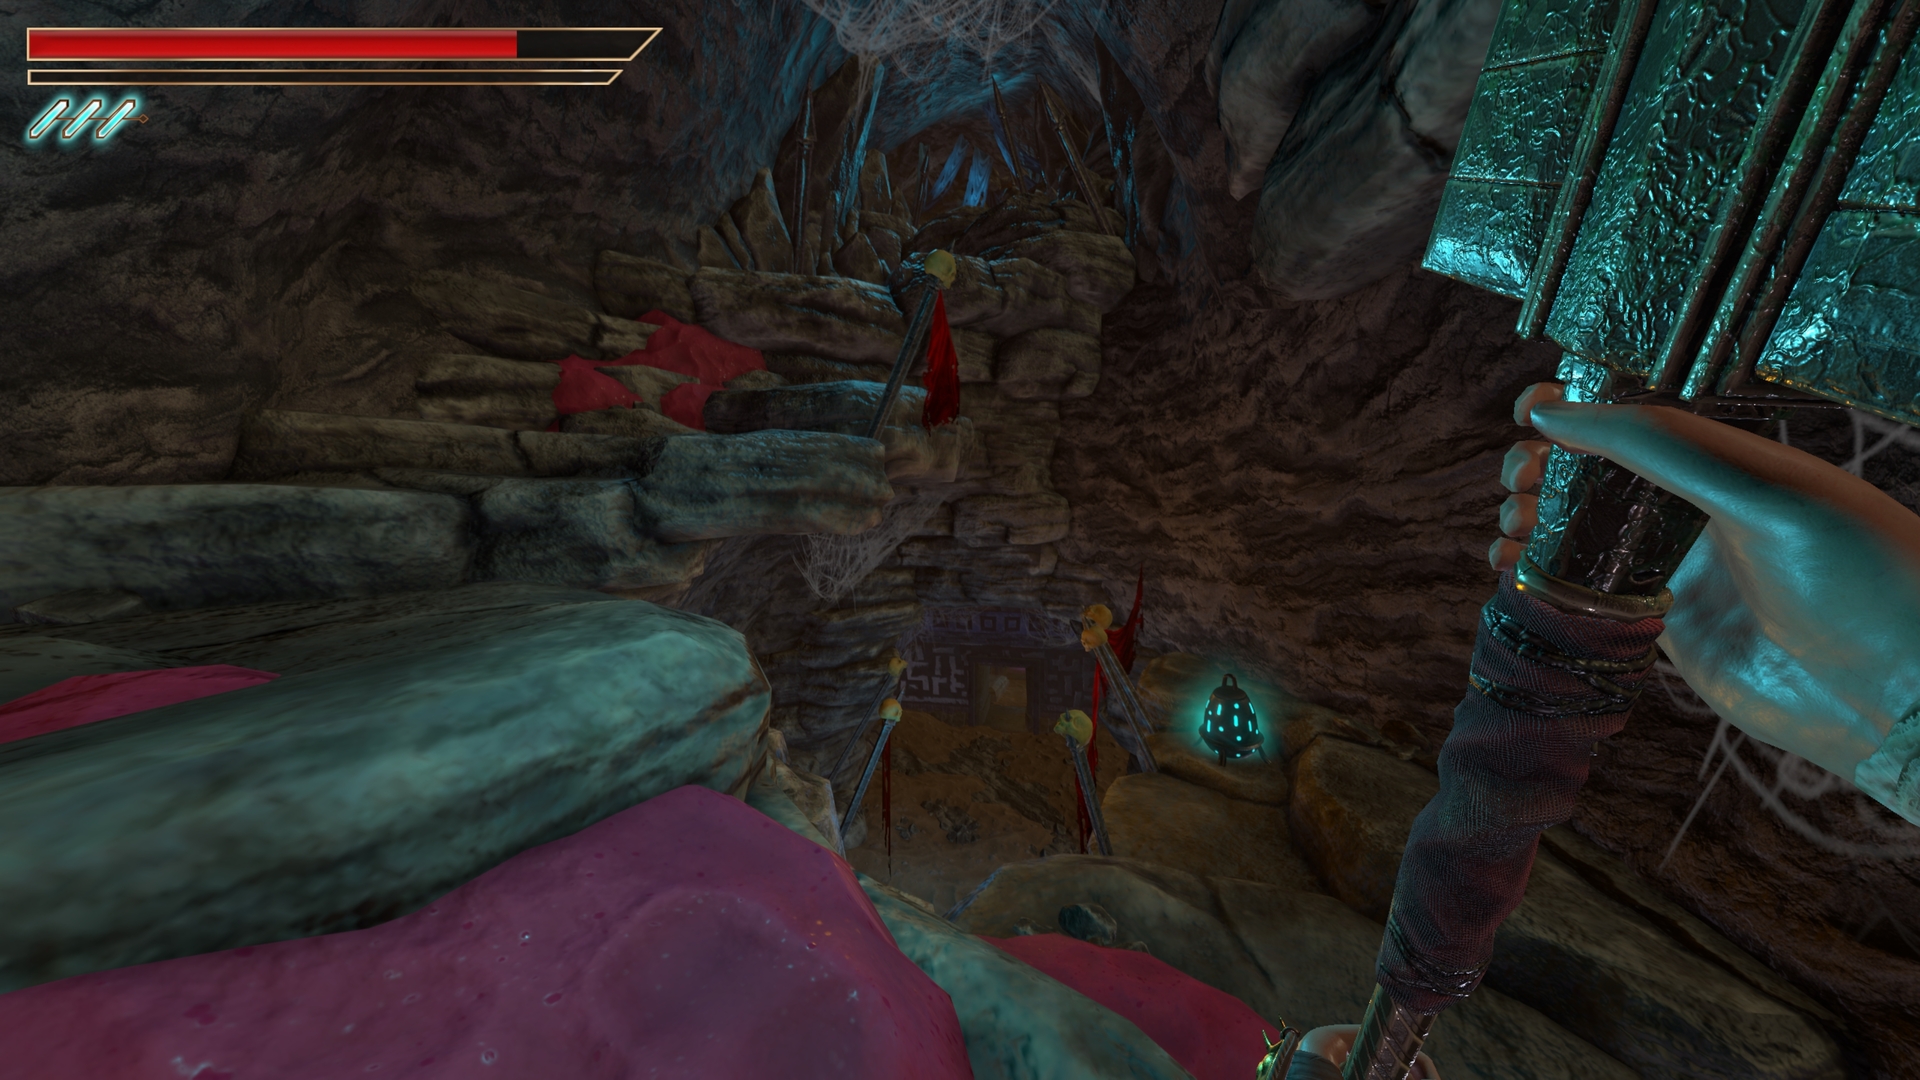
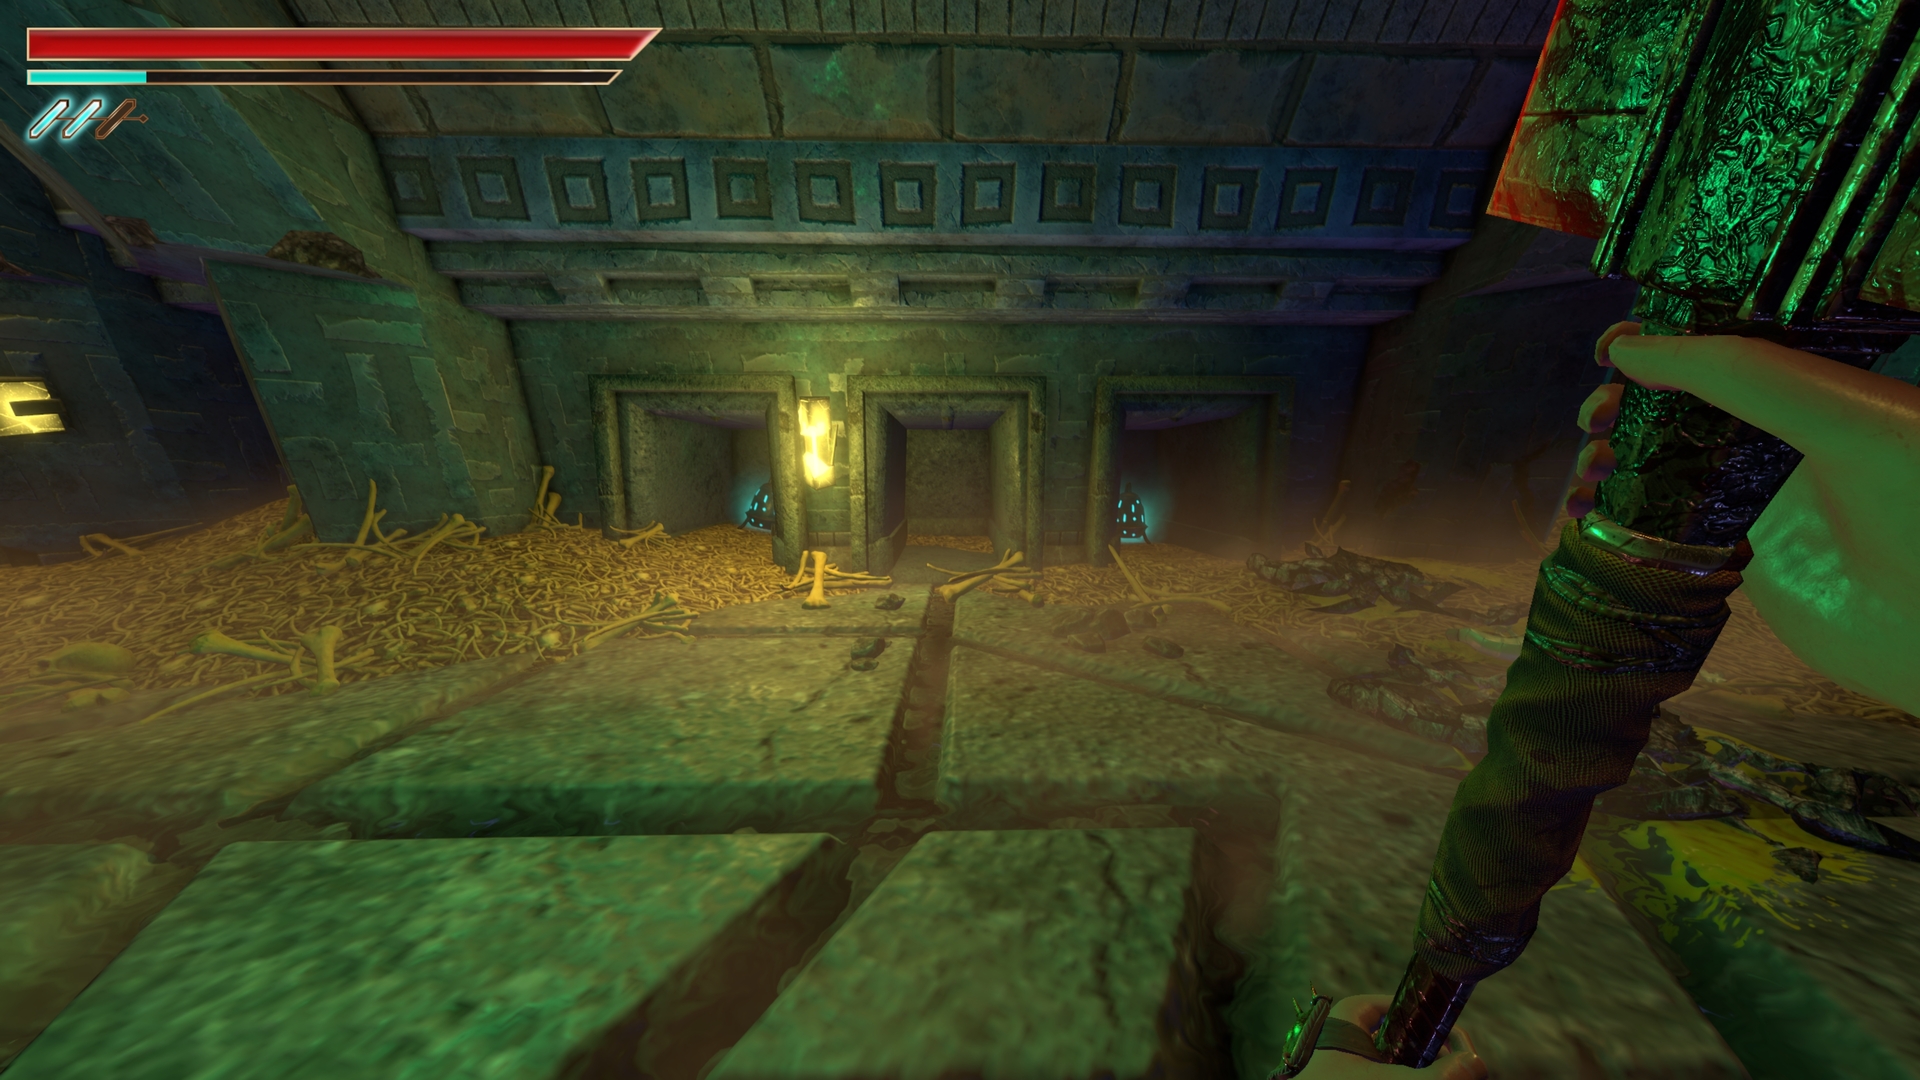
24.) After the yellow key door at the top, in this room an enemy is guarding the chest on the left.
⠀
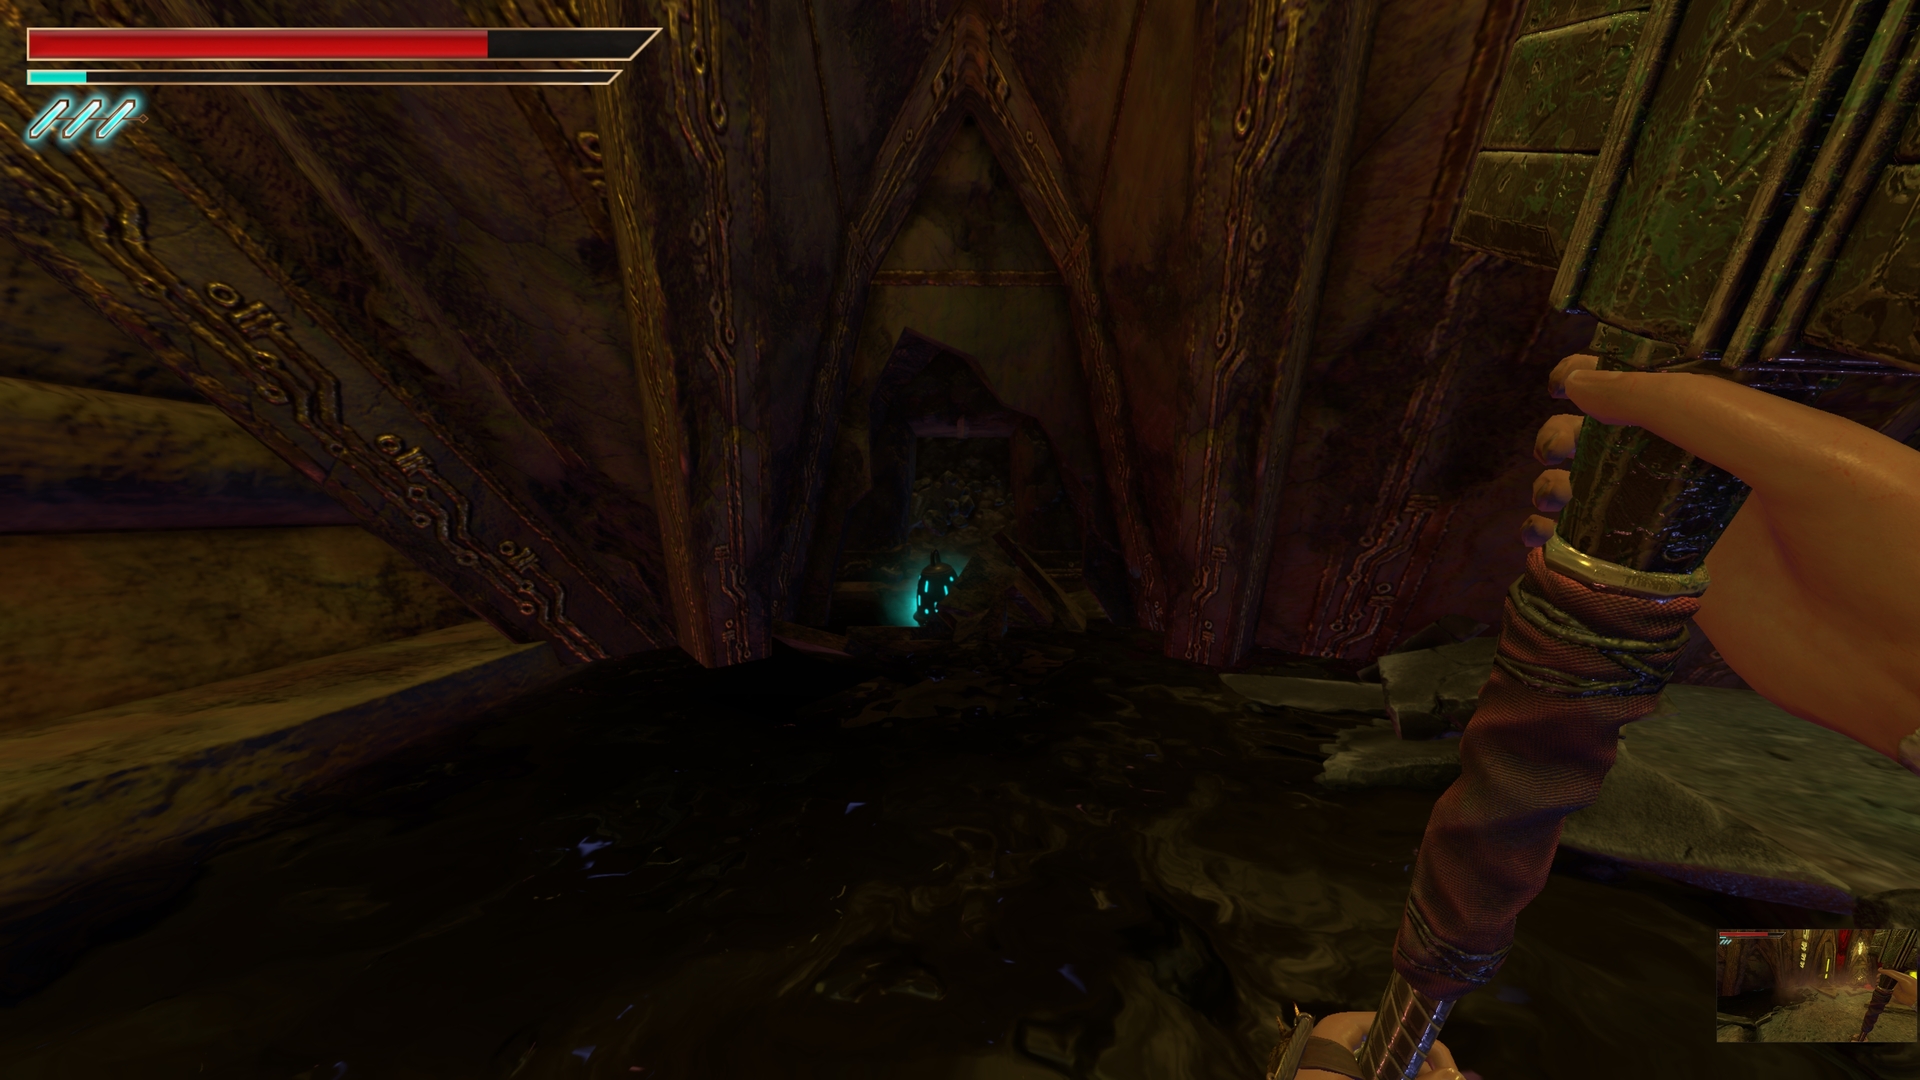
25.) Just beyond the previous chest is a breakable wall on the right, go down one level and back outside to the earlier area. Go to the lever you used to open the door and break the wall just beyond it.
⠀
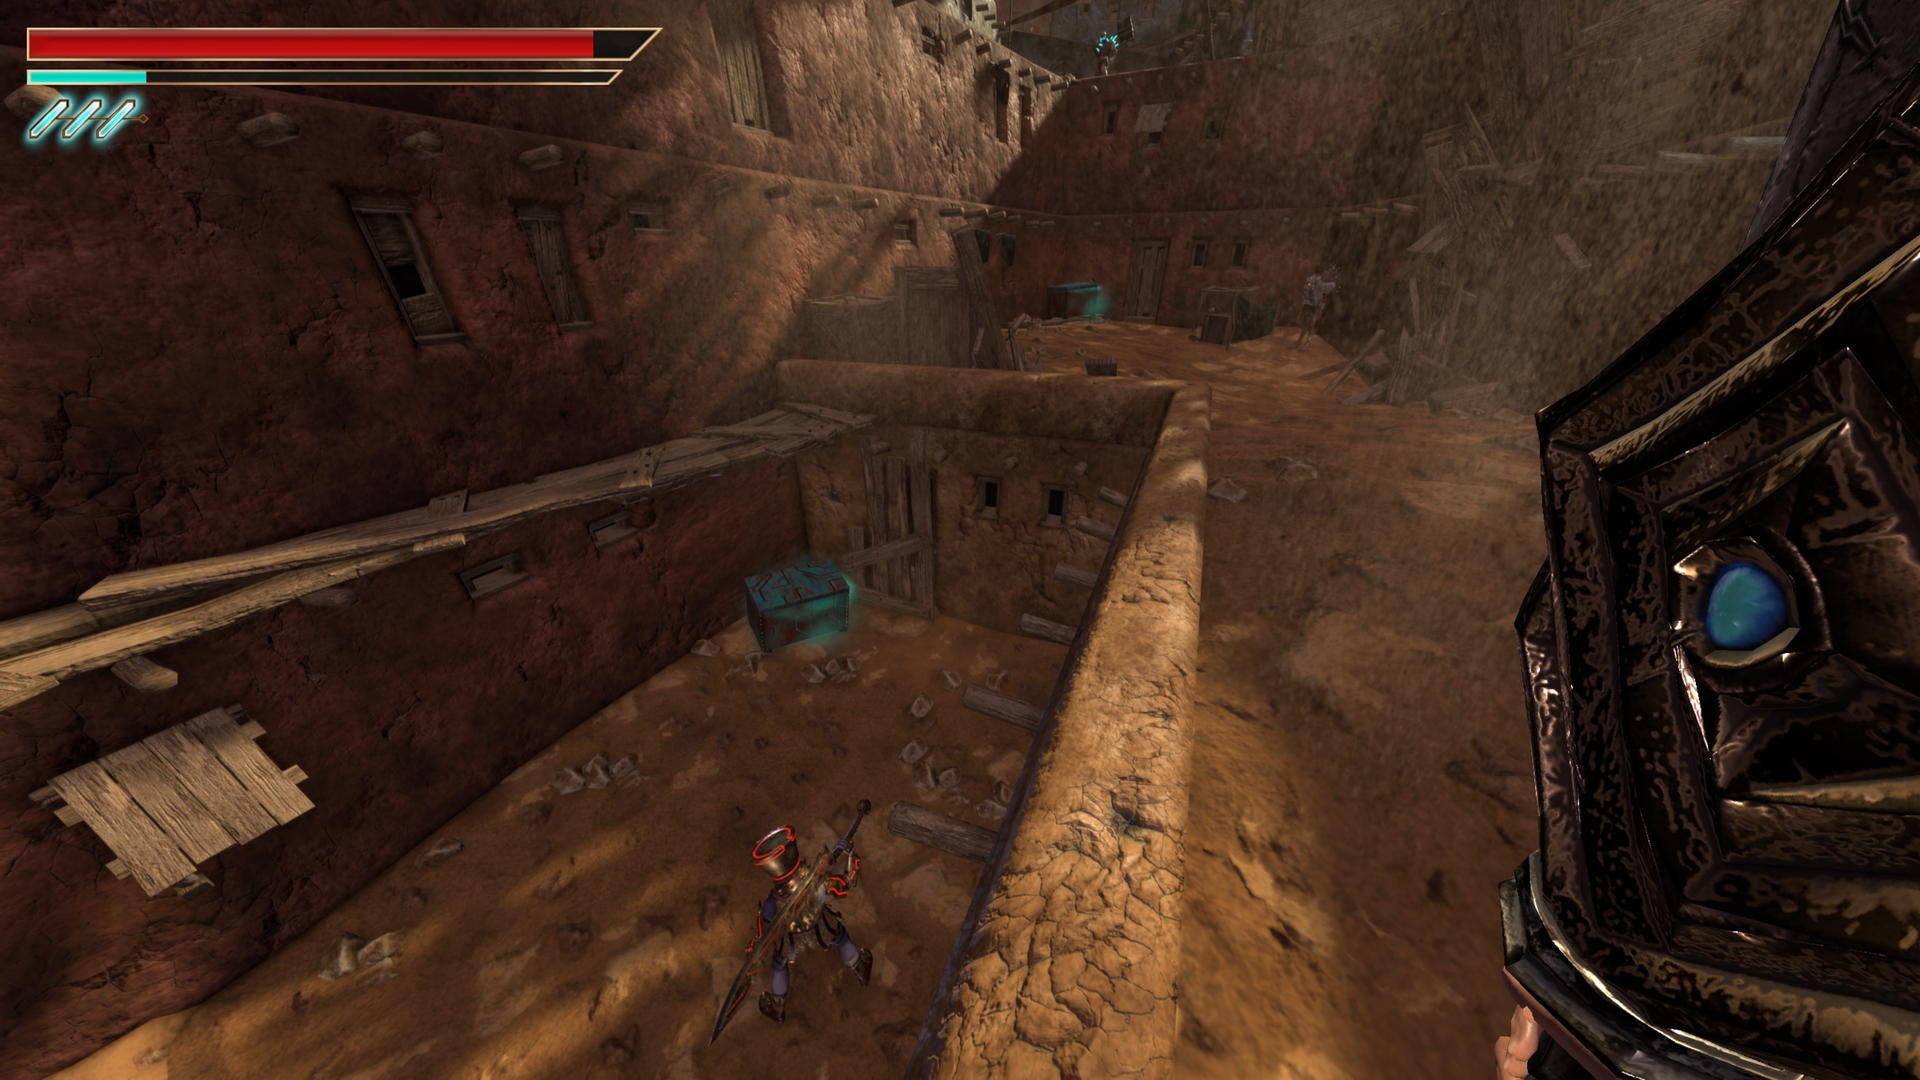
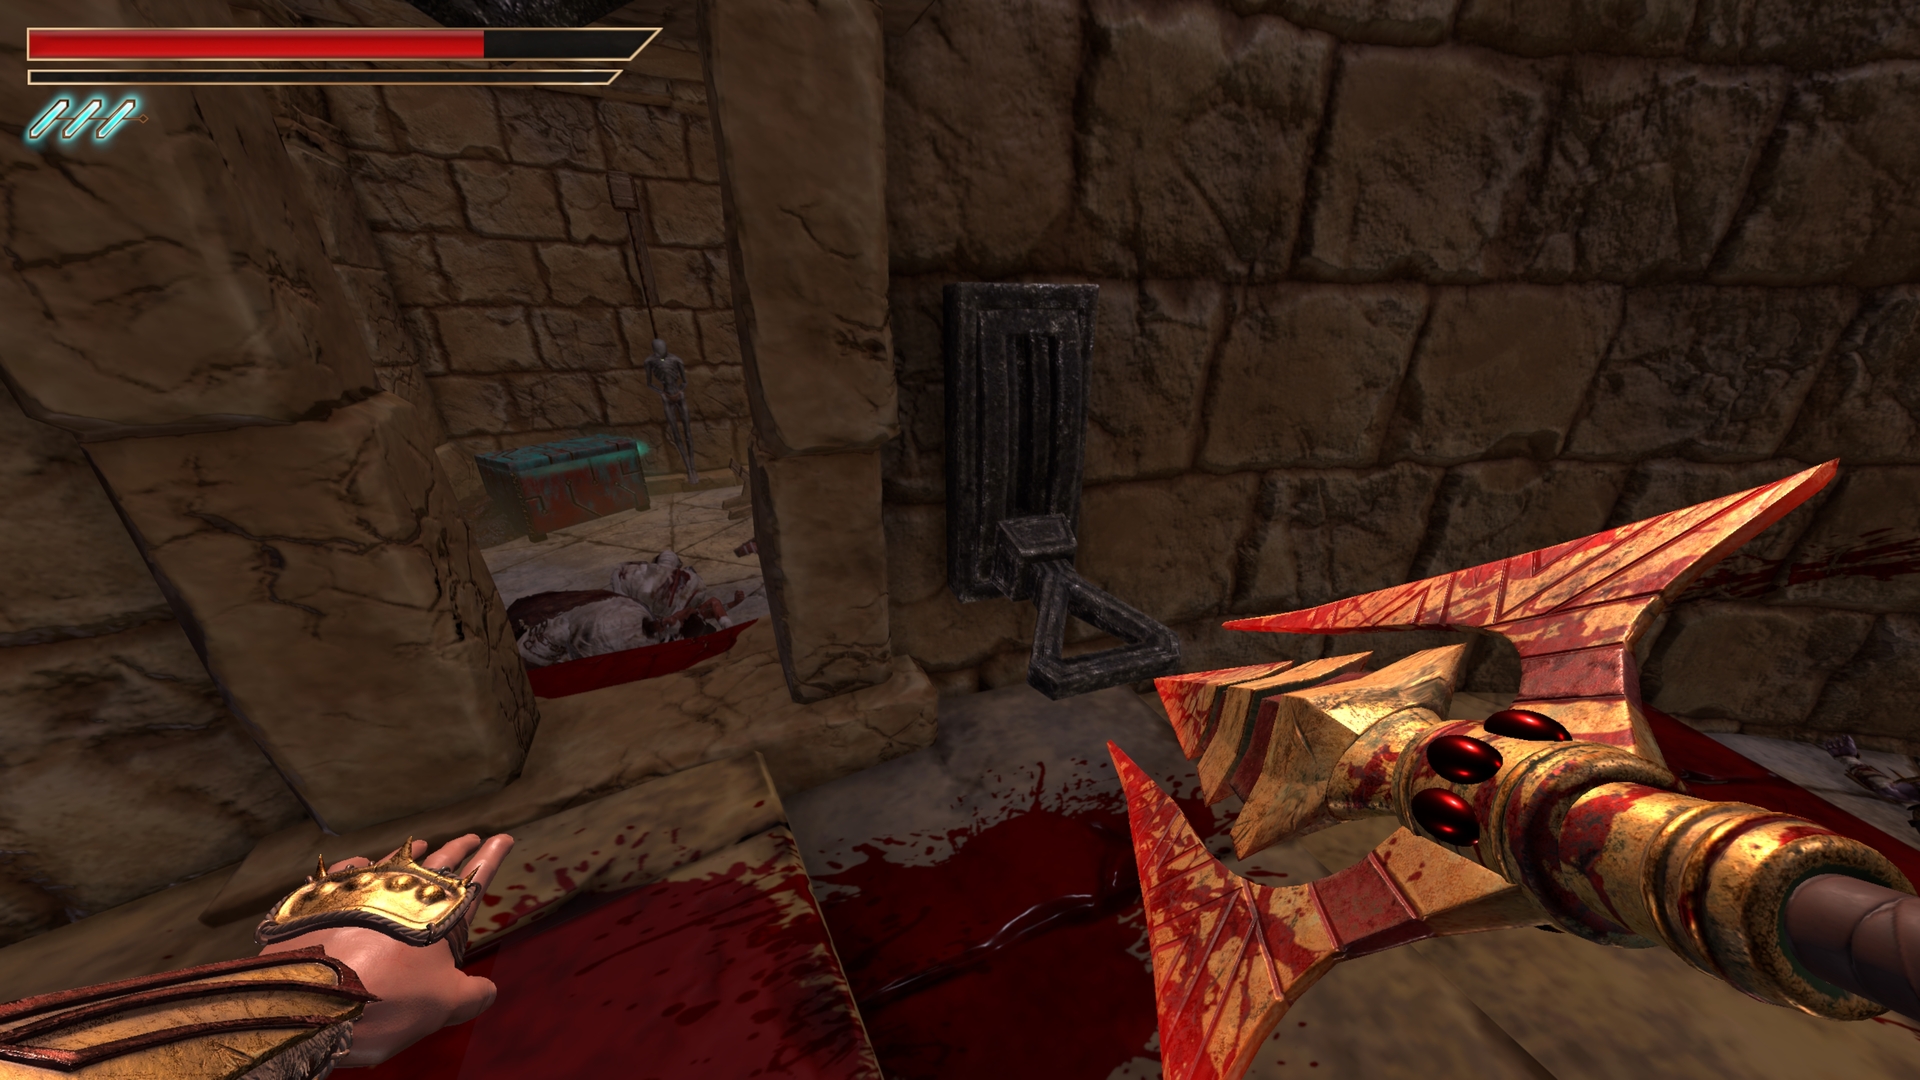
26.) After you fall through the floor and reach the commander sickles, break the pot wall just ahead and drop down with the chest on your left.
⠀
27.) There is no chest for a little while, when you reach these stairs upwards go half way and turn around.
⠀
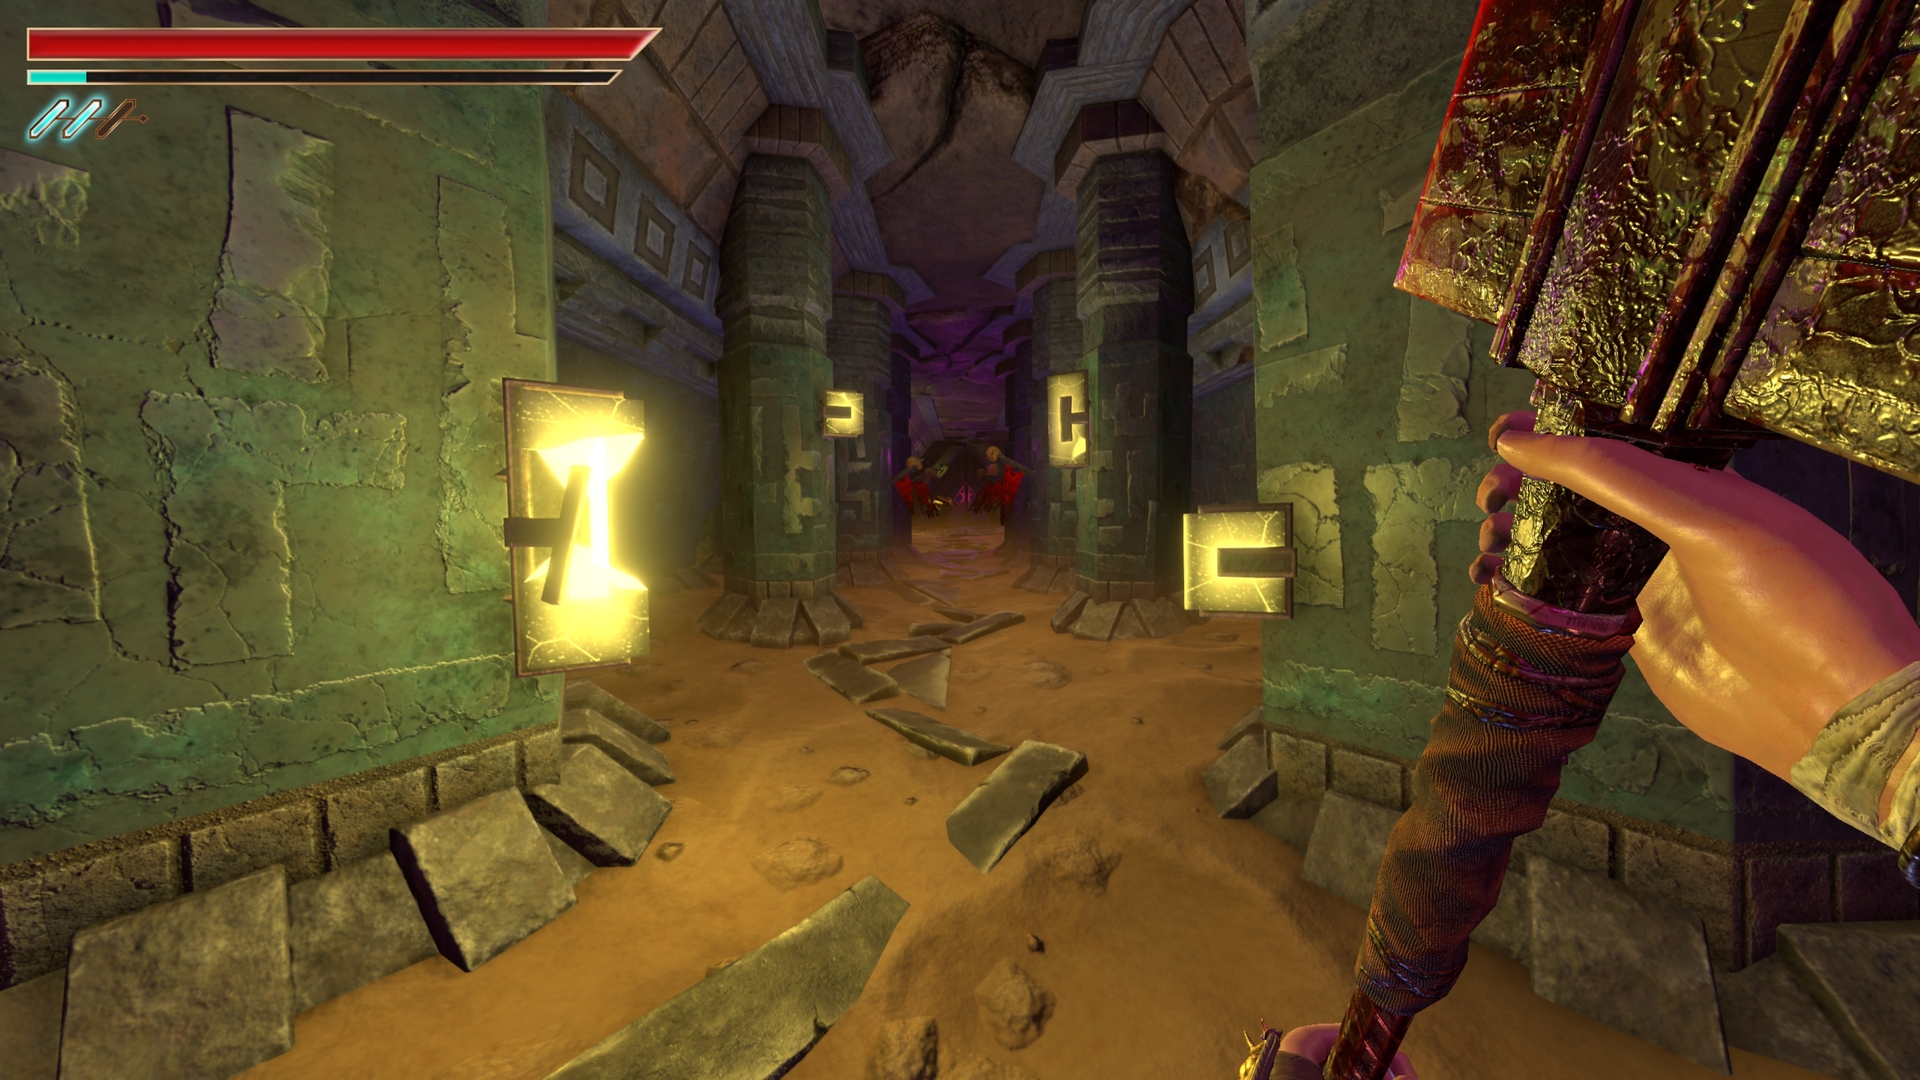
28, 29 & 30.) At the three way split, we will start by going left. Collect the chest and defeat the enemies that appear, afterwards there will be two more in the wall to the left and to the right.
⠀

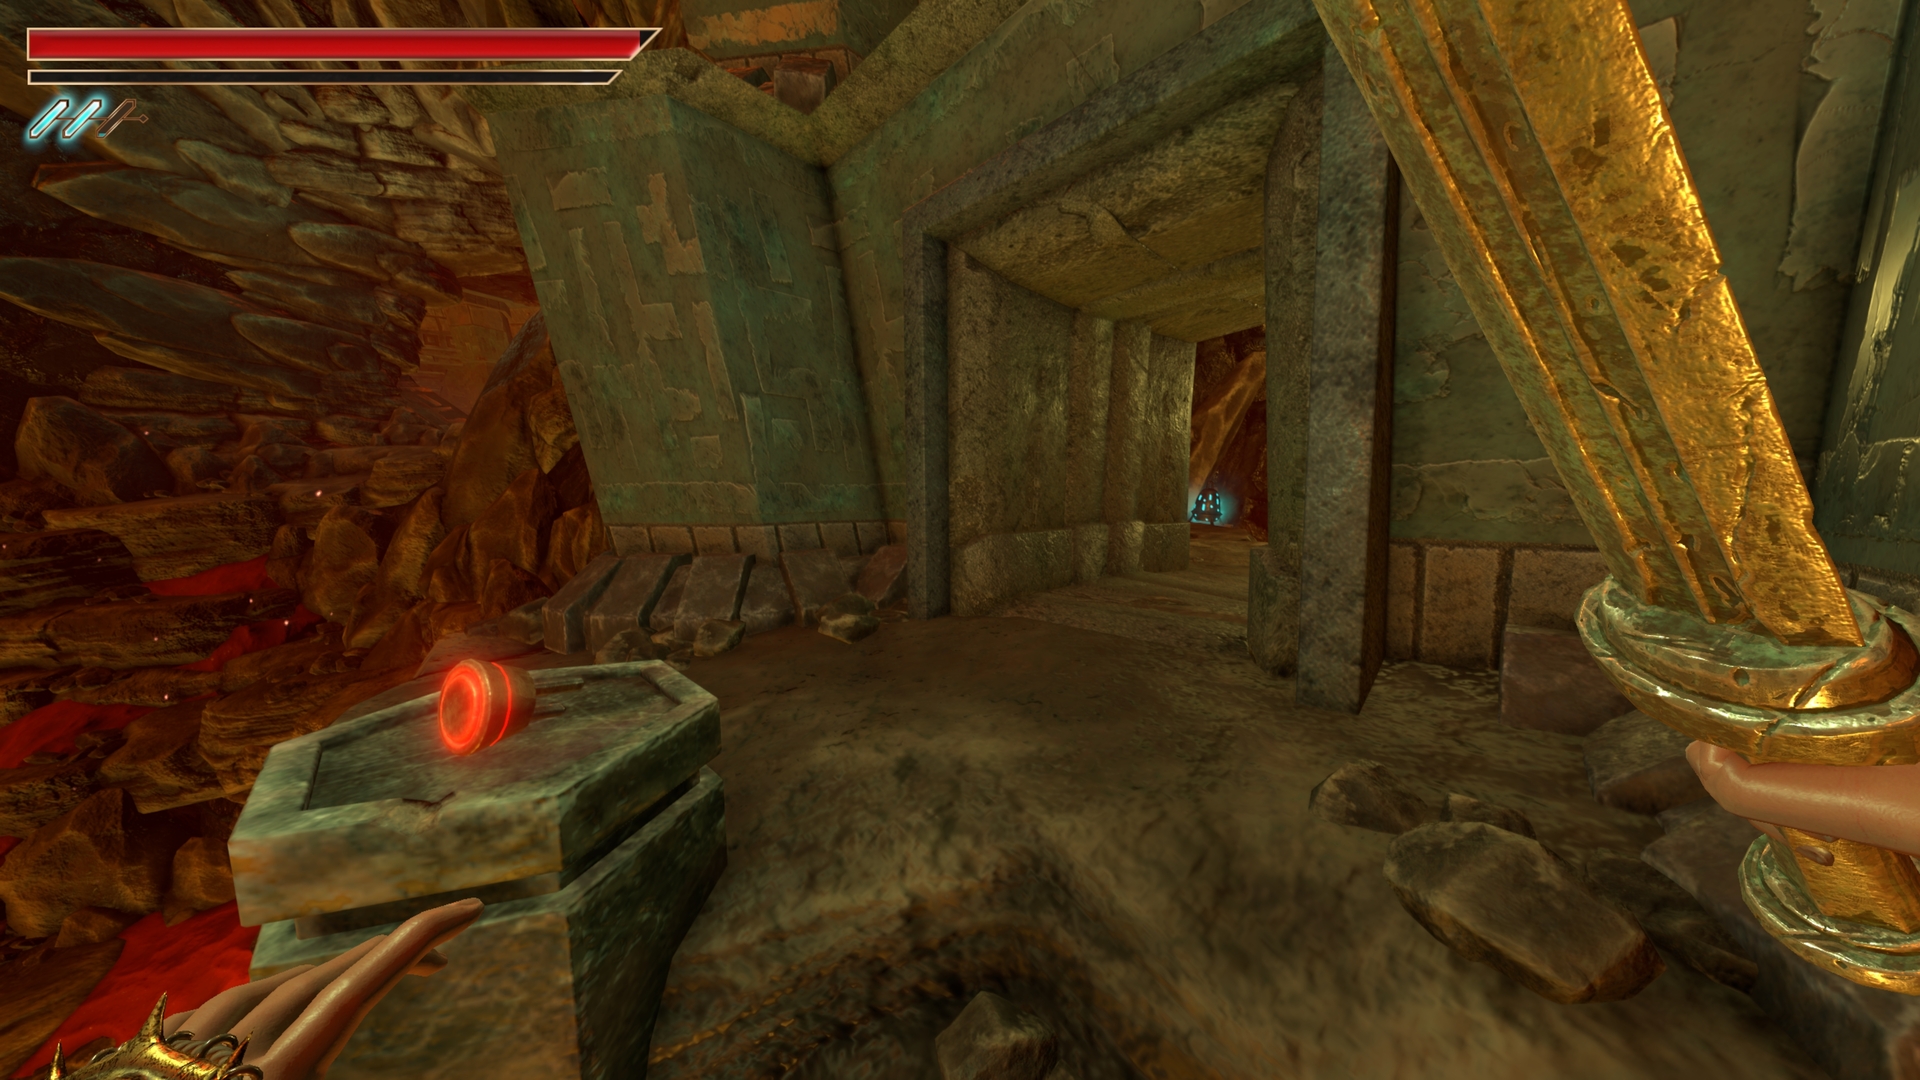
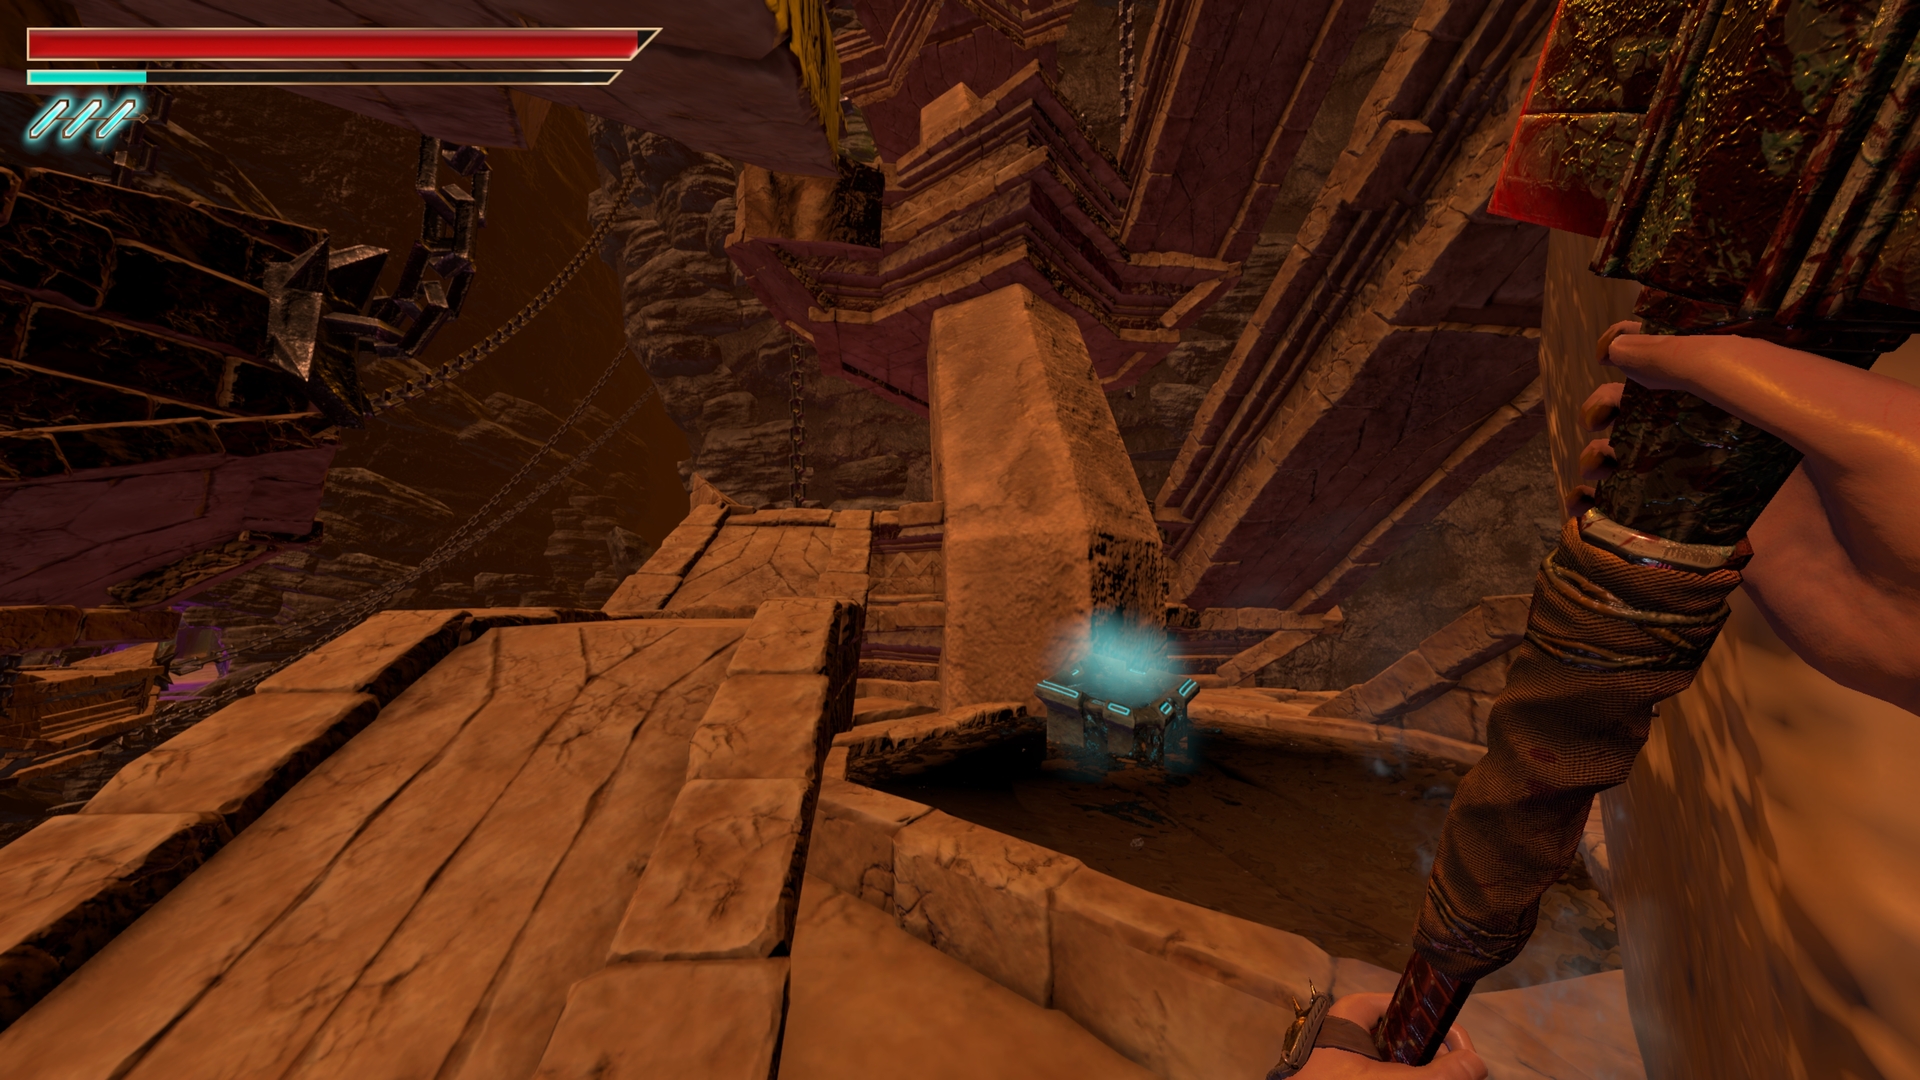
31.) Go back to the three way split, this time through the middle. With the door in front of you, there is a section to your left with a slight blue glow underneath. Hit the wall with your hammer to reveal.
⠀
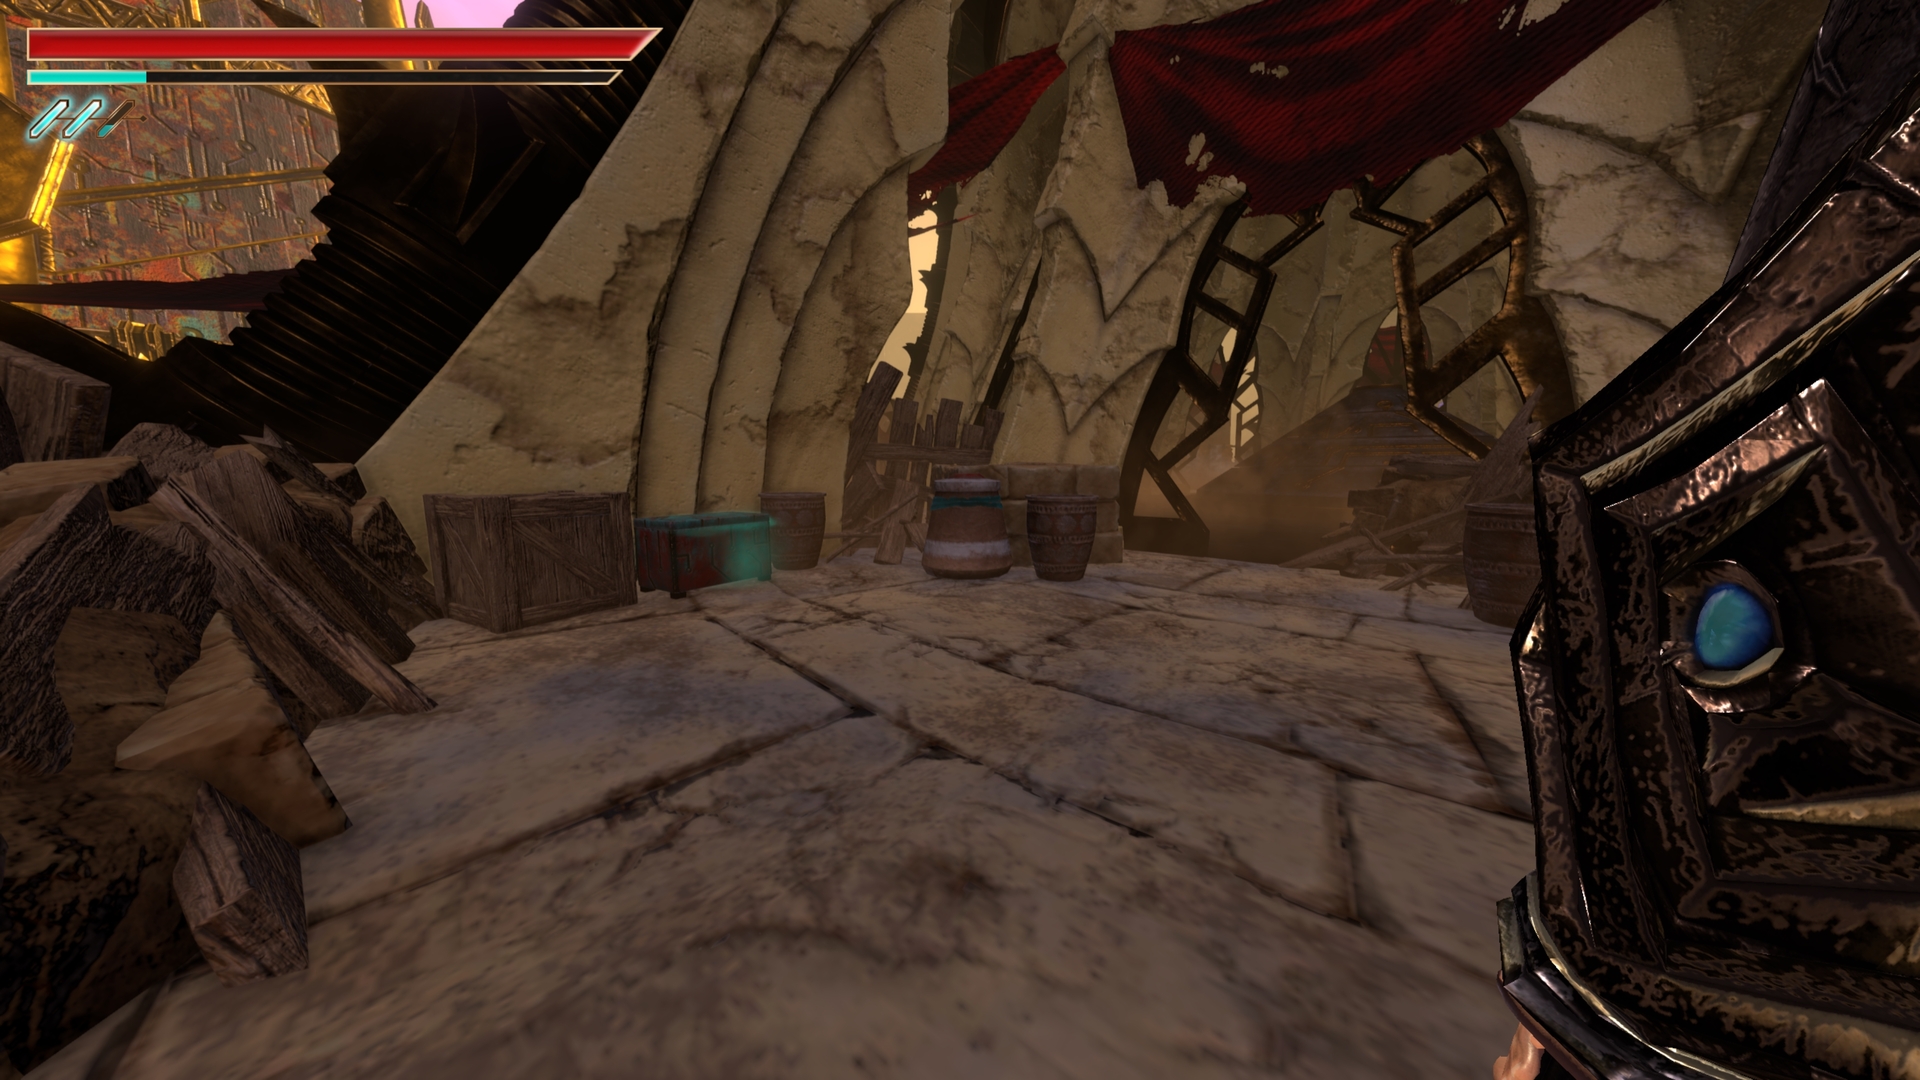
32, 33 & 34.) Break the wall opposite the chest you just found and activate the lever. There are chests in each room that enemies come out of.
⠀
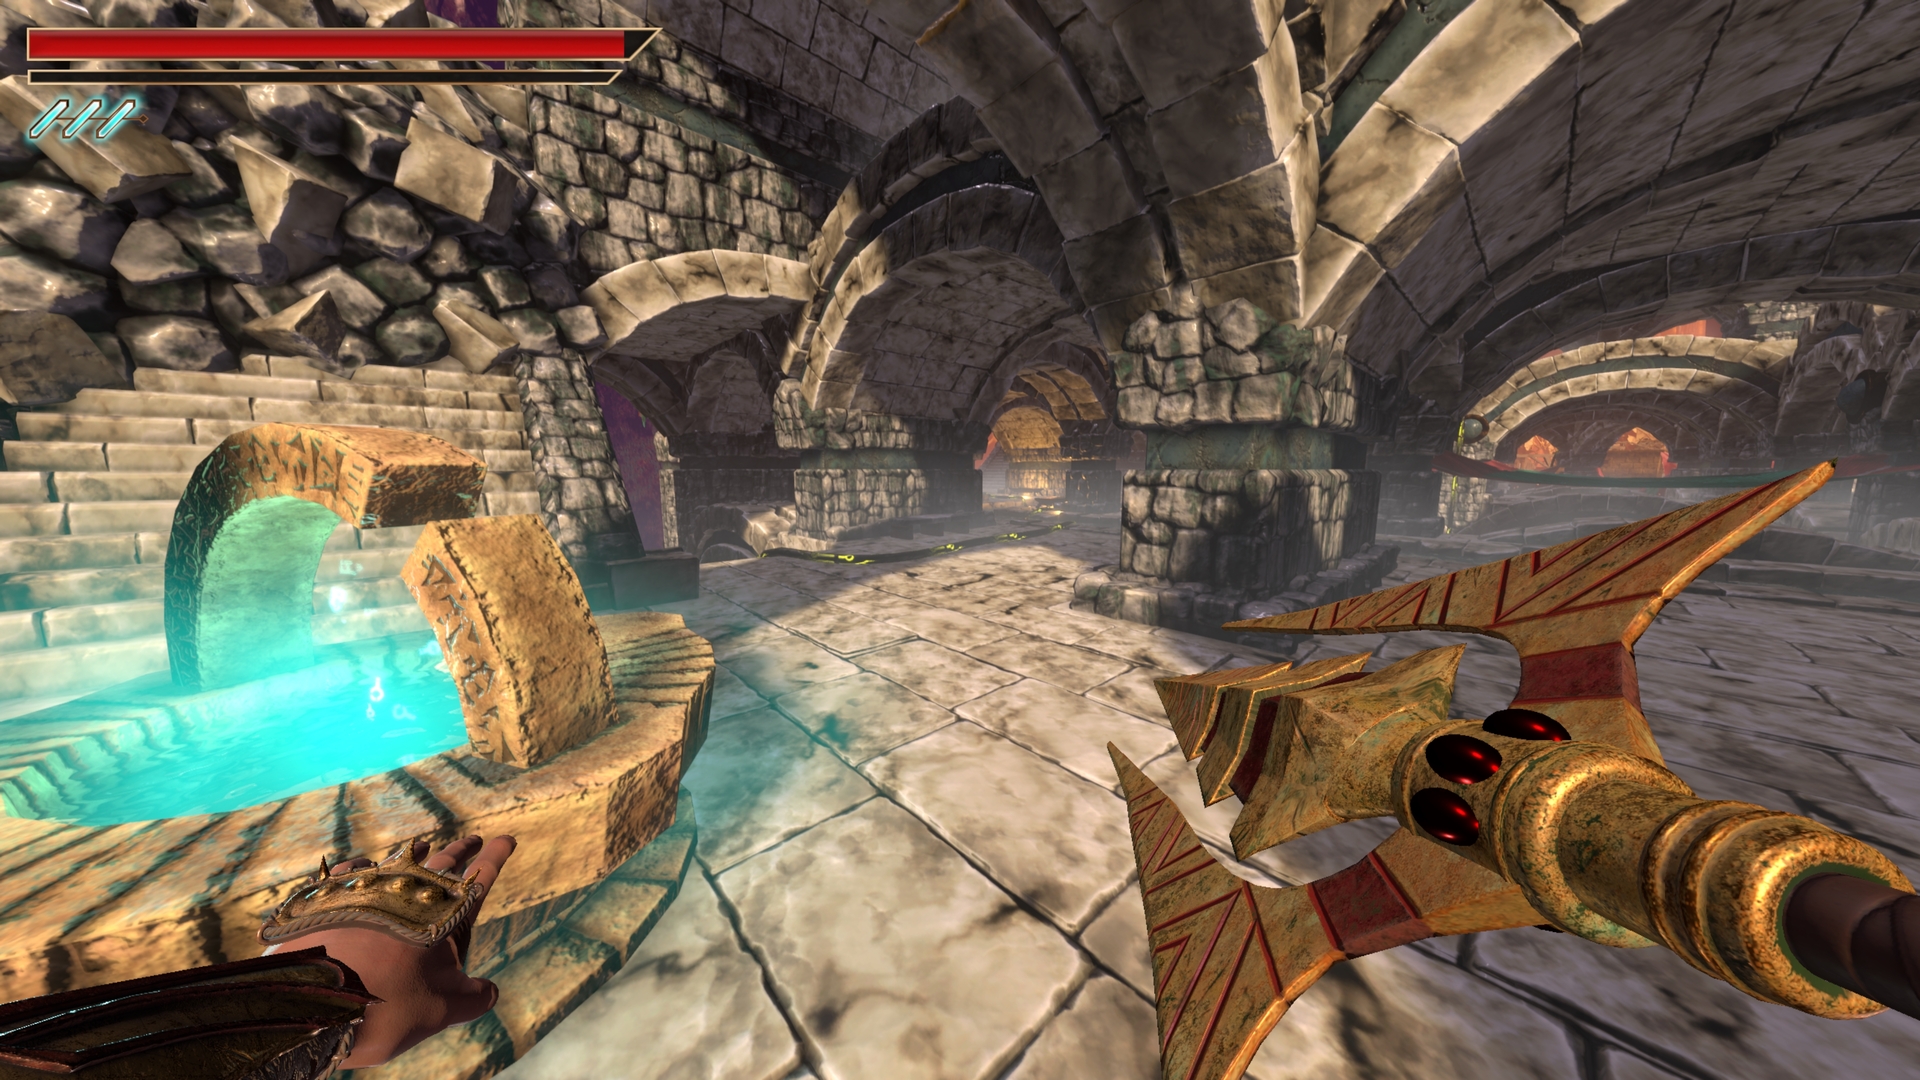
35.) With the fountain room on your right, follow the path to the left instead.
⠀
36.) At the far end of the room, climb up the broken stairs into this room.
⠀
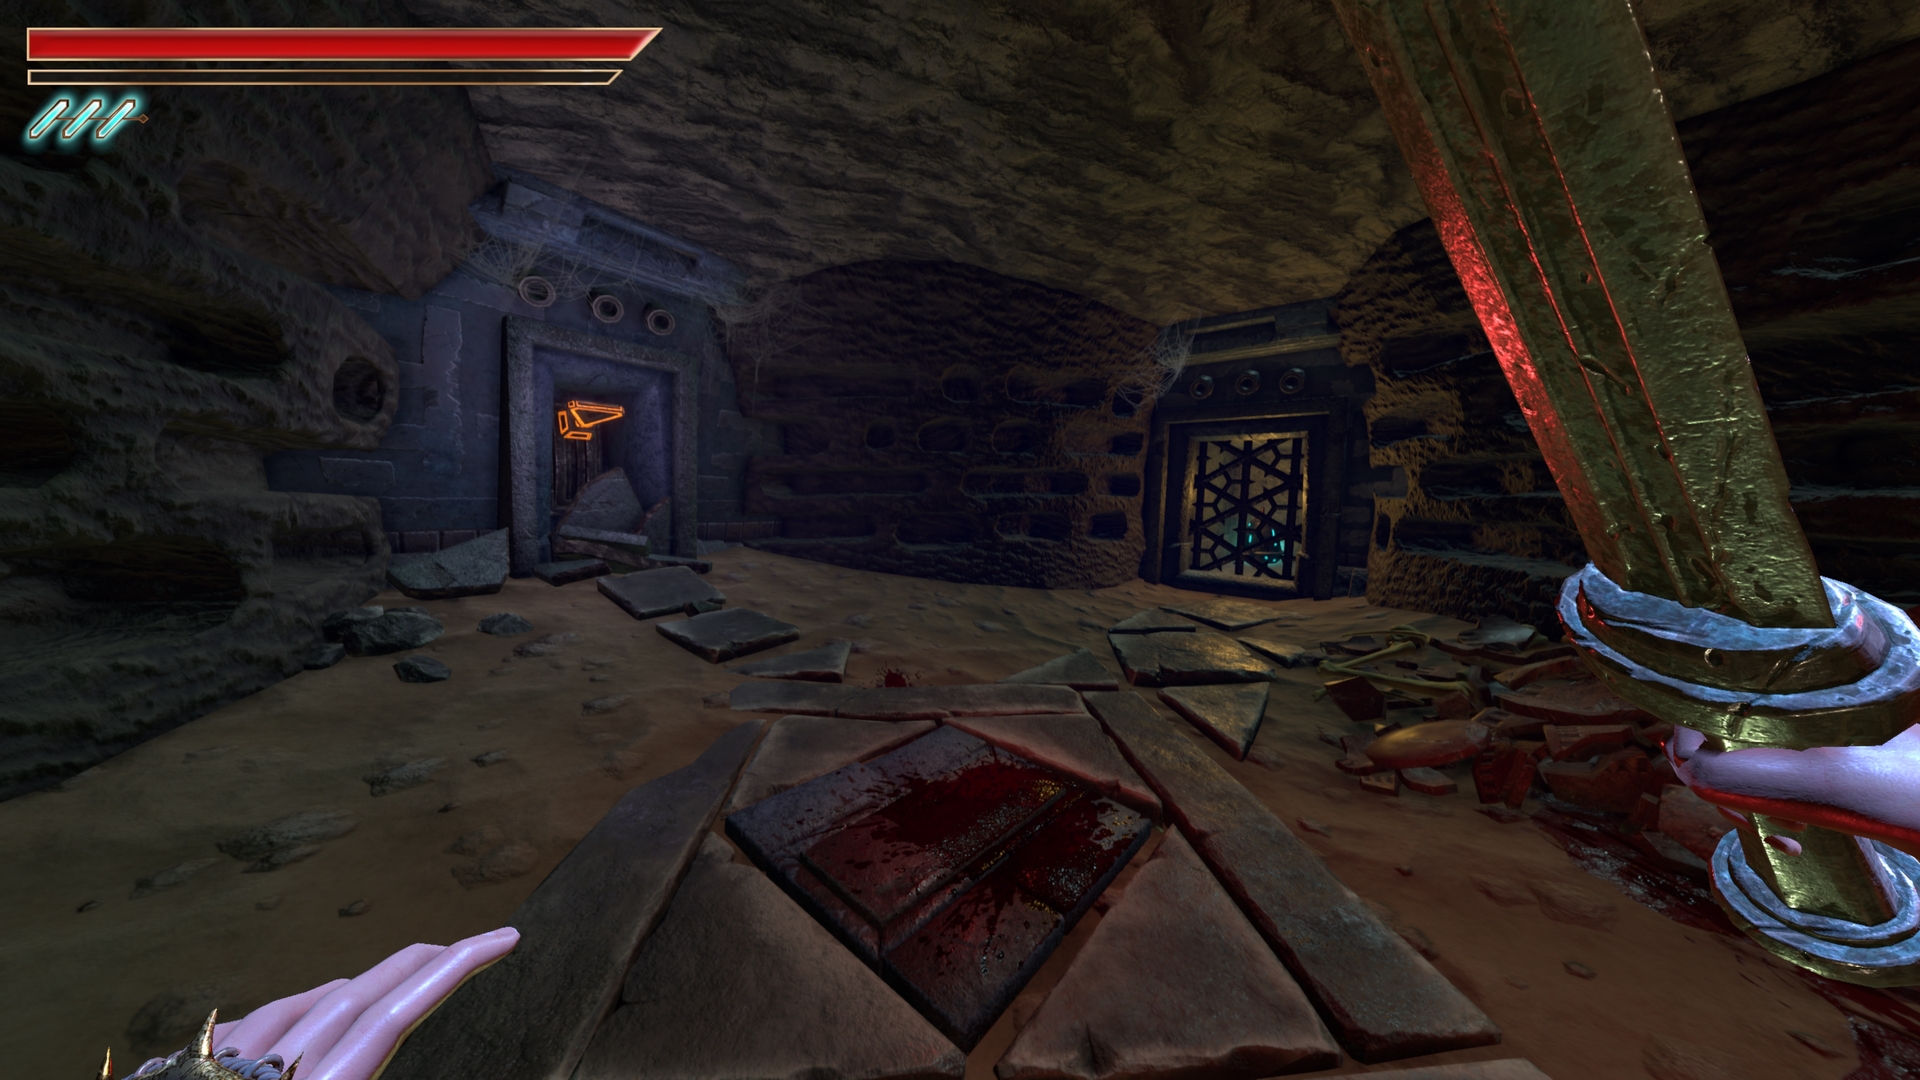
37.) In the other section of this area, break the wall on the left of the lever to reveal the next.
⠀
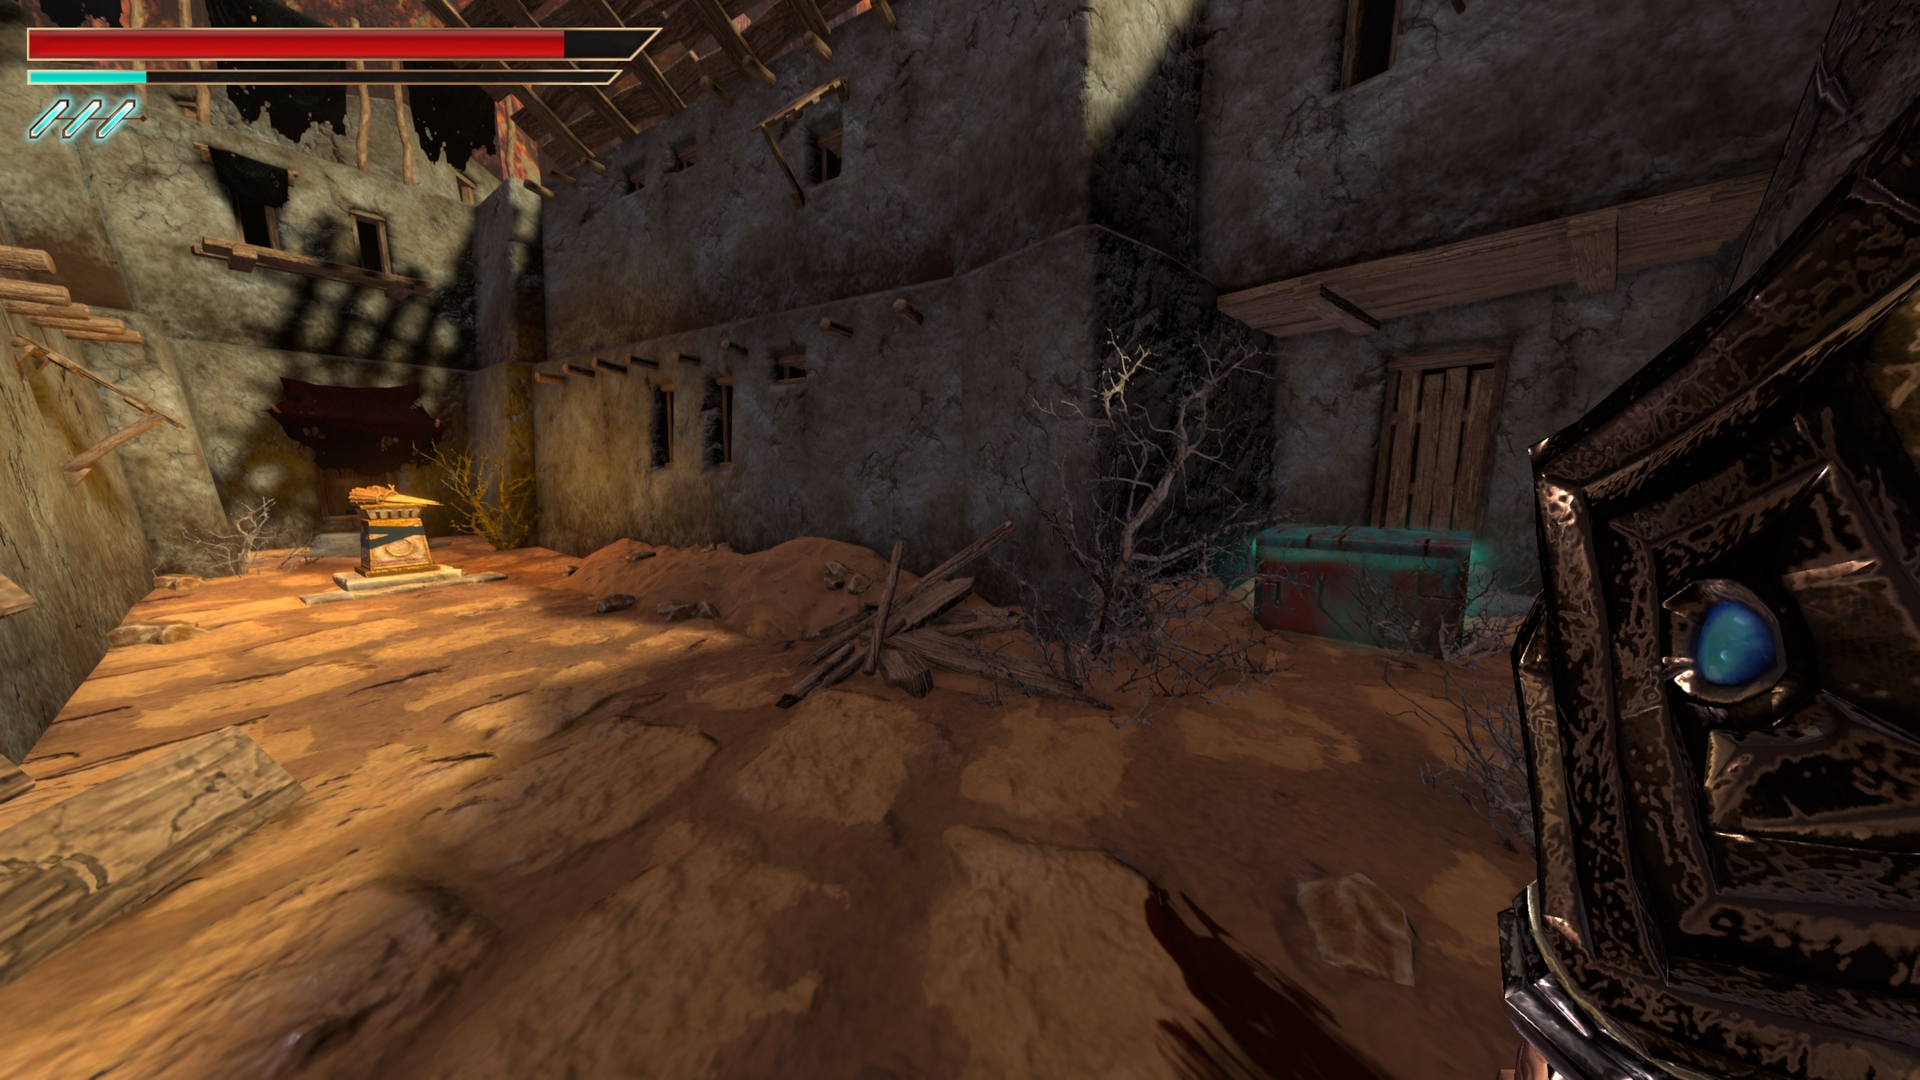
38.) After obtaining the yellow key, when you reach the cross section with the skull pedestals in front of you we will go right first. Break the wall on the right.
⠀
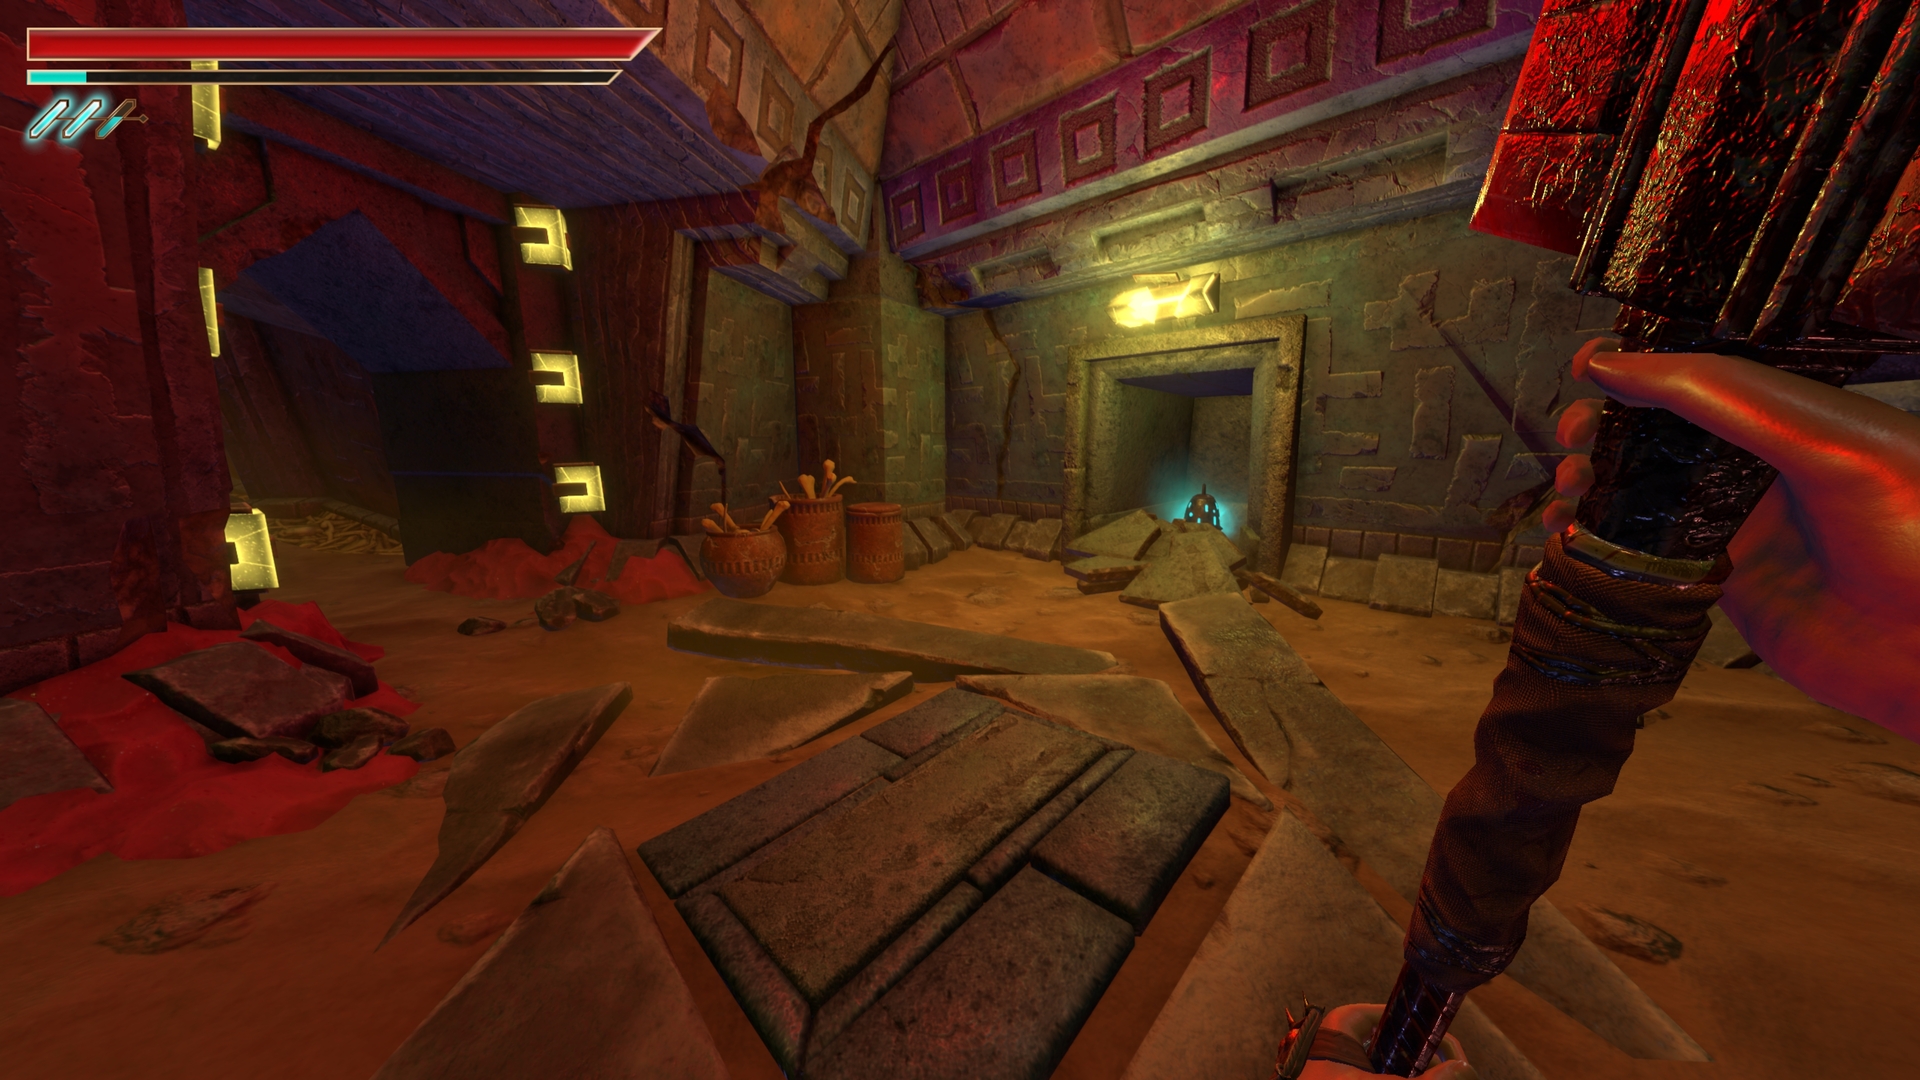
39.) To the left of the skull pedestals is the chest we saw earlier before falling through the floor.
⠀
40.) At the crossroads facing the skull pedestals, we will go left now and the next chest is on the right in the alcove.
⠀
41, 42 & 43.) Go straight and collect the chest on the edge, turn around and defeat the enemies to collect two more either side of you.
⠀
44 & 45.) Now down the other path we will go in the left door first, break the wall opposite as you walk in then break the wall to the right to reveal the other.
⠀
46.) At the small split take the left fork first.
⠀
47 & 48.) In the right fork, after you have collected the skull and defeated the enemies. Two chests are opposite the door to leave.
⠀
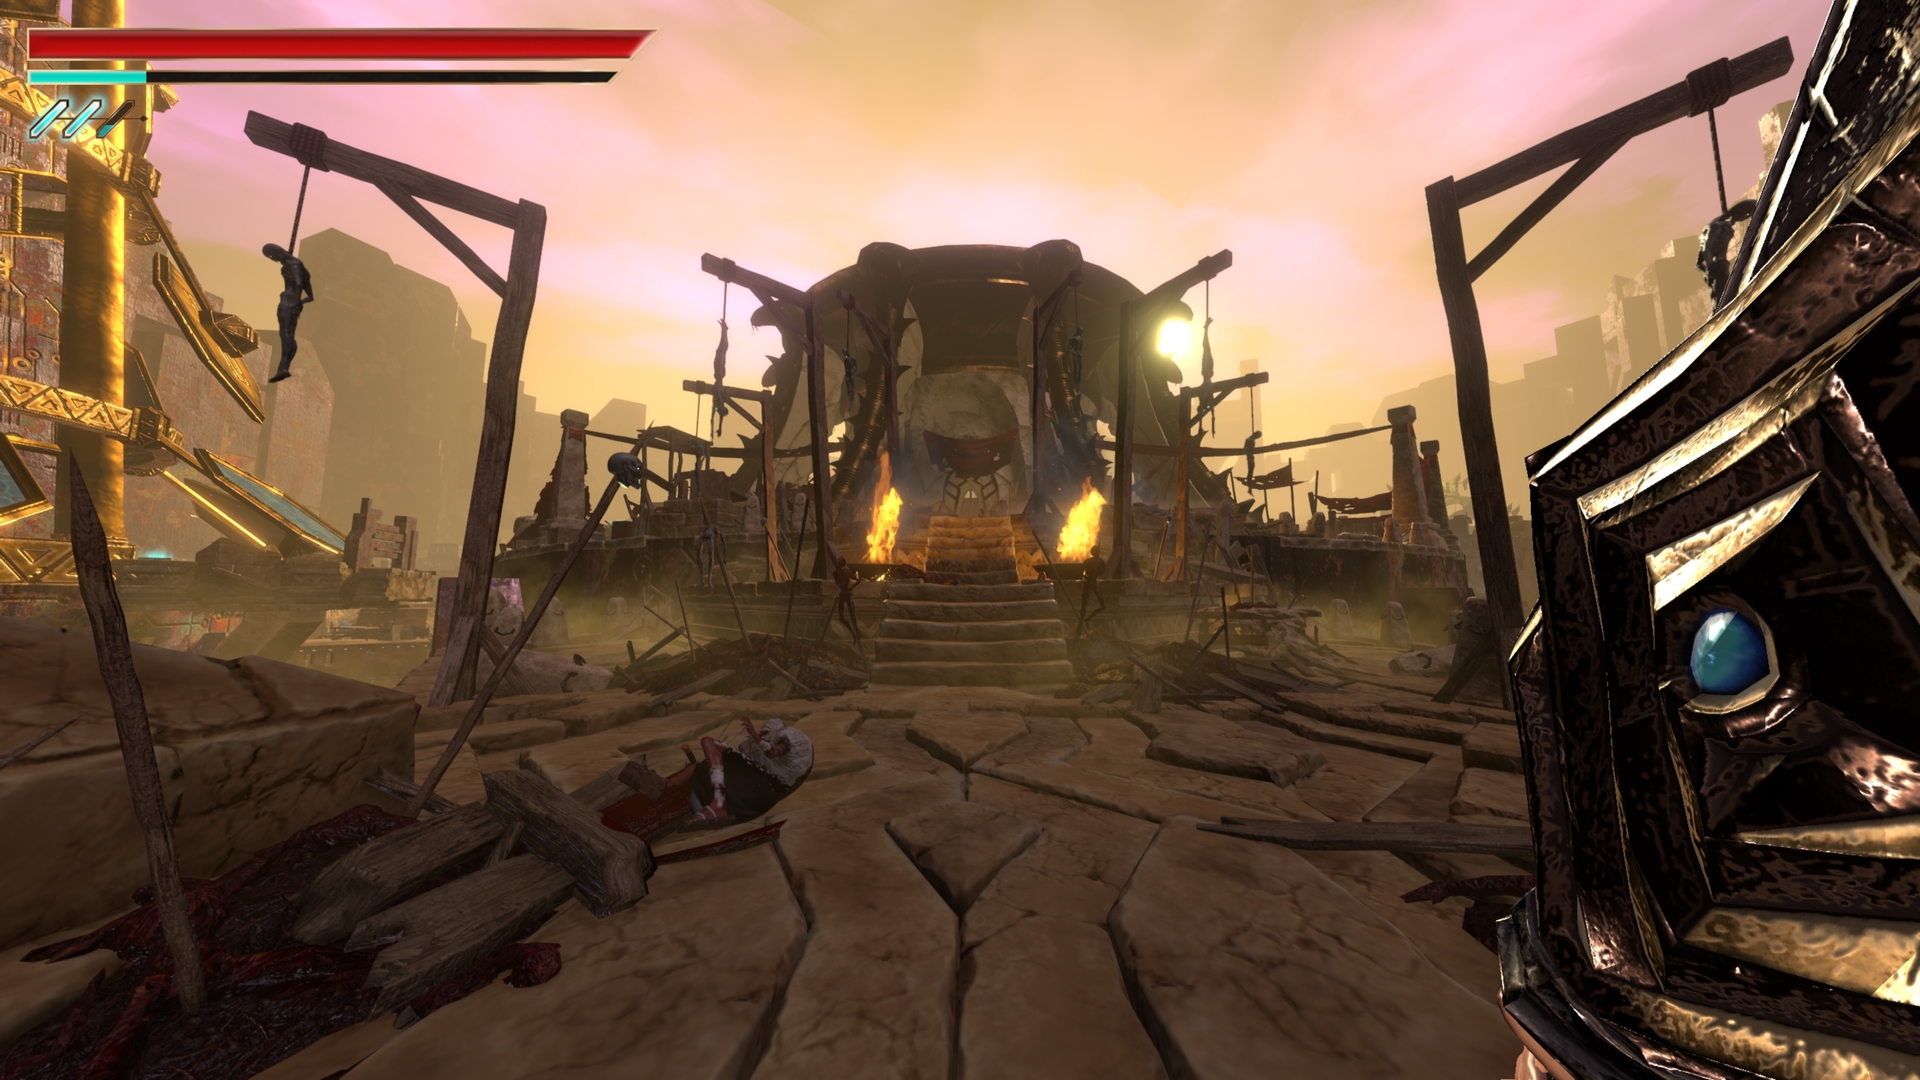
49.) After all skulls have been placed, reach the fountain in the outside area as shown. Go up the left path, continue up one more and check behind the pillar.
⠀
50.) Sticking on the left path, go up then down to reveal the final chest.
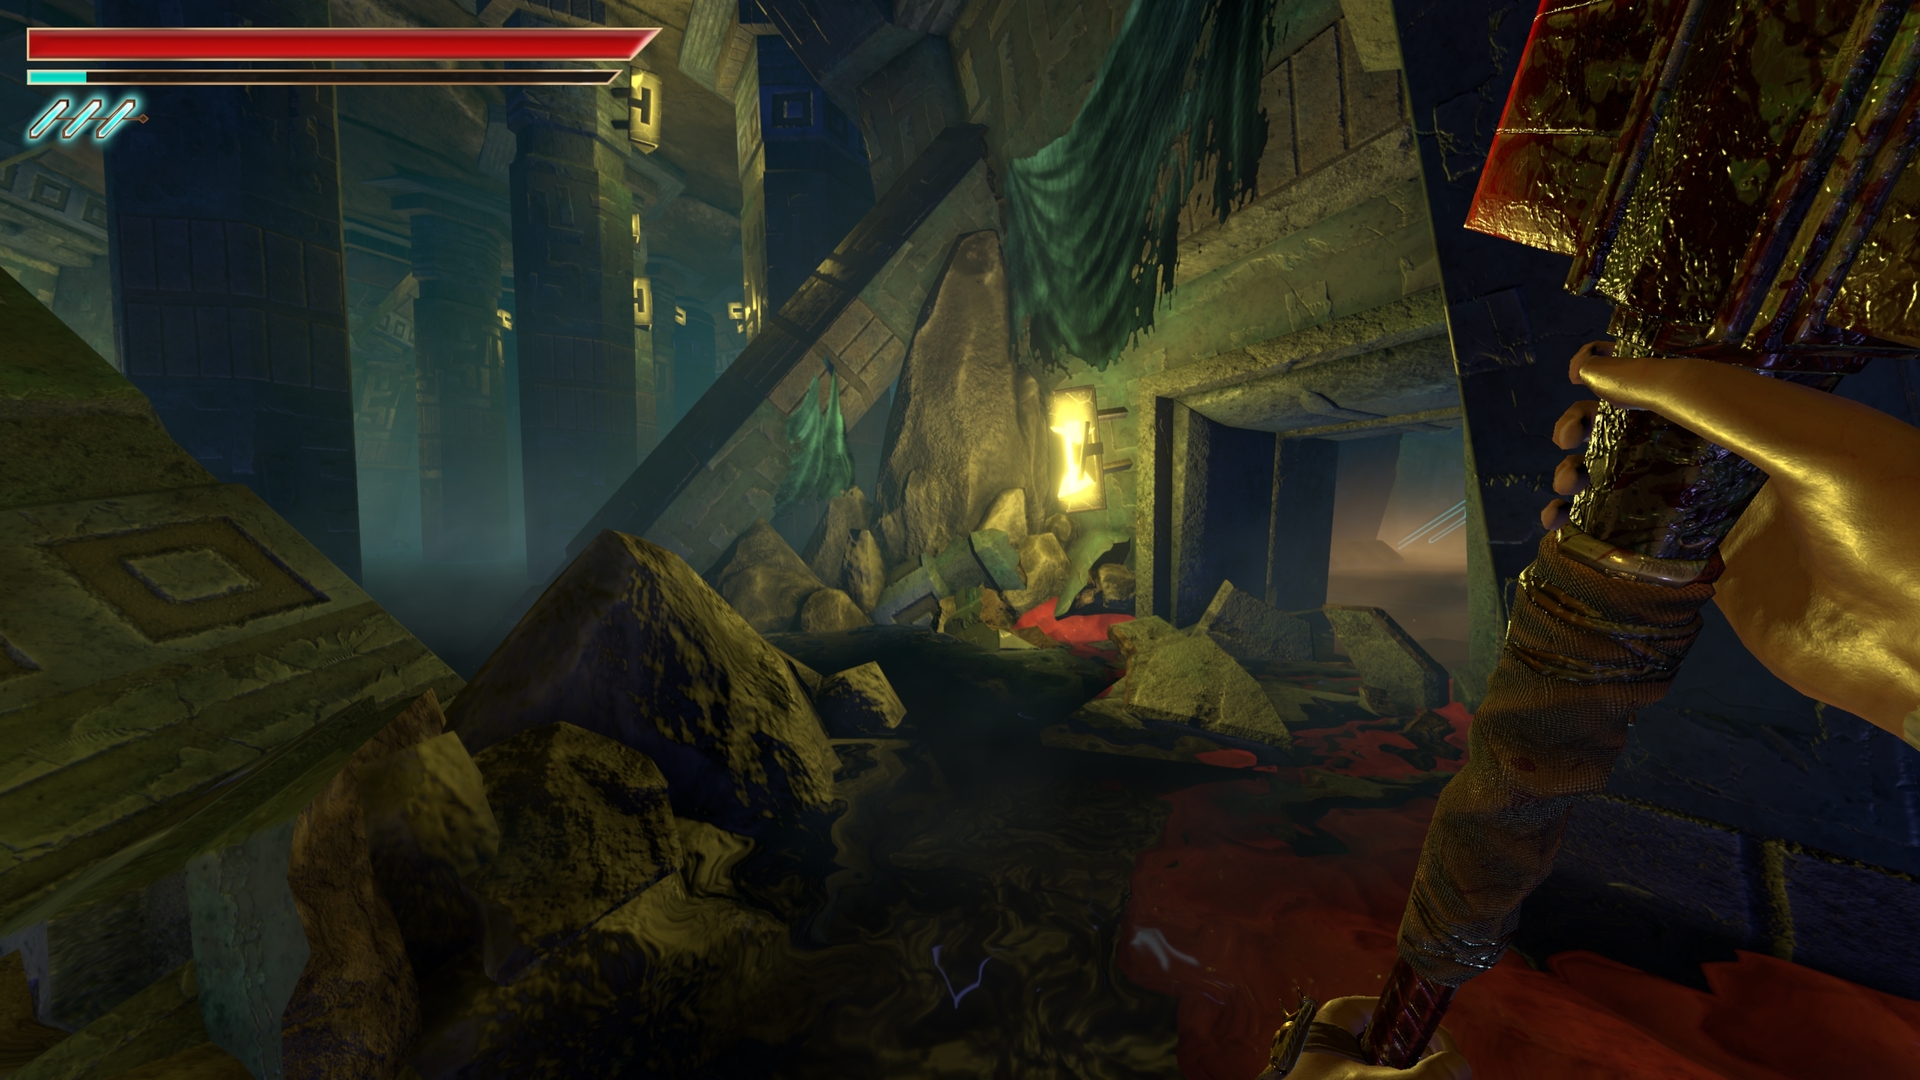
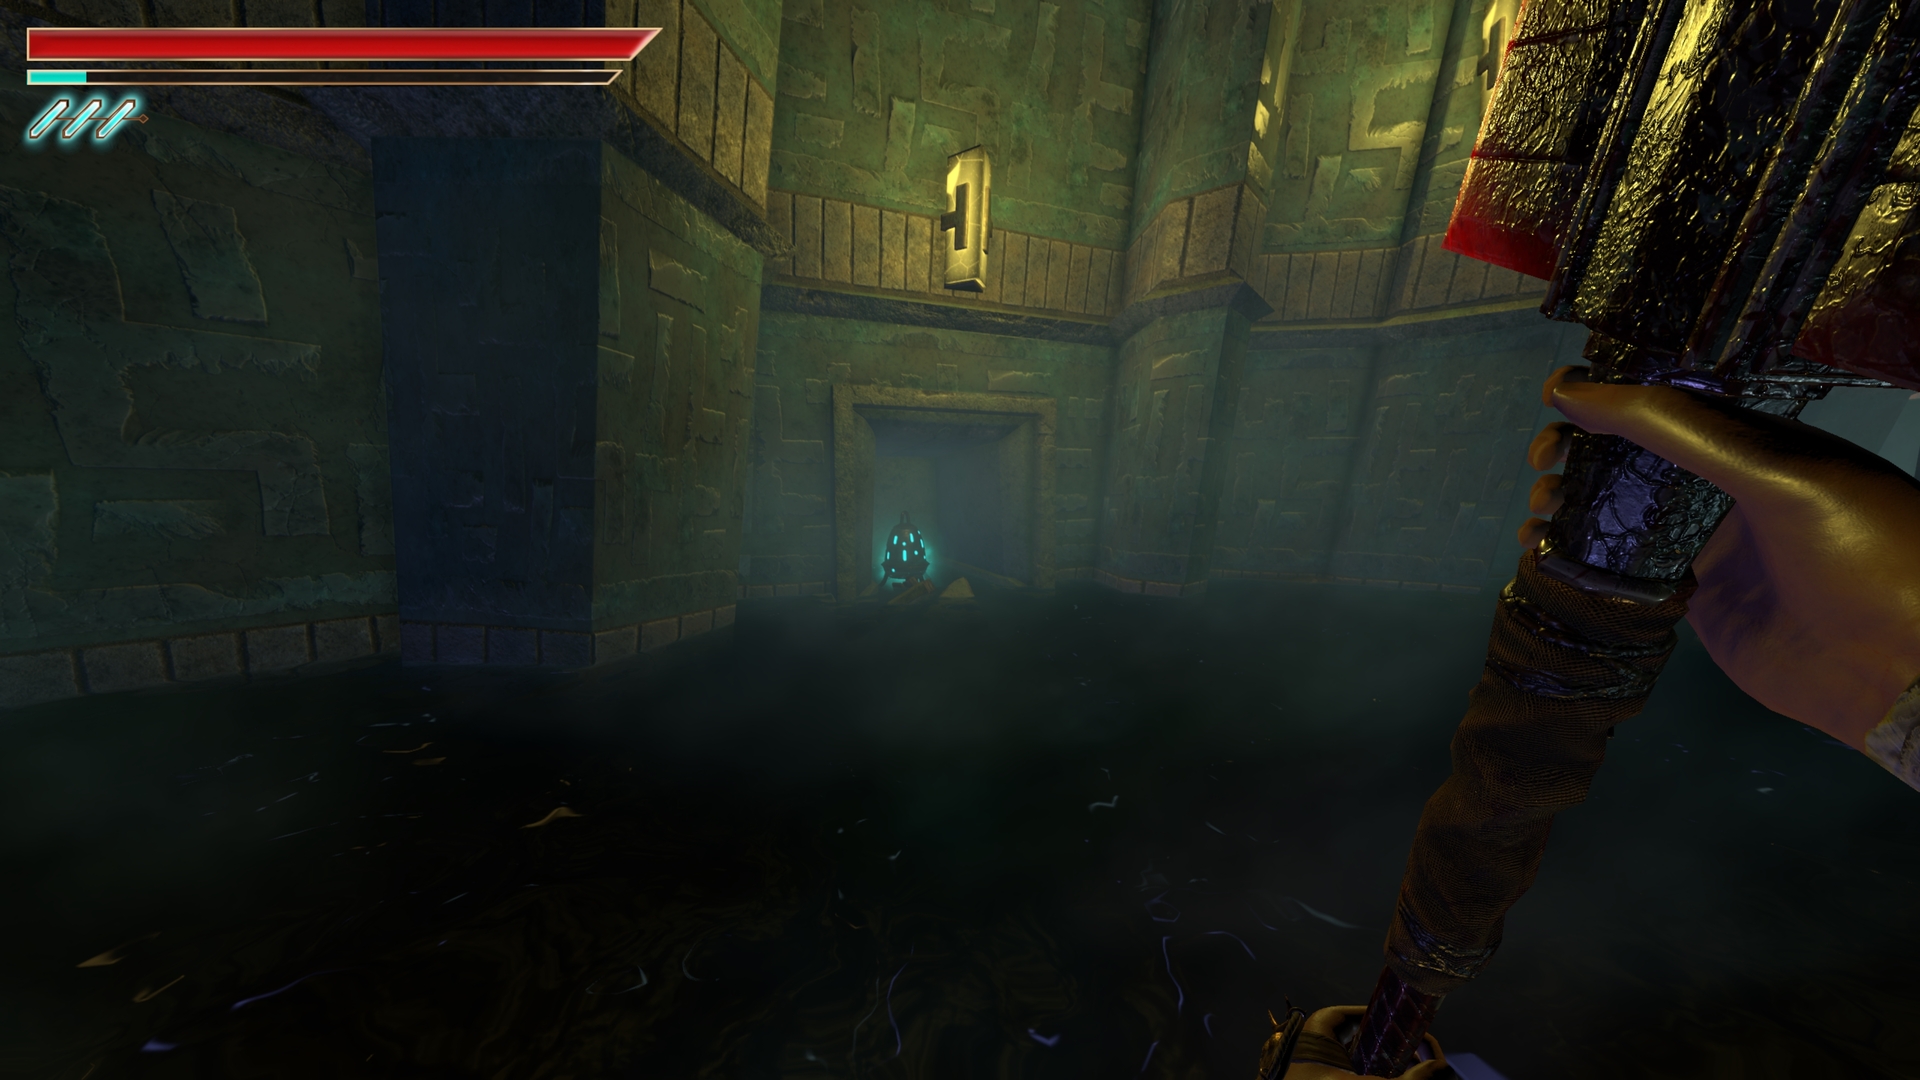
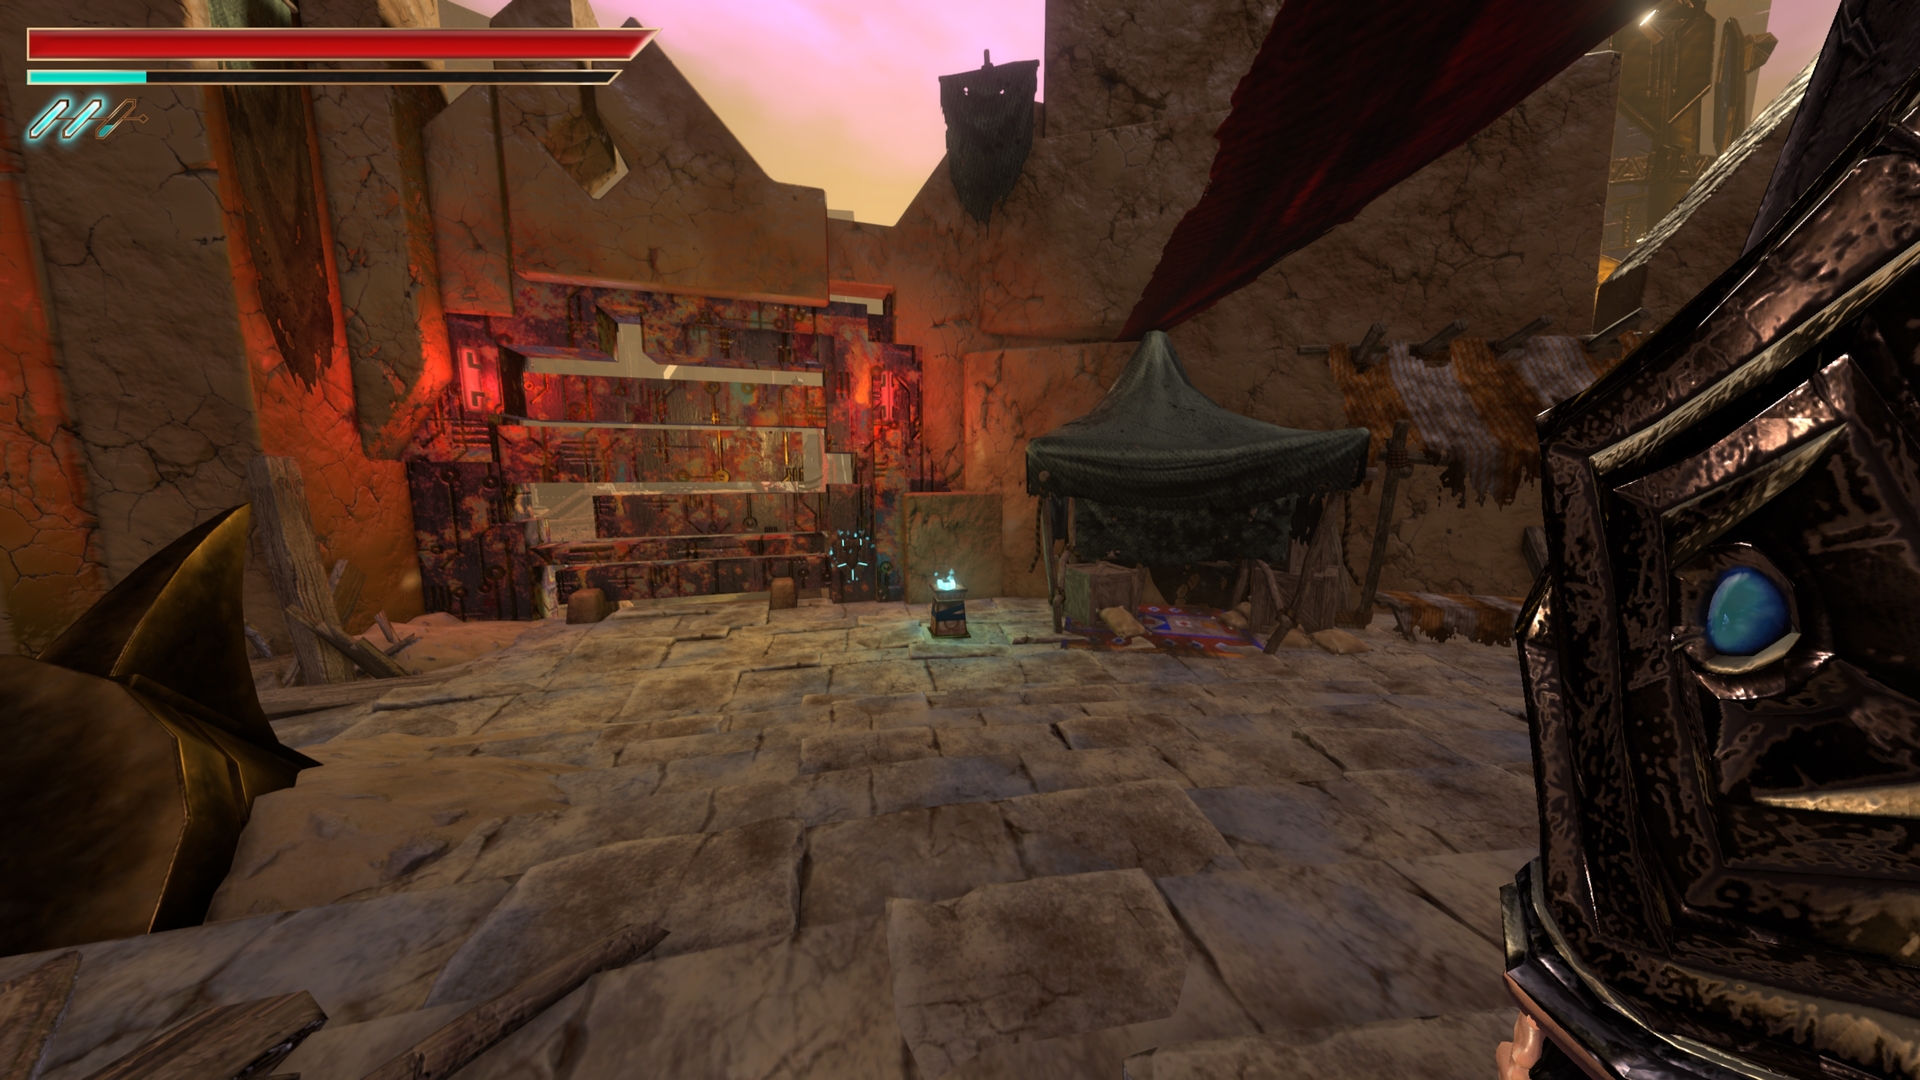
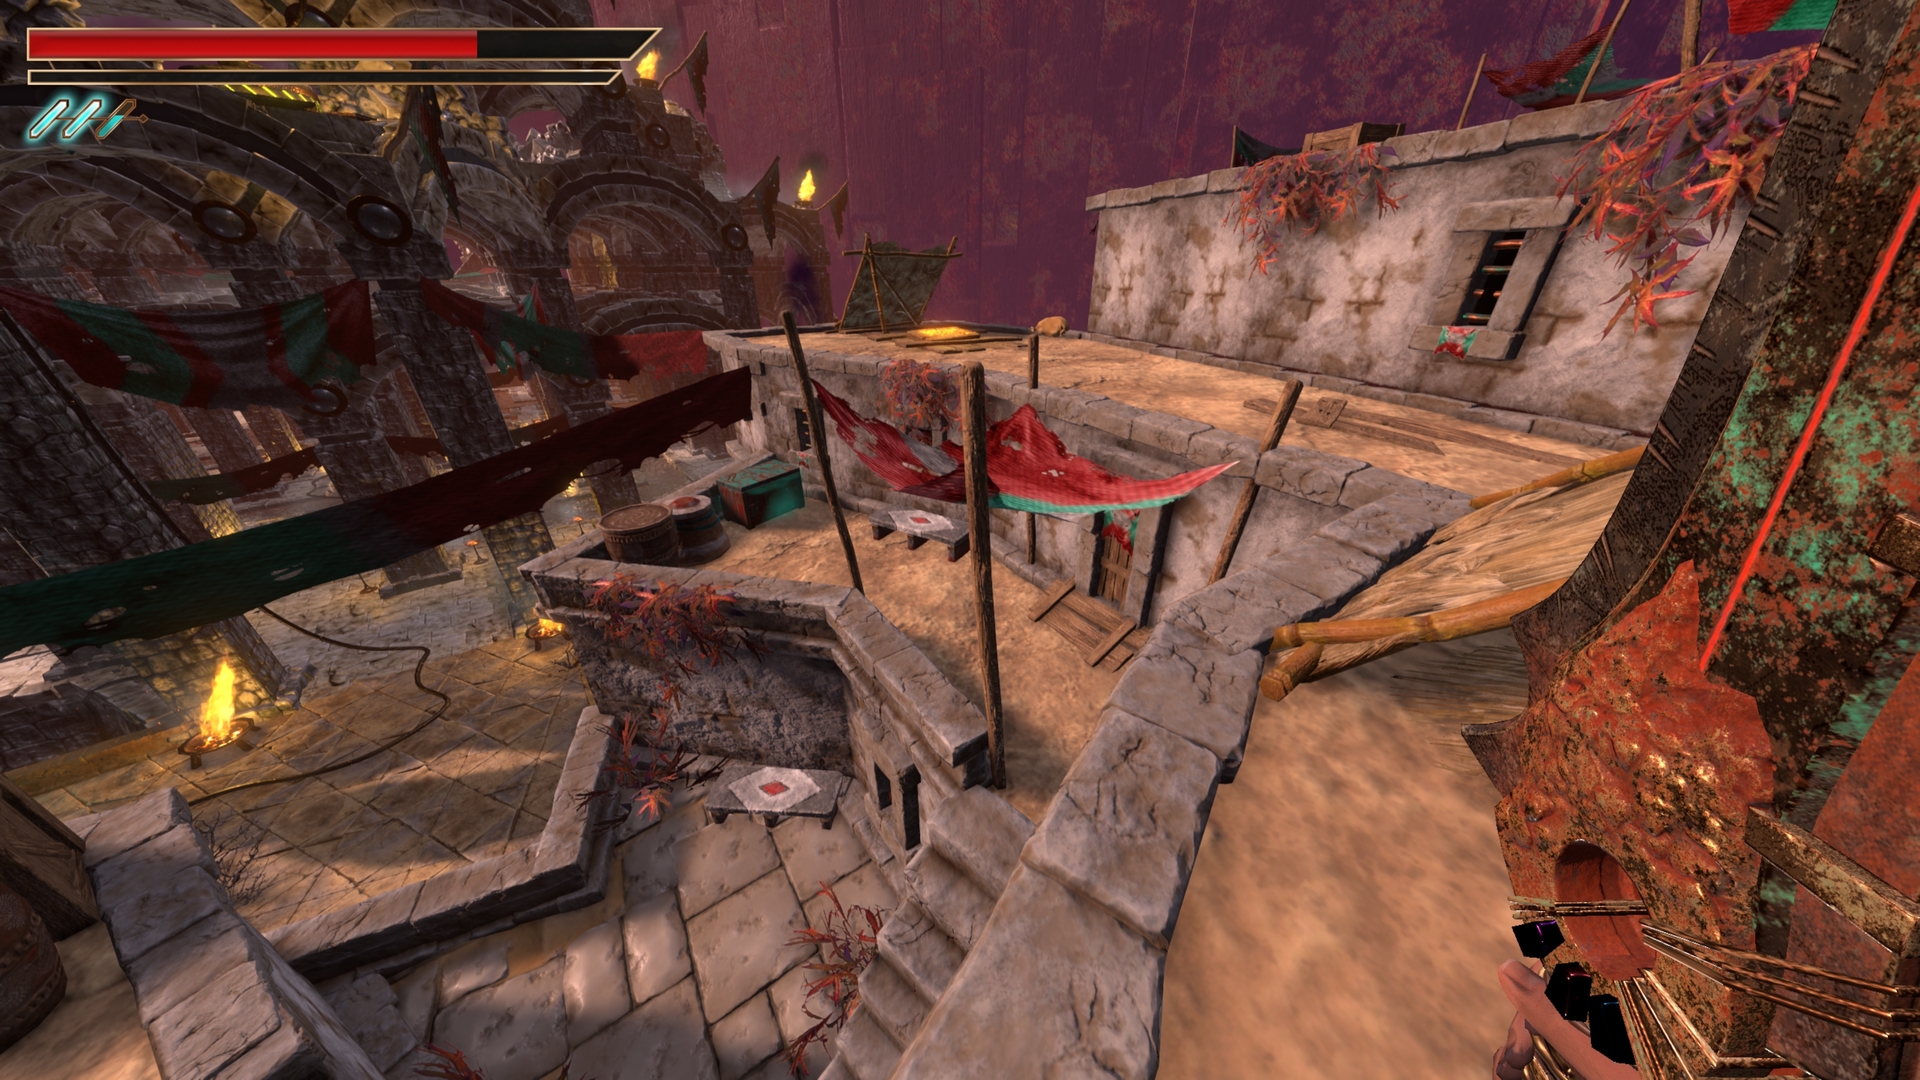
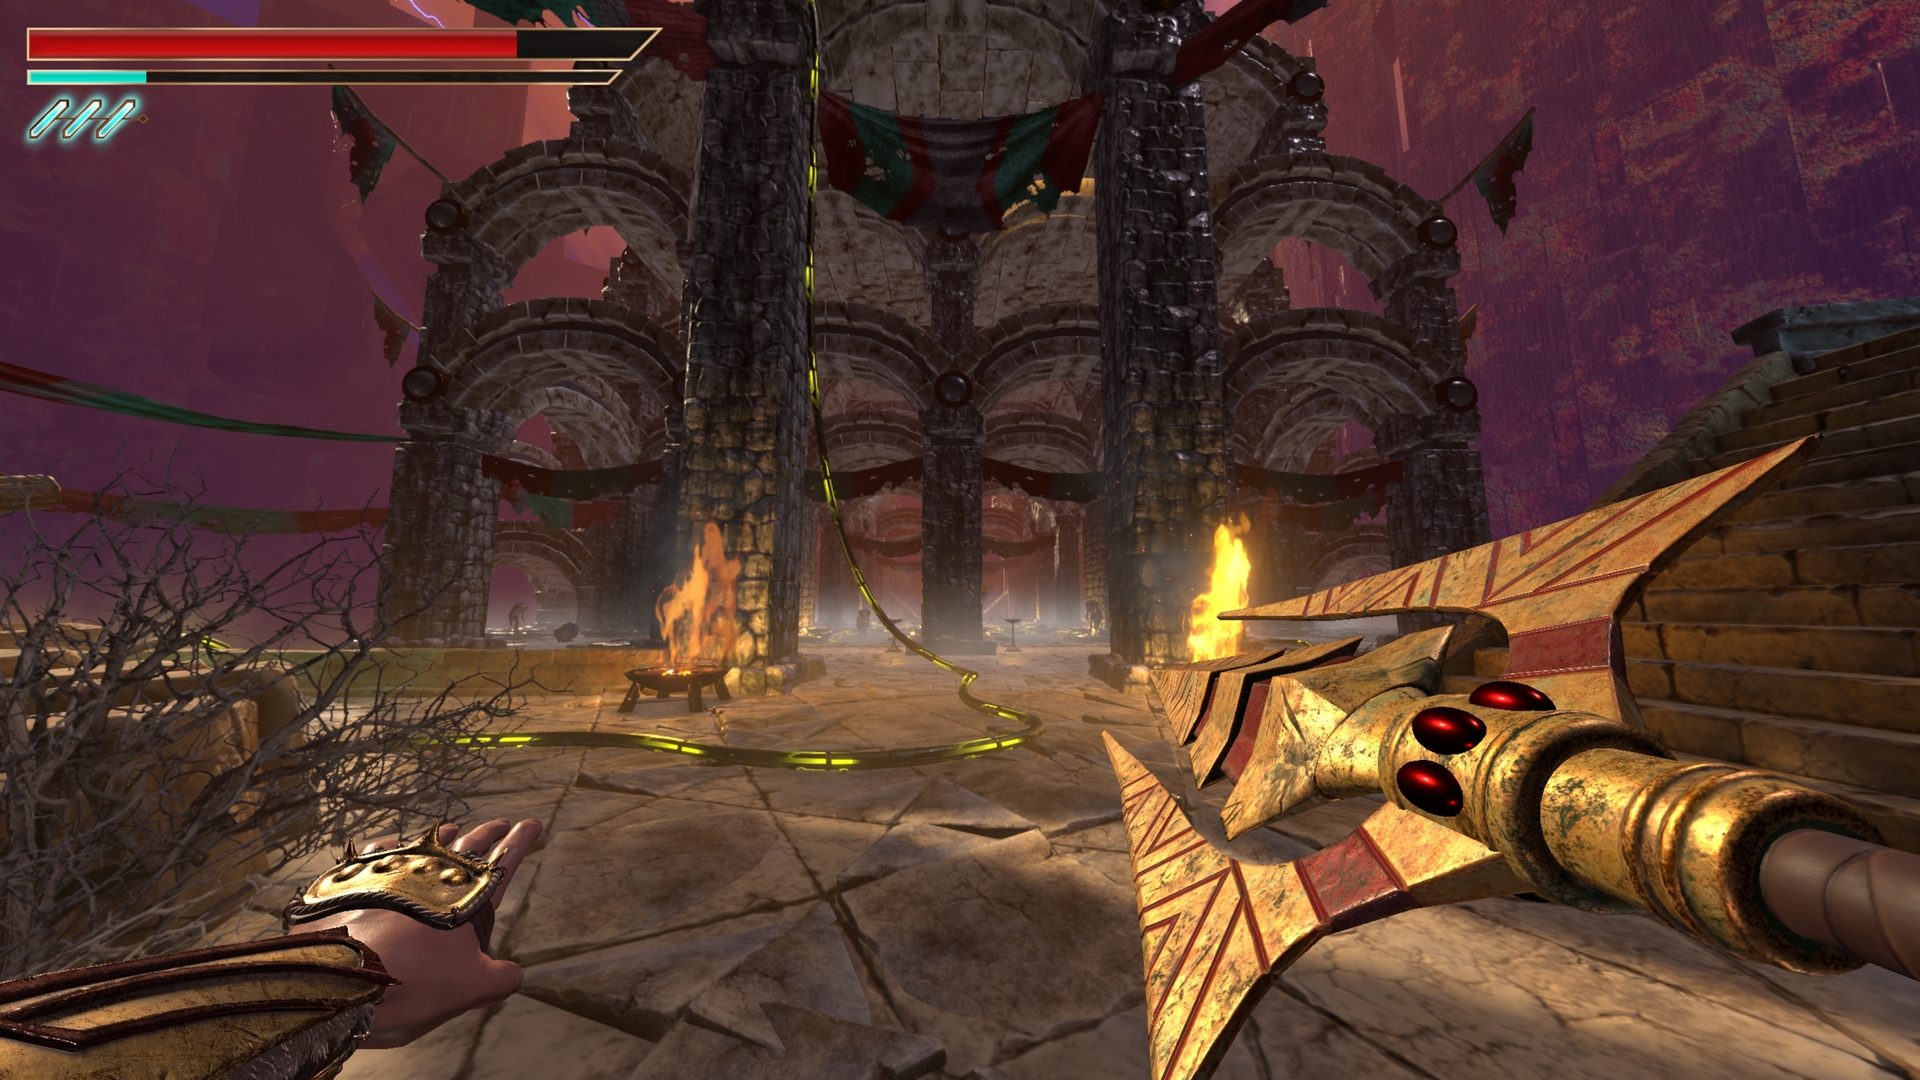
 ⠀2.) Into the dome and exit immediately to the left then on the edge.
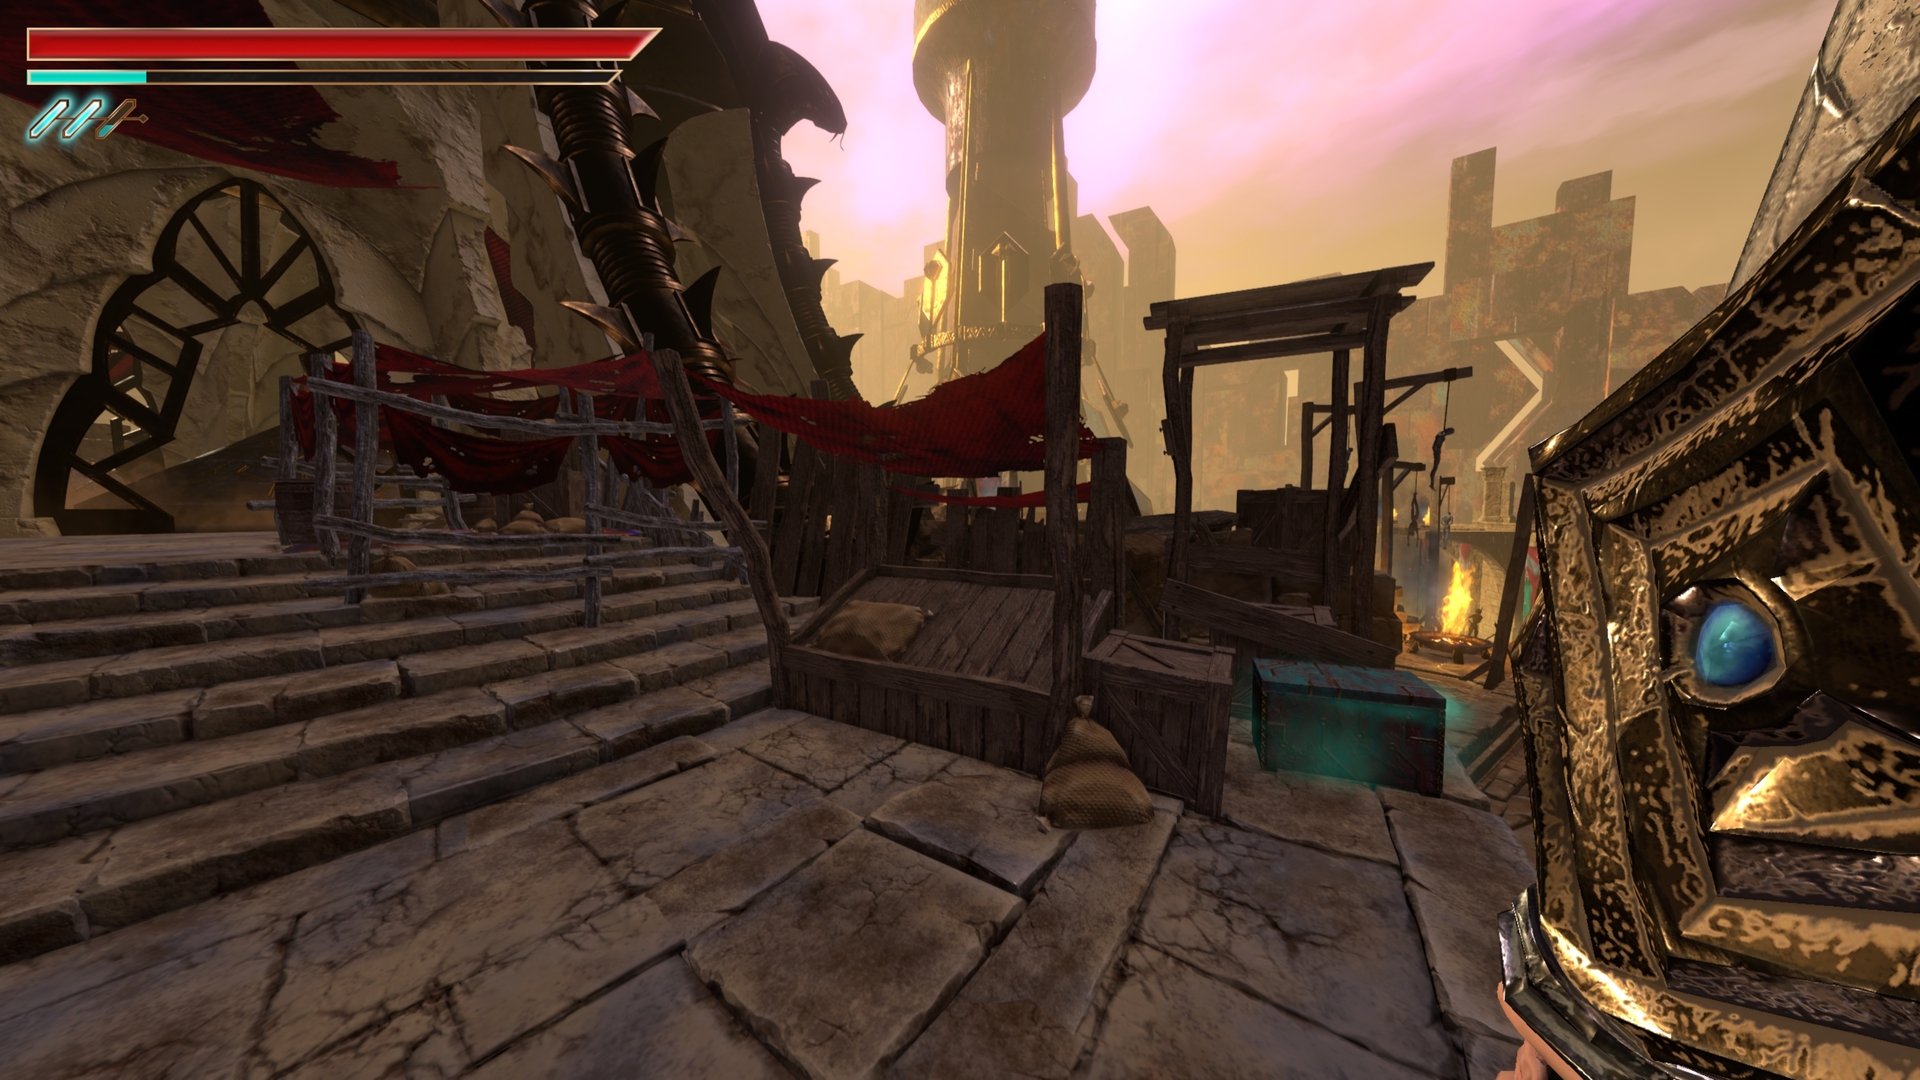
⠀
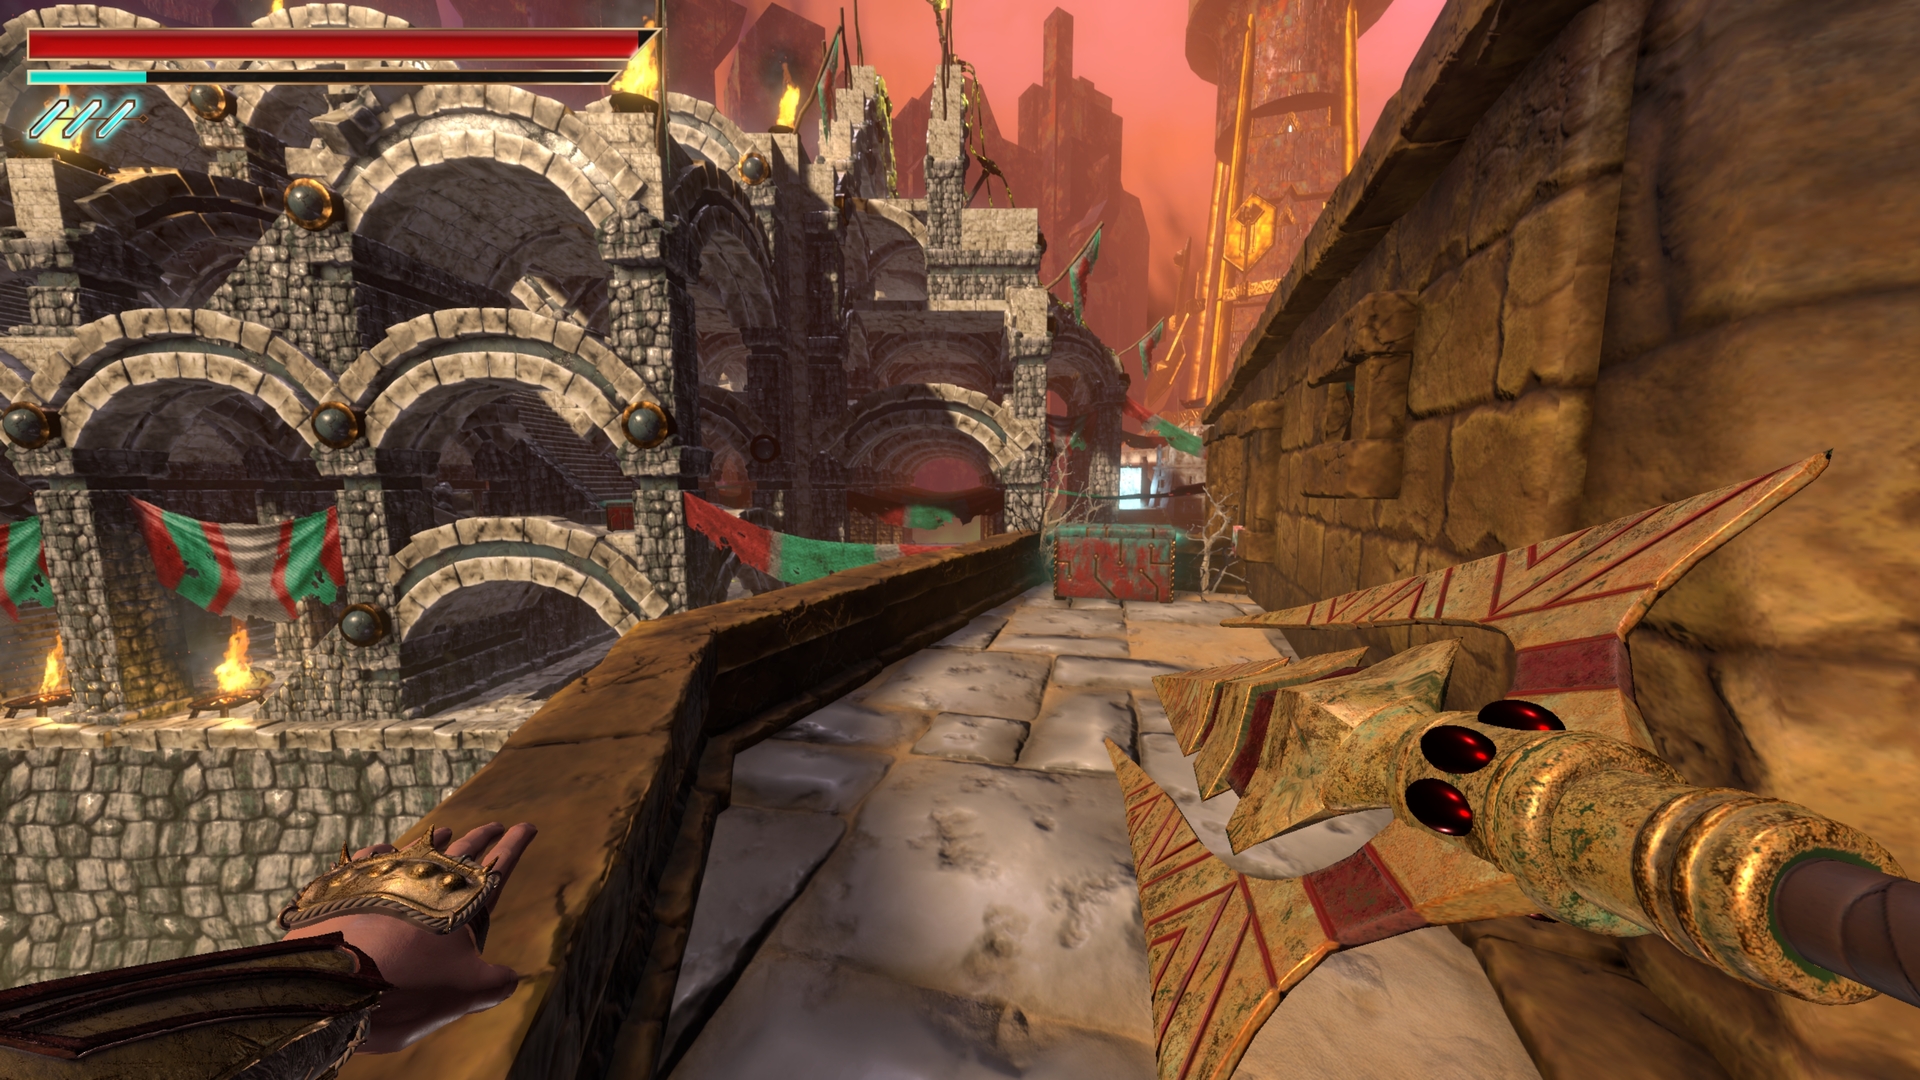
3.) From the red door section turn right and follow the path.
⠀
4.) Through the red door, drop down immediately to the lower left section.
⠀

5.) Climbing back up to the main stairs, go through the house and out the other side.
⠀
6.) Take a left at the top of the wide staircase.
⠀

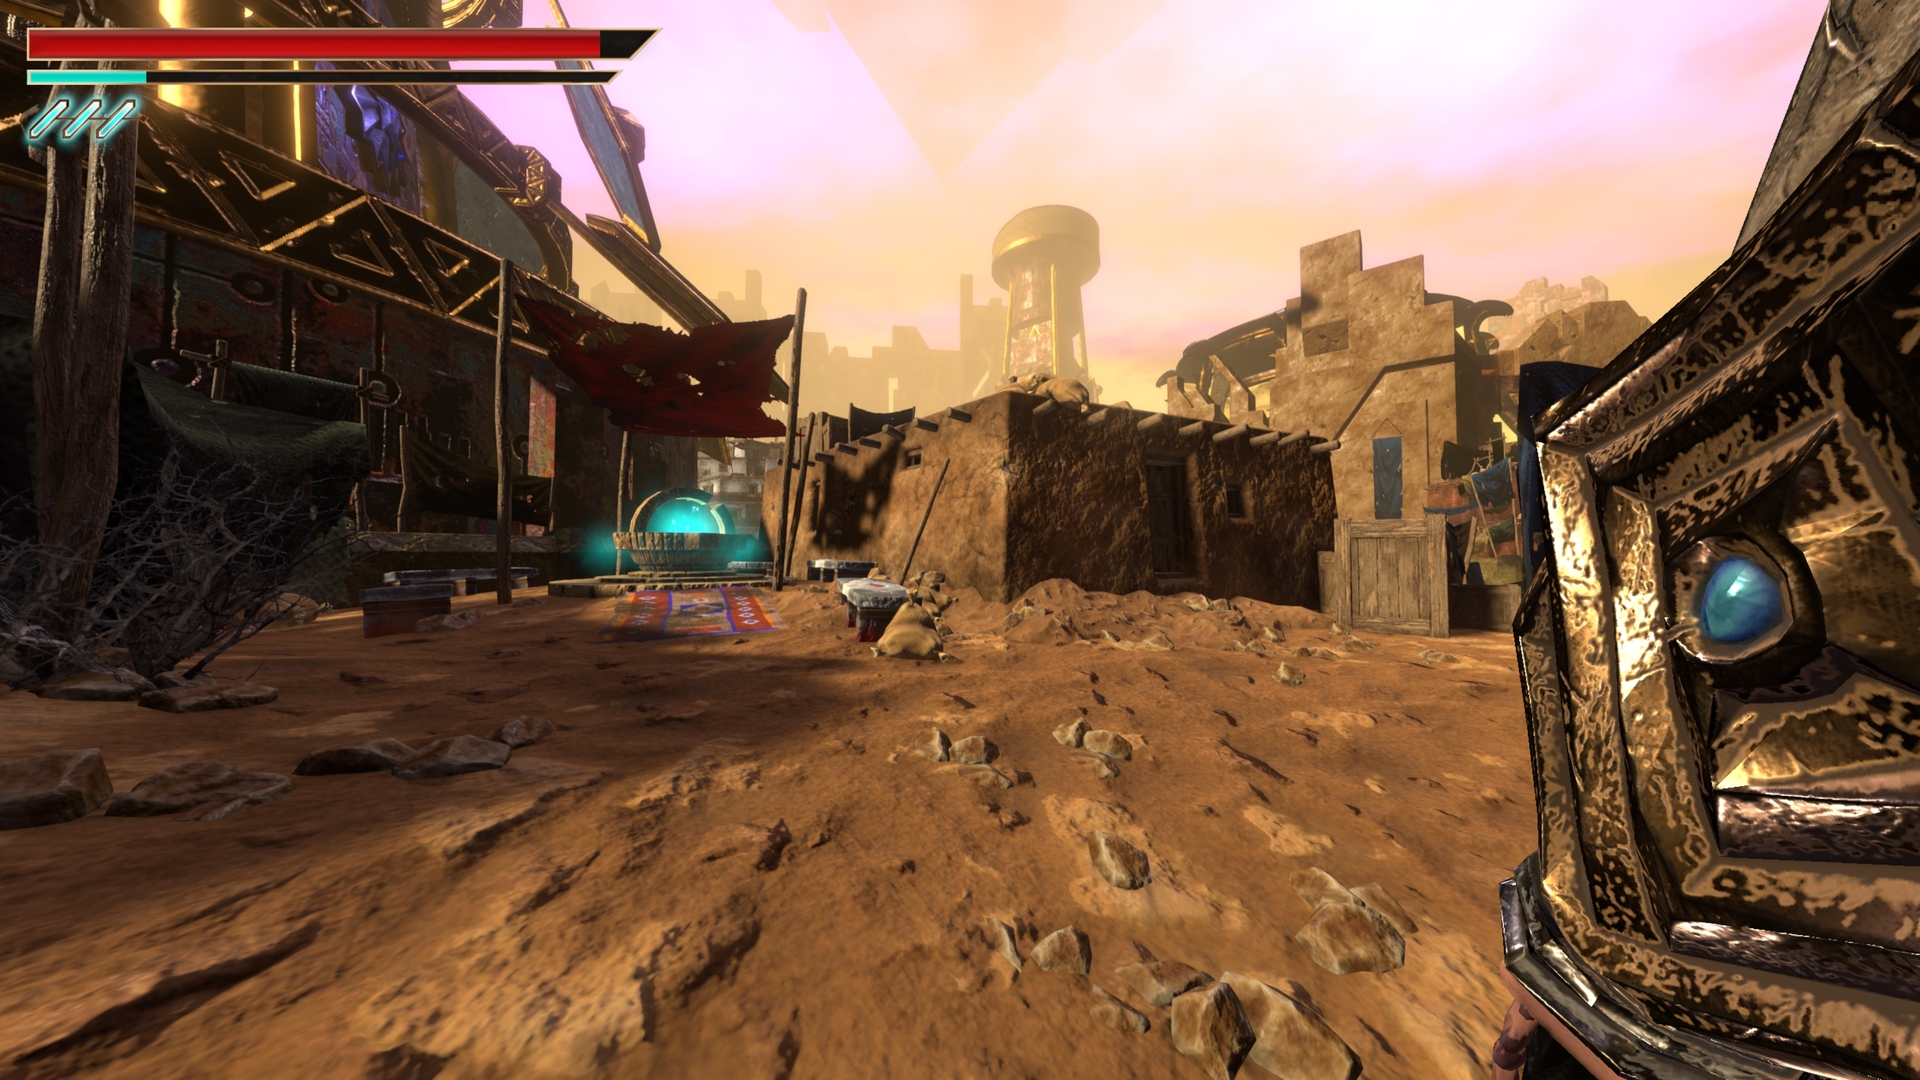
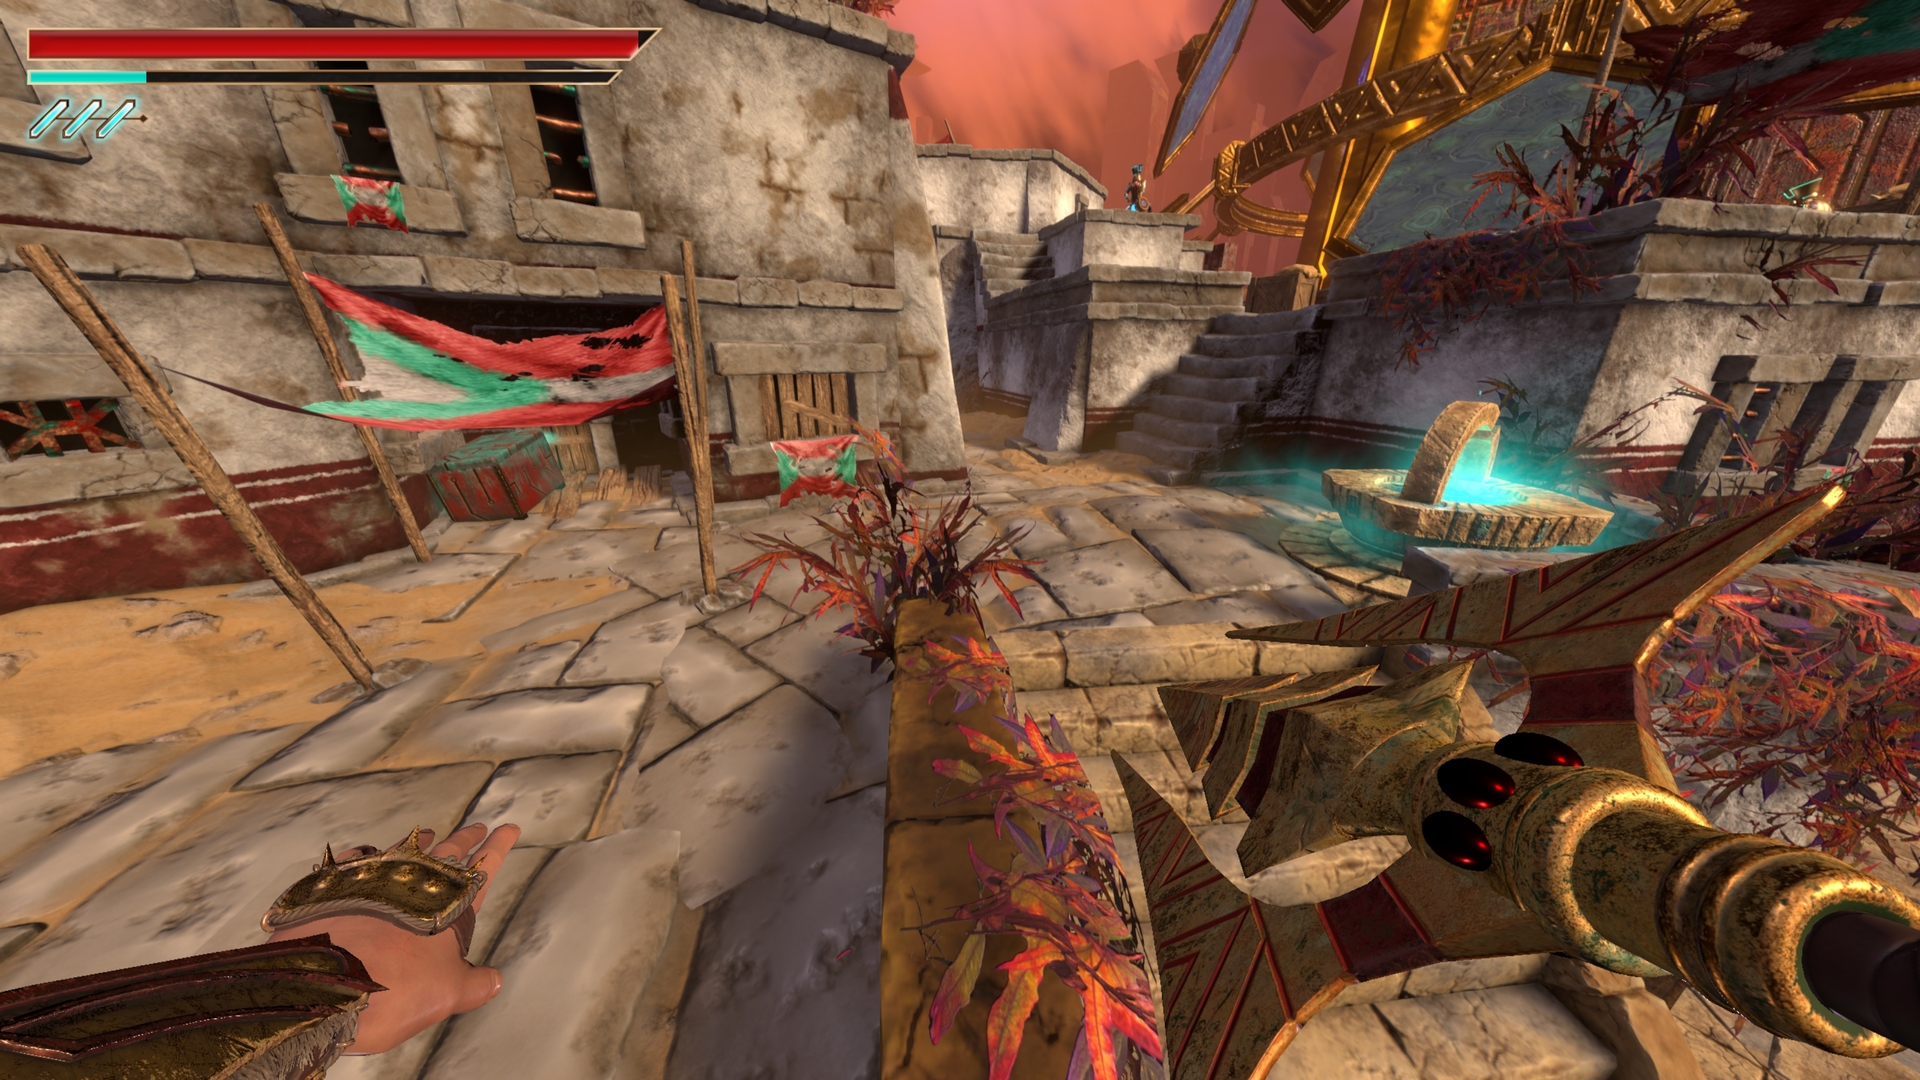
7.) At the fountain nearby, climb up the house adjacent.
⠀
8.) Find the small arched door and climb up on the left
⠀

9 & 10.) Follow the red wire on the lower section around the house
⠀
11.) Turn around to the other side of the wall for the other
⠀

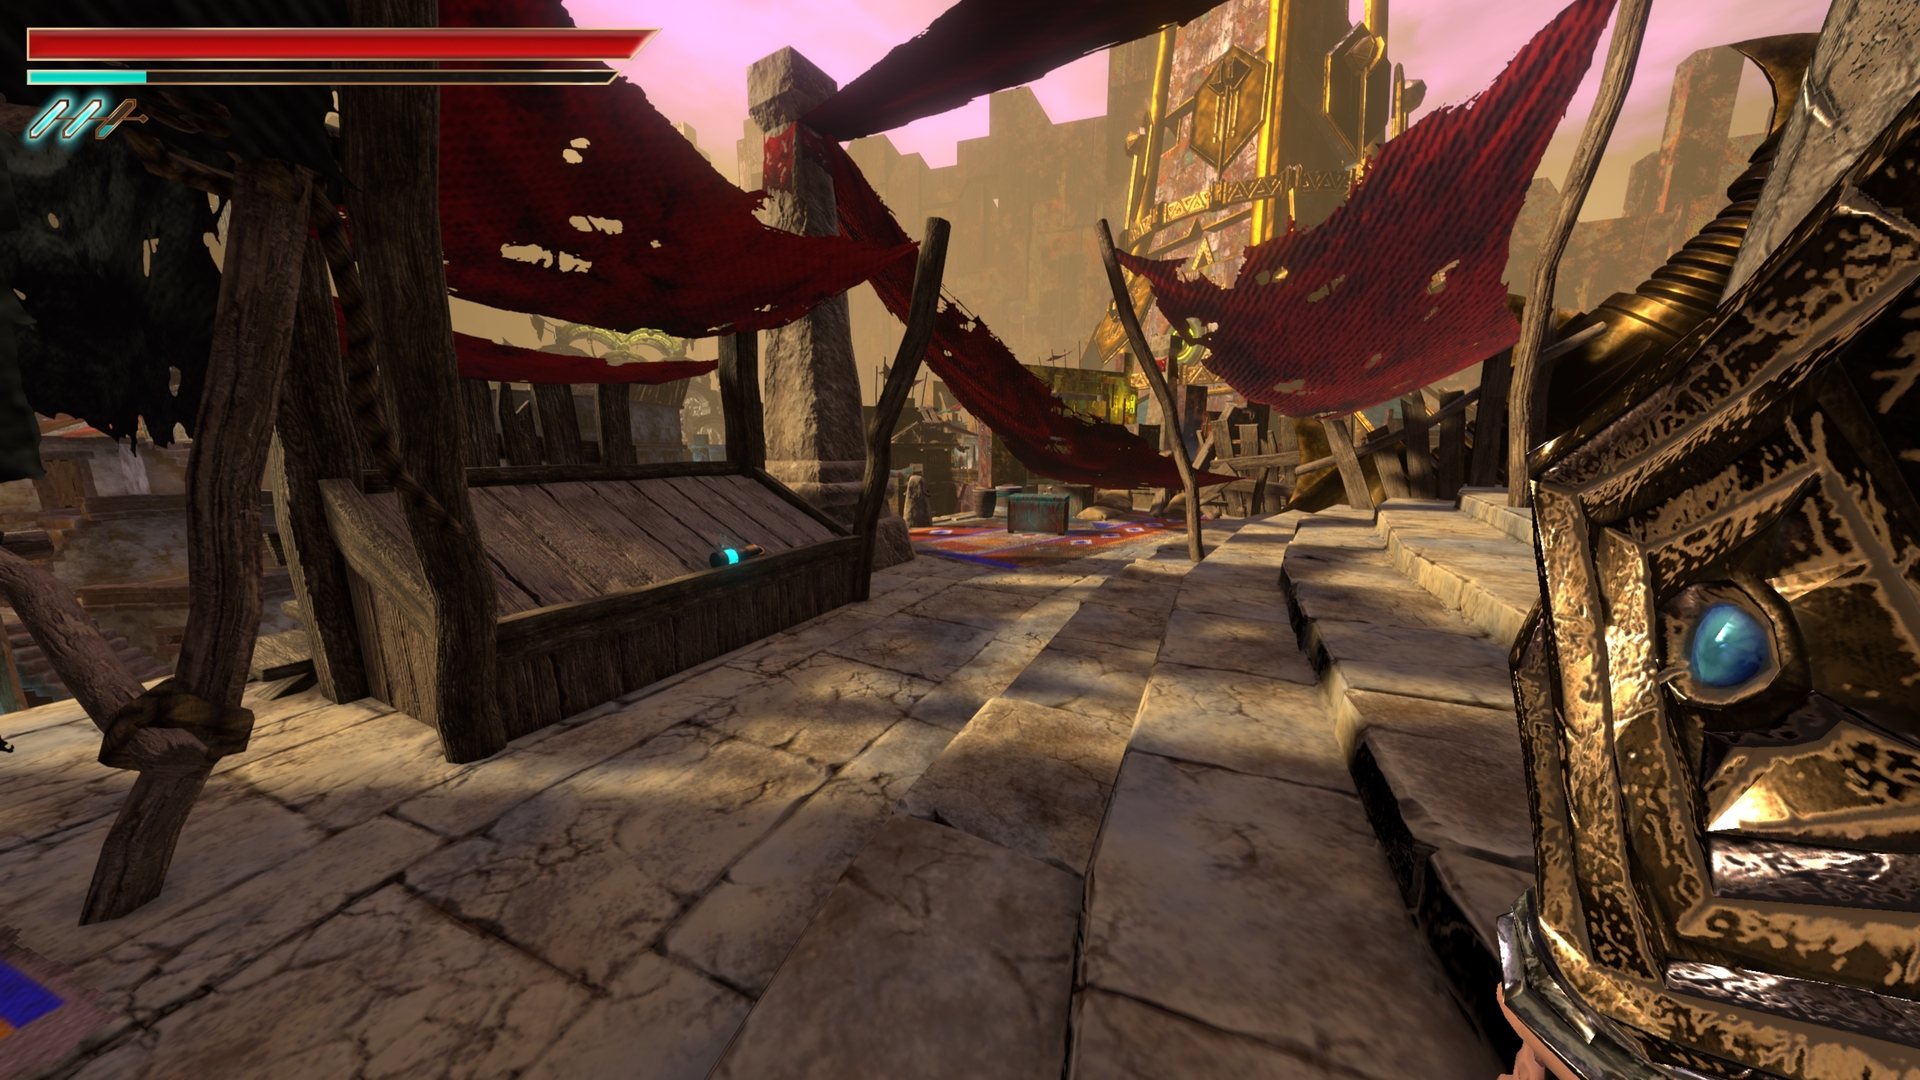
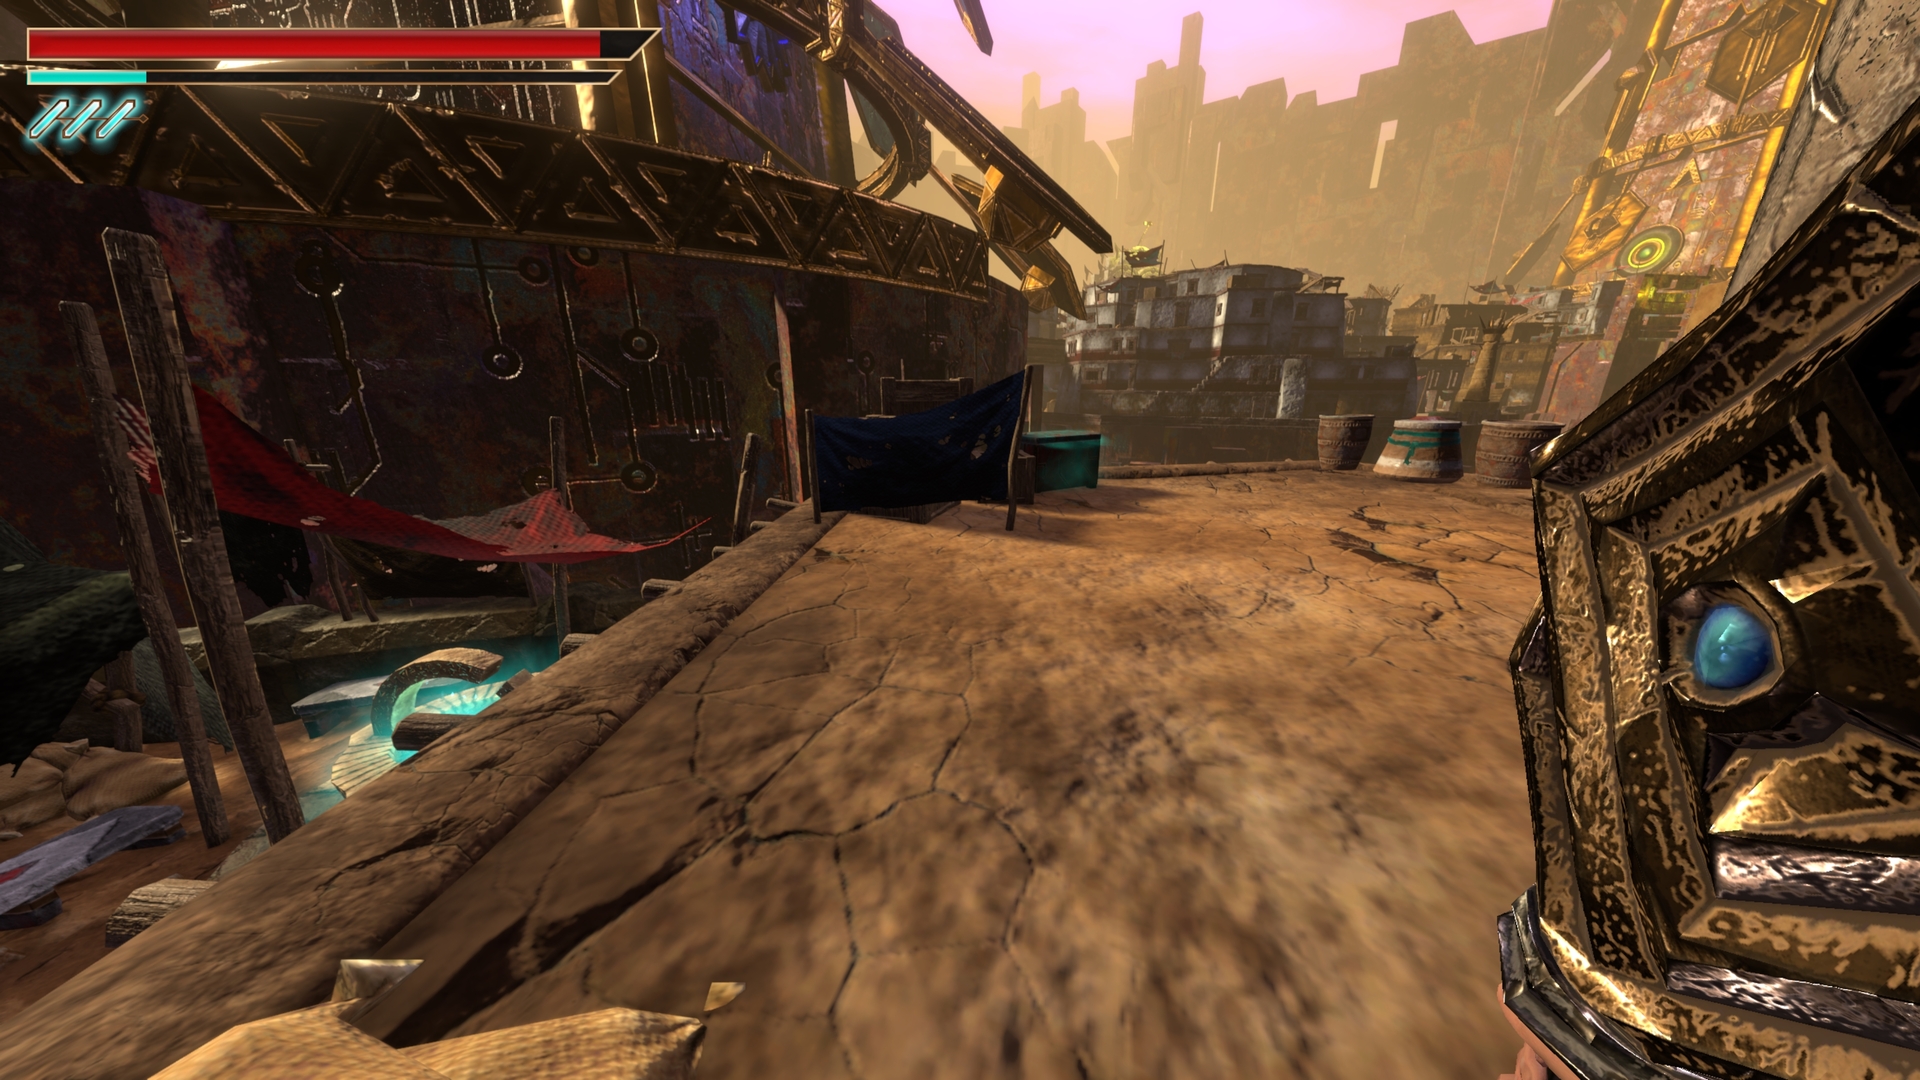
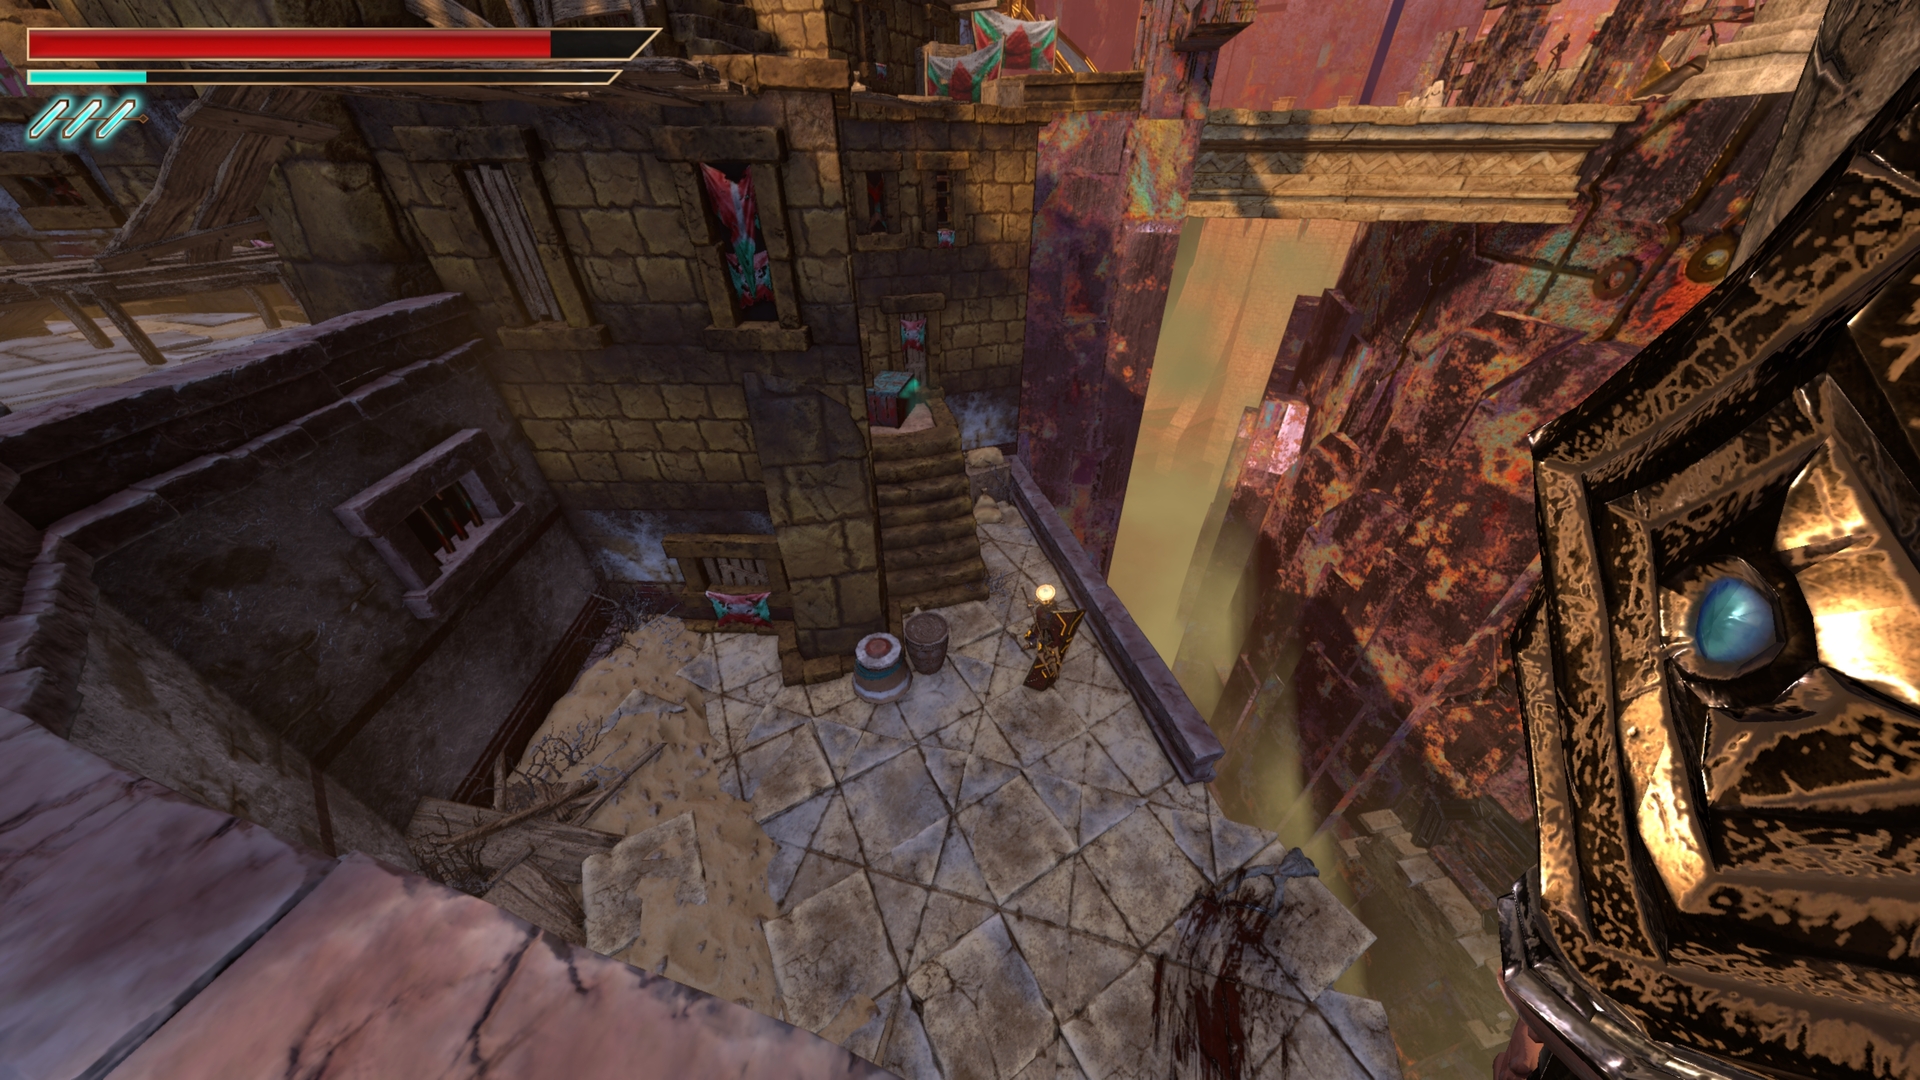
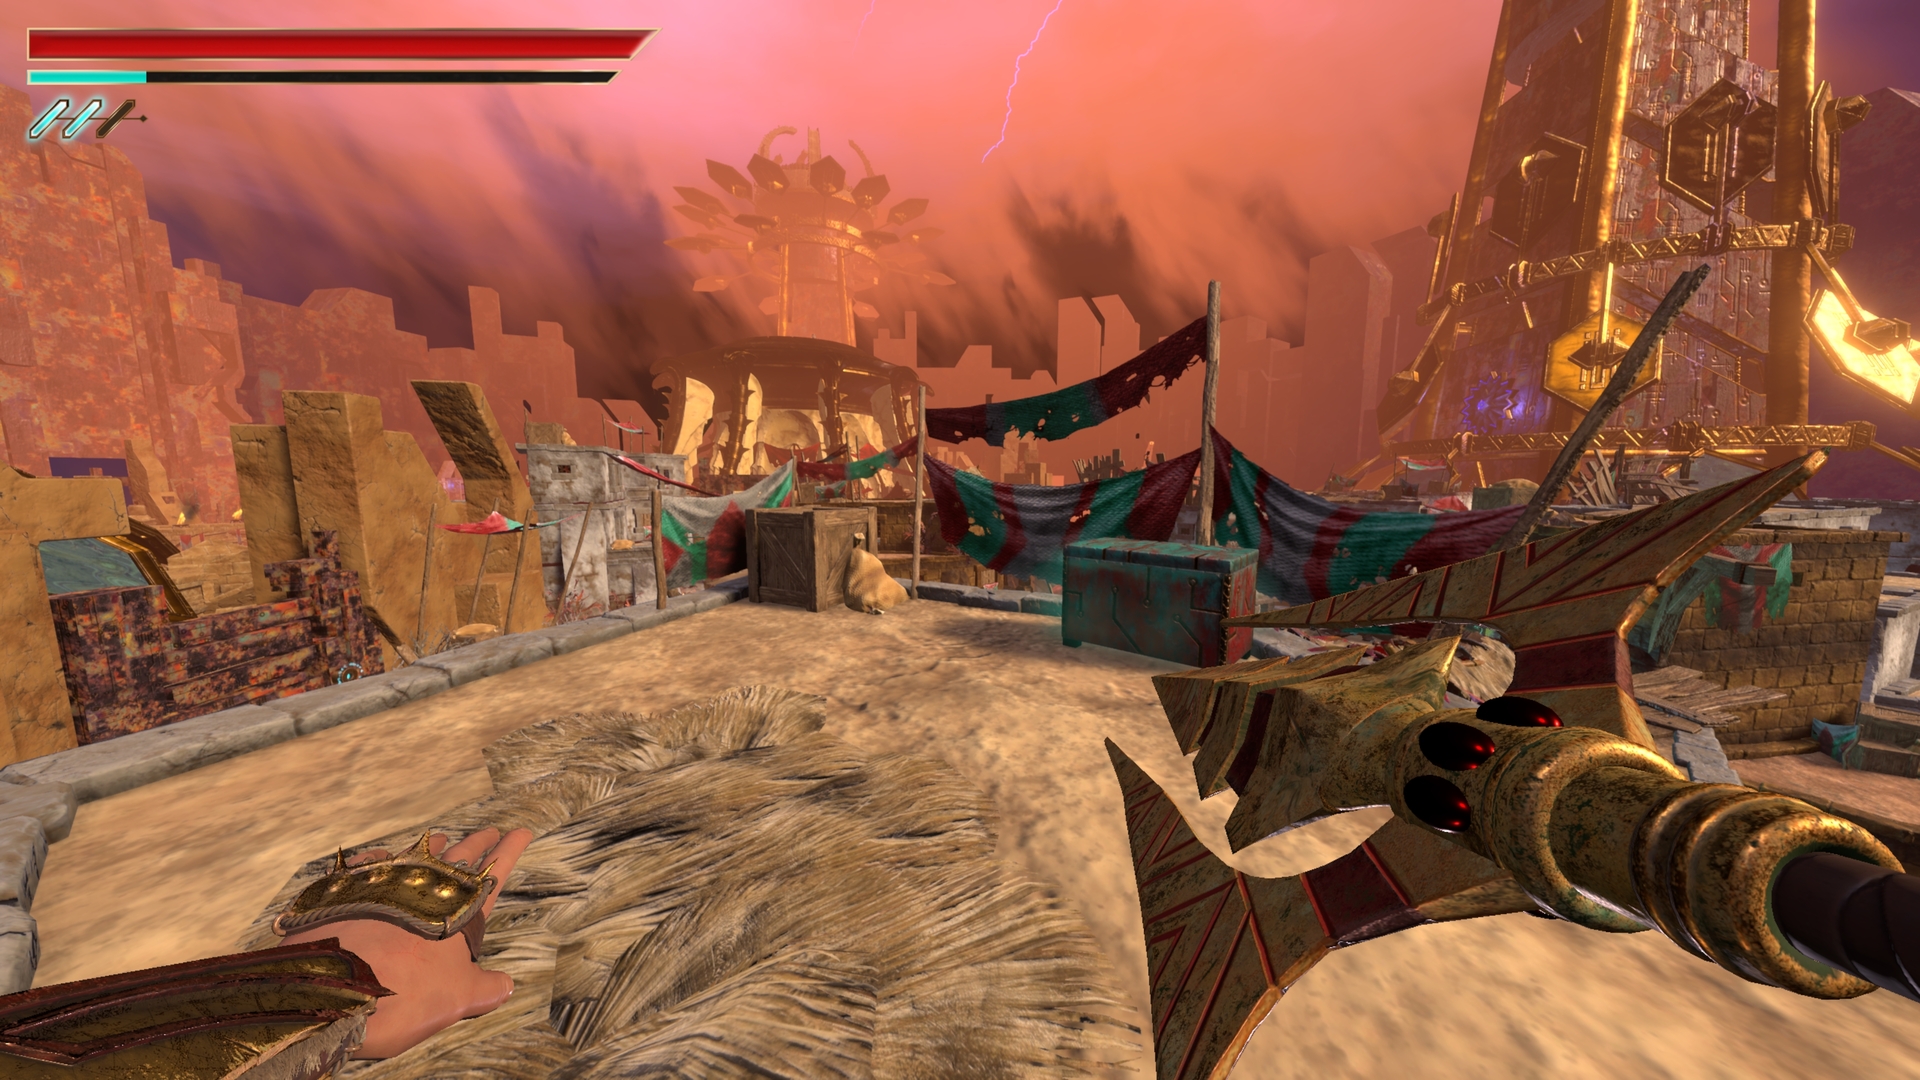
12.) Across the newly floating platforms, turn right into the alleyway
⠀14.) Back to the fountain and down the middle path, at the wooden fencing up the wall.
⠀
15.) Down the left alley to the lower section.
⠀
16.) Past the lower fountain and up the wall on the right.
⠀
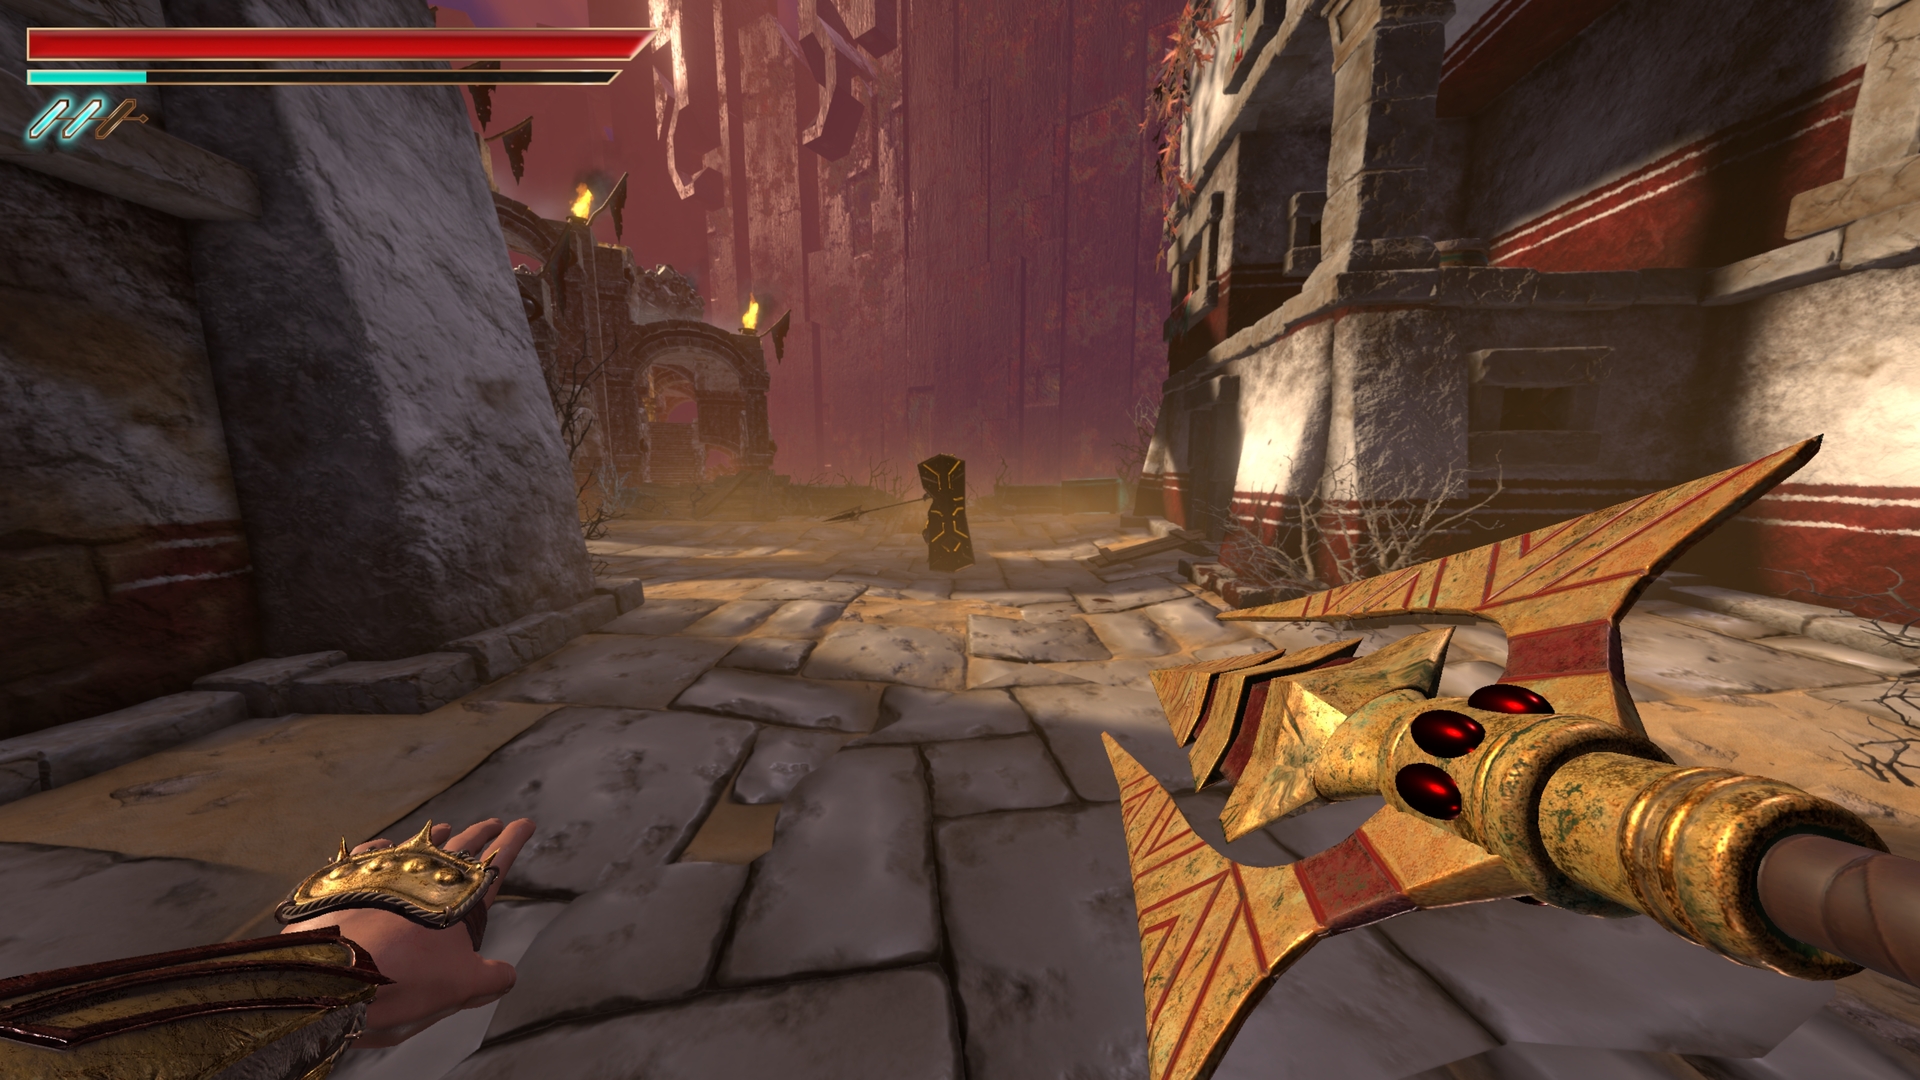
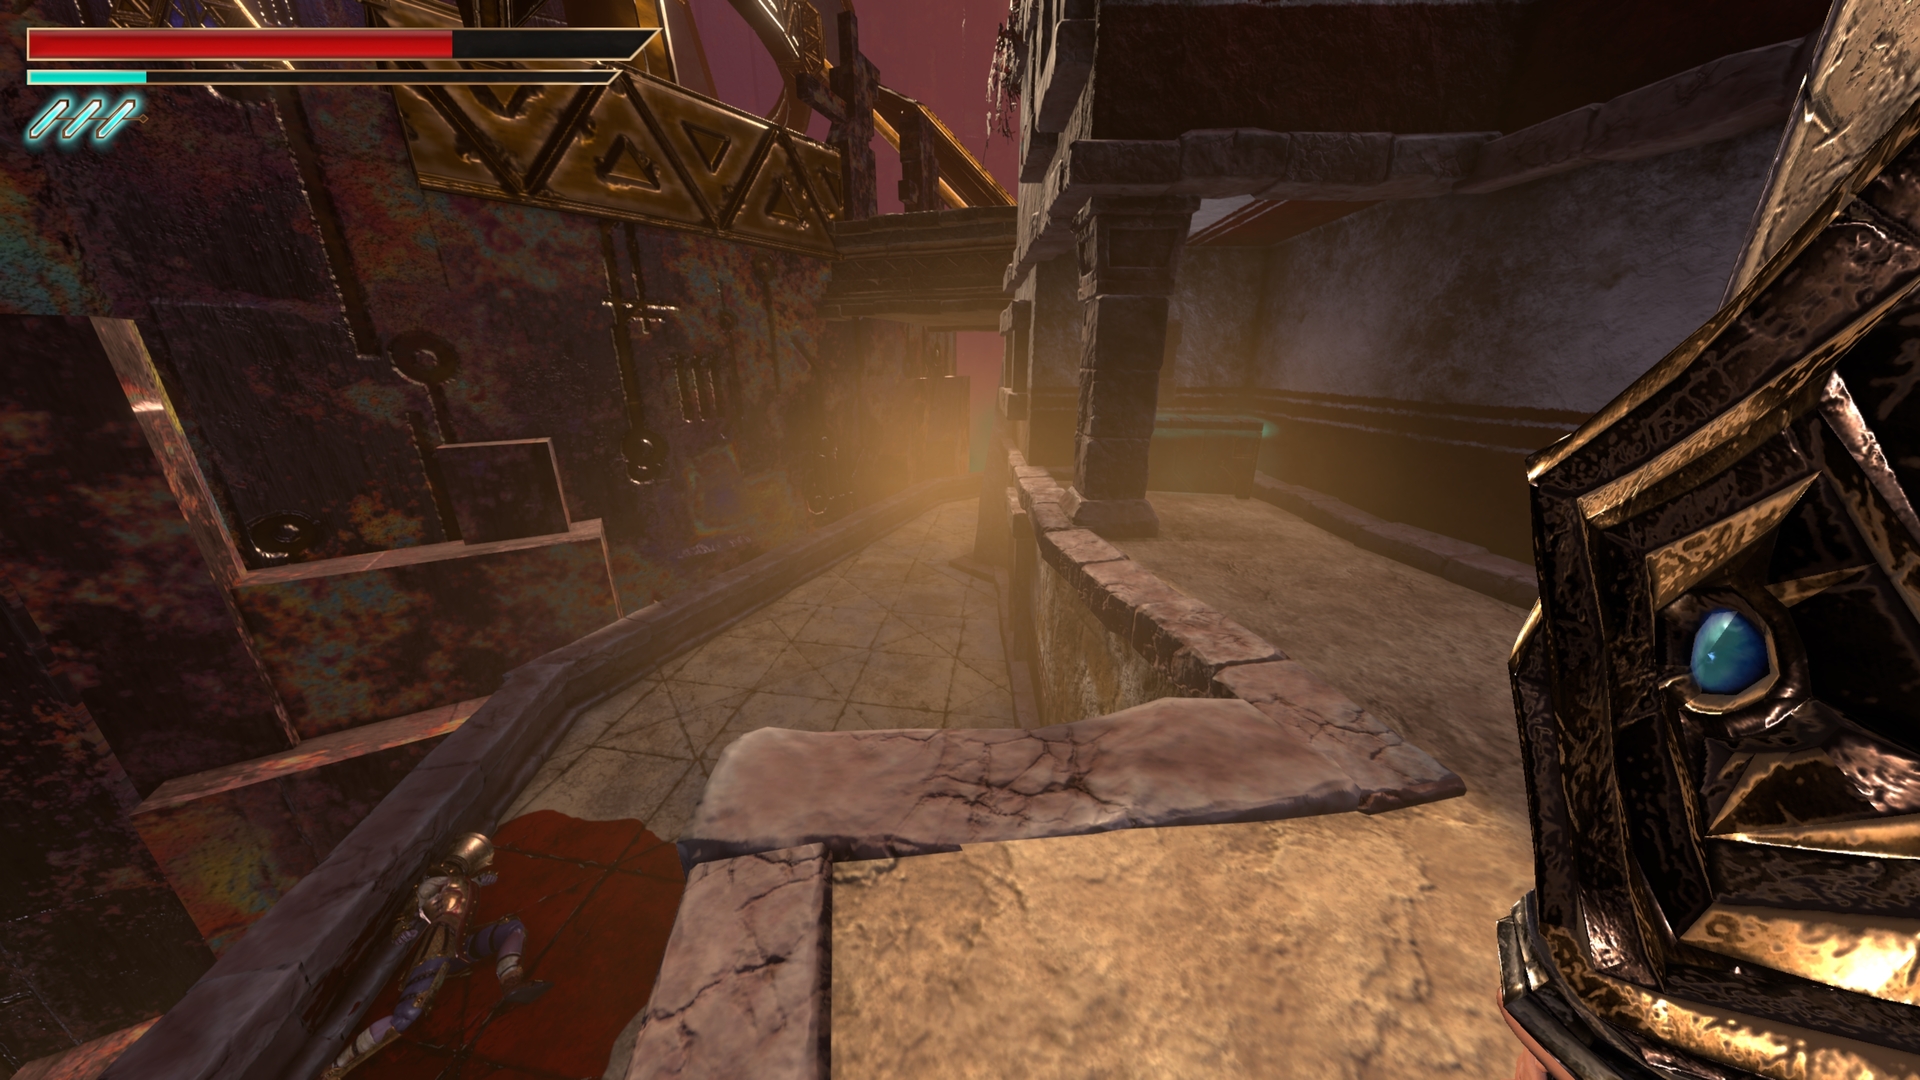
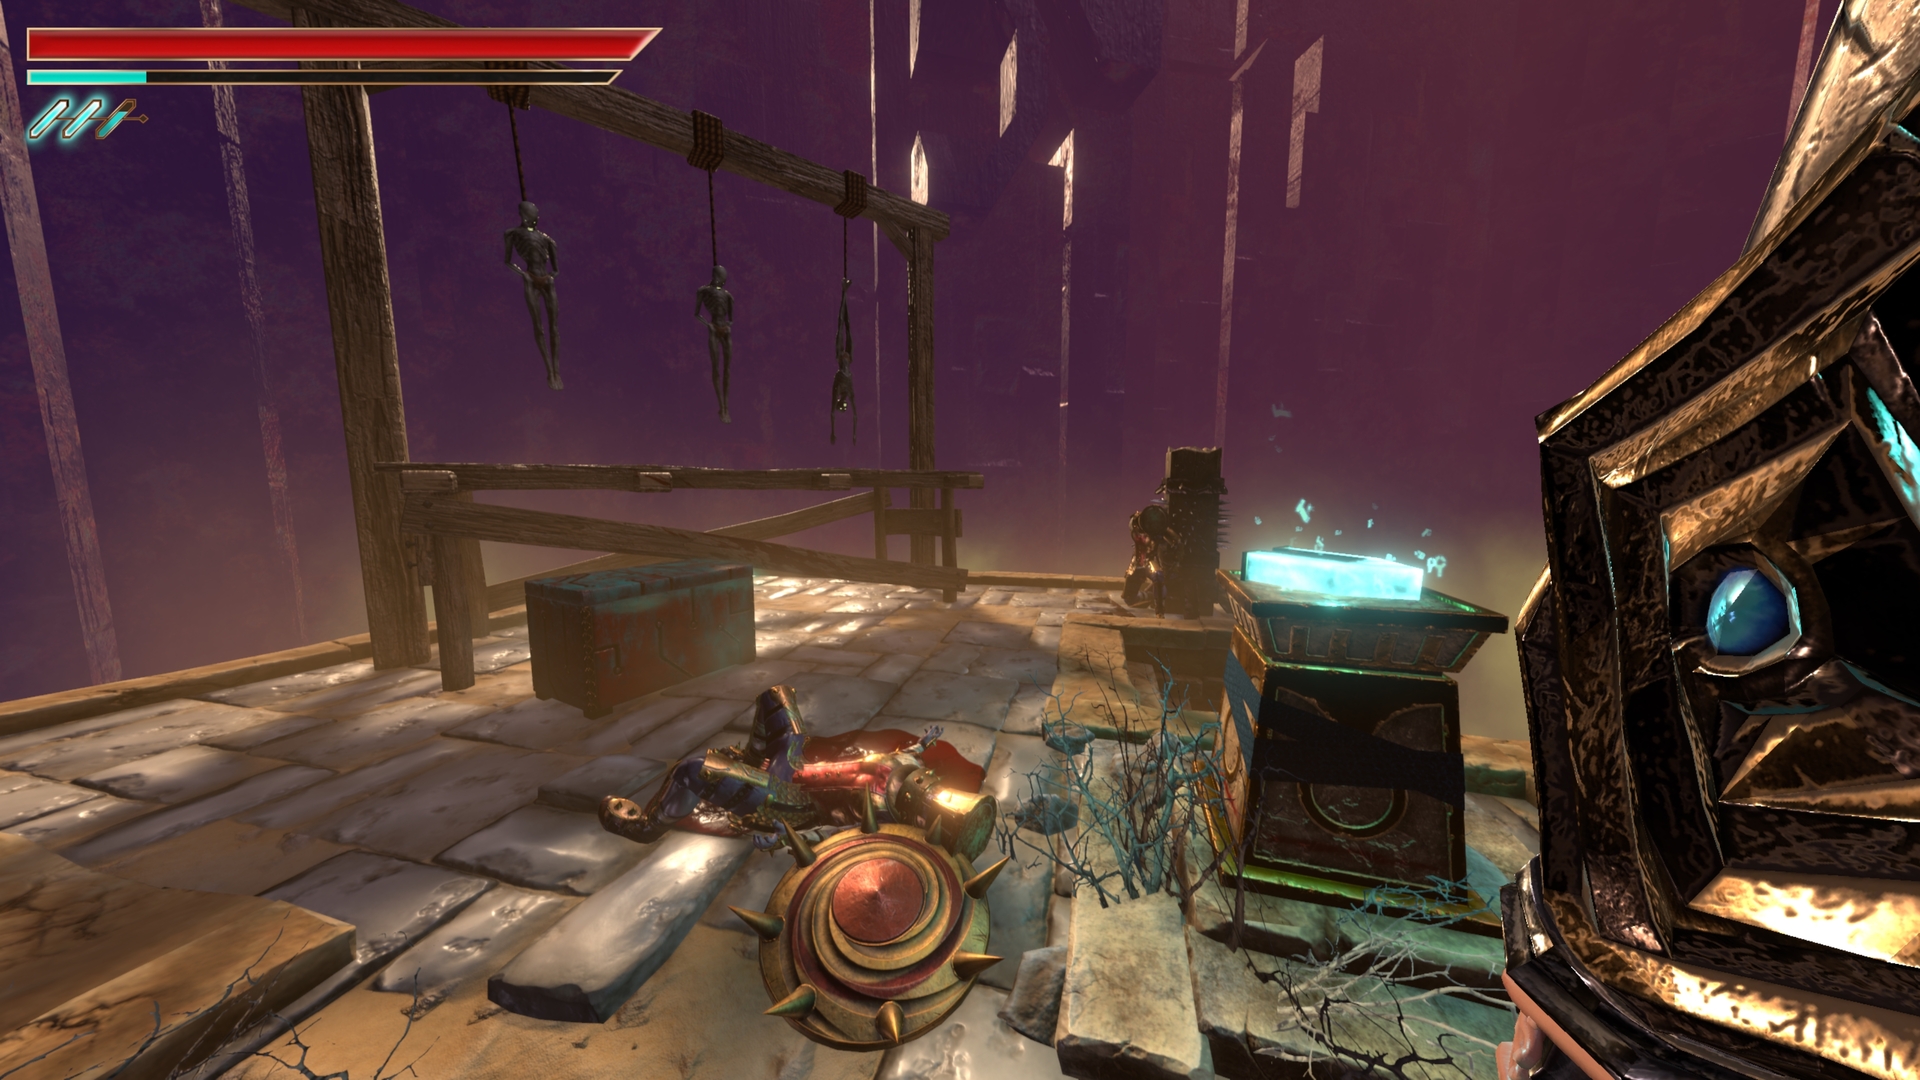
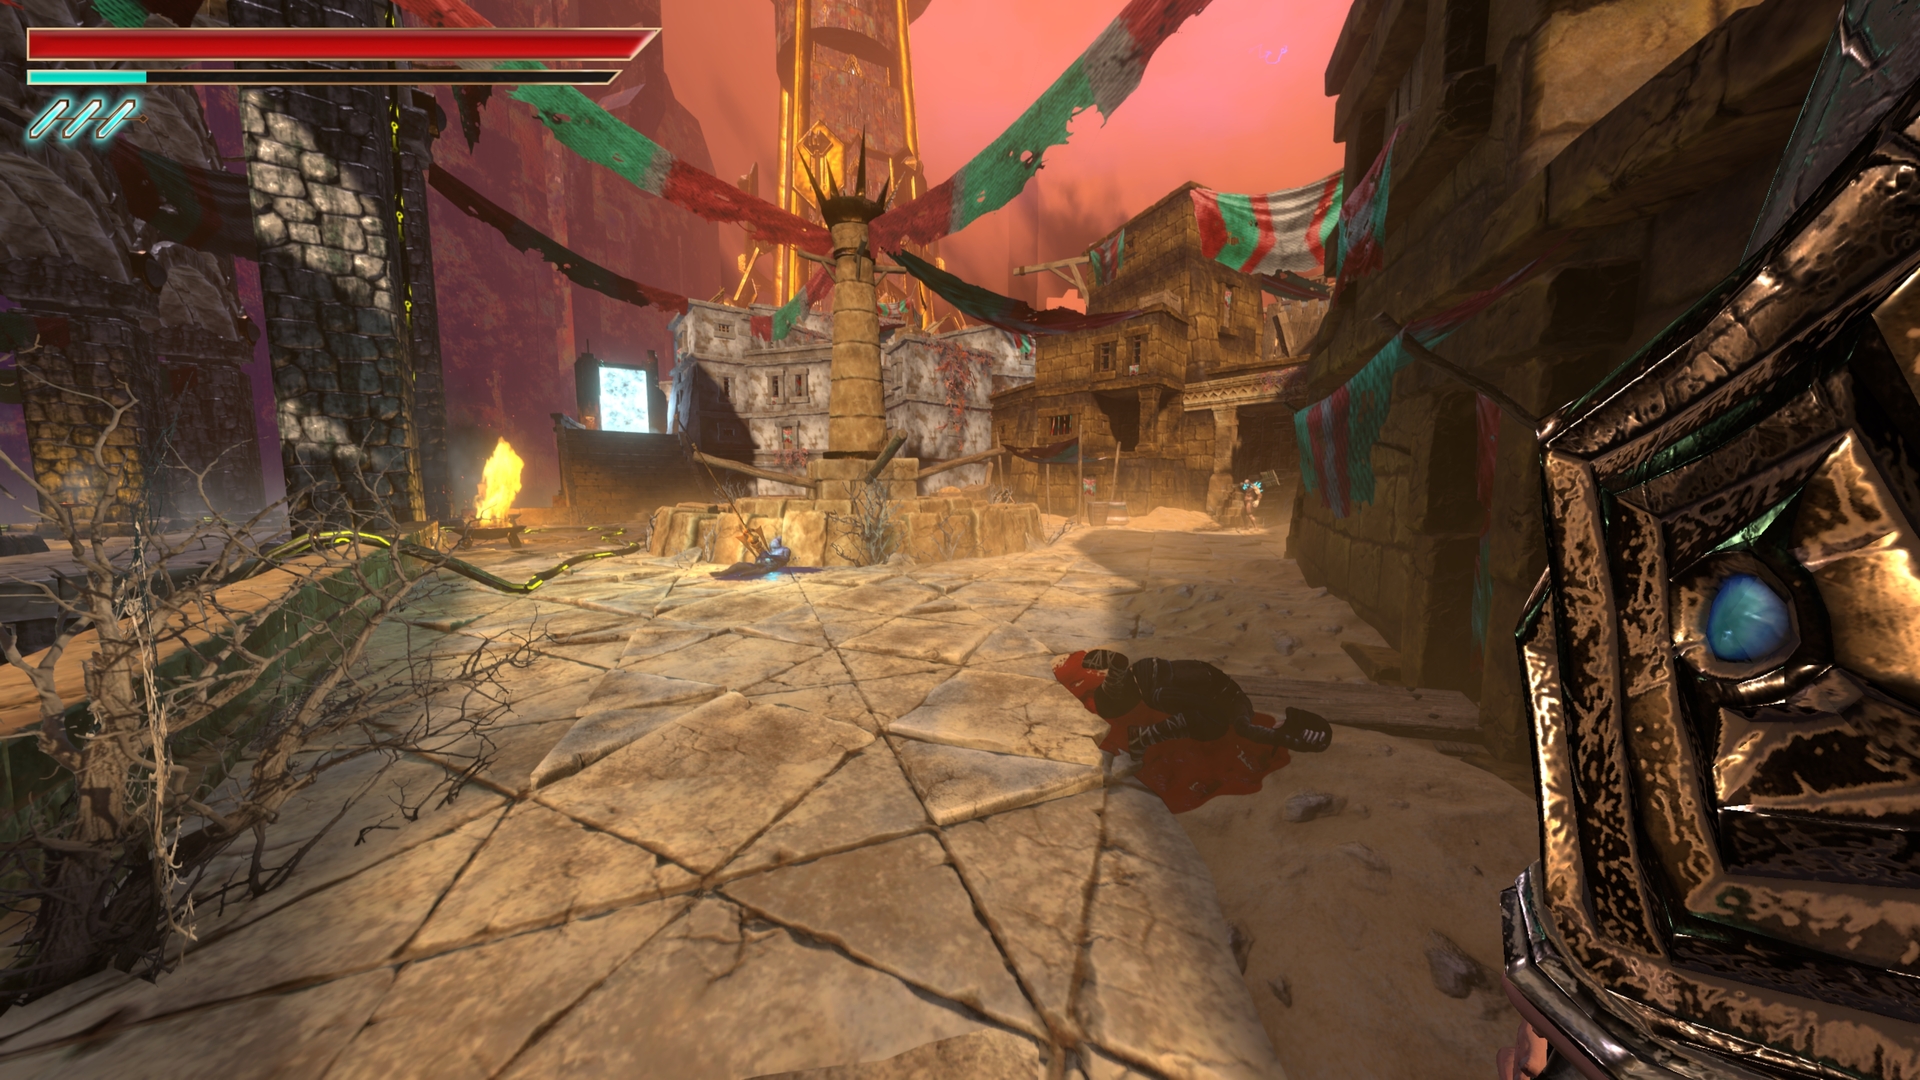
17.) Continue to the hanging bodies.
⠀
⠀
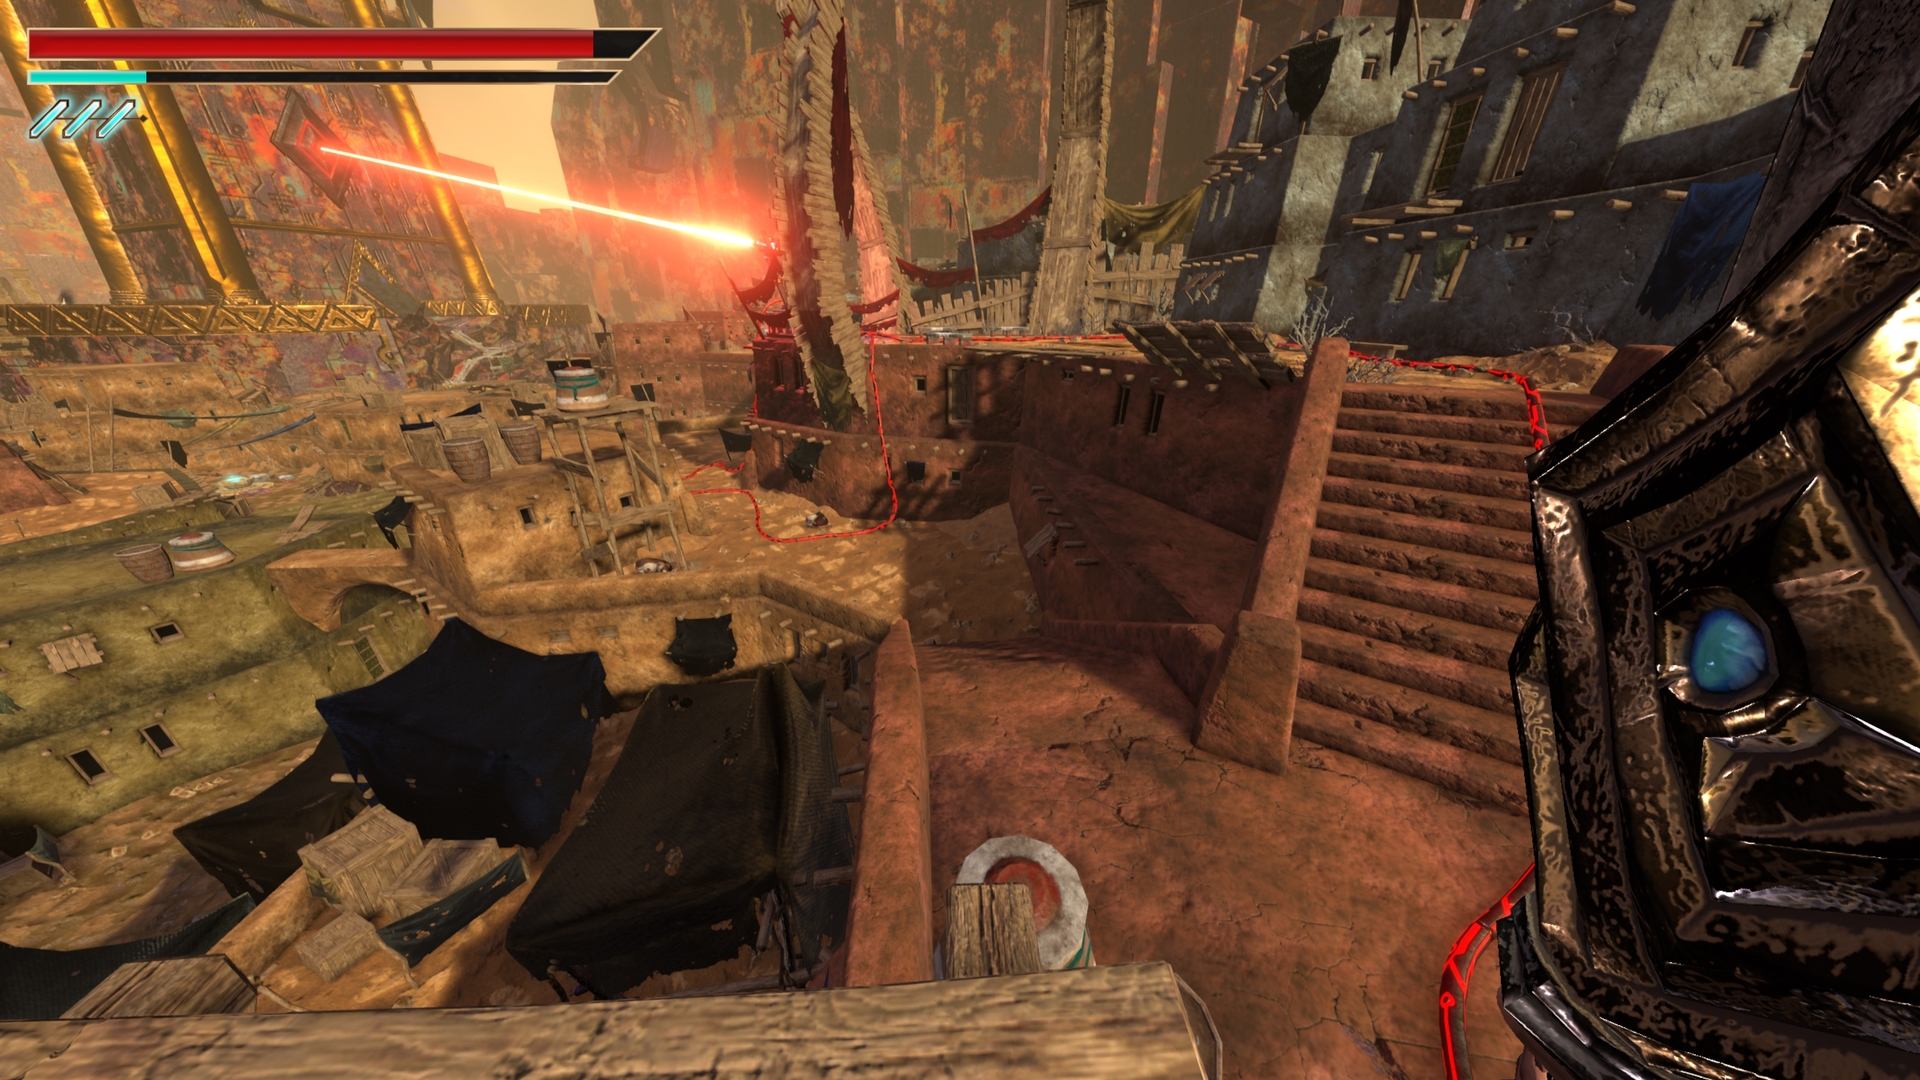
18.) Around the outside to the fountain area with the spear, keep right to the corner.
⠀
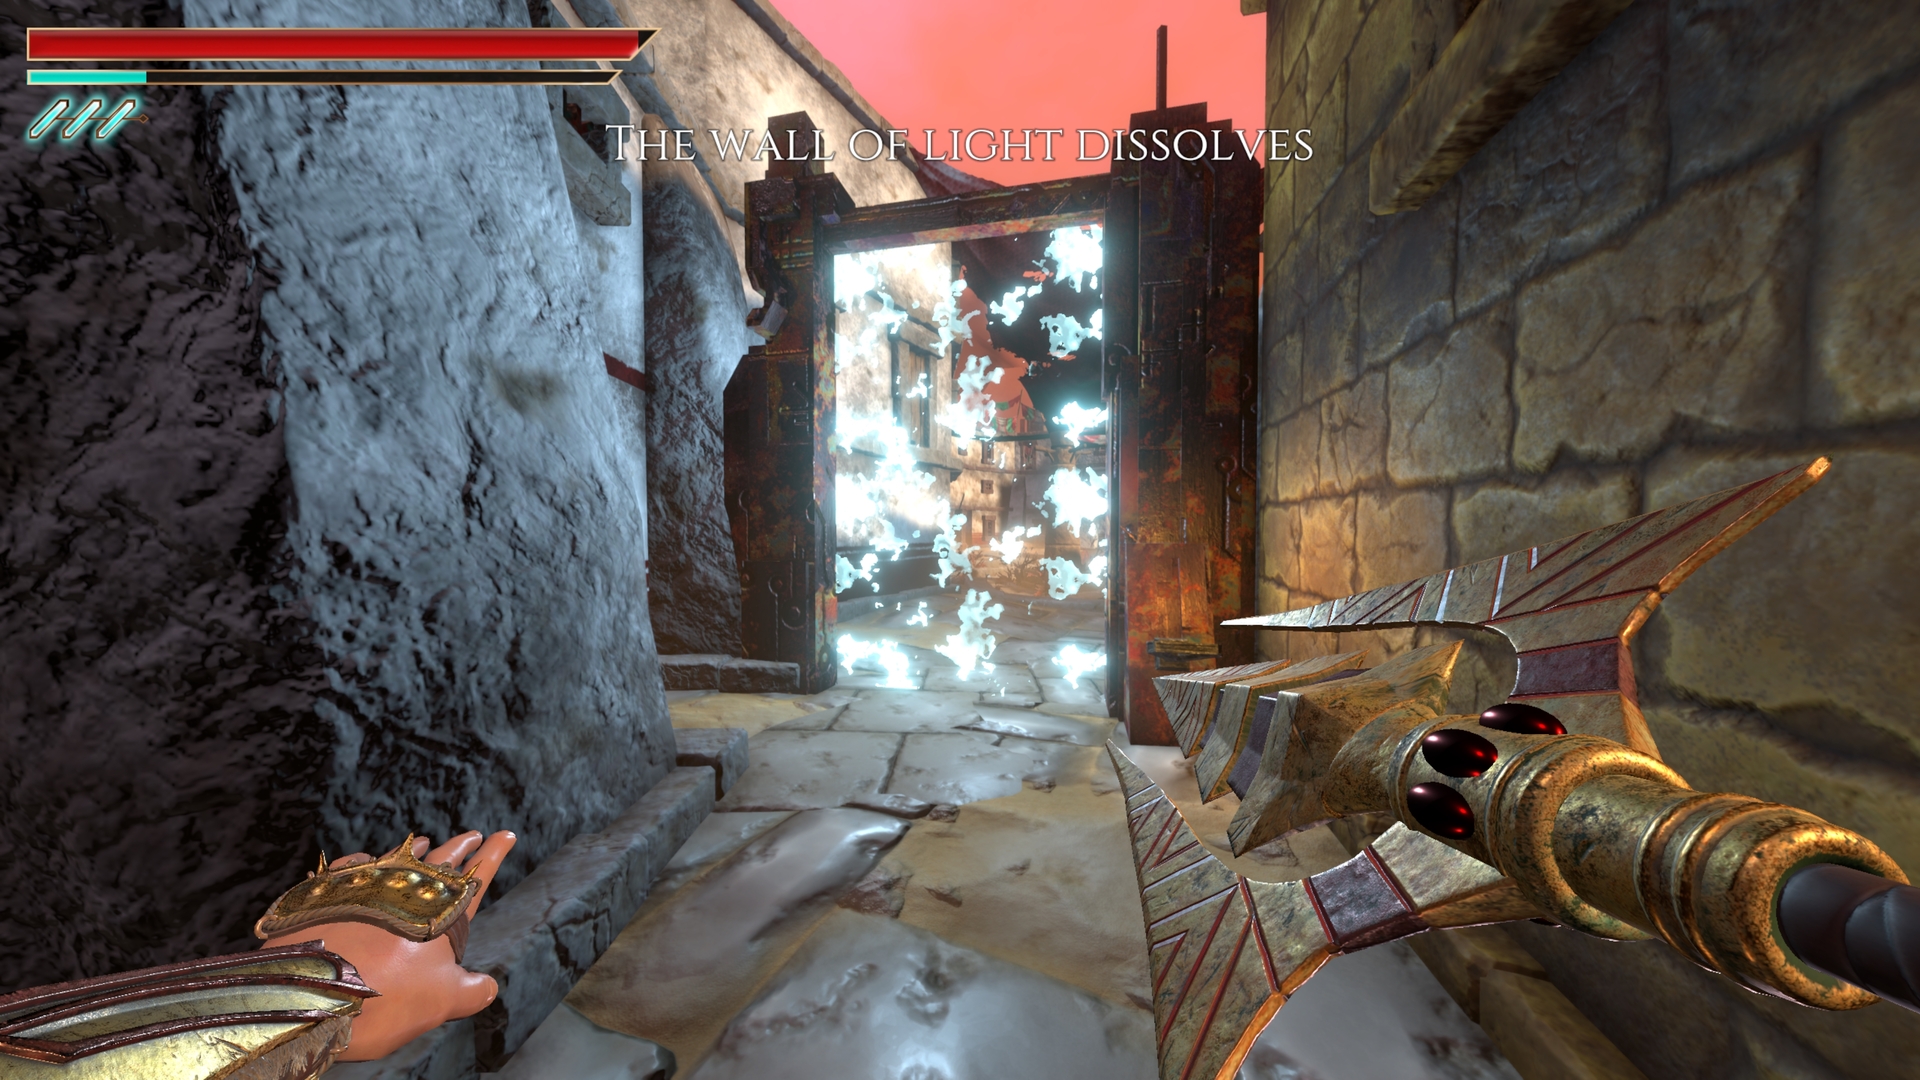
19.) Up the stairs past the wall of light, turn right towards the fountain and right again.
⠀
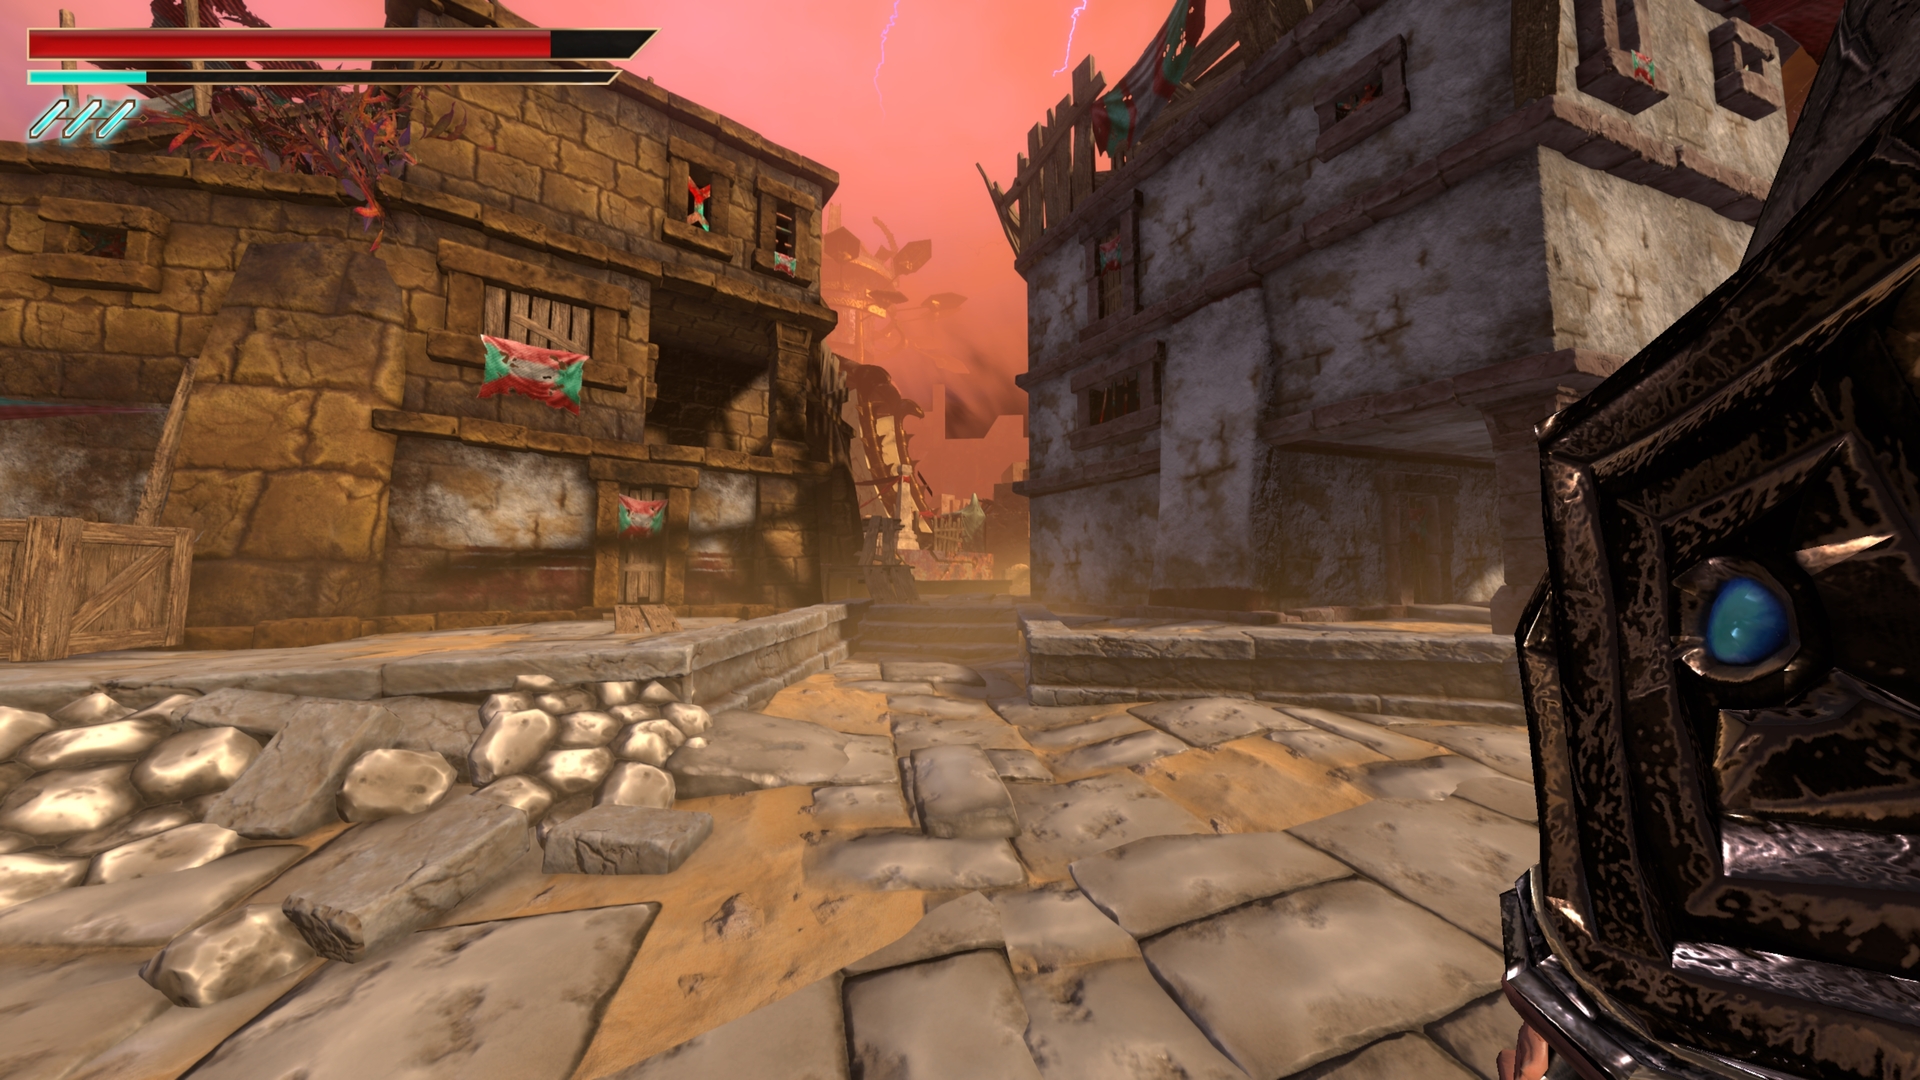
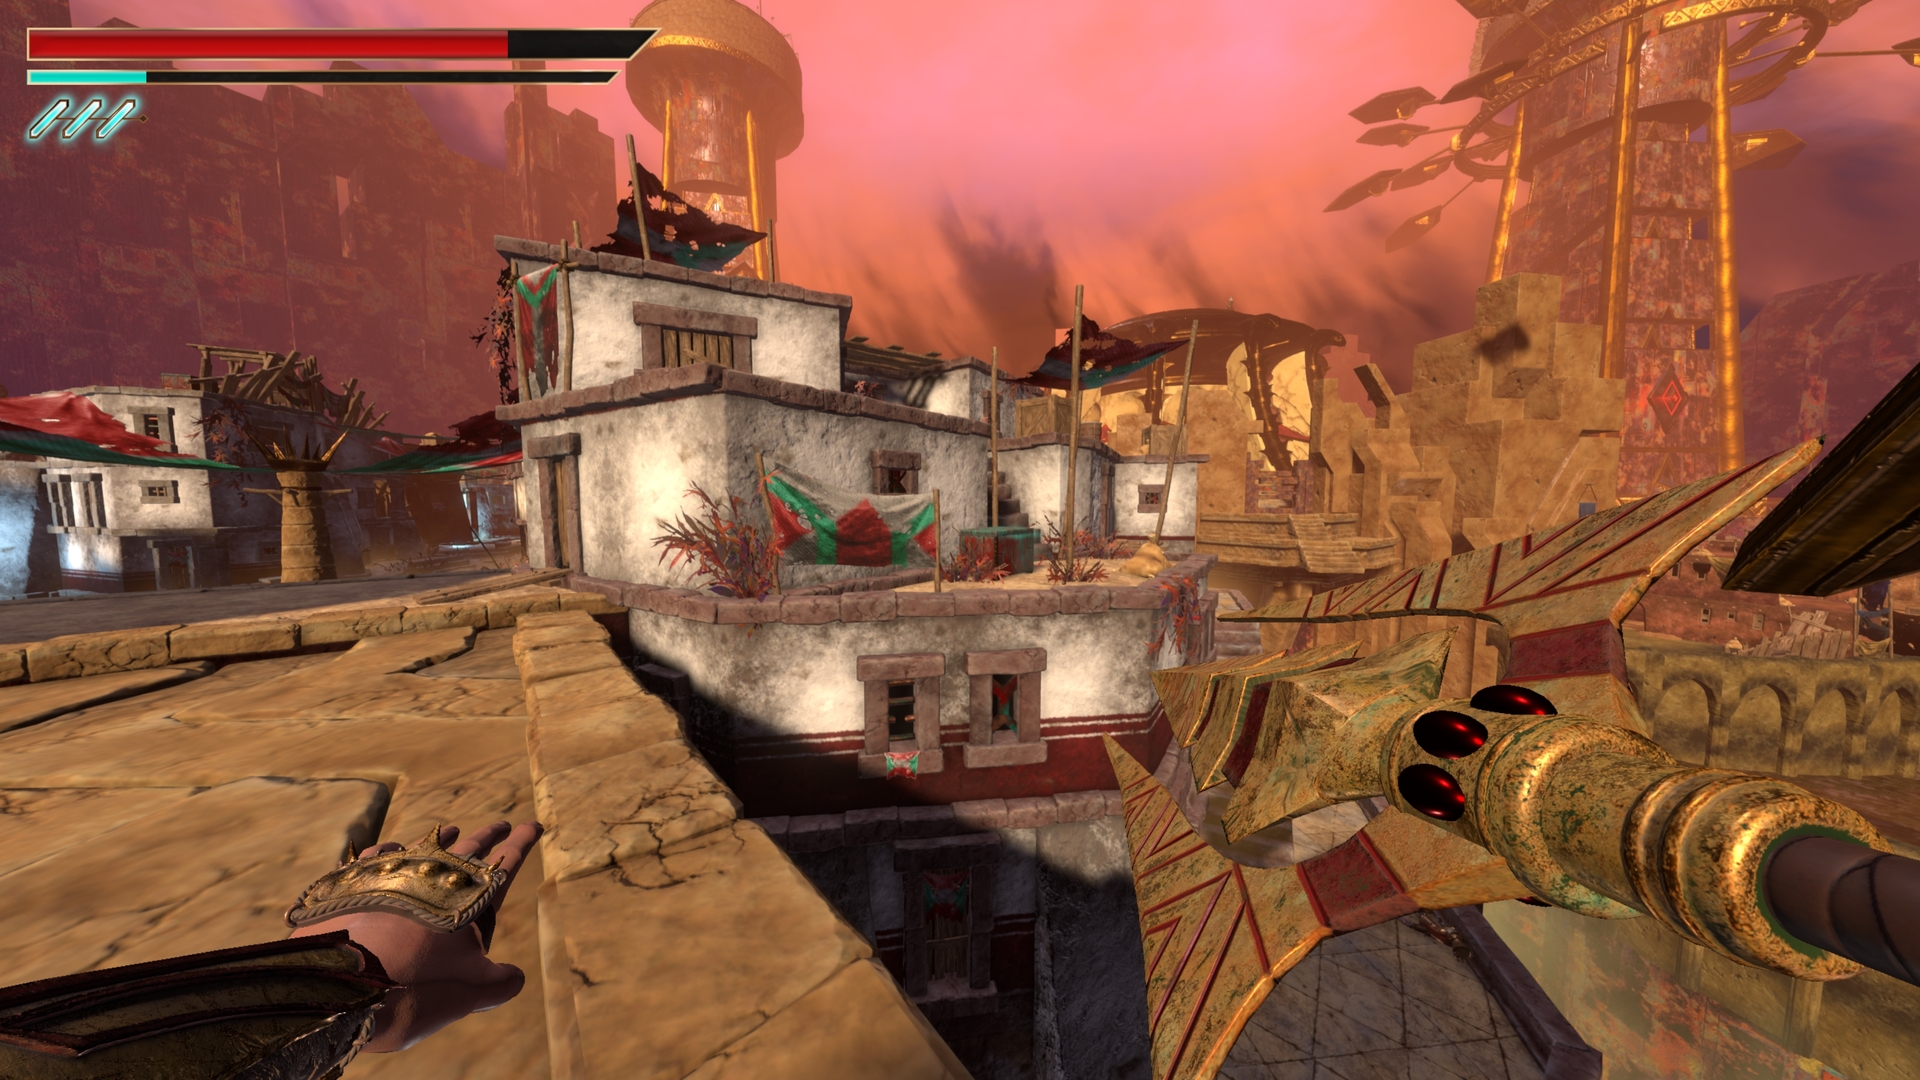
20.) Around the corner of the adjacent building on the same level.
⠀
21.) Climb up the wall directly next to the previous chest and up the stairs past the codex. Turn right at the top of the stairs for the first.
⠀
22.) Then follow the edge of the floor for the next one.
⠀
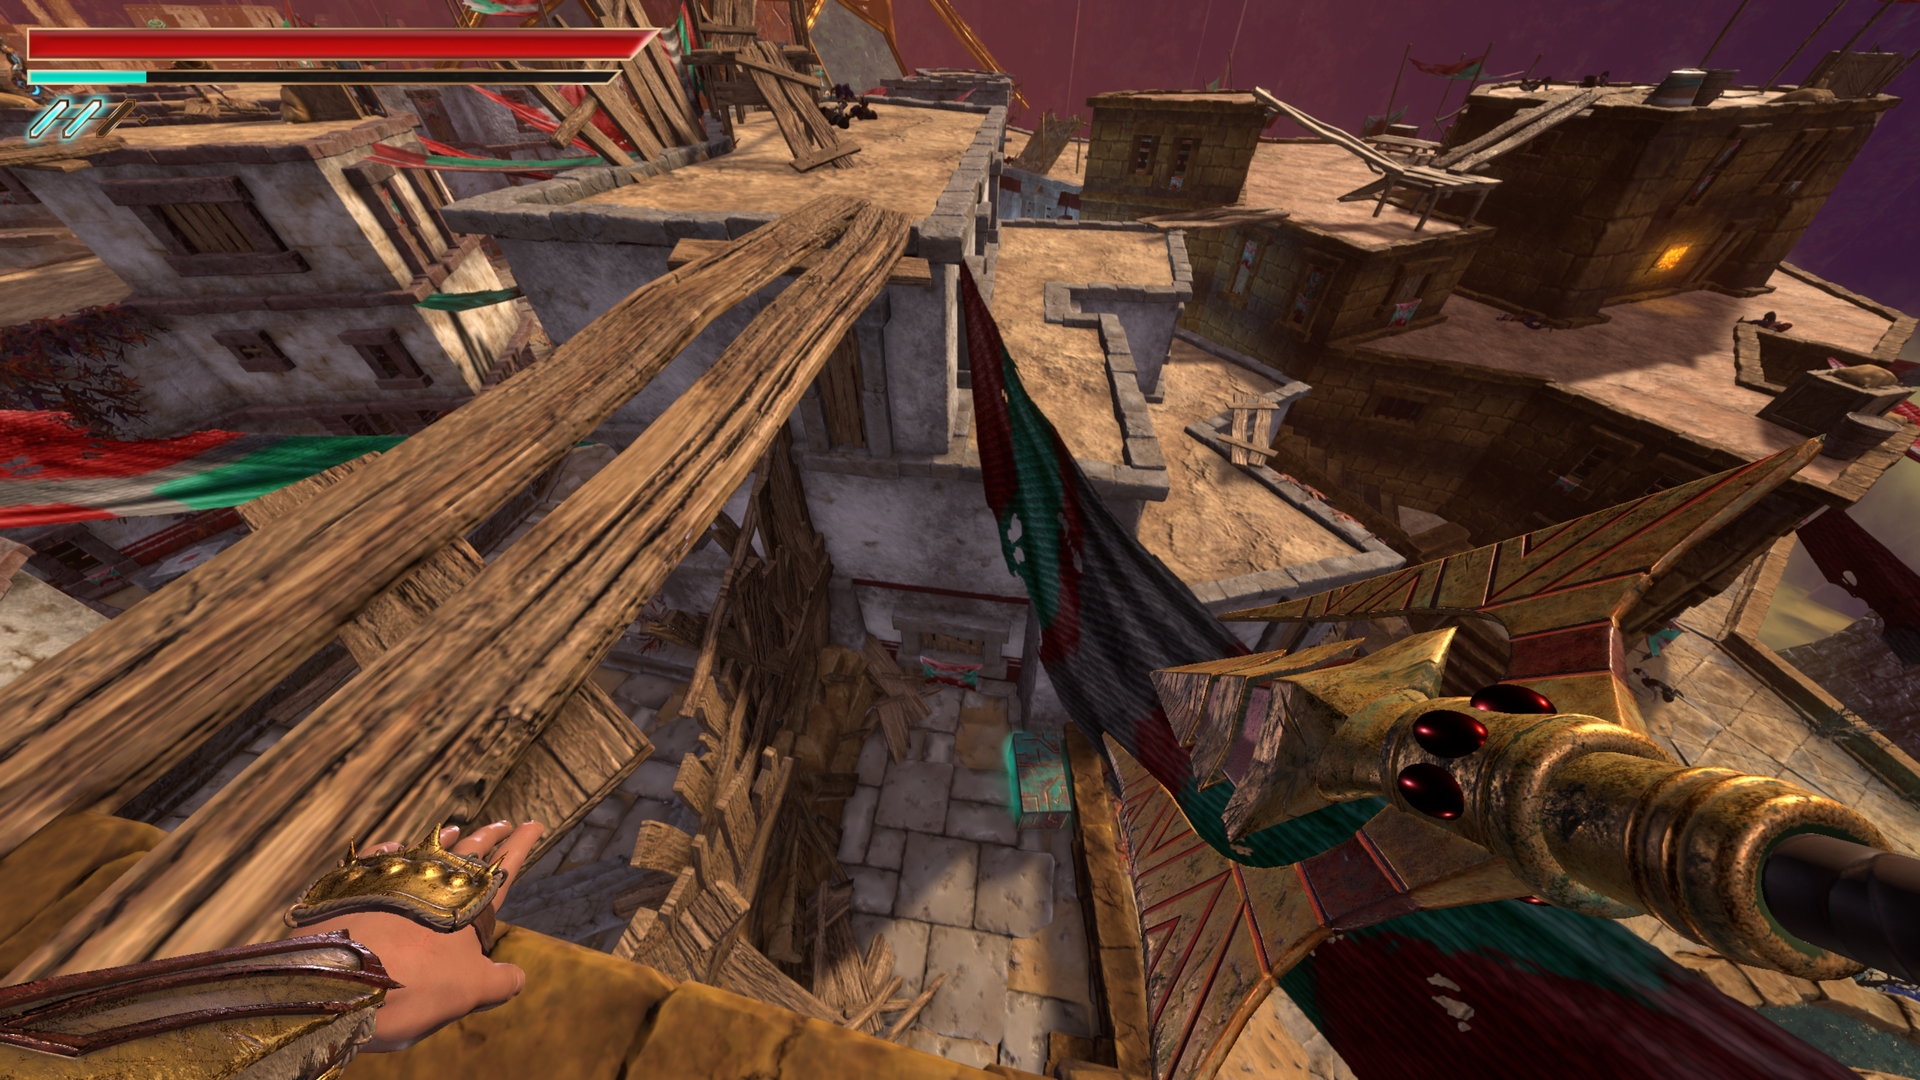
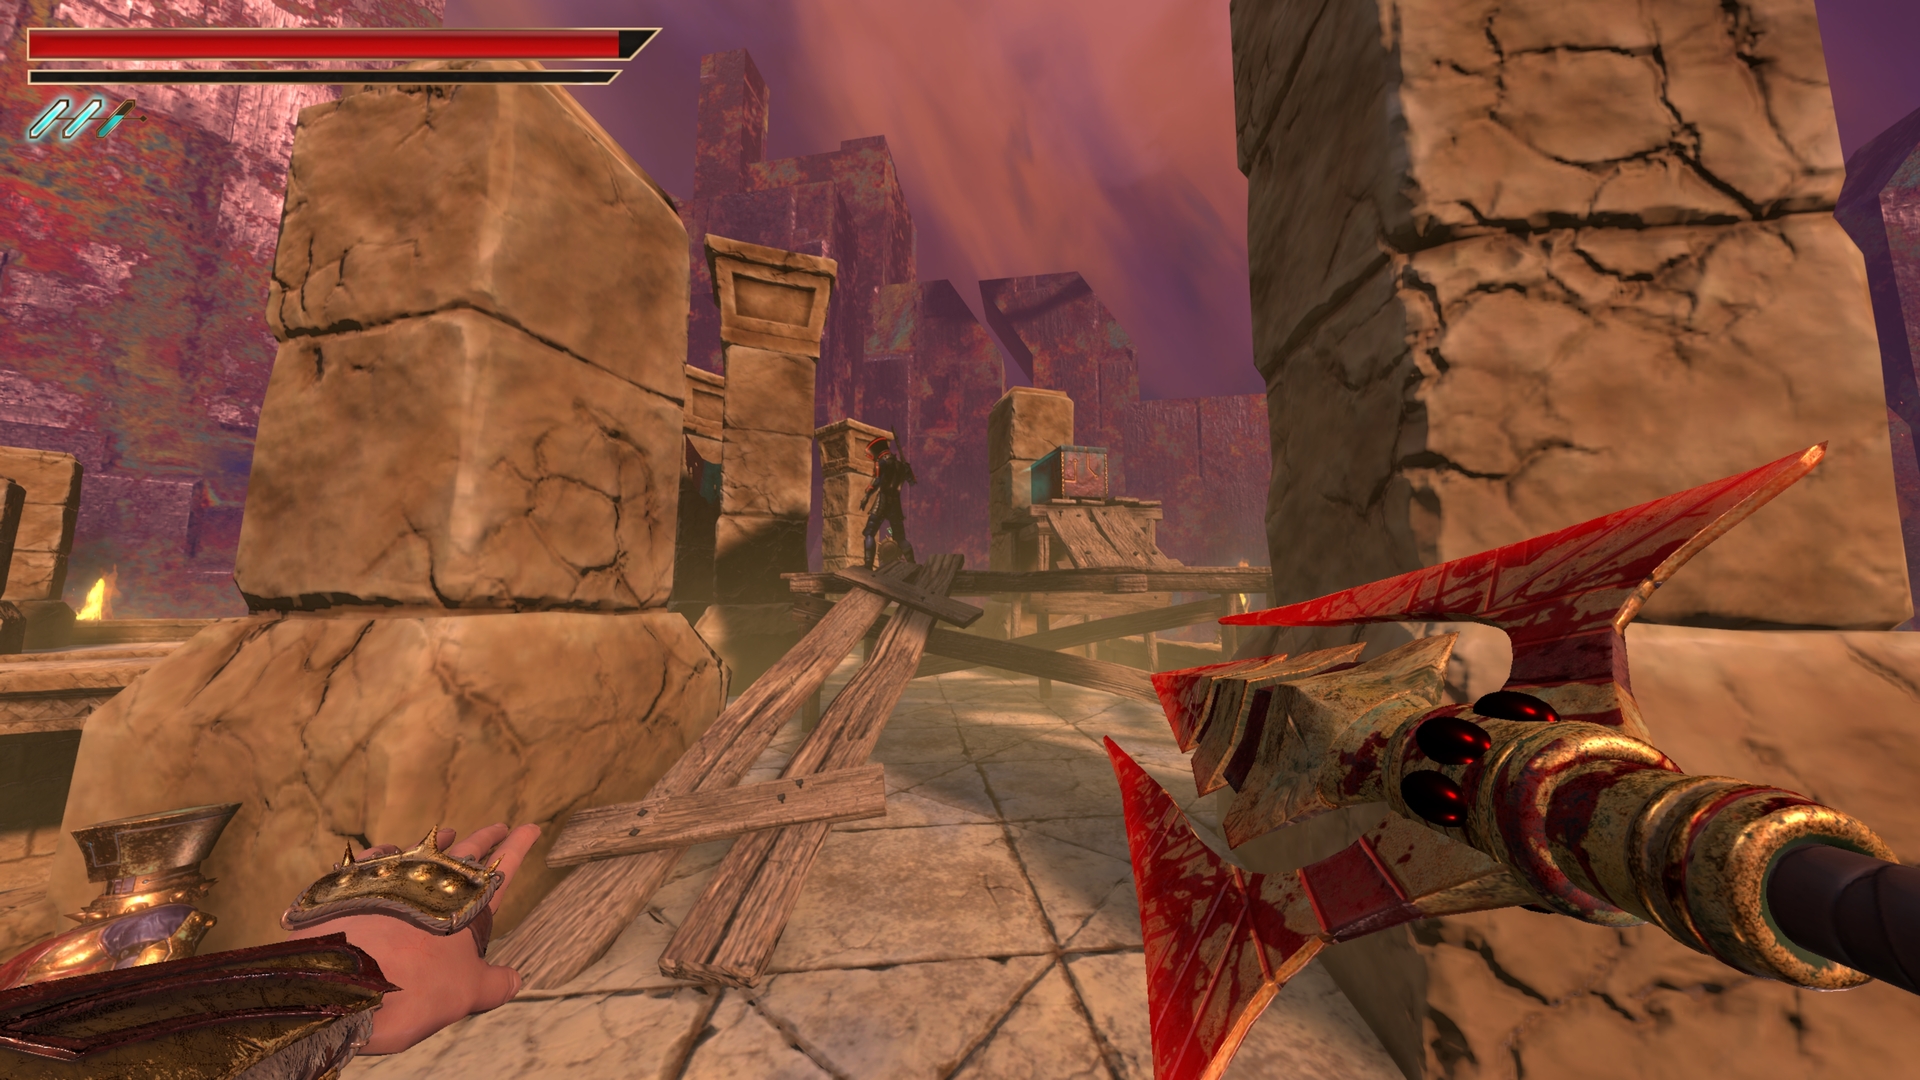
23.) Back and to the left, cross the wooden plank to the building parallel and climb on top.
⠀

24.) Turn left across the next wooden plank, drop down briefly for the next chest and then climb back up.
⠀
25.) On the right side tucked in next to the box is the next chest.
⠀
26.) Turn around to the left and drop down slightly.
⠀
27.) Climb back up then up again to the next roof.
⠀
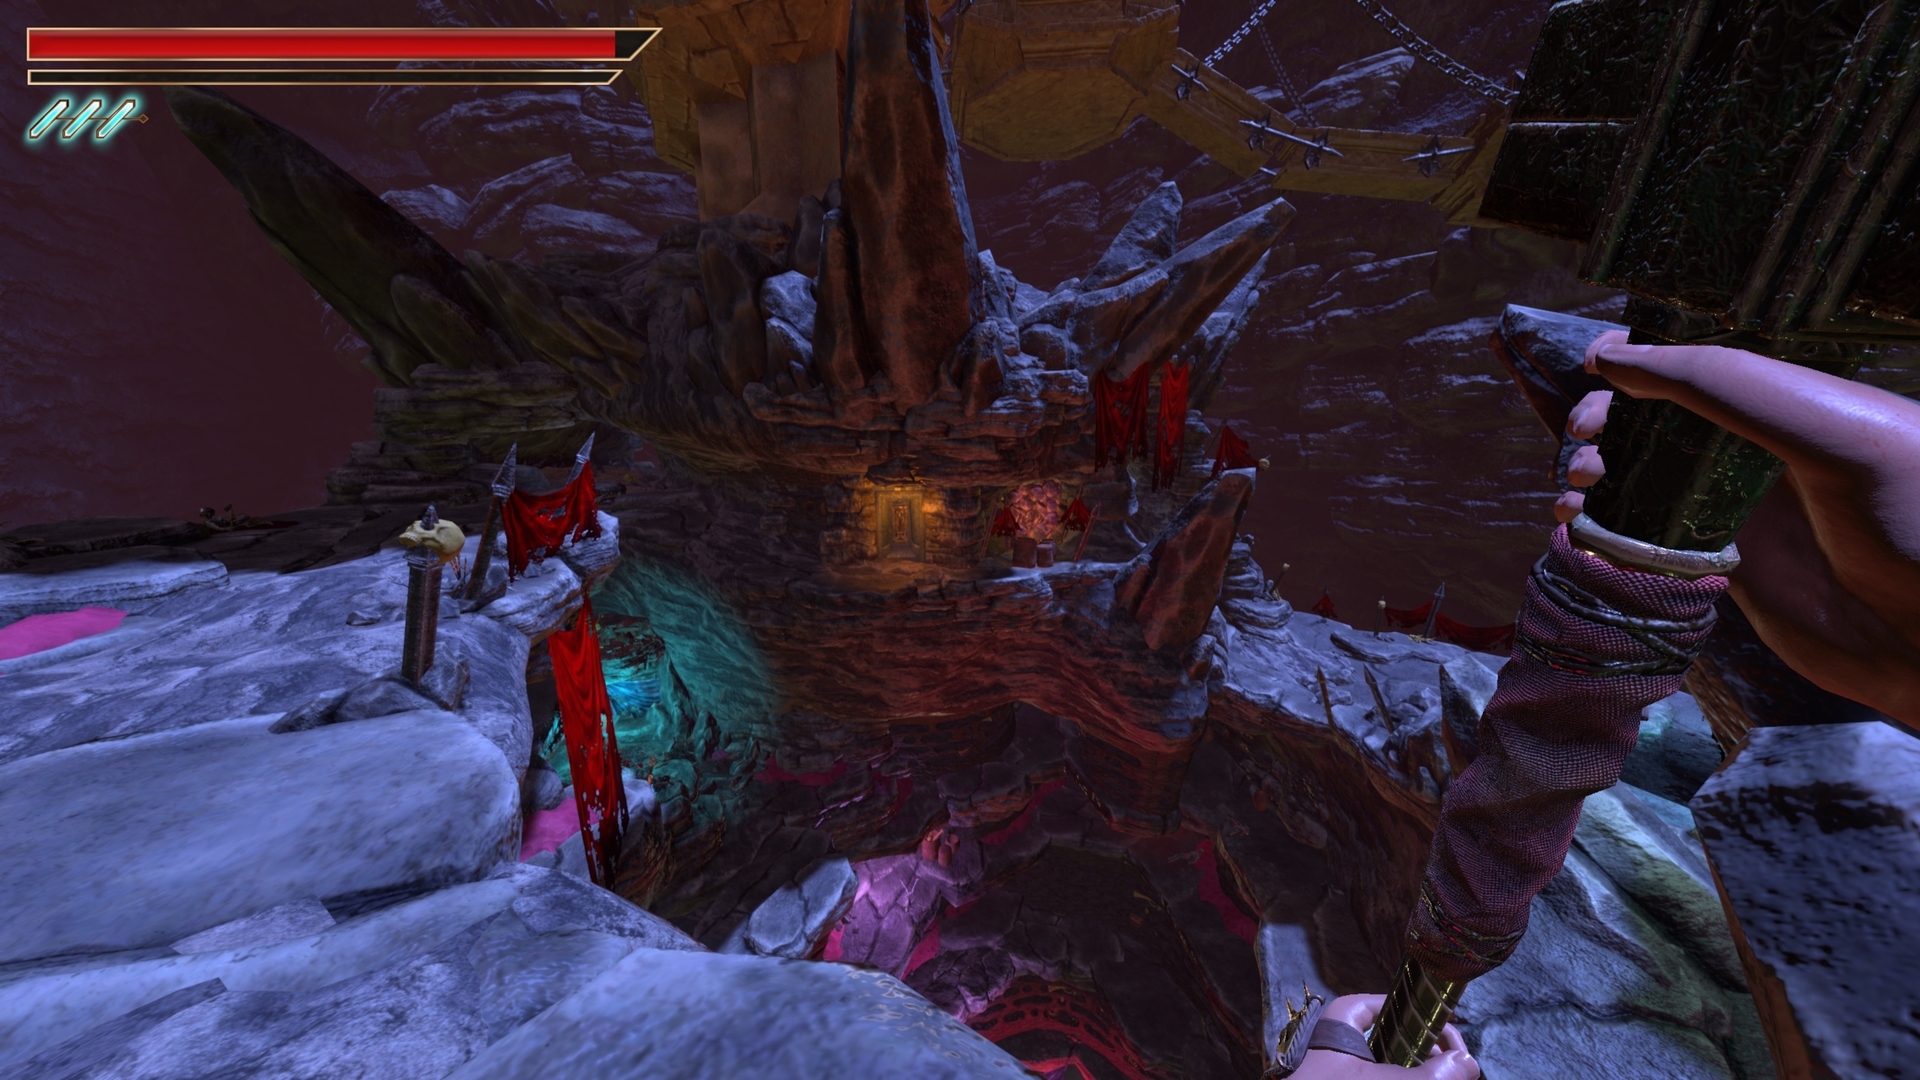
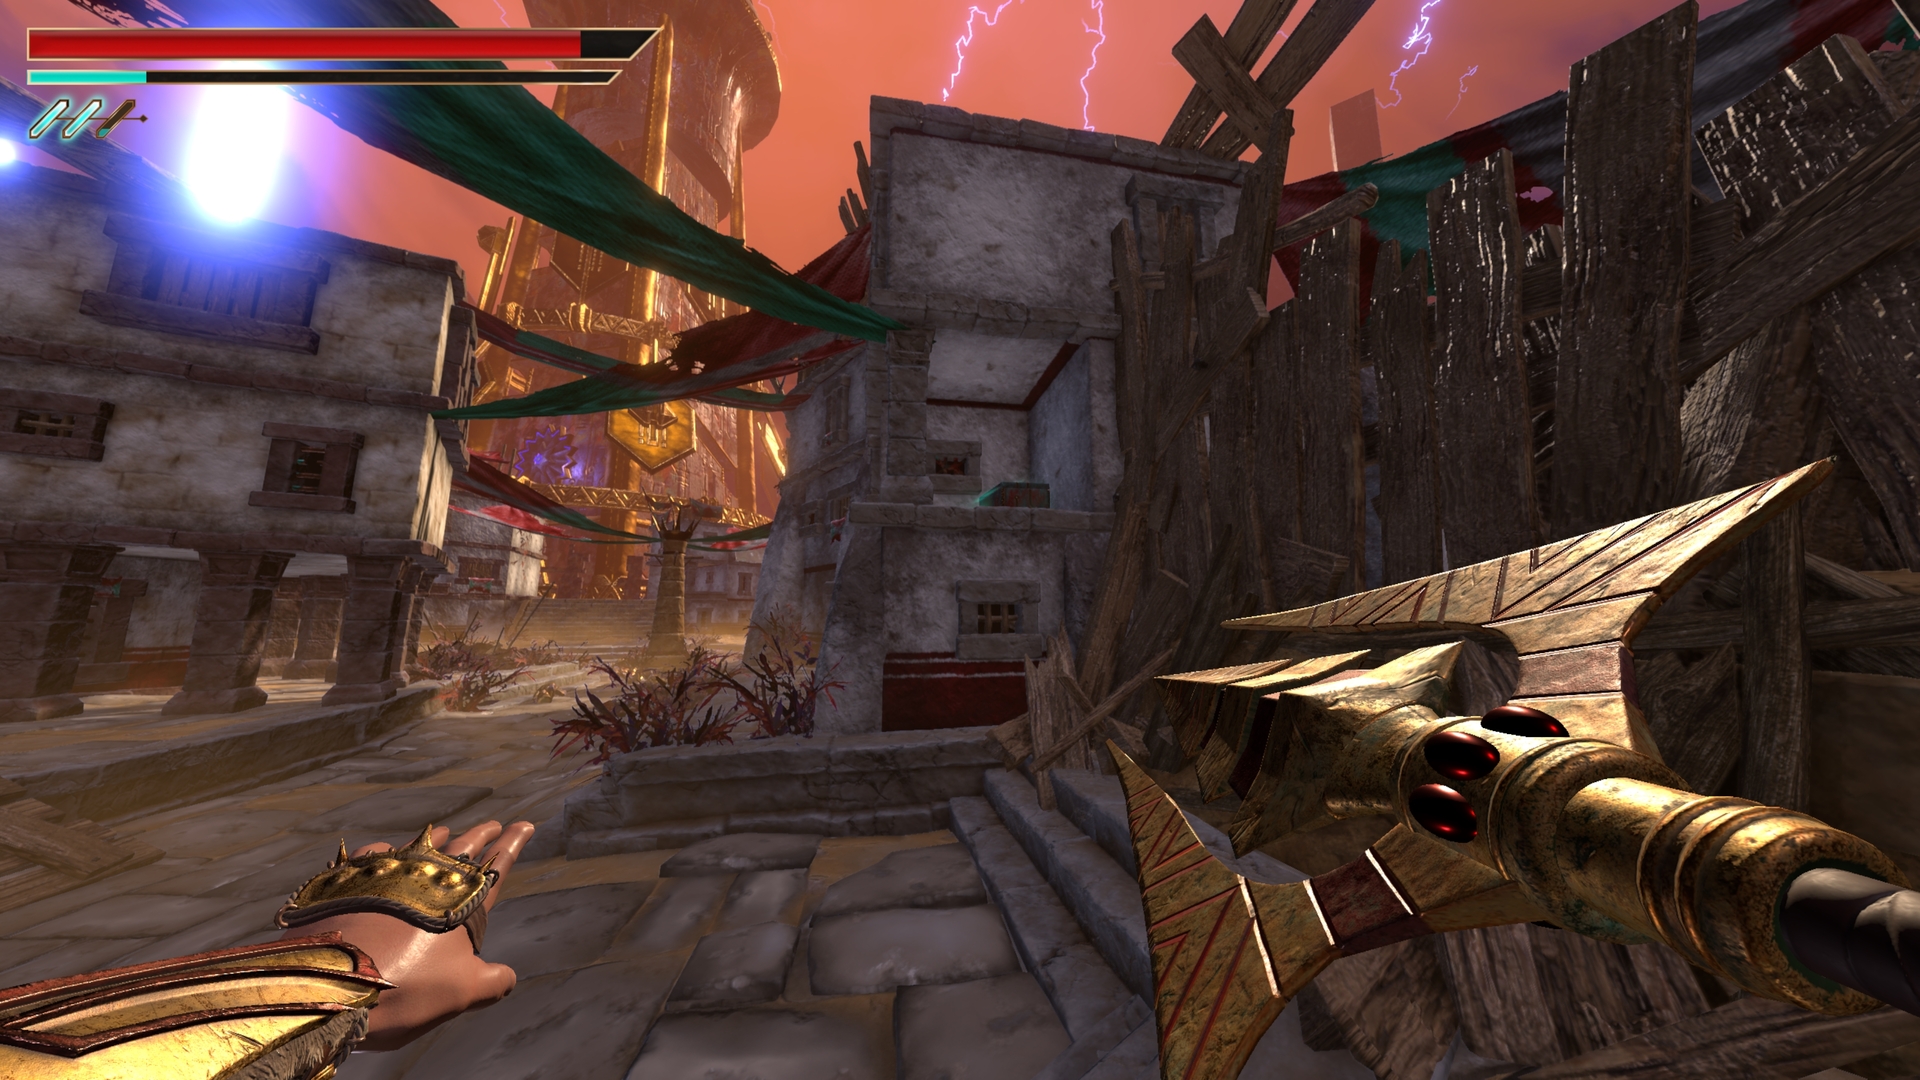
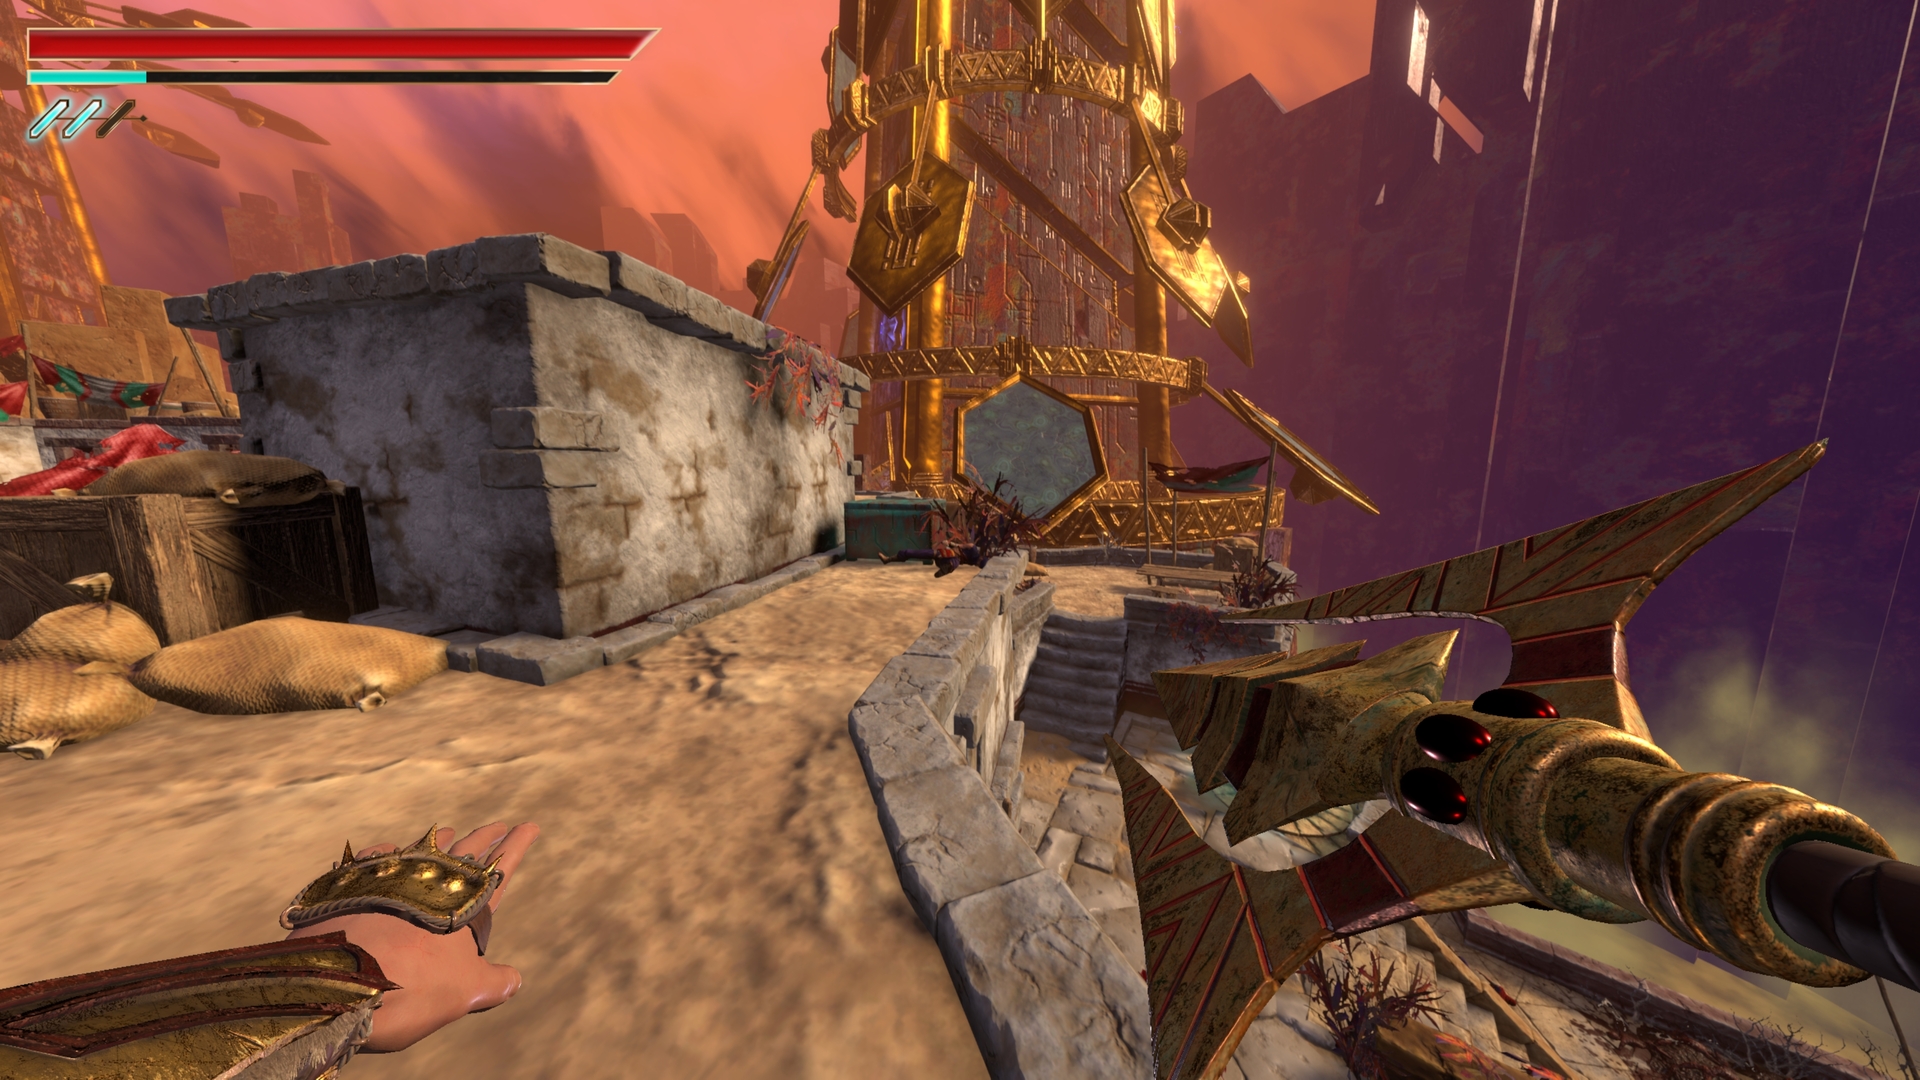
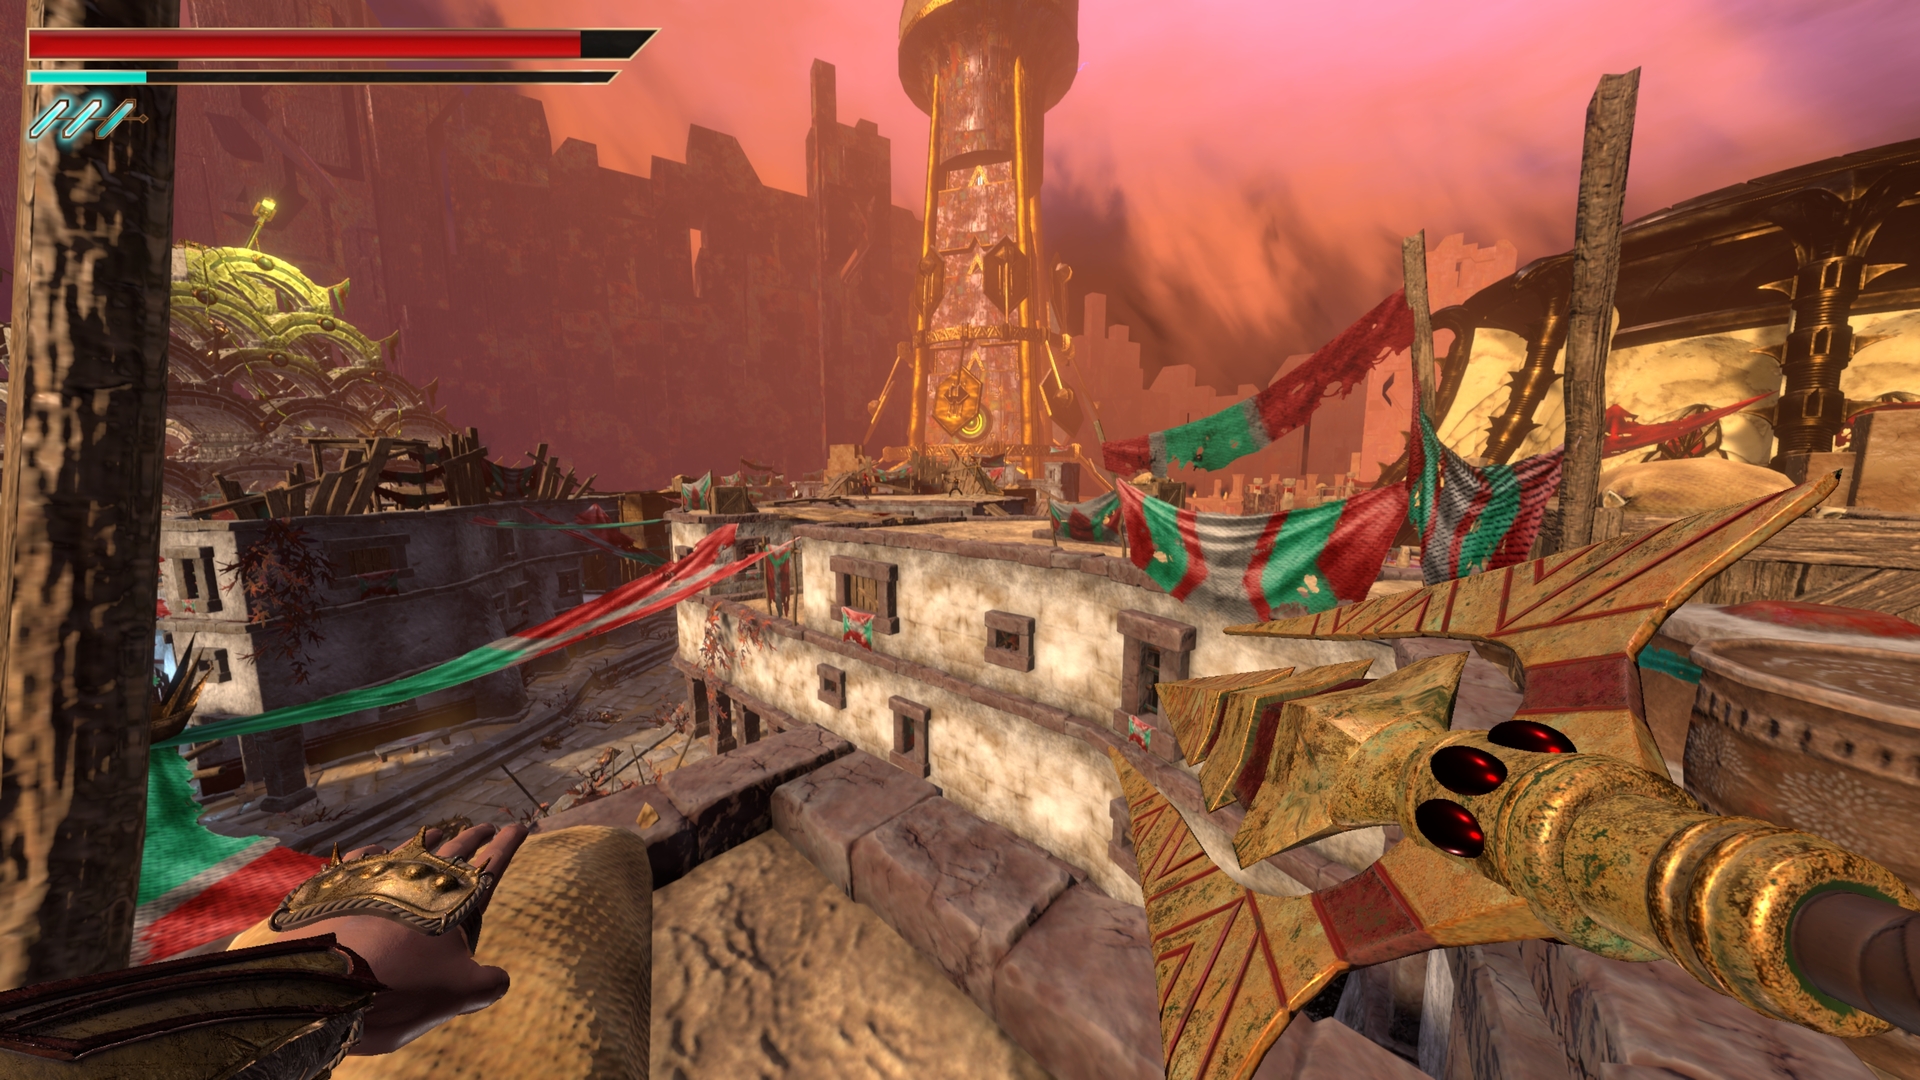
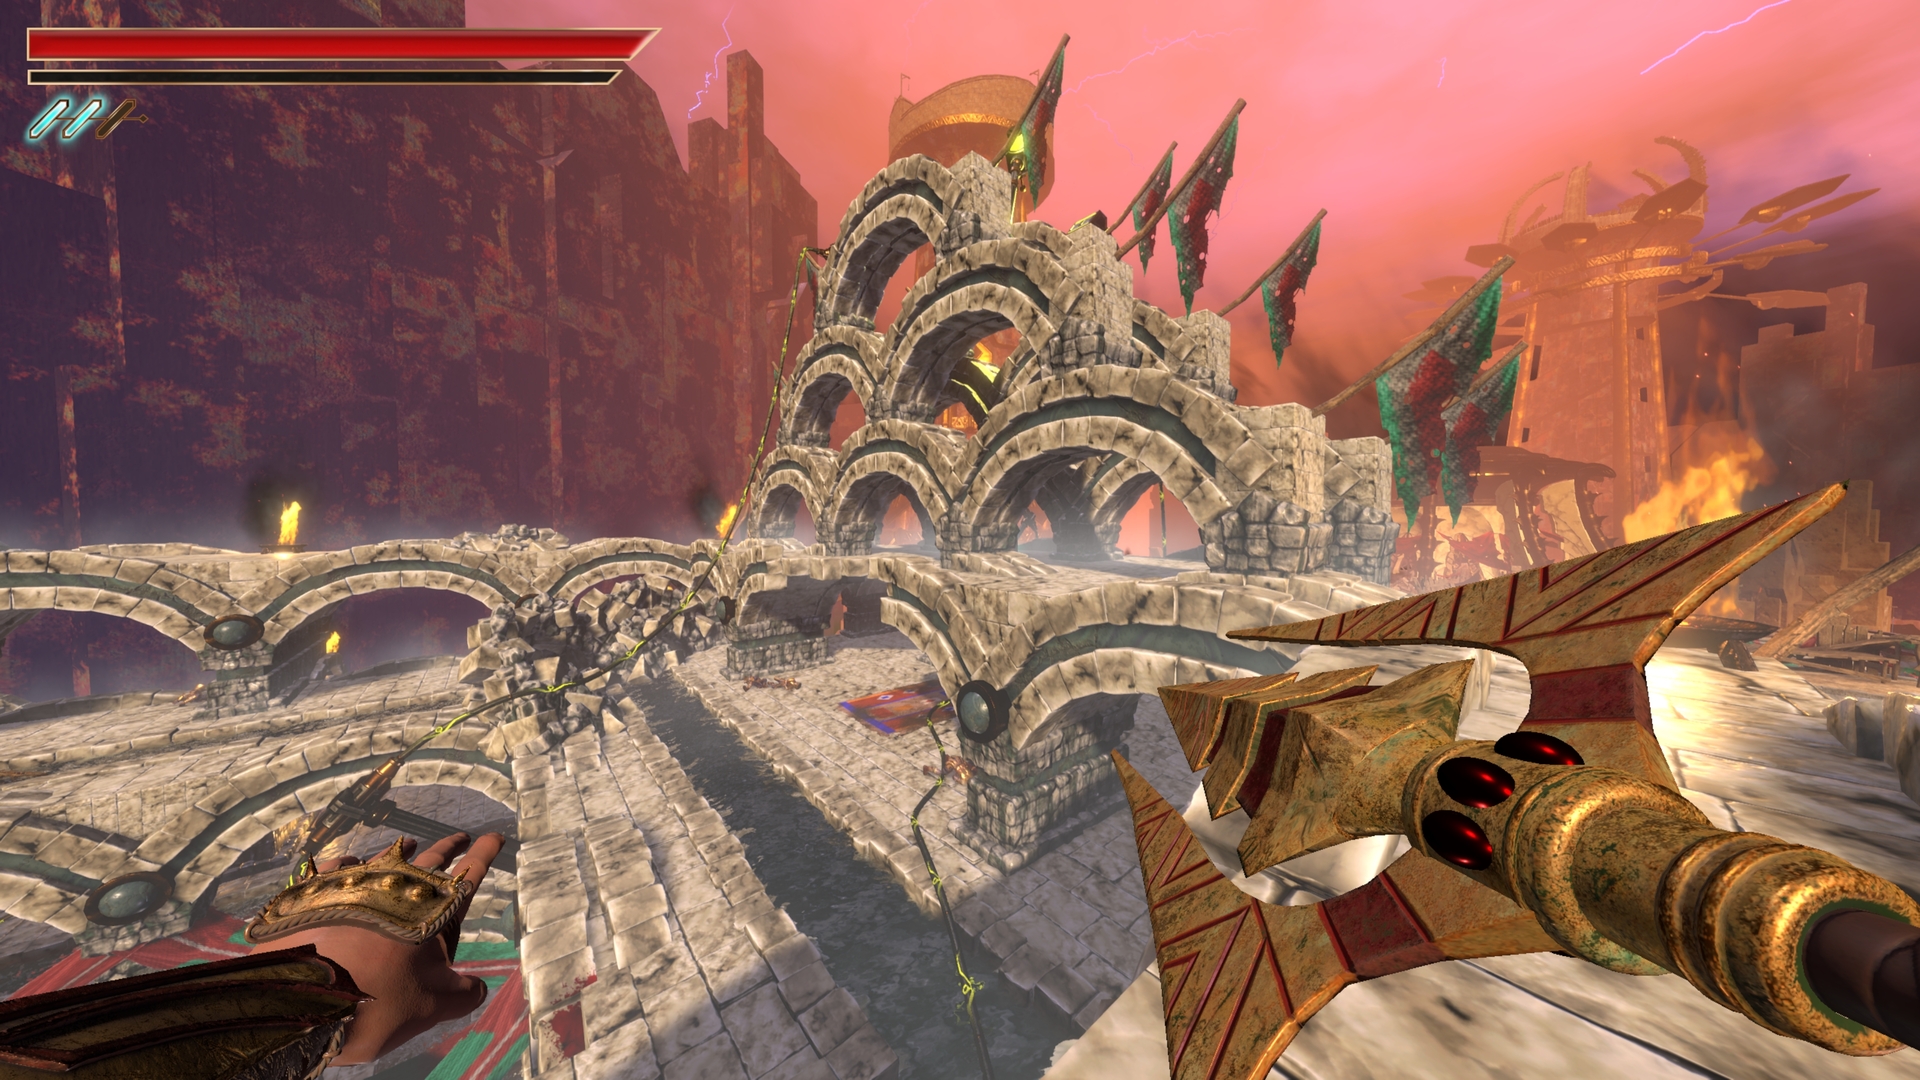
28.) Head towards the blue tower and when on the bridge, turn around to see the chest as shown.
⠀
29.) Climb back up from the chest and jump across to the building towards the yellow tower. Follow the planks to the last building for the chest.
⠀

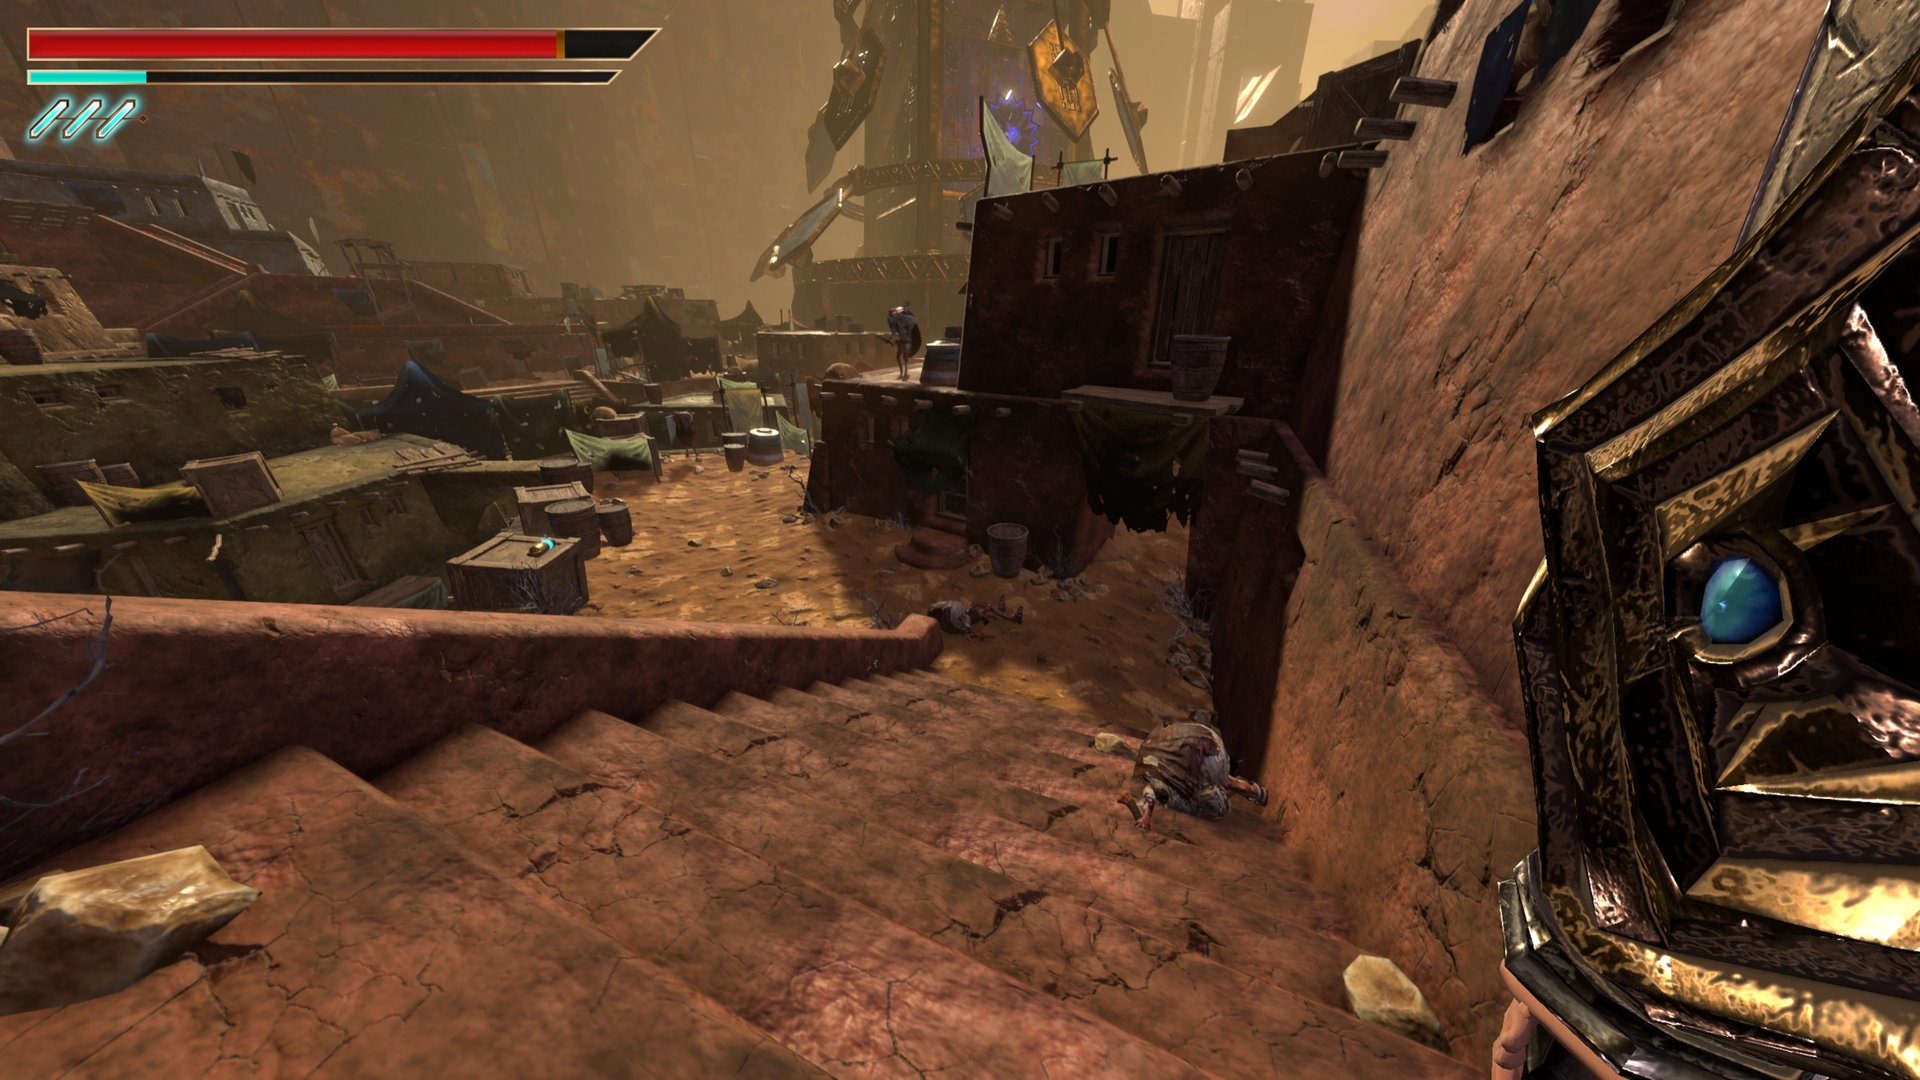
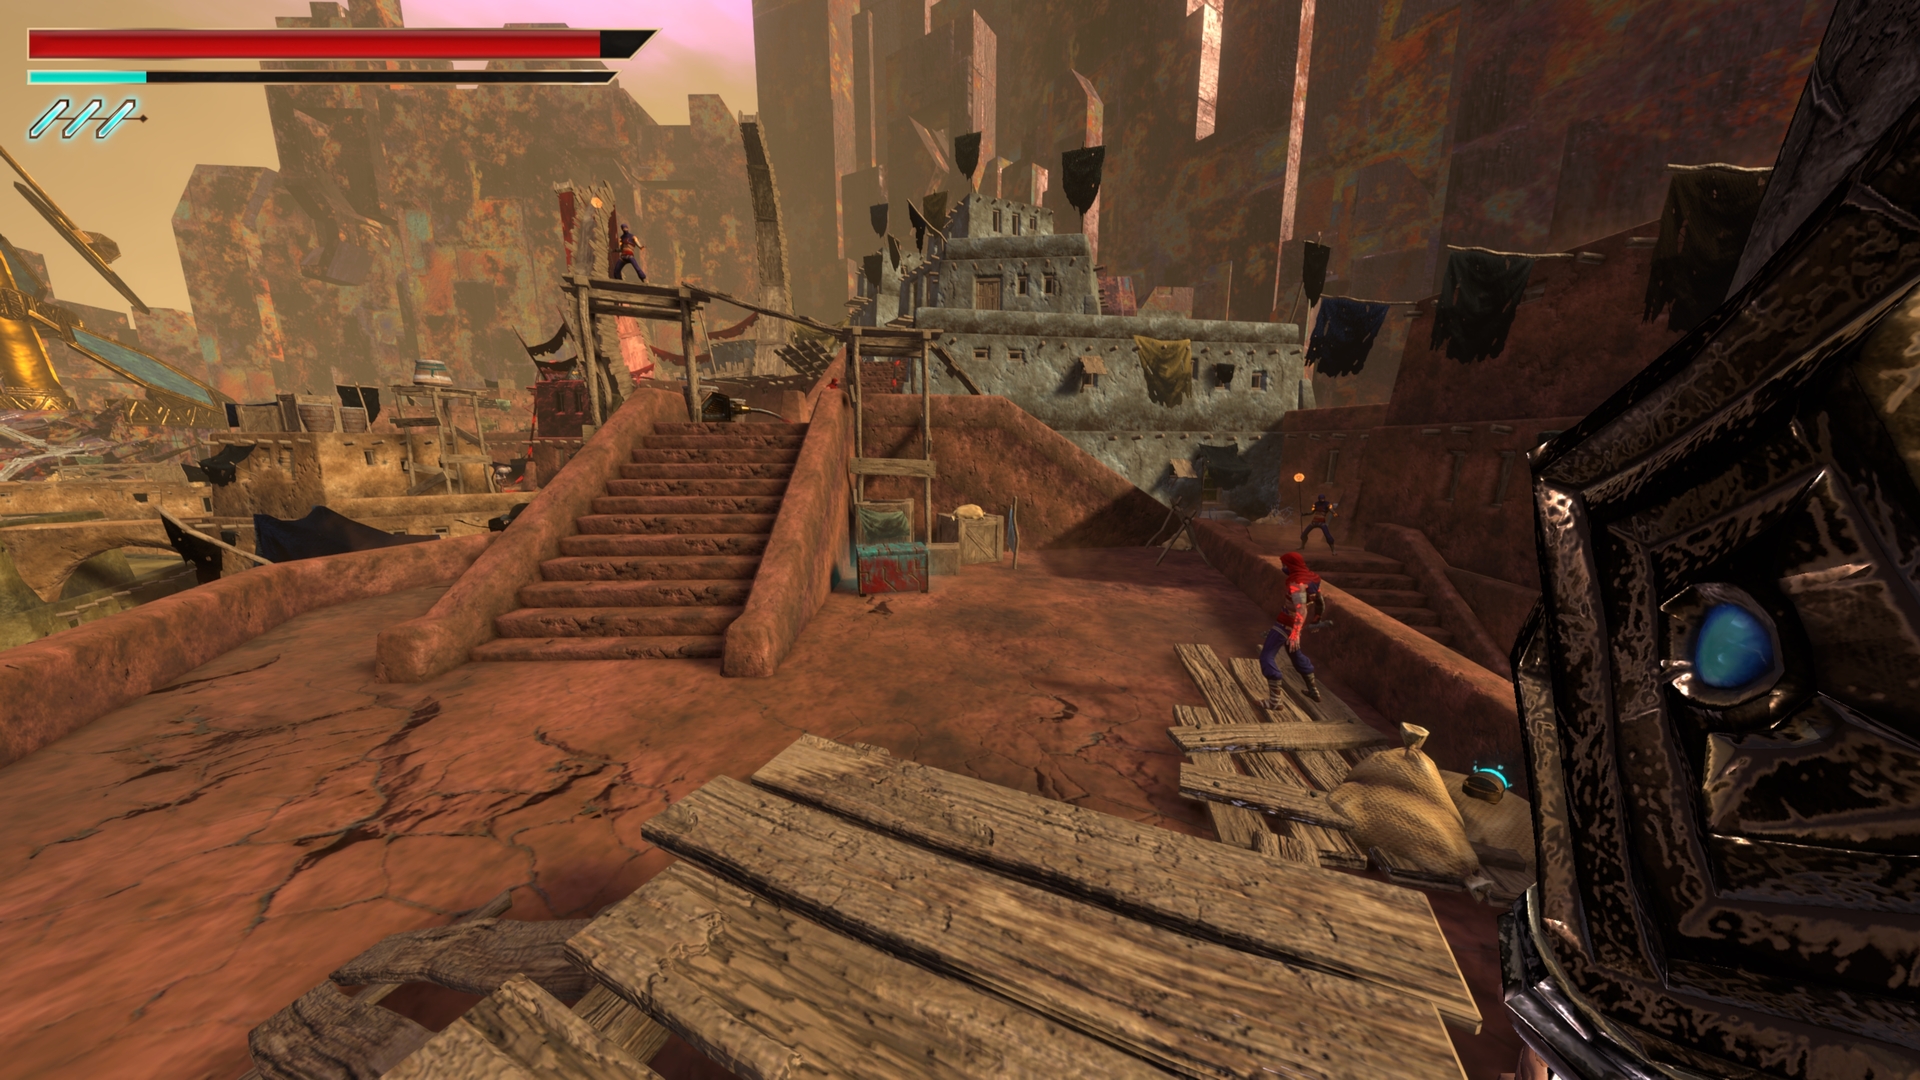
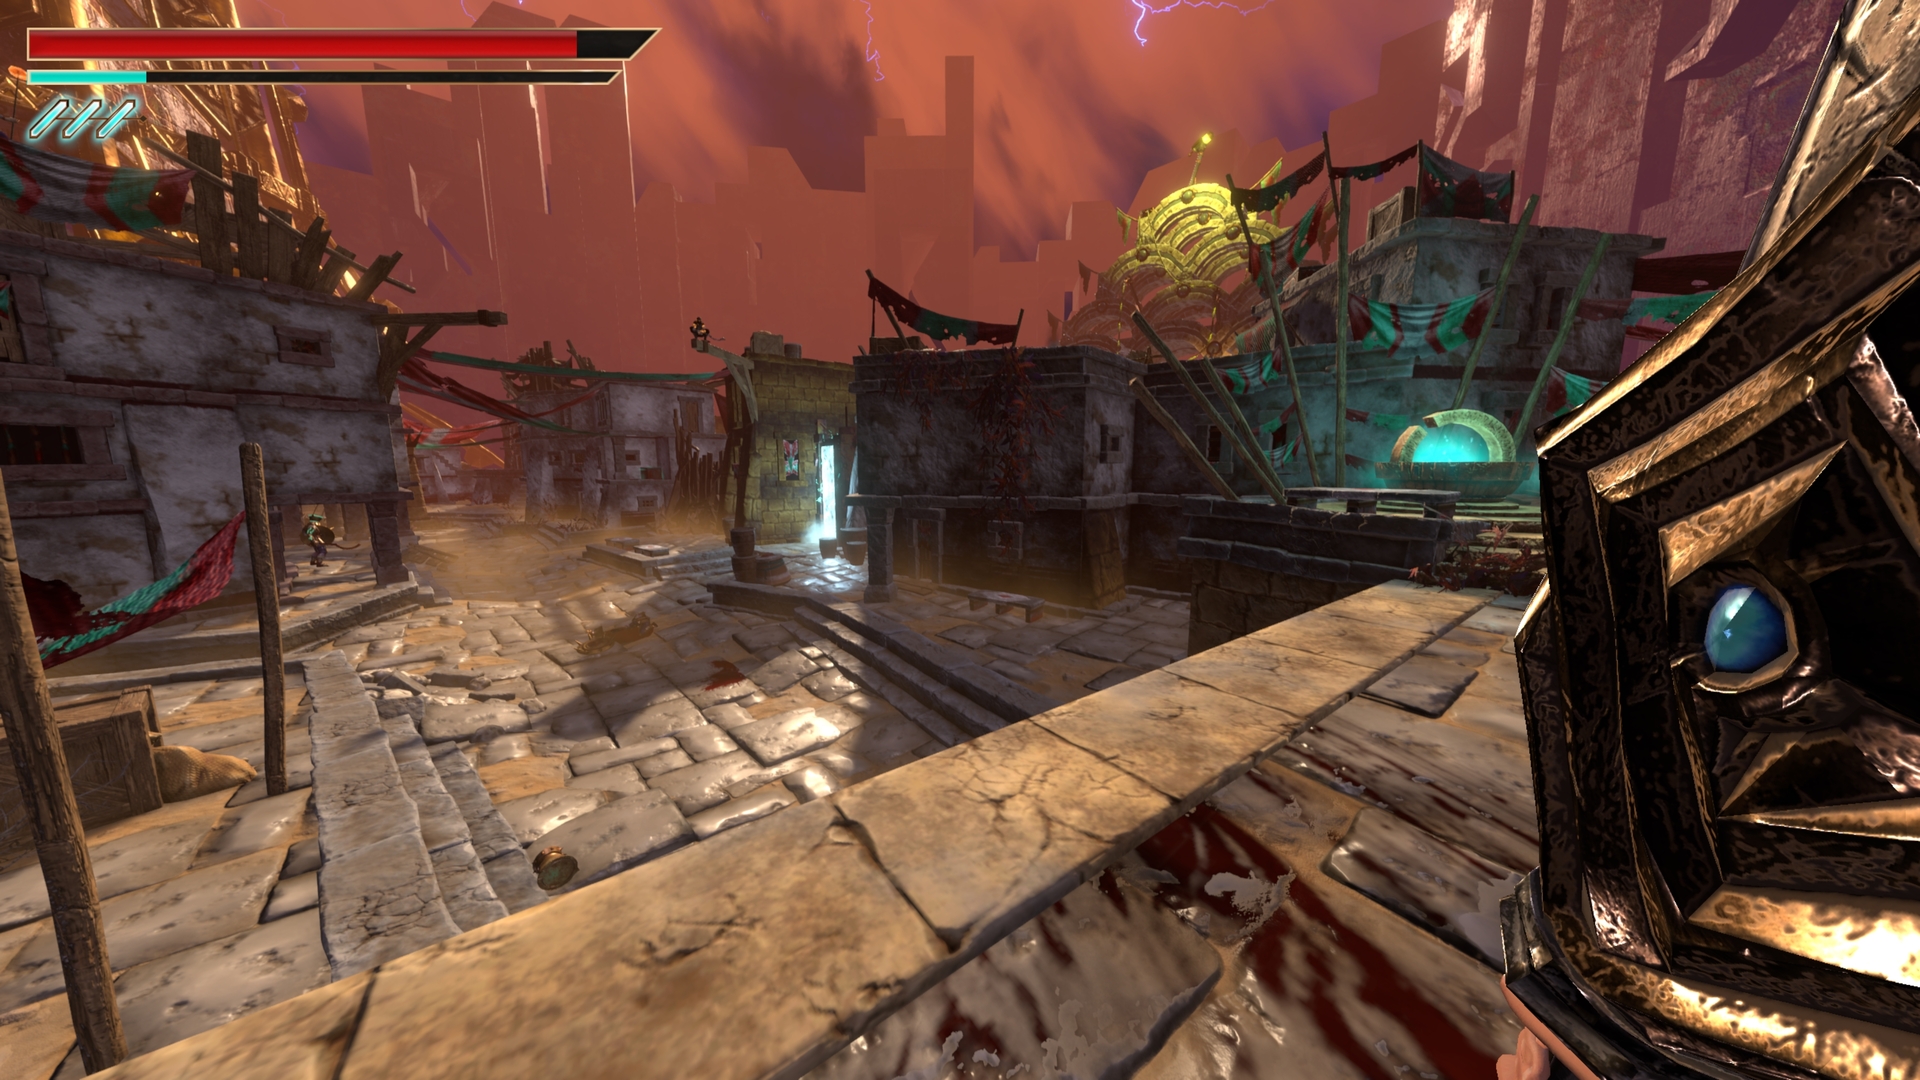
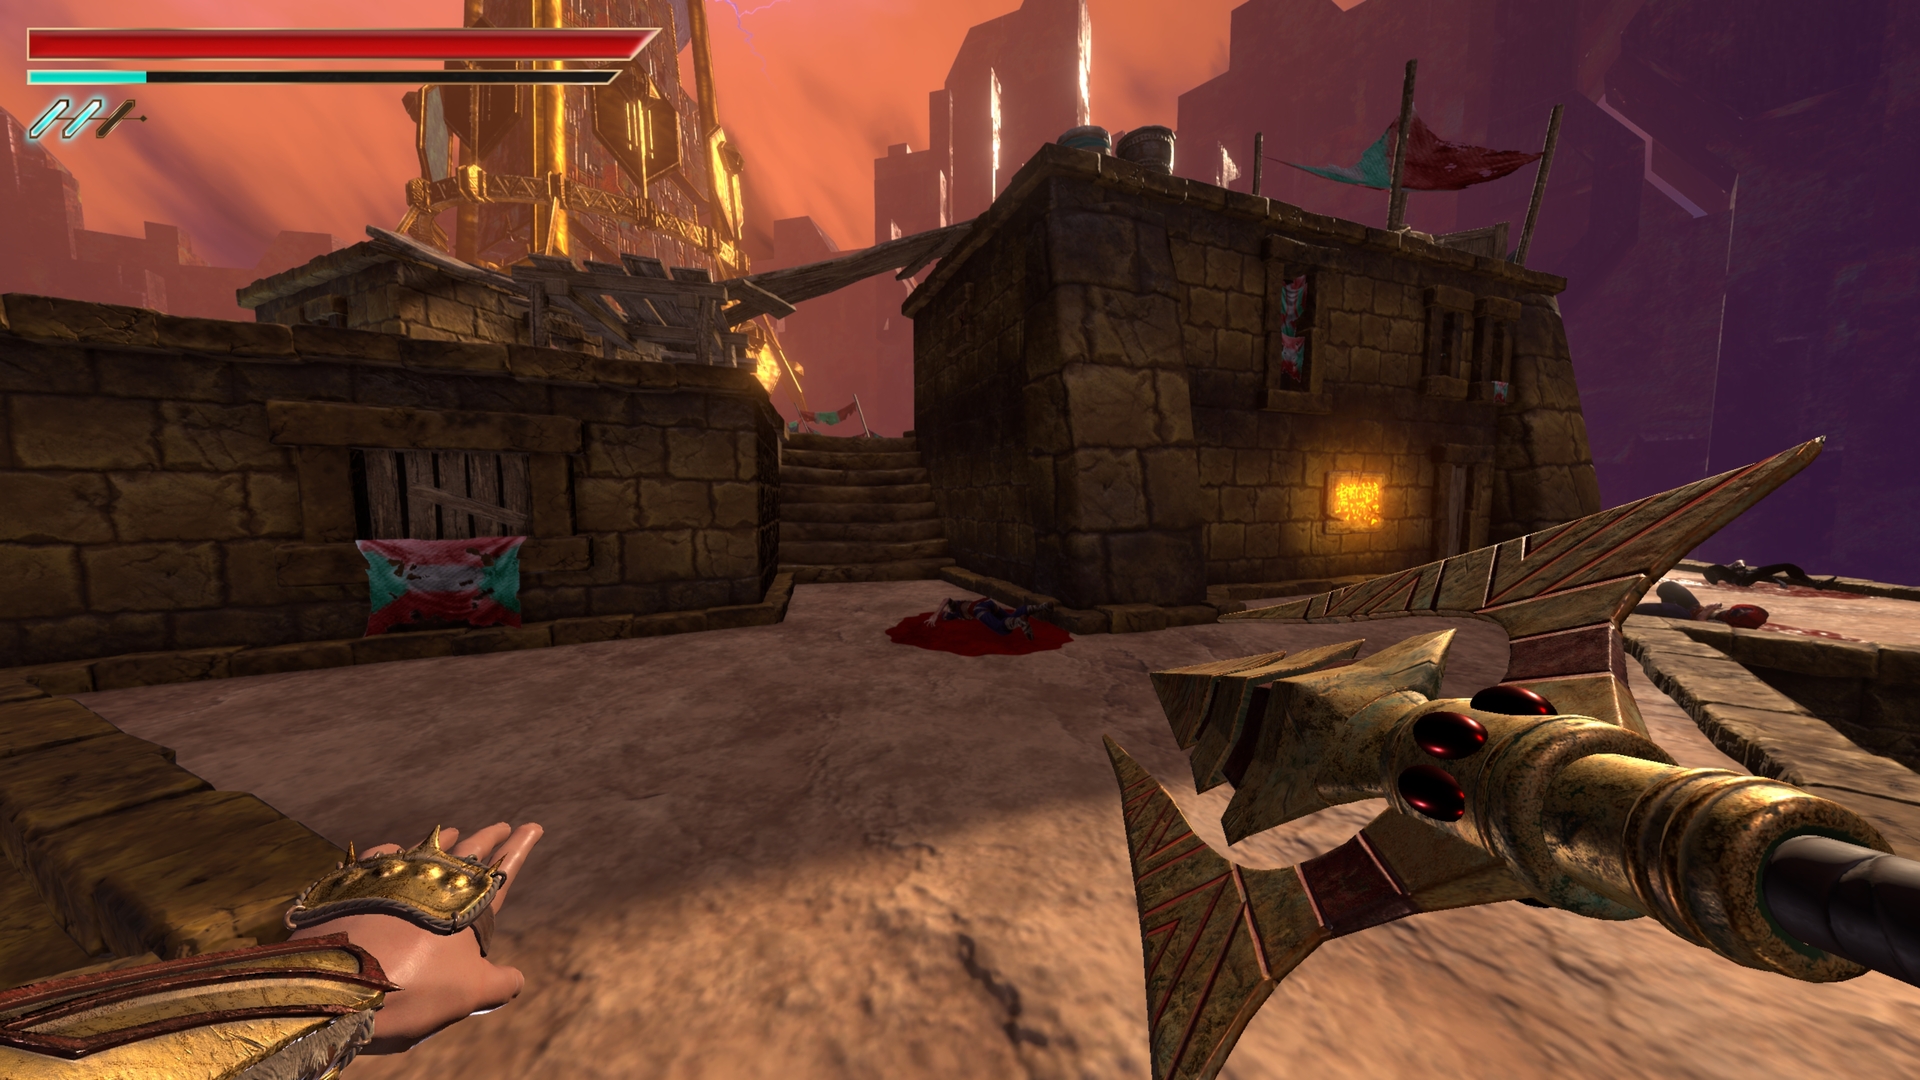
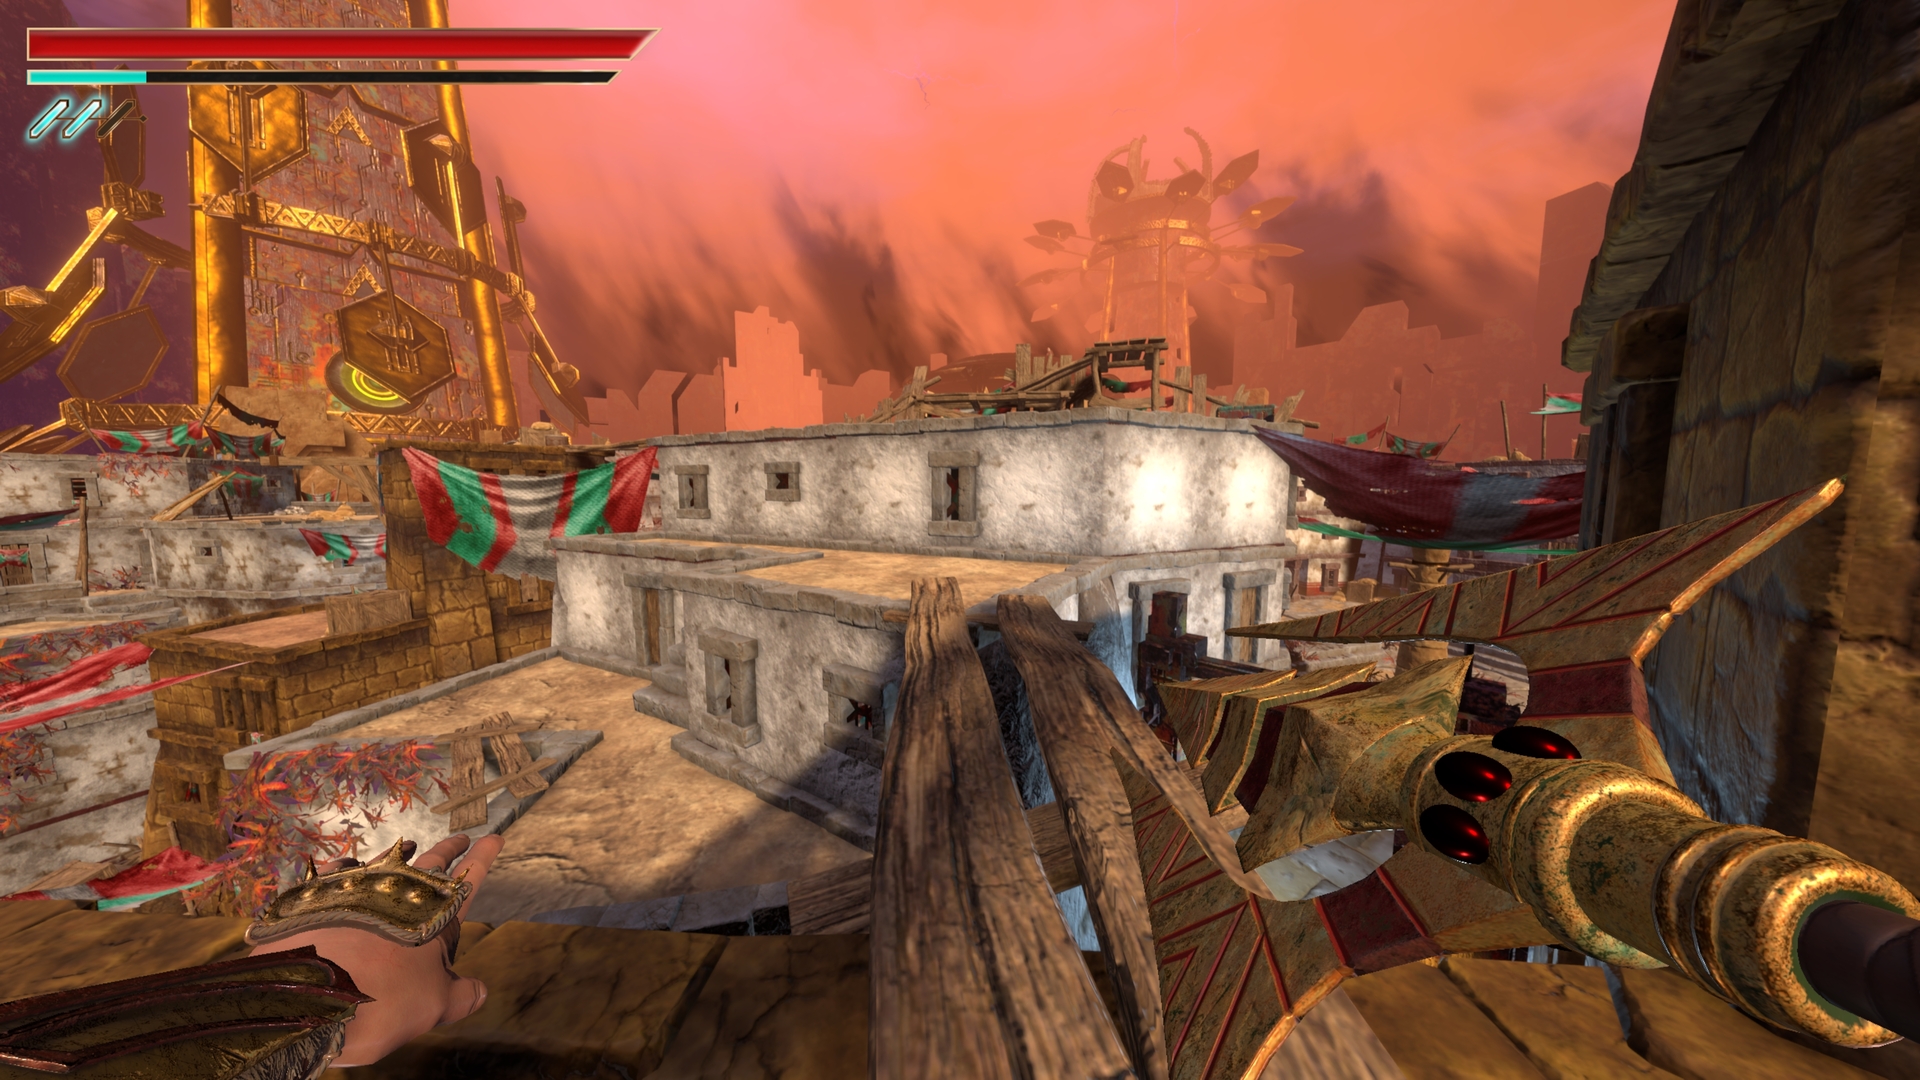
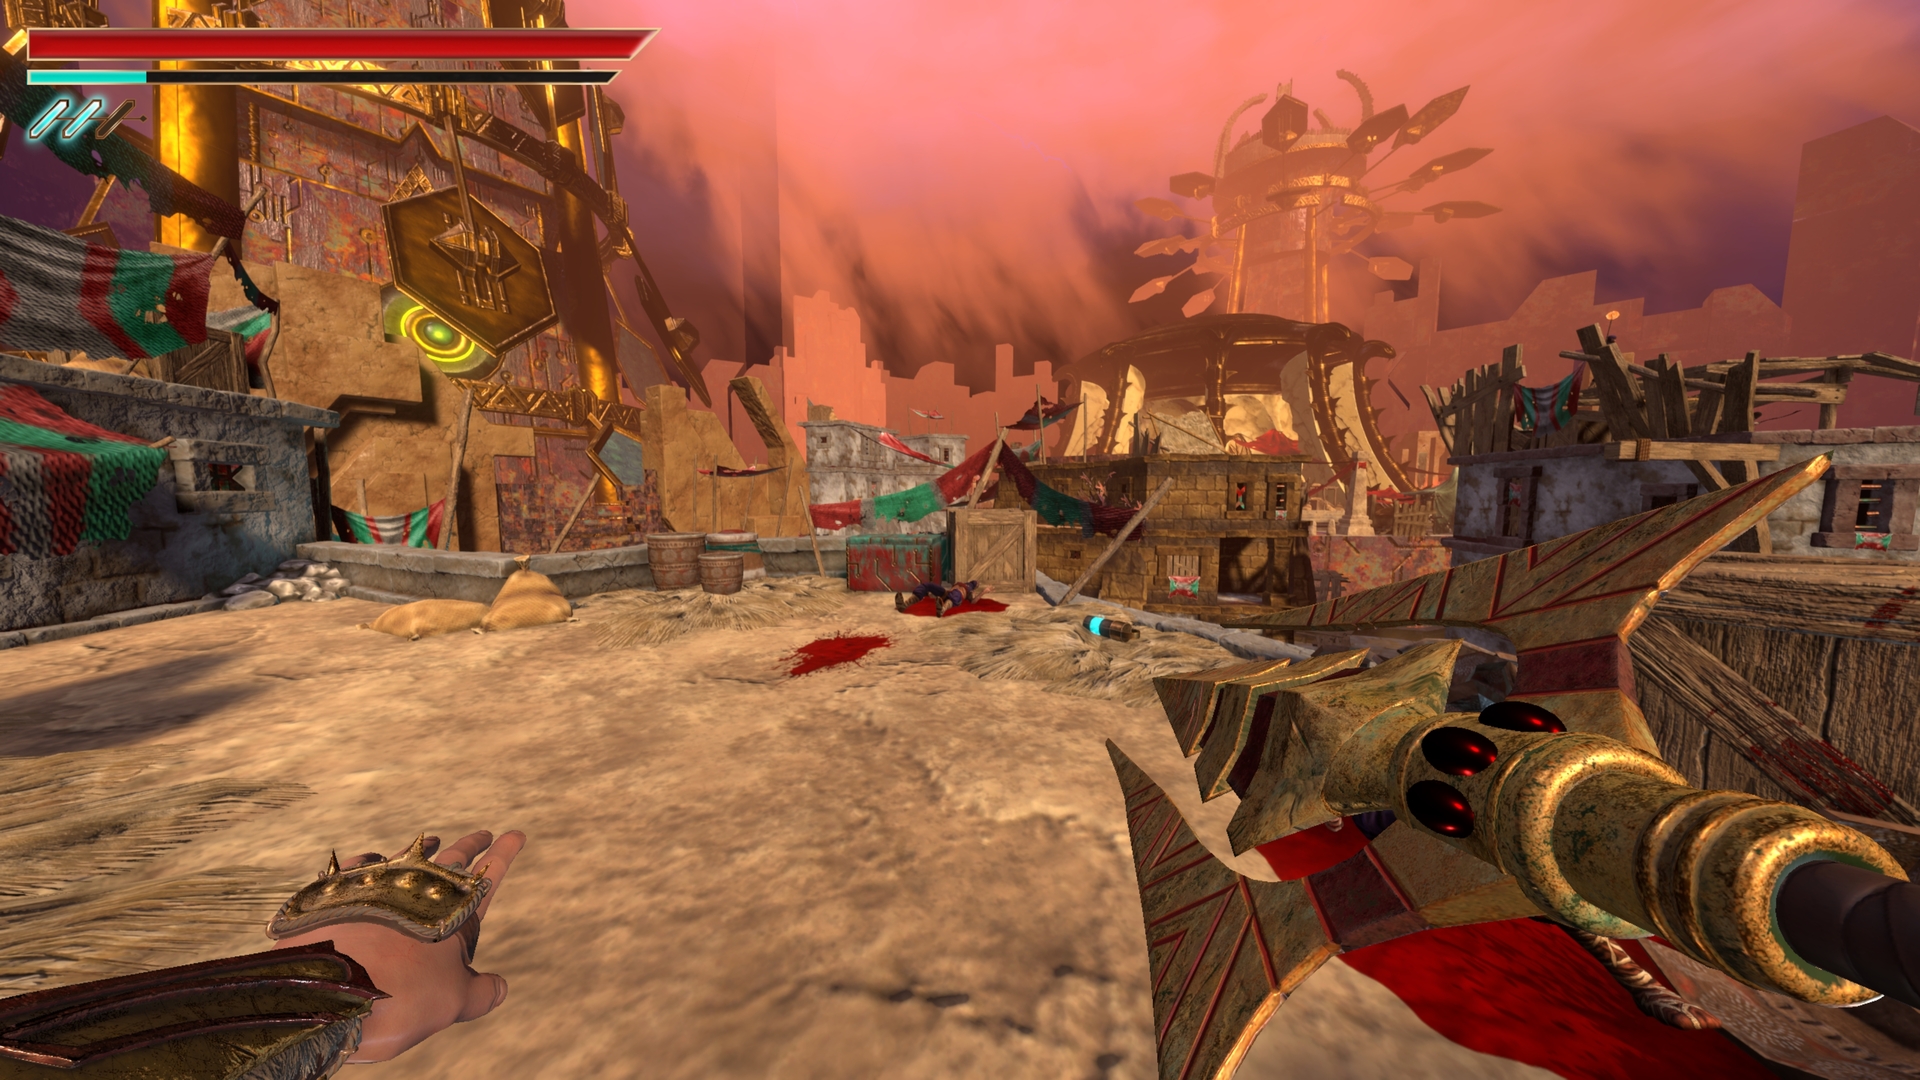
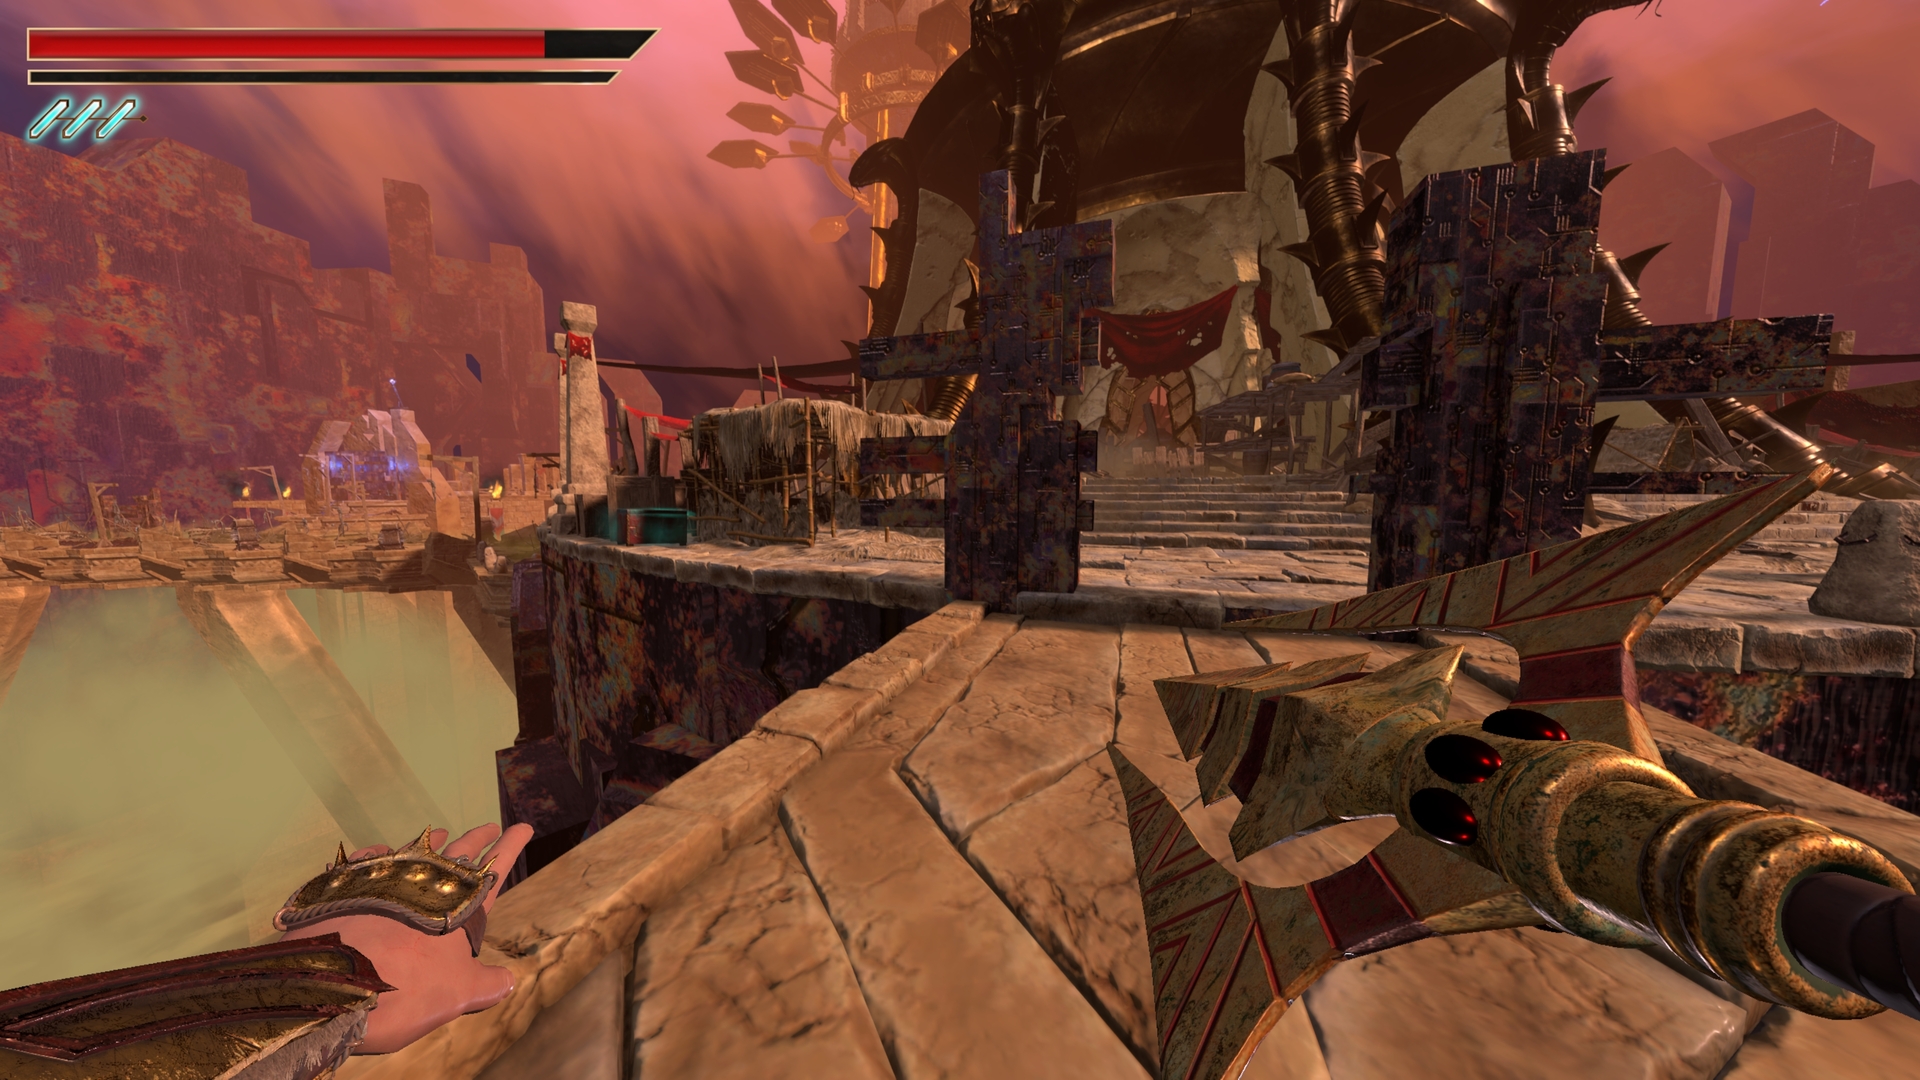
30.) Head towards the “fortress” and go to the back left corner of the building.
⠀
31.) Upstairs follow the yellow wire momentarily and then head down the right staircase.
⠀
32.) Back up the stairs and turn left, follow the water trail with the yellow wire hanging down on your right to the staircase.
⠀

33.) Head back to the yellow wire and go up the stairs and turn right
⠀
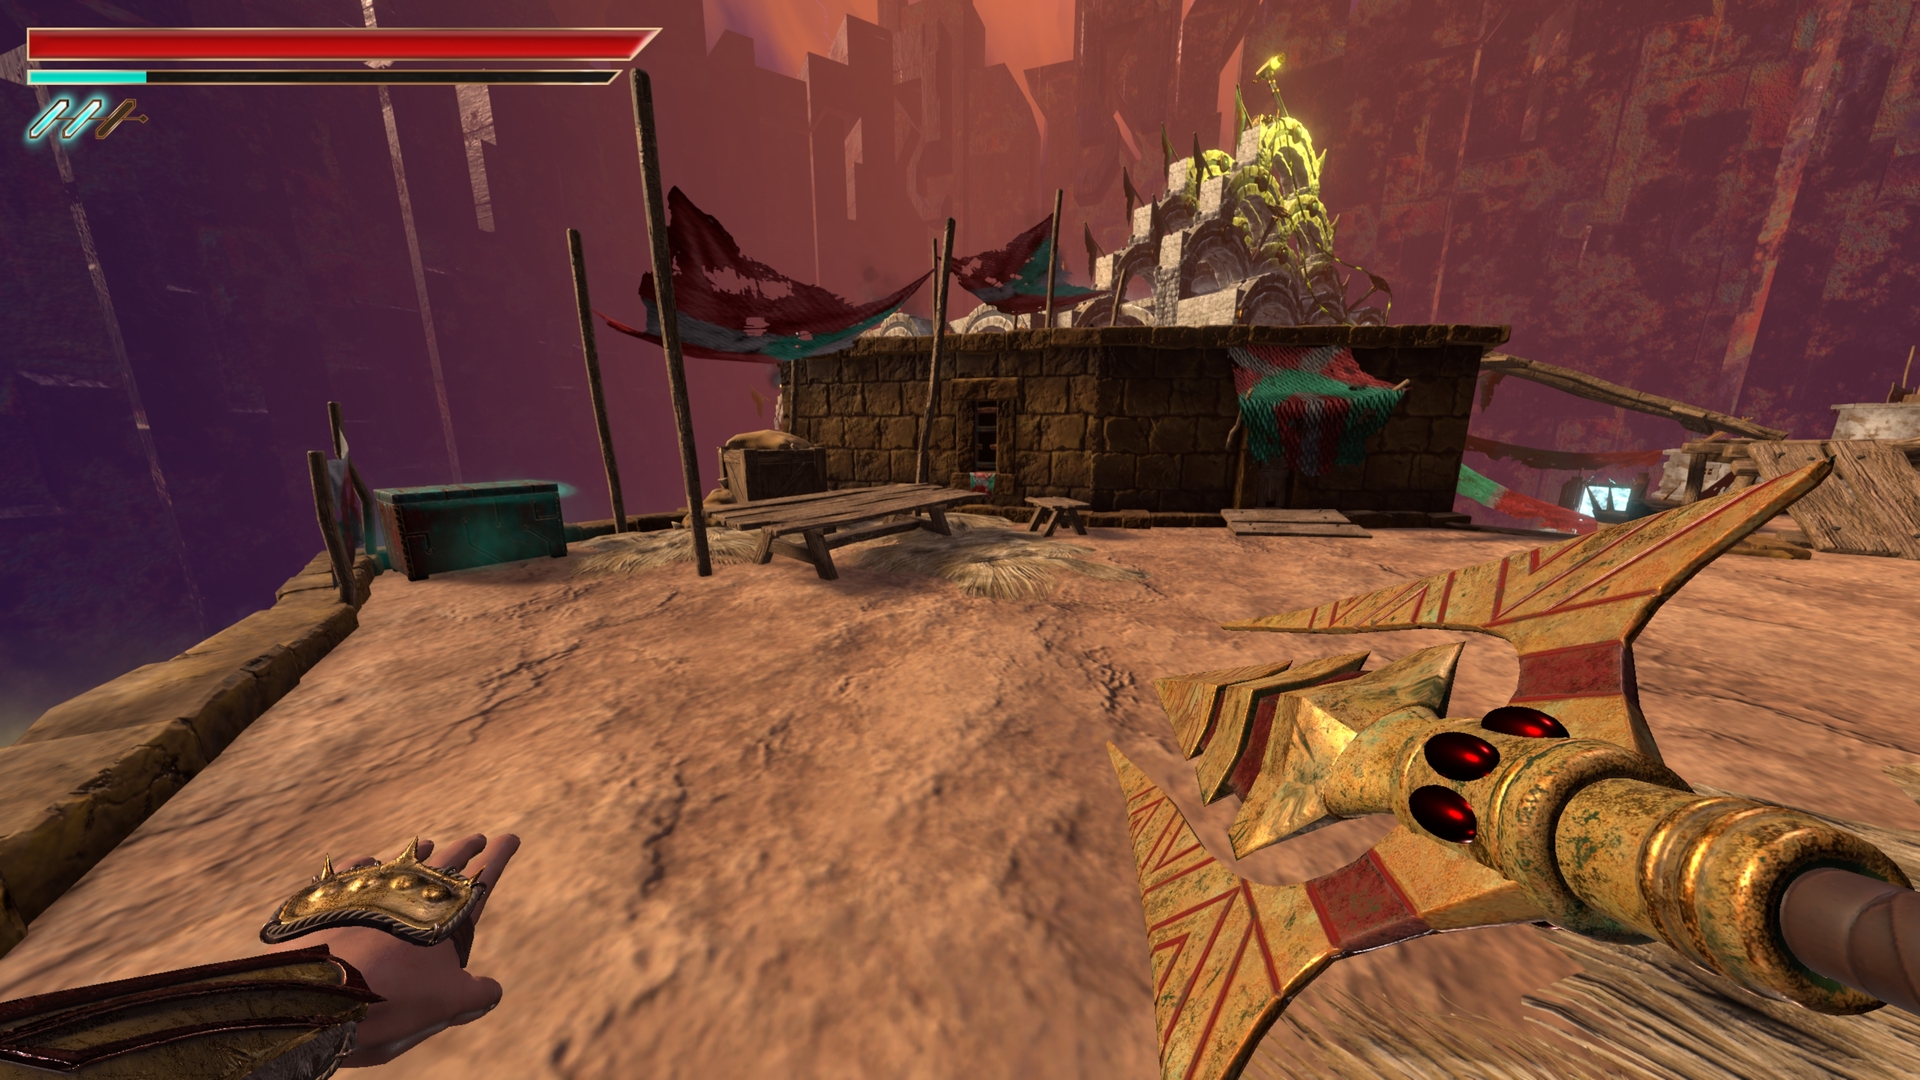
34.) Go up again to the highest level of the area towards the stacked semi-circles
⠀
35.) On the way out of the yellow tower section, the last inner circle chest is on the left edge.
⠀
36.) In the blue power section, on the right side the chest sits on the wooden platform.
⠀
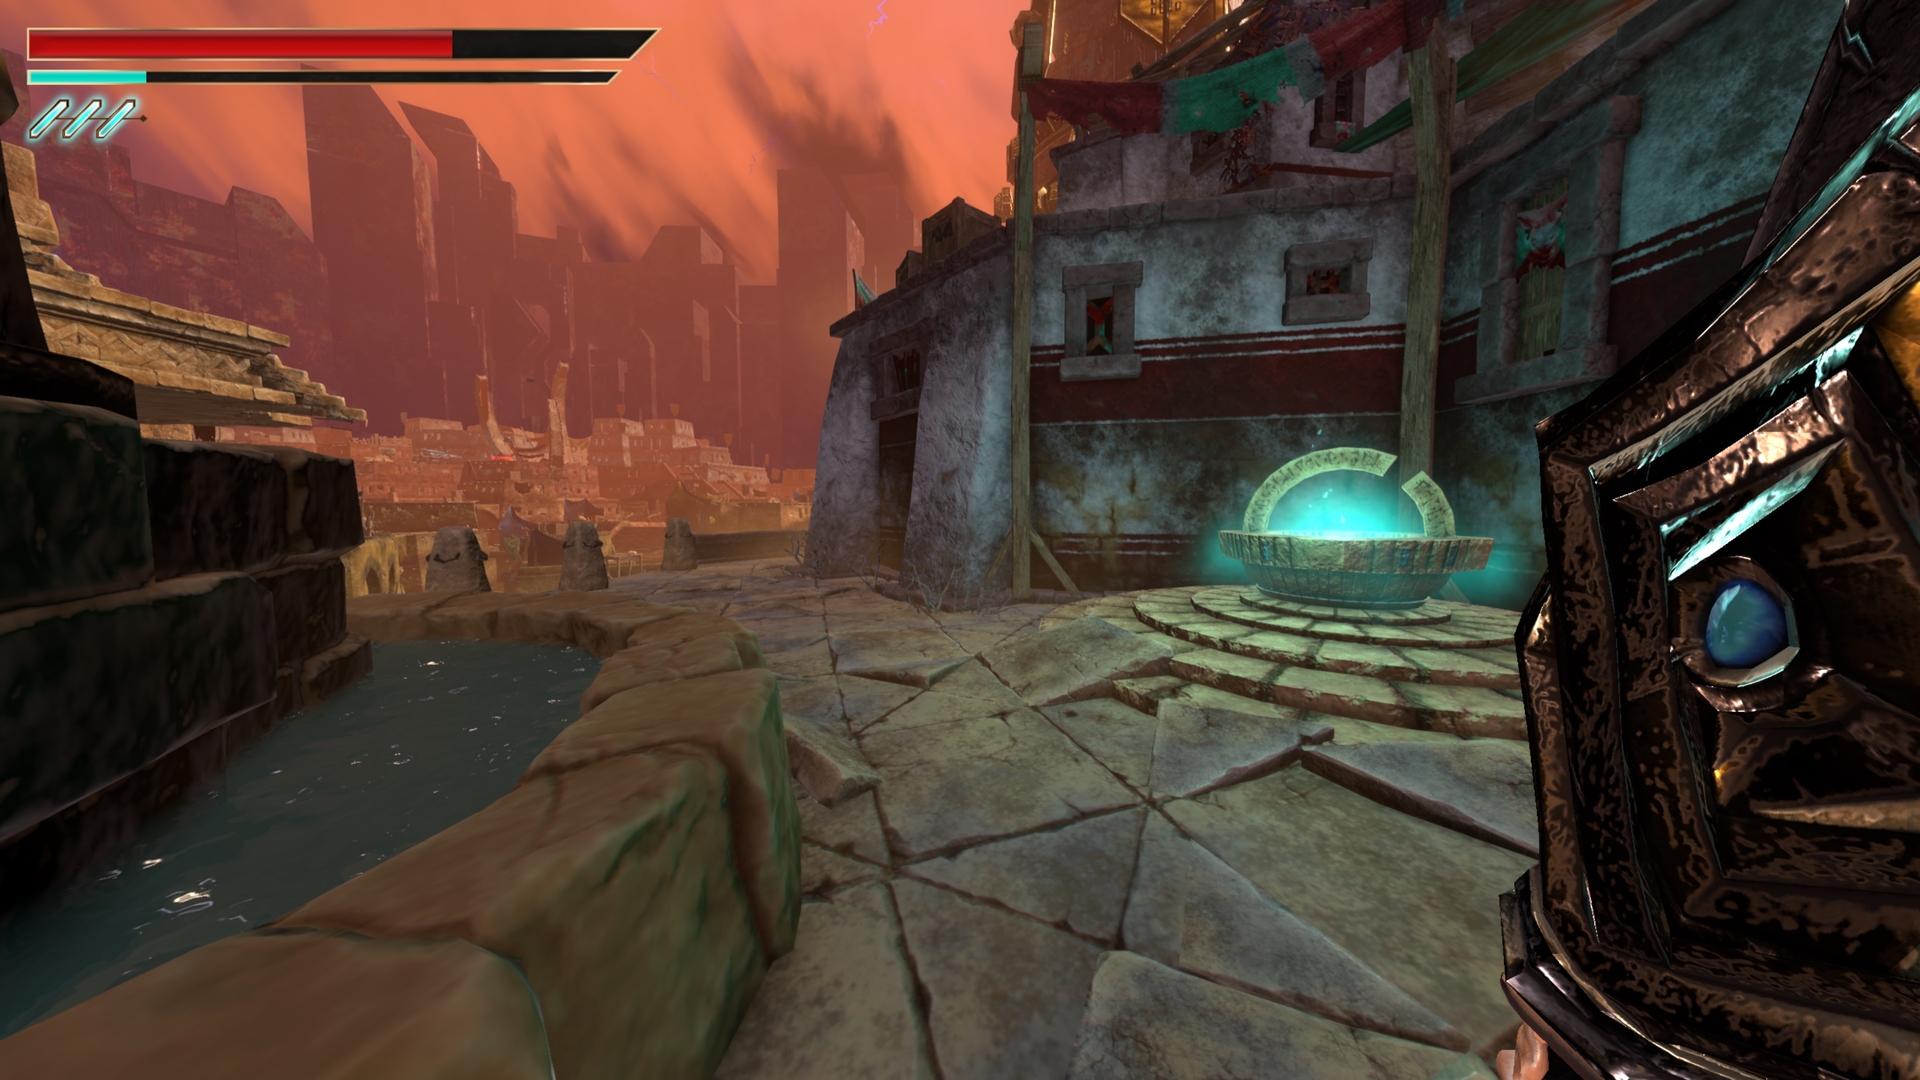
37.) In the lower area, activate the lever to open the room.
⠀
38.) On the opposite side, follow the outer platform to the end on the left.
⠀
39.) Final chest is at the bottom in the side room.