Overview of Combat in Ficterra. Basic Combat, Skills, Item Affixes, Mythics, Dungeons
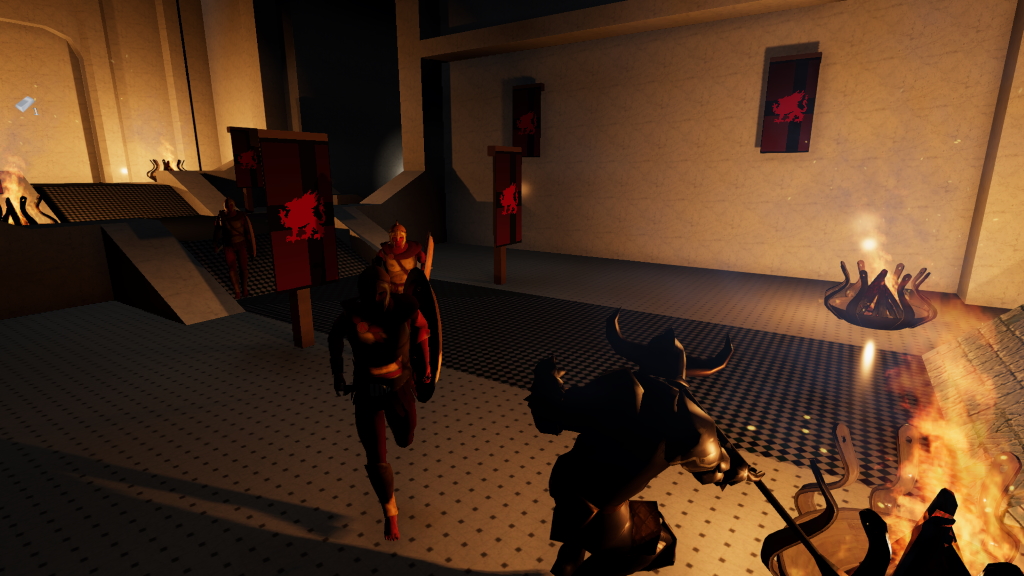
Basic Combat
Basic Combat rewards you with 2 things: Combat Mode and a Weapon
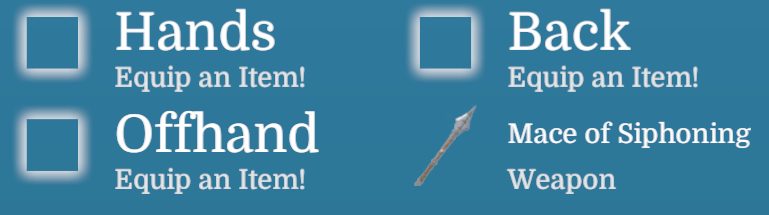
Go into your character screen (C) and click on the Weapon in your inventory to equip it. The weapon you receive is random, so each game you can end up with a different one.
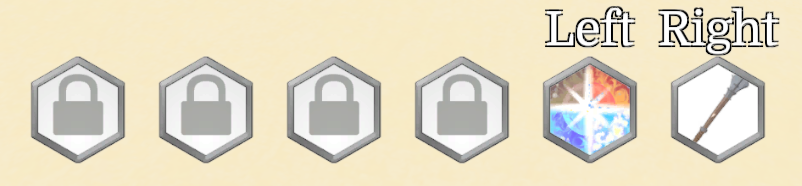
Next press ‘Q’ to enter Combat Mode. In this mode your number keys are replaced with combat skills instead of your normal item selection. Left and Right click also become your basic attacks. Right Click starts out as your default weapon attack. Left Click becomes Elemental Bolt if you have any items with Elemental Power equipped.
Pressing ‘Tab’ in combat mode focuses on the nearest/next enemy and allows you to strafe around them. Additionally your attacks will auto aim in their direction. A Health Bar will appear at the top of the screen showing you how much health the enemy has remaining. Pressing ‘Q’ in Combat Mode will exit and return you to normal gameplay
Equipment
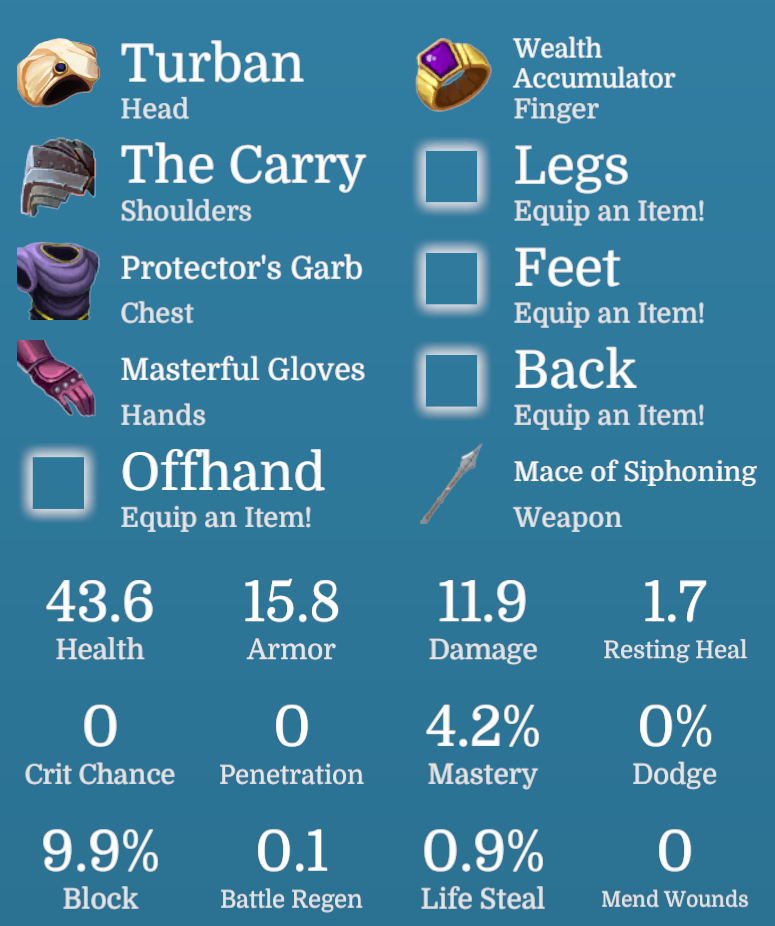
Characters have 10 equipment slots that can each equipment their own type of item. These slots are:
- Head
- Shoulders
- Chest
- Hands
- Offhand
- Finger
- Legs
- Feet
- Back
- Weapon
The Back and Offhand slots are mainly used for non-combat purposes so this guide will focus on the other 8.
Each piece of equipment gives a ‘Main Stat’ determined by its slot.
- A Weapon’s Main Stat is Damage, the raw number that damage calculations are based off of.
- Finger items (rings) give Resting Heal, which heals you outside of combat
- All the other equipment gives Armor as its Main Stat. Armor reduces the damage you take by a percentage
Every piece of equipment also has a Power Level. This affects the overall power of all stats on the item. Items with higher power levels can be found in Dungeons. The section on Item Affixes will go into depth on the individual stats (or affixes) on items.
Equipment also has different Rarities. These follow the same rarities as other systems in the game: Common, Rare, Epic, Mythic.
- Common items just have the Main Stat and nothing else.
- Rare Items have a main stat, Elemental Power, and a random secondary affix
- Epic Items are the same as Rare items but with an additional secondary affix
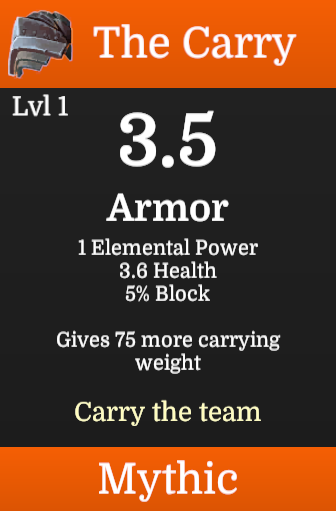
- Finally Mythic Items are the same as Epic items but with an additional Mythic Affix. Mythic affixes provide special bonuses to your character. They are usually non-combat or minor combat boosts, so an Epic item might be as good or better than a Mythic item for combat purposes.
Equipment can be obtained in a number of ways.
- Loot Chests provide a good way to get equipment, especially before dungeons. Every loot chest has a chance to drop items and better loot chest rarity gives better items
- World enemies also drop items, but few of the enemies drop higher rarity gear
- The Blacksmith Trader can create Common equipment, and can trade you ‘The Carry’ a Mythic Item
- The Marble Sculptor can trade you “Marbled Shoulders” a Mythic Item
- You can craft some common wooden gear at the Woodshop
- Dungeons provide the best source of gear. All the enemies drop higher rarity equipment at a higher chance. The Boss of each Dungeon also always drops at least one Epic or Mythic item
Item Affixes
Primary Affixes
- Damage – This is the base damage that all the damage calculations are based on. It affects
both weapon attacks and skills. These deal a percentage of base damage, which is then modified by Critical Strike, Penetration, and other effects. This only appears on Weapons - Resting Heal – This is how much you heal outside of battle. Shortly after you finished fighting you’ll heal this value every second, until you are full health. This only appears on Rings
- Armor – This reduces the amount of damage you take by a percentage. The percentage goes up as you gain more armor, but has diminishing returns. Math: . This appears on everything except Rings and Weapons
Secondary Offensive Affixes
- Critical Chance – This is the chance to deal a critical strike. Critical strikes multiply the
damage dealt by 2. This affects any damage you deal including damage over time effects. Critical Strike can appear on items for the Head, Hands, and Weapon slots - Penetration – The percentage amount your attacks penetrate enemies’ armor. So if your opponent has 200 armor and you have 50% Penetration, it is like your opponent only has 100 armor. Penetration can appear on items for the Hands, Finger and Weapon slots
- Mastery – The chance for skills to only incur half the cooldown cost when used. This lets you reuse skills faster. Mastery can appear on items for the Head, Hands, Feet and Finger slots
Secondary Defensive Affixes
- Health – This increases your maximum health, allowing you to survive more damage. Health can appear on items for the Shoulders, Chest, and Legs slots
- Dodge – The chance to outright avoid damage from an enemy attack. Some effects from enemies’ skills might still apply. Dodge can appear on items for the Legs, Feet and Finger slots
- Block – The chance to block enemy attacks and only take 25% of the damage dealt. Block can appear on items for the Shoulders, Chest, Legs slots
Secondary Recovery Affixes
- Battle Regen – Every second during battle you recover this much health. Battle Regen can appear on items for the Chest, Feet and Finger slots
- Life Steal – You restore this percentage of the damage dealt to an enemy to your health. Life Steal can appear on items for the Hands, Finger and Weapon slots
- Mend Wounds – The chance to heal 25% of the damage dealt to you, afterwards. Mend Wounds can appear on items for the Head and Shoulders slots
Elemental Power
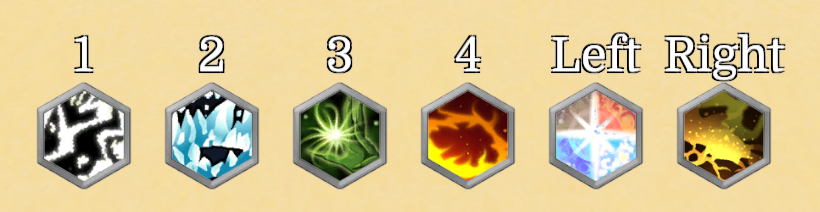
The skills granted by Elemental Power are
- Elemental Bolt – Launch a bolt of elemental energy forward to deal 4 types of damage to enemies. This gets upgraded to Elemental Blast if you have recently used an ability of each of the 4 element types; Lightning, Fire, Ice, and Earth. Elemental Blast does 4 times more damage than Elemental Bolt
- Ice Burst – Blasts the enemy with a nova of chilling ice that freezes them in place for 4 seconds and slows them for 4 seconds afterwards
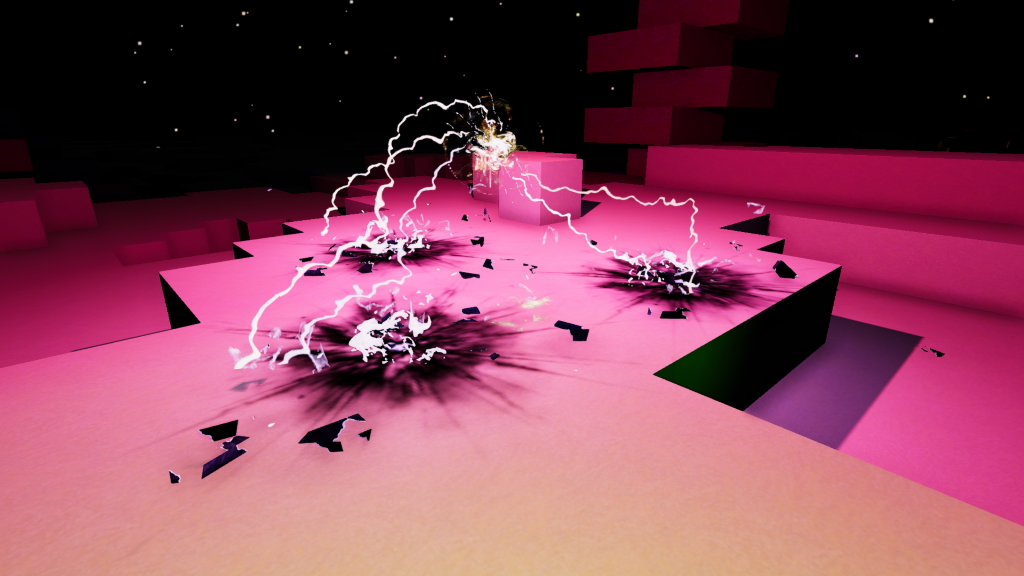
- Lightning Ball – Creates a dynamo of lightning that discharges at the ground dealing lightning damage for 10 seconds
- Fissure – Open a fissure in the earth dealing earth damage to enemies above it
- Flame Ring – Surround yourself with a ring of fire than burns any enemies inside it
- Elemental Favor – Heal your wounds with the elements. The more elemental skills you have used recently the more you heal for
Here’s a list of some of the Mythic Affixes you might find
- Lava Core – Immune to Lava but Water hurts you
- Wealth Accumulator – Gives you gold, very very slowly
- The Salty Hook – Chance to gain Salt on hit
- The Marathon – Double Base Stamina, 50 less carrying weight
- Cold Feet – Turns water to ice beneath your feet
World Enemies

A general strategy for combat with Elemental Power is to open with a Elemental Bolt and than cast Ice Blast to freeze them in place. Continue to cast bolt until they get closer then unleash your other elemental attacks. Try use all four of your element skills to get your bolt to upgrade to Elemental Blast for 4 times the damage. Use your heal if you think you might be in danger of dying. You can distance yourself and repeat this strategy until you have won.
Different enemies have different resistances, so trying out different element attacks can help you learn which are the most effective.
Flying enemies, such as Rockies, Bats or Dragon Whelps are going to be tougher to hit with ground based attacks like Lightning Ball and Fissure. Backing up might cause them to follow you more horizontally over the terrain, allowing them to get in range of these attacks.
Grumpy Bombs explode if you leave them at a low health. So you want to finish them quickly from below 50% health. Their explosion is also centered around them, so keep yourself at distance.
Golems are large slow enemies that deal a lot of damage. Use Ice Blast to slow them down even more. Attacks these from afar, it is probably not worth getting in close for your elemental attacks, unless you have a lot of survivability.
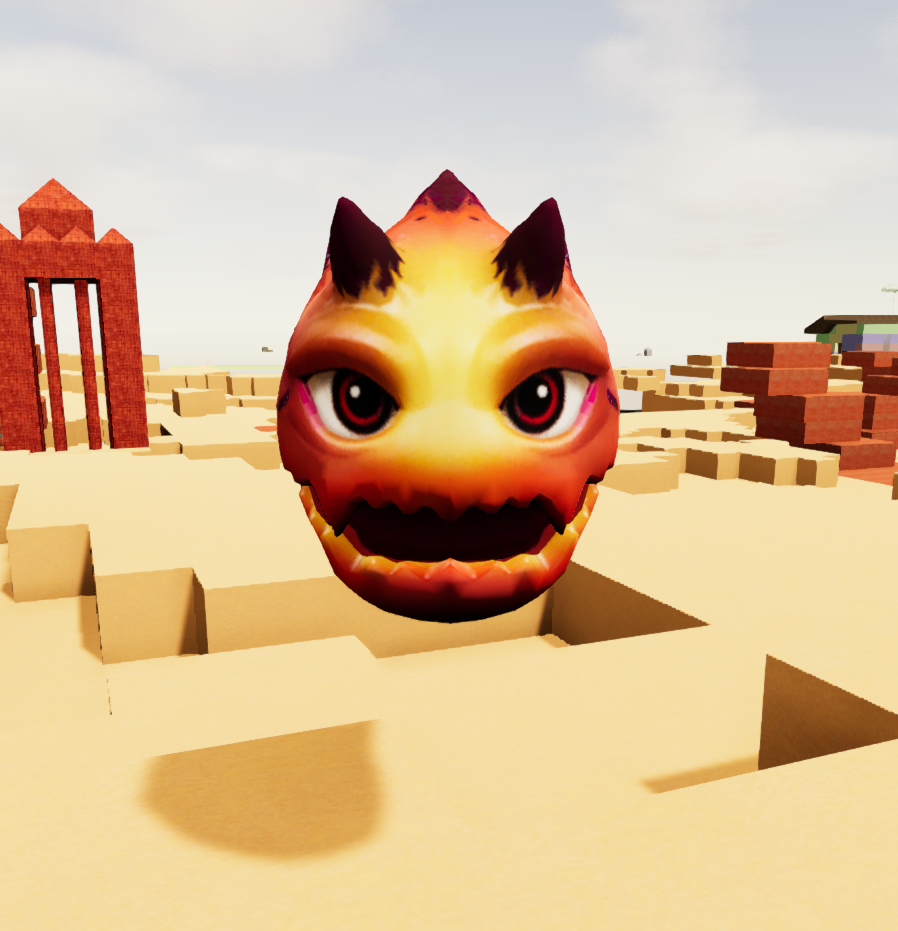
Jack-O’-Lanterns don’t even move, so Ice Blast is less useful. They are also only have ranged attack, so keeping them away from you doesn’t do much. You can close the gap and use all your area abilities on them, since they won’t move out of the area. Watch out, since at a distance these can look identical to normal pumpkins.
Bears are dangerous beasts, so if you fight them take care. They don’t require a different strategy, but they more tough than most enemies you’ll encounter
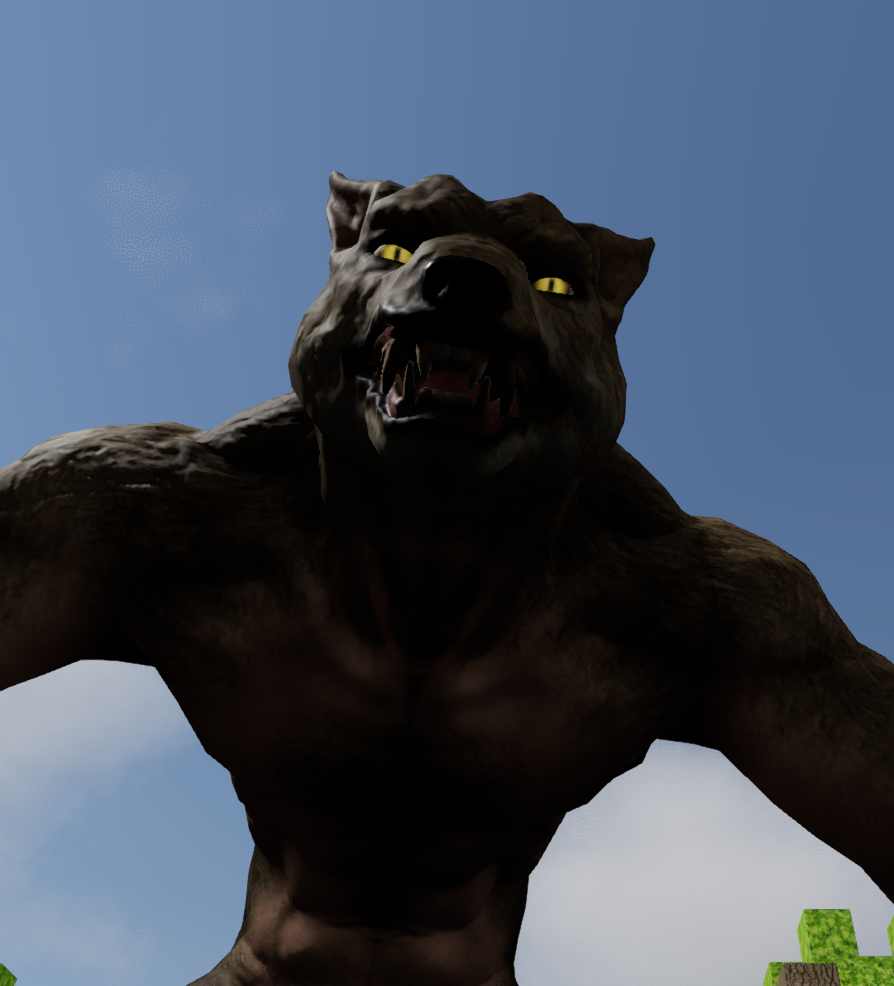
Werewolves are a Boss Monster that is very dangerous. They move much faster than most enemies and deal more damage. They can jump large distances to reach you. The most dangerous attack they have is their Howl. The howl causes you to tremble in fear for a few seconds, disabling you from moving or attacking. You don’t want to be on low health during the howl, because you won’t be able to heal, and the werewolf can just finish you off. Use Ice Blast to slow them down, and use your area effects if the Werewolf is near, so if you get howled, it can deal damage over time when you are incapacitated.
The other Boss monster is the Imperial Commander in Marble Town. This is another powerful enemy, but he moves and fights more like normal enemies. His signature move is Holy Burst which blasts you with electric and fire damage and then slows you for 4 seconds. This skill has incredible range, so your likely to get hit with this trying to run away. It does however have a minimum range, so if you are fighting close to the commander he will be unable to use this move.
In addition some monsters have been ‘upgraded’ to boss status. These are just like their normal counterparts except they do more damage, have more health, and drop better loot.
Dungeons

There are currently 2 dungeons in Ficterra: The Beetle Caves and The Marble Halls
The Beetle caves is the first dungeon and is lower level. It is highly recommended that you do the dungeons in order. Trying the second dungeon with world gear will be very challenging. The dungeons drop higher level gear, so gear from the Beetle Caves will help you take on The Marble Halls.
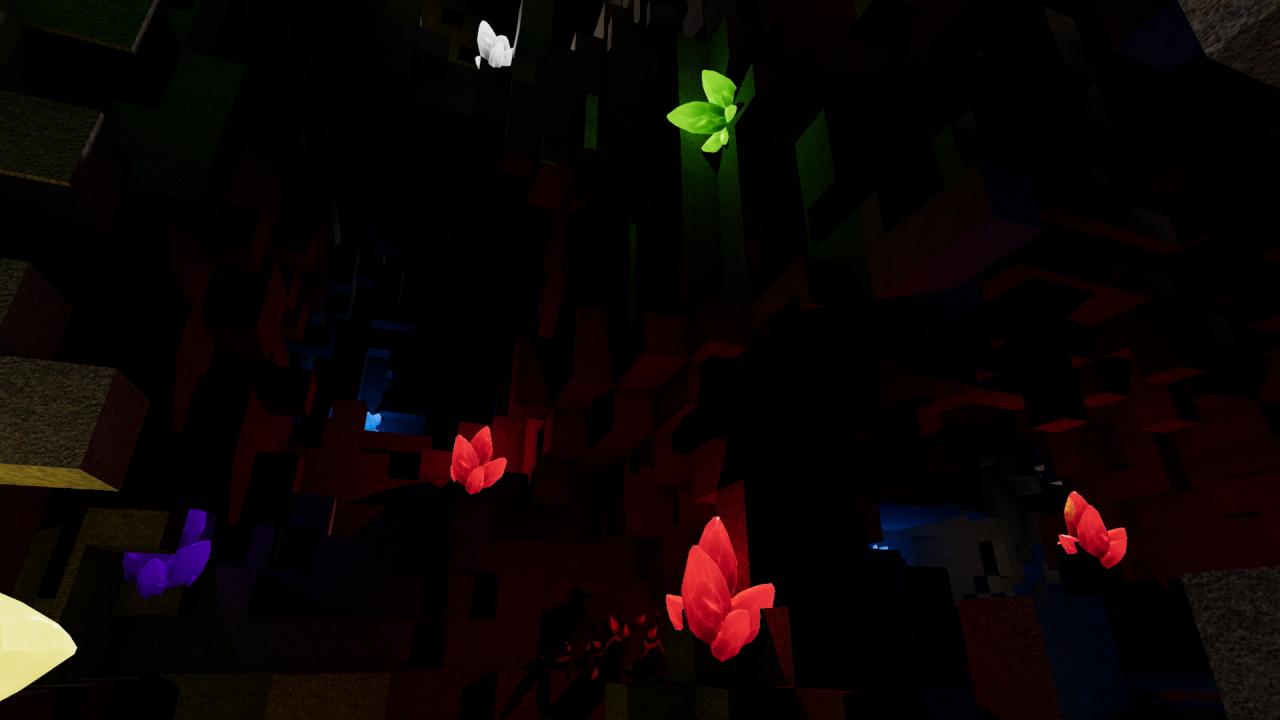
The Beetle Caves is a network of caves filled with Beetle enemies and glowing crystals. The Beetles come in 3 types: Acid, Electric and Fire. All types will attack with their horn and attempt to chase you down. The Fire beetles launch a ball of fire, the Acid beetles launch a ball of acid, and the Electric beetles let out a bunch of electric charges in multiple directions. Similar strategies apply as to normal monsters, but dodging their projectiles is important to minimizing the damage you take. They are also smarter than most monsters so they have better tactics. The boss Beetle employs all three of the other beetle’s skills to take you down. Watch out to see which attack they are using to dodge correctly.
The Marble Halls is the second dungeon and pits you against the Imperial Army. Imperial Slayers are a dangerous foe with a variety of high damaging melee attacks. Take these enemies on one by one and use Ice Blast and distancing to avoid getting hit. There is an optional golem boss you can fight in the dungeon, if you want more loot. The final boss is a boss version of the Imperial Commander and several Slayers. Try to take out one enemy quickly to reduce the incoming damage. You can’t run from Holy Burst, and it slows you down, so dodging attacks from both Slayers will be more difficult. You can try to group up the enemies in an area and use your AOE attacks to hit all of them at once.