
Money comes slowly at the start of Horses of Hoofprint Bay, and the game is happy to let you grind lessons and trail rides for pocket change. I found a faster path, and I wrote this up so you can skip the slow part. Below is the route I use in my own save to pull in a few hundred coins a day without ever going into debt.
Clear the Tutorials, Then Break the Plan
First you have to push through the tutorials. Keep going until the game hands you enough money to buy the trailer, the one that lets you haul horses into town. At that point the game tells you to train your starter horse up to 30 Strength and 25 Endurance. Ignore that instruction. You have a better use for your time.
The moment you have the trailer, sell your starter horse. Yes, it feels like a betrayal of the sweet mare the game gave you, but she is worth roughly 700 gold when you finally get the chance to sell her — that was the number on mine. Take that money and put it toward a horse with better stats instead.
Buy a Replacement Horse the Smart Way
When you shop, look past the headline numbers and pay attention to the price breakdown. The game bases most of a horse’s price on how well trained it already is, and only the rest on its potential stats. What that means in practice: a horse with strong potential that hasn’t been trained yet is cheap, while a well-trained average horse costs a fortune. Watch for that gap and you can pick up a genuinely good horse for a steal, even if you’ll spend longer bringing it up to speed.
There is a real cost to this swap. You give up your guaranteed starter with her Sure Footed and Good Mom traits. If that bothers you, reserve her and buy her back later once the money is flowing. In my case the replacement I ended up with was Energetic and Injury Prone, and honestly it was not a big problem.
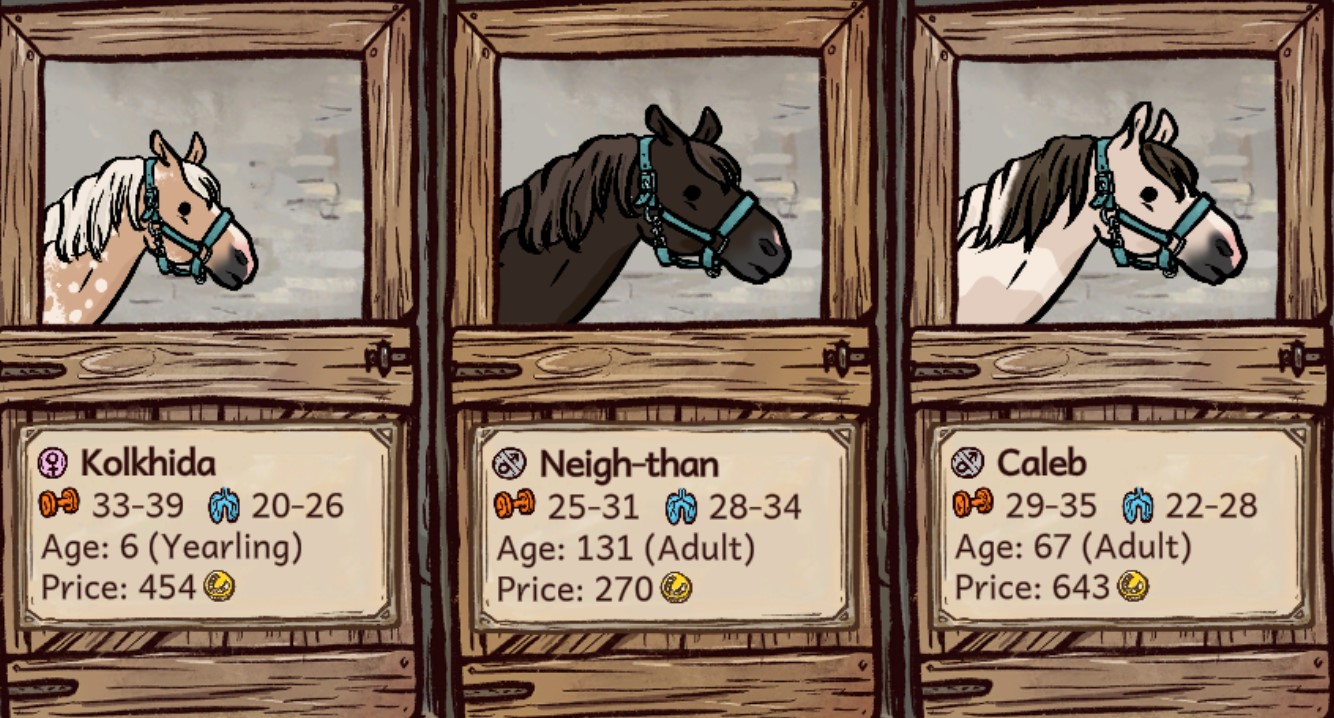
One thing I want you to get right, because it will bite you later: try to replace your starter mare with another mare. If you buy a gelding instead, breeding is locked out until you can afford more horses. If you buy a stallion, he will cover any mare you board before you have the second field and stable upgrades to separate them — and a lot of your boarders are mares. When a stallion covers a customer’s mare, that boarder cancels the stay and you eat a very large fine for this stage of the game.
Train the Replacement for Competitions
Now the real work starts. Train your replacement mare until she can win competitions. Along the way, slot in lessons between training sessions for a little extra cash — at minimum enough to keep your food fund alive. Just know that each lesson costs a tiny amount of Strength and Endurance progress, which you can win back with Lunging.
Once she’s ready, enter the Cavaletti and Caprilli 1 and 2 competitions and make sure she can clear them. If she can beat Caprilli 2 consistently, you’ve hit your early money engine: run that competition every day for roughly 200 coins per win. That holds you over until you can afford a better horse and snowball into bigger events.
Knock Out the Early Quests
The first few days hand you several easy quests, including the fetch quests where you hunt down lost items on the forest trails. Do them as soon as you’re able, and treat the trail rides as free Endurance EXP while you’re out there. Here is where the lost items and apples actually sit:
| Item | Trail and Path | Where It Is | Reward |
|---|---|---|---|
| Apples | Mushroom Trail, lower path | Switch the sign arrow, then keep going — you pass the tree about 75% of the way into the ride | 200 coins |
| Phone | Mossy Trail, lower path | Cross the bridge — it sits in a bush just past it | 500 coins |
| Hoof boot | Mushroom Trail, upper path | In a bush around where the hill starts to dip back down | No coins, but prestige and a uniquely colored saddle |
Take Every Boarder You Can
Part and Full Boarder mares and geldings are easy money, even when the payout makes you wait. Be wary of stallions for the reasons above. And here is a trap I want you to avoid: do not take a boarder if you have a pregnant mare, only one stable slot left, and the boarder will stay longer than her gestation period. You will lose the foal to a lack of stable space.
Schooling horses are one of the more lucrative options that don’t involve competitions, though their requirements can look intimidating at first. Start by building confidence with low-confidence Schoolers — run exclusively Confidence training courses if you have to. Once they’re steadier, move into Cavaletti, Caprilli, or Lunging training, whatever their exercise bar can handle. While training, basically spam the praise button the whole time and correct them whenever they try a gait change or when they obey your command. Confidence climbs fast this way. You get bonus confidence if the horse is Snacky or Cuddly, which boosts treats and scritches respectively. Remember the split: riding arena courses are best for Strength, trail rides are best for Endurance.
Once a Schooler’s Strength is where it needs to be but Endurance is still low, take plenty of trail rides. They give more Endurance and cost far less exercise than arena courses. When the horse is fully trained to spec, do not cancel the boarding early. I tried that because I’d heard it worked, and because so much of your earnings depend on how long the horse stayed, my reward was cut roughly in half — from 975 down to 450. Let the stay expire if you want the full payout.
Moving Into the Mid-Game
Once you’ve piled up enough coin, upgrade the stable twice and the field twice. That unlocks Stable Groups, so you can split horses into different fields and keep stallions and mares together without accidental pregnancies. It also lifts your boarder limits, which keeps the money coming in.
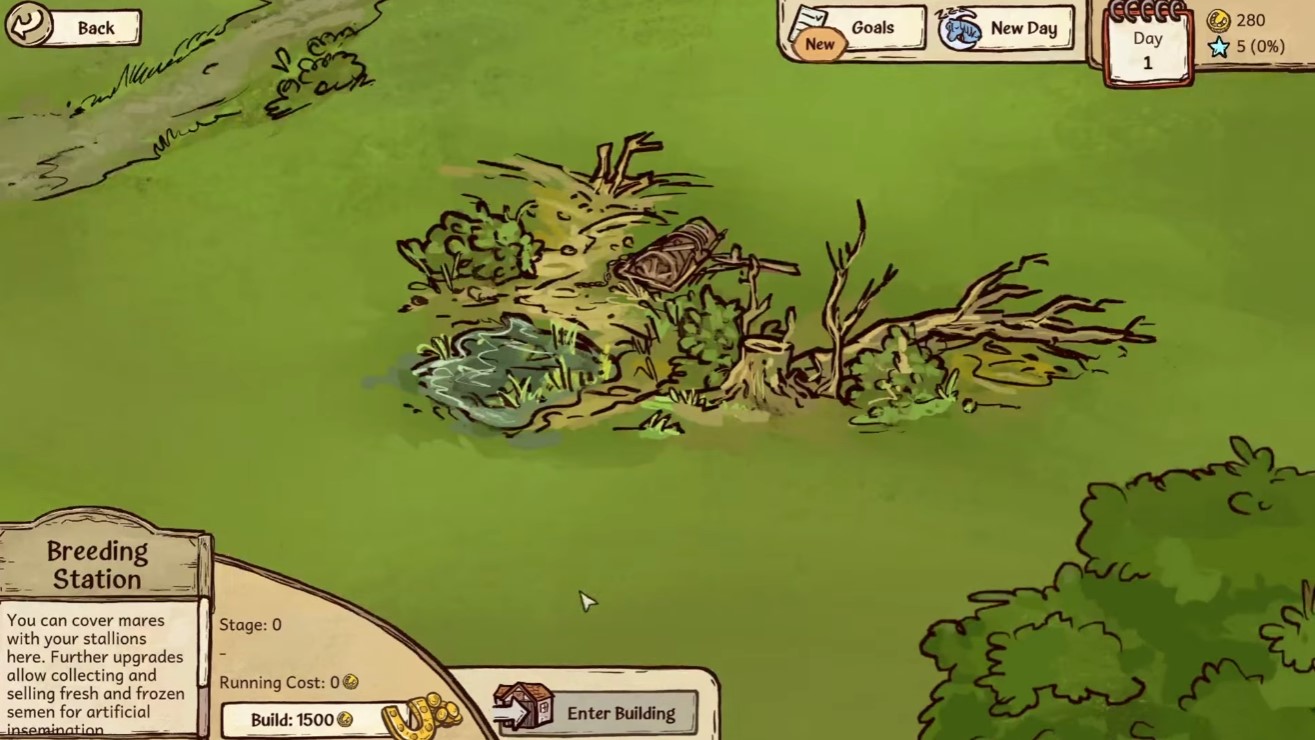
Before you buy a stallion, build the Breeding Station first. It lets you produce higher-potential foals, and it opens up customer cover requests. Those pay decently on their own, but the real prize is upgrading the station so you can collect ‘forbidden frosting’ from your stallions. This is easily one of the best money methods in the game — simple, quick, and repeatable on every stallion you own once per day. Two limits to remember: you can’t breed a stallion after harvesting from him, and you can’t harvest from a stallion that competed that day.
What drives the value of semen and cover requests is competition results. The more famous your stallion is, the more cover, fresh semen, and frozen semen requests you get. Frozen semen sells for more than fresh, but how much a stallion produces and how much it takes to freeze a batch varies by horse. In my save my most popular stallion gave 6 per harvest but needed 6 of his own to freeze 2, so selling fresh actually made more money over time for him.
With all that set up, buy or breed a stallion and train him for competitions. Win a couple and he becomes the only stallion customers want, which means quick daily money. From there you keep breeding better foals, winning more competitions, and climbing toward the richest trainer in the land.
The ‘Train & Flip’ Method
I haven’t personally run this one, but it’s worth knowing about if you prefer long-term plays. Buy a cheap horse — again, watch the training-bias pricing — train it to max, then sell it. The payout is large, but it takes a couple of days, while the methods above give a few hundred each day. Quick and small versus slow and big: pick whichever suits how you like to play.
Where This Left Me
On Day 26 of my latest playthrough I was still repeating everything above. I had the second upgrade on both the stable and fields, four boarders (three full, one schooling), three of my own mares including a yearling I’d bred, and I’d run Caprilli 2 or lessons with my replacement starter mare almost every day. Prestige rewards were turned up to max in my save, so your numbers will likely be lower unless you did the same. I was gearing up to build the breeding station and buy my first stallion, and I hadn’t gone into debt once — no small feat with my cantankerous horses, since the replacement mare was Energetic and my other mare turned out Chill, meaning constant gait changes around here. It was a stress-free run, and I hope at least one of these tips saves you some time.


