Simple guide learned through trial and error. How the functions of the different water tiles allows for bridging islands. The different effects you will get with saltwater, deep water and fish tiles. Play in standard mode with created map.
Water Tiles & Creating a Bridgeable Map for Standard Mode
- Choose Creative Mode
- Enter Map Editor
- Create at Least Two Islands
- Add Land Items
- Now for all Things Water…
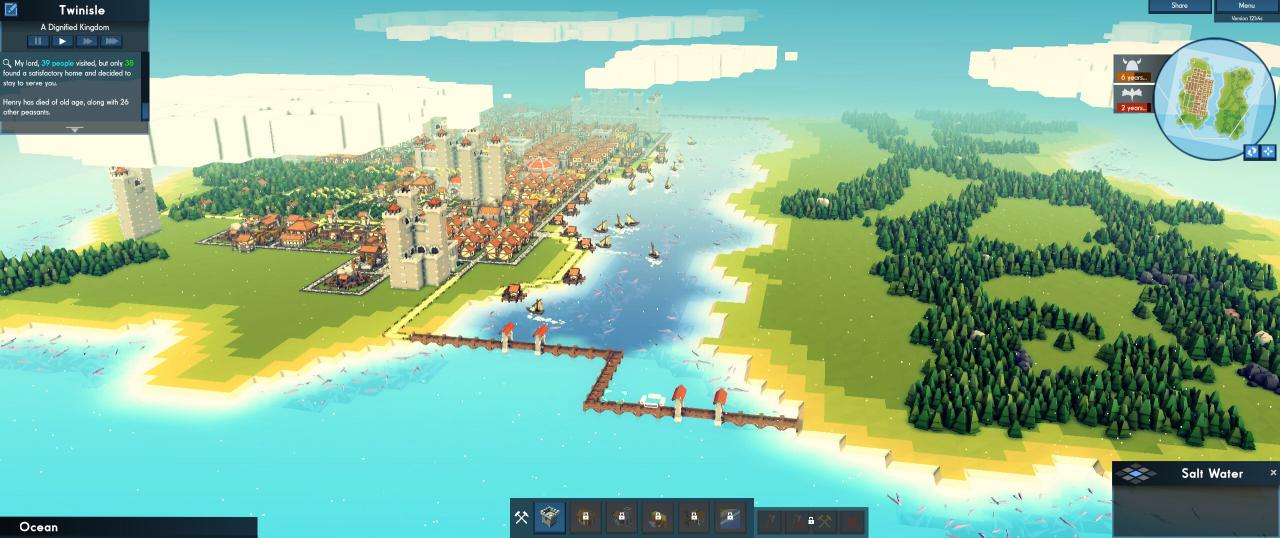
- Light Blue = Saltwater – Bridgeable
- Dark Blue = Deep Water – Not Bridgeable
- Fish Tiles = Deep Water – Not Bridgeable
Fresh water can not be created in Map Editor. If you cut through land to make rivers, lakes or inlets use only saltwater in the places you want to be bridgeable. All water under land is fresh water and is only accessible by building a mote during game play.
Placing a 1×3 mote is the exact size you need for a Noria. You can place a bathhouse or reservoir directly in front of a Noria. You can build off either one with the other. No expensive aqueducts needed.
You can not build piers, water gates or bridges over fish tiles. If you want a shallow water shelf to build on around your islands (or fish-able lakes) you must leave a gap between shoreline and fish tiles.
In order to build a bridge between islands place saltwater tiles from shore to shore. A single width tile (or two for piers) will do but must reach all the way between islands or shorelines.
From limited testing ships move slower through the deep blue tiles. I placed saltwater tiles all the way to the edge of the map and viking invaders moved very quickly to the shoreline. I put a limited amount of deep blue between the islands and viking ships seemed to move much slower.
- When Finished Click Done
- Next Screen DO NOT Click Accept
- Click Back to Game Mode Screen
- Click Standard Mode
- Choose Difficulty Level
- Name Kingdom & Choose Banner
- Click Accept
If done correctly your created map will stay as the backdrop screen.