This is a quick guide on how to use every item effectively, and some creative uses too. If you have any feedback or think I’ve missed something, please let me know!
Battery Powered Items
Battery powered items are any items that are powered by a battery. Didn’t think I’d need to spell that one out, but I’d rather cover my ass.
Walkie Talkie
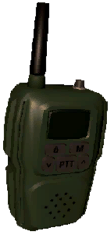
A useful item if you have a competent monitor, you can use these in loads of different ways. They are also the cheapest items in the store, at 12 credits – but of course you need 2 of them to function properly.It’s also worth noting that a walkie has a battery life of 13 minutes and 40 seconds, meaning it can last an entire day on a full charge – you can also use this to find the time of day, with a little practice.Strategies
The standard method to use these is to have one player – known as the monitor – stay onboard the ship while the remaining players enter the complex.
Sometimes only one player inside the compound will have a walkie, and the others follow and branch from that player. Other times, there may be more than one walkie, and the monitor will have to constantly look over multiple players.
Flashlight
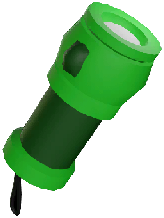
In my opinion, the regular flashlights are never worth it. I’ve heard people say that they prefer the mobility bonus, as this one weighs nothing – but the Pro-flashlight is only 10 bucks extra and weighs 5lbs.With a battery life of 2 minutes and 20 seconds, this light is sure to get you killed if you don’t keep constantly flicking it off.
Pro-Flashlight
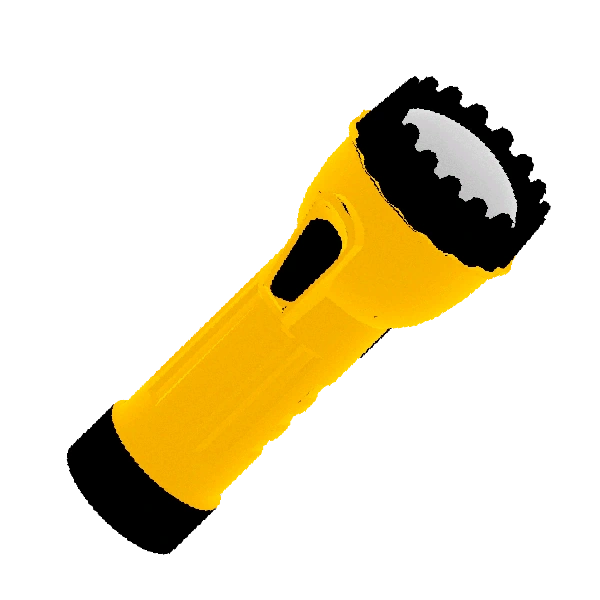
The Pro-Flashlight is literally S tier. This should be the first thing you buy in a new run. It has a far longer battery life of 5 minutes, which can easily last an entire day without recharging, if you use it carefully.I’ll stand by the fact that one Pro-Flashlight is better than 2 flashlights. But overall these are personal preference.
Boombox
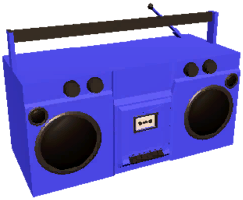
With a battery life of 5 minutes and 49 seconds, this item is a real morale booster. It costs 60 credits, which is a little high for it’s initial purpose. The Boombox plays a random song when turned on, which loops until it dies – which you can recognise by the sound of the song slowing down.Strategies
You can use the boombox to lure eyeless dogs, and other monsters that rely on sound. The boombox will also attract Hygrodere’s to it, and cause them to “dance” – which can be useful to keep them occupied or move them out of the way, but doesn’t seem worth it for the price in my opinion.You can also use the boombox to mark the entrance location. Drop it at the door or fire exit, and then you’ll have a way back. At the moment, I haven’t seen a Hoarding Bug pick up a boombox, but I’ve heard of it – so be careful if you’re using it for this purpose.
Zap Gun
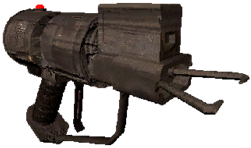
Weighing 11lbs and costing 400 credits, the Zap Gun is a decently useful weapon when used by the right person. Using the Gun will send out scanning beams in the direction that the player is facing, if it detects something (which can include teammates) it will lock onto the target and shoot an arc of electricity and begin losing battery life. To keep the monster stunned, keep it in the centre of your screen, as you will be pushed by the electrical arc. If no target is found, the battery will not drain.Strategies
Using the Zap Gun in combination with a teammate that has a shovel or other weapon can be very effective, as the Gun will slow down or halt any monster that you hit with it. When a monster is stunned, a teammate can hit the monster without taking damage.Other uses for the Zap Gun include using the Gun on Forest Giants, which will cause them to drop a player they are about to eat (This is still pretty buggy, and I’ve only ever done it twice). Or using the Zap Gun on a Jester will temporarily stop it’s song, once it has entered it’s second phase.
Jetpack
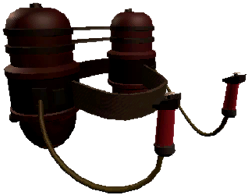
At 52lbs, this is the heaviest item you can purchase from the store as of version 40. The Jetpack costs 700 credits. The main purpose of the Jetpack is to transport small loot. You can use WASD to rotate the player in any direction, and the mouse will not control your movement, so you can still look freely.If you use the Jetpack for too long, or crash at a high enough speed, the Jetpack will explode – killing the user and any players that were too close. You can continuously use the Jetpack for around 6-8 seconds before it explodes, but feathering the pack will reset this timer. An exploded Jetpack can be picked up, but cannot be used again.Strategies
Jump launching – which is jumping and holding left click at the same time – is far more effective than just holding left click.
There are too many strategies to list here but the Jetpack is very useful. I’d recommend checking out this video to learn how to use it effectively.

Melee Weapons
Weapons let you to play more aggressively in the complex, most monsters that you can encounter can be killed, the exceptions being Spore Lizards, Jesters, Coilheads, Bees, Hygroderes, Forest Keepers, Earth Leviathans and The Ghost Girl.
Clicking left mouse causes a small windup animation, which can be held and ready to release by holding left click instead. Note that holding the click down doesn’t actually increase the damage you do.
Different creatures take different amounts of hits to kill, but all weapons do the same damage and are all incredibly useful, as you can hit Snare Fleas off of another player’s head.
You can hit mines, just don’t expect to live for very long after, and you can also hit turrets, which will cause them to malfunction and spin in a full circle while constantly firing.
For a beginner guide on killing monsters, check out this guide:
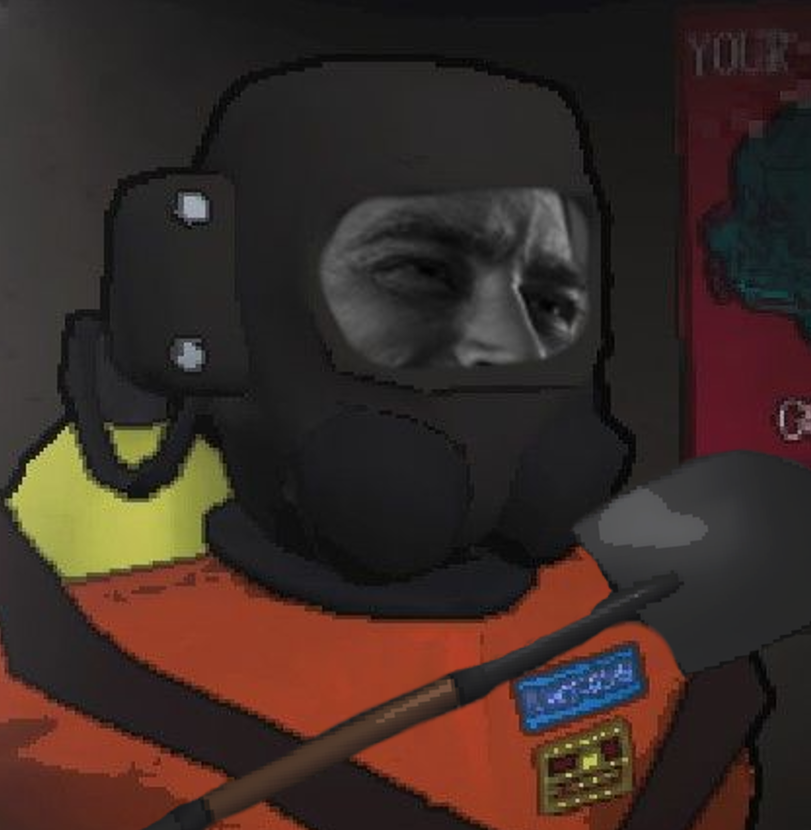
You can clear spider webs with weapons, which will cause the spider to move to your location – if it is alive. This can be useful to lure them and kill them with the railing trick.
Although Hydrogeres cannot be killed, you can speed them up by hitting them with a weapon.
Shovel
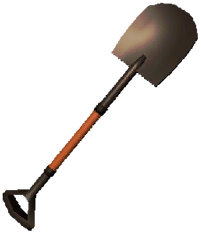
Weighing just 19lbs, this is the lightest melee weapon in the game. As this is a Store item, it can’t cause lightning to target you.
Stop Sign

Weighing 21lbs, this is the lighter version of the scrap weapons. The problem is that both scrap weapons can cause lightning to target the player, and they weigh more than a shovel.
Yield Sign
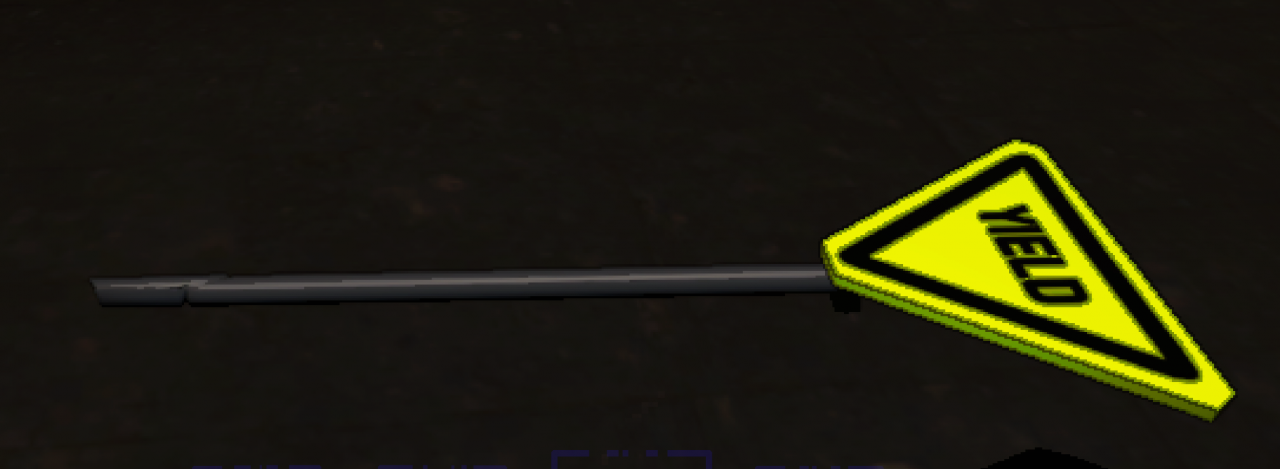
Worthless. F Tier.Weighing a stupid 42lbs, this is literally a last resort weapon. If you find a stop sign, take the yield sign outside to sell it later.Honestly, with both scrap weapons, just sell them and buy a shovel.
Infinite Items
This section covers items with no limit on their use. They can be picked up and used again, for the same or even a different purpose.
Lockpicker
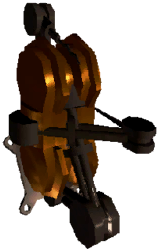
The Lockpicker is a very useful tool for many complexes. Costing only 20 credits and weighing 16lbs, it’s easy to transport this item around for exploring. We’ve all had that time where you go in the fire exit, only to find that the first door is locked and now you have to run all the way back to the ship with only a crate of bottles, just to grab a key when… Oh ♥♥♥♥, Joe took the last key.Enter the Lockpicker. Place it on a door, wait 30 seconds, boom. Pick it back up and let it pick another lock for you.
Additionally, Lockpickers do not attract lightning, keys do. Food for thought.It is worth mentioning, however, that the Lockpicker is extremely loud and will attract some monsters, like coilheads, immediately if they are on the map.
Extension Ladder
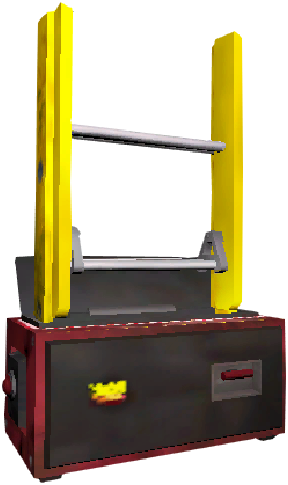
Costing 60 credits and weighing… nothing? Alright damn this is a light ladder.
Dropping the ladder with the left click will cause it to extend straight up, then falling towards the direction you were facing when you placed it – until it hits an object. After this, you can climb or walk on the ladder.
The ladder will crush a player if it lands on them. Use this knowledge wisely.The ladder will retract back into its box form after 20 seconds, you can time this from when the ladder begins to beep – as then you have around 5 seconds to get off before it turns you into a living Wile E. Coyote.You can also press E on the box to retract and pick it up.
Strategies
Depending on how much you know about the moons, shortcuts, fire exit locations and loot drop points, the ladder is extremely useful.
A video I found useful to learn some of these is here:
Radar Booster

Costing 50 credits and weighing 19lbs, this little device will be given a random name as soon as it is delivered. You can turn the Booster on or off by holding it and clicking the left mouse button.When the booster is turned on, it will light up a small area, and you can view it on the ship’s monitor – just like a player. Multiple boosters can be active at once, meaning you can place them around and inside a complex. There is no limit that I’ve found, as the random pool of names will just continue to add numbers when they are duplicated.
The Radar Booster is the only store bought item that can be targeted by lightning.
Strategies
You should place boosters at desired points in the compound, such as the entrance or fire exit. The monitor can then ping the booster to help guide players, or check for nearby enemies at key locations.
The Radar Booster on Stormy planets can make for a very effective method of killing Eyeless Dogs. Simply place the booster away from the ship, ping it if dogs are nearby and keep them there until lightning strikes the booster.
Stun Grenades
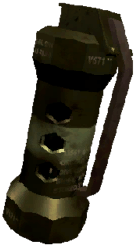
Hold up, hold up. I know what you’re thinking. “This ♥♥♥♥♥♥♥ idiot put stun grenades in the infinite item section, what a dumbass.“Yes, the standard use for Stun Grenades is only a one time use, but the casings themselves are endlessly useful on certain moons. After the grenade has been used, you can pick it back up.
Although it doesn’t stun anymore, it can still be thrown… on mines. Keep a hold of them and you just got yourself a landmine remover for 40 credits – just remember keep your distance.
Single Use Items are items that you can only use once. Often, you can still pick up and interact with the item, but it won’t provide anything useful.
Stun Grenades (Really, this time)
Costing just 40 credits and weighing only 5lbs, the Stun Grenade can help out a lot on later moons. After pulling the pin with left click, you can click again to throw the grenade. The grenade has a timed delay of 3.3 seconds after throwing the grenade – it is important to know that this time does not start when you pull the pin.
Any player near the grenade as it detonates will have their screens flash white and a loud bang with ringing ears, so don’t mess with people at night if you don’t want a shovel in your face.
Strategies
Stun Grenades can stun most enemies, which allows for the player to make a quick getaway without them following. Stun Grenades can also pause a Jester’s song, and get one to temporarily stop chasing you if it is in Phase 3.
The blast of a stun grenade will knock a Snare Flea off of a players head, but there are easier ways to deal with them.
A player that has been picked up by a Forest Keeper will be dropped if the Forest Keeper is stunned. This is difficult to pull off, but if you do it… send me a clip please I’ve never done it properly.
TZP-inhalant
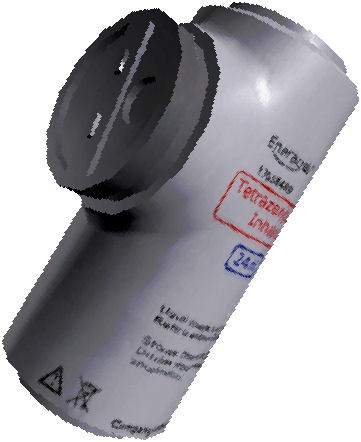
The most expensive Single Use Item, at 120 credits and 0lbs in weight, the TZP-inhalant (Tetrazenylpurine for you nerds) is used by holding left click. The inhalant has a total of around 20 seconds of use before it runs out.Using TZP, your stamina will drain significantly slower – so you can sprint for longer. I usually find that using the inhaler for 8 seconds gives me the best results, and it should be noted that you can still run out of stamina while under the effects of TZP. Whilst you can inhale once it’s immediately run out, you should ideally take a moment to regain your stamina first.
After the boost runs out, the side effects begin. The side effects will have increased severity depending on how long you’ve used the inhaler.
- Reduced visibility
- visual and audio distortions
- Reduced movement and camera control
- Increased pitch of vocals
- Testicular torsion
The inhalant is mainly used to carry many items back to the ship at once, including large items – as you don’t have to carry the TZP to keep the effect.
Ship Upgrades
For the final section we have Ship Upgrades. These are upgrades you can make to the ship through the store.
Loud Horn
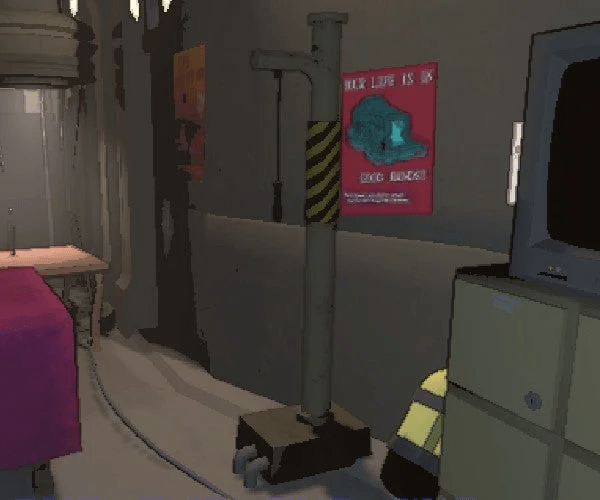
The Loud Horn is the cheapest ship upgrade, at 150 credits. It is a form of non-verbal communication between the monitor and players inside the compound, if the players can’t speak or the walkie inside has been lost.The horn can be moved with the B key and interacted with the E key. When pulling the cord the horn will increase in volume for a short moment until it reaches it’s maximum. The horn can be heard everywhere across the map, inside and out of the complex.
The horn attracts Eyeless Dogs, so be careful when using it.
Strategies
Different horn patterns can mean multiple different things. I’ve heard everything from the simple “One long horn means Giants are approaching.” to “Okay so these are the 12 different patterns we use, memorise them.”
Typically, it’s good to define a few patterns with a team, just in case the players are unable to communicate any other way.
Teleporter
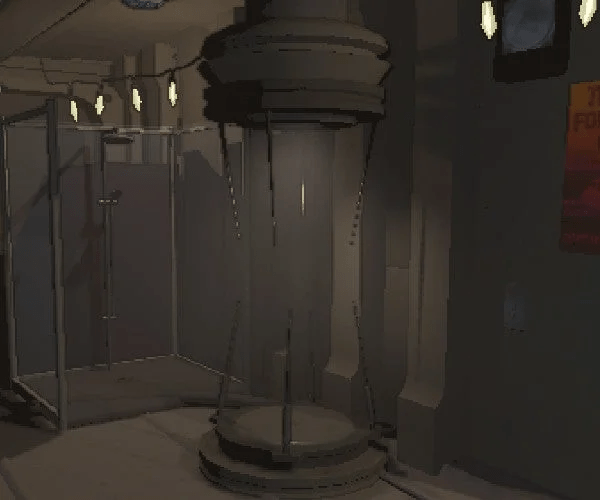
At 375 credits, this might just be the most useful item in the game. The Teleporter has two parts, the receiver pad and the button. To teleport a player, first select the player on the ship’s Terminal – then lift the glass of the red button on the left of the brake lever and hit the red button. There will be a short wind-up, and then the player will be teleported to the Receiver pad.When a player is teleported, they will drop all items they were carrying. After this, the teleporter has a cooldown of 10 seconds before it can be used again.
Strategies
Ever wanted to evade taxes fines? Well using the teleporter, you can recover most bodies in the game. The exceptions being if the player was eaten by a Forest Keeper, Earth Leviathan or the player sunk in quicksand/mud.
Monitors can teleport players that they think may be in danger, such as if they’re being chased, or if they have a Snare Flea on their head, as teleporting them outside will instantly kill the Snare Flea.

Here, I was being chased by a Snare Flea while I had one on my head, somehow the teleporter got both of them in one go.
A player can also be teleported just as they have been grabbed by a Forest Keeper, but if the monitor waits too long, the player will be eaten and cannot be teleported out of the Giant’s hand.
Inverse Teleporter

You’ve gotta ask yourself a question: “Do I feel lucky?” Well, do ya, punk?
The Inverse Teleporter is either your best friend, or your worst enemy. At 425 credits, it is currently the most expensive ship upgrade. The Inverse Teleporter (IT) comes in 2 parts, similarly to the Teleporter. A yellow button on the console and a Sender pad.
Once the yellow button has been pressed, a short wind-up sequence will occur, after which any players standing on the Sender pad will be teleported into random areas inside the complex. Yep. Random areas. See why this thing can be a nightmare now? Players are also not guaranteed to end up in the same location.
Like the Teleporter, the IT causes players to drop all items inside the ship when they are teleported, and the teleporter itself has a rather long cooldown of 200 seconds, or 3 minutes and 20 seconds.
TLDR
Boomboxes aren’t really that good.
Zap-guns and Jetpacks good, but much money.
Sell signs, buy shovels.
Ladders are good but learn your shortcuts.
Hold onto dead stun grenades to avoid being dead.
TZP is useless unless you’re alone or it’s late.
Ship horn good if no walkie.
Teleporter is very good. Buy it.
Inverse teleporter =
More Guides:
- Lethal Company: All New Terminal Commands
- Lethal Company: Adamance Map Guide
- Lethal Company: Some Information About Controllers
- Lethal Company: How to Use Terminal with a Steam Deck or Controller
- Lethal Company: How to Download and Install Mods
