This guide will describe how to obtain the ‘Genius Destroyer’ achievement, gained by defeating Monsoon without taking damage on Hard difficulty or above.
Introduction
Note that I completed the achievement on Hard, so it may not be an entirely accurate guide for Very Hard/Revengeance.
The Loadout
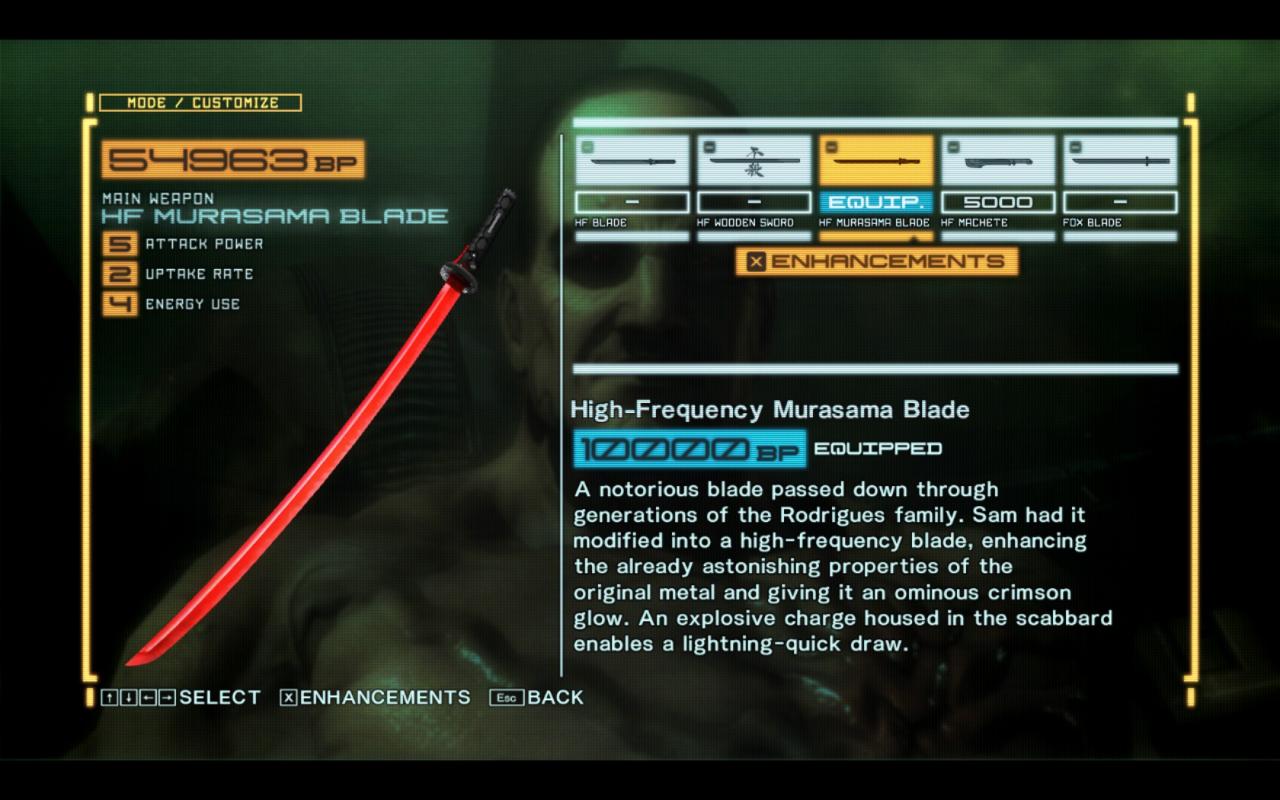
Your primary weapon should ideally be the Murasama as it has the highest overall performance of the primary weapons. Its damage should be fully upgraded, and as you have unlimited fuel cells for this fight, absorption and consumption won’t matter.
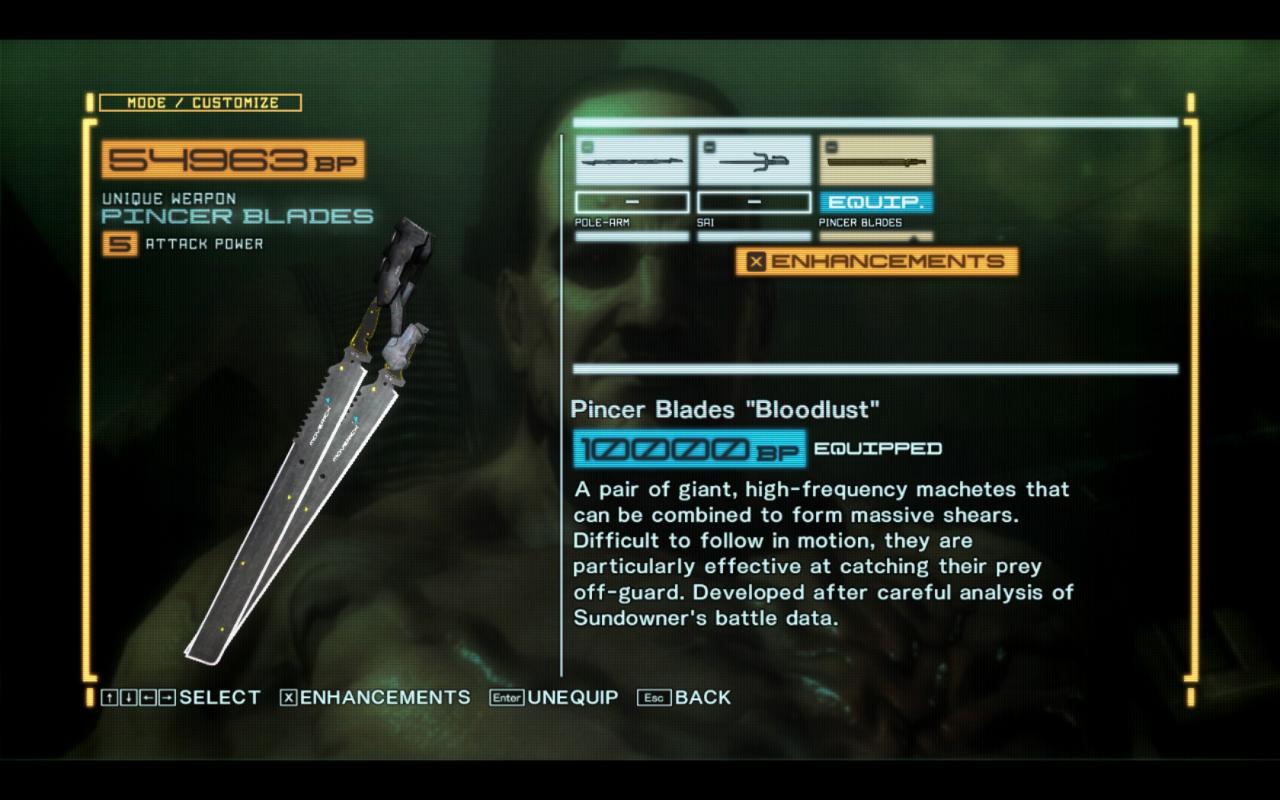
As a secondary weapon, you should use the Pincer Blades, also known as the most badass melee weapon ever. Once again, its damage should be upgraded to maximum, making its charged strikes freakishly powerful. Simply hold down the strong attack button until the weapon flashes and then release to deliver a devastating blow. Further unlockable skills provide it with up to 2 follow-up attacks that can also be charged, but you are unlikely to need them for this fight due to Monsoon’s agility combined with the terrible speed of the second and third strikes.
As for your choice of armor and wig, go crazy. I’m personally using the White Armor and Infinite Wig A, but neither have a meaningful use for this strategy. The red and yellow artificial muscles both provide slightly increased damage, and the downsides of the red muscles are irrelevant as, once again, you have unlimited fuel cells and are trying not to take damage at all. They can be a pain in the ass to obtain though, and you can easily go without them, so I wouldn’t worry too much about them.
Starting the fight
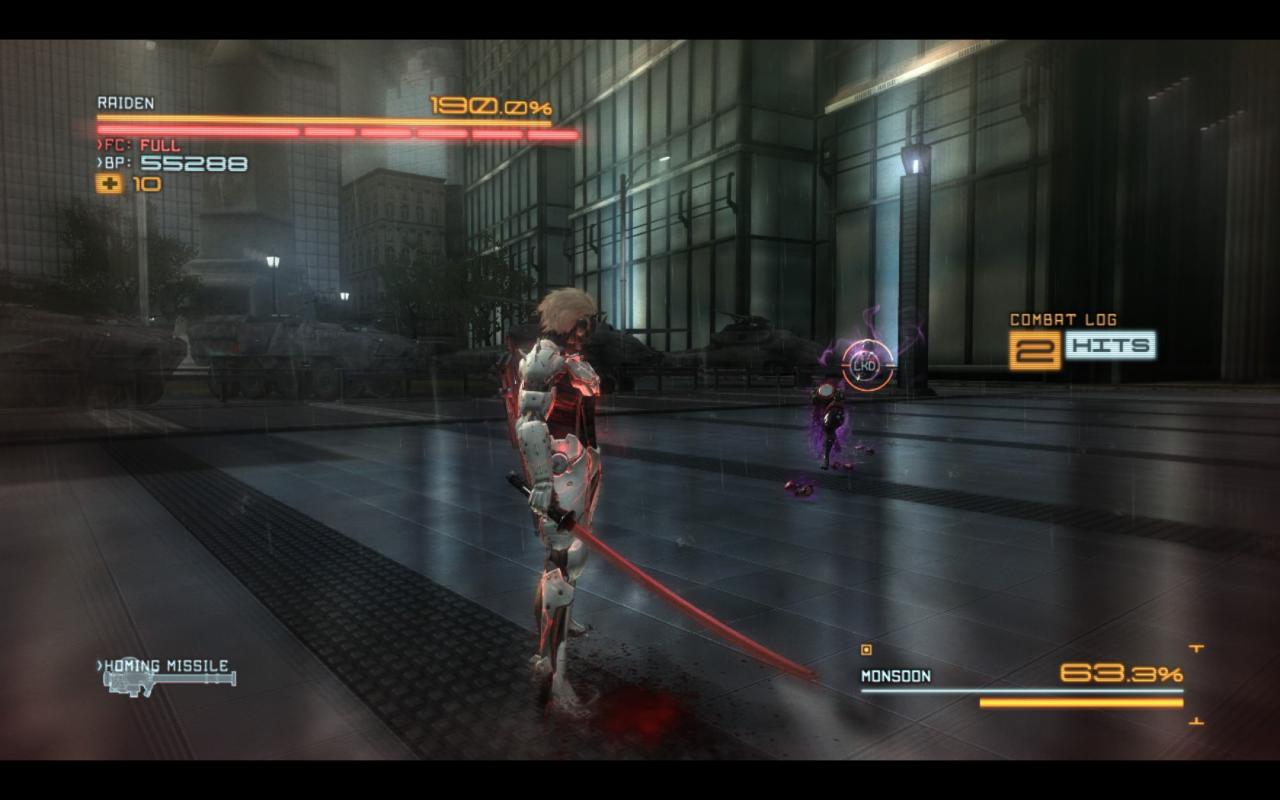
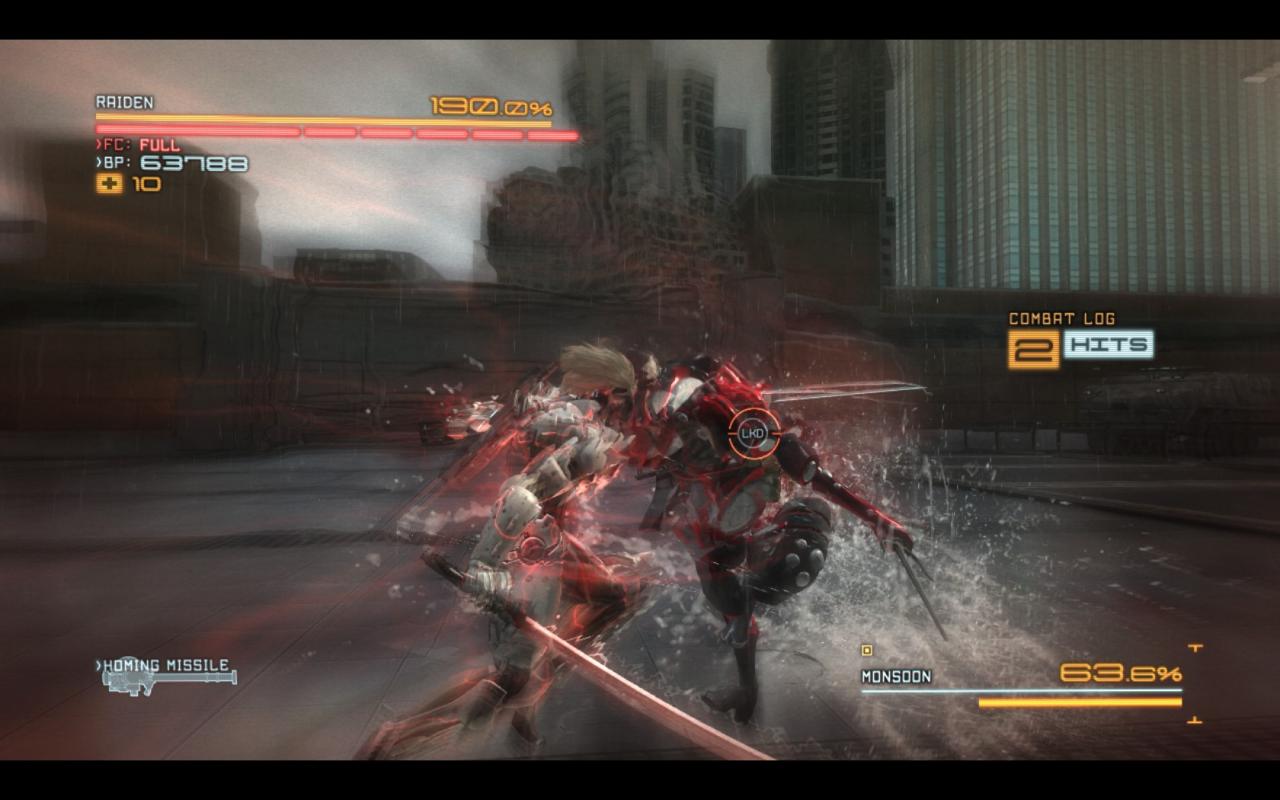
Monsoon will begin the fight by immediately sprinting towards you to attack. To make him regret doing this, hold down the strong attack button during the loading screen so that you begin charging the Pincers as soon as the fight starts. Release the blades to deal over 1600(!) damage and reduce him to about 79% health. When fully charged the Pincers gain surprising range in addition to the huge damage boost, so you can release the blades as soon as they are ready and deal the full damage to him.
While the blades have dealt a devastating blow to Monsoon, he is very unlikely to be staggered by this attack, so be prepared to defend yourself. The pincer blades can be cancelled into a block just as easily as any other weapon despite their slowness, so you will be able to defend against his attack after you have dealt the damage. Just be careful to not parry too early, or your swing will be cut off and Monsoon will only take about 2.5% damage instead. Another thing to be wary of is the Pincer Blades’ “super armor”. This means that if you are struck while swinging the Pincers, you will take full damage from the attack, but Raiden will not flinch or vocalize in pain. If you’re not careful enough with them, you could easily take damage and then simply not notice that you were hurt until it is already too late.
Monsoon has 6 different attacks that he can use while not magnetically powered.
His first attack is a 7-hit combo with his sais. Just spam the parry input and you’ll be fine. His second attack is a series of 4 kicks. They come out a bit slower than the sais and have an obviously different animation.
His third and fourth attacks both have him looping behind you instead of attacking you head-on, so be prepared to defend from the side or back. He can either deliver a stronger jump kick or knock you into the air for a follow-up attack. While the aerial follow-up can be parried as normal, you will already have been damaged by the kick, so there’s not much of a point to mentioning it.
Monsoon’s fifth attack involves him falling on your head from above. He usually only does this when you’ve made the mistake of scrolling him offscreen, so locking on to him is an effective countermeasure. If he hits you with this attack, he will either slash you normally or pin you down and perform the infamous “A pleasant walk in London” attack. As with the aerial toss, you will already have taken damage even before he starts stabbing you, so just restart if this happens; not like you’ll be able to slap WASD fast enough to escape in time anyways.
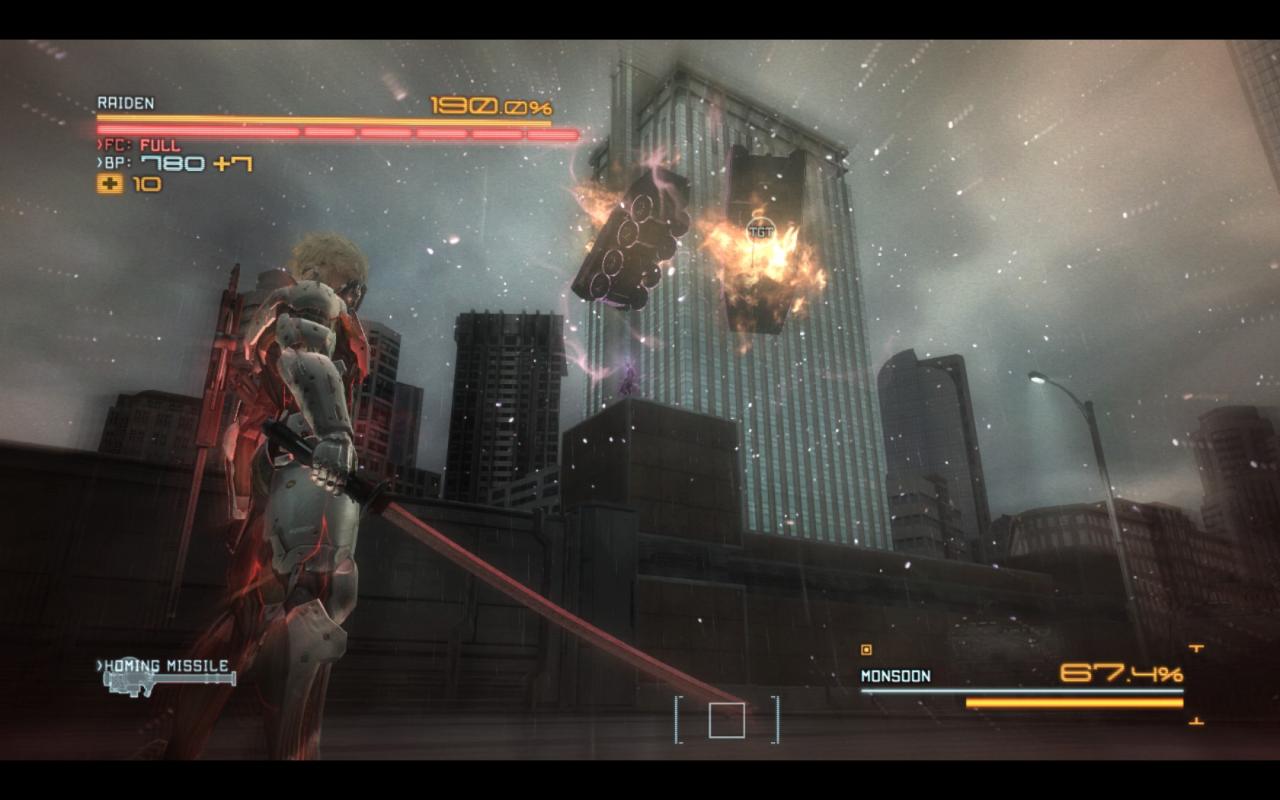
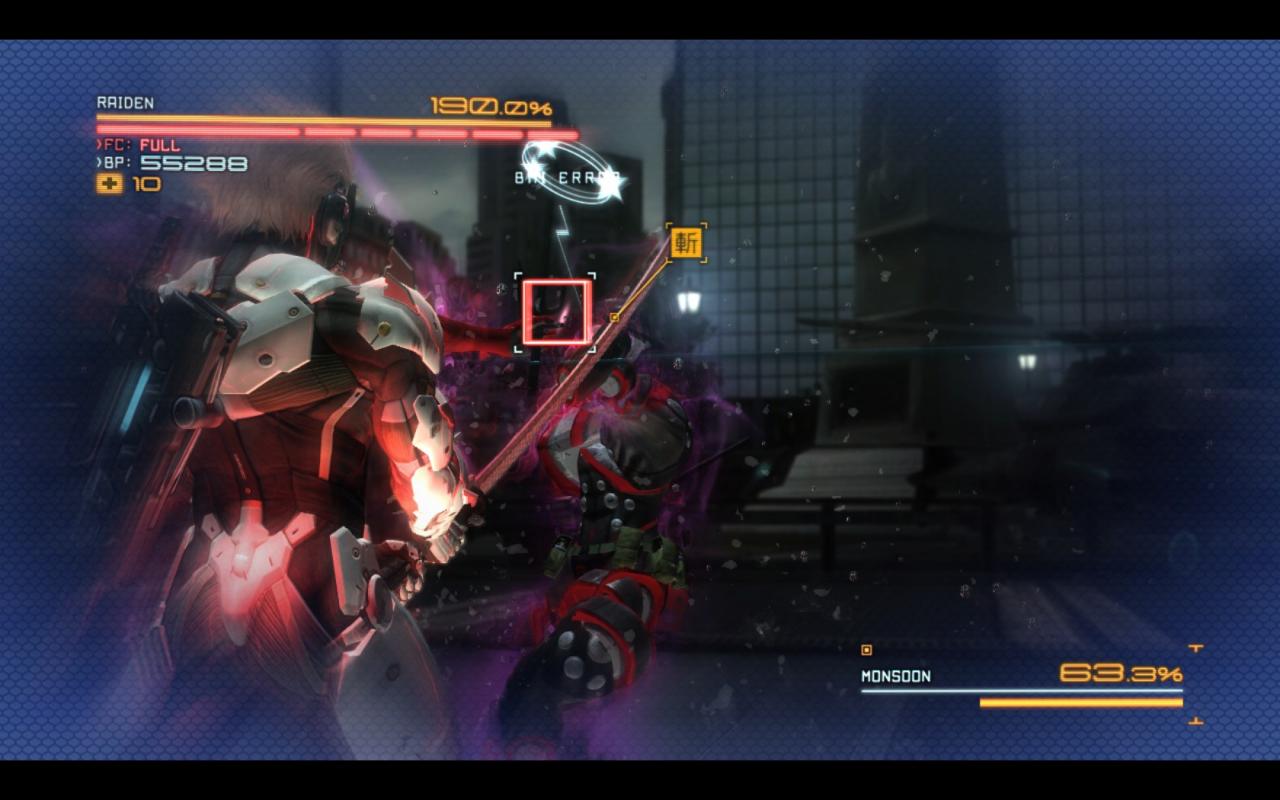
Pictured below is Monsoon’s most dangerous attack at this point, the Red Phosphorus grenade, seen as a small green dot on the ground.

Monsoon will never start the fight with this attack, and is generally unpredictable with when he uses it. However, it is incredibly dangerous because of this as you will have to carefully watch his animations to be able to avoid it in time.
While the actual purpose of the RP grenade is allowing Monsoon to attack you from any direction about 10-11 times, its real danger comes from the fact that the explosion will cause you to take a miniscule amount of damage if not properly avoided with the Defensive Offense skill. You’ll know if the explosion harmed you if Raiden visibly stumbles back, choking on the gas. If you avoid the smoke blast, just keep quickly reacting to Monsoon’s strikes until the smoke clears up.
Once Monsoon has been reduced to 70% health, he will try to escape onto a pole and begin his second phase. If you can stagger him with a combo or another charged Pincer attack, it’s possible to reduce him to about 65% health before he can retreat. This isn’t really necessary to defeat him, but you can at least derive a little bit of satisfaction from beating him senseless while he can’t do anything to stop you.
Magnetic force, Jack! Nature’s force!
After jumping up onto the pole, there will be a brief cutscene showing Monsoon activating his MAGNETIC POWER! and then slowly jumping back onto the gate. Get used to waiting this cutscene’s 15 seconds out, because you are probably going to see it A LOT.
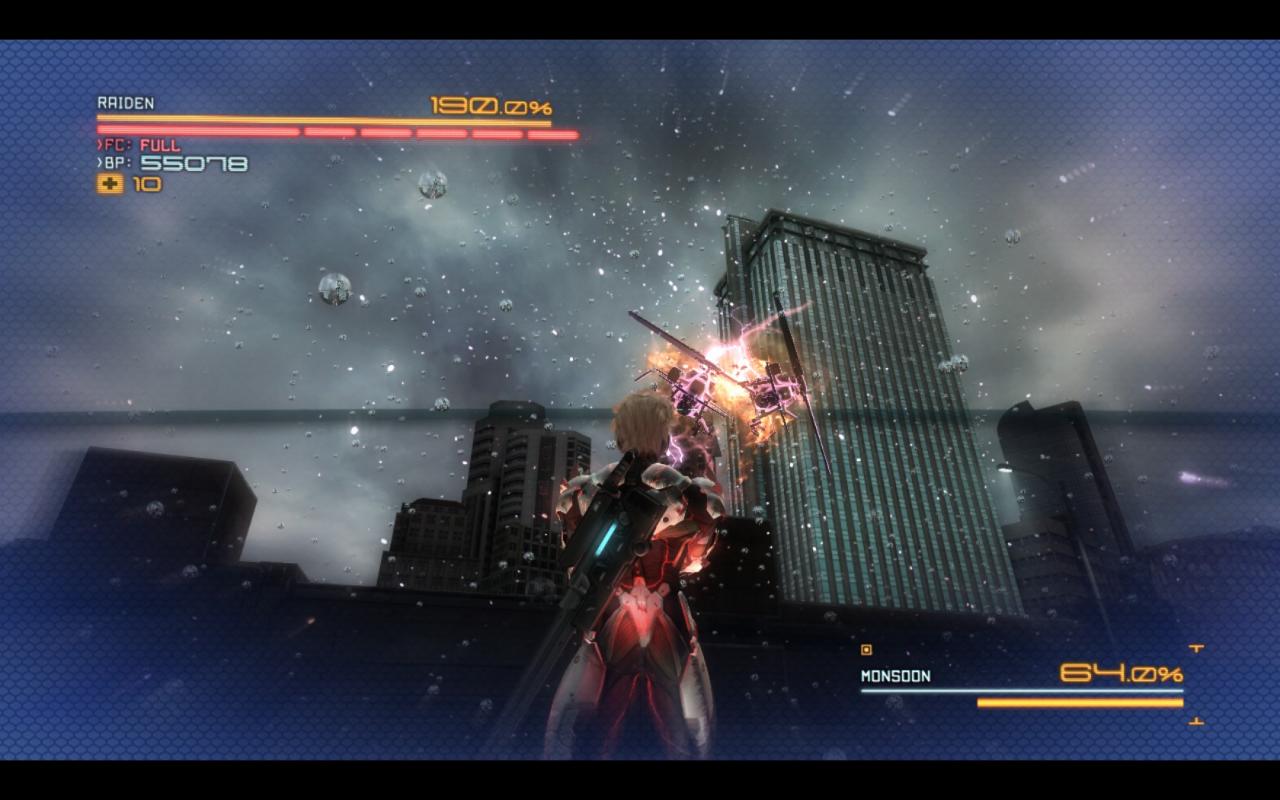
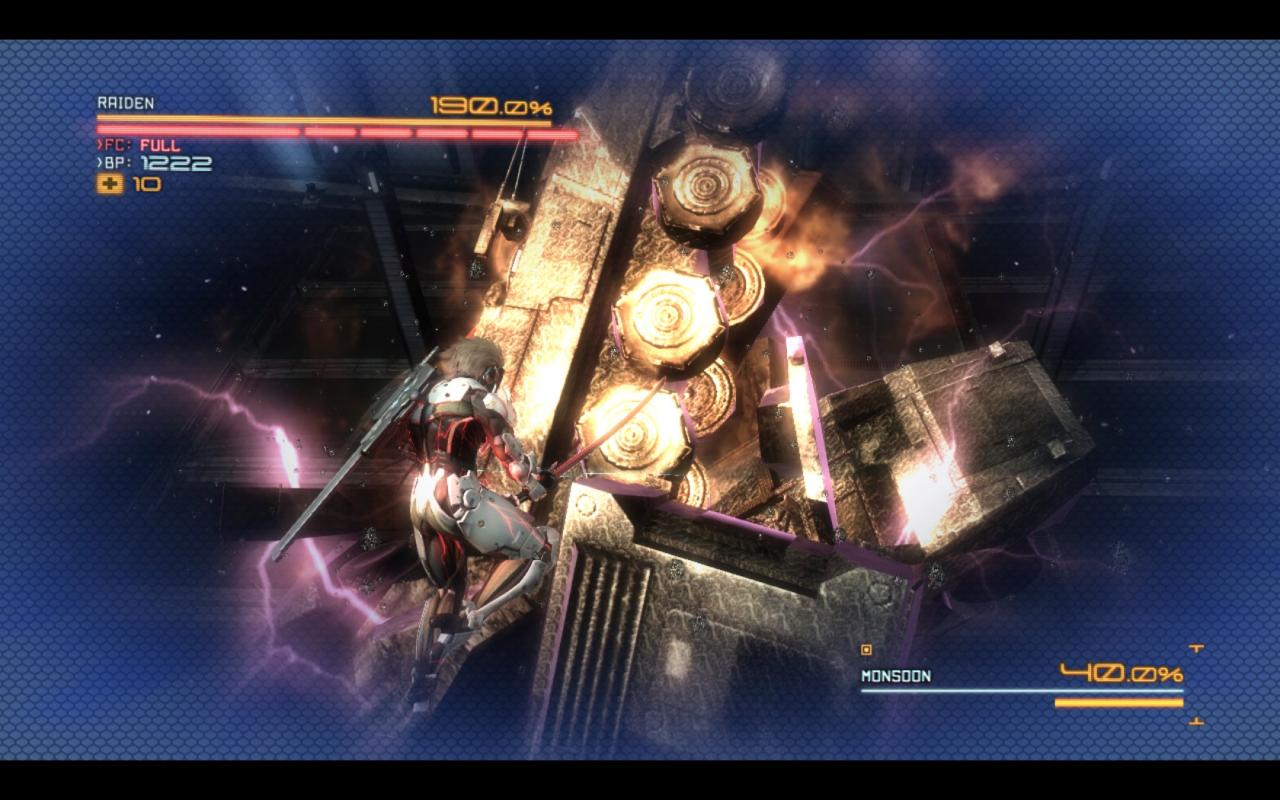
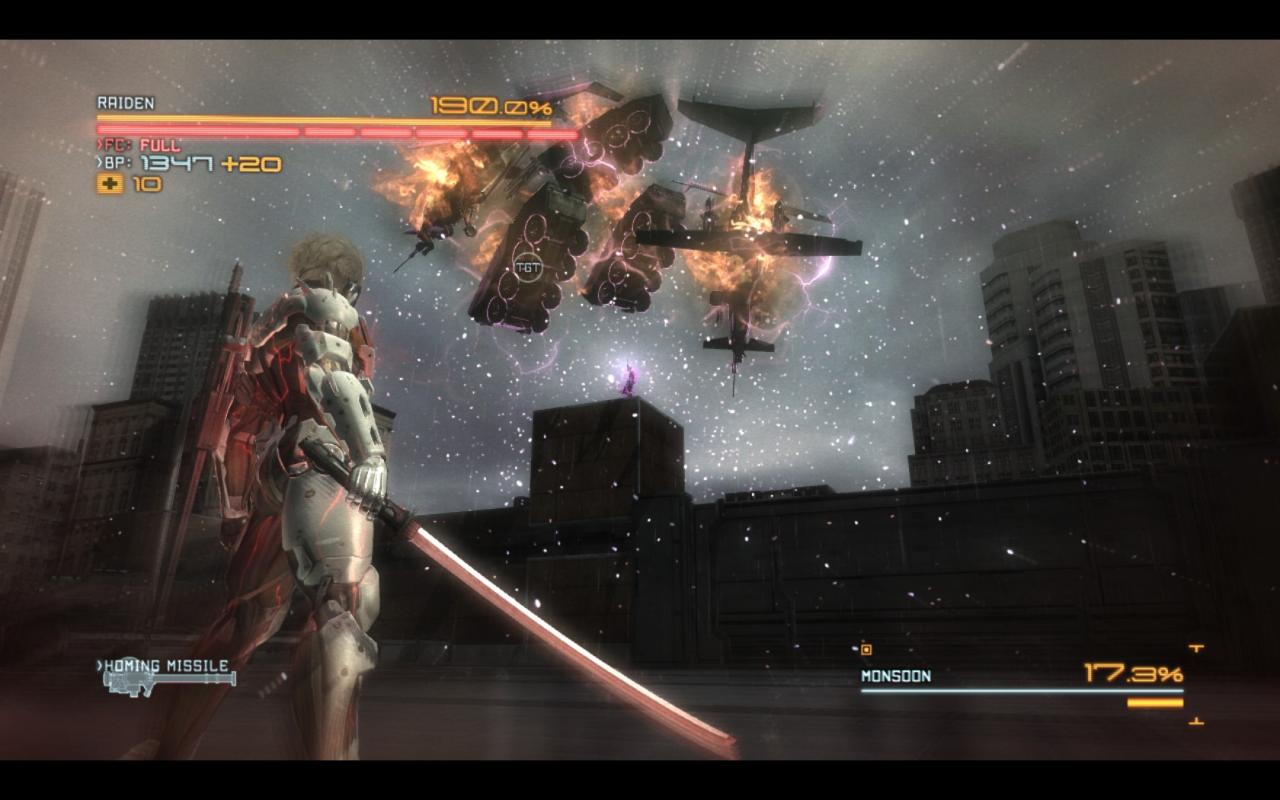
Monsoon will then throw 2 waves of garbage at you that you are intended to cut with Blade Mode, each wave containing more objects than the last. It’s possible to just run away from the flying vehicles instead, but they have an awful habit of blowing up in your face anyway, so it’s best to slice them the way the game was designed. The vehicles will hurt you when they touch you or the ground, unless they have turned black as a result of you hitting them. Waving your sword violently to the left and right is usually good enough to deal with most of them, but some of them may go above you later on, so swing vertically to break those. You’ll also have to aim to the left and right to deal with some of them at that point as well.
Note that the destroyed vehicles can drop EM grenades and repair nanos earlier in the fight. Pick them up to get some bonus BP.

Once you have survived the barrage of vehicles, Monsoon will jump back down to the ground and take out his sais again. In his purple glowing state, Monsoon will avoid all of your attacks until you can stun him by counterattacking after his combo and hitting his face to dismember him. You can also stun him with an EM grenade, but I am not using them for this strategy not only because it prevents you from getting the secret dialogue (explained at the end of the guide), but because it’s just not as fun as blocking his attacks.
After a short delay, he will take exactly 9 steps toward you, starting and ending the walk on his right foot. This is intended to give the player time to attack him only to realise their attacks are not working, but we will try to stay as far as possible from him during this time so that he doesn’t use his harder attacks.
If you’re at a safe distance from Monsoon, he will attack by sending his various body parts to attack you in very predictable and easily blocked ways.
First, he will try to attack you with both of his arms, one at a time, in a 4-hit combo. Counter-attacking the arms will stop the combo early and deal chip damage to Monsoon. Just be aware that his second arm moves a bit faster than the first, which actually seems to make it easier to counter.
Next, Monsoon will detach his legs which will run at you and attack with 4 kicks. Just like the arms, it can be countered to injure Monsoon and end the combo. The legs make a short hop just before they begin attacking, so be careful about that when preparing to counterattack them.
After using his limbs to attack you, Monsoon will approach you at moderate speed while his legs are re-attaching before he uses his standard 7-hit combo with his sais. Countering this attack will stun him, allowing you to enter blade mode and hit his head. Be careful not to aim too close to his neck however, as Monsoon is still fully capable of avoiding your attacks at this time.
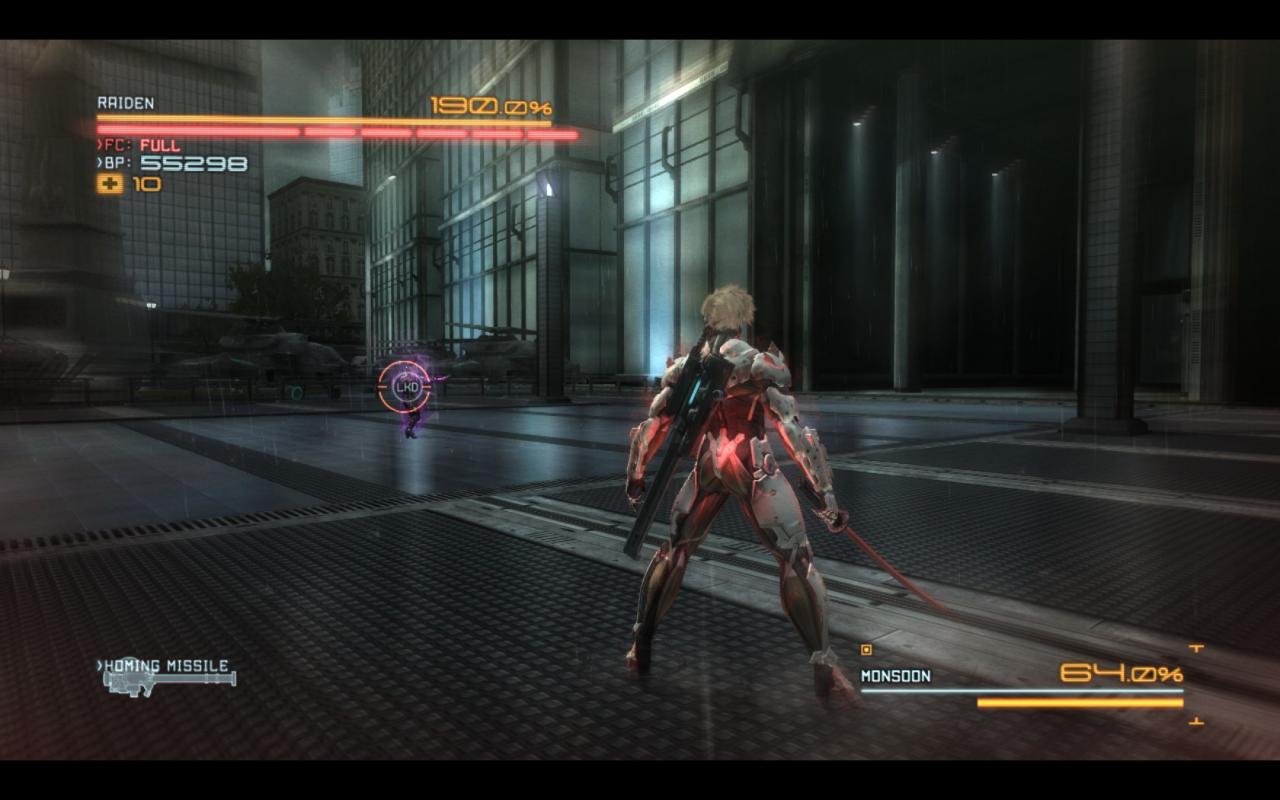
If you fail to hit Monsoon in the head, or even stun him with the counterattack at all, run away from him immediately. In his magnetized state, Monsoon is not only capable of using much stronger versions of his unpowered phase’s attacks, he is also able to use 2 new and powerful attacks – but all of them can only be used when you are close to him. Staying far away from him will prompt him to use the same attack pattern from earlier, giving you another opportunity to hit his head.
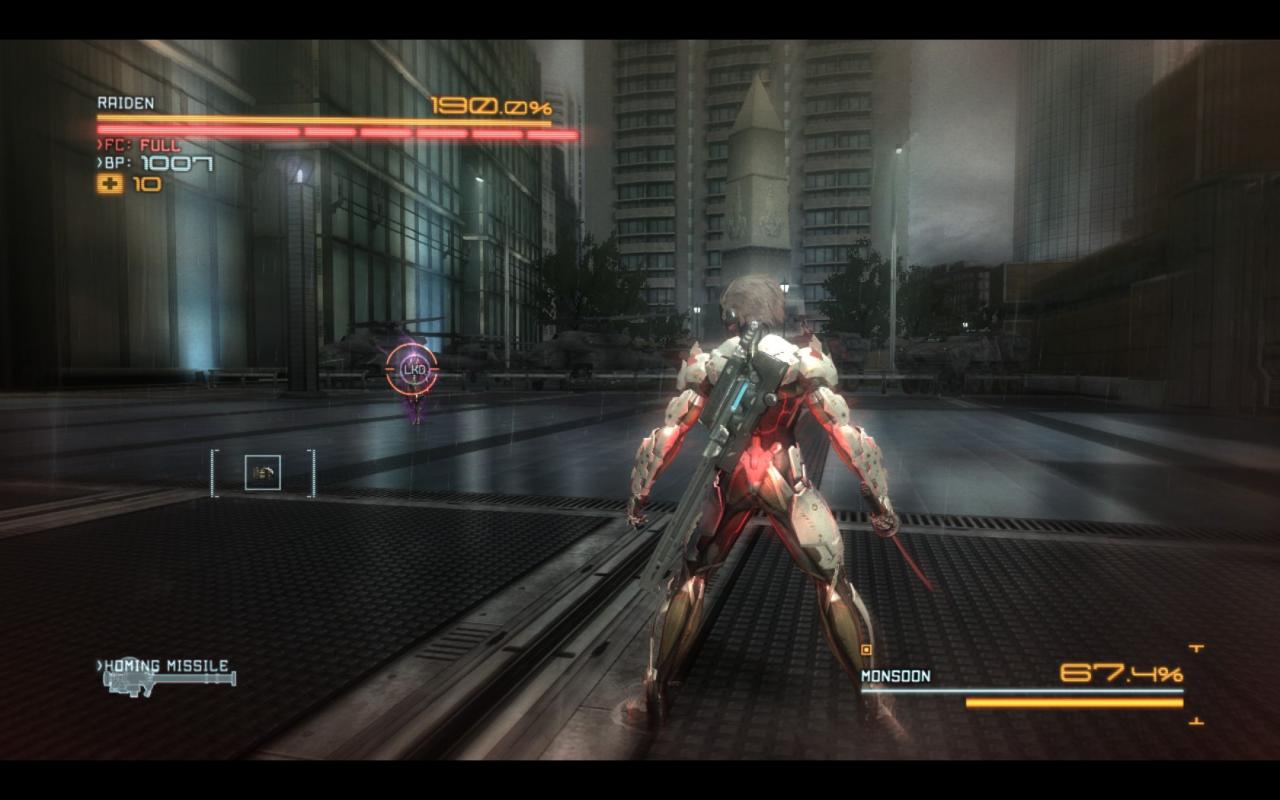
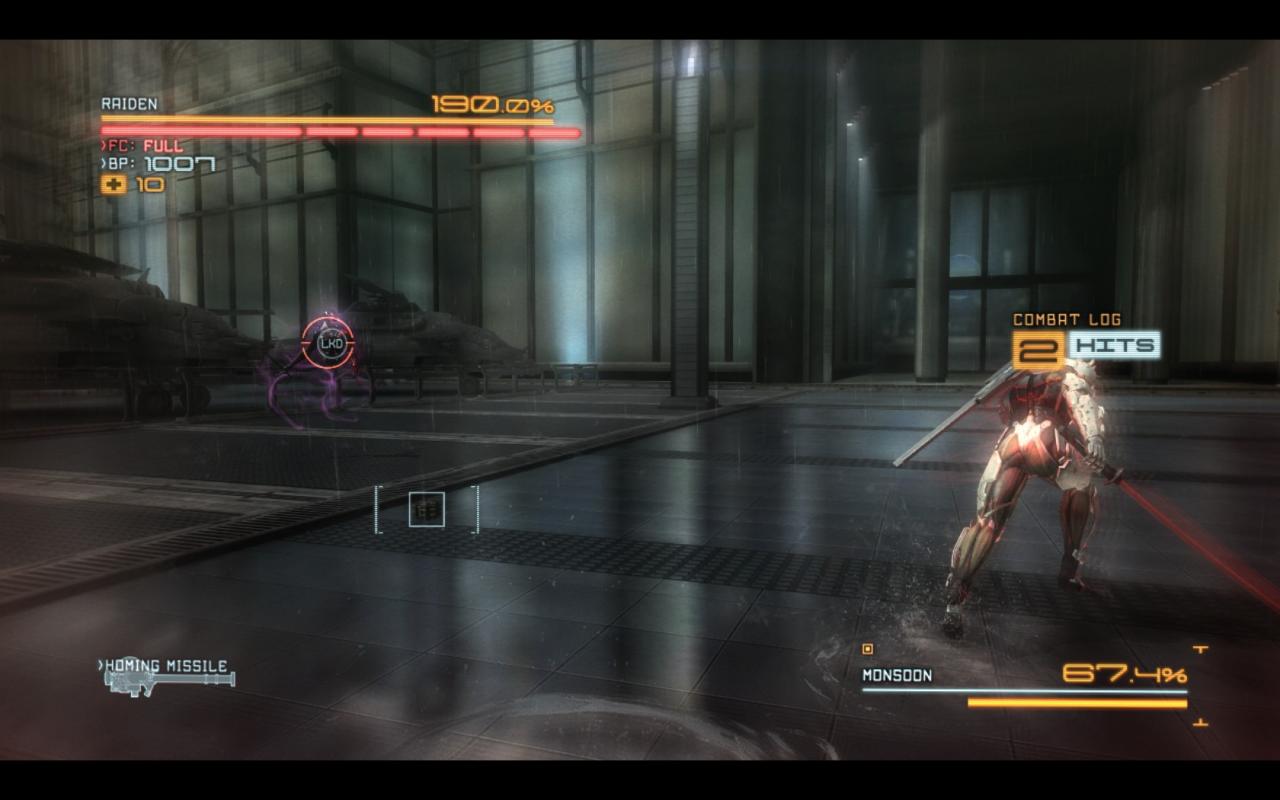
One of Monsoon’s new attacks, pictured above, is similar to the charging attack of the LQ-84i, except Monsoon is capable of performing it multiple times in a row and keeps going if blocked.
Monsoon’s other new attack is extremely dangerous: he disassembles into a tornado and begins rapidly firing his body parts at you. It’s very difficult to block or avoid without getting hit.
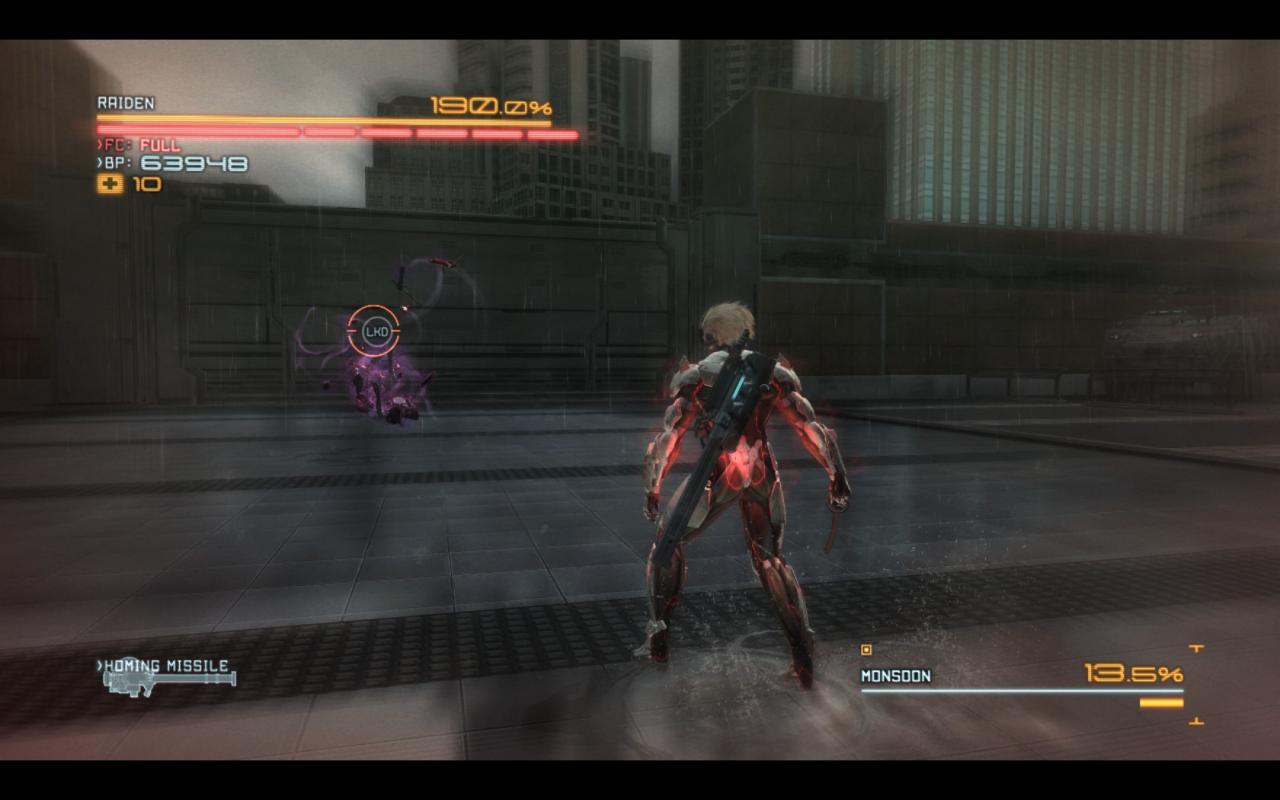
Once you have successfully hit Monsoon’s head, he will break apart completely. I hope you’ve locked onto him by now, or you’ll find it difficult to find his severed head and slice away at it before he reforms.

When you’ve approached Monsoon’s head, attack it a few times and then prepare the Pincer Blades for a charged attack. When Monsoon rebuilds his body, you should release the blades just as he hits the ground; regardless of the action he takes afterwards, he will always be hit by the swing. This will probably reduce him to around, but not under 40% health, and knock him onto his back. Use this opportunity to hit him a few more times before he has the chance to attack you again. Monsoon would normally perform another garbage throw attack, but if you reduce him to 40% health before he is able to, he will skip it and begin his next phase right away.
The Utopia of Death
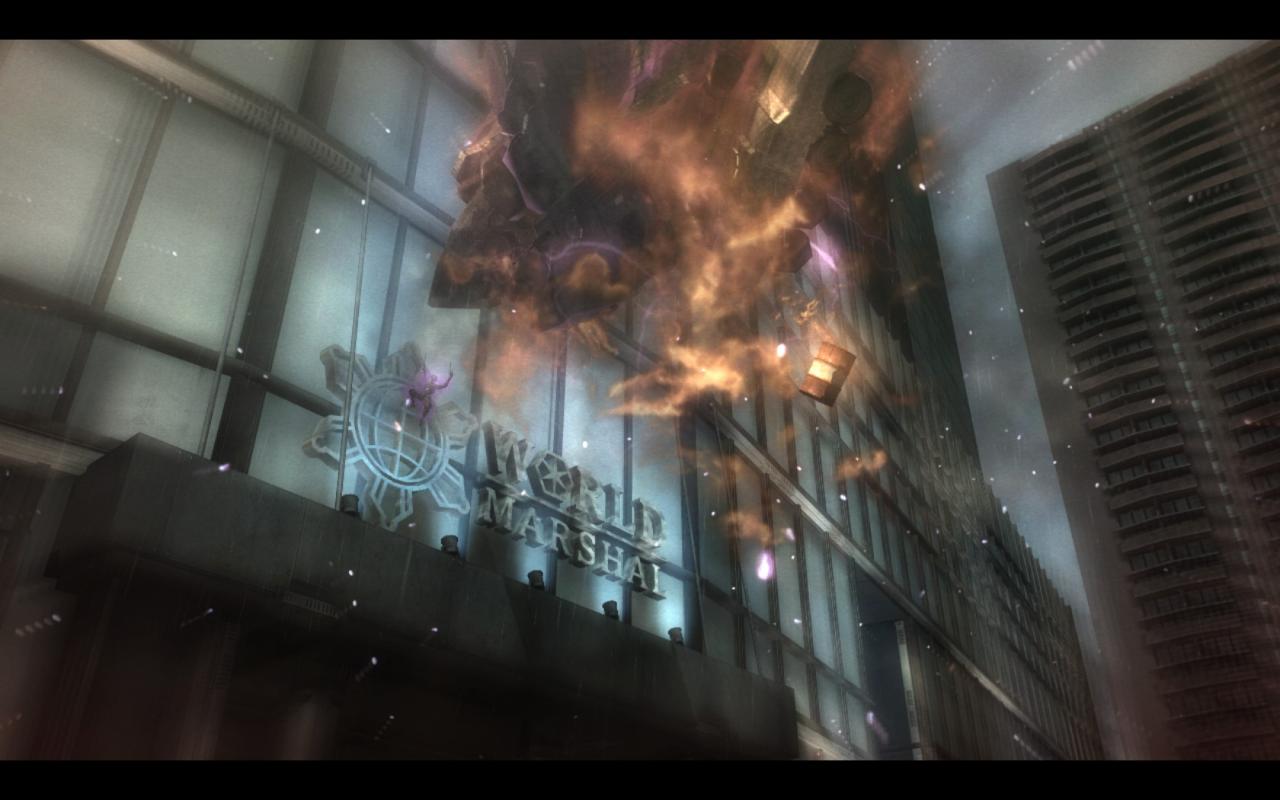
After reducing him to 40% health, Monsoon will jump onto the sigil of the World Marshal building and reveal a gigantic pile of trash, which he will send spinning at you. You will have to parry the wheel to knock it back a bit, and then parry it again as it continues to approach before you can slice it with Blade Mode.
After you destroy the garbage wheel, Monsoon will jump down and begin the final phase of the fight. Be aware that he will immediately use his separation attack as soon as the camera returns to Raiden, so be ready to defend against it.
Once you have stunned and dismembered Monsoon again, perform a charged Pincer attack on his reformed body once again. This will reduce him to about 20% health if successful.
Monsoon will then throw a final wave of objects at you. Be careful not to forget that the objects may not fly at you in the order that they start spinning, and you’ll be fine.
Ending the fight
Once Monsoon has lifted the monument and aimed it at Raiden, you will have to perform 3 quick button presses: the Ninja Run to jump onto the monument as it hits the ground, using Blade Mode to slice the APC in the way, and an execution to kick Monsoon into the wall. If you fail any of these, you will instantly die, and will have to start all over again. DO NOT restart from the ‘dead’ menu, as it will count the damage you took in the process of being impaled/smacked/thrown in the next fight and you will NOT recieve the No Damage award. You will have to exit to the title screen instead.
Once you have performed the required inputs, Monsoon will be trapped against the wall and you may tear him to pieces at your leisure.
FAQ
A: The game restores your health to full after Monsoon lifts the monument. As was mentioned earlier, you probably got hit while swinging the Pincers and didn’t notice until it was too late. Keep glancing at your health bar during lulls in the action to make sure you didn’t get hit.
Q: How do I get the weapons?
A: The Murasama is obtained by completing R-07: Assassination Attempt. The Pincer Blades are unlocked by completing R-04: Hostile Takeover. They must be purchased for a moderate amount of BP in the Customize screen before they can be used or upgraded, as with all other items.
Q: Why aren’t you using EM grenades to stun Monsoon?
A: See below.
(BONUS) Secret dialogue
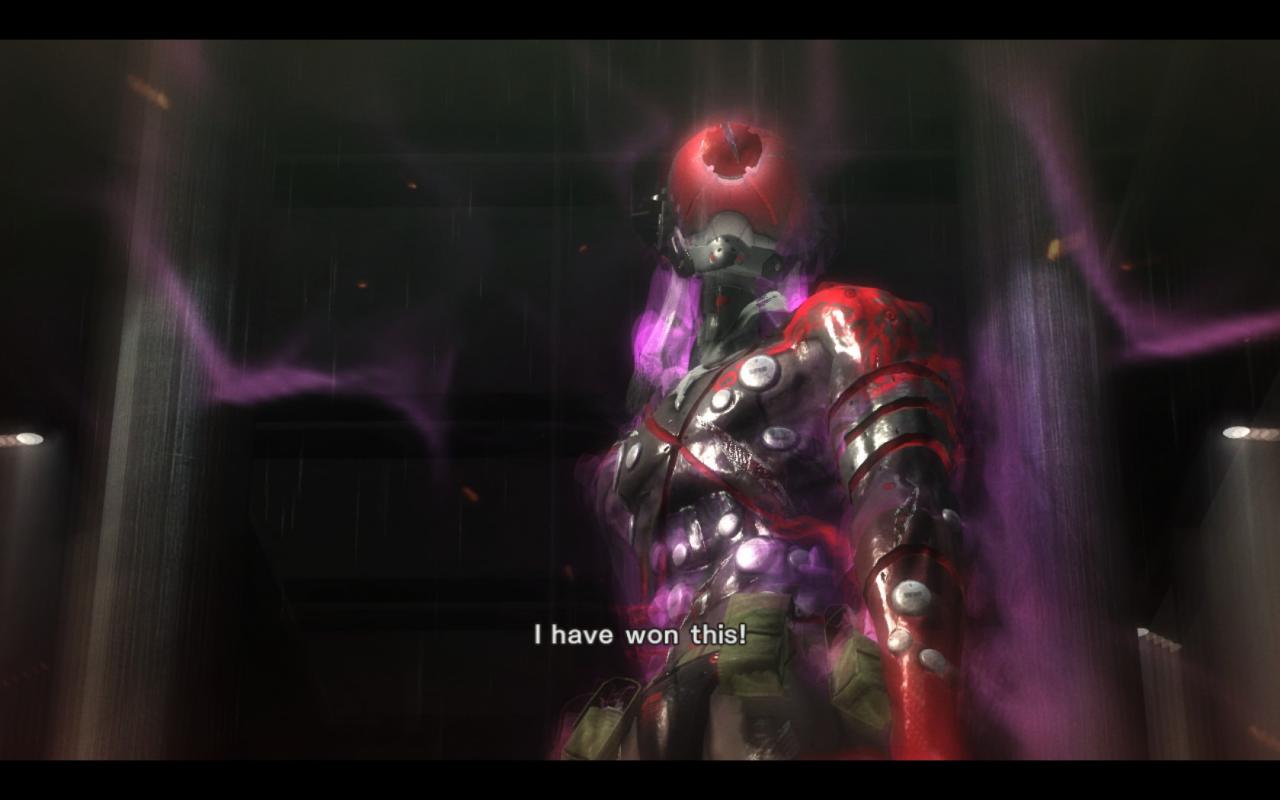
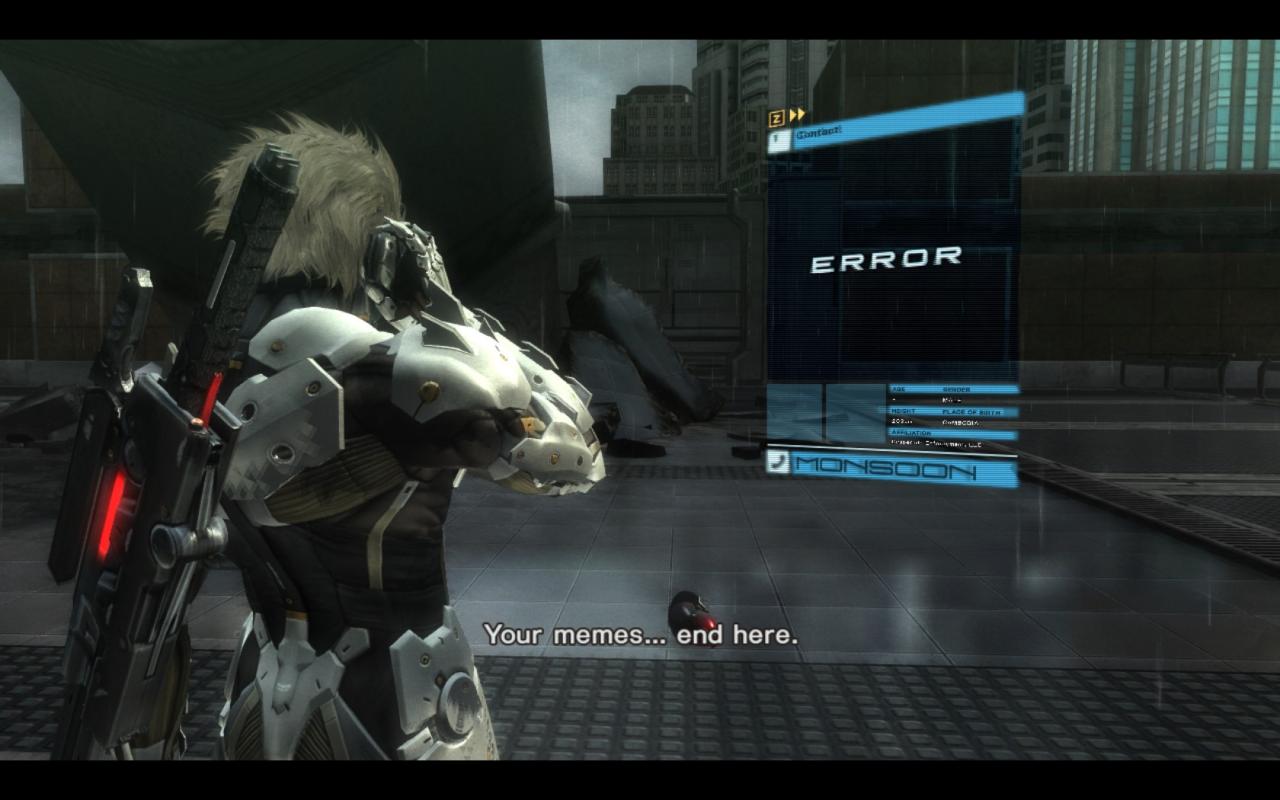
This is a supremely unsatisfying way to beat him. However, you may not know that there is also an alternate line that can play under very specific conditions that nobody seems to understand very well. If you fight very aggressively against Monsoon and don’t cheese him with EM grenades, he will instead scream in terror as you cut him apart.
From my testing, I believe that your “aggressiveness” is measured not on your overall DPS, but instead on your combo. You can rack up a gigantic combo by using the Pole-Arm secondary instead of the Pincer Blades, but this will greatly lengthen the fight due to its poor damage potential compared to the Pincers. It’s still possible to get a large combo with the Pincers by simply using a lot of sword attacks on Monsoon while he is staggered instead of trying to hit him again with the Pincer combo.
You’ll be able to tell if you’re satisfying the conditions by listening to Monsoon’s voice lines before a phase transition, which change from mockery and amusement to fear and self-doubt.
I’ve also noticed that if you didn’t meet the game’s draconic conditions, if you restart from the checkpoint when Monsoon launches the monument, you suddenly will meet the conditions and Monsoon will freak out as normal.