NEBULOUS: Fleet Command will be released in the future. here is a basic guide for you to start the game.
Useful Things
– Hit tab to toggle UI. Keep it on.
Remember The Four Don’ts:
– Don’t get spotted.
– Don’t get shot at.
– Don’t get hit.
– Don’t die.
 Here’s how I recommend you get into this game.
- Consider doing the tutorial.
- Play one or two 2,000 point versus 2,000 point matches against the default AI fleets. Win against the AI fleet.
- Go to the official discord[discord.gg] and see who’s up for a PvP fight, preferably a 2v2, but a 1v1 is perfectly fine. Or fight your friends. Either way, you want to fight someone, not just the AI.
That last point is the star of this game. PvP is fantastic, exhilarating and interesting. It makes your hands shake and your threaten your tender blood vessels. It’s also the best way to learn – by doing.
If you don’t understand why something happens, ask. If the match is too much, play at fewer points. If you keep getting your ass kicked, asked for a 2:1 point advantage, there’s no shame in it.
PvP fights will teach you everything – I’m just here to help that along.
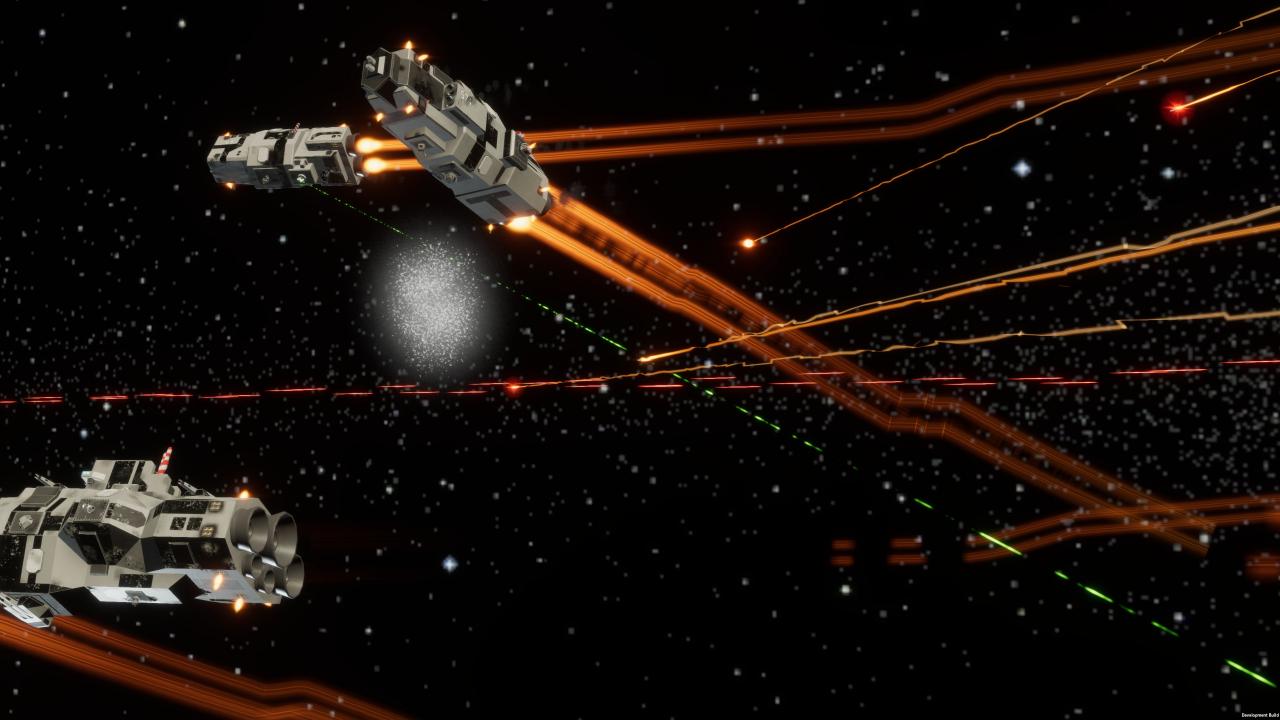
Seeing the Enemy (Don’t Get Spotted)
How far away you can see an enemy depends primarely on two things:
– Your sensors
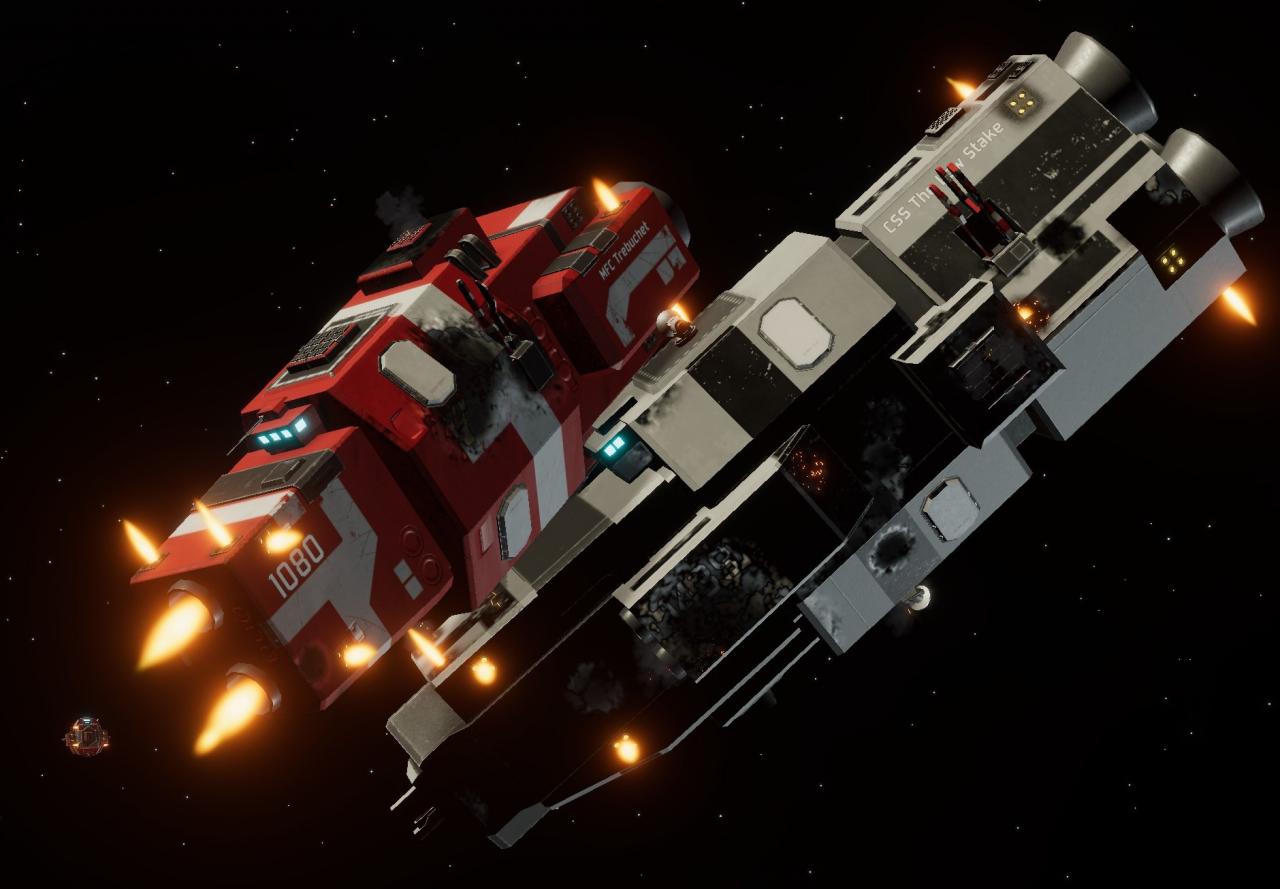
– Their hull profile
The smaller the enemy ship, the harder it is to spot. The stronger your sensors, the easier you’ll spot them.
Your fleet NEEDS a Spyglass radar. Maybe more than one. It fits into the smallest module slots, eats a lot of power, and makes it so you can see far. You can improve on that with Adaptive Sensor receivers.
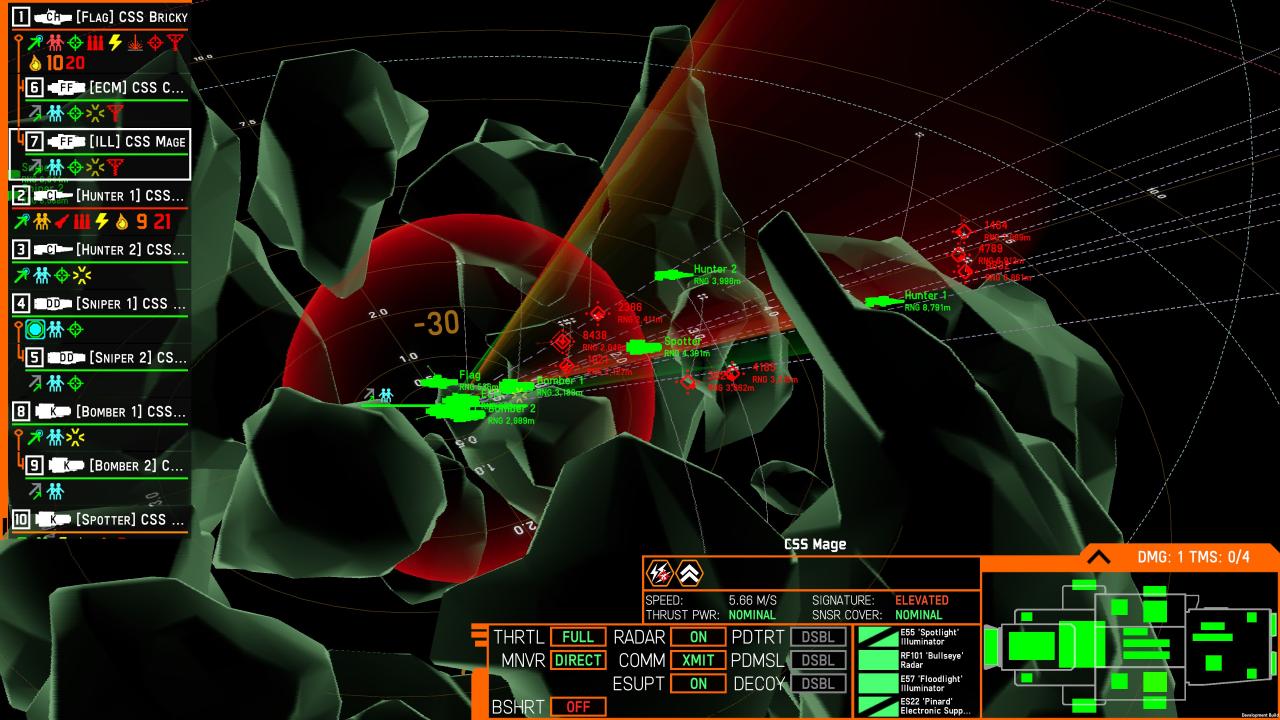
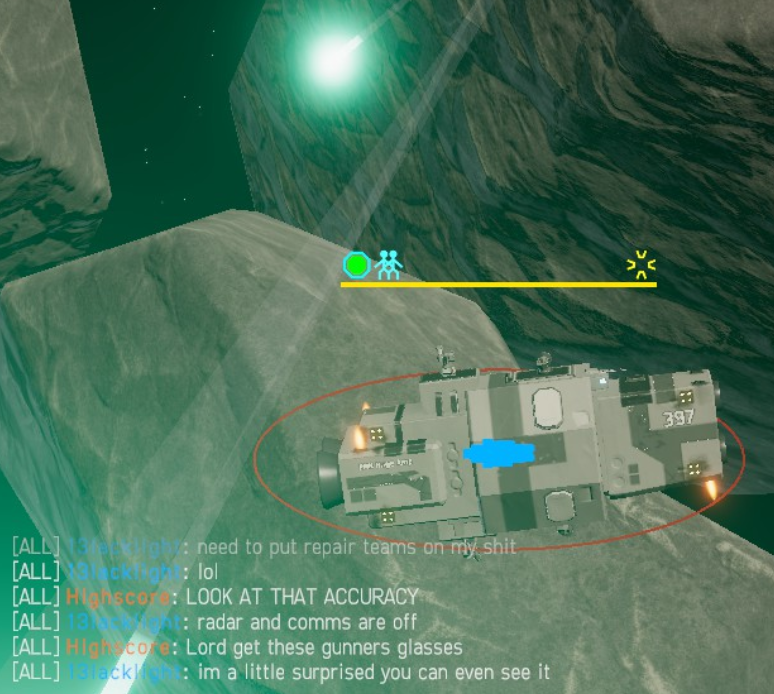
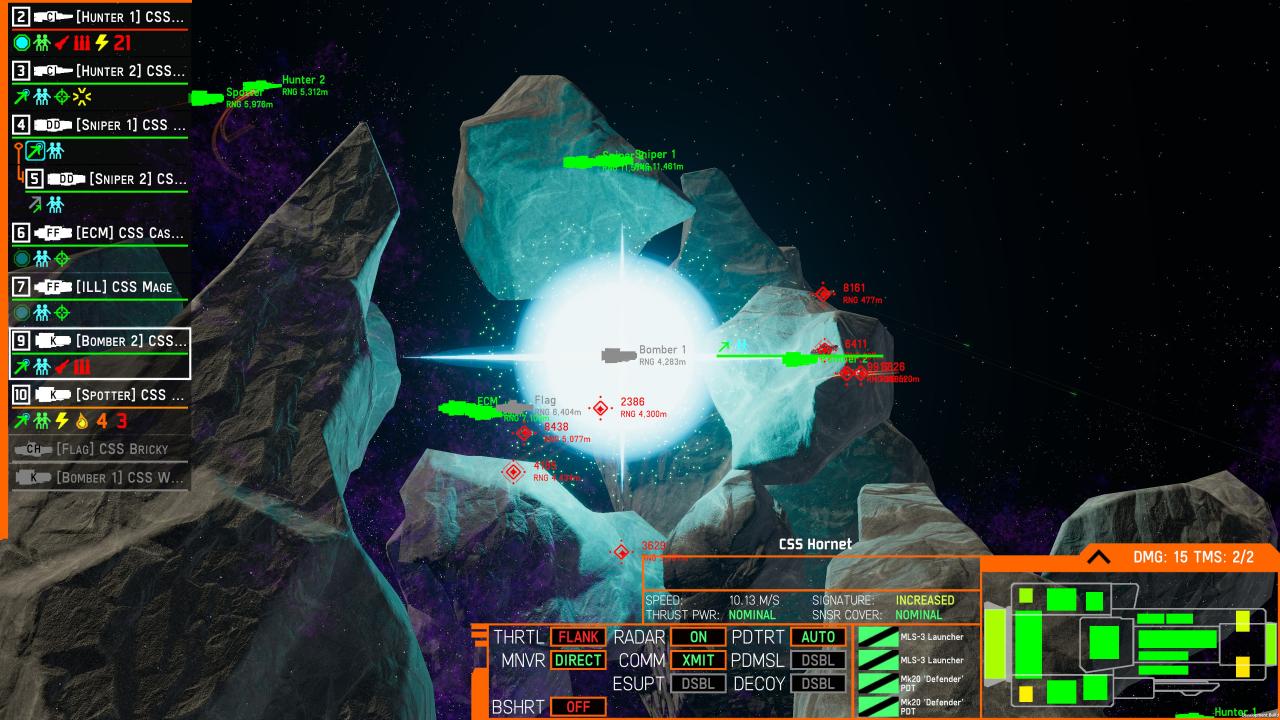
You can reduce your hull profile, and make it harder for the enemy to spot you. See these buttons?
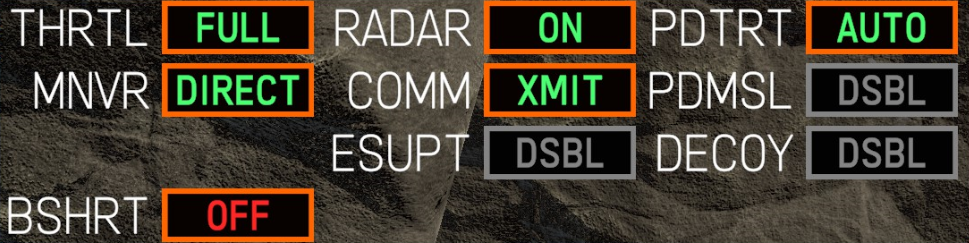 Specifically, the RADAR and COMM buttons? Consider turning both off. This will significantly reduce your hull profile.
Stealth: Achieved. Sneaking: Leveled up.
For a little while. Of course you’re BLIND AND MUTE. You can’t see, and you can’t transmit data to allied ships when you have radar and comms off.
DON’T FORGET TO TURN THEM ON AGAIN.
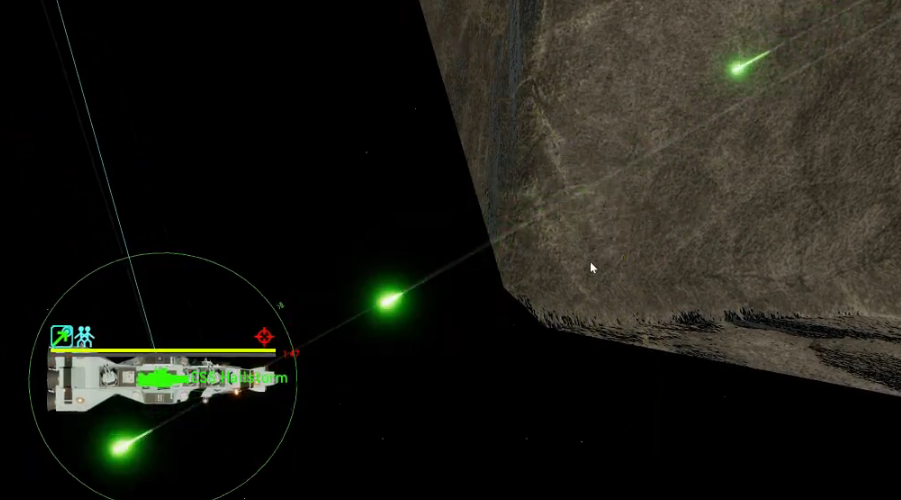
At the top left of your screen, there’s a list of your ships. Keep an eye out for this symbol:
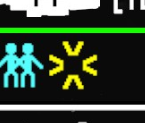
If you can’t see the red contact of the enemy, but the enemy can see you, you’re in trouble. It means their either have stronger sensors, or a smaller profile. Or both. And soon, your ship will start to take fire.
Or worse.
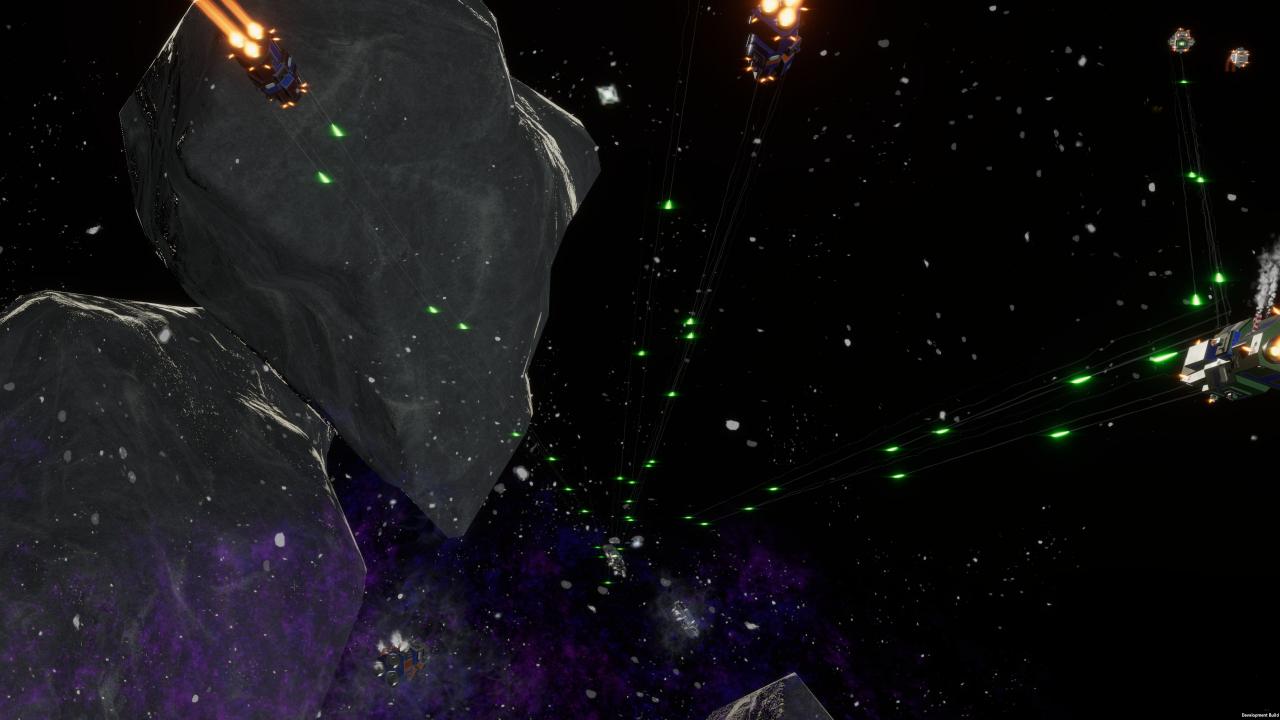
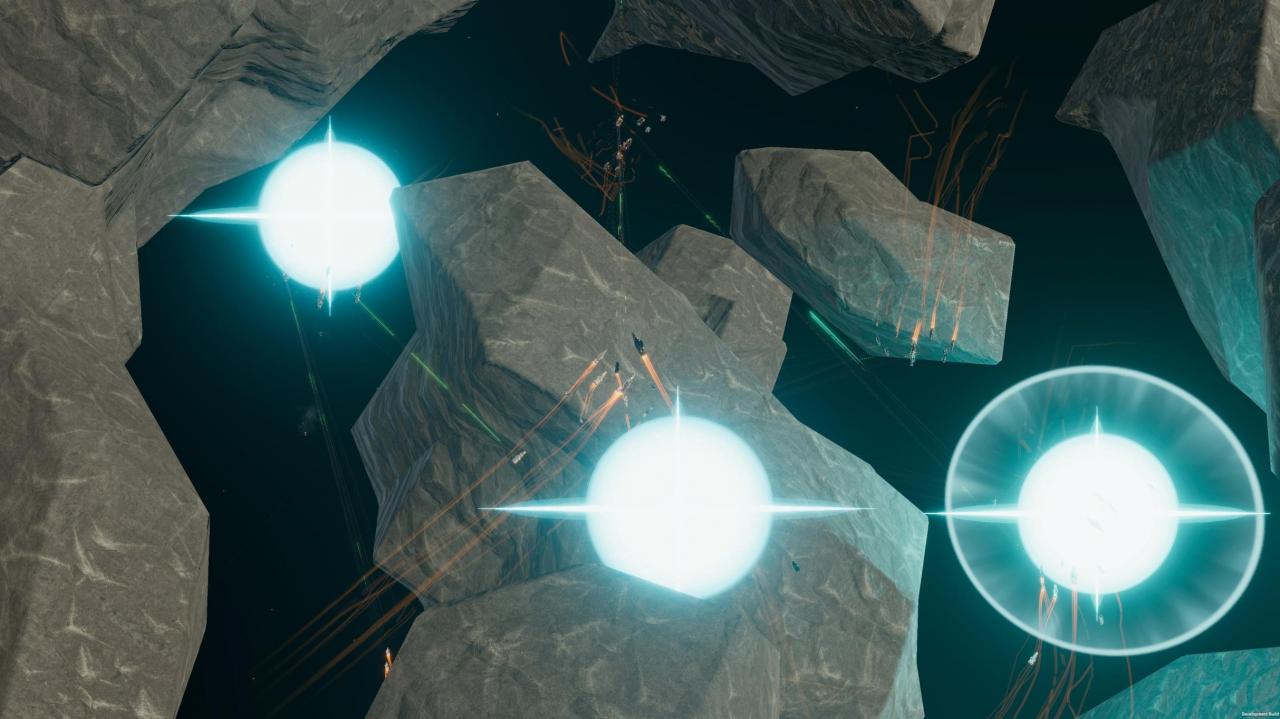
If your screen looks like this…
 …You’re being jammed. This, surprise surprise, makes it harder to see. Get into cover, or rush to close range. This is where having two spyglasses helps, as the enemy might not be able to jam both if they’re far enough apart.
If your sensors are good enough, your will spot each other at the same time (there’s a maximum range, even for spyglasses). That’s where the fun begins.
Surviving (Don’t Get Shot At)
– Jammed
– Flanked
– Pranked
– Fooled
– Bamboozled
Assume your enemy is better than you. Assume competence. Do not half-ass your responses to being spotted.
If the enemy if very far away, they can:
– Lob missiles at you
– Hit you with railguns
– Jam you
If the enemy is less far away, they can also:
– Lock you
– Hit you with capital cannons
– Hit you with stronger jamming
If the enemy is close:
– Get the bayonet.
“But Highscore,” you say, “I don’t want to get shot at!”
So you paid attention to The Four Don’ts. Fine. Here’s what you do:
Keep moving. Motion is life. Don’t stand still.
See the THRTL and MWR buttons? Left or right clicking them will change modes. What do they do?
THRTL is speed, and guess what. You get FLANK SPEED. Your engines will take damage, but you will receive a MASSIVE speed boost.
MWR can be set to evasive. This will make your ship ship dance like a cow on ice – slowly, not gracefully, and if the sniper is far away, they might even miss. This combines very well with Flank speed.
Remember those RADAR and COMM buttons? It’s not too late to toggle those off. Keep an eye on the yellow ‘spotted’ indicator on your ship list – if it disappears, the enemy is far, and reducing your profile has made you invisible once more. No shooting you.
If that indicator remains, stop making yourself blind and mute. Turn them back on.
If you’re locked, though, it’s too late to do this.
Use cover. Rocks are cover. Use rocks. If there’s a rock between you and the enemy, they can’t shoot you with guns. Beware, though, that they CAN still curve missiles around the rock to hit you, so keep moving. Flank speed can help you get behind things faster, so use it.
Finally, there’s the one thing you can never overlook. If you’re spotted, there’s a ship nearby. That ship is spotting you.
KILL THAT SHIP.
Railguns. Missiles. Whatever it takes, do it. And if you manage this, or at least manage to destroy that ship’s radar panels or guns, you won’t get shot.
But what if that fails?
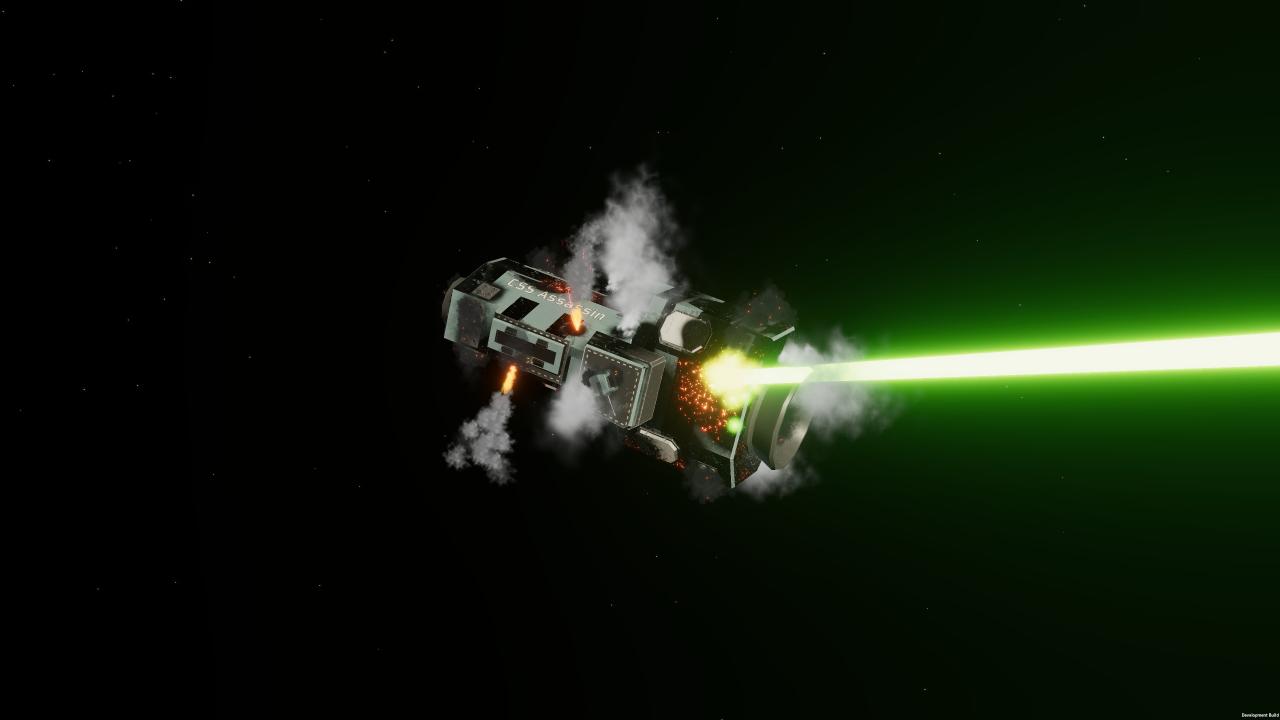
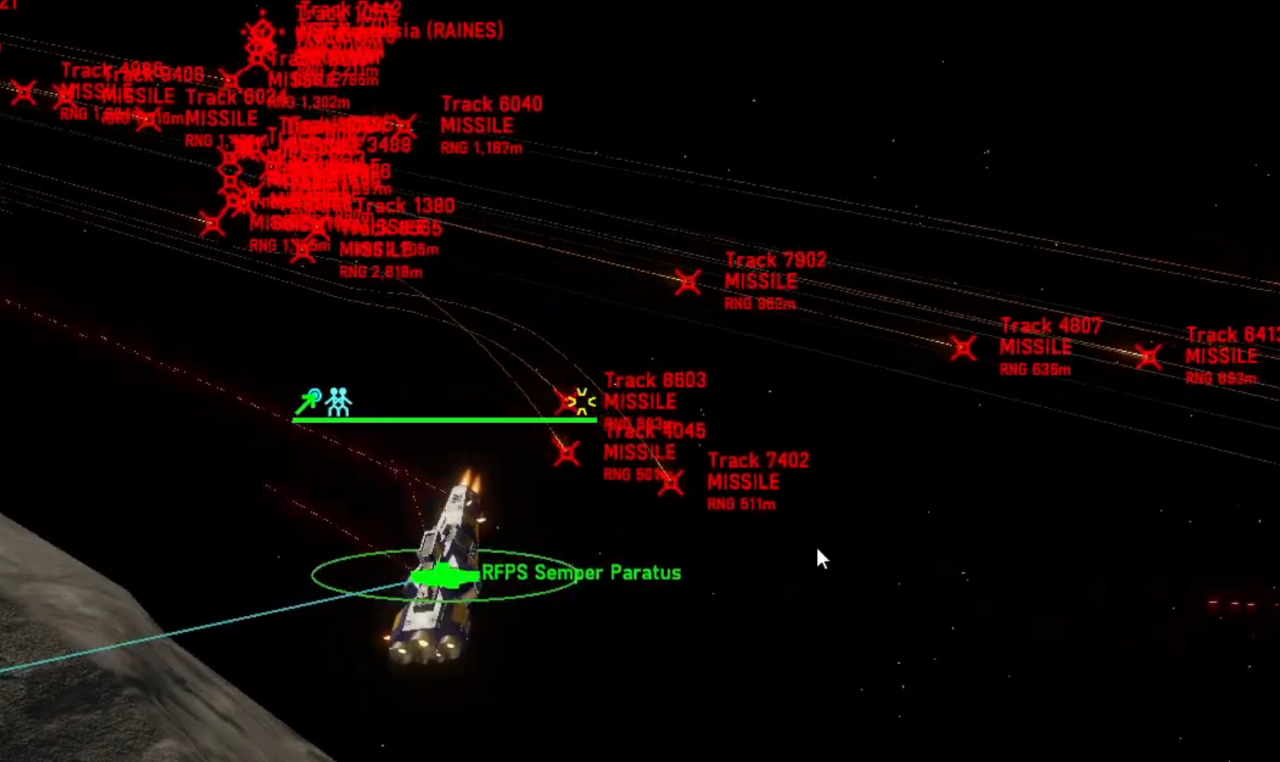
Surviving (Don’t Get Hit)
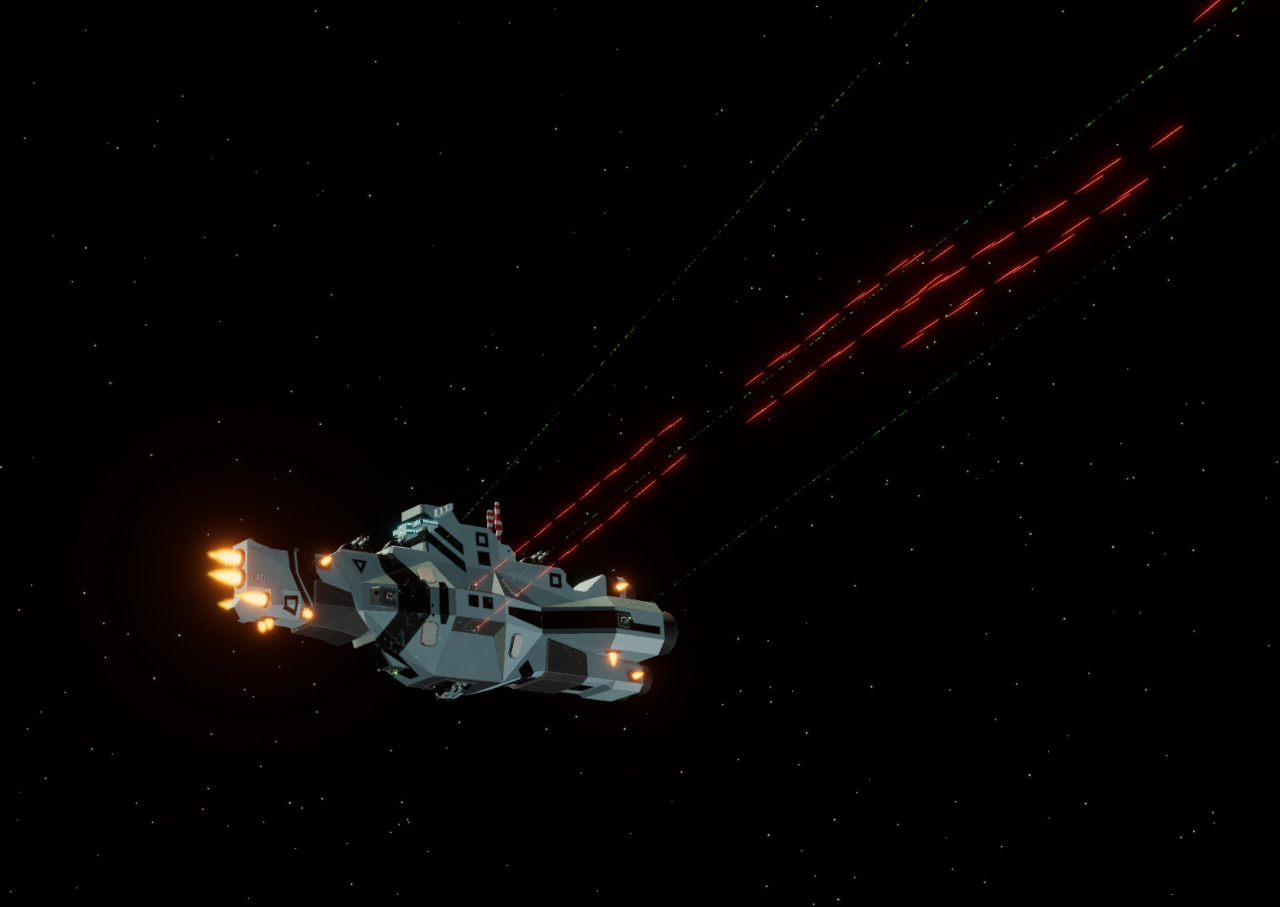
What’s that noise? Is the toast ready? Is something in the oven? Are there guests at the door?
No, it’s just 300 missile contacts appearing in your sensor range.
You’ve been spotted. And you’re being shot at. This… is bad.
Now, don’t get hit.

“Why not?” you ask? Questions like that is why I made a children’s picture book instead of a guide.
A single missile hit can kill a ship. ANY SHIP. YOUR ship. Don’t let that happen.
Point defense, what is it good for?
 Defender (BRRRRRT): Cheap, barely effective, but if nothing else, bring a few of these.
Rebound (Flack): Effective in large numbers, good at destroying swarms of missiles.
Aurora (Laser Disco): Very effective, but expensive and eat a lot of power.
Don’t try and kill all the missiles with your point-defense, though.
– Dodge sideways at flank speed.
– Bring and use chaff to draw some of the missiles away from your ships.
– Jam the missiles.
– Jam the ships guiding the missiles.
– Put a rock between yourselves and the missiles.
And only then, once the missiles lobbed are largely diverted, you can rely on your point-defense to take out the ones still coming after you.
 Right.
But what about guns?
Cannons and railguns are very hard to dodge. You are either fast, or you are hit. Sometimes, you’re both. Cover, evasion and jamming will only get you so far.
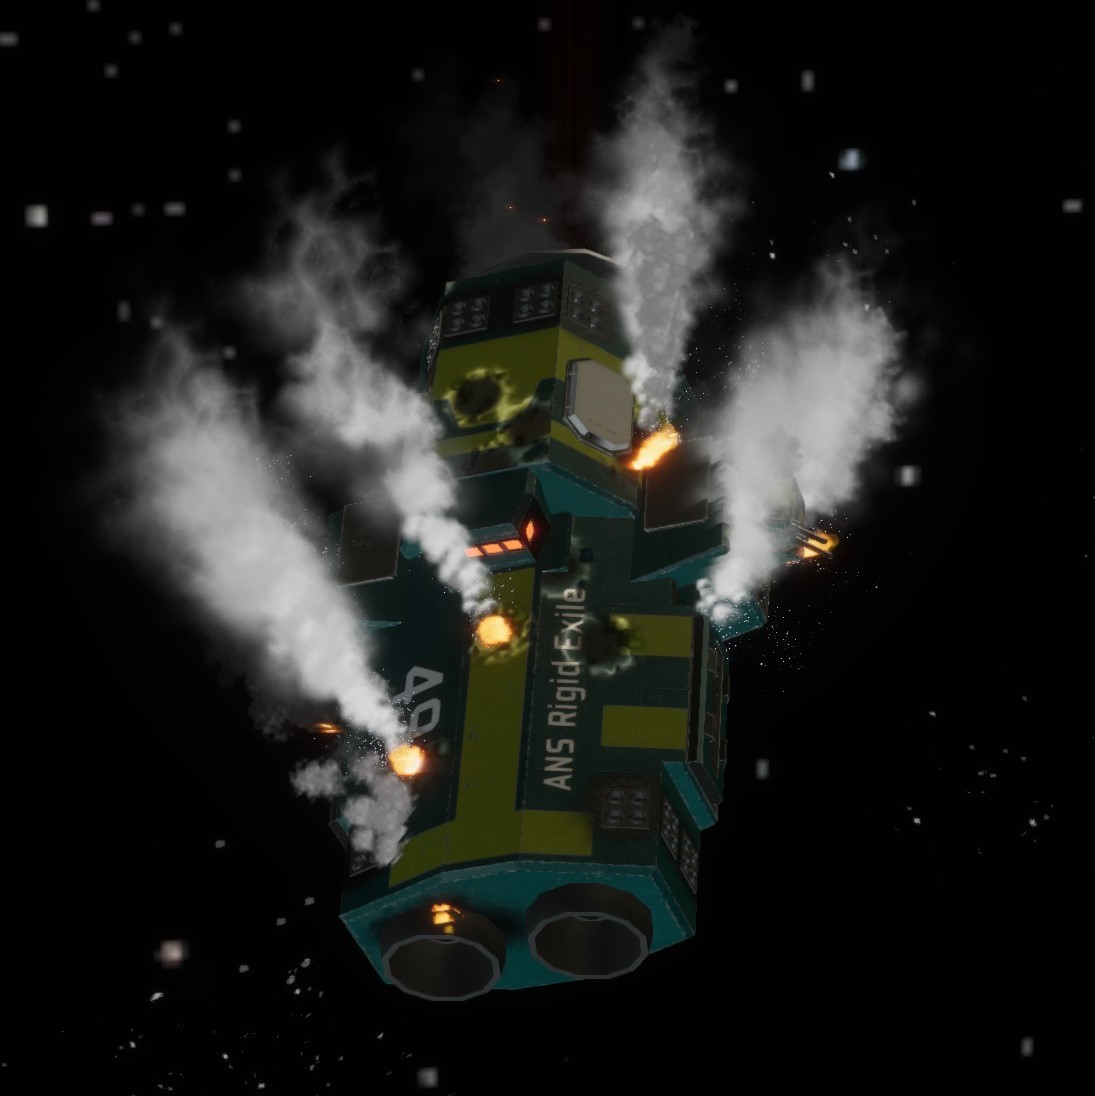
At some point, you’ll start taking hits.
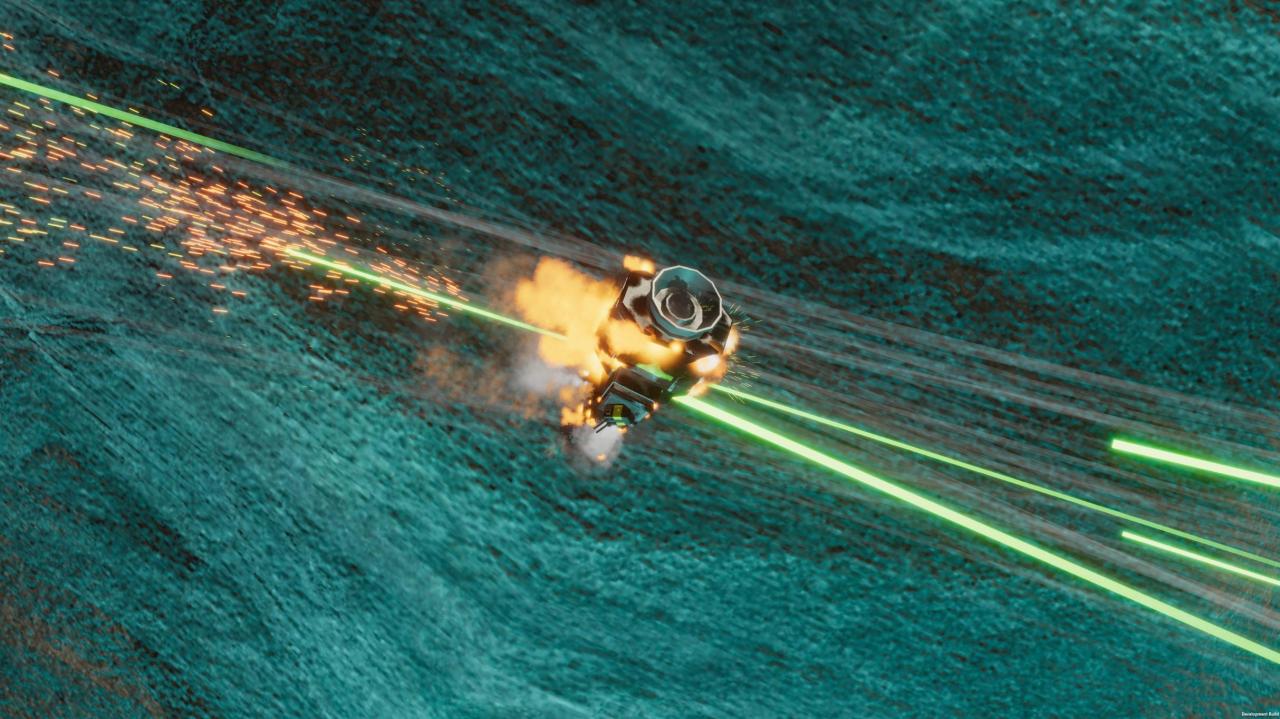
Fighting (Don’t Die)
 You’re spotted. You’re getting shot at. You’re getting hit.
Don’t die.
How?
Kill the enemy before they kill you.
 First, let’s talk survival.
Here’s how you can take hits better:
– Citadel CIC: To make taking out your command harder.
– CIC placement: Don’t put it at the ship’s center of mass.
– Armored Magazines: The first magazine is free.
– Damage Control: The more you have, the more you can fix.
– More ships: If you have 2 Spyglasses on 2 ships, you are twice as hard to blind.
– Armor: Heavy Cruisers and Battleships have a lot. It helps.
With more larger, more armored ships, you can also perform some high skill manuevers known as armor angling.
The greater the angle of impact, the more effective your armor. A battleship can bounce railguns sometimes, cannons always. Use at your own consideration.
 Now, let’s hit back.
Whatever weapon and tactic you choose – commit. You want corvettes? Bring ALL THE CORVETTES. You want missiles? 500 OF THEM. Battleship? BATTLESHIP. Guns? MAXIMUM THE GUNS.
 If you try to multi-task, or jack-of-all-trade your fleet, you end up bad at everything. Not enough missiles and you fail to break enemy PD. Too much PD and ECM, and you lack guns and damage. You want a battleship but also other stuff? Your battleship ends up being too easy to kill if you invest too little into it.
The following are a few examples of fleet compositions have proven effective in PvP:
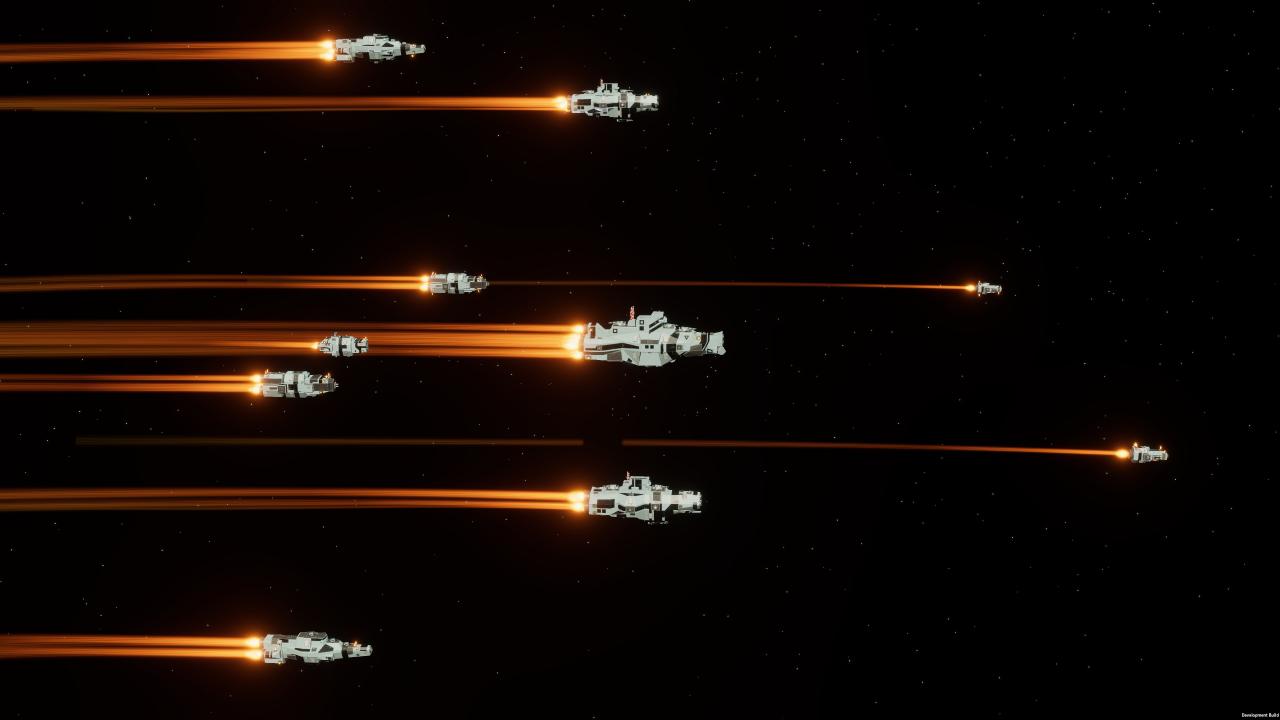
– Wall of missiles. Hulls with nothing BUT missile launchers and a few illuminators to guide the second-cheapest missile type in the game, the ‘home-on-illuminated-target’ missiles. These work, these are BRUTAL, these traumatize, and if you mess up your missile allocation, you lose. The two hulls used for this are frigates and light cruisers.
Nothing like getting hit by a swarm of 300 missiles.
– Corvette swarm. Not sure who decided to commit to them first, but I know most testers have tried them, and OfN is the one that got me into using them sometimes. These are corvettes with missile/torp launchers, ECM, PD, whatever. There are MANY of them, and they are SCARY. And also very squishy. Don’t run into cannons. You can run around the map, capturing points and spotting.
– BATTLESHIP. Alone. Expensive. Menacing. Murderous. You commit to building one REALLY good battleship. You can get our-flanked easily by corvettes. You can’t capture more than one point. But in a 2v2, you are the thing people try not to get in front of because your railguns fire every 15 seconds and there are 7 of them.
The others? Figure them out on your own.
Battleships are hard to kill. How do you do it? Two options.
 – Missiles. Lots of them.
– Reactor overload.
Missiles come in several types:
– Home-On-Jamming: You guessed it.
Defeated by turning off jamming.
– Semi-Active: Dive for targets illuminated by friendly illuminators.
Defeated by killing enemy illuminators, or breaking line-of-sight with the illuminating ship. Also chaff.
– Active: Fire-and-forget.
Defeated by blanket jammers and chaff.
– Command: Guided by the launching ship and its sensors.
Defeated by comms jamming and destruction of guiding the ship.