This guide provides tips and tricks on how to beat chapter #10 Nermoster of the Cross of Vidar story on difficulty setting EXTREME.
Introduction
On normal setting the chapter is rather easy.
On EXTREME setting, phase 2 after liberating all shores spawns 2 Draconic Jötuns with a small fellowship for each of the 4 gates of muspell located on the map. Thes waves walk towards your liberated shores and those cannot stand the attack at all. If one wave reaches on of your shores unharmed, you have lost.
Here are some tips on how to beat it on EXTREME.
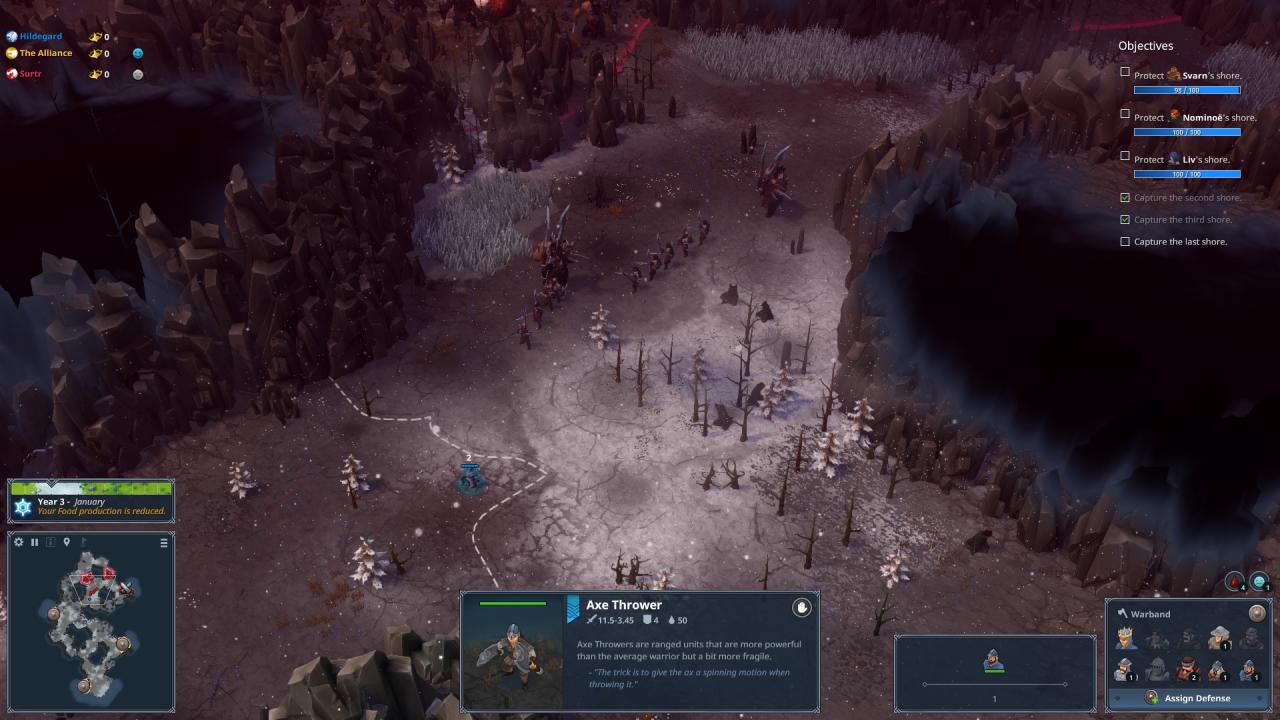
Phase 1 – Liberating shores
You will receive reinforcements regularly to grow your army.
Other enemy zones spawn waves regulary to attack your liberated shores.
- Use your troops with micromanagement, retreat wounded units and heal them regularly in your liberated shores.
- Make sure to avoid loosing any troops – you will desperately need them later on.
- Spam the hero abilites (Light of Idavoll / Ice Sword) during fights and REMEMBER to upgrade the skills once enough experience is available (I only noticed this has to be done manually at the end of the chapter…)
- Take out one enemy zone at a time, liberate the shore last.
- Liberate the shore only after all other enemy areas have been cleared – otherwise you will end up with too many enemy zones when liberating the next shore.
- When liberating a shore, clear all troops and damage the tower to be burning, but retreat before it is finished and the zone is captured. Send your troops back to an already liberated shore, heal them, position them at the front to the next story section and use one unit to finally liberate the cleared shore. This way you start into the battle for the next shore with fully healed units.
Especially when liberating the 3rd (last) shore, make sure you HEAL your units (see hint 6.). Also make sure to upgrade all hero skills if enough experience is available. Especiall Wrath of Vali (Blood sword) should be available now and at least on level 2 (one star).
Finally liberate the last shore and move on to phase 2 with a fully healed army.
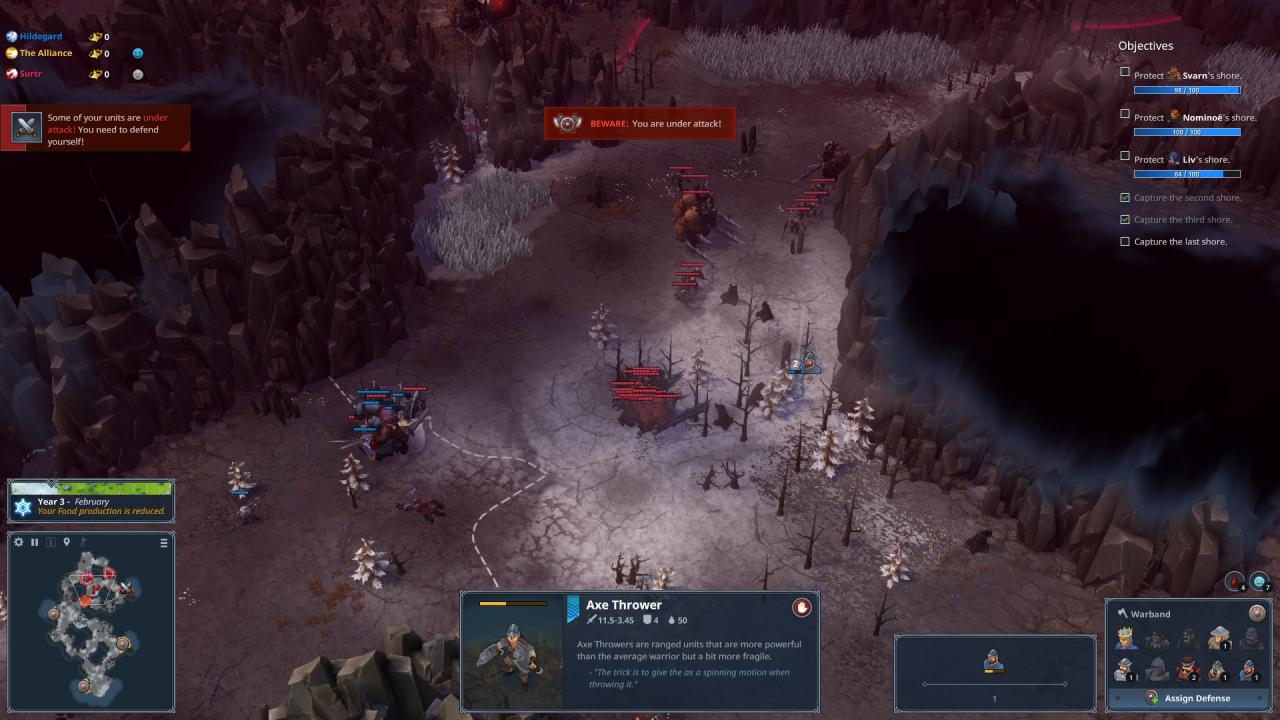
Phase 2 – Gates of Muspell
New areas are revealed after liberating the 3rd shore with 4 Gates of Muspell zones and one final shore to be liberated. Each zone will send 2 Draconic Jötuns and a small fellowship towards your liberated shores. The shores cannot defend themselves and will be conquered by one wave only, so we need to support them / stop the waves before.
On normal difficulty you can directly rush the shore and enter phase 3. On EXTREME difficulty you will have to clear each and every single gate to reach the shore zone and you will be busy for the next ~5 minutes every single second with alot of micromanagement.
You will start phase 2 with a fully healed army (if not re-check the hints to phase 1).
Make sure to send Hildegard to support Liv and her shore directly. Wait until all units of the wave incoming from the left gate reached the shore and use Wrath of Vali (Blood sword) to kill it quickly using the heavy area of effect (AOE) damage. Meanwhile (yes in parallel to the fight in Liv’s shore) move a part of your army (at least one unit) two zones east of Liv’s shore (south-east of the western gate, at the entry of the “mountain valley”). All waves from the other gates will pass through this zone on their way to the other shores.
You will use the following micromanagement move to stop them in this zone and cluster them together.

You will lose some units to the first wave, but you will be fine, only important unit is Hildegard anyway (AOE damage), the others mainly tank. After finishing the first wave, quickly move to the first gate north of Liv’s shore and take it out, again using Wrath of Vali (Blood sword) with AOE damage.
No you don’t get a break. As I mentioned you will be busy every single second.
Move your (wounded) army back to Liv’s shore and heal. You will receive reinforcements for closing the first gate, especially a Gayant Champion (nice tank). Meanwhile / in parallel again use the micromanagement move by moving at least one unit to the mountain valley zone north-east of the zone used as main battleground in the last move. Again all waves will pass through here. Move in – out – in … to stop and cluster the waves. The rest of your army will heal quickly, order them to the zone next to the clustered waves. Once all clustered, move your army in and kill them all with AOE.
Repeat this procedure (army back to heal, one unit stopping the waves) until you are just one zone away from the next gate. Kill the current wave and immediately clear the next gate. Move your army back to heal again and block the next waves again approaching the next gate.This move will get easier and easier since the waves will be smaller (fewer open gates remaining).
Finally clear the last shore. Remember hint 6 of phase 1 to make sure your heros are healed for phase 3.
- Wrath of Vali (Blood sword) is key, just ignore Light of Idavoll (Frost Sword)
- Cluster waves together with micromanagement move
- Take out clustered waves with AOE damage
- Approach and take out each gate one by one
- Heal between waves
Phase 3 – Stream of wolves
Phase 3 is rather easy – even on EXTREME.
A constant stream of wolves will spawn and move against you.
Move your heros towards the final zone. Kill the wolves to be able to move to the next zones by spamming the hero spells. Avoid being struck by lightning. Keep on moving.
You will manage this.
Phase 4 – Fenrir
The fight might take a while, but is rather straight forward.
Use Wrath of Vali (Blood sword) frequently to attack Fenrir. Use shield if a huge wave of lightning approaches. Use Light of Idavoll (Frost sword) against the wolves, since they lose health rather quickly even without attacking them. If low health, retreat to outer areas and use healing spell.
You will manage this.
DONE