There’s a guide to the first section of the game (where resources are limited and grinding is impossible before the first big optional challenge). Basically just to get you started off right if you prefer more guidance! No real spoilers aside from mentioning a few names.
STARTING GUIDE
Bangville
- Talk to the man west of the entrance
- Tell the woman east of the entrance you like your men “bad to the bone”
- Talk to Big John in his house
- Talk to the smith
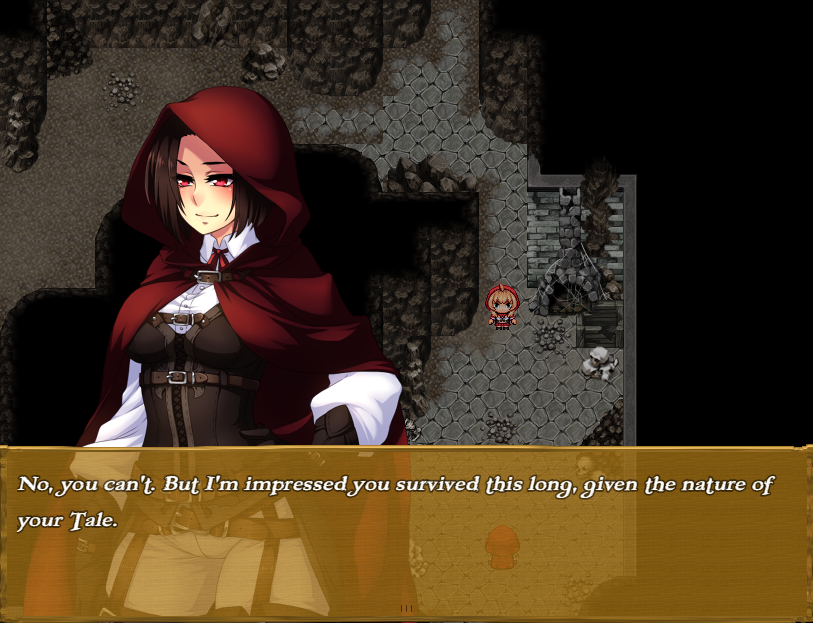
- Talk to Mr. Wolf and “Promise to visit” (he’s near the center of town but may hide behind a building)
- Go to Ingrid’s house, sleep in the bed, and choose “Masturbate” (the Hand Mirror in the pink treasure chest is unmissable but you might as well grab it now)
- Talk to the librarian (behind his desk, so an event happens)
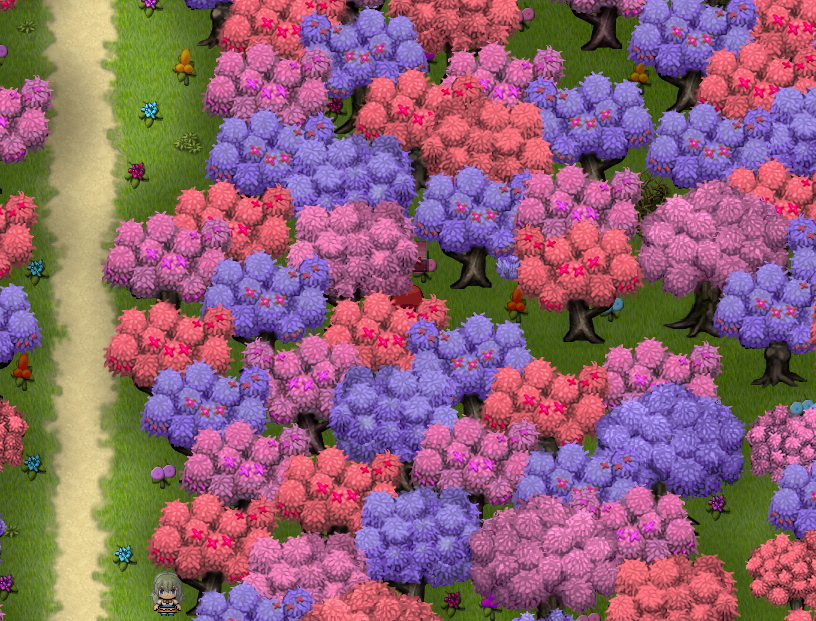
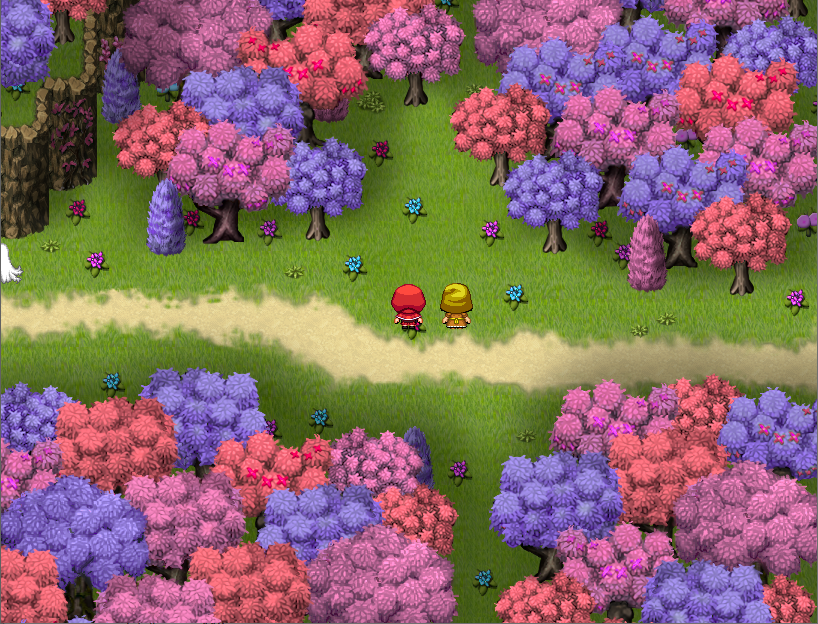
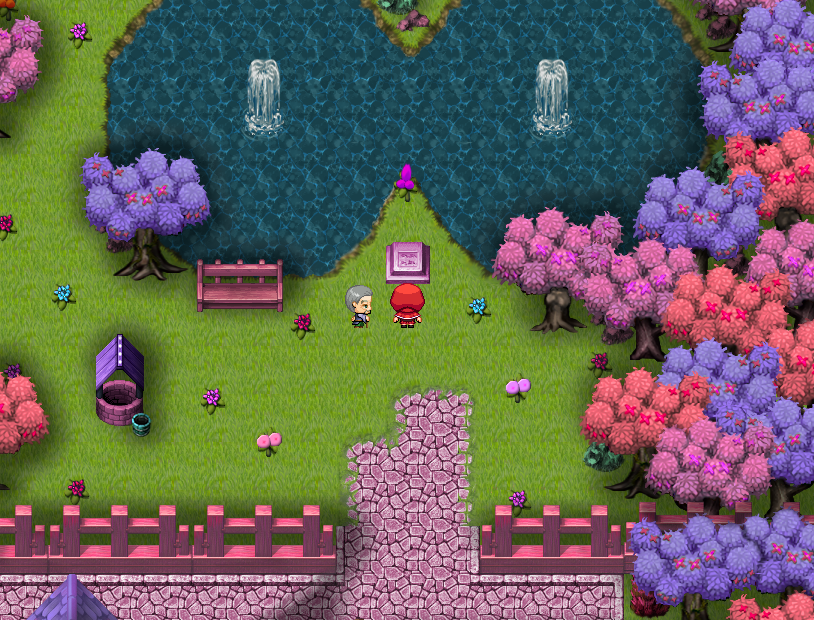 Boob fountains and dong trees? Welcome to Bangville!
2) Once you’re done with all that, go to the park and see the event. Then go straight south through the forest until you reach the Peaceful Glade. Do the following BEFORE entering the bottom part of this map:
- Talk to the southeastern soldier
- Grab the bread in the southeastern part of the first clearing (it’s partially hidden by trees)
- Grab the milk on the western edge
- You can’t do anything with the dark path yet
- Lose at least once by letting enemies take away all your MP (the set fight with three imps or the orc will beat you fastest)
- Defeat the Erotic Orc and take all the stuff behind him
- Equip the Sexy Ring on Ingrid
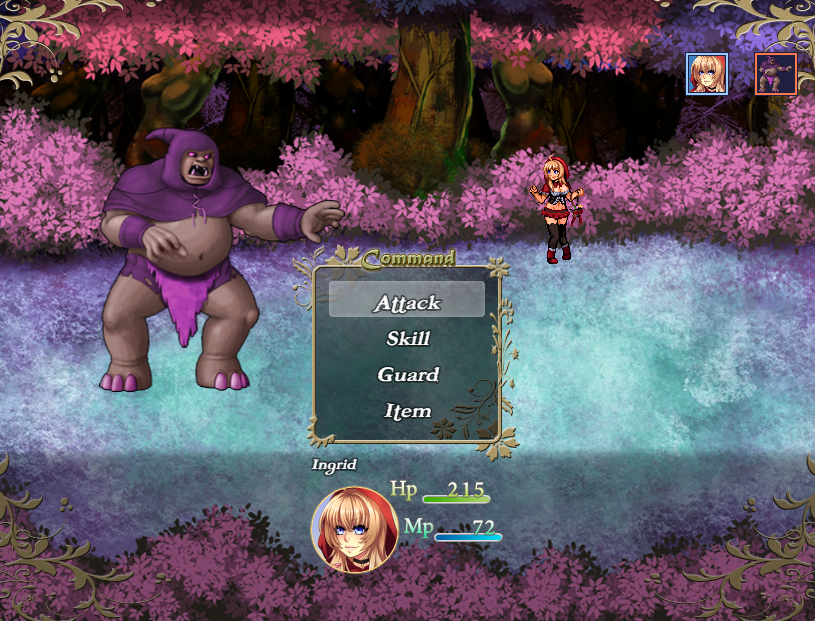
Erotic Orc: This guy might seem impossible if you haven’t messed with your skills but he’s manageable. Use your normal slap and Wink if he has a charge built up. When his health gets lower, he’ll run away and you win. If you’re having trouble try going to “Equip Skills” and unequipping the “♥♥♥♥ I” skill.
The Ingrid head marks the point of no return for this section:
Point of No Return #1
Do all of the above before you enter the final clearing of the glade! Some of the above can be done later but some of it will be gone forever! You don’t need to worry about running back to heal if you’re missing MP: you will be fully healed after the next set of events.
3) Go south in the glade and watch events. For the solo fight just attack until your HP drops and events take over (defending will just waste time and you want to conserve your items). Once Hood joins you basically can’t lose. Eventually you will be alone again so make sure to do the following:
- Equip the Sexy Ring on Ingrid
- Unequip “♥♥♥♥ I” as explained above
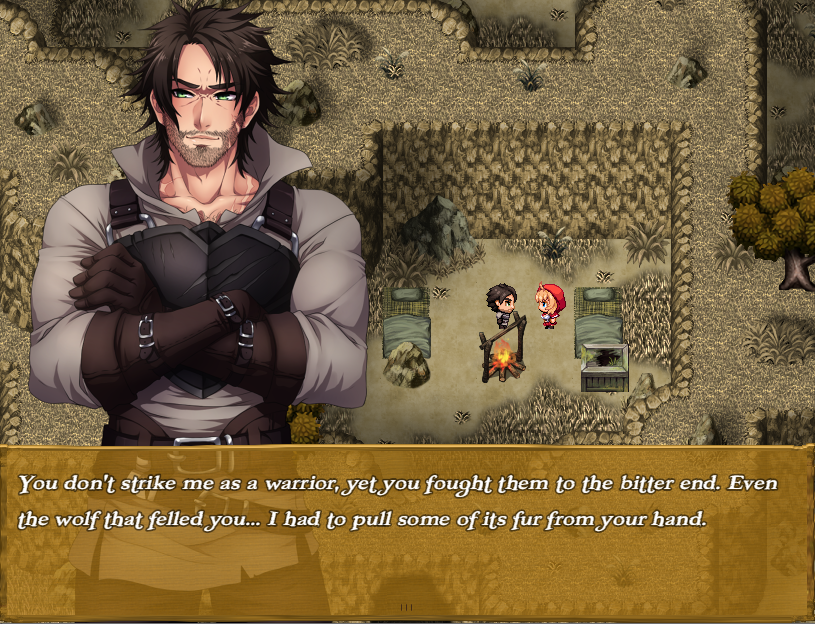
Bleak Caverns
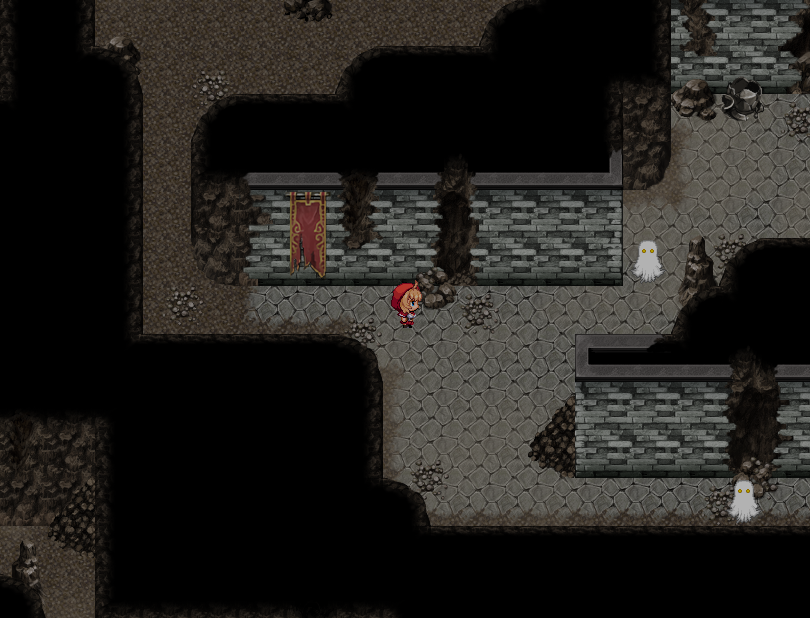 Go here and follow the upper path first or attrition might take you down.
4) Along the way:
- There’s a chest with a healing item near the beginning.
- There are two spiders that are unavoidable.
- When the path splits, fight the northern enemy even though it seems harder at first. The southern path is harder overall.
- After the paths rejoin five spiders will ambush you (no map icon). You need 100+ HP to survive this fight without luck.
- If you meet Hood instead of dying and being saved, you did it!
What you want to see:
5) Hood can solo everything but should focus on the dangerous enemies while Ingrid kills spiders or Winks. Backtrack to the enemies you skipped before and they’ll be easy now. The rest of this dungeon should be fairly simple, just be sure to grab stuff:
- There are two chests back the way you came (plus bread you should have gotten before).
- All the bones in the area you met Hood have items. Equip the Scratched Bracer to Ingrid. NOT to Hood! If you do you won’t get it back for a while and she doesn’t need the help!
- There’s another chest on the way south.
- Right of the obvious exit, there’s a stationary enemy. This is the closest this area has to a boss but if you learned the enemy weaknesses earlier you should have no trouble.
- Ingrid gets AP/XP even if unconscious so don’t worry about it.
Point of No Return #2
Clear out all enemies and chests before you talk to Fenris and advance the plot. Skipping some won’t harm you but you want to get the chests and enough AP to buy a new skill later.
Bangville II: The Banging
- Talk to Ingrid’s mother and then find the sewing kit left of her bed. The Reinforced Bustier will automatically be equipped.
- Talk to the woman just outside Ingrid’s house.
- Go to the library and try to read the books.
- Talk to Big John in his house.
- Go to the smithy. The Iron Basket will automatically be equipped.
- Talk to the woman by the entrance to get the mushroom quest.
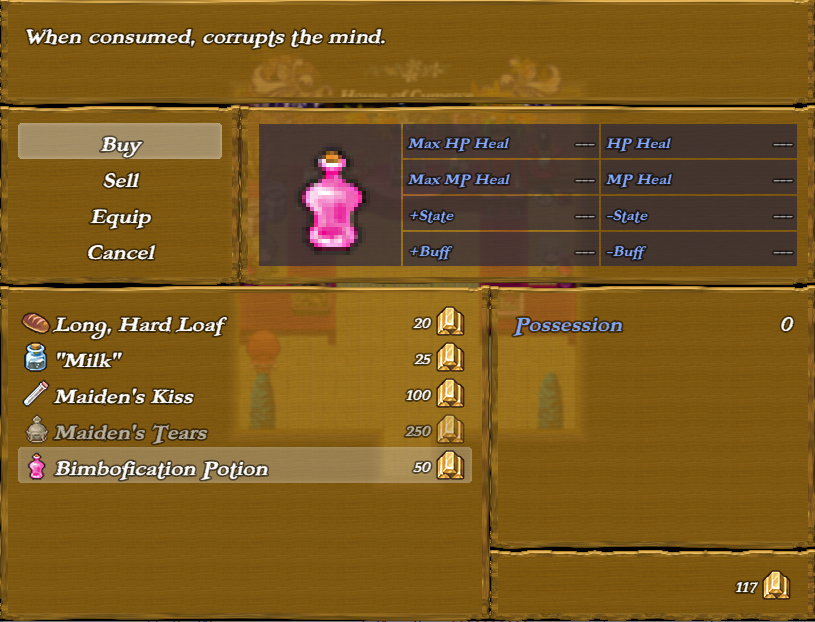
- Buy a Bimbofication Potion and use it on Ingrid (just trust me). Buying a second will have no effect except wasting money.
- There are two new chests hidden between houses: one in the northwest and one in the southeast.
 Just trust me.
Shopping Suggestions: I recommend buying/using the Bimbofication Potion now, but it doesn’t help you fight and you can also get it later in the game. If you’re having a lot of trouble with the final wolf gauntlet there are two items that will improve your stats: the ♥♥♥♥♥’s Riding Hood and the Sexy Ring. You will later find two items called Virile Axes that can be harmlessly sold for more money. You can also spend money on more healing items but probably only “Milk” is worth it.
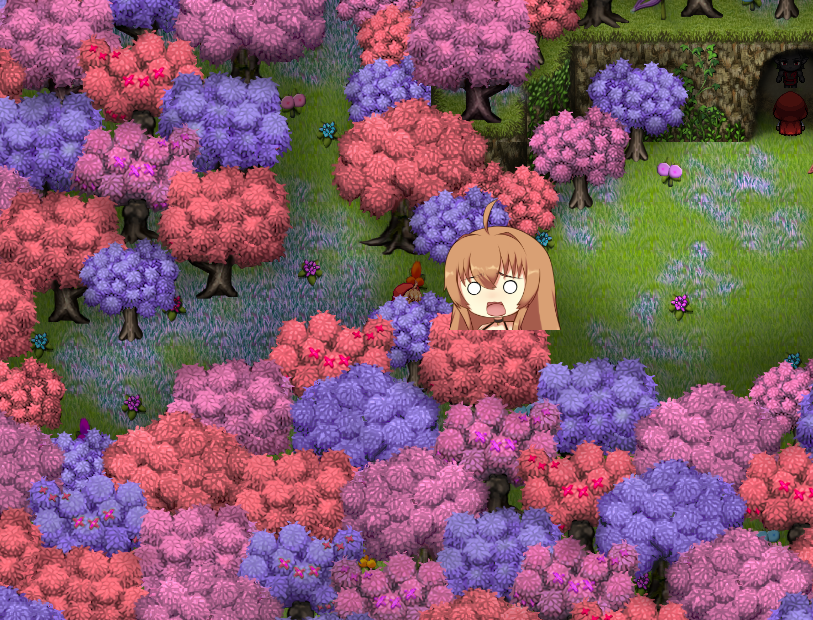
Screenshots of the sneakiest chests:
7) Go out into Bangville Woods and do more stuff:
- Ruthlessly slaughter everything you see. No enemies regenerate but you can gain a level.
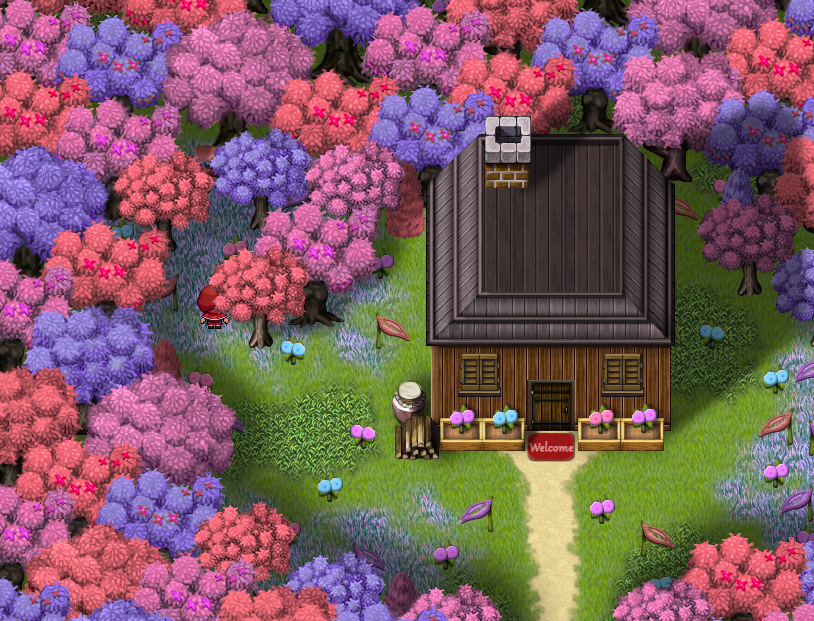
- You’ll need to visit your grandmother’s cottage before you can enter the entire forest. Go west and grab the chest in a southern pass.
- There’s a chest northwest of the cottage hidden in the trees.
- I don’t think it’s possible to lose the fight in the cottage. Just do the obvious stuff and see the sex scene. This unlocks two southern paths and returns you to Bangville.
- Head east next. There’s a chest in Mr. Wolf’s house.
- Don’t miss the sneaky chest in the northeast, left of the brambles you can’t pass through.
- Navigate the forest maze in the southwest section until you find a treasure chest and a stump with an axe. This will teach you the Violence skill.
- Go back to Peaceful Glade and walk around near the southeastern mushrooms until you start a fight.
- Grab the sparkly item in the furthest southeast area.
- You should have enough JP to learn Sexual Healing now. Learn and equip it.
- Don’t forget to go back to Ingrid’s house to heal! Your MP is probably drained from all the enemies.
This lady is pointing to where you need to go last:
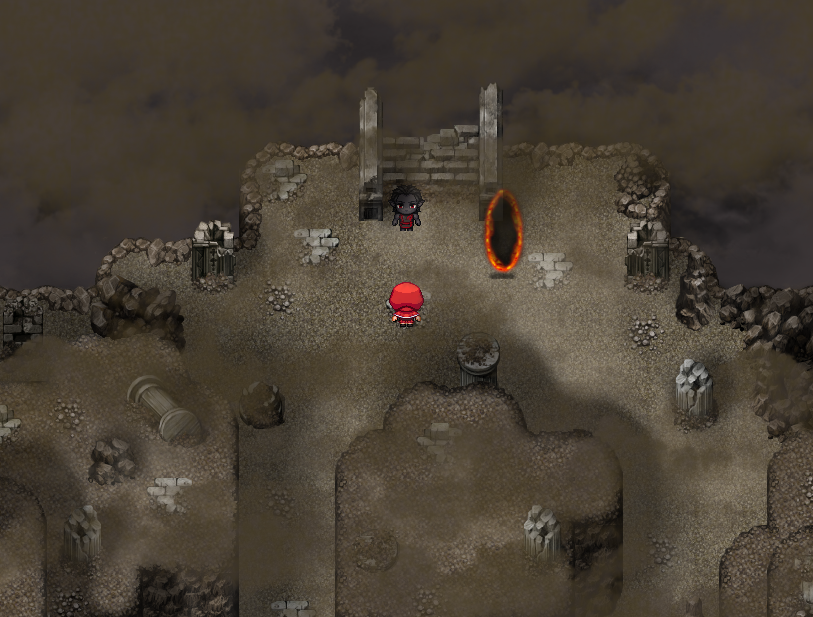
Point of No Return #3
Before you enter the portal you should have the following:
- Ingrid Level: 3
- Corruption: -12
- Intelligence: 110
- New skills: Violence, Sexual Healing
- New equipment: Iron Basket, Reinforced Bustier (optionally ♥♥♥♥♥’s Riding Hood or another Sexy Ring)
- All the healing items you can get your hands on
The Wolf Gauntlet
You need to learn the different wolf types even though they don’t have different names. The wolves looking straight on are standard attackers. The wolves with their heads lowered are relatively weak but cause poison that will drain you really fast. The wolves with red eyes are strongest but weirdly your last priority because they will spend turns charging (their charged attack is lethal but can be canceled with Wink). Most wolves should take one Violence + one normal attack to kill if you’ve done everything I said.
These are the fights:
- 1. Normal x1
- 2. Normal x1 + Poison x1
- 3. Normal x1
- 4. Normal x1 + Charger x1
- 5. Poison x3
- 6. Normal x2
- 7. Poison x1 + Charger x1
- 8. White Wolf (unbeatable)
You’re going to need good strategy to survive all these. Plan enemy HP so you don’t waste resources. Don’t go into a battle with too little MP. Cancel enemy charges before they get a second turn. Try to heal only in between fights. Spend items freely. Save a Maiden’s Kiss for AFTER the poison enemy fights or you’re dead. IMO the riskiest fight is #5 against three poison wolves. Other than that all I can say is good luck!
If you do all this you’ll be in a great position for the rest of the game. Corruption -16 and Intelligence 110 mean you can access more events in Hoodton early. Violence and Sexual Healing will be decent skills for a good while before getting replaced. The Scratched Bracer won’t be replaced by better accessories for a long time. The Pale Fur you got from reaching the last wolf will eventually turn into one of the best accessories in the game!