A guide on how to build a strong start and how to plan for advancing through the tiers. Ultimately reaching tier 4 for launching an Exo ship to a Science Victory or gaining Battle Cruisers and Nukes to make that Military Victory a success.
Intro
Settling Your Main Planet
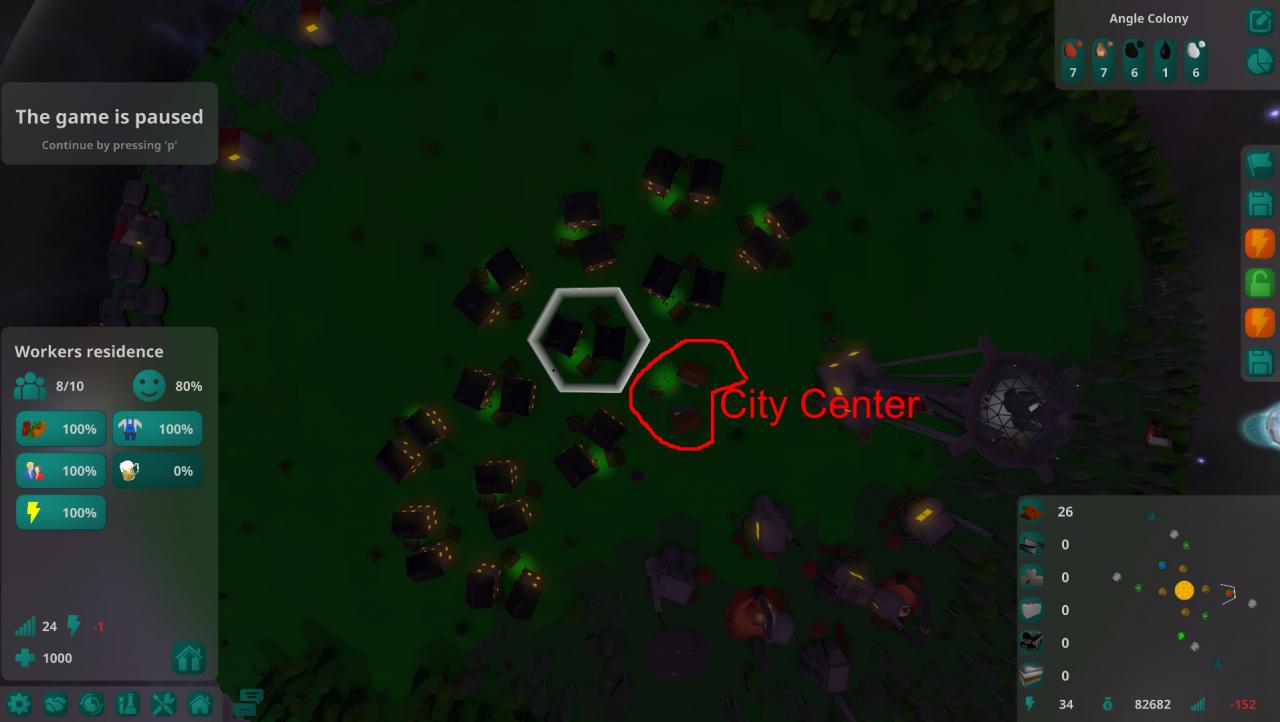
Now let’s get into settling and advancing thru Tier 1. After placing the Spaceport and starting the clays, you need to think about where to layout your Residences, and where to place your farms and production builds. You need to make sure you have enough room for 60-70 Residences, built adjacent to each other. They also must be built next to all the Public Buildings that are happiness “Factors” for each tier. It is these Factors that must reach 100% and be maintained to reach full population for each tier. You advance tiers when you max your population on the current tier.
.
Tier 1 has 5 Factors that must be met to advance to the next tier. You start by being able to place City Center (CC), Energy and Vegetables giving you 60%. The other 2 factors have size requirements on them. Work Wear (72) and the Pub (100) require some planning to achieve. You will need 12 RES at 60% to reach the 72 mark and between either 14-18 RES depending if you are at 60% or 80%. You need a lot more in the next tier so I just go to 18 as quickly as I can. The CC will show you your RES count, also be sure to turn on Auto Upgrade. This upgrades your RES to the next tier.
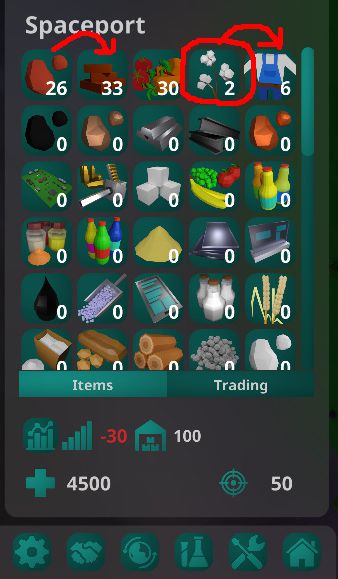
Tier 1 is almost complete in the above shot. I need a few more population before I can add the Pub, which as a Public Building must be built adjacent to the residences. Then it is just a little waiting time until Tier 2. If you notice one of your Factors not reaching 100% check the Spaceport to see if a component is running short. I added another cotton farm after seeing only 2 on hand. This was easy to see here but later it gets more complicated as the product, and components, list grows.
Lastly, there is no research on Tier 1.
First Major Decision – Tier 2 (T2)
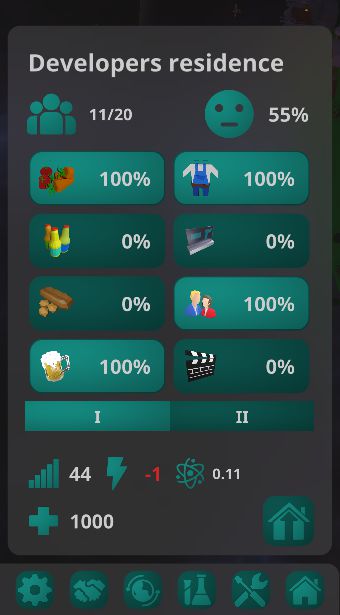
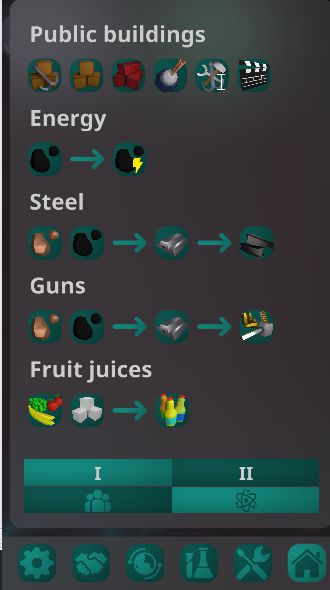
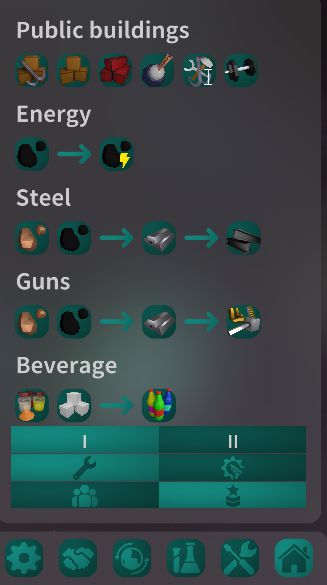
There are now 9 Factors needed for RES growth. You start with 5 from T1 in place giving you 55%. You need to be aware that each time you advance to the next level that this percentage drop impacts your economy. That is why it is important to always monitor your happiness levels in an effort to keep your economy in Balance. No matter which path you have chosen there is only 1 factor you can immediately work on in either path. This gets you to 66% happy. The other factors need 300 & 400 T2 people to be able to build. Which means you need 24 RES to reach 300 and 32 RES to reach 400.
The 300 RES mark is also important because it opens your Small Space Shipyard for building addition ships. Iron and Coal become available early here and is needed to get your Steelworks up and running. Steel and Bricks are needed for almost all builds now, and steel is needed to build your new Colony. Colonize a Desert planet to acquire copper as quickly as possible. You’ll need the copper for T2 and T3 builds. The Military path needs Oil which is on most Green planets.
Developers Residence
9 Factors
CC, WW, Veg, Pub & Energy = 55% (+11% for each additional factor)
- Fruit Juice
- Holo Displays (need 300 and Copper from Colony)
- Bakery (need 400)
- Cinema (need 400) – Public Building
T2 Science Builds

.
T2 Military Path (size 11-20)
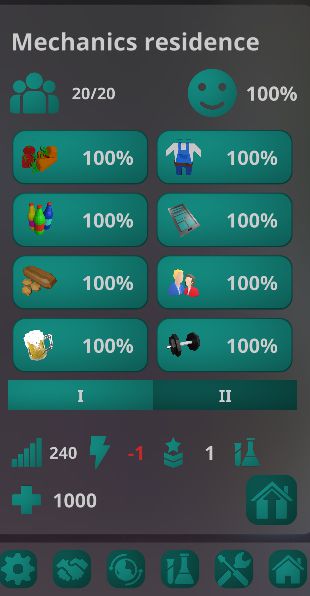
Mechanics Developments
9 Factors
CC, WW, Veg, Pub, Energy = 55% (+11% for each additional factor)
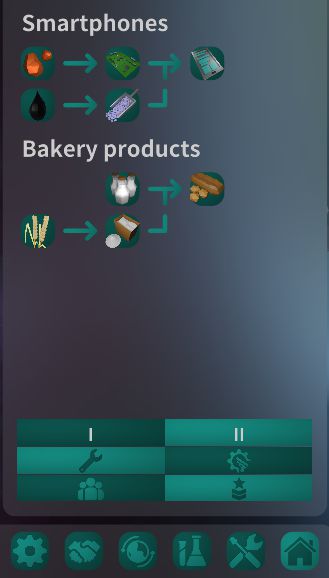
- Soft Drinks
- Smartphones Displays (need 300 and Oil, plus Copper from Colony)
- Bakery (need 400)
- Gym (need 400) – Public Building
T2 Military Builds
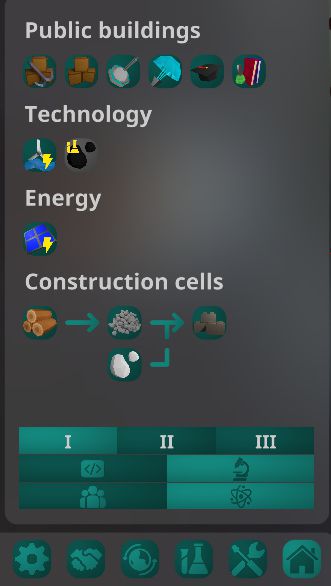
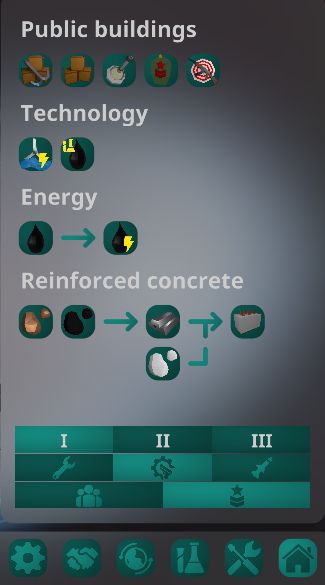
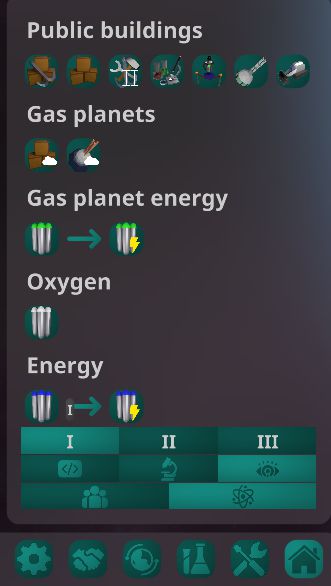
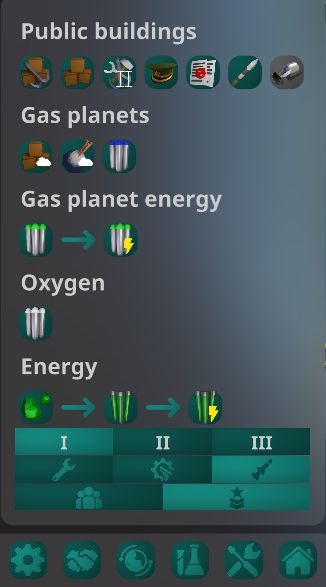
Note: These build choices initially show up under a single tab labeled as either Science or Military as long as you are on T2. However, once you reach T3 it becomes a nested menu starting with the Science and Military tabs but then having specific icons for each tier level. The T1 builds are under “Common”, while the first page of each tier will contain the Public Buildings on the first line.
.
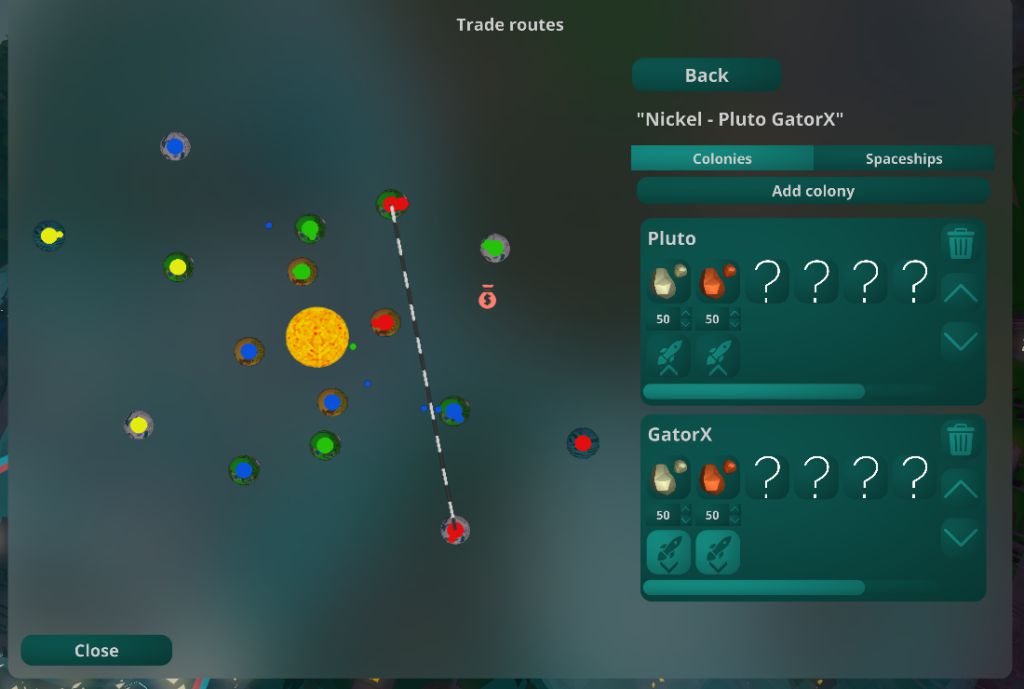
You’ll need to setup a trade route from the Desert planet back home to make the copper available. Trade routes are slot dependent, so be careful when setting them up. Also, make sure you have your load and unload selections made correctly. As your Spaceport fills, you will want to add Depots to increase the inventory capacity of the port. Don’t forget to use your Spaceport to look for slowdowns in components to the happiness Factors. Because you can’t advance to T3 until you hit 100% on all factors and have grown your RES to size 20. Also, use the Diplomacy button to see if you are keeping pace with the AI’s. If you are not building ships, they will have a higher score than you. Don’t let that gap get too big or they may attack.
Expanding Your Empire – Tier 3 (T3)
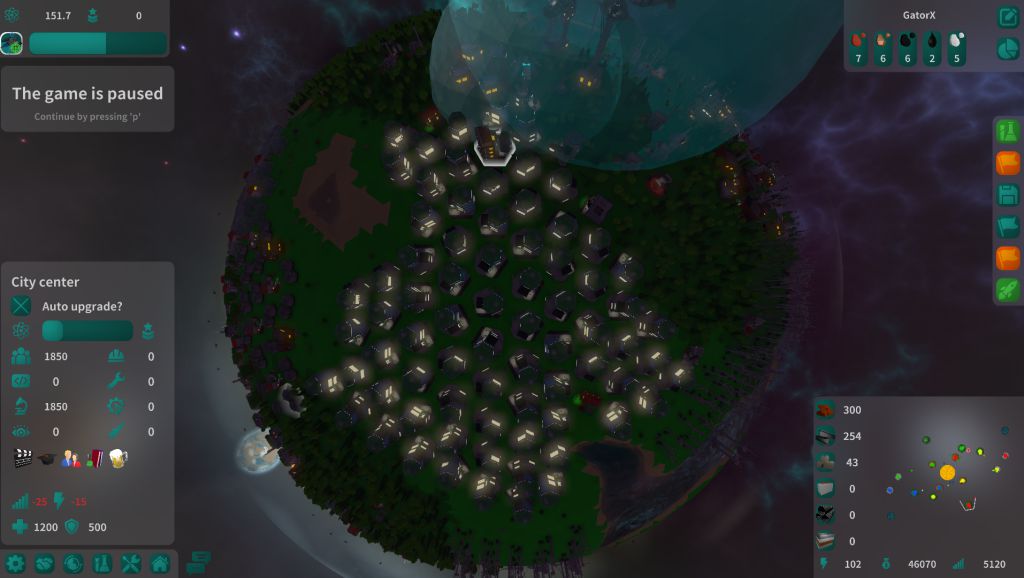
But for now, you need to grow your home world, more percentages. You need to start adding more RES again. Plus, your happiness drops from 100% down to 64% in the RES that have upgraded and this impacts your economy. There are 14 T3 Factors, some don’t start until you hit 500 T3 RES, while the last one needs 1600 RES. To reach the 1600 number you’ll need 70 RES at 78%, a few less if you manage 85% happy. As long as the line of RES connects to the main group they count as being connected. This is why you need a separate area for RES. You will need a few more RES in T4. I have about 75 RES in the follow shot.
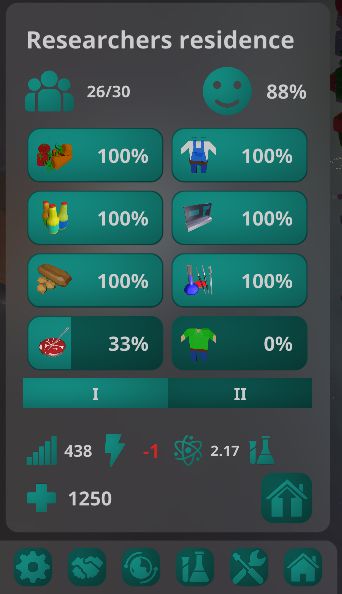
Researchers Residence
14 Factors
9 from T2 = 64% (+7% for each additional factor)
- Cultivated Meats (needs 1000)
- Laboratory Instruments (needs 500 & Nickel from Colony)
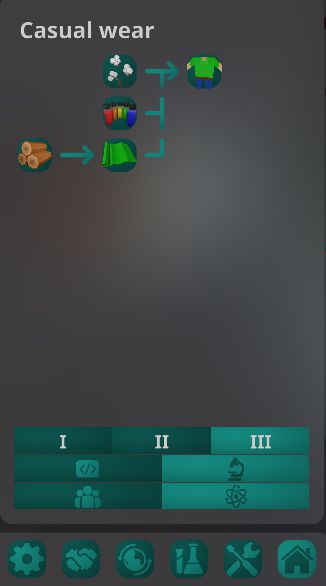
- Casual Wear (needs 1300)
- Laboratory (needs 1600) – Public Building
- Science University (needs 750) – Public Building
 .
.
T3 Science Builds
 .
.
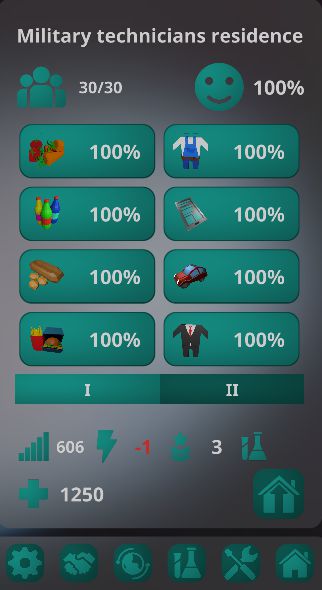
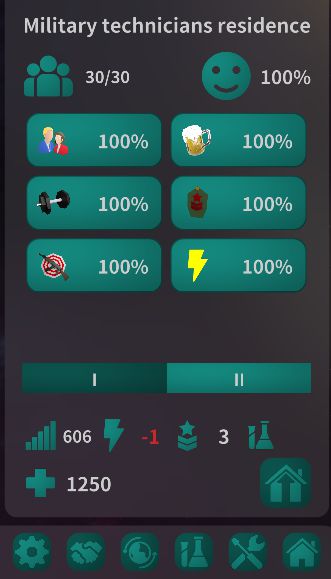
Military Technicians Residence
14 Factors
9 from T2 = 64% (+7% for each additional factor)
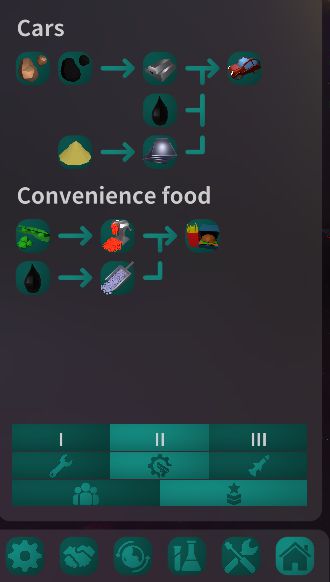
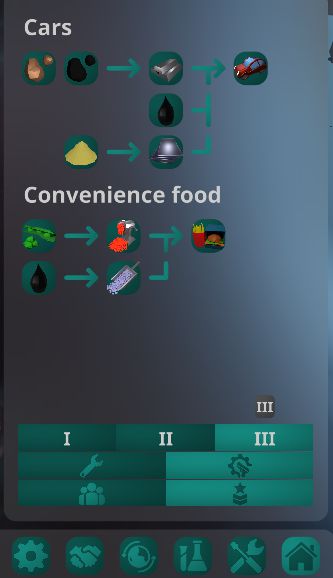
- Convenience Food (needs 1000 & Oil)
- Cars (needs 500 & Oil)
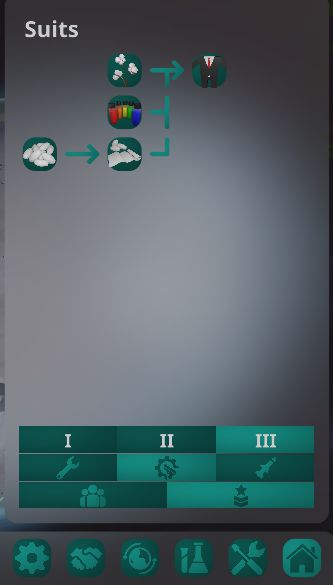
- Suits (needs 1300)
- Shooting Range (needs 1600) – Public Building
- Military Academy (needs 750) – Public Building
T3 Military Builds
 .
.
Note: The ship names are limited and repeat, but you can rename them. (New update just expanded name list). This makes setting up trade routes easier when you don’t have duplicate names. You can escort a ship by selecting the ship you want as the escort then right mouse click on the ship you want to escort. A green circle should appear on the target ship. You can add more than one escort ship. Also, you can select a group of ships by drawing a box around them. This creates a “fleet” and you can give them 1 set of orders, instead of having to move them individually.
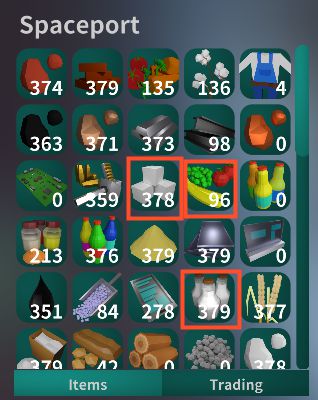
This tier is where I find using the Spaceport to monitor the slowdowns and bottlenecks in the happiness levels very important. You have so many farms and production buildings it is hard to track them all. But the Spaceport can show you why your Holo Displays are not at 100%. There is a good example at the end of the next section. Also,try to keep your economy in Balance and bank some credits because the T4 builds are expensive and your economy can get wrecked easily.
Engineering a Vision for Victory – Tier 4 (T4)
so I won’t spend time here. War should definitely be happening in the solar system, so be prepared. Your planet and colony defenses should be in place too. There is need for more trade routes here, but do not send any ship out unescorted. You should now be focusing on your push towards final victory.
There are 19 T4 Factors and you start at 73% happy. Builds and large ships are expensive on this level so you need to watch your credits and balance numbers. The factors range from 500 to 2000, but you only need to add a few more RES from the 70 you had on T3.
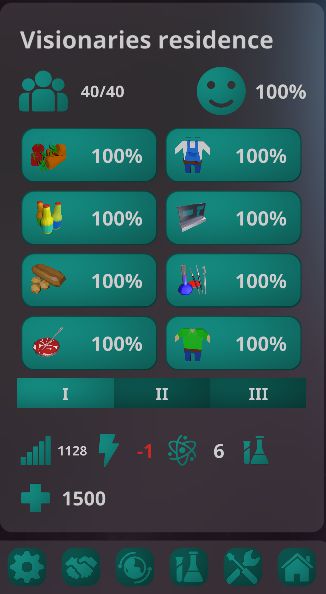
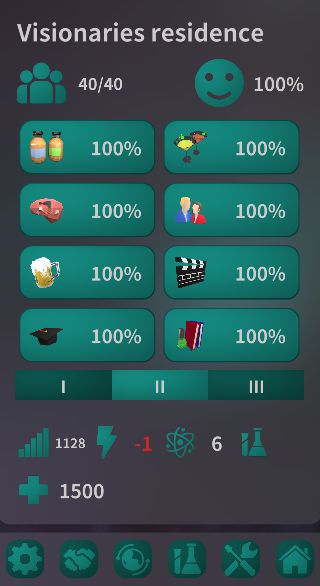
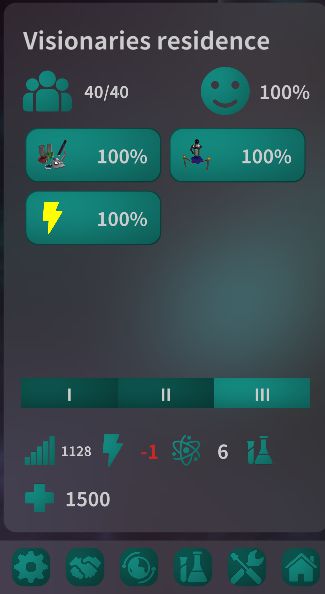
Visionaries Residence
19 Factors
14 from T3 = 73% (+5 or 6% for each additional factor)
- Smart Food (needs 500)
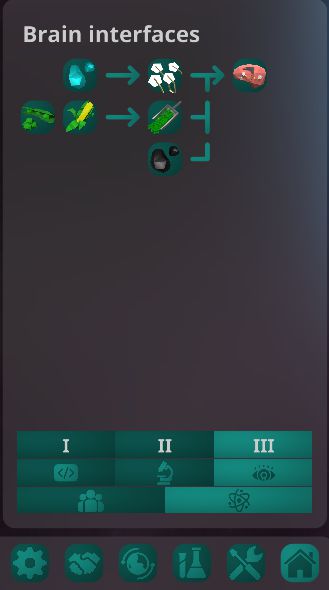
- Brain Interfaces (need 2000)
- Cocktails (need 1200)
- Research Center (needs 850) – Public Building
- Technology Fair (needs 1750) – Public Building
 .
.
T4 Science Builds
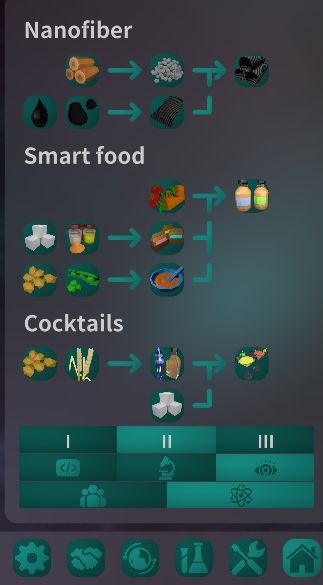
You need to get Nano Fibers up as soon as possible. They take Oil and Coal, which you may need to import from your colonies to keep the machines feed. Four of the five T4 factors require Nano Fibers.
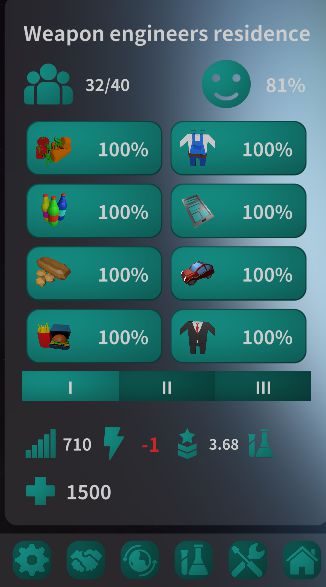
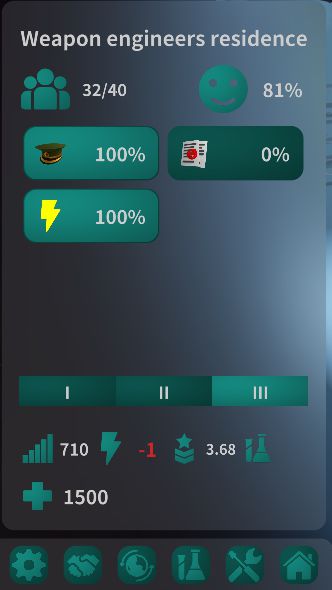
Weapons Engineers Residence
19 Factors
14 from T3 = 73% (+5 or 6% for each additional factor)
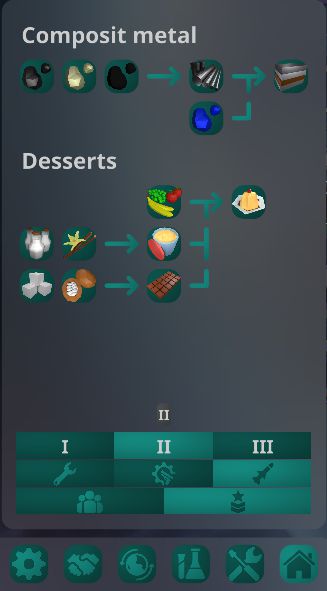
- Desserts (needs 500)
- Household Robots (needs 2000)
- Champagne (needs 1200)
- Ministry of Defence (needs 850) – Public Building
- Secret Weapon Laboratory (needs 1750) – Public Building
 .
.
T4 Military Builds
You need to get Composit Metals up as soon as possible. They take Titanium, Nickel and Cobal which all come from colonies. Plus, you need Hydrogen, Helium, Uranium and Plutonium for Interplanetary Rockets, Lasers, and of course Nukes.
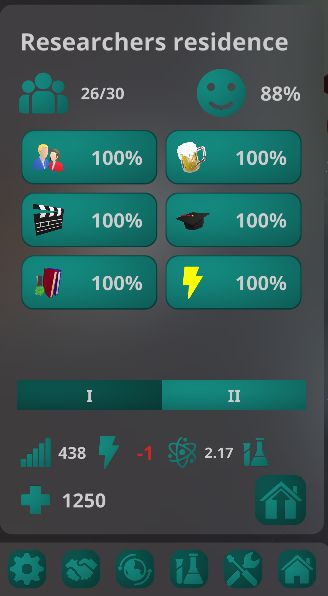
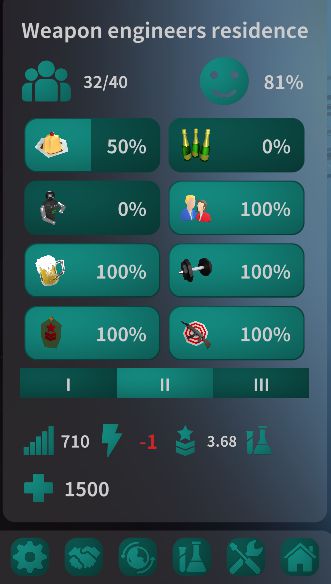
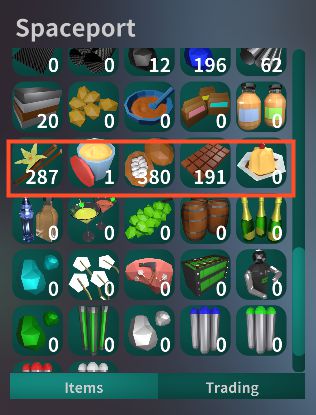
If you notice in the 2nd Weapon Engineers RES picture (above) Desserts are only at 50%. Using the Spaceport, I can see that the bottleneck is with the Pudding component. I have plenty of the ingredients, so I need to add another Pudding Factory.
We are the Champions
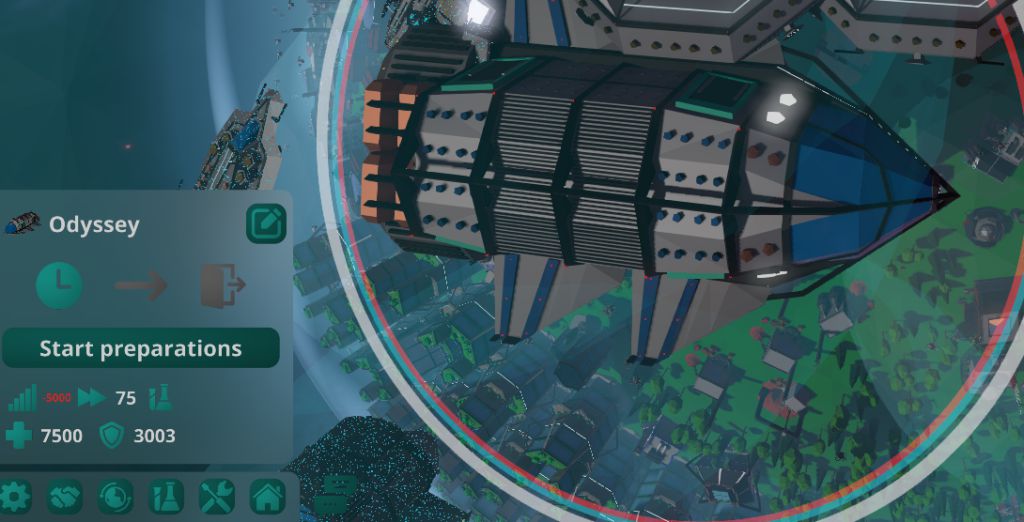
You need 2000 T4 RES to build the Exo Spaceship. It requires 1000 bottles of Oxygen, so you need to add Depots until your Spaceport is large enough to hold the 1000 bottles. It takes 10 minutes to build and once built there are two stages: Prep Expedition and Start Expedition. The Prep stage last 3 minutes and costs 5000 credit upkeep, so make sure you have money. Then you have to Start your ship on it journey out of the solar system. The Exo has no weapons, so you should escort it as it leaves. Sit back and watch your ship fly away to victory.
.
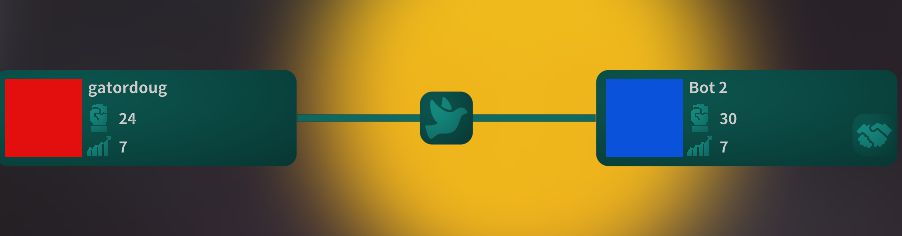
This victory condition does not have to wait until tier 4 to begin. However, the Large Spaceship Yard unlocks the Battle Cruiser for you. Not much stands up to a fleet lead by these big guns. The AI will heavily garrison their main planets, while the colonies are lightly guarded. You must defeat all garrisons on a planet and then the Spaceport to take over control. Once your opponent has no planets left, they are eliminated. If you are not currently at war with an opponent you must declare war on them using the Diplomacy screen. Hopefully, you have been using this screen along the way to monitor your strength and to see the status of your opponents. As long as your planets are well defended, don’t worry if you are behind the other players. As long as you have the resources to build a fleet, you can still prevail. So go forth and smash.
The game has a nice feature that lets you swap places with an opponent. This will let you see how they have setup their planet. It is especially nice to use in the mid game time frame when you find yourself lagging way behind.