Screenshot assisted for getting 100% completion in ET campaign.
M1: Siwa Oasis

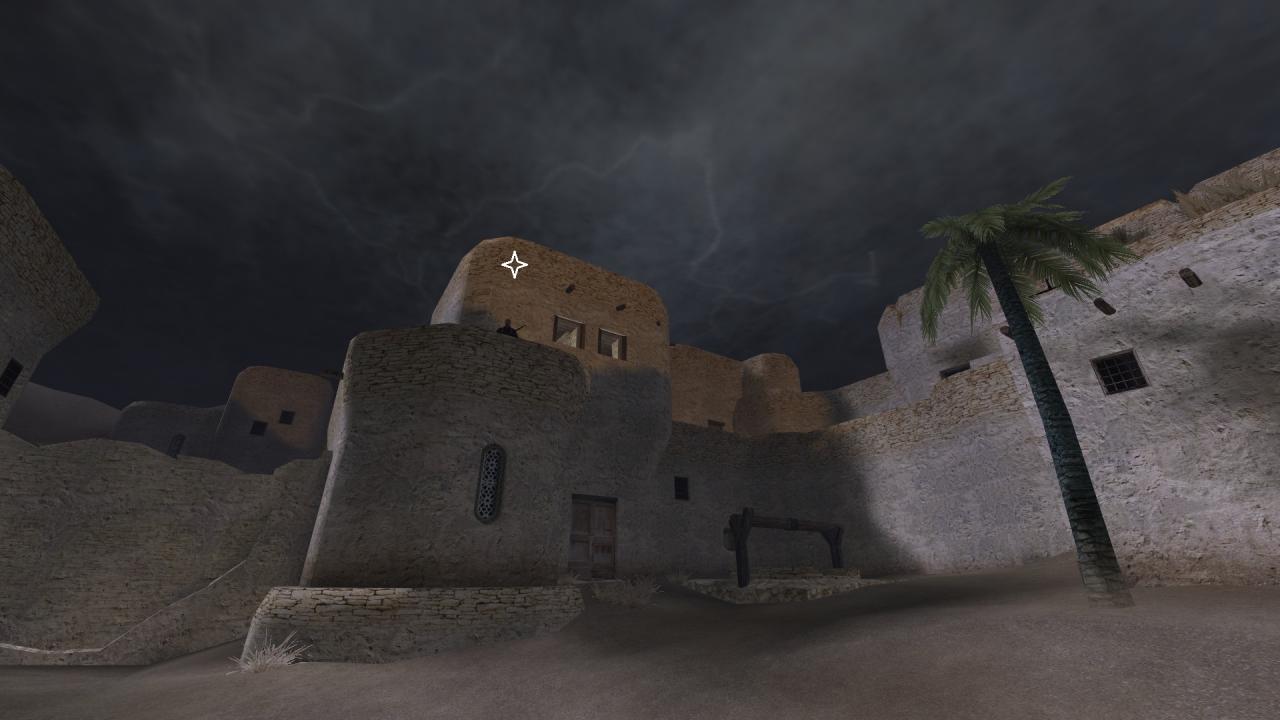
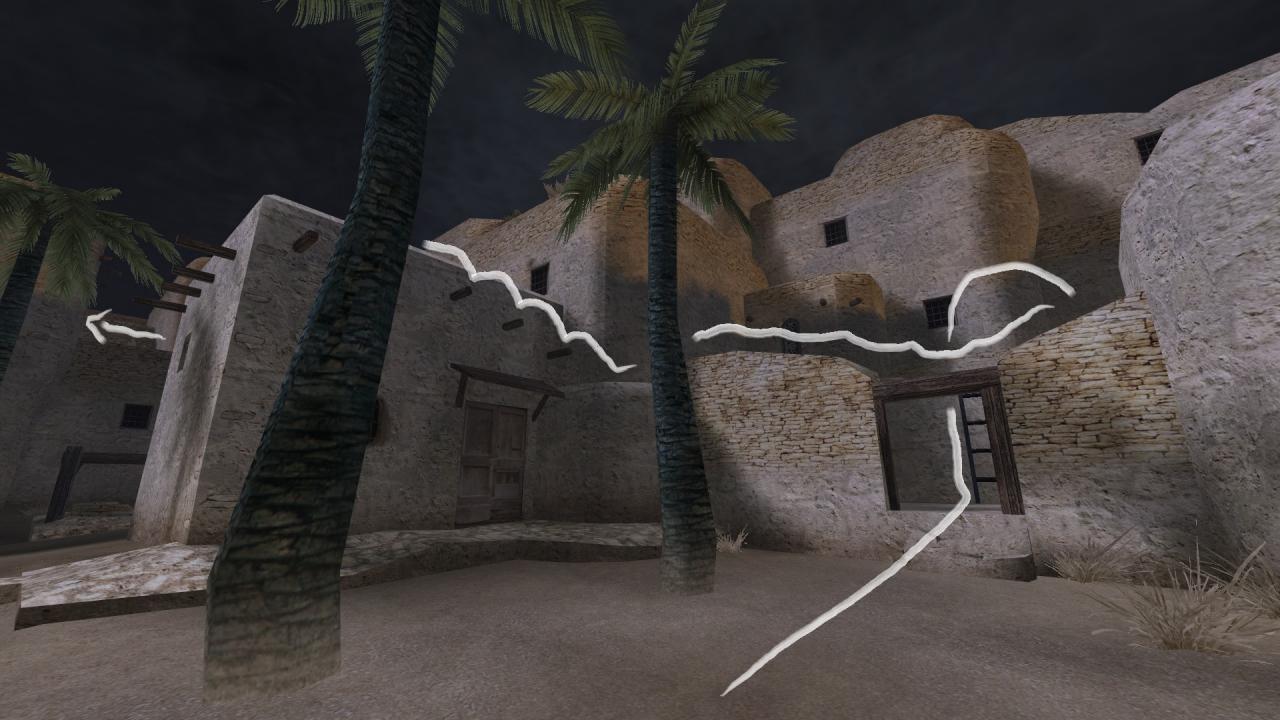
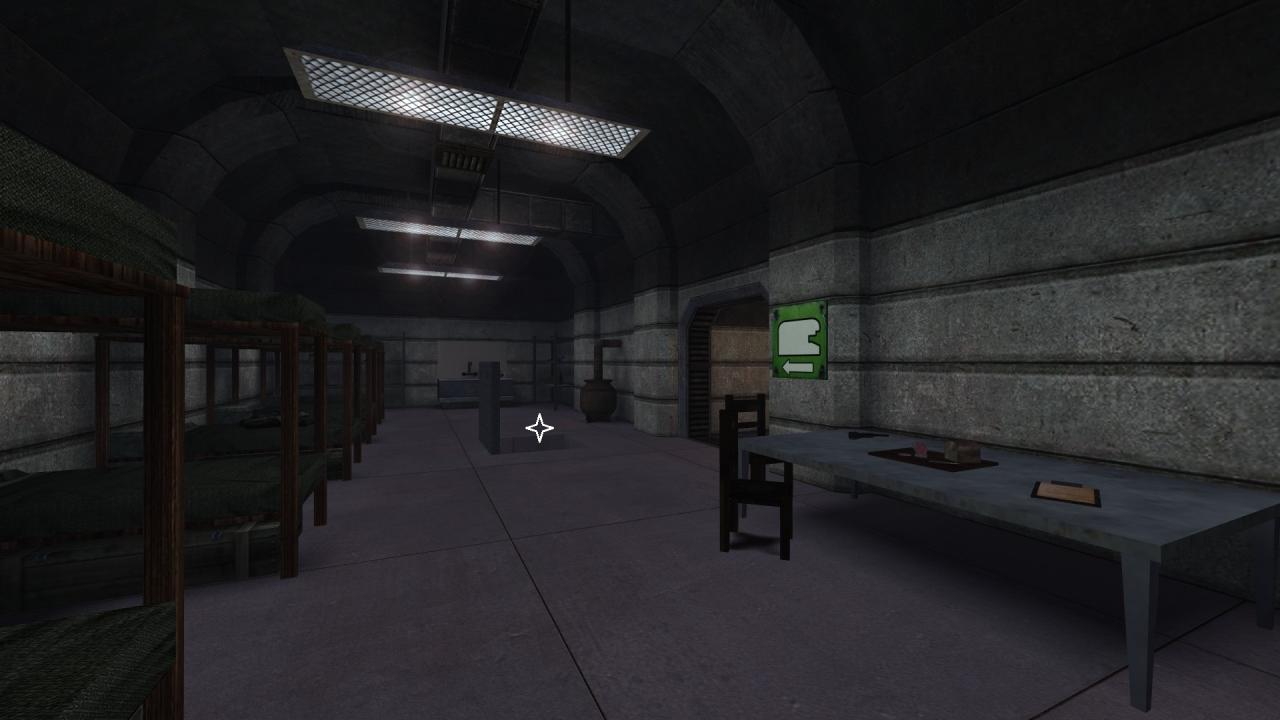
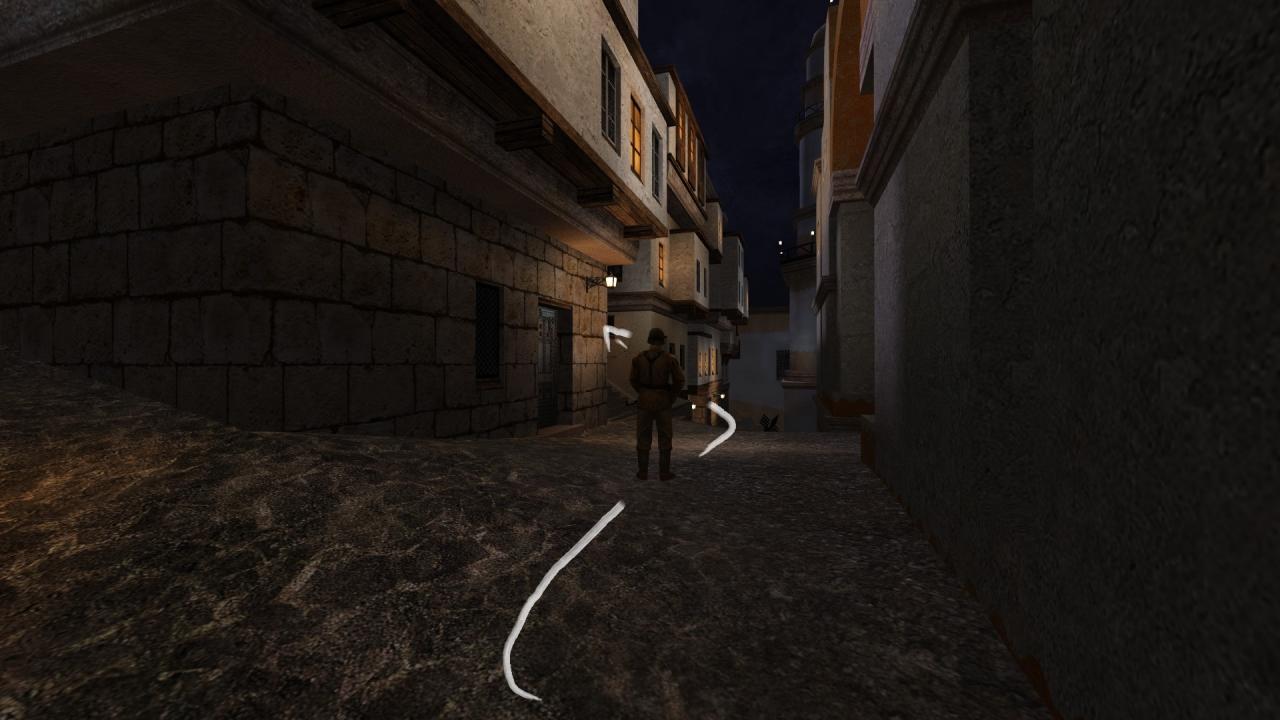
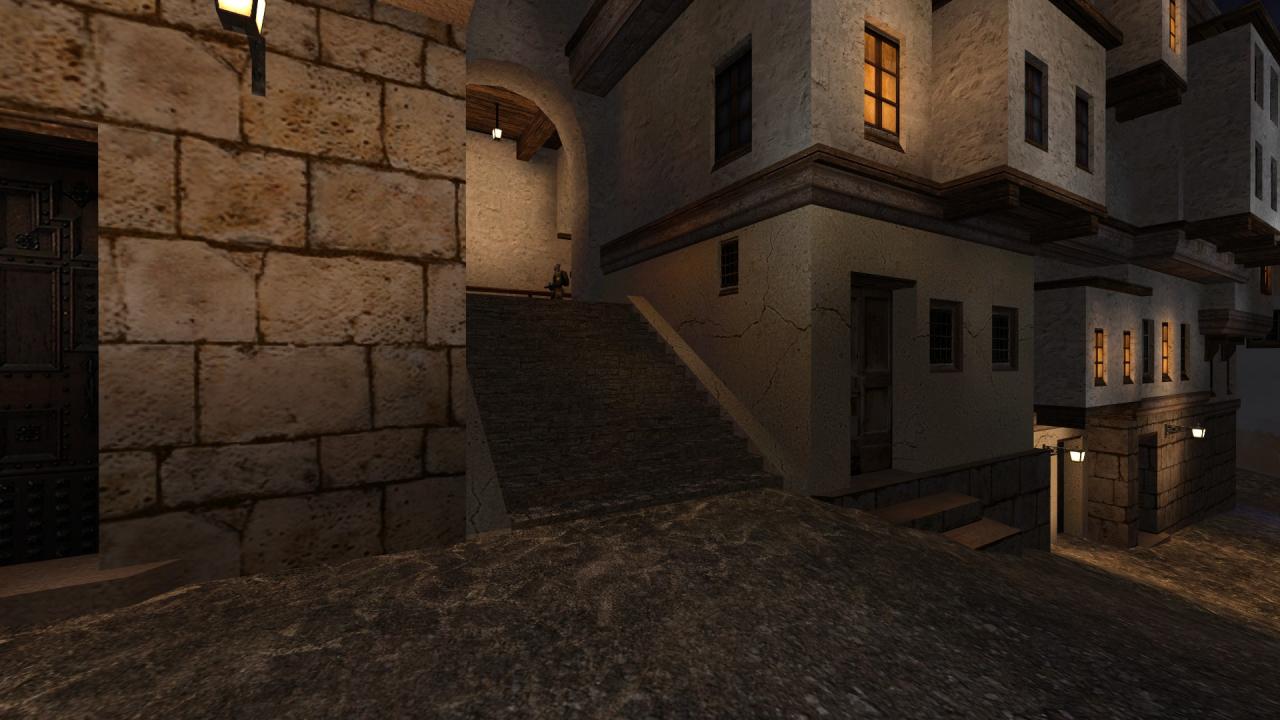
Siwa Oasis, Part 2 – Three pieces of treasure are hidden in a locked room on the second floor, next to wall you need to destroy. To access the room from the other way around, go back just a little and climb the ladder near one of the two inner wells. From there, jump across to the topside of the damaged wall and follow it to the other side. Utilize the wooden supports that jut out from the side of the next dwelling to make your way to the top and to the door ahead.

Tip – If you do not want an all-out war in the garrison, try to clear out the alcoves and the side rooms with quick Sten kills. With fast enough reflexes, you can get rid of most of the enemies in the first half without alerting the others.
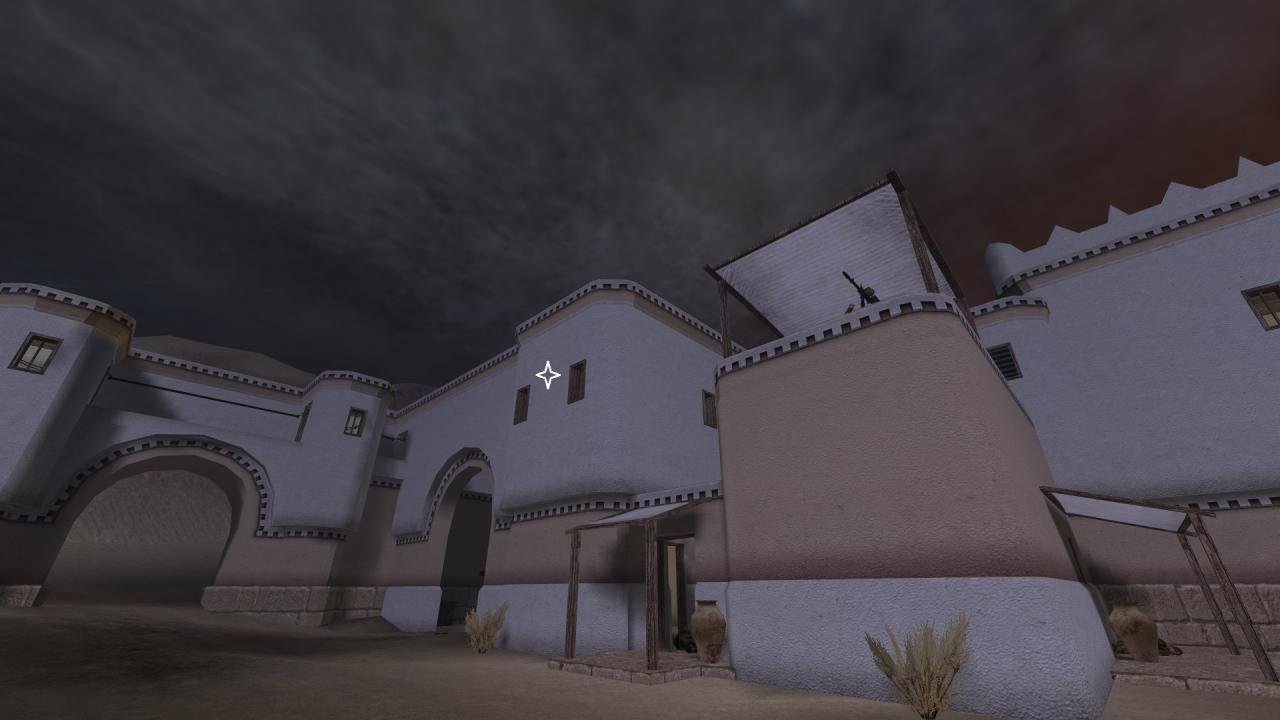
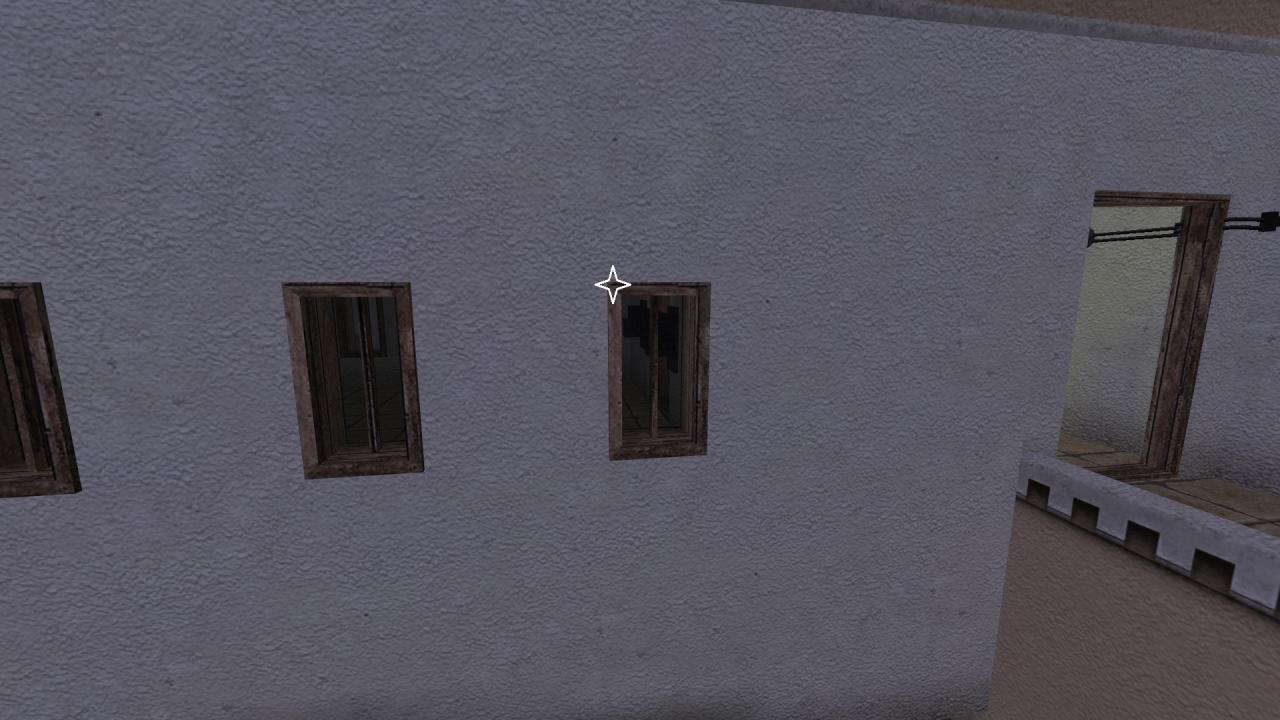
Siwa Oasis, Part 3 – A treasure chest is hidden in an inaccessible room next to the MG on the second floor of the garrison. The room has three windows on each side. Once you reach the MG, shoot the plank that holds the door on the other side through the closest window to destroy it so that you can get into the room through the door as usual.
M2: Seawall Battery

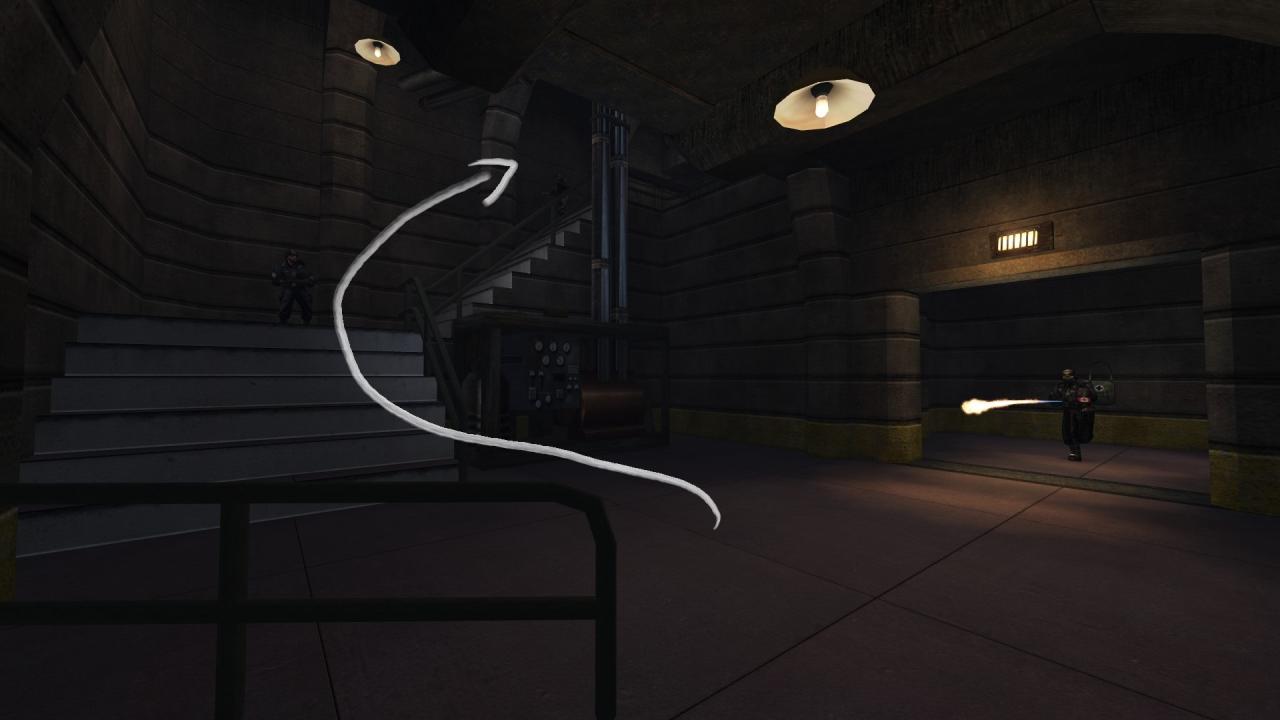
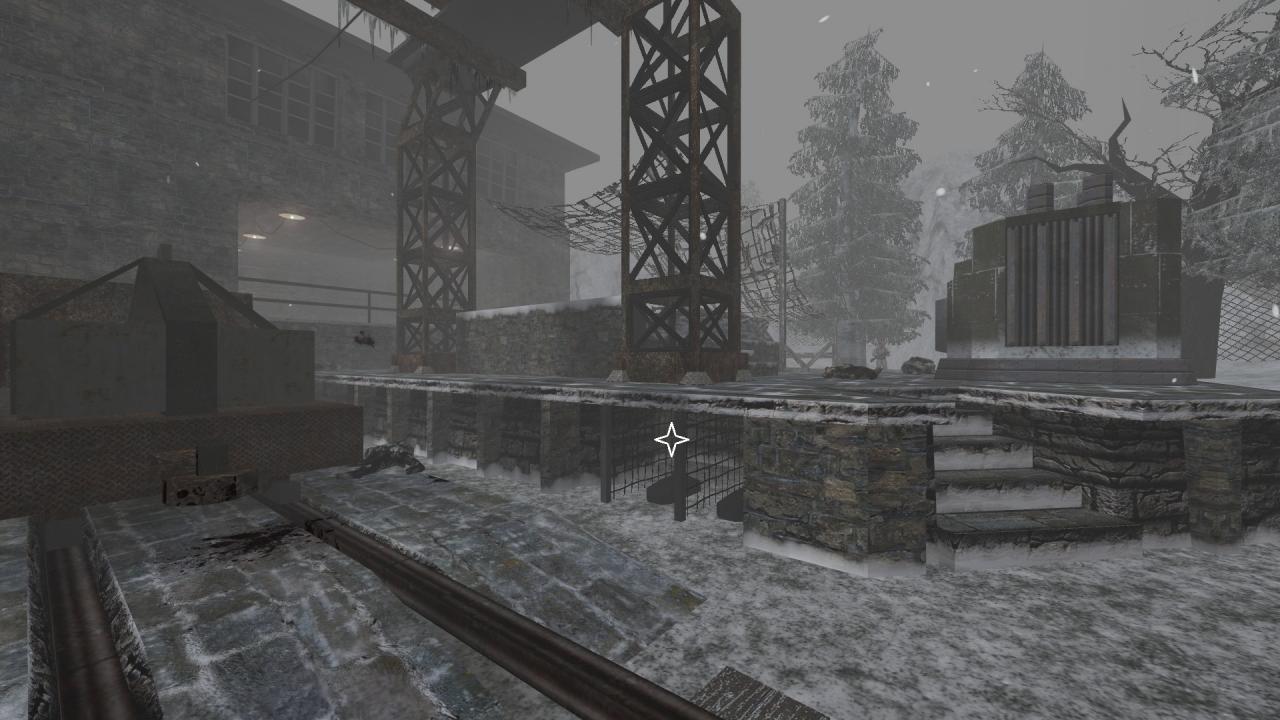
Seawall Battery, Part 2 – The titular battery is to be found in the latter half of this map. You have to be pretty quick on your toes to blow it up in the shortest amount of time possible.
Destroy the generator as ordered to open up the way to the battery. If need be, resupply on dynamites from the truck in the courtyard. Make a manual save right before you descend to the lower floor in case your upcoming rush fails. Equip a weapon that makes quick work of enemies, such as Browning M2.
The countdown starts as soon as you step into the lower floor. Take the stairs to the left and dispatch the paratrooper that stands in your way. In the second floor, ignore the flametrooper that rushes at you and run to the stairs to the left. Either run past or deal with the two paras and the bazooka wielding guard on the stairs and jump over the railing on the third floor to find yourself next to the battery controls. Drop down a bundle of dynamite and get to a safe distance.
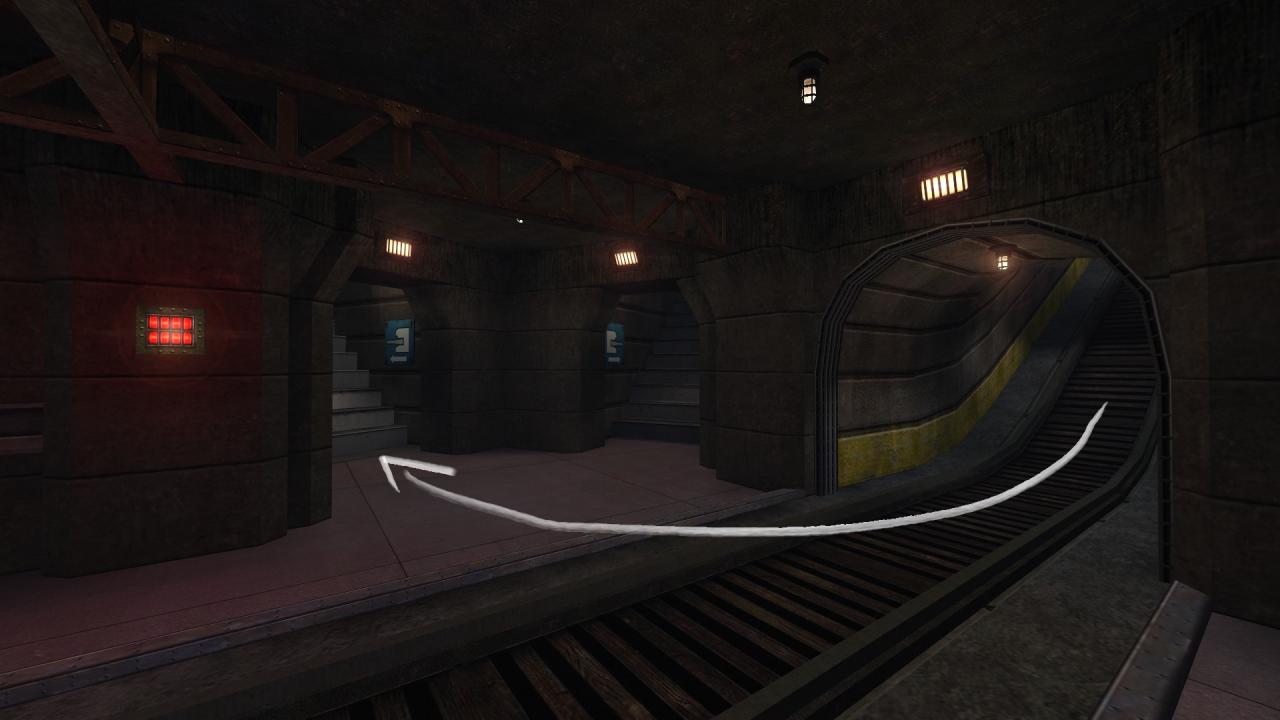
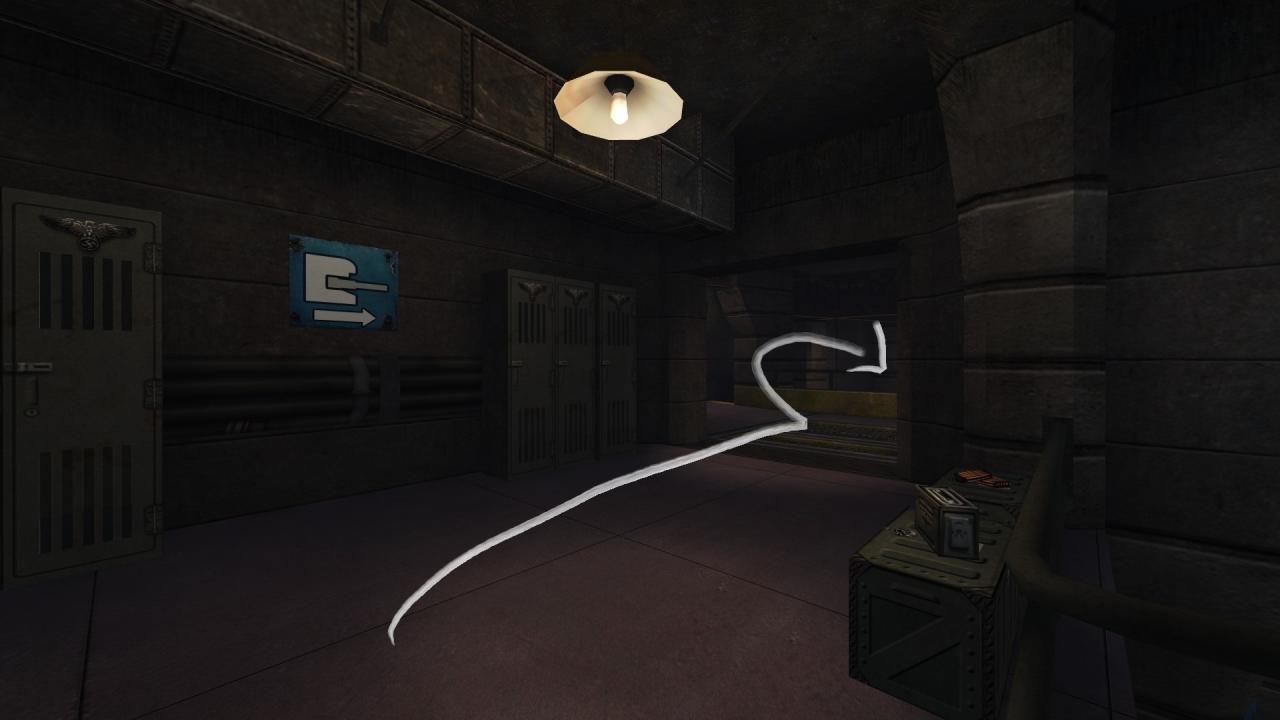

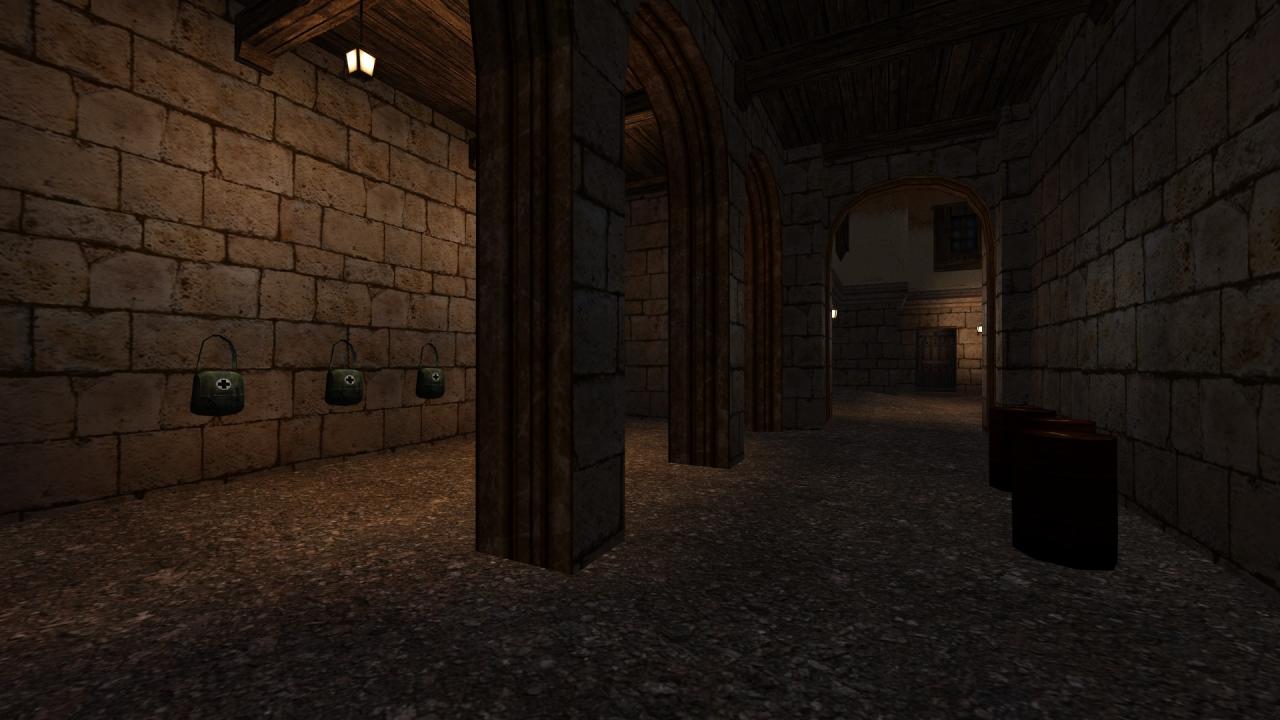
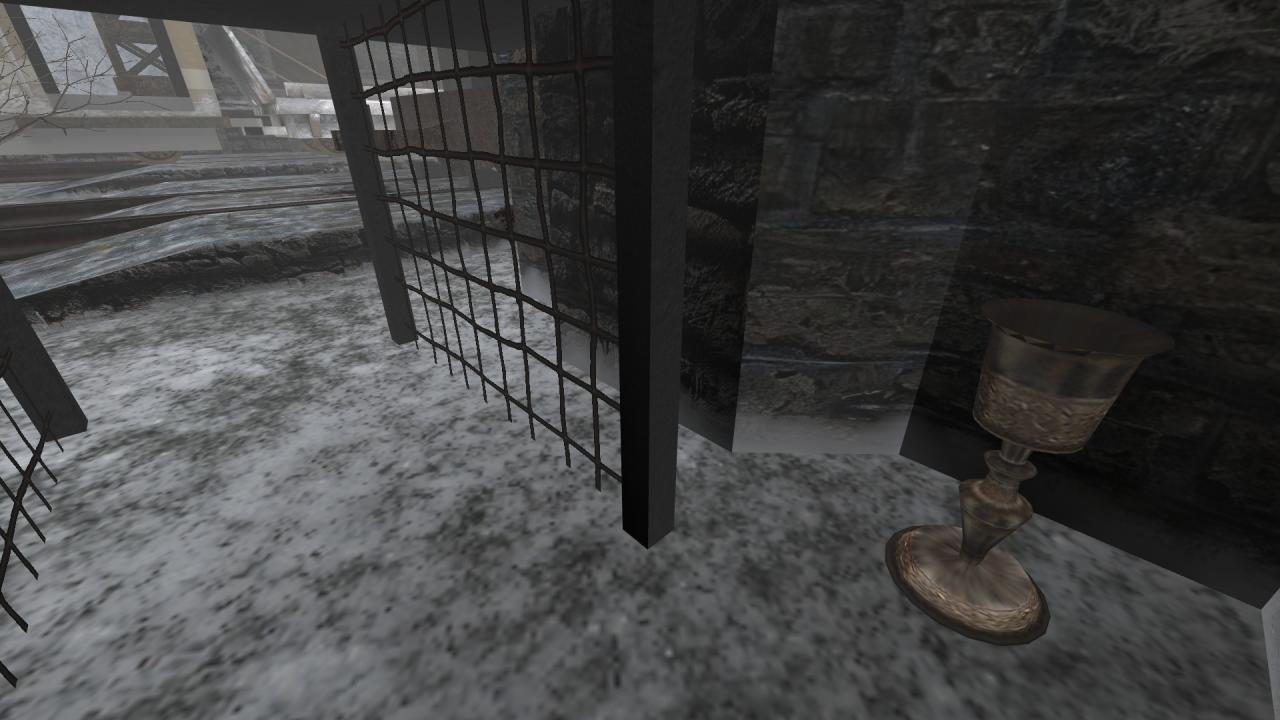
Seawall Battery, Part 2 – There is a locked room on the third floor of the underground bunker that houses a bunch of goodies. Open up the middle locker from the trio of lockers to the right of the door and pull the lever found inside to gain access to the room in question.

Seawall Battery, Part 3 – There is a locked floor safe in the barracks room of the next bunker.
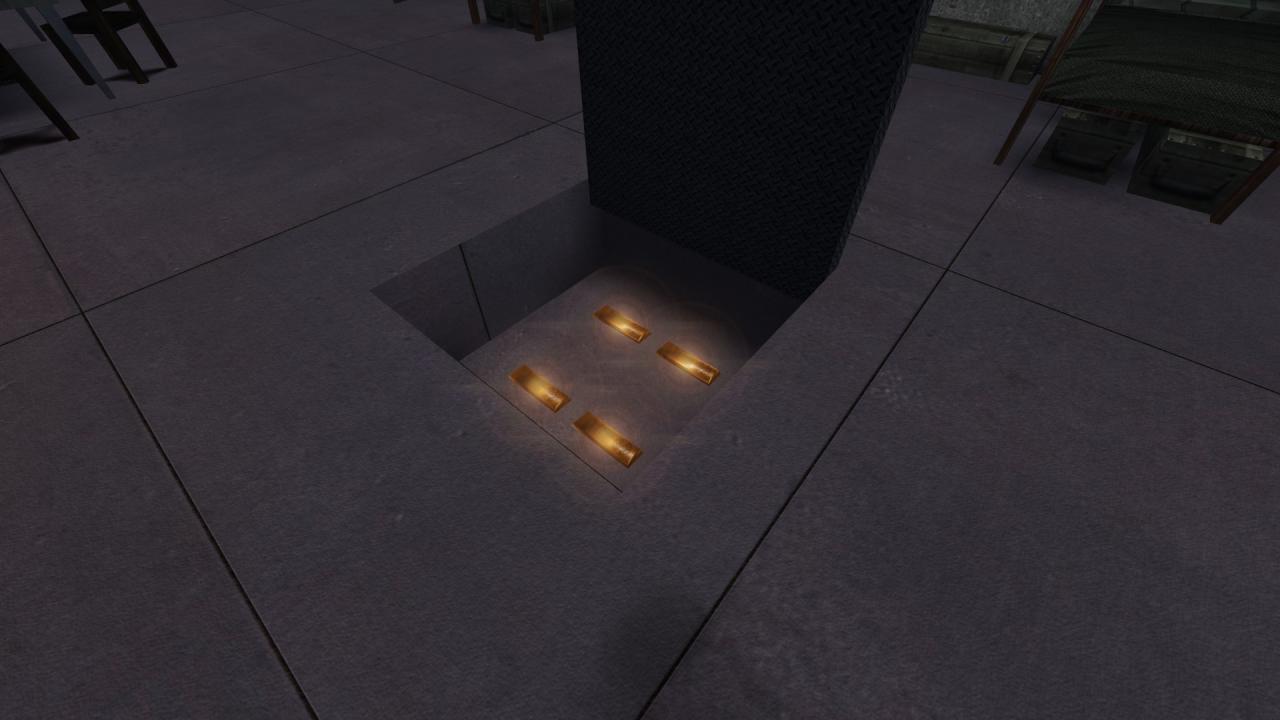
Return to the initial area of this map and go through the trapdoor found on the floor. Pull the lever located on the wall at the other end of the room beneath. Back in the barracks room, get the four pieces of treasure residing within the now unlocked safe.
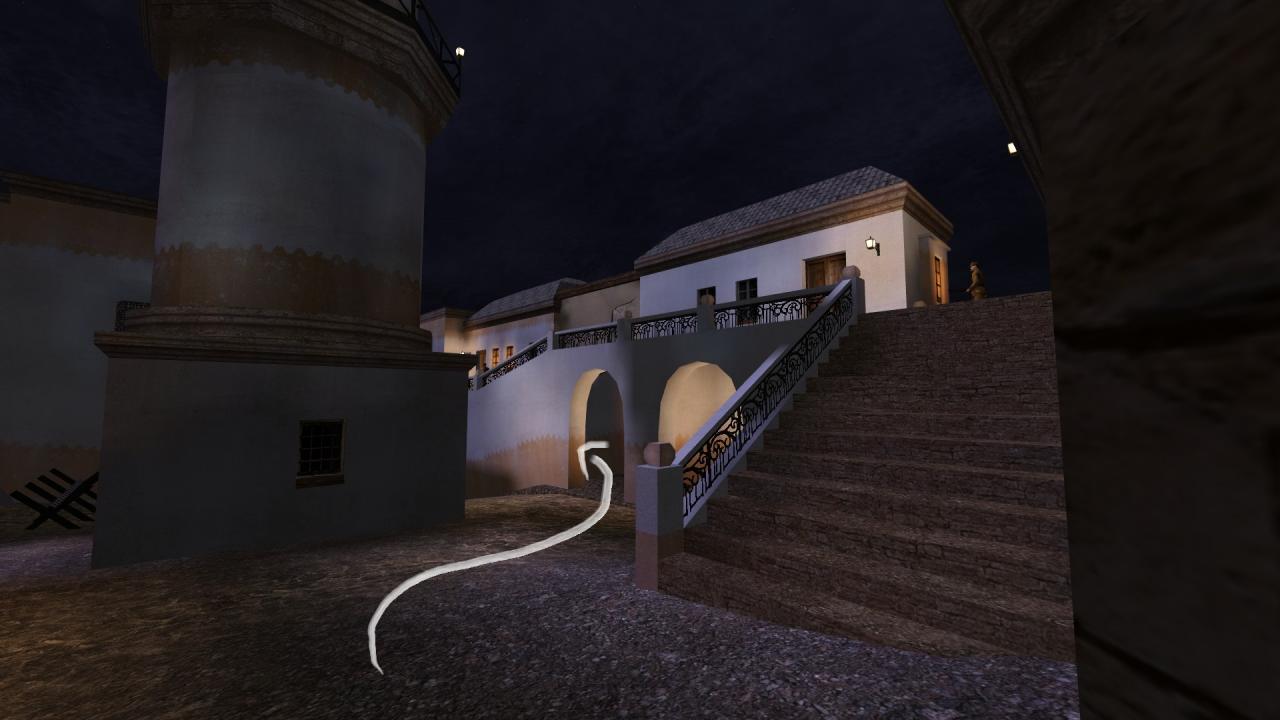
M3: Gold Rush

This mission can be dealt with either a stealthy approach or Blazko style. The path outlined below shows the quickest way of doing a stealth run. Mind that the Nazi officer who is crucial for the stealthy approach tends to get stuck on the path he follows. Once that happens on a particular run, even restarting from the autosave or a quicksave results in the same outcome. If returning for the achievement, be sure to get a fresh start by directly selecting the level from the main menu. Also, do not save or load your game in any way until the officer in question reaches his destination as doing so increases the chances of him getting stuck.
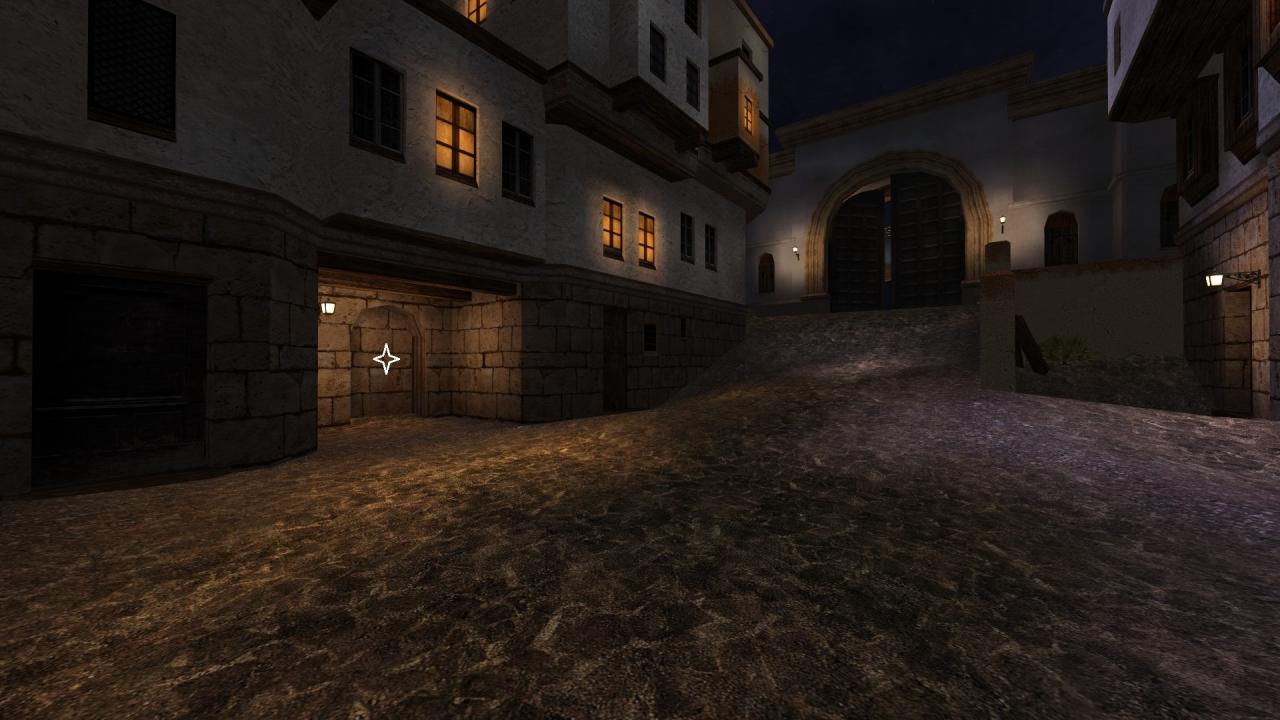
Upon start, take the path on the left. Drop down the solitary guard on your path with either the knife or Sten and continue on through the opening between the buildings directly ahead.
Make a slight left on the next street, take down the guard and reach the stairs to your left a little ahead. Note that the guard in question will be to your right patrolling down the street if you move to this area quickly enough. Wait beneath the stairs until the guard patrolling the tunnels shows up, take him down with Sten and check the next corner.
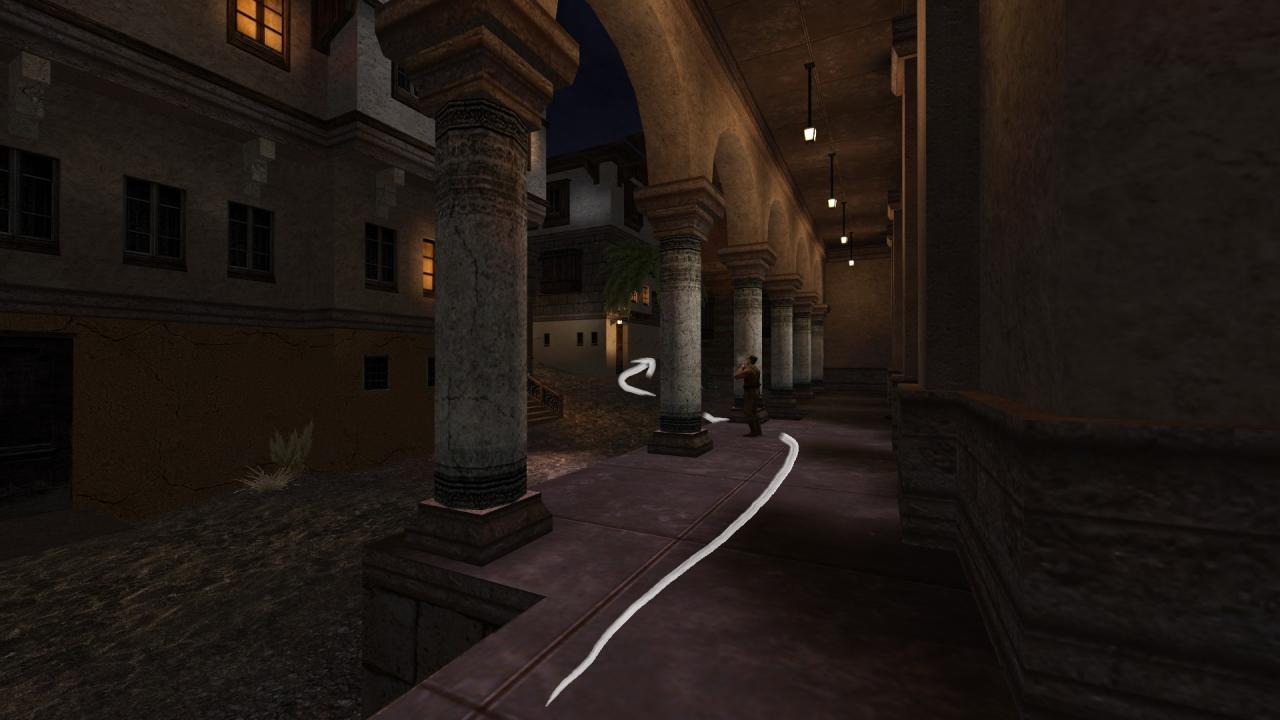
Kill the guard patrolling in front of the command post without getting noticed by the other patrol across the courtyard. Wait for this second guard to turn his back to you and make haste to the door at the corner on the other side.
Once you are in his quarters, you get a radio message and the officer starts moving. Take care not to be seen him and make sure he turns the corner and goes out through the front door. There is a chance that he gets stuck even without leaving the quarters – if that happens, reload the mission from the main menu. You are expected to follow him but there are guards on his path and saving / loading as you are doing so may get him stuck at the front door of the bank.
The safer option is to simply wait it out in the quarters. He continues along his set path even without you going after him. Stand at the spot without saving or loading and exactly five minutes after he gets out, you will receive a radio message stating that he is inside the bank.
After the radio message, save your game and continue towards the bank, with Sten at hand to clear out the guards along the way. The other objectives need to wait until you get inside the bank. Return to the spot where you took out the second guard and follow the lower pathway next to the central tower.
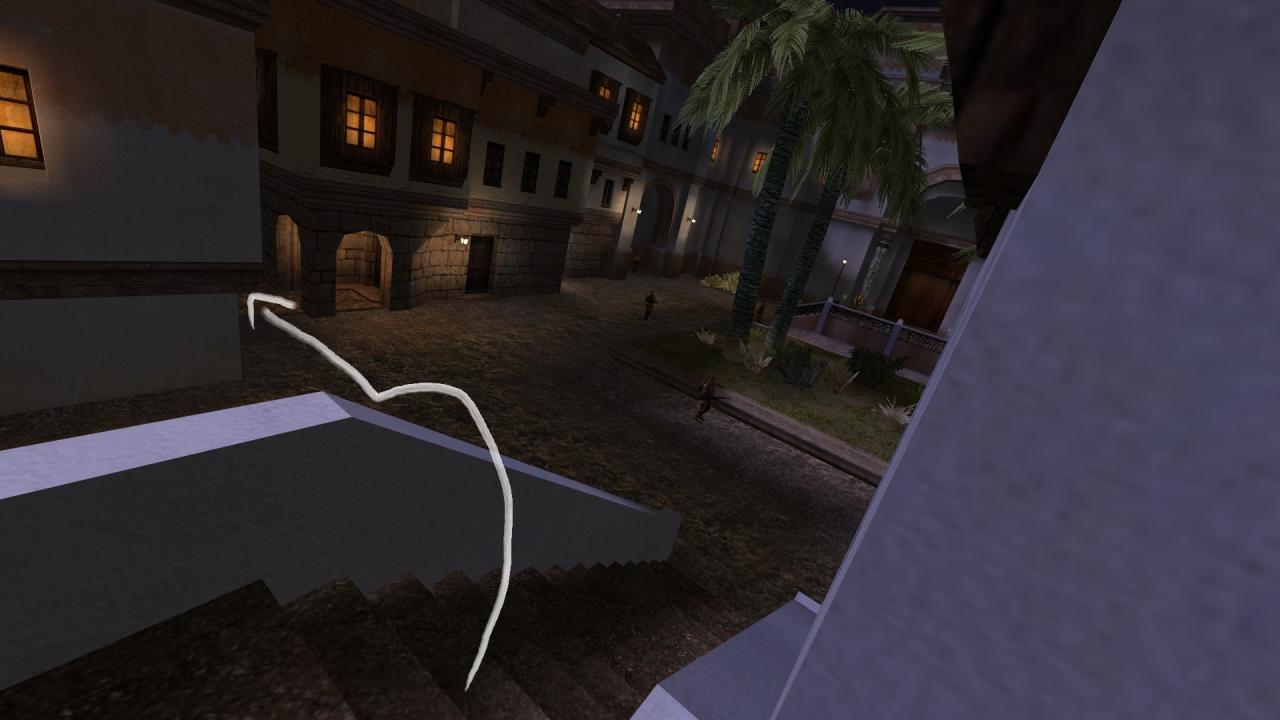

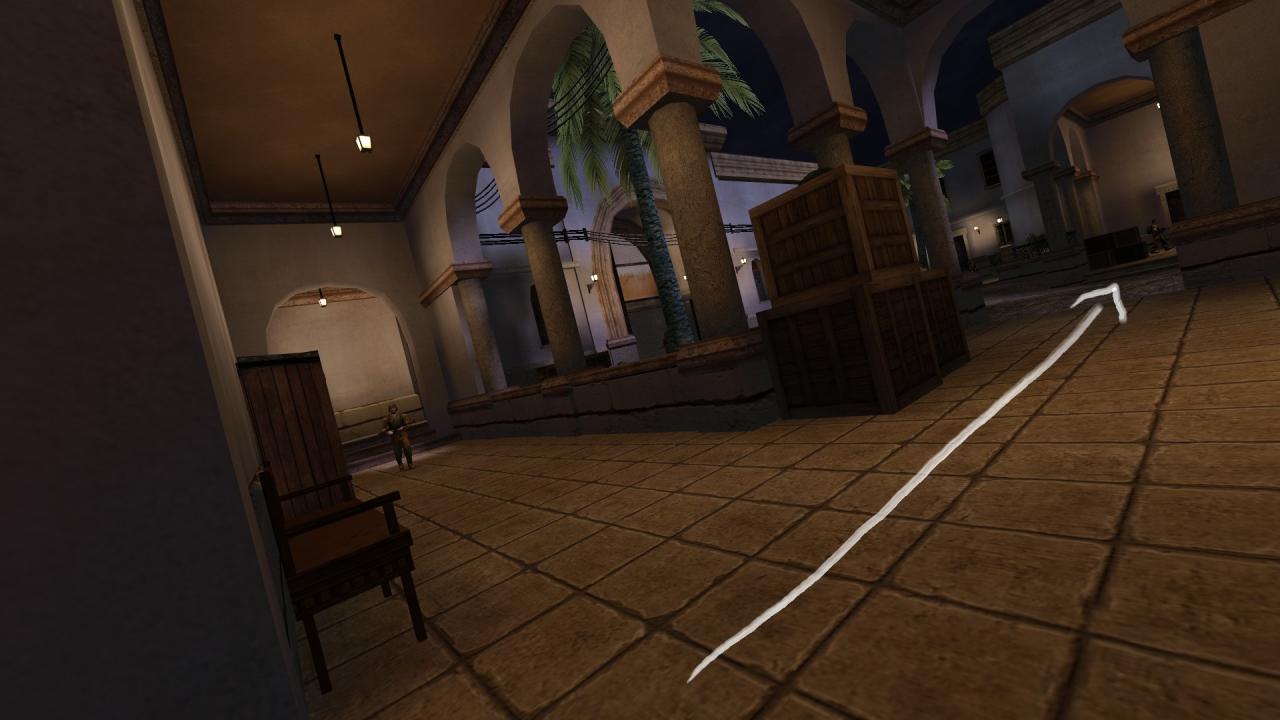
The courtyard in front of the bank is full of guards out in the open so it is best to avoid them altogether. Lean around the corner of the stairs and wait for the closest guard to get out of sight to the right. When you get the chance, jump down and rush towards the opening to the left. Take out the drunk guard and follow this back alley all the way around, taking another one out with Sten in the process.
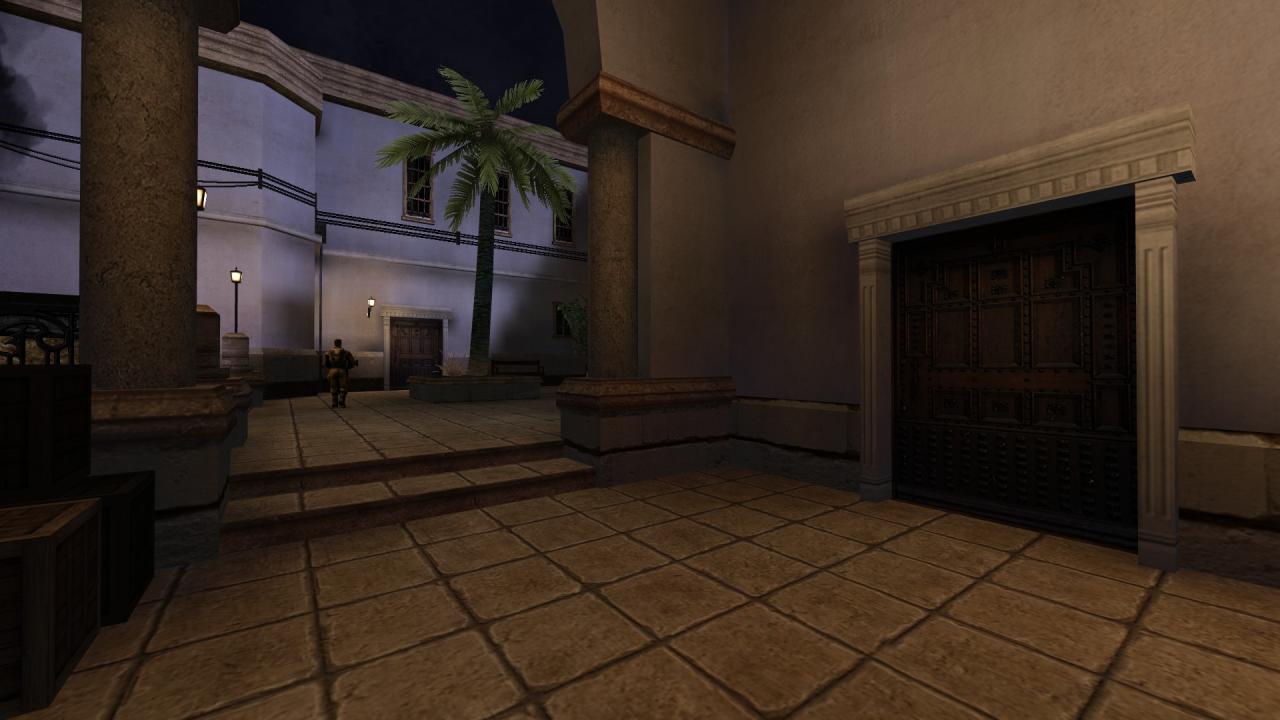
As long as you are not spotted along the way, there will be three explosive barrels behind the bank. Blow them up and get in. Alarms will sound at this point but you will still get the achievement once you kill the officer and get the cache full of gold residing on the table.

There are eight pieces of treasure hidden behind the bookshelves in the officers quarters. Destroy the painting on the wall and pull the lever to reveal them.
Another piece of treasure is hidden in a compartment in the alcove just below the courtyard where the tank and the officer are found. Push the brick that slightly juts out from the others in the alcove to reveal it.
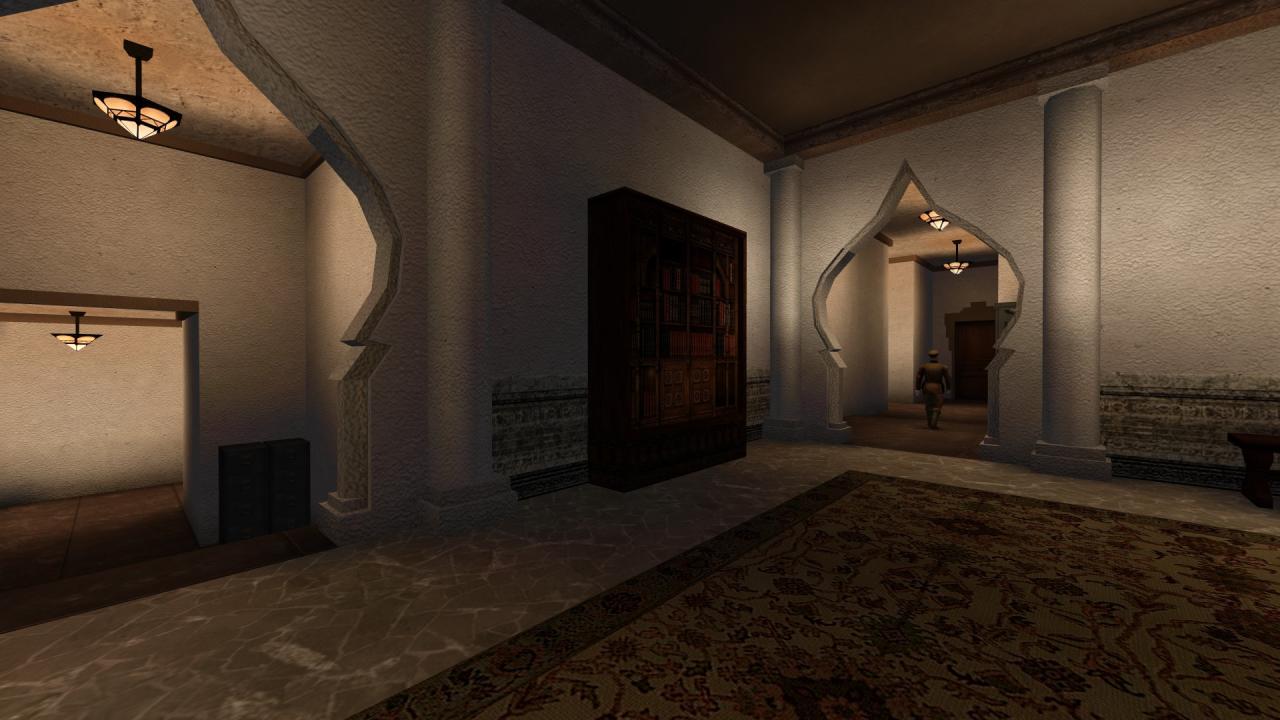
M4: Würzburg Radar

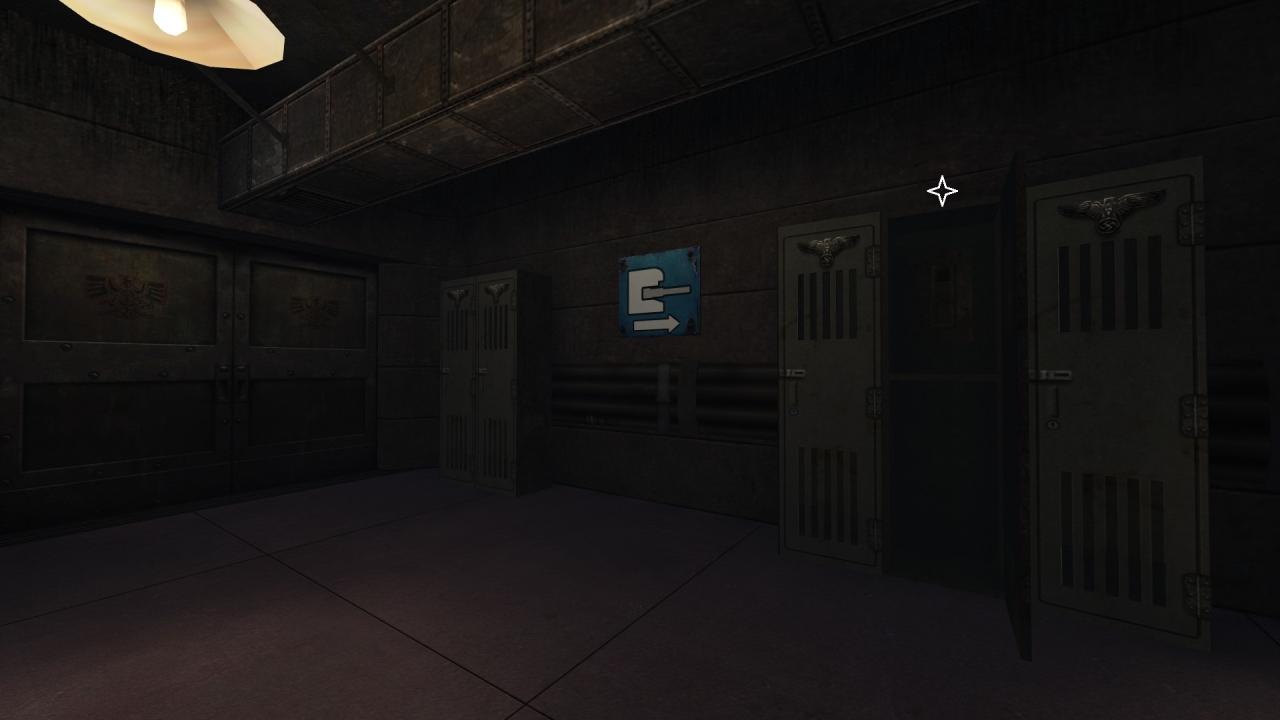
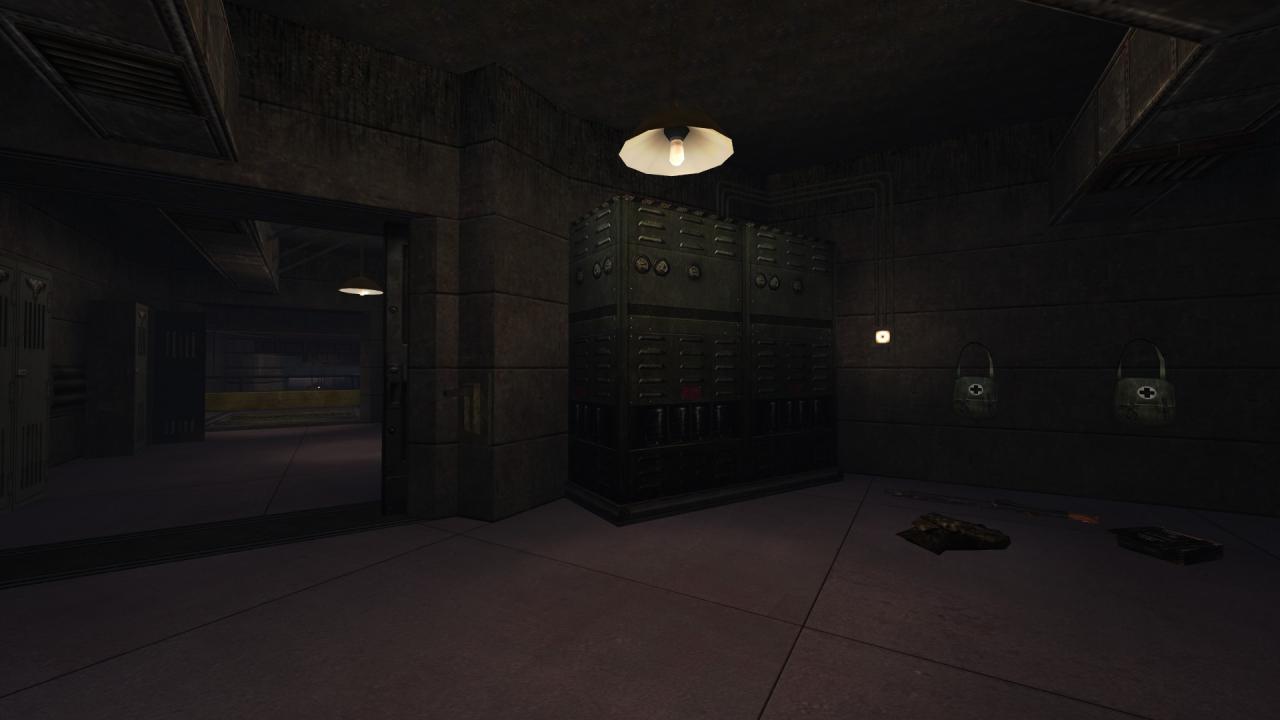
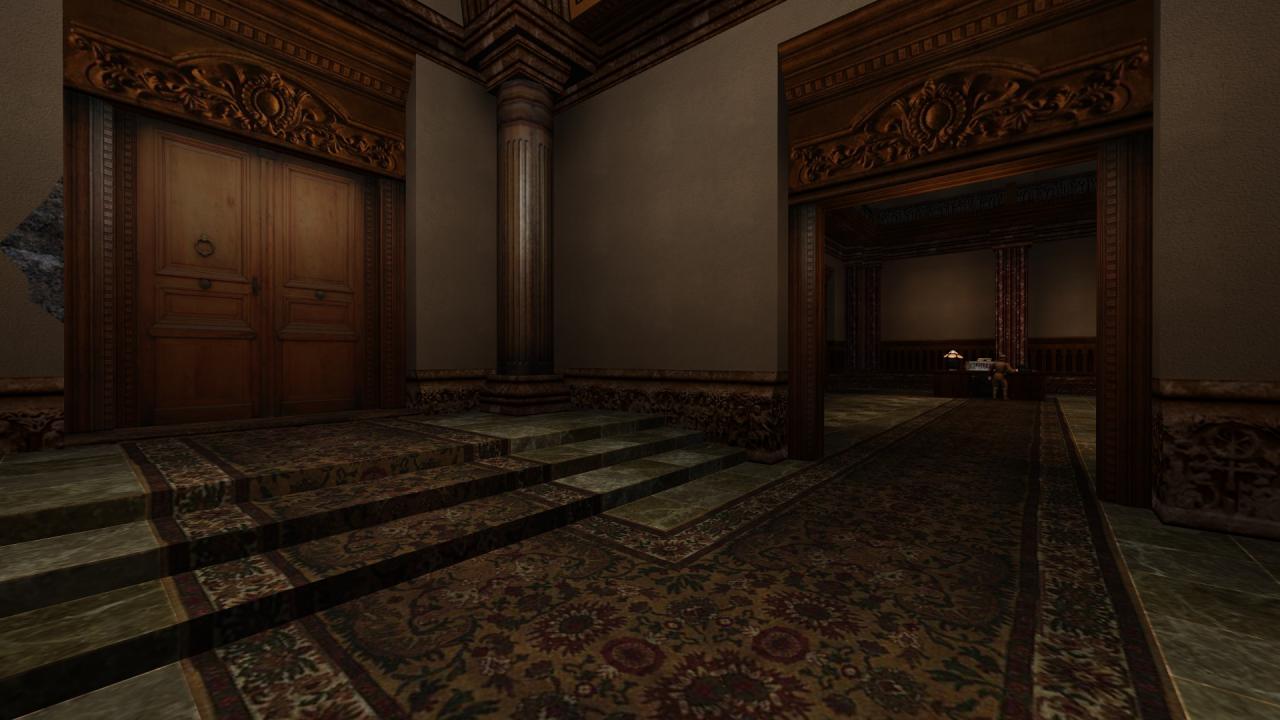
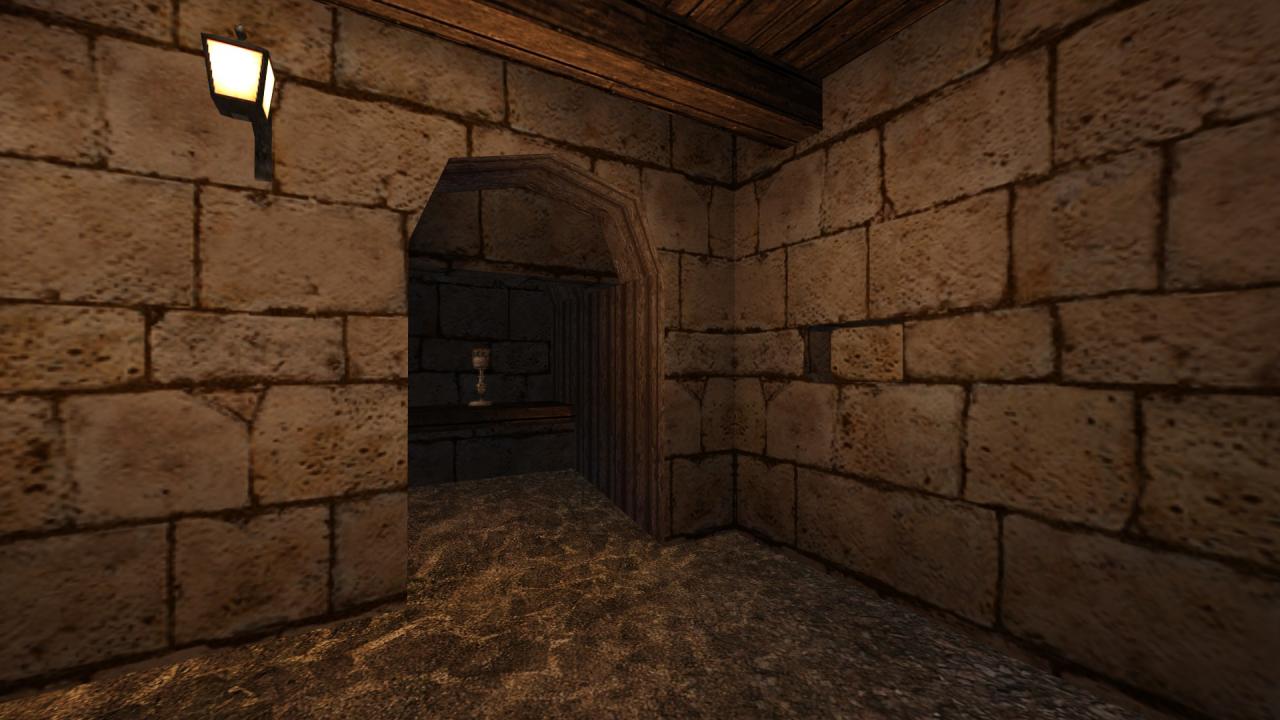
Würzburg Radar, Part 1 – There is a locked room on the second floor of the villa that houses a bunch of goodies. Utilize the destroyed wall next to the villa gate to get on top of the left pillar. From there, jump across to the other side of the gate and move along the perimeter wall. Shoot the window on the right side of the villa and sprint jump through it to access the room in question.
Note that it is better to access the room right away, as you first approach the villa rather than after the ensuing firefight. Considering Sten is your weapon of choice, you will have an easier time clearing it out without reinforcements arriving to assist the officers within.
Three pieces of treasure are hidden on the second floor of the villa. Once you grab the goodies from the locked room, step into the adjacent one and break open the chest at the foot of the bed to reveal them.


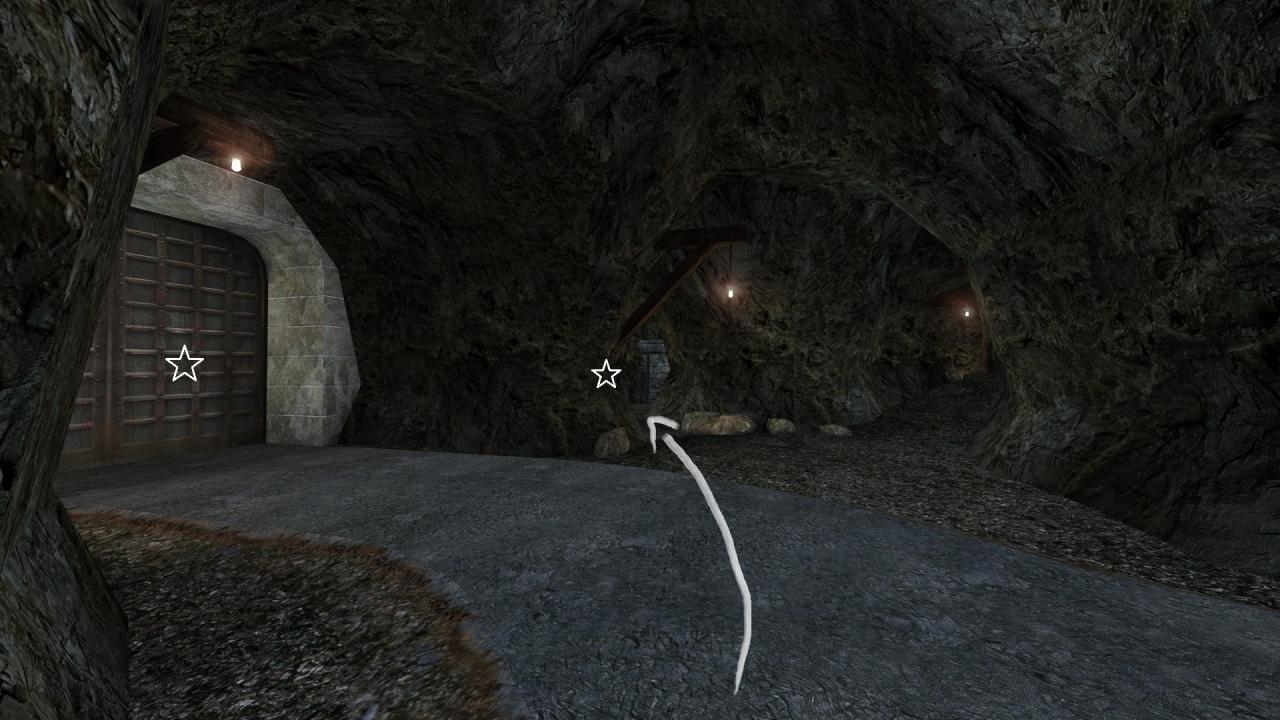
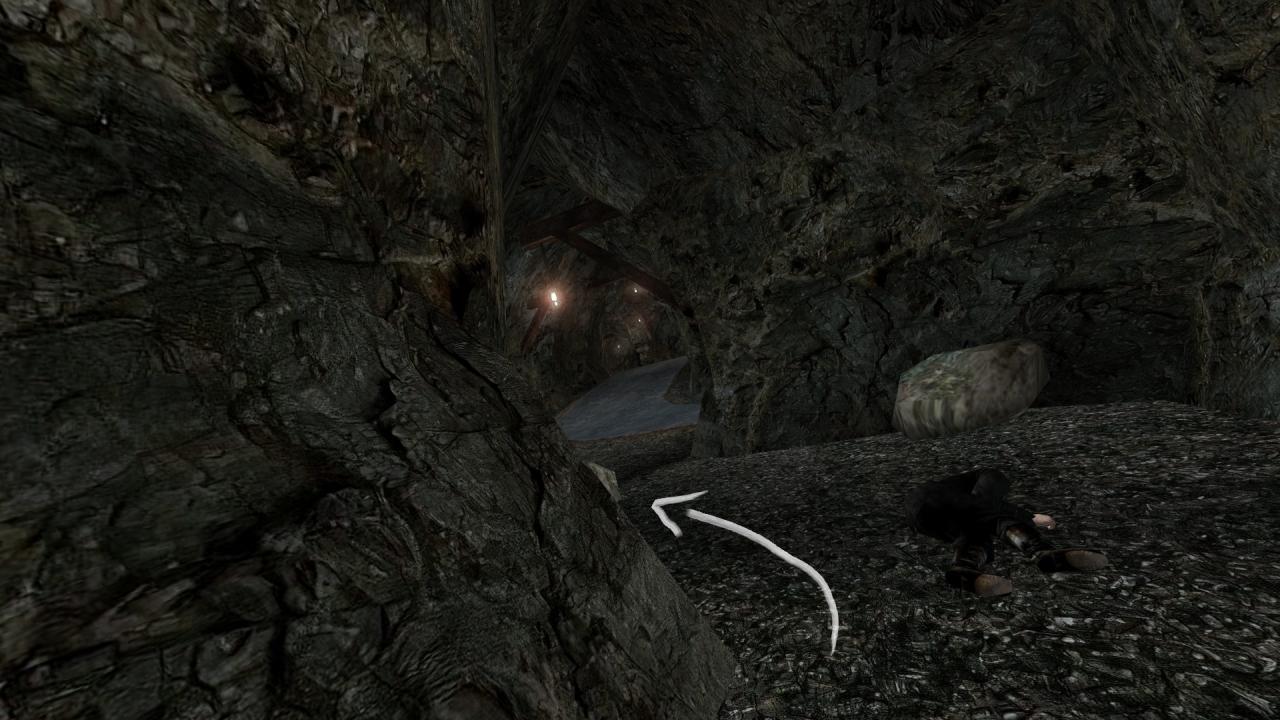
Würzburg Radar, Part 2 – There are three pieces of treasure to be collected in the radar grounds. Get into the workshop near the east radar where you can also find a bundle of dynamite needed for blowing up the command post in the area. Once in, crawl underneath the tank to grab the bars of gold laying out in the open.
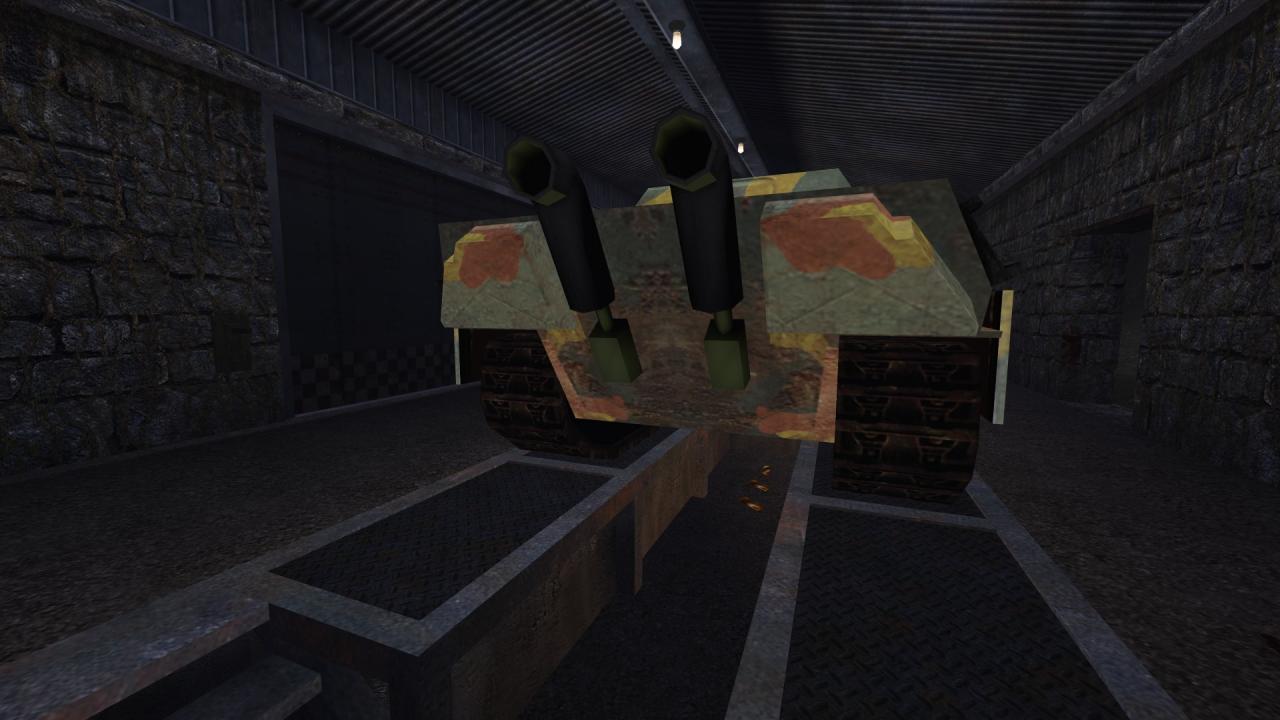
M5: Rail Gun

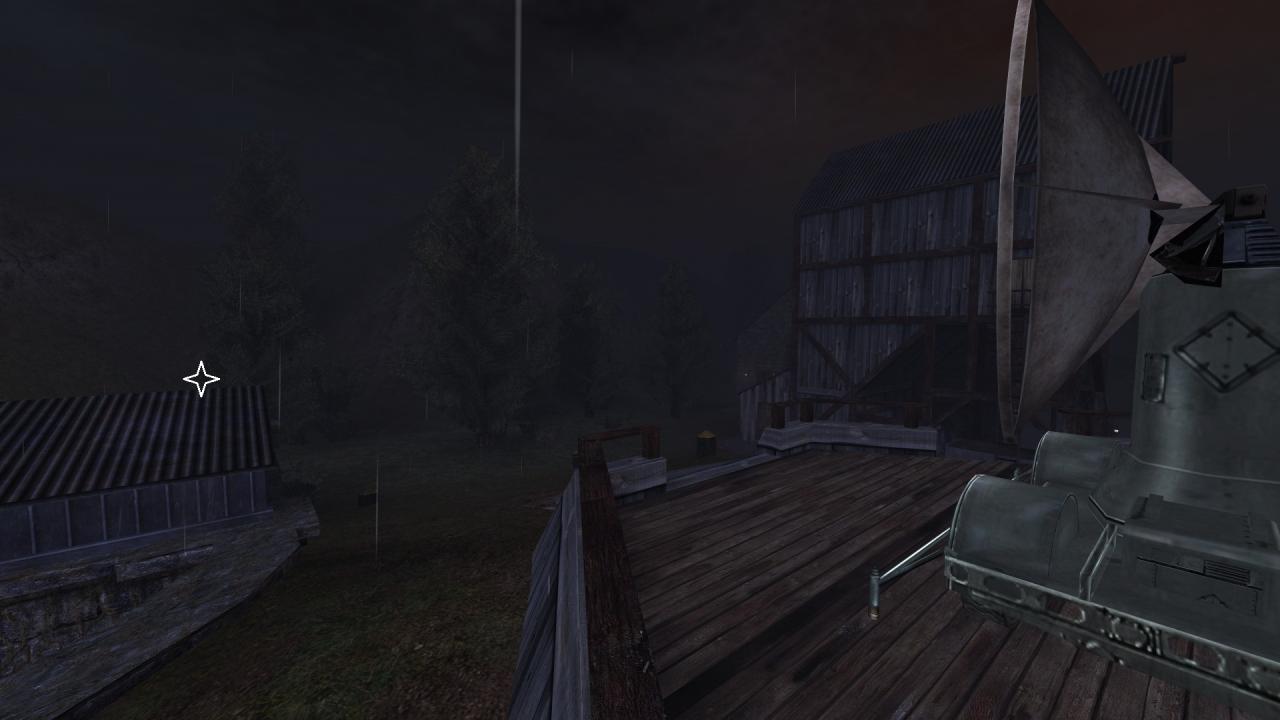
Rail Gun, Part 1 – Three pieces of treasure are hidden near the water tank found on the overpass between the depot yard and the area leading to it. Get on top of the overpass by climbing the ladder on the wall and turn the valve on the water tank to reveal them.
Another piece of treasure is hidden in the alcove next to the rail gun ammo cache, beneath the platform that has an MG placement on it. Crush the slab of rock and crawl in to get it.

Rail Gun, Part 1 – If you somehow do not get this achievement even with all the objectives completed, be sure to get on the MG found on the platform next to the rail gun ammo cache to spawn two supersoldiers. There should also be reinforcements arriving once you get the dynamites found to the back of the said MG.
Additionally, another MG is found within the central bunker which also spawns two additional supersoldiers once you use it – better check that if you still lack the achievement even after clearing out the depot yard.
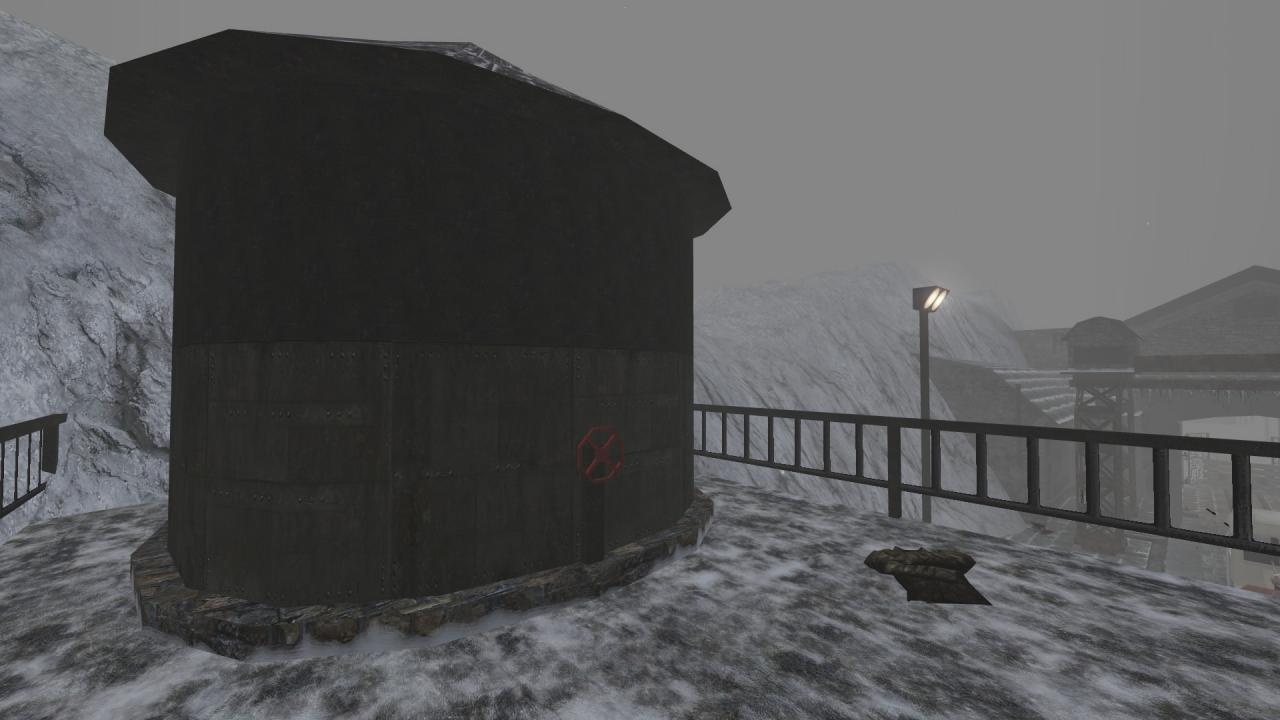
M6: Fuel Dump

The first and the second parts of this mission require you to keep the stealth. Take note of the achievement description: it is also possible to get it in the second part, but it is harder to so since that map is full of guards in close proximity and you need to take them all down without alerting the others to successfully complete the mission. Therefore it is advised to go for the achievement in the first map: it is quicker, safer and most of the enemies are avoidable, not counting the fact that it is also easier to restart from this map in case of failure.
Speaking of which, the achievement requires you to do it in one go, i.e., with no loads along the way. Even restarting from the autosave counts as a second attempt, so be sure to get a fresh start when retrying, by directly selecting the level from the main menu.
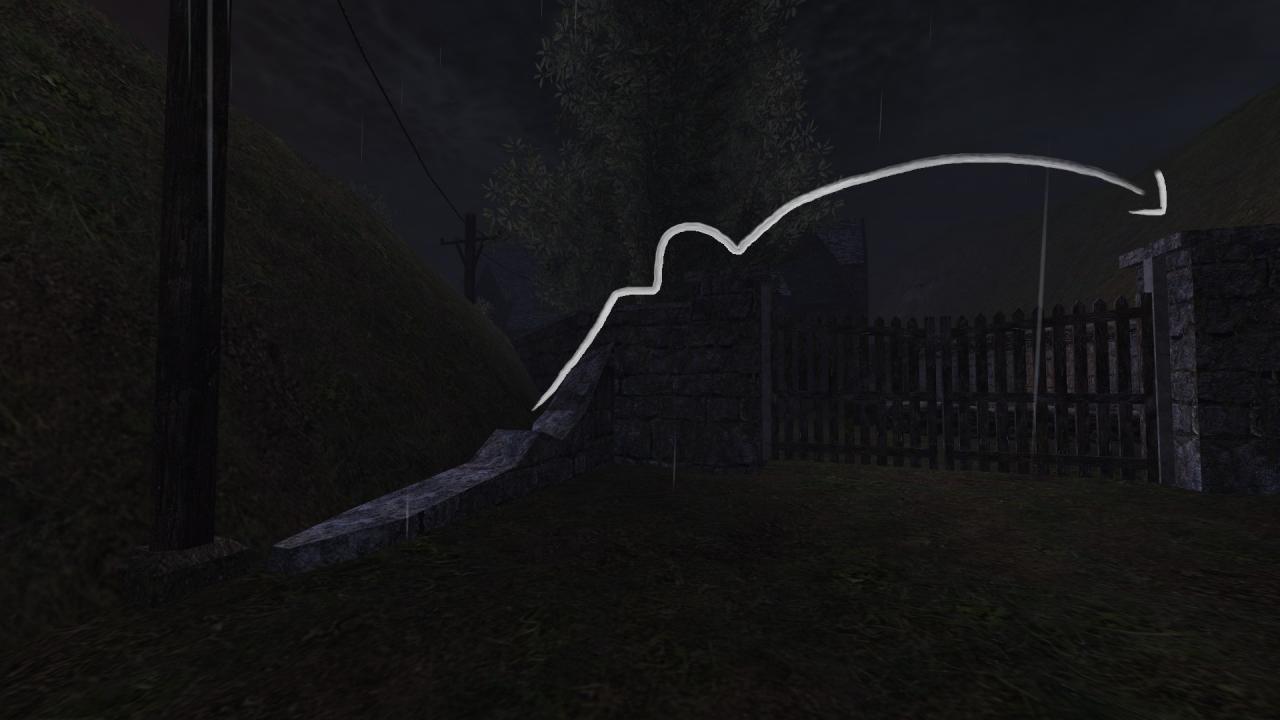
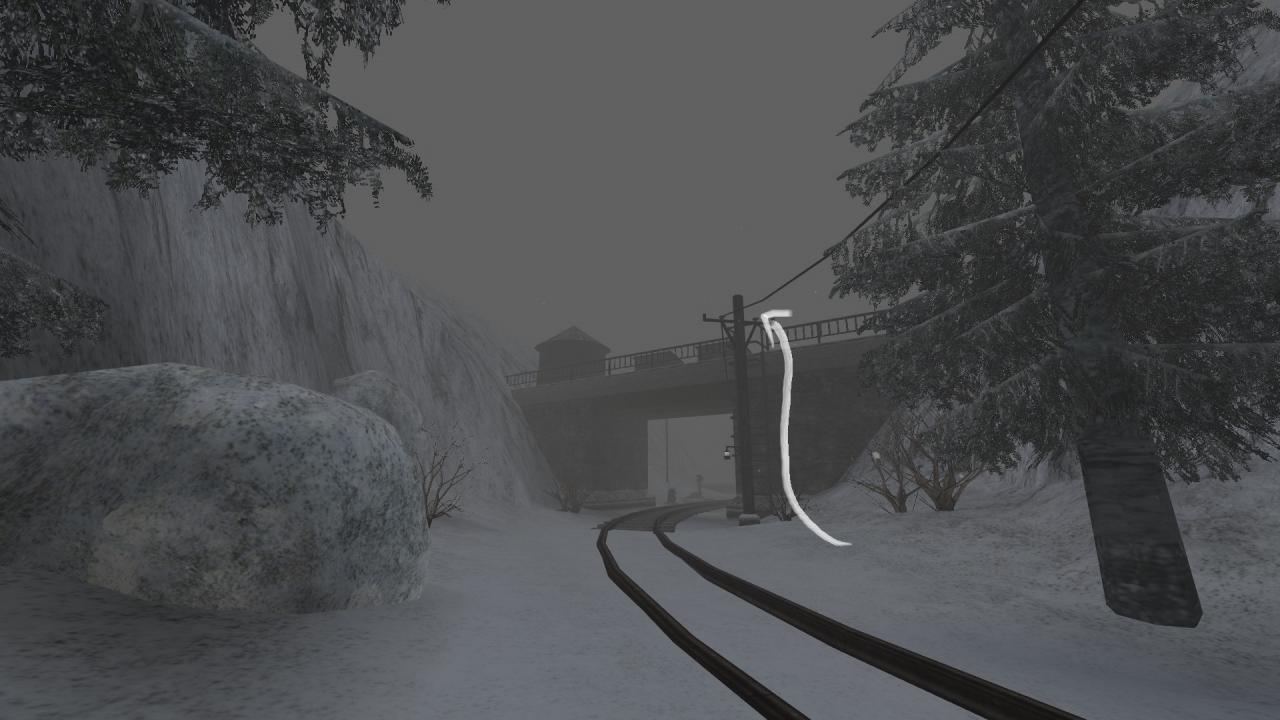
Fuel Dump, Part 1 – Two paths are available: either take the path before you and reach the tunnels via the entrance at the end of the frozen riverbed or turn around, cross the lake via the bridge and enter the complex that leads to the tunnels via its side entrance. The path outlined below covers the latter, as it is quicker and more straight-forward than the former.
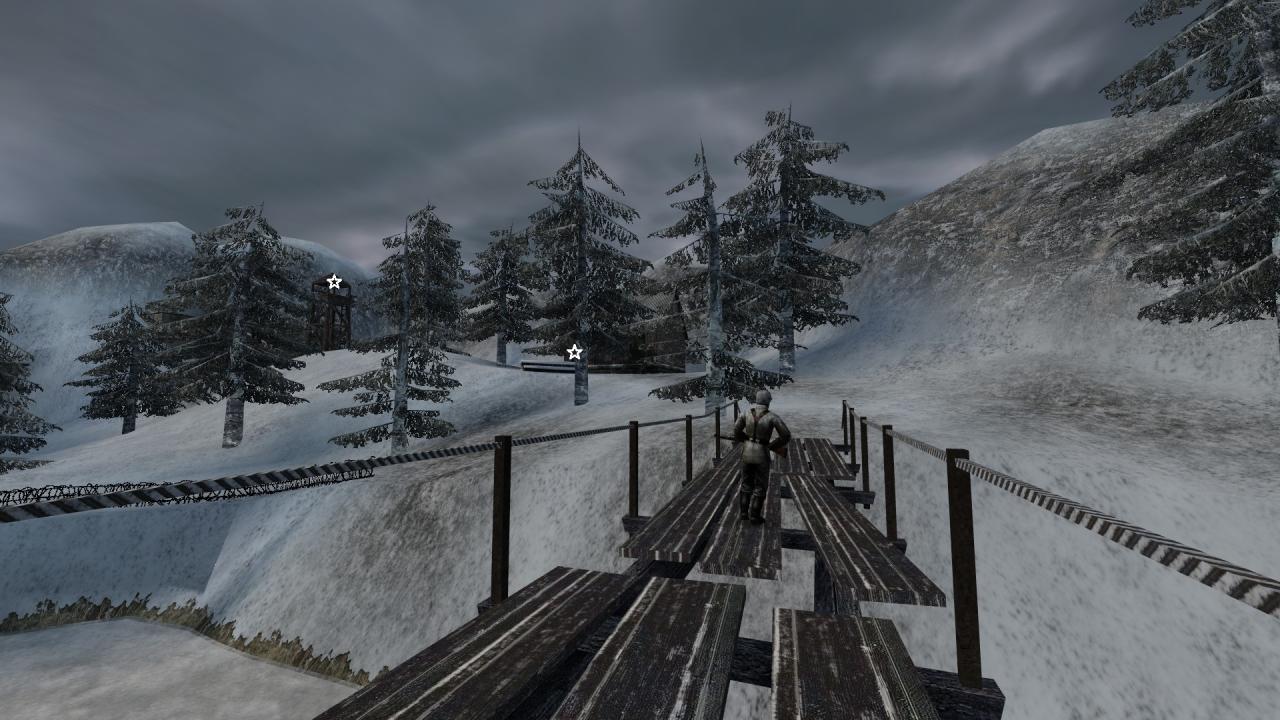
Upon start, turn around and move towards the bridge. Take down the guard patrolling on it with the knife and cross the bridge. Check on the next guard patrolling ahead and make your move to the back of the nearby building once he turns his back to you.
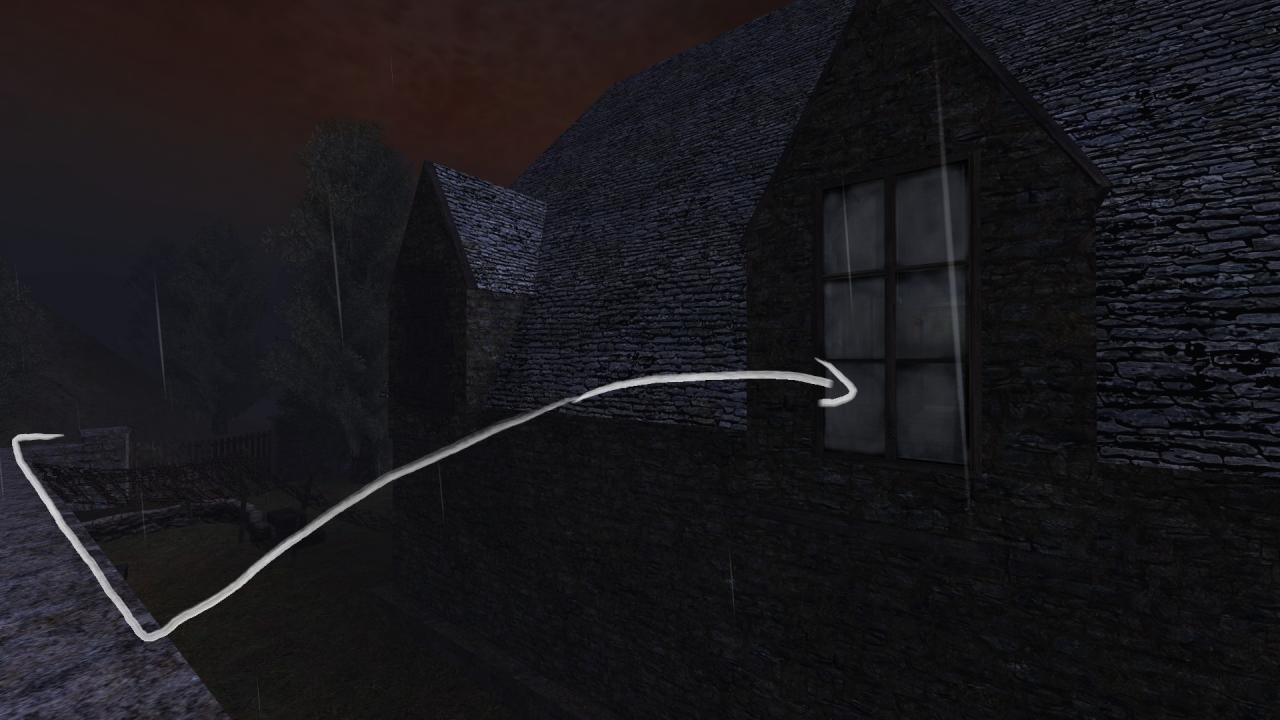
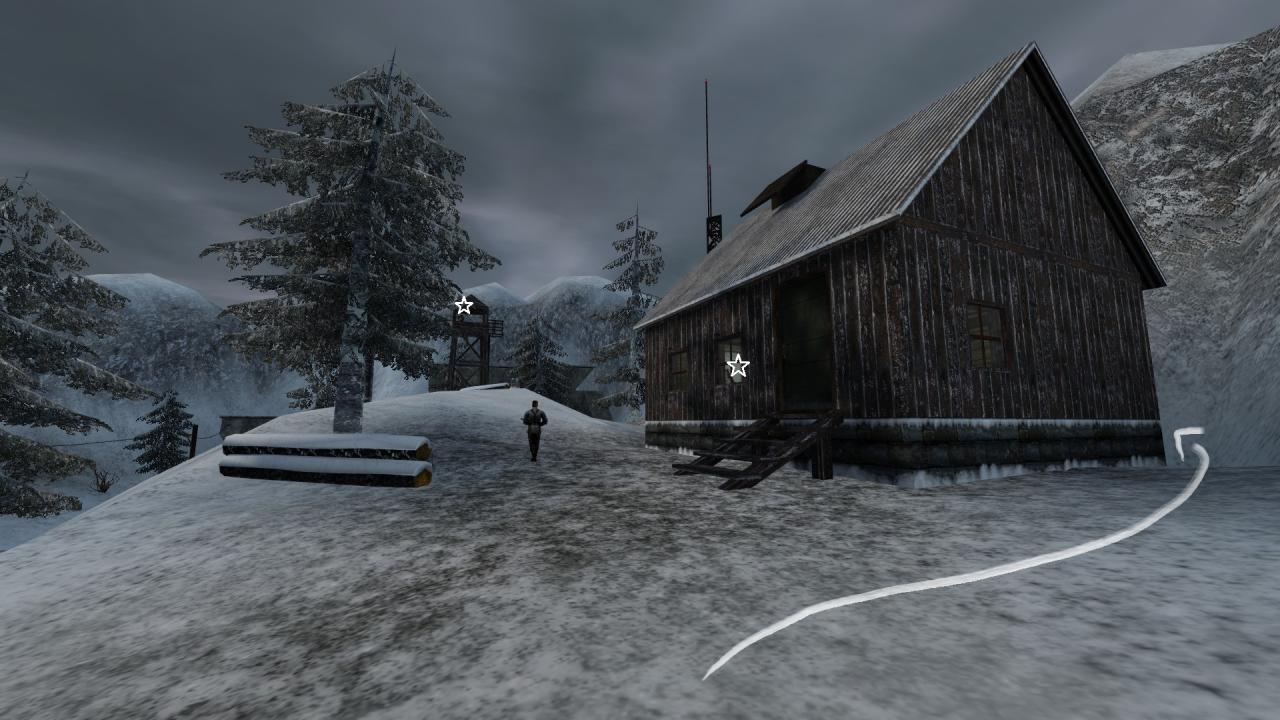
Wait for the guard patrolling in front of the building to turn the other way and move towards the guard tower. Climb the ladder and kill the sniper with the knife. Optionally, if you are good with Sten in medium range, you can try to kill the guard patrolling the side entrance while you are on the tower. Either way, return to the building while keeping an eye on the guard from before and Sten him when you have the chance.
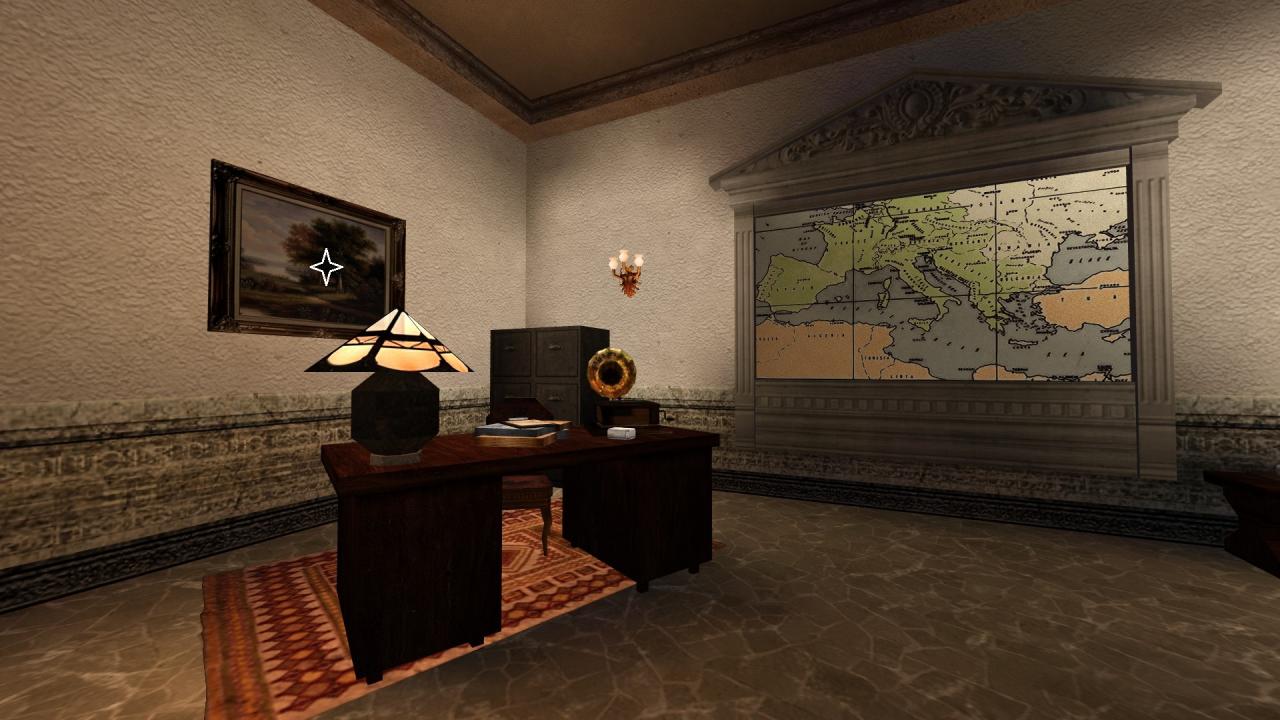
Climb the antenna next to the building and get in through the chimney. Take down the officer inside and get the secret documents from the table.
Outside once more, check on the guard patrolling the side entrance and make your move towards the stairs to the right once he starts going the other way. Either kill or sneak past him and get into the complex.
Once inside, get on top of the railing found in the next room and wait for the guard to appear in the doorway on the lower floor. He spots you right away so make quick work of him with Sten. Descend to the said floor with Sten at hand and quickly get rid of the operator inside as you step into the adjacent room. Be sure to destroy the comms system on the table.

Here comes the tricky part. Continue down the stairs but take it slowly to not get spotted by the super soldier patrolling the following tunnels. Lean around the corner and wait for him to get out of sight at the far end. As soon as he is out of sight, take the path to your left. Be sure to crouch as you move forward as not doing so alerts the guards on the other side of the tunnel gate. Make quick work of the guard waiting in the opening that connects the tunnels to the riverbed with Sten and hide in there.

Check on the supersoldier as he comes back to the side you are on. Once more wait for him to get out of sight. Move to the narrow pathway to your left when you are in the clear. Do not forget to lean around the corner before you jump into the back of the truck to not get spotted by the super soldier in the final stretch.

Tip – Despite what is told on the objectives screen, it is not possible to complete the mission by directly going to the fuel dump and blowing it up – doing so triggers the alarm and results in a failure. You need to clear out the whole level using stealth-friendly equipment (knife, Sten and Snooper rifle once you get it) without getting spotted, before destroying the titular dump.
Fuel Dump, Part 2 – There is a locked compartment within the bunker room where you can also find a bundle of dynamite needed for blowing up the command post in the vicinity. Destroy the noticeboard right next to the compartment in question and pull the lever to gain access to three gold bars residing within.
Tip – If you have not get the kill-related achievements (Noobtube, Affirmative – On My Way!, Unconventional Weapon and American Stopping Power) up to this point, Parts 3 and 4 of this mission provide ample opportunity to get them thanks to the all-out battles with lots of Venom wielding guards involved.