The method is very simple.
You need to force the game to use the D3D11On12. D3D11On12 is a mapping layer, which maps graphics commands from D3D11 to D3D12.
Preparing and launching
2. Open the downloaded archive D3D11On12.zip.
3. Copy the files from the archive to the game directory.
4. Download and install Explorer Suite[ntcore.com].
5. Open re8.exe with CFF EXplorer.
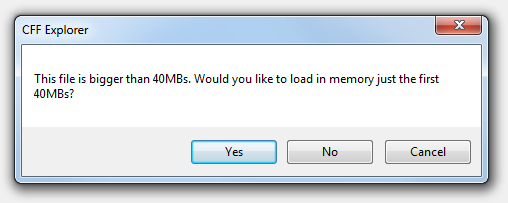
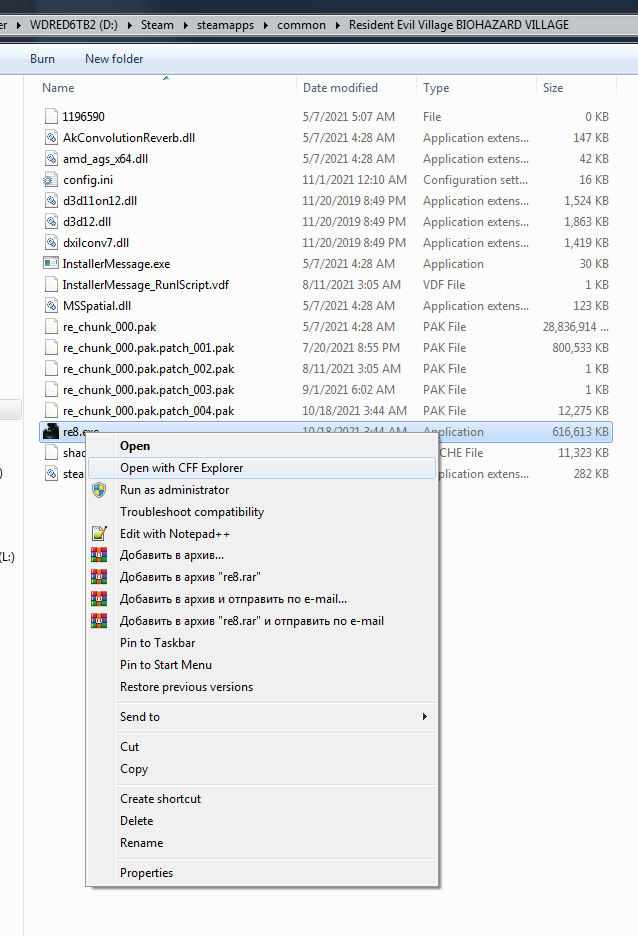 6. You should choose “No” in “This file is bigger than 40 MB.” dialog.
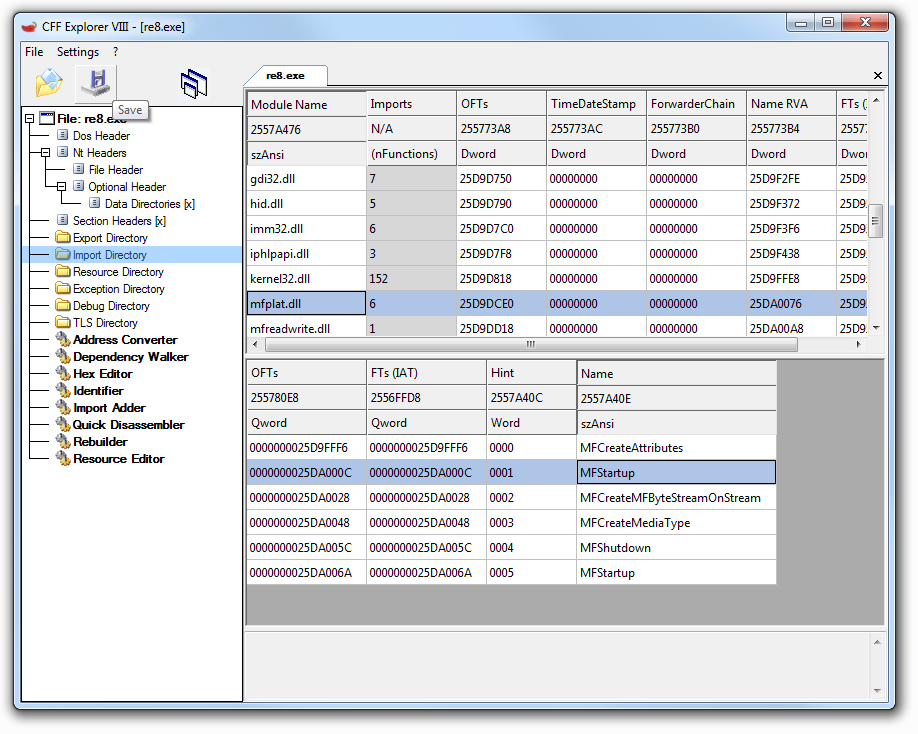
 7. Select “Import Directory” on the left panel.
8. Then select “mfplat.dll” module from the list.
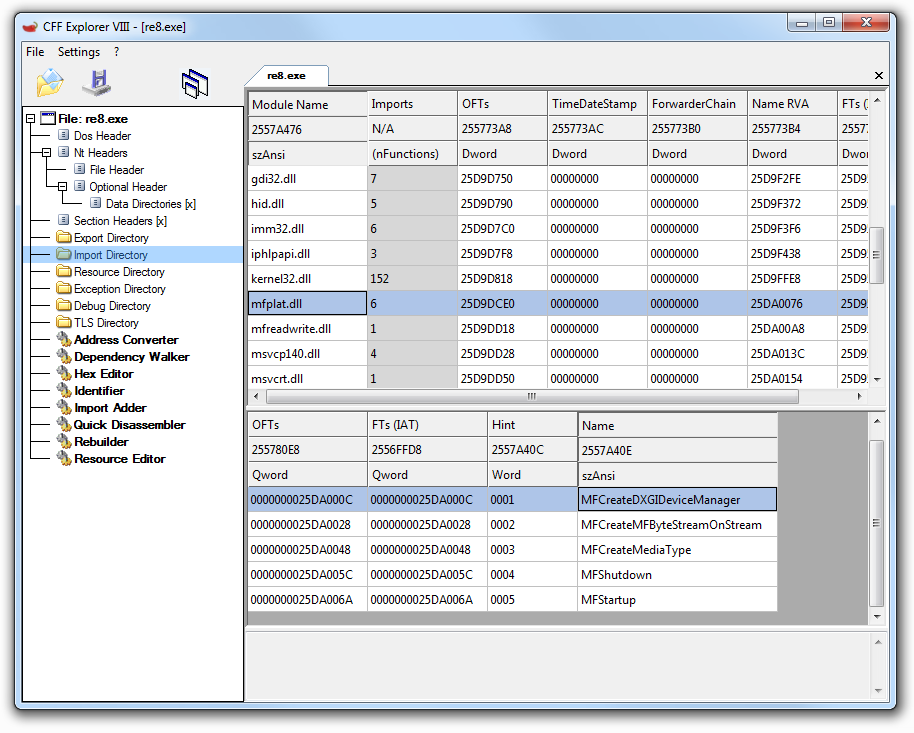 9. Double click “MFCreateDXGIDeviceManager” and replace the value to “MFStartup”.
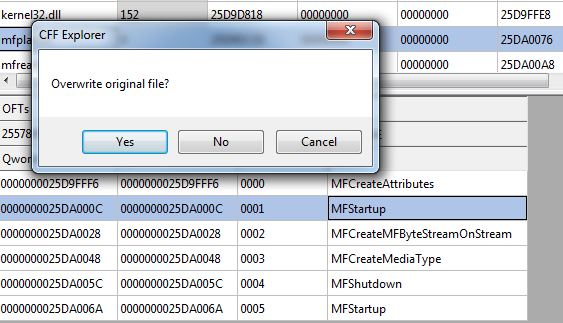
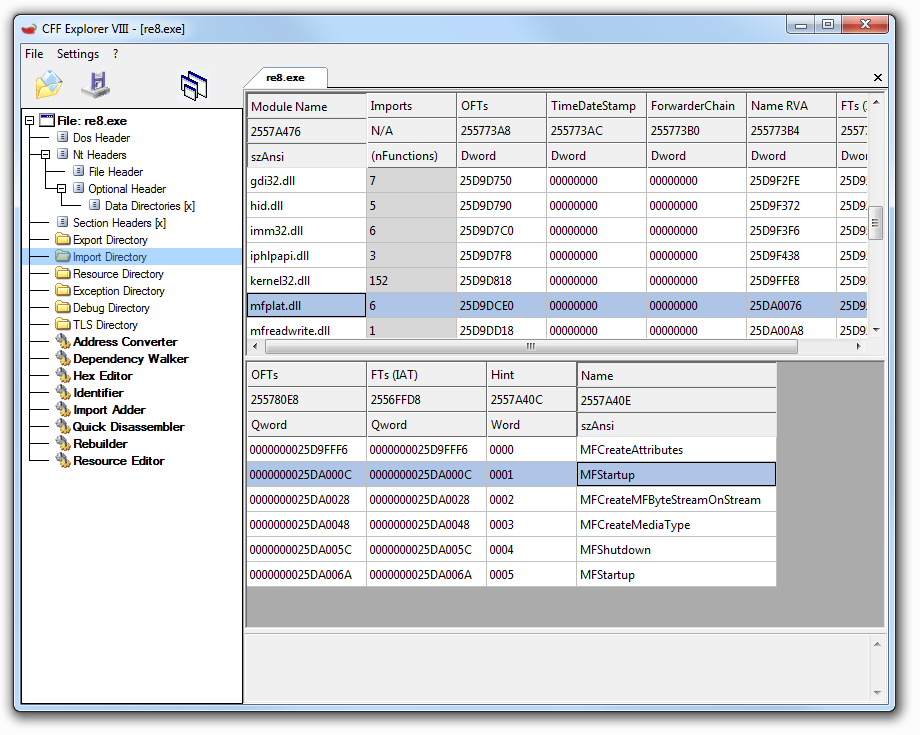 10. Click the save button.
 11. You should choose “Yes” in “Overwrite original file?” dialog.
 12. Start the game.
Windows 7 x64, Palit Geforce 1050ti KalmX with driver 472.12 – the game works.
By toshph
Hi there is no mfplat in the Module tab
It should be present on the list of modules. Just scroll down a bit and you’ll find it somewhere in the middle of the list.
followed this method EXACTLY on my windows 7 64pro A88x 1050ti rig and it did not work – launch window says game only runs in windows 10 DX12, but thanks for the effort