In this guide, I describe how I edit Splatoon eye textures.
This guide ensures that you prevent creating cloudy, saturated eye textures. (as long as you follow the instructions lol)
Introduction
Chances are, you’ve come here because you want to try creating your own custom Splatoon eye textures!
While the process may seem rather intimidating and difficult, it can also be fun and rewarding to see your own work in action.
In this guide, I will explain what I do to edit Splatoon eye textures. This includes preventing the eye textures from appearing cloudy and saturated on your models.
________________________________________________________________
What you’ll need:
- VTFEdit[valvedev.info]
- Krita[krita.org]
- The texture you want to edit
- An idea on what you want to do with the texture (can’t make a custom texture without knowing what you want to make :P)
________________________________________________________________
Got everything on the list? Cool! Let’s get started! :3
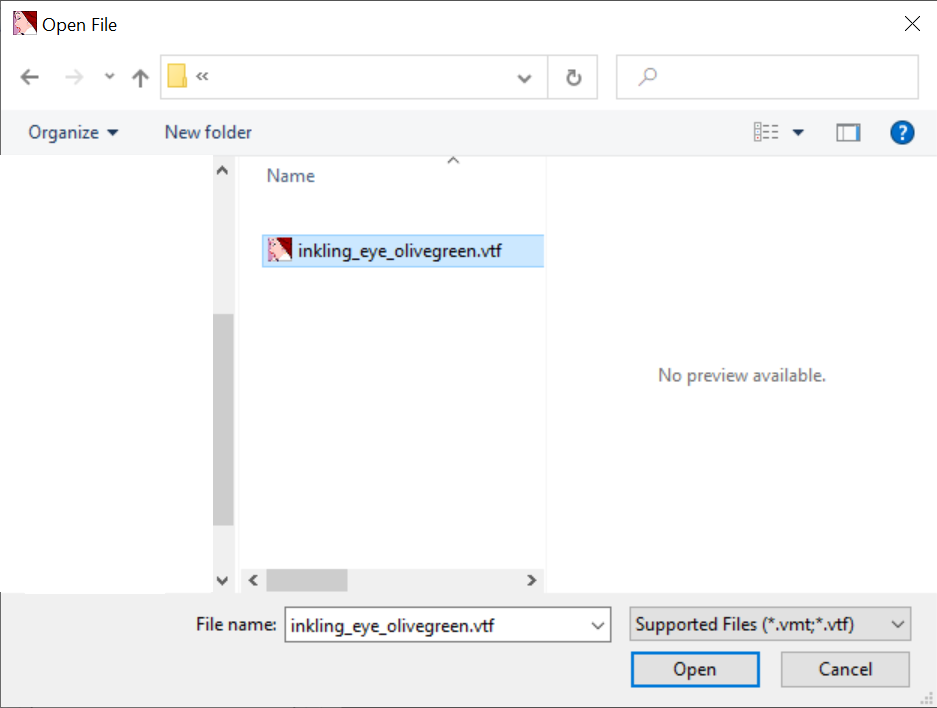
VTFEdit – Part I: Opening The Texture and Exporting It Into Targa
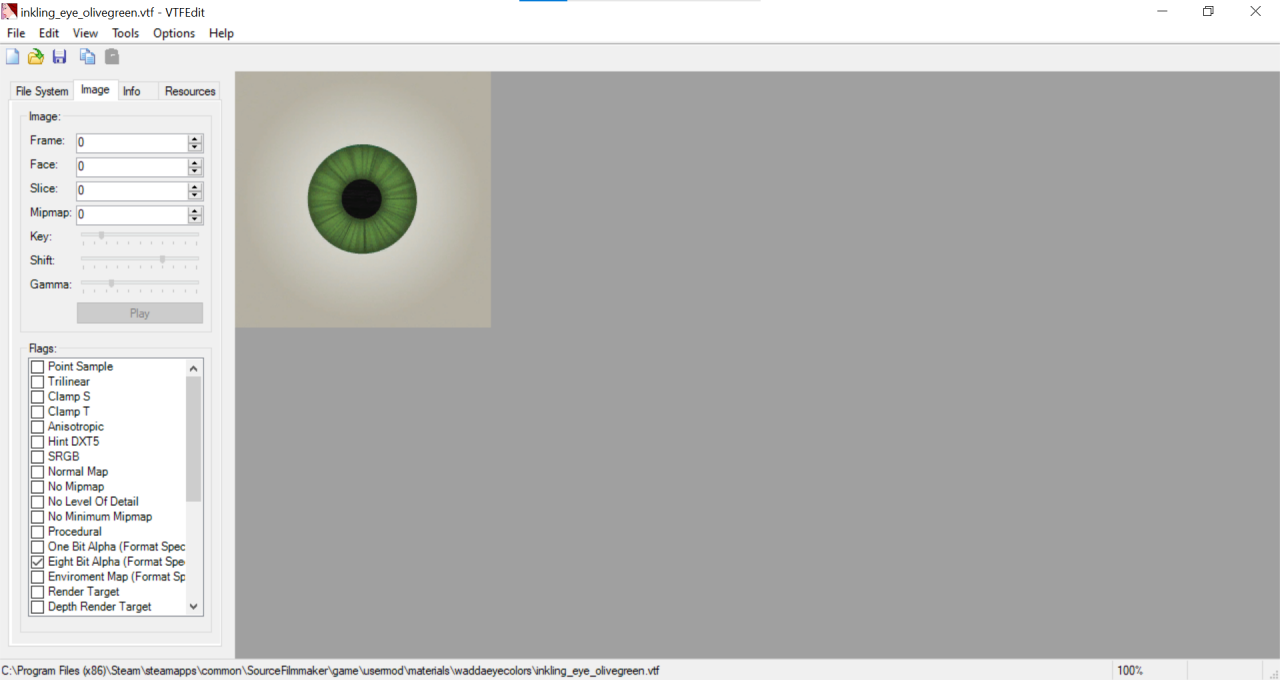 ________________________________________________________________
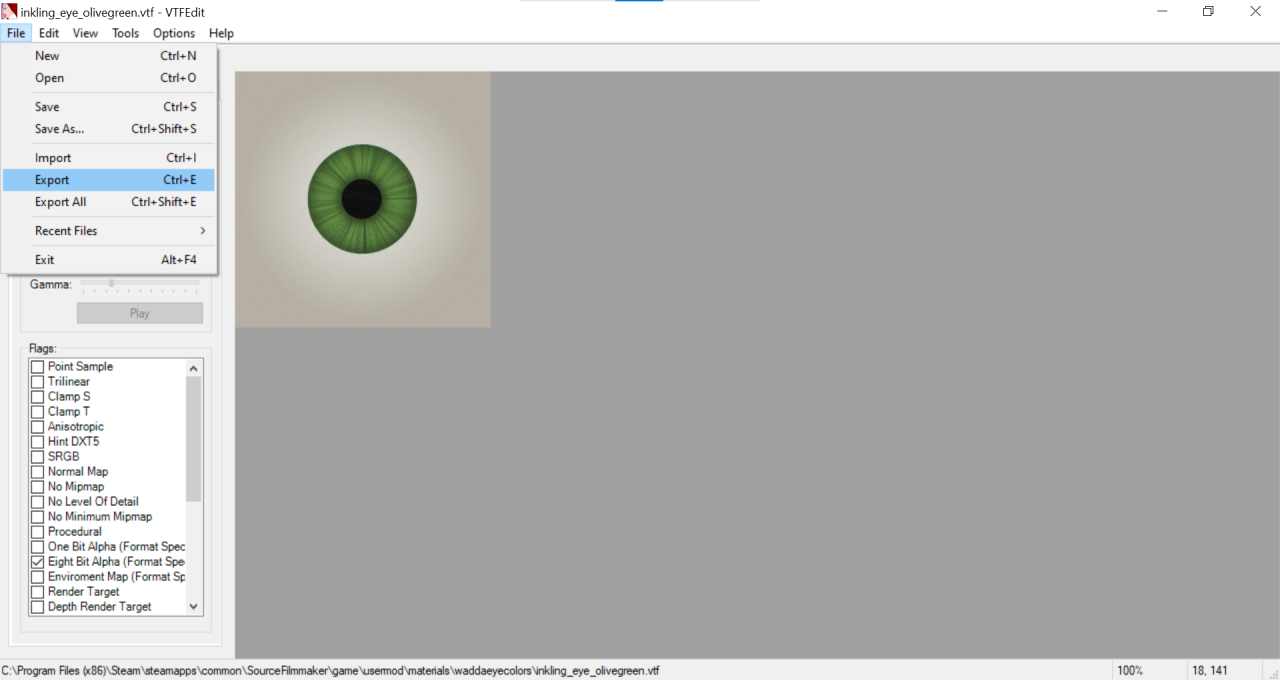
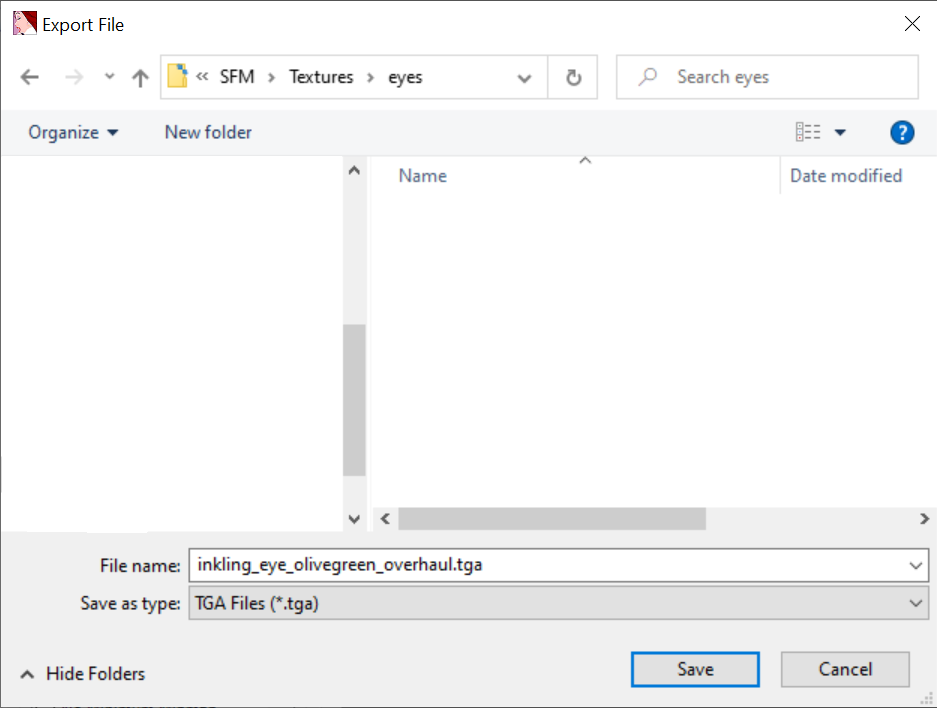
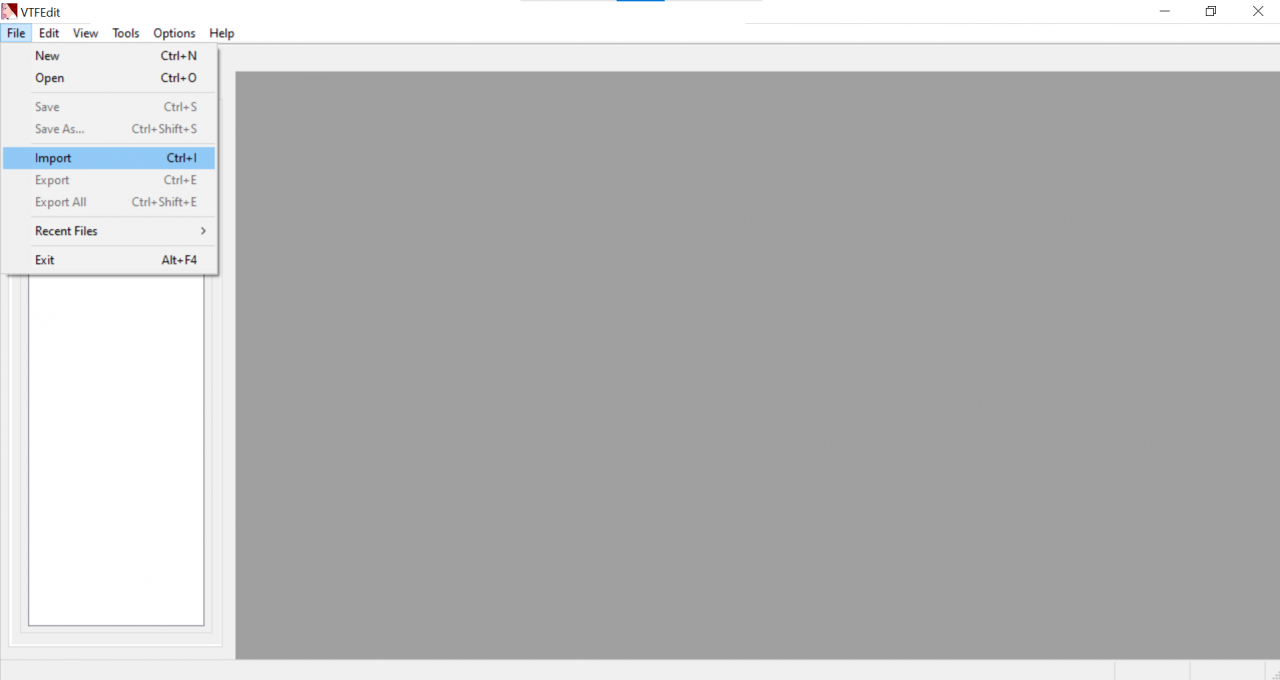
Once you’ve opened the texture, press Ctrl + E, or select “Export” from the File menu, and name the file to whatever you want (preferably should indicate what changes you made to the texture). Make sure to save the file as a targa.
Krita: Split Alpha and Edit
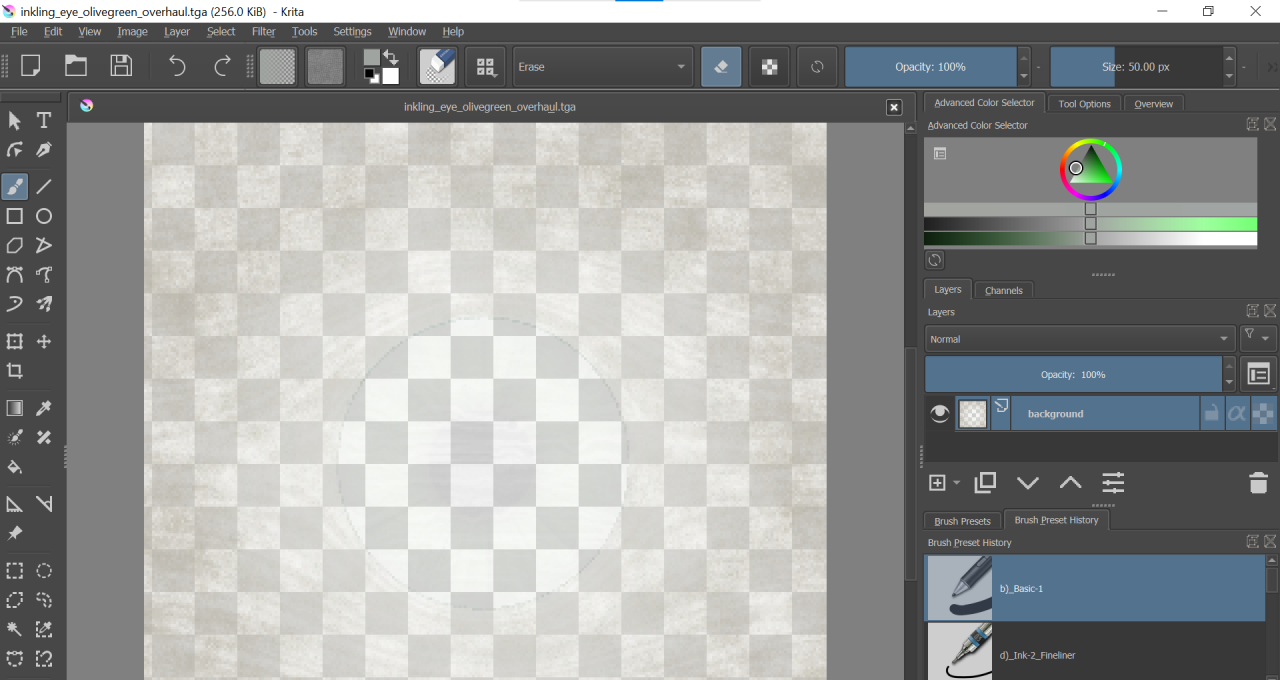 ________________________________________________________________
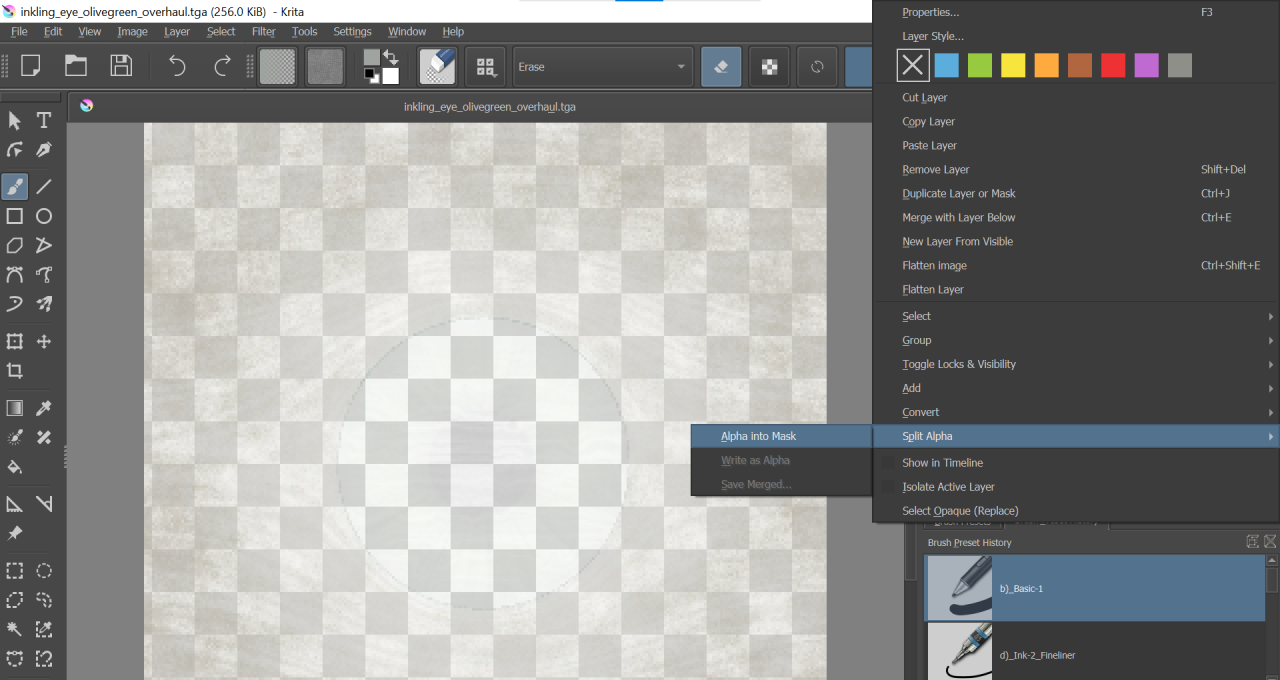
The reason it looks like this is because it has a transparency mask on it. Right click the layer, hover your cursor over Split Alpha, and select Alpha into Mask. The layer should then split into two layers, background and Transparency Mask 1.
 ________________________________________________________________
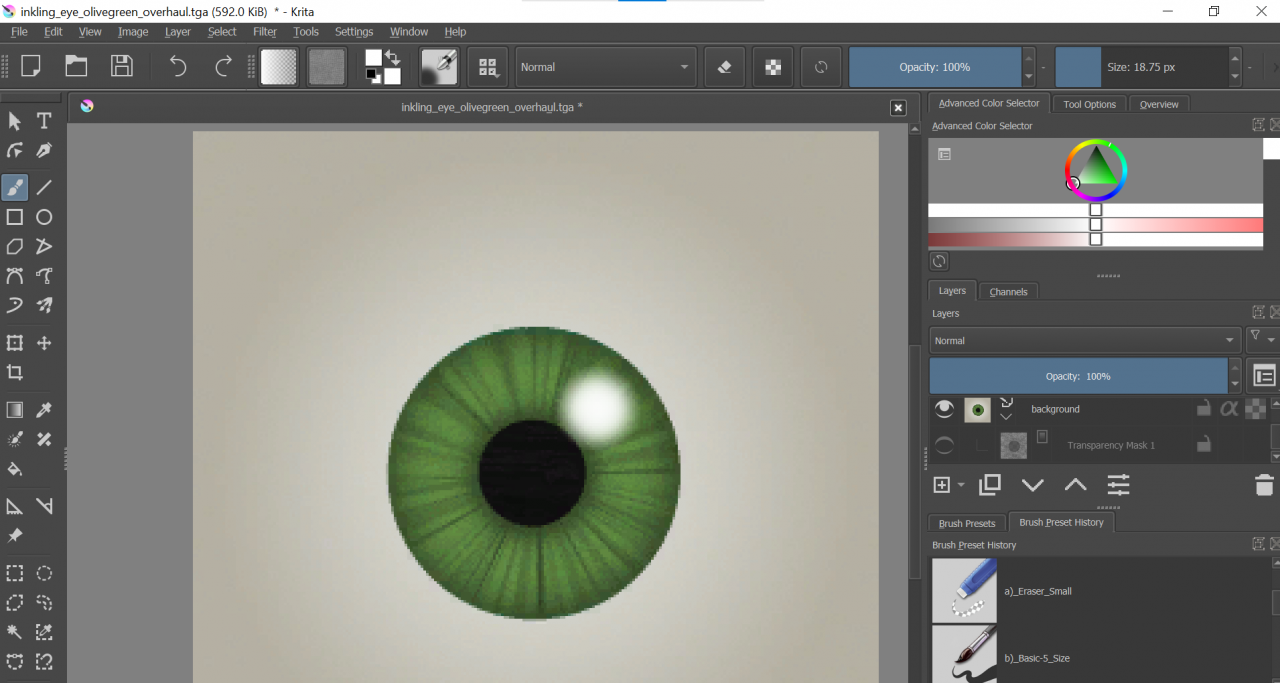
After doing this, make the transparency mask layer invisible for the time being, and edit the texture as you please (on any layers other than the transparency mask layer). Make sure to keep the transparency mask layer under the background layer.
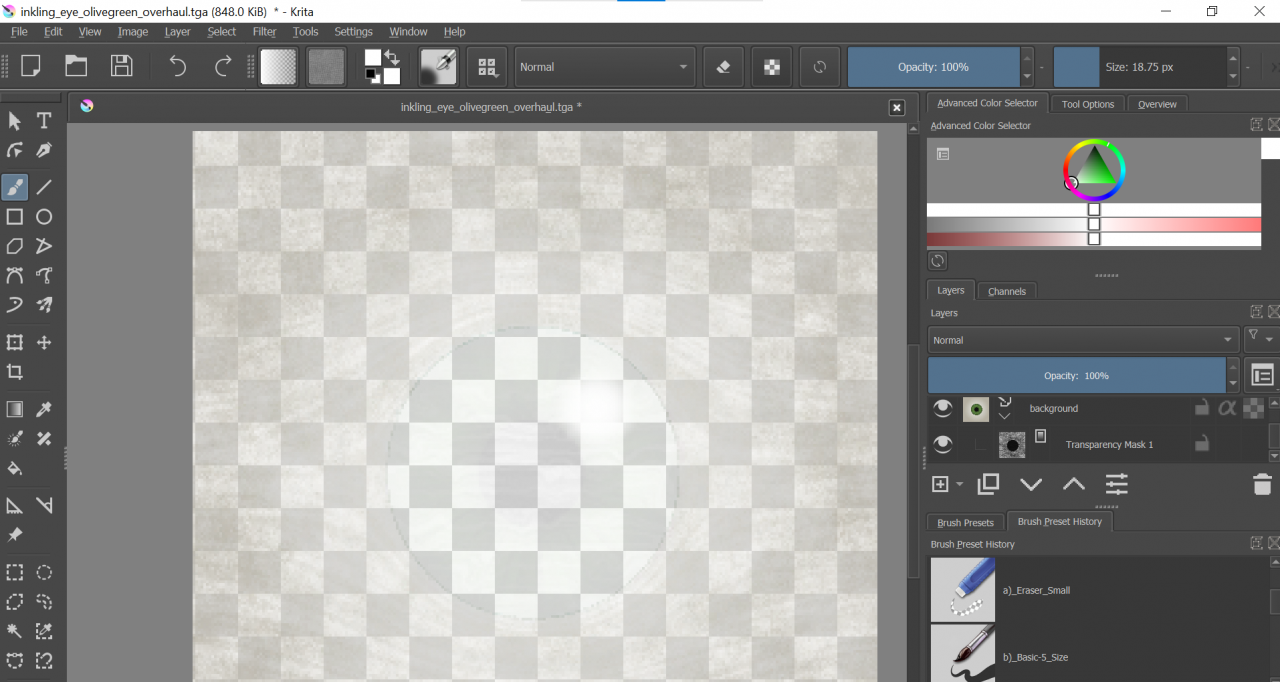
Once you’ve edited to your heart’s content, turn on the visibility for the transparency mask, and save the targa file. DO NOT forget to turn the visibility for the transparency mask back on.
 ________________________________________________________________
After saving, you’re ready to go back to VTFEdit one last time. :]
VTFEdit – Part II: Importing and Saving as VTF
 ________________________________________________________________
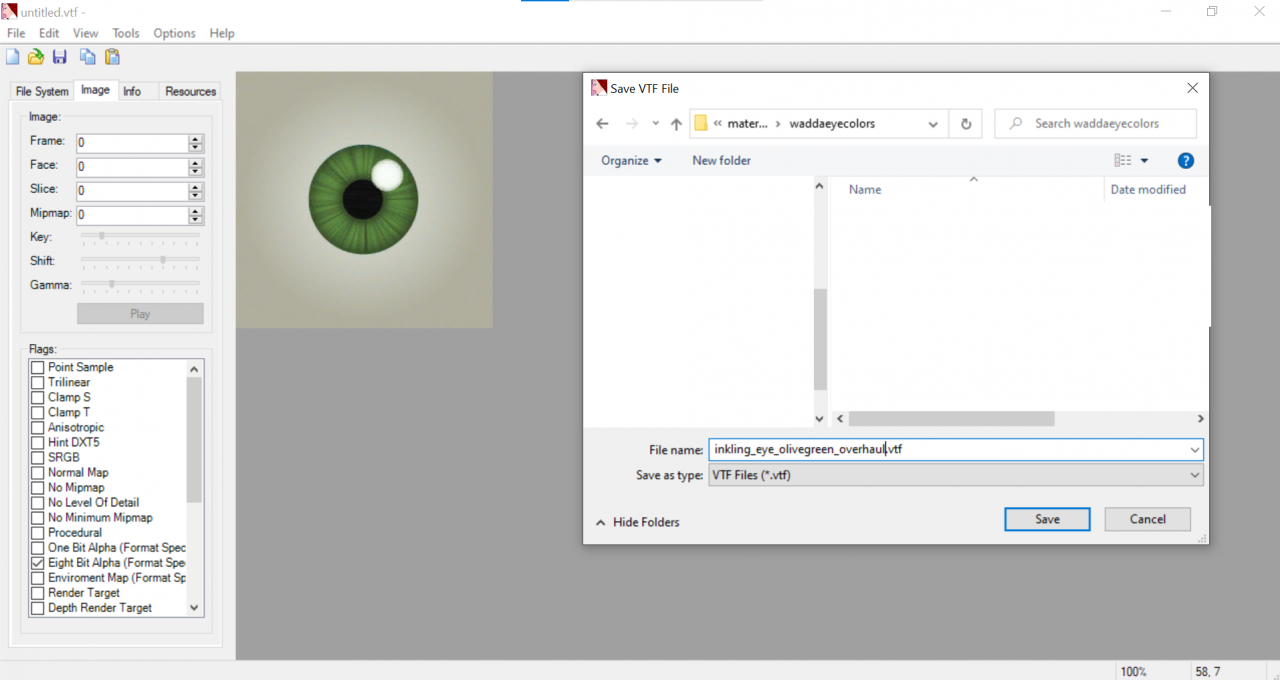
Your texture should show up. All you have to do now is save the file as a VTF. You should save it in the materials folder in usermod. I highly recommend you add a folder of your own (name it appropriately so you know instantly what’s inside it), and save your texture in there. (i.e. usermod\materials\[your folder name here]\[your texture here])
 Once you’ve saved your texture in the usermod materials folder, you’re all set! Just remember where you put the texture so you can type in its location when replacing eye textures on your models.