Expert Witness
Complete all Areas of Expert Journey Mode.
Introduction
Please note that any tricks or tips mentioned in this guide are focused on how to survive in Expert, and may not be the most efficient way to achieve a high score.
Graphic Settings
Even in other game genres, you may see pro players disabling some visual features to make things as clear as possible. While Tetris Effect is known for its beautiful particle effects, we have to get rid of the distractions so we can better focus on the game itself.
Find Options in your game, and we’ll start covering the important settings.
Additionally, I will list the settings that I use for each option.
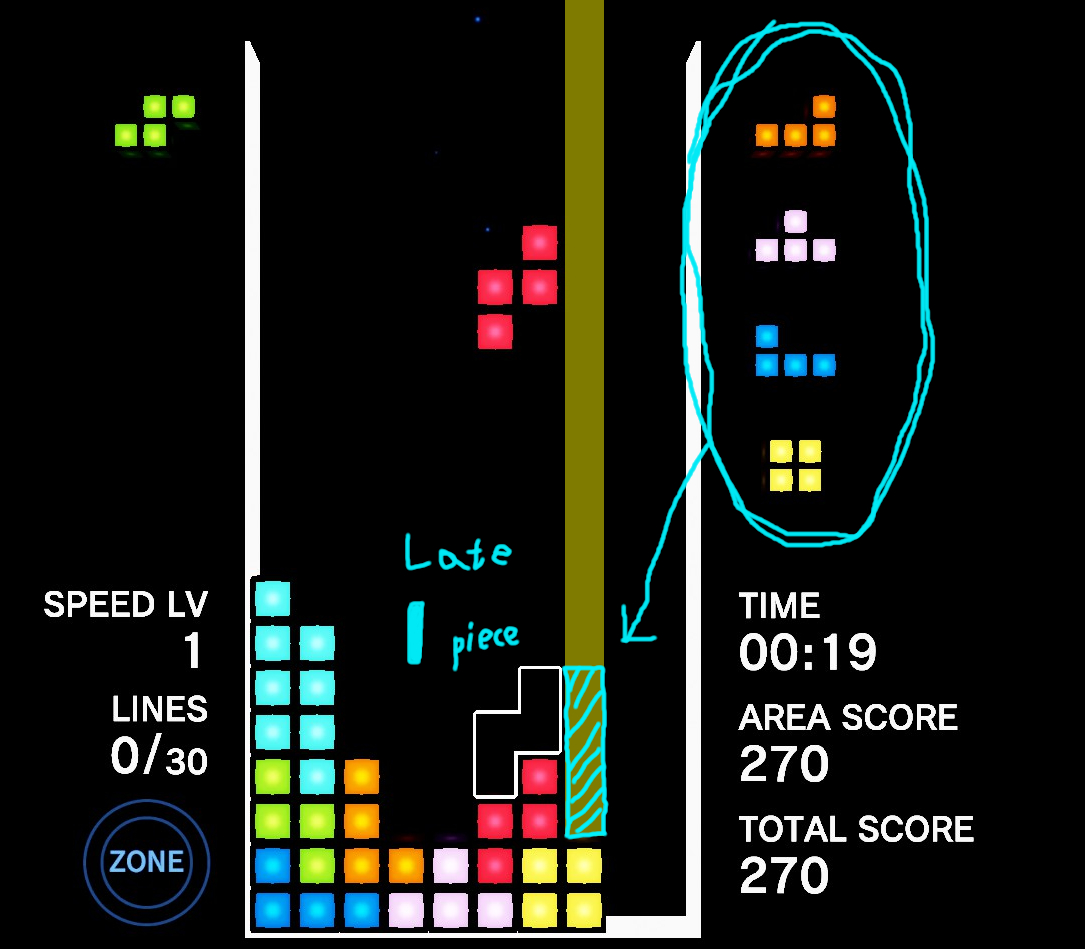
● NEXT QUEUE : 4 (preference)
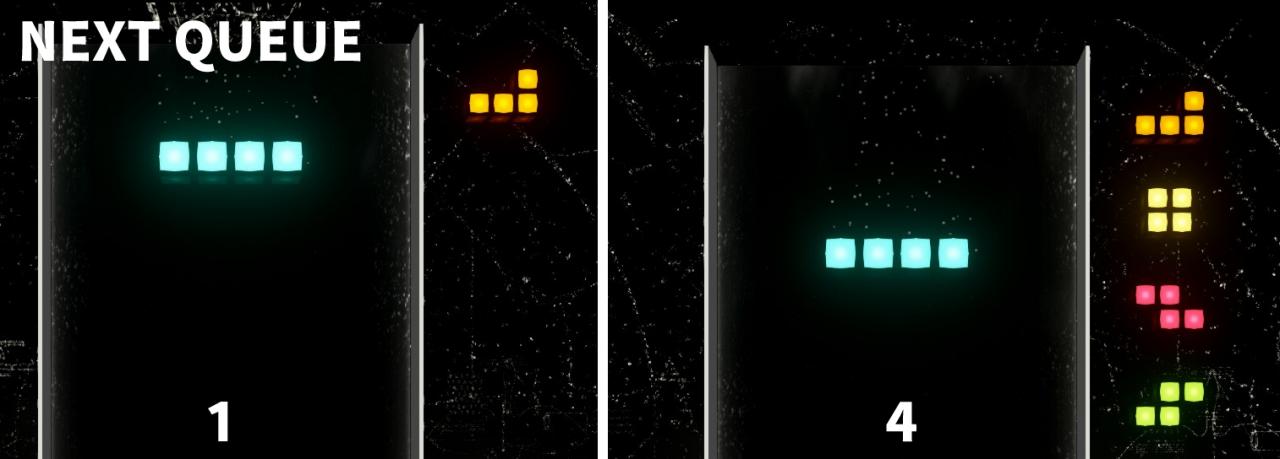
Affects how many upcoming pieces you can see, 0~4 is available.
Most experienced player tend to have this higher as they could think about what strategy to use with the next pieces.
Some people might find it too distracting to have too many Next pieces, so this one is personal preference.
● HOLD QUEUE : ON
● GHOST PIECE DISPLAY : ON
Hold Queue will enable the hold feature for you to store block.
Ghost Piece Display shows outline so it’s easier to see where you will drop the piece.
You need them both to make your game easier.
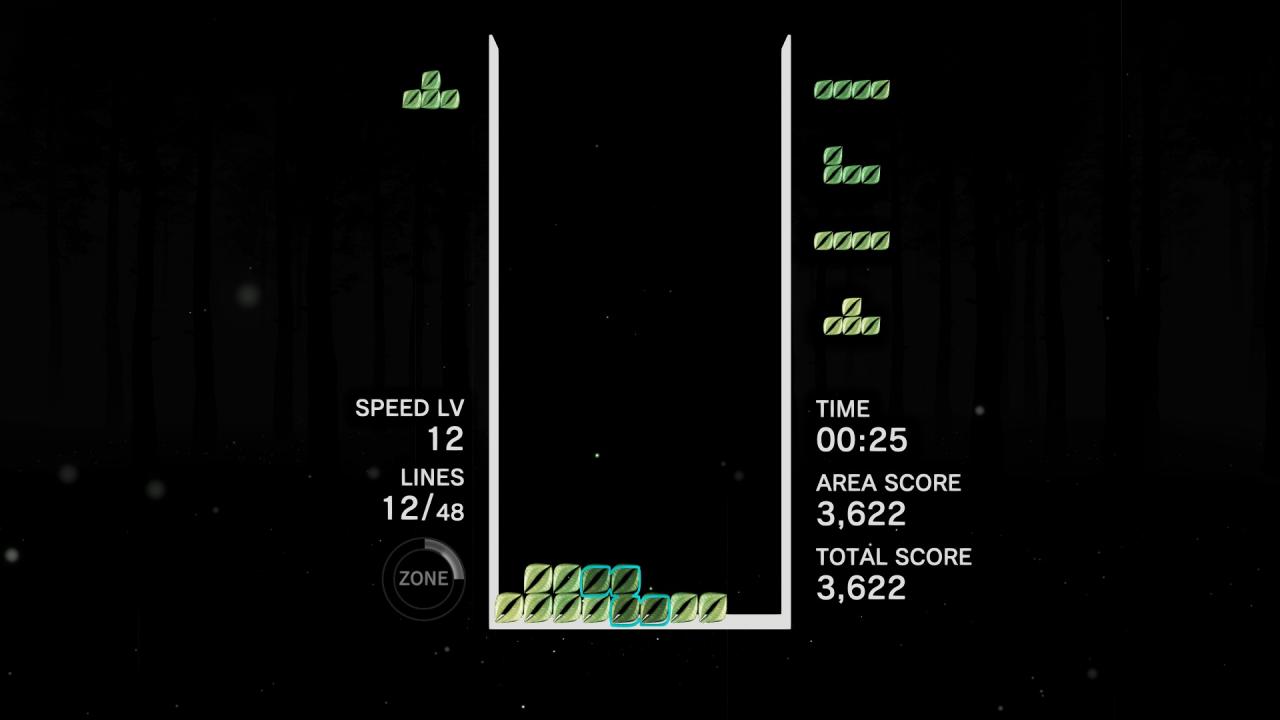
● TETRIMINO COLORS : TRADITIONAL
This is the skin for your pieces. By default it’s set to CUSTOMIZED, with each level having its own skin. While they do look beautiful and cool, their pattern, shapes and color could make it harder for your eyes to identify the pieces or your board.
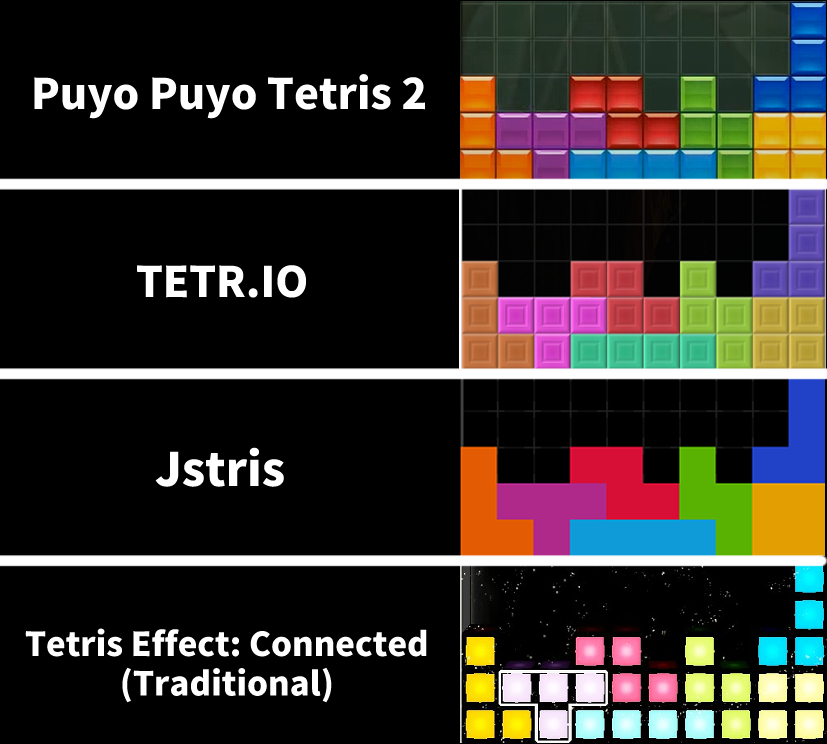
Modern Tetris game somehow has an agreement on what color should each piece be. By switching your Tetrimino color to Traditional, the colors of the pieces will match the common standard, and the consistency will allow our brain to identify the pieces faster.
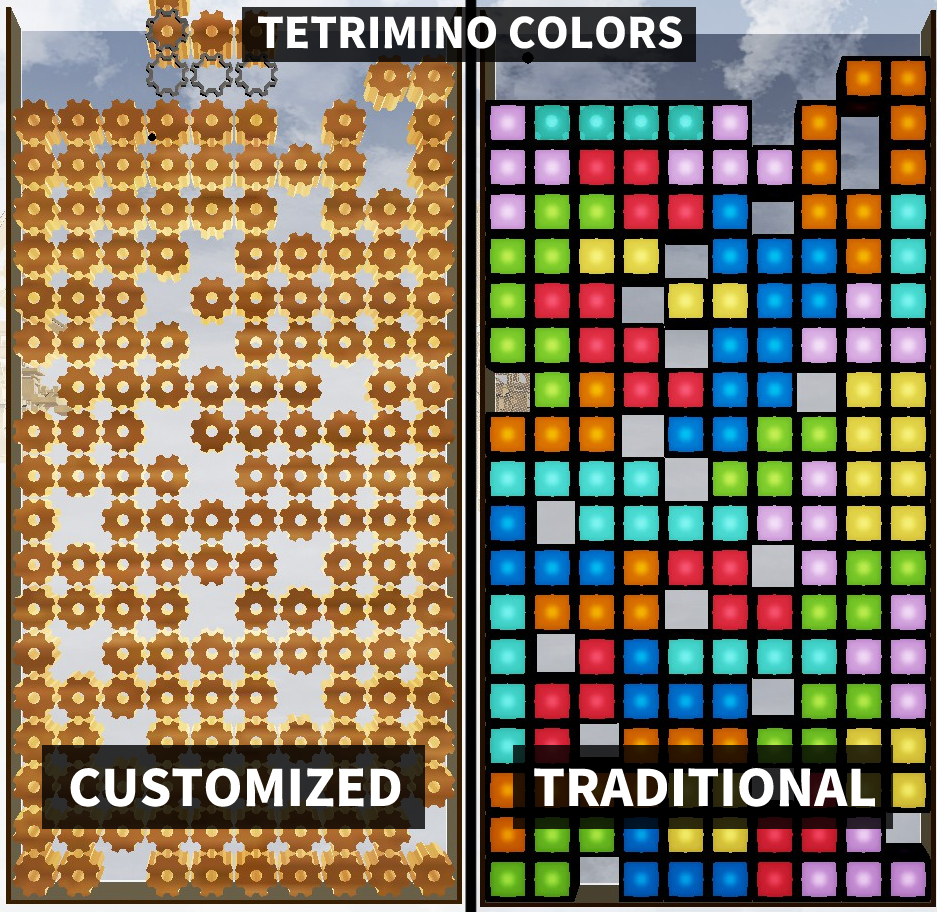
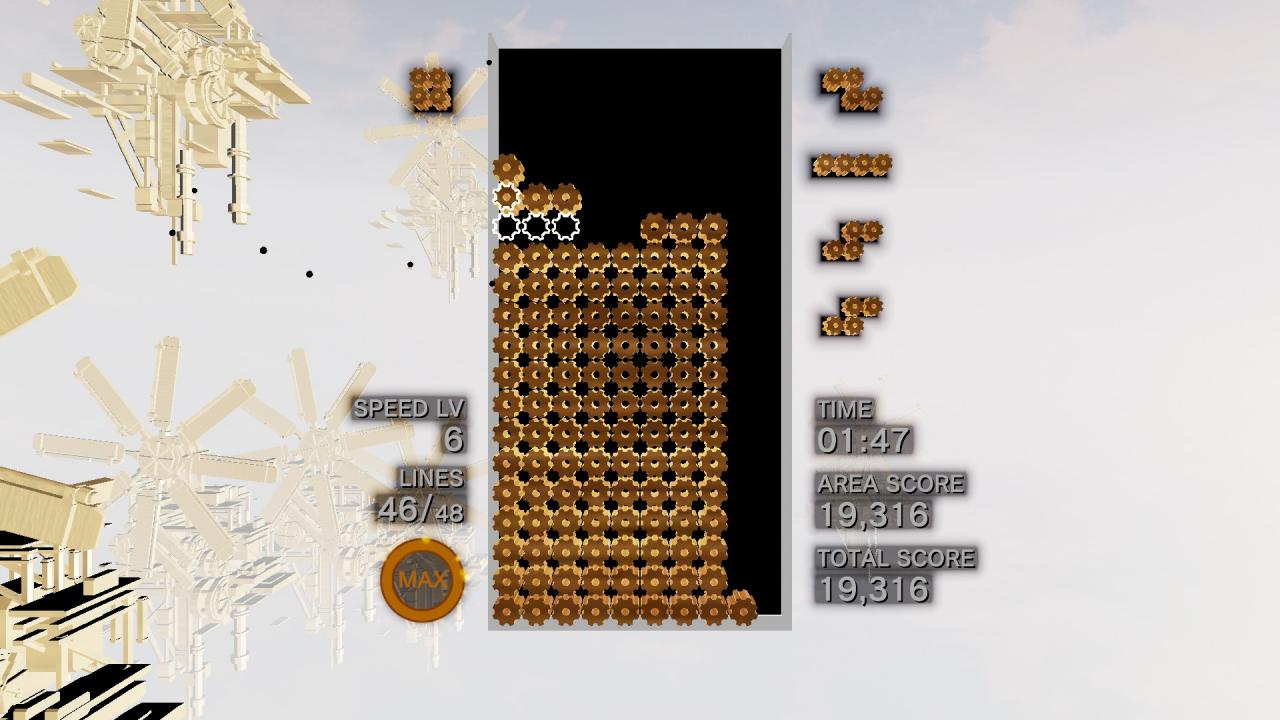
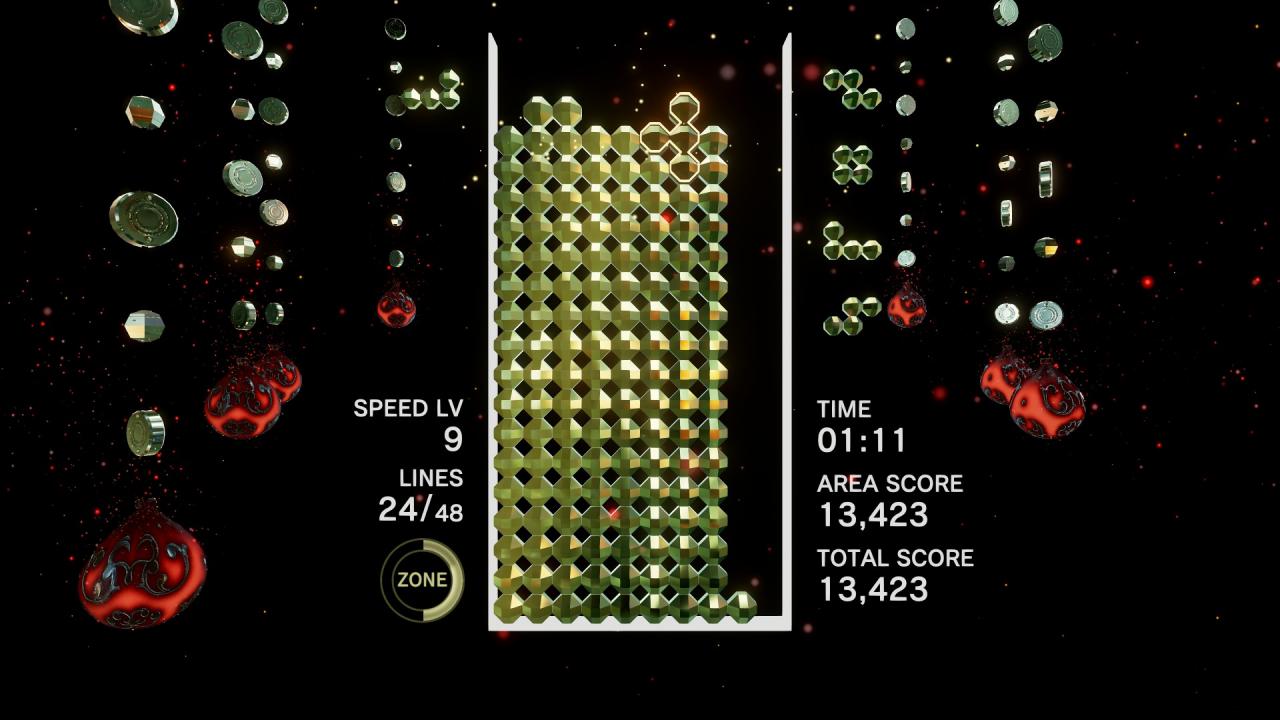
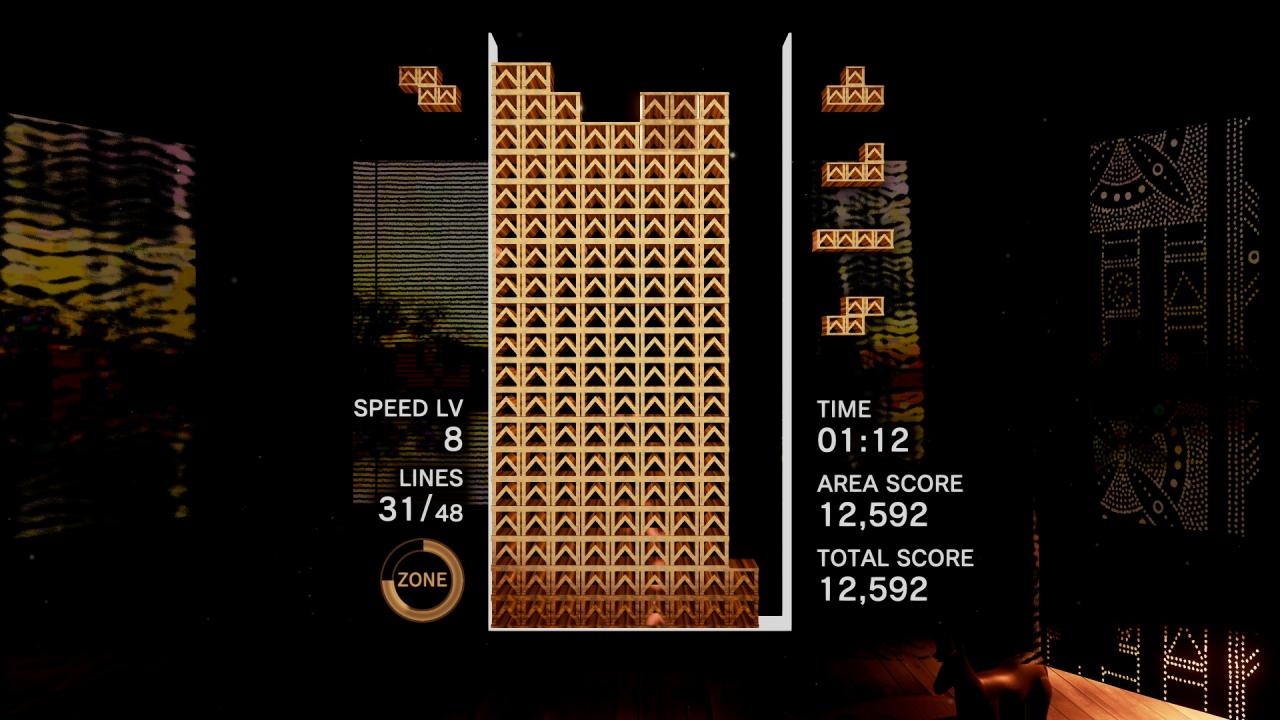
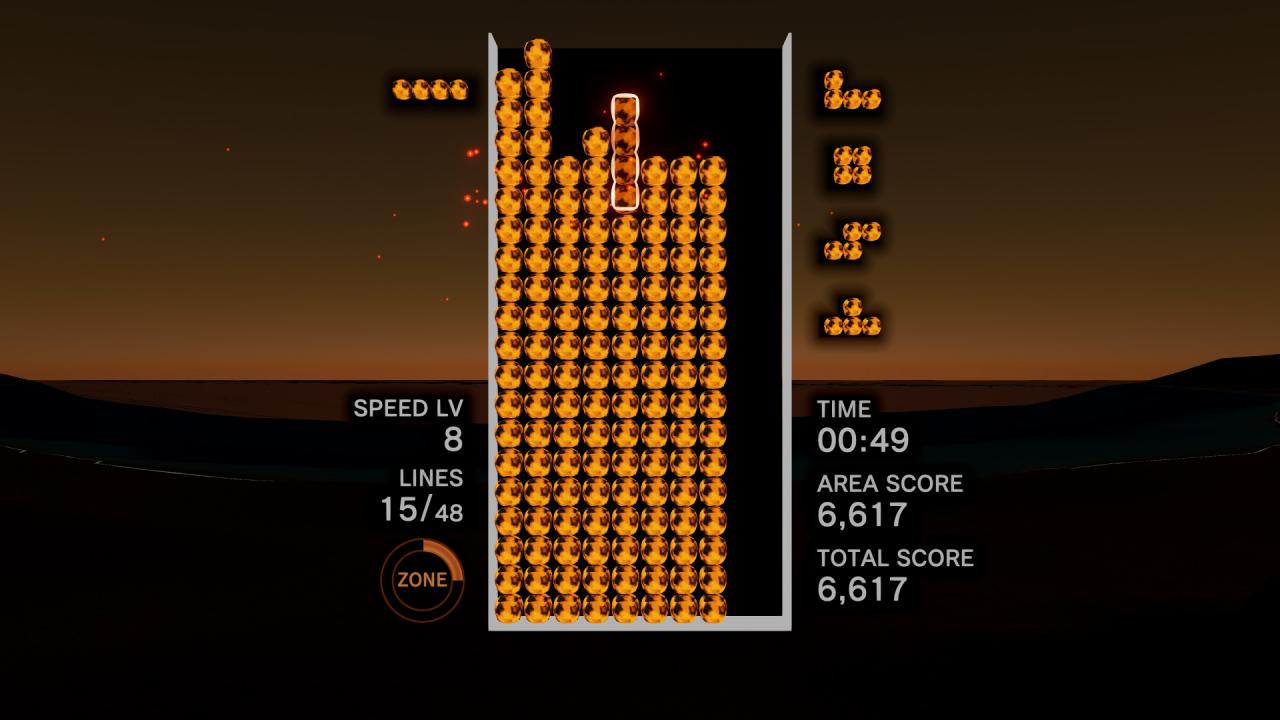
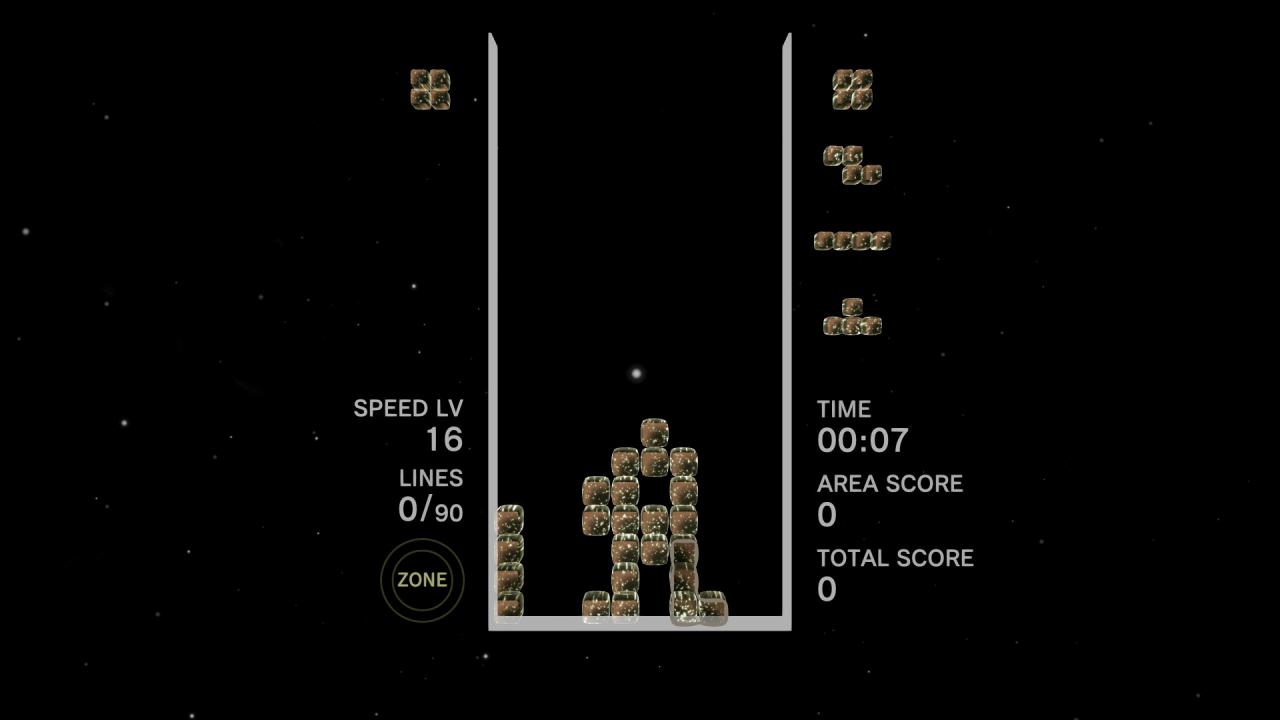
Here’s tetrimino in 2-2 (DA VINCI), with a comparison between Customized and Traditional. The gear blocks are animated, monochrome, have complex shapes, and don’t really fill the board. While it is visually pleasing, it isn’t easy for your eyes.
There are also Color Assist Type A/B/C for you to choose, They are basically Customized / Traditional / Traditional with pattern, except they also have a skin for the special pieces you get in multiplayer boss battle.
● INITIAL ROTATION : ON
● INITIAL HOLD : ON
● INITIAL ROTATION / HOLD : TYPE A
When it’s Off, the sluggish feel will be more noticable as your speed increases. Turn them on.
I go with the default Type A. I didn’t notice too much difference with Type B.
● CAMERA ZOOM : VERY ZOOMED IN (preference)
This one is very personal preference. Basically you want to it easier to see the whole board, so don’t zoom in too much.
Resolution and display mode also affects how big the board is on your screen, so you have to play and test to find a suitable size for yourself.
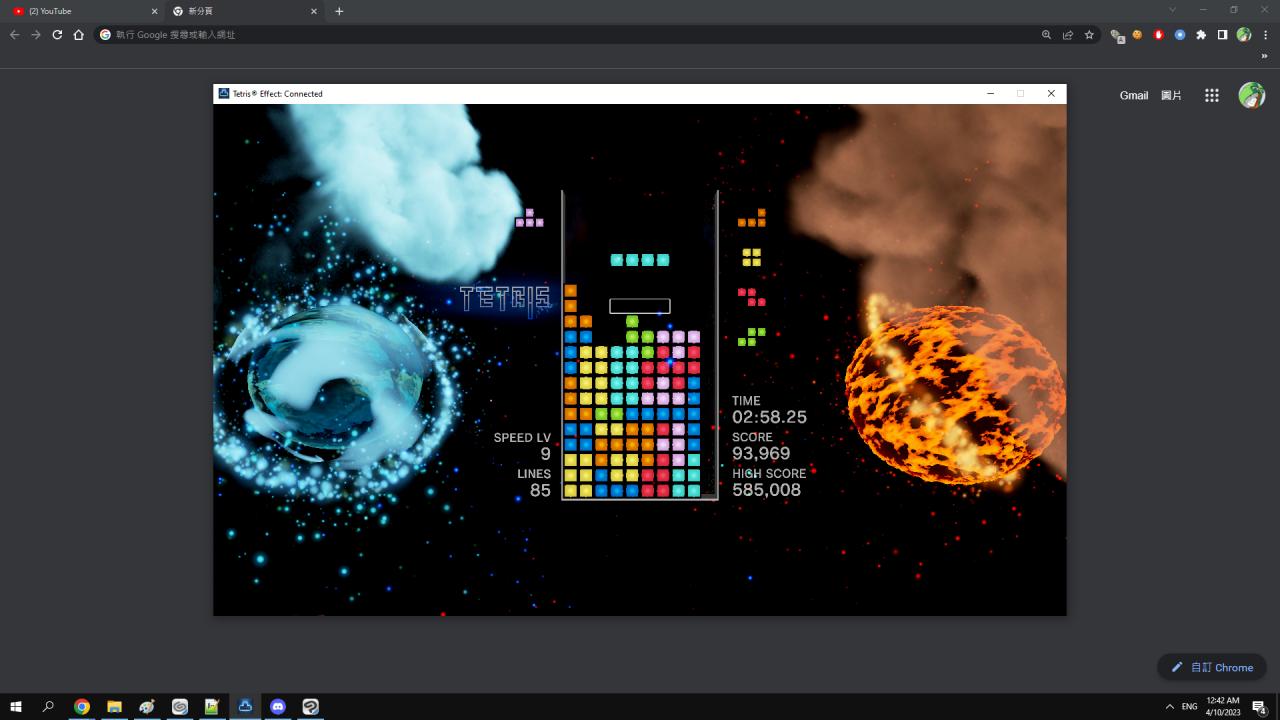
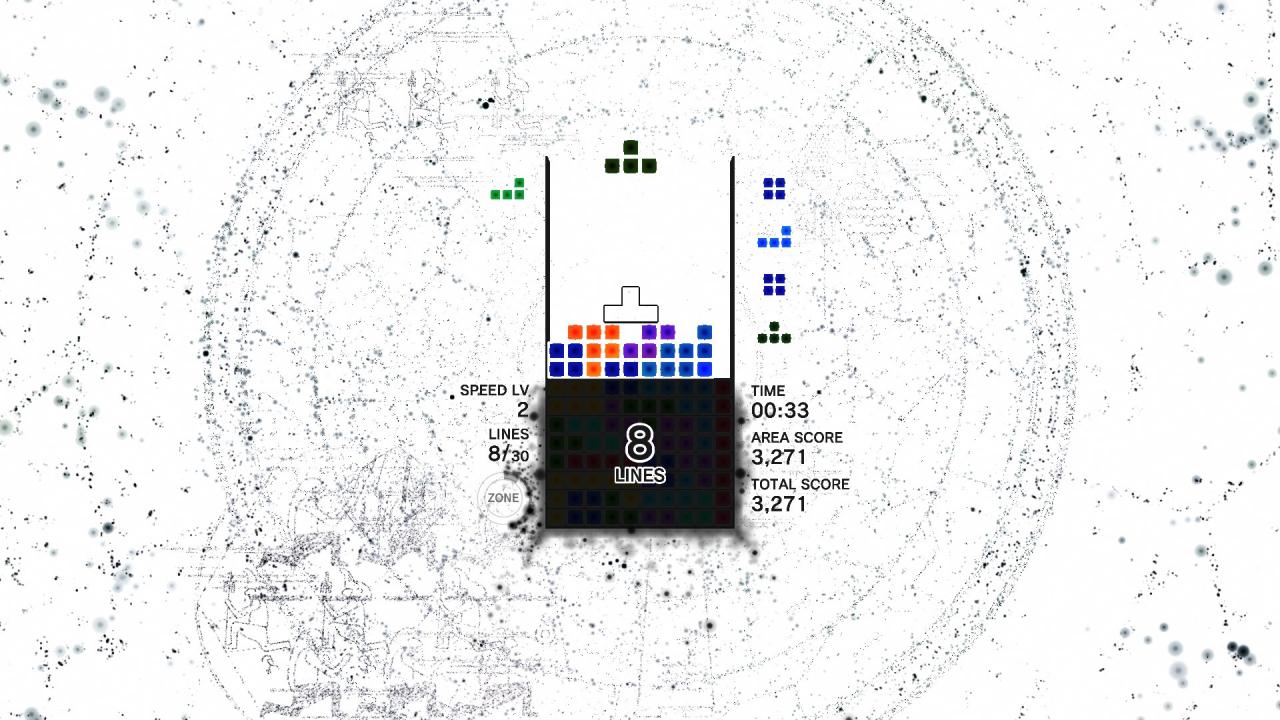
My board normally looks this big on my screen when I play.
● SIMULTANEOUS LEFT & RIGHT : TYPE A
doesn’t notice too much difference, leave it default.
● DIAGONAL LOCK : OFF
This might affect joystick player more, since I play with keyboard, I leave it default.
if you use joystick, test it while it’s ON and OFF to see what works for you.
● MATRIX BOUNCE : OFF
Make your board bounce when you drop the piece. too much motions can make you uncomfortable, turn this off to keep the board static.
▬▬▬▬▬▬▬▬▬▬▬▬▬▬▬▬▬▬▬▬▬▬▬▬▬▬▬▬▬▬▬▬▬▬▬▬▬▬▬▬▬▬▬▬
I set my Graphic quality to Low and start adjusting from it, I’ll only go for settings which affects a lot visually.
● BLOOM QUALITY : OFF

Bloom can be very noticable in some maps, better turn it off.
● PARTICLE VOLUME : MIN
Particle volume MIN vs MAX.
Look at how right side is exploding, turn it off.
● PARTICLE SIZE : MAXIMUM
Not noticable for me. Maximum is the lowest settings, so I assume it’s friendly for performance.
● HUD : ON
You need this to see your goal and Zone meter, DON’T TURN IT OFF!
● LINE CLEAR EFFECTS : MIN

Line Clear Effects MIN vs MAX
affects how particle flies when you clear lines. Set it to MIN.
● MINO STROBE : OFF

Mino Strobe OFF vs ON
The pieces will flash along to the music in some levels, I turned this off.
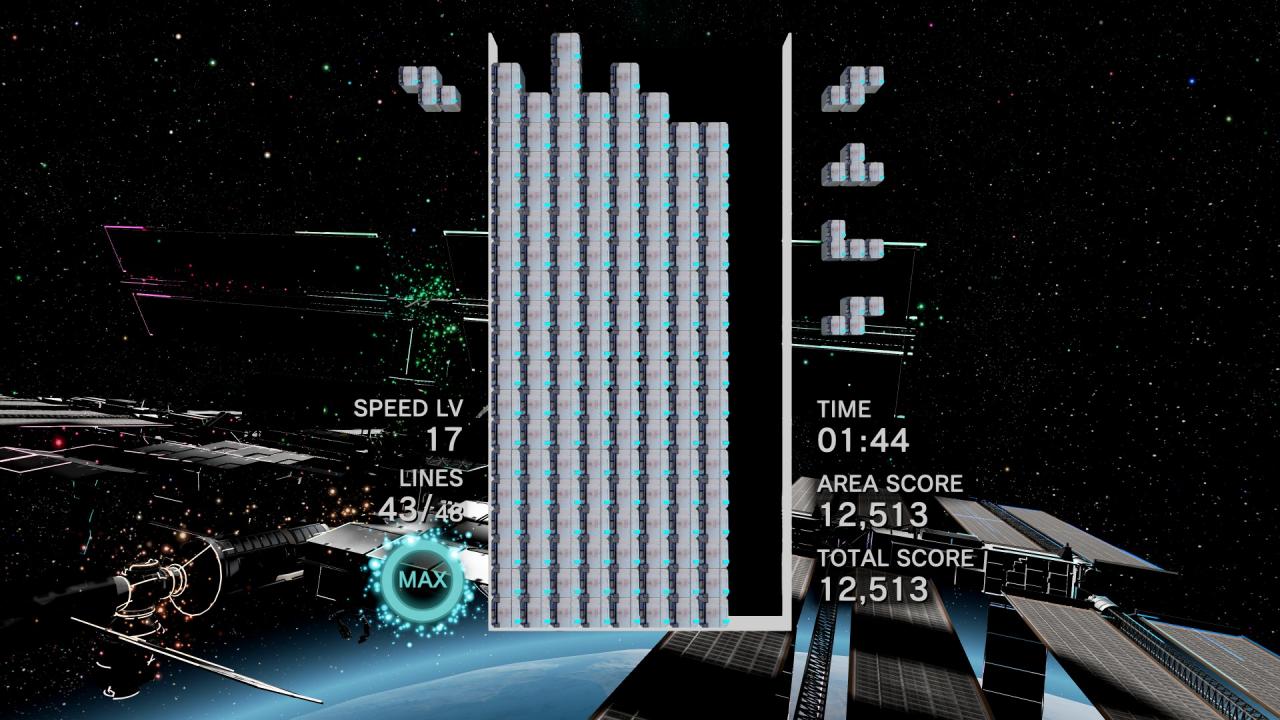
● ZONE BRILLIANCE : MIN
Zone Brilliance MIN vs MAX
Zone Brilliance is the strong white light effect which occurs when you clear 8 lines during Zone.
it seems you can only adjust the brightness for this, there’s no way to disable this completely. turn it to MIN.
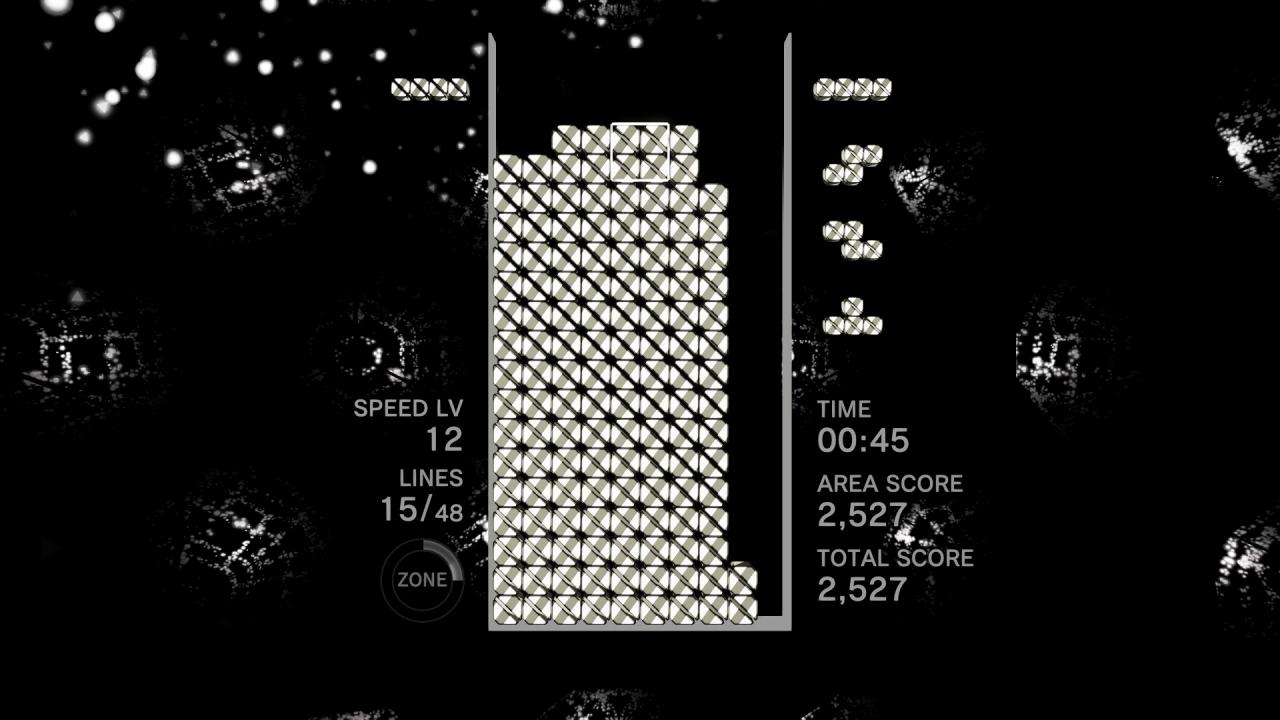
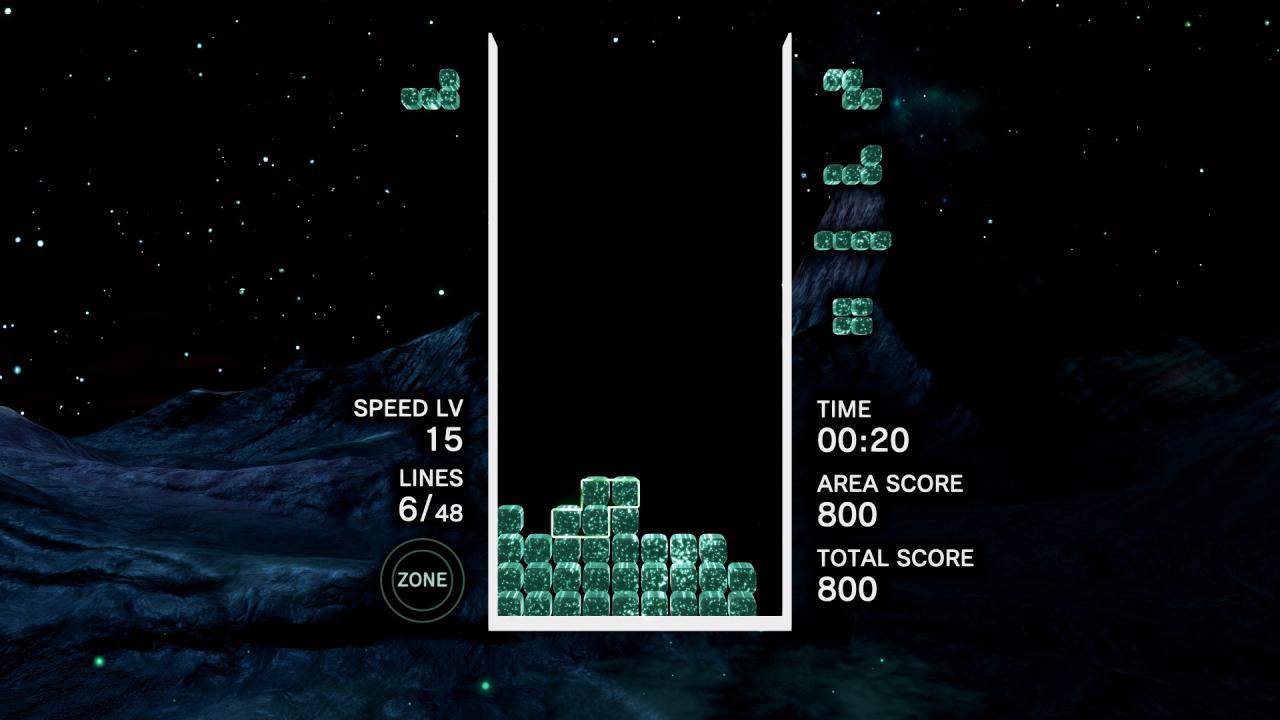
● MATRIX VISIBILITY : OPAQUE
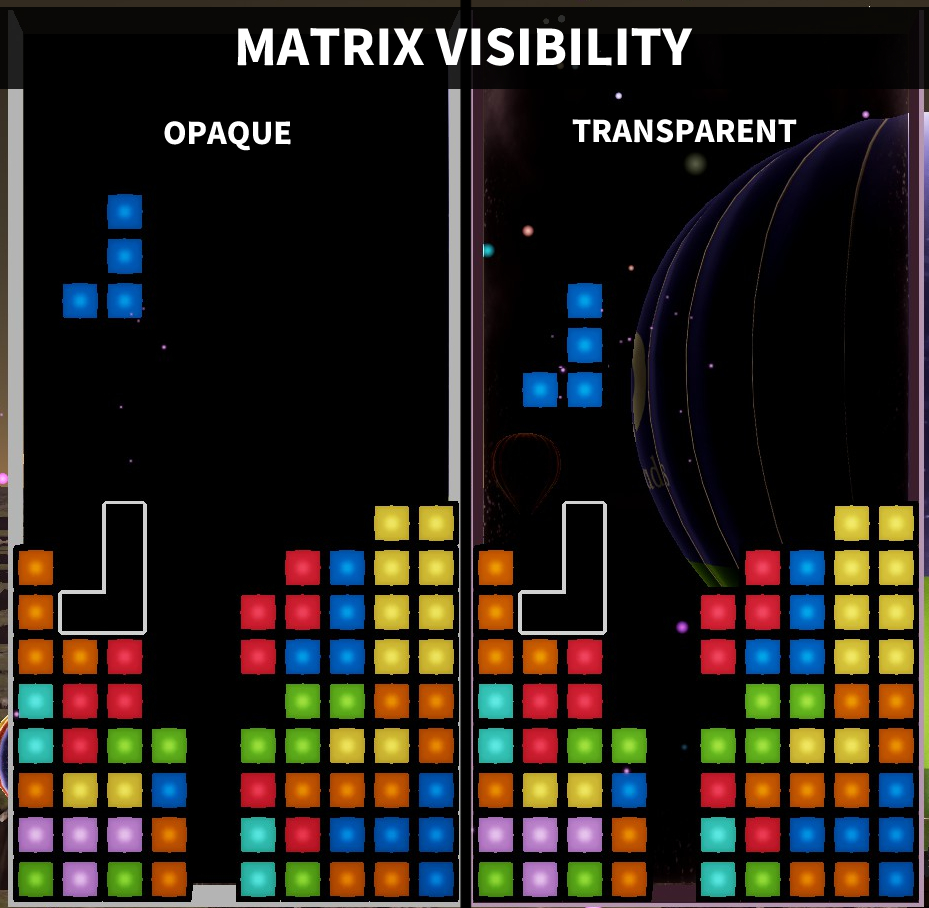
Matrix Visibility Transparent vs Opaque
Set it to Opaque to reduce the distraction from the animated background.
After applying these settings, the game should be more comfortable for your eyes now.
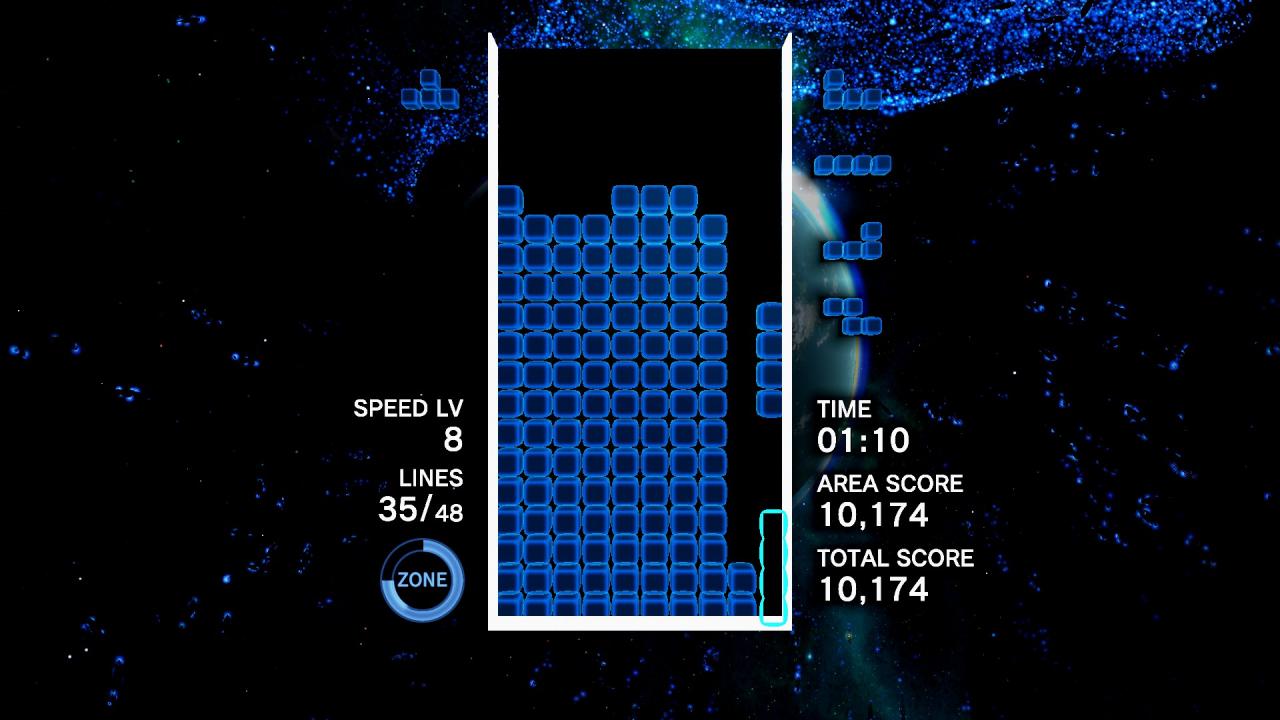
Use Zone Effectively
Clearing certain amount of line gives you 25% meters. the line you need to clear is determined by the difficulty you played on. In Expert, you need 10 line clears to gain 25% Zone meter. so 40 line clears can get your zone to 100%.
You can activate Zone by pressing A (default key) as long as your meter isn’t empty. It doesn’t have to be full, you can activate it even if it’s only 25%
Every 25% of meter makes the Zone last 5 seconds longer, meaning activating Zone in 100% meter lasts 20 seconds.
When Zone is activated, the gravity will stop, cleared lines during Zone will be moved to the bottom of board, and you get score bonus for clearing lines.
Most importantly, the lines you cleared during Zone won’t count towards the required goal to complete a level. while this is beneficial for getting higher score, it’s not helping us to reach the line goal.
So, ideally, you should only activate Zone for 2 purposes :
- Downstack for clean board
When your board is messy and the height is about half of the board, you should activate Zone and start cleaning lines to lower the stacks as much as you can. While the line clears during Zone doesn’t count towards required goal, it helps you to regain controls on your stacking. - Stacking for line goal
I recommended Low stack clearing method for the Expert playthrough, If you maintained a real low board, you can activate Zone for this.
Sometimes the gravity speed makes it difficult to stack enough lines for clearing. By using Zone to stop gravity, it will be easier to build combo setup. You can go for 2W or 3W as they are stable and safer. If you reached really high stack before Zone ends, you should just wait until Zone ran out of meter. When the Zone meter is empty, it requires you to drop one more piece to end Zone.
After Zone ended, start clearing the lines you stacked during Zone, you might even gain more meters by doing this.
Line clear outside of Zone is the only factor affecting your meter gain.
If you finished 1-1 without using Zone, assuming you didn’t exceed the goal, you would have 48 line clears. you will then enter 1-2 with 100% Zone.
When you enter 1-2 and spend your Zone immediately, you only need to clear 2 more lines to gain Zone meter again, since your 8 line clears at 1-1 haven’t turn into meter.
About Journey Mode
There are total 27 levels for Journey Mode. Each area contains a sequence of levels.
Each level has Beginner, Normal, Expert difficulty, and each difficulty has its individual score record, meaning you can have 3 score records for an area if you played it in all 3 difficulties.
Your area score is the total score of all the levels you finished in this area. so you could just start with the last level of an area and get a score record. But you’ll miss the score from other levels you didn’t play.
Since score record doesn’t affect how we get this achievement, we’ll just focus on level unlocking.
You can unlock levels individually, meaning if I finished level 3-2 and quit, level 3-3 is unlocked for me, I don’t have to start from level 3-1 unless I want to go for better area score record.
● BASIC INFORMATION
You need 48 line clears to clear a level,except for the last area. (which requires 90)
You get 25% Zone meter for every 10 line clears.
The Speed level in Expert ranges from 6 to 20.
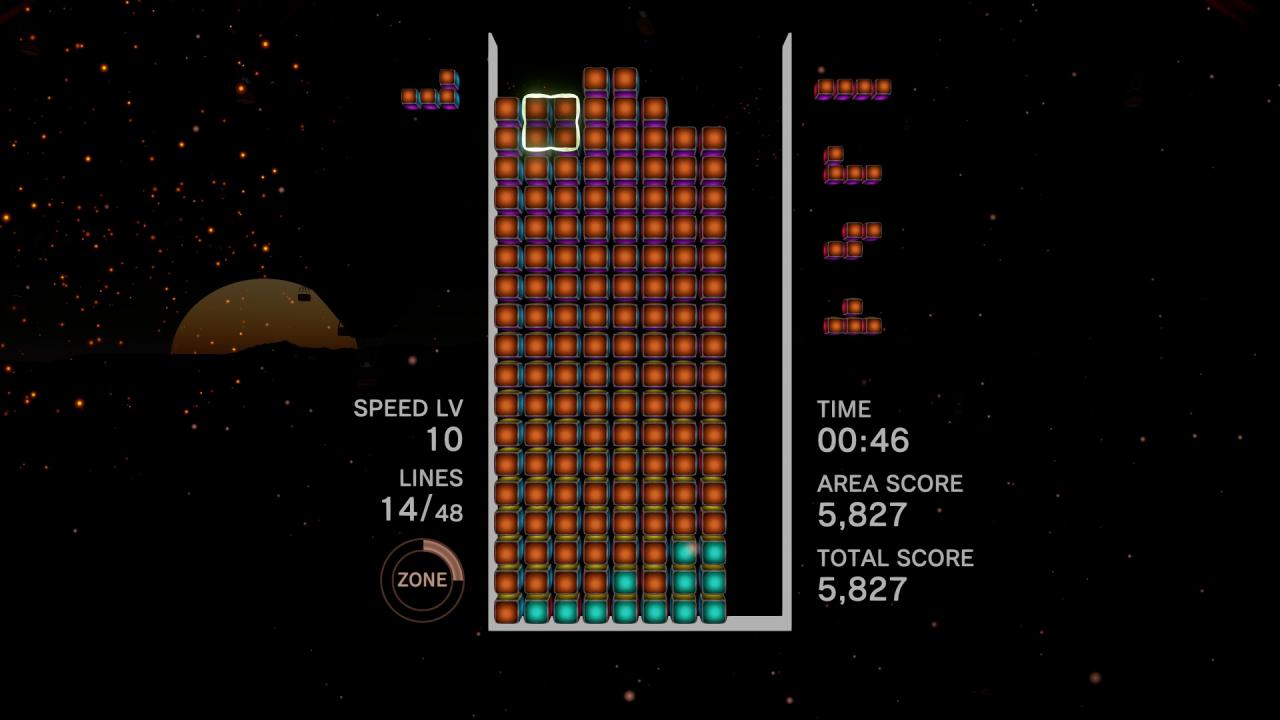
● THE PHASE
Entering next phase in 6-2 BALLOON HIGH
each level has 3 phase, every 16 line clears will get you to the next phase.
When entering next phase, you will hear a bell sound, the background animations might change, and the speed level will increase or decrease depends on what level you play.
for example, 1-1 THE DEEP starts with Speed 6, after 16 line clears, Speed will increases from 6 to 7. at 32 line clears, it will become Speed 8, and the speed will stay until you clear 48 lines to complete this level.
Knowing this, we can have strategy of when we should clear lines and when not to.
Strategy
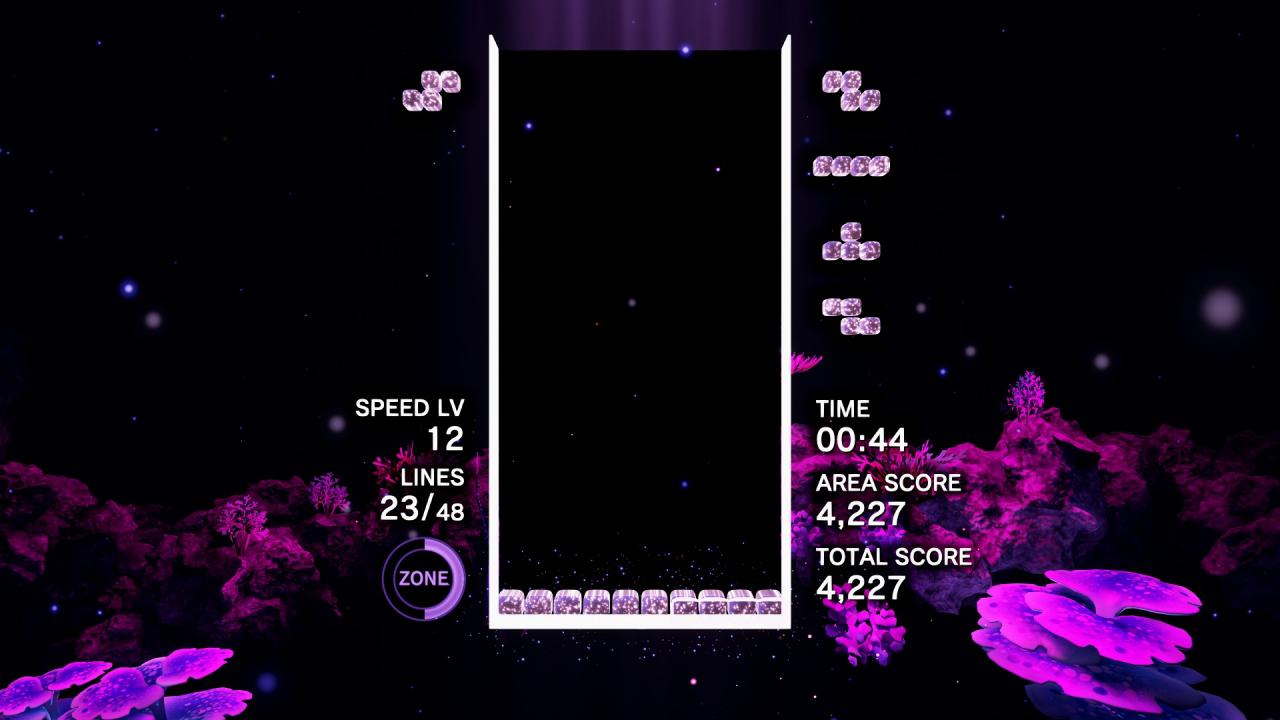
- STAY LOW
Since your goal is to survive and clear line to advance to the next level as fast as possible, we can just stay low and focus on clearing line.Use this method when the level is in an speed level you can’t handle in order to last until the slower phase (if there’s one)
While it sounds straight-forward to do, knowing some tips will make it easier for you to stack flat and low. see “Gameplay Tips” sections.
- 2W (2 Wide) Setup
2W (2 Wide) stands for the setup which you leave two columns completely empty and stack in other columns. The reason we do 2W is because of its safety. You can insert any shape into a 2-block column hole except I piece and it’ll guarantee a line clear.Use this method when you can handle the speed level, or is about to reach higher speed phase by clearing few lines. Since you need 16 line clears to reach next phase, it is possible that you can directly go from phase 1 to phase 3 by clearing your 2W stacks.
You can use Zone to stop the gravity to help you stack 2W easier. AVOID CLEARING YOUR 2W STACKING DURING ZONE! Since line clears during Zone does not count towards the line clear goal to reach next level. The only reason for you to clear line during Zone should be cleaning messy stack or if the 2W stack is reaching extreme height.
If you already reached high stack before Zone ends, just wait until the time runs out. Remember that you have to place a piece to end Zone when the time runs out.
Also, you can dump any unwanted piece into the empty stack. - Pause To Plan
This technically isn’t a gameplay strategy, but it’s a method that works, so I’ll include it anyway.
You should use this only when you really needed to! It will be tedious and spend much more time, but you can use this when you want to ensure safety.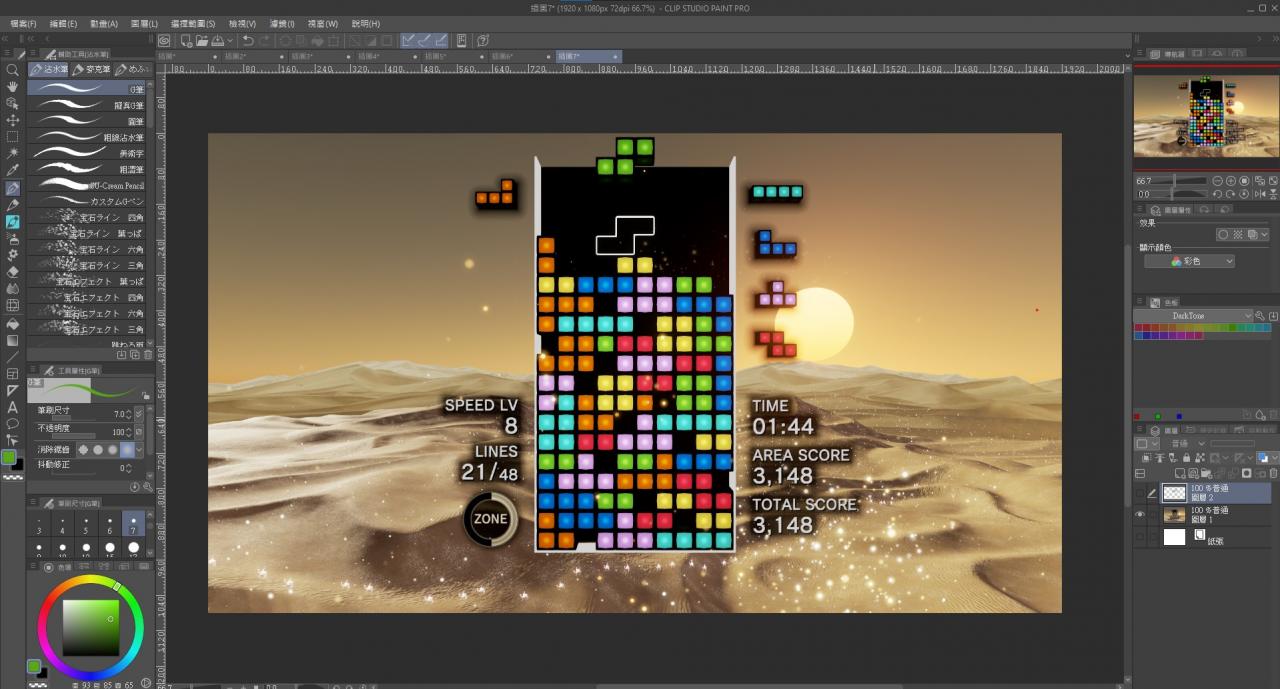
First you need to let the current piece softdrop to a ideal position. While it is dropping, take a screenshot (or record your gameplay so you don’t have to press button for taking photo)
Then go to image editing software to find a solution for your current board.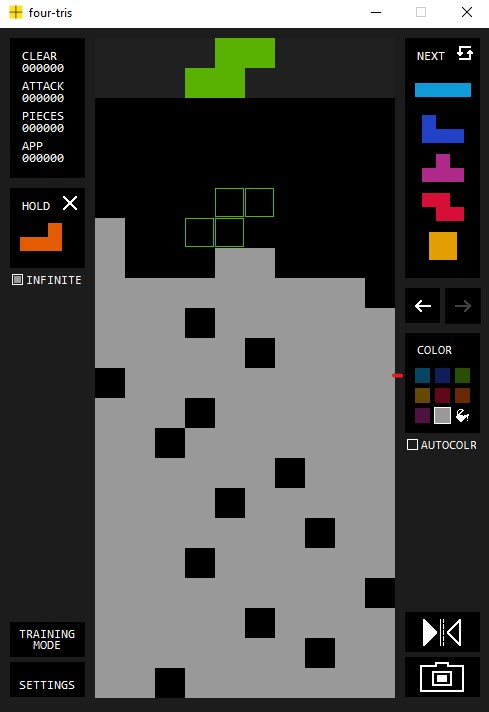
Alternatively, there are some Tetris software such as four-tris[github.com] can help you to draw the map.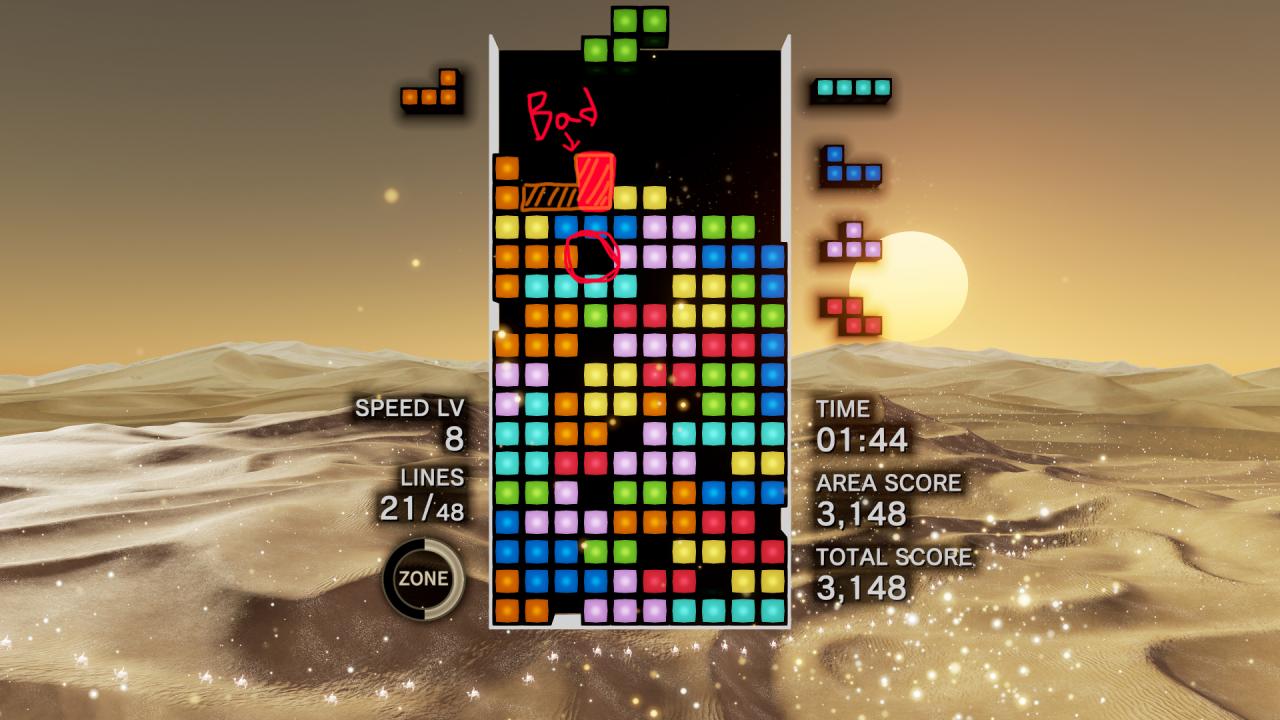
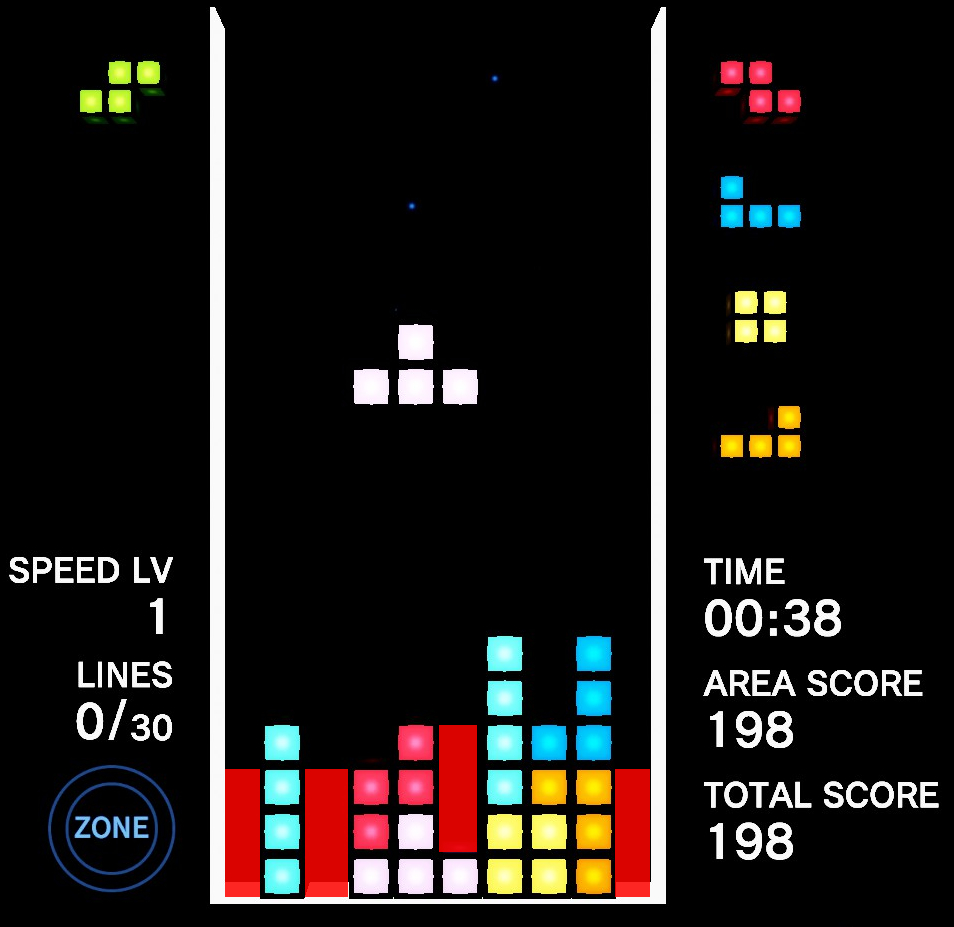
When I’m planning for my downstack, I’ll avoid stacking 2+ blocks above the empty gap unless necessary. So I won’t put my L piece here.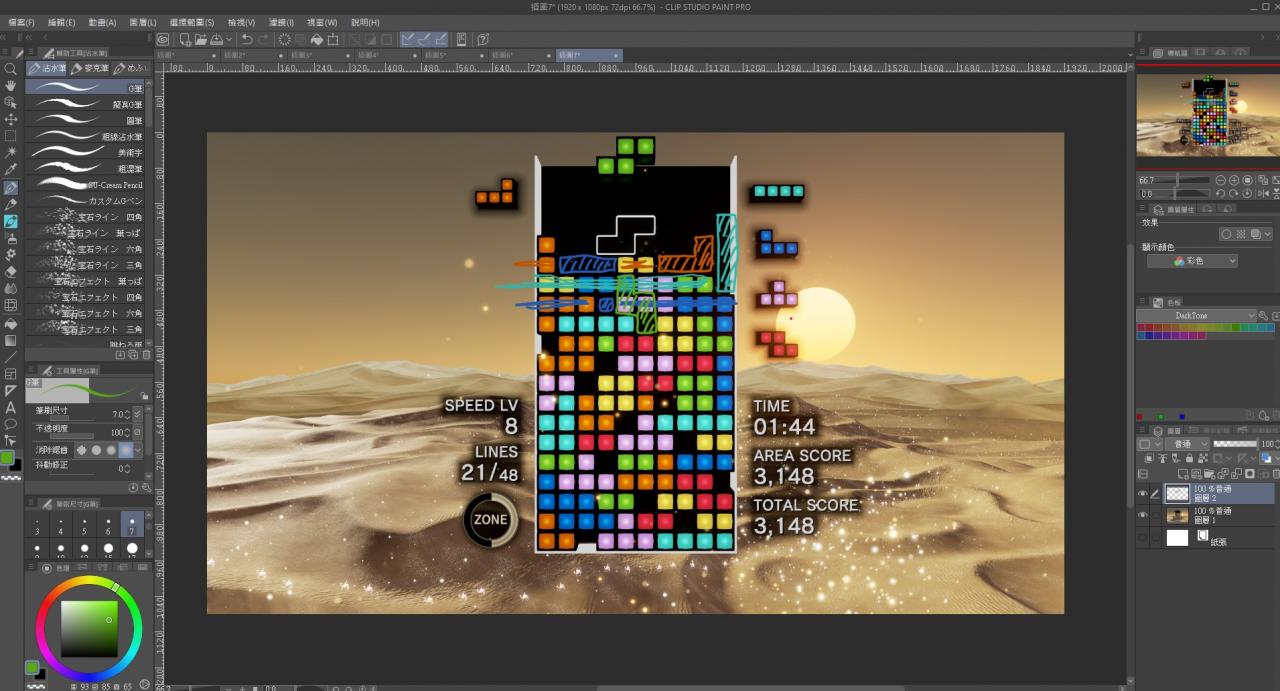
This will do. now I’ll return to my game to execute my plan.
Done, you can repeat it again if you need.
Gameplay Tips
- Less Standing Pieces
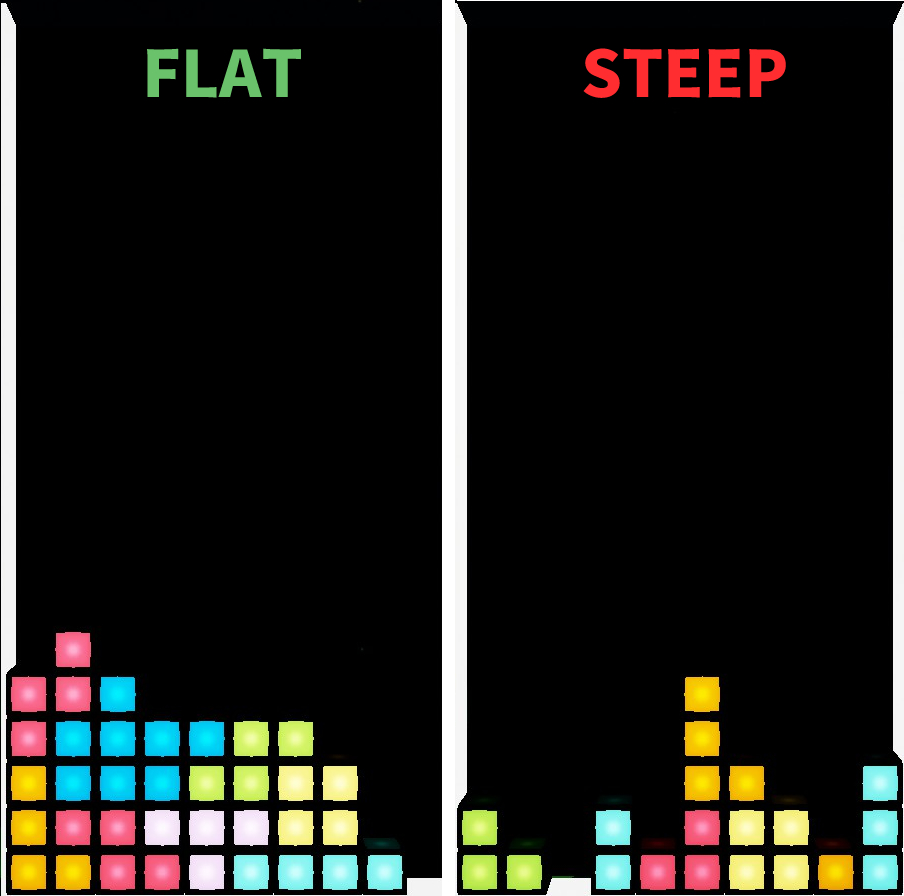
Avoid to make your board look spiky, as this will make it harder to find a placement for your pieces.
Generally speaking, It is easier to stack flat if you place more proning pieces than standing pieces, as standing pieces usually create bigger height difference.
Of course you can stack flat with standing pieces, but it requires you to know enough about pieces’ combination to make it flat, and most new players tend to place standing pieces than upside down pieces to resolve stacking, results in a higher chance to create spiky board.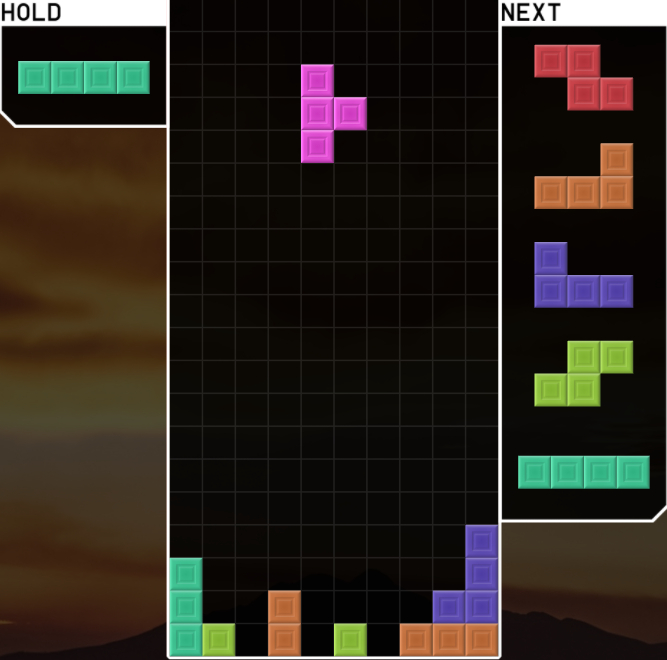
I’ll demonstrate with this board to show why it is better to avoid standing pieces. Complex setups are out of this discussion.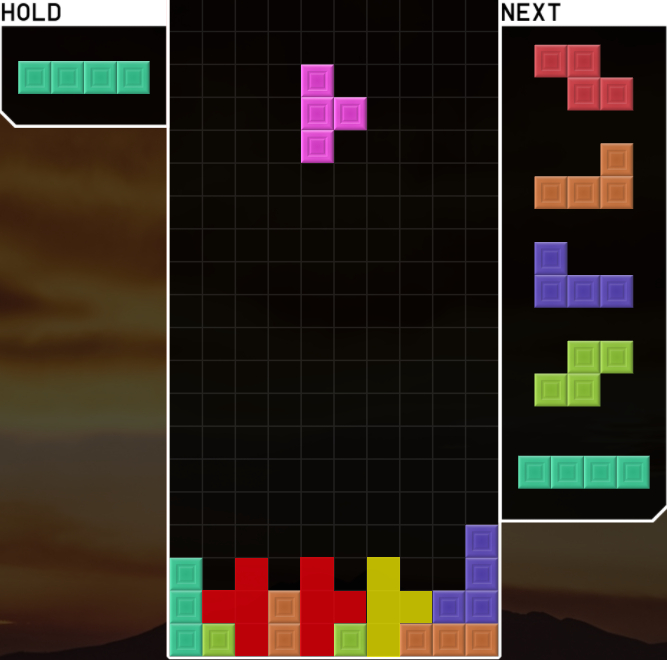 Stand T Case
Notice the color marked part, red aren’t recommended, yellow mark is acceptable.
Red : You want to avoid placing them here, since there won’t be 2-block wide floors for you to place an O piece without leaving gap underneath. (Although you can make the floor by hanging a upside down L piece, I don’t consider it as a straight-forward answer unless you are experienced with downstacking)
Yellow : This is okay because it leaves you a 2-block wide floors to place O and standing L, J.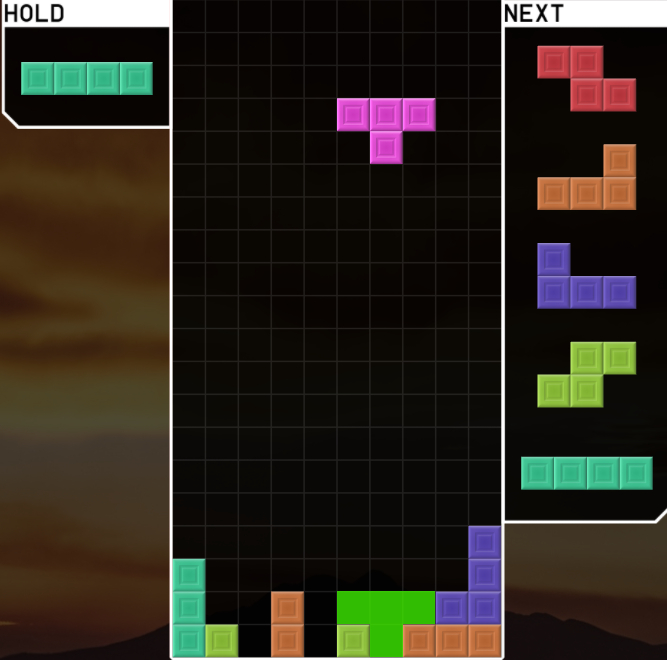 Prone T Case
Notice the color marked part, green is ideal.
Green : Placing T piece here will create a 4-block floor, you can place almost any piece (even a prone I piece) on it without creating a closed gap. The more available options we have, the easier it is to stay low. - Avoid I piece Dependencies
Pay attention to 3+ blocks height difference, you might want to place your next piece somewhere else if it’s gonna create an “I Dependency”.
“I Dependency” means certain column must use an I piece to avoid leaving empty hole underneath. If a column’s adjacent columns are 3+ blocks higher than it, an “I Dependency” is made.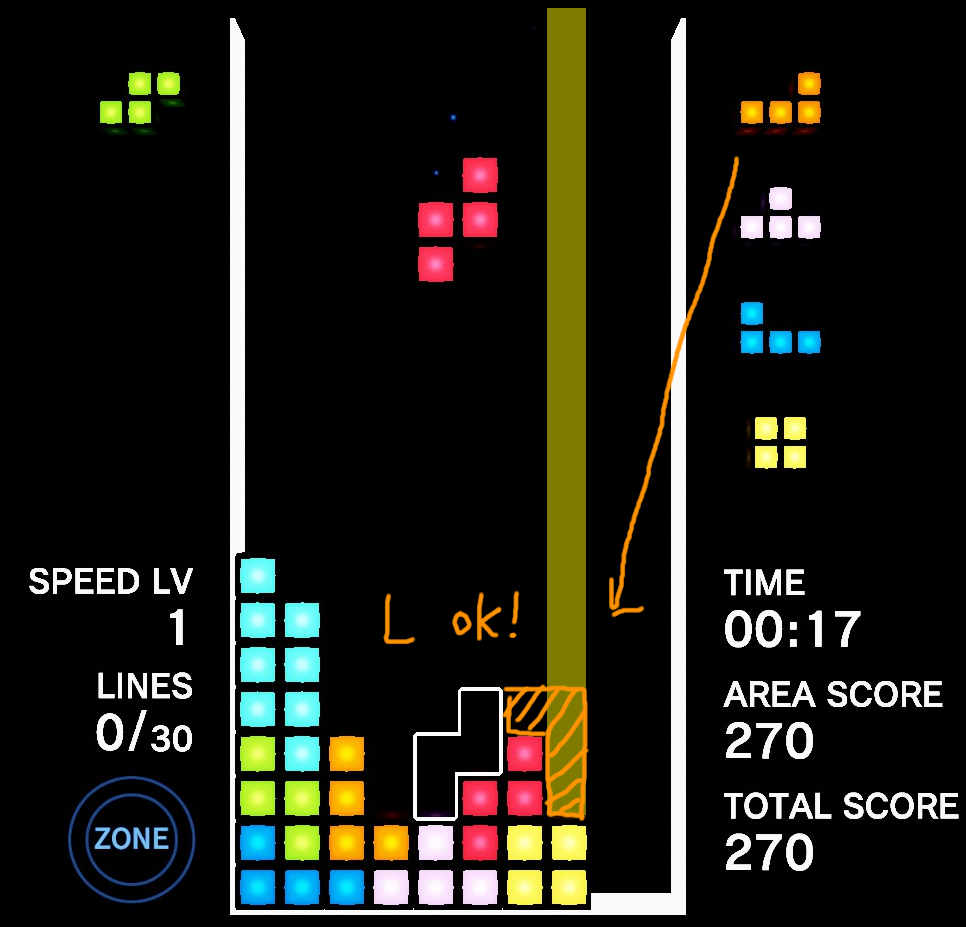
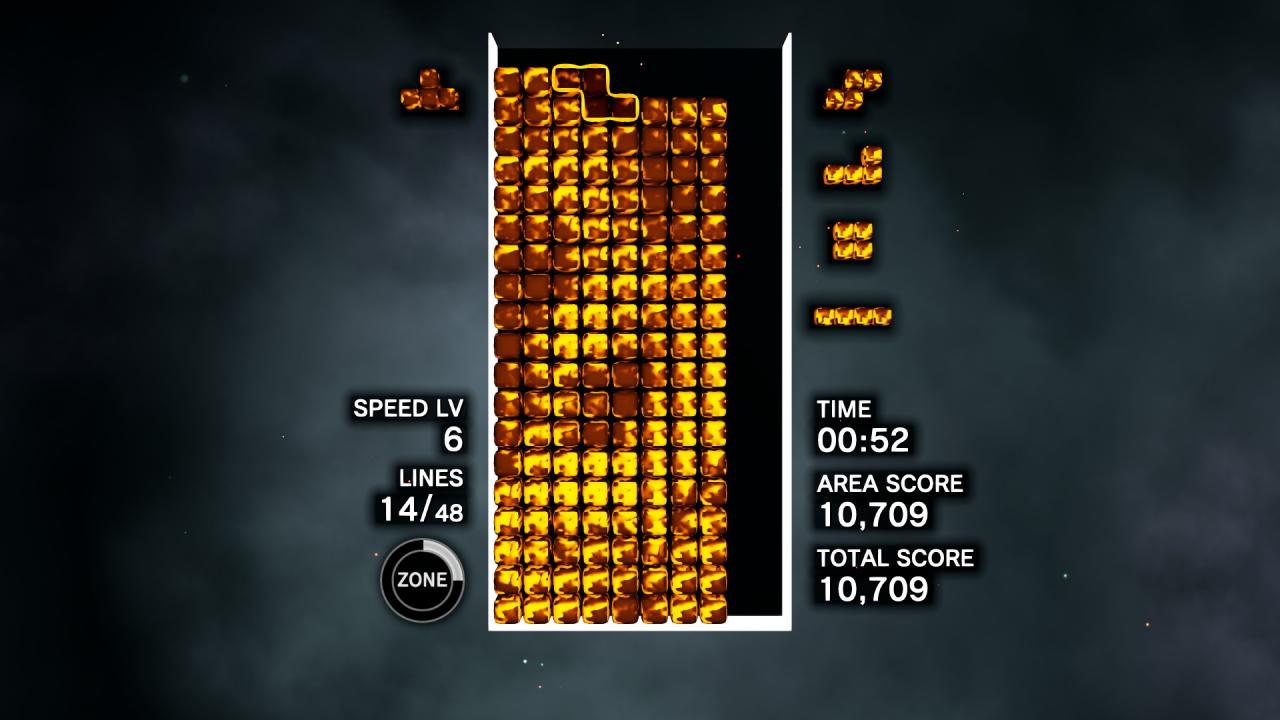
Here’s an example of me making 2W setup. if I want to fill the yellow mark column after placing the Z piece, placing at the ghost piece placement will make me able to fill the yellow column with upside down L or standing I.
If I place it here, yellow column will become I dependency and a I piece must be spent for it to maintain my 2W setup.
Besides, the next I piece is not even within my Next queue in this demonstration, chances are I’ll stack other pieces at the left side of yellow column, making them even higher than yellow column that it might require another I to be equally high as other columns. - Piece Climbing
When the Speed level is too high, causing your piece to fall to altitude lower than where you want to place, you can sometimes spam rotation button to make it climb to higher altitude.
if you have a board with big height difference in the stacking part, This could be a constraint for your movement. Avoid making your board spiky. - Higher Corner
When we make the corner higher, it’s like we shrinked the board for ourselves. the smaller the board is, the less we need to think.
——— Level Guide
For each level, I’ll list the difficulty from 1 to 3 stars based on my personal thoughts, list the speed level for each phase and strategies I recommend.
Here’s the table for all the speed levels of areas. Almost all of them have a consistency requirement of clearing 16 and 32 lines, the last level “Metamorphosis” is the only exception which requires clearing 30 and 60 lines to get to next phase.
AREA 1

1-1 THE DEEP
Difficulty ★☆☆
Speed increases gradually.
Speed level 6 is the slowest speed in Expert difficulty, You should be able to stack 2W in this level with no problem. after 32 line clears you reach speed level 8, which is the starting speed of next level.
If you struggle with this speed, chances are you need to improve your fundamental. Speed, Stack flat, when to hold or not to. In that case, you should at least be able to clear Journey Mode in Beginner difficulty before you attempt to clear it in Expert.

1-2 Pharaoh’s Code
Difficulty ★☆☆
Speed increases gradually.
In Normal difficulty, speed level 10 first appeared in 3-4 Spirit Canyon, but in Expert, it arrives much earlier. And next level’s speed is all above 10. if you struggle with speed 10, you should ready your stack when your line clear is near 28~31, and start clearing them to reach next level as fast as possible.
If you are ok with this speed, you may want to save your stack for 1-3, since 1-3 starts with speed 10.

1-3 Karma Wheel
Difficulty ★★☆
Speed increases gradually.
This one will be challenging since it’s 10+ speed level in every phase. It is recommended to stay low.
Use Zone to save your board if it gets messy or stack at near line 28~31 so you can play less under 12 speed. If you can clear Area 1, I think you won’t have any troubles until Area 4.
AREA 2

2-1 Jellyfish Chorus
Difficulty ★☆☆
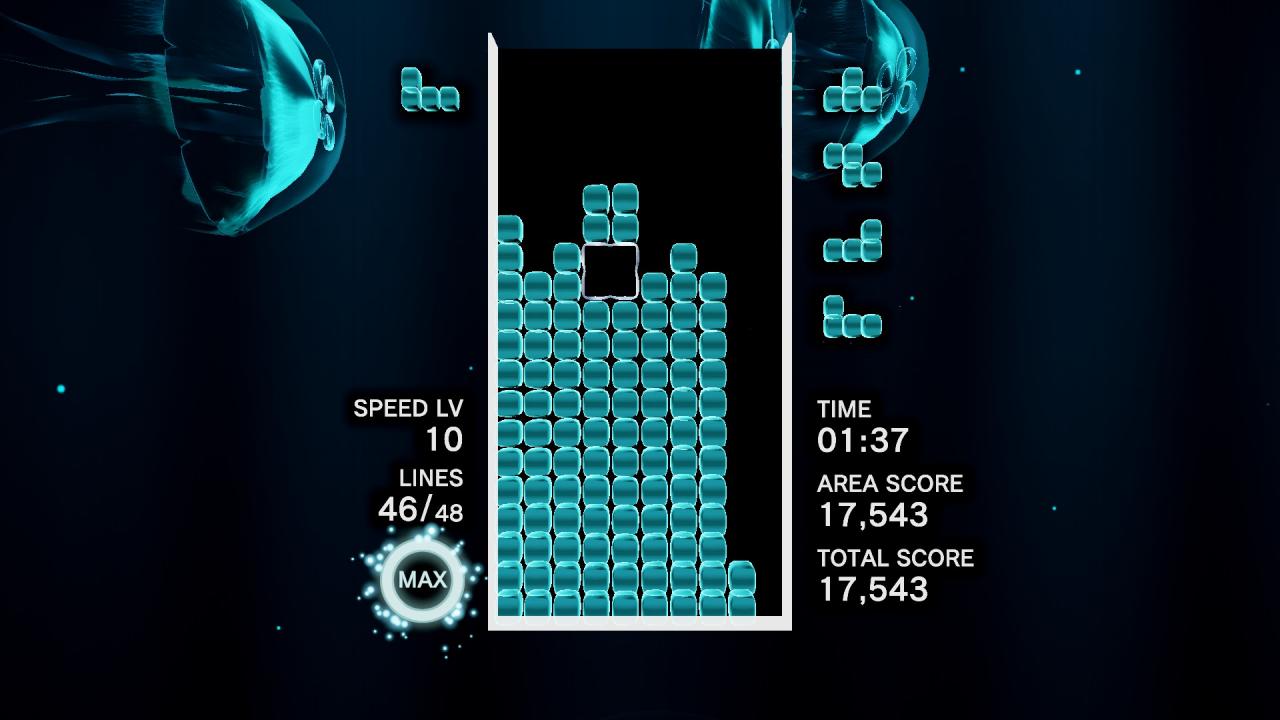
Slow. Intense at Line 32
Now that you passed Area 1, Area 2 is actually a lot easier except the last level.
If you have no problem with 10 speed, you can use 2W until 2-4.

2-2 Da Vinci
Difficulty ★☆☆
Slow, Intense at line 16, Slow down at line 32.
The only problem with this level is that it’s sooooooo bright compared to other levels you previously played.
If you start from this level, you can stack to 20 to gain 50% meter, use your Zone to build 2W stack, and clear it to skip the 10 speed phase. When it become 6 speed again, you can save the Zone for the next level since it’ll start with 10 speed.

2-3 Prayer Circles
Difficulty ★☆☆
Starts Fast, Slow down at line 16, Fast Speed again at line 32
Similar to 2-1, 2-2, except it has 2 phases with 10 speed.
You can store Zone meter from 2-2 and use it to get through first phase so you can comfortably stack before line 32.

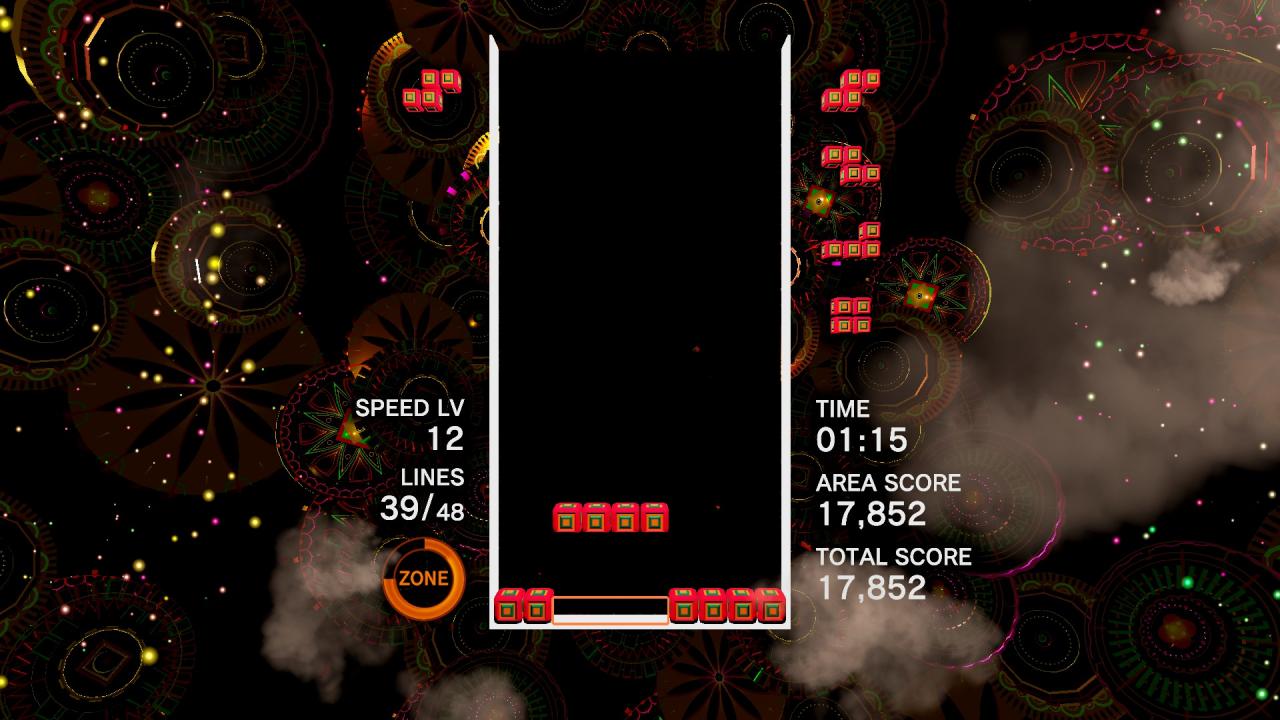
2-4 Ritual Passion
Difficulty ★★☆
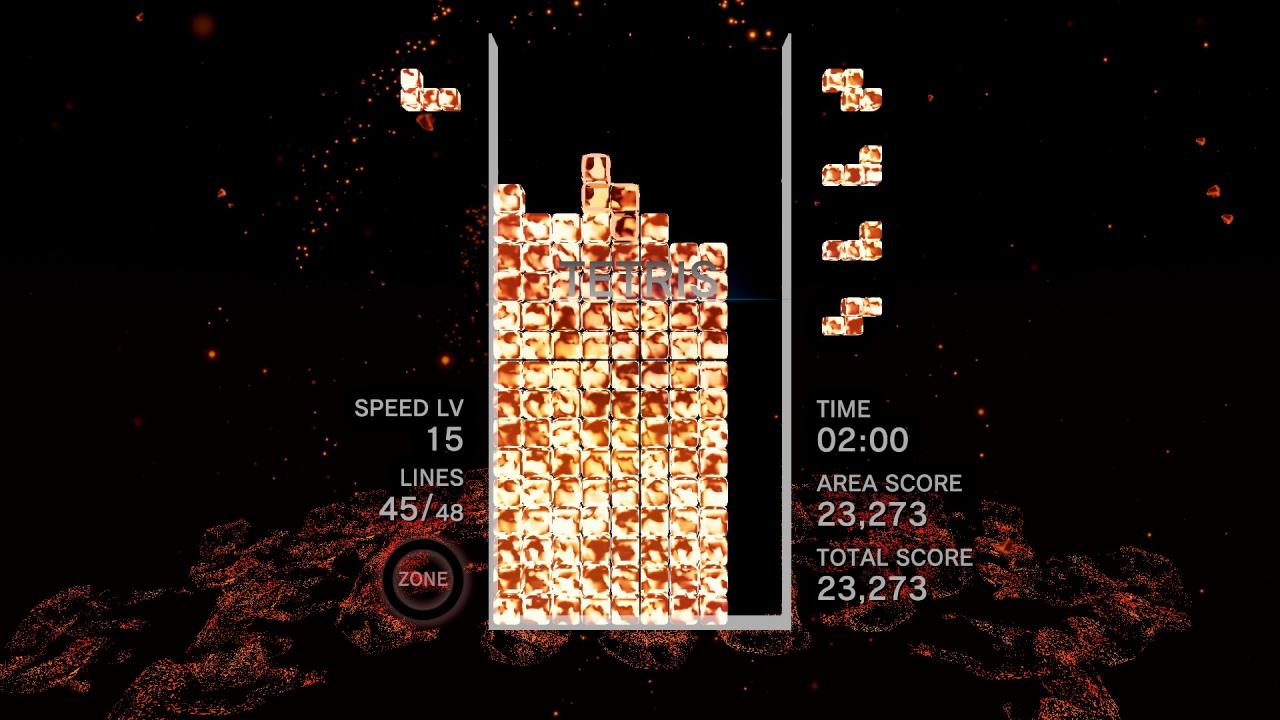
Slow, Intense at line 16, Extremely fast at line 32
This level is on fire, literally. Fortunately it is very slow at beginning, so I recommend you to store Zone meter from previous level.
You should start building your 2W at line 12~15, and when it reaches the next phase, start clearing your 2W lines. once you got to line 32, use your Zone so you can build another 2W stack safely.
AREA 3

3-1 Deserted
Difficulty ★☆☆
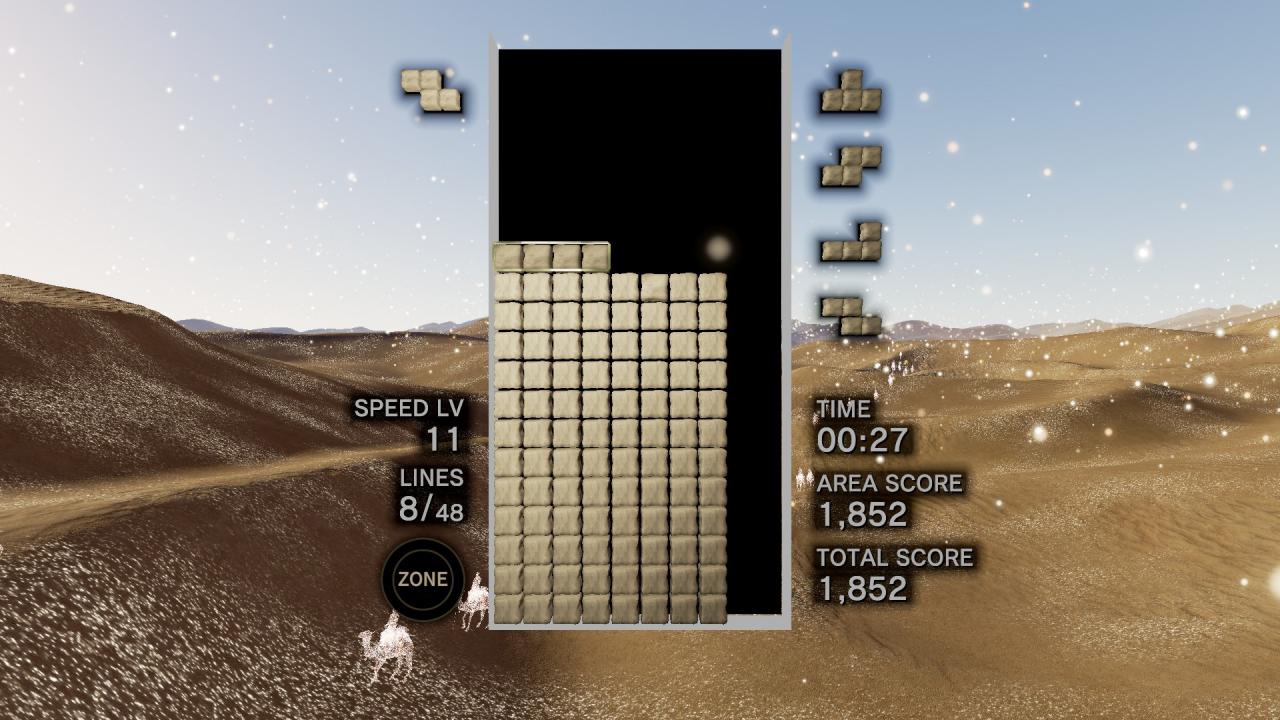
Starts Fast, Speed decreases gradually.
This one has a very unique speed curve. You can stack low first, and start building 2W when the speed slows down.
Next level is pretty tricky, so it is recommended to build Zone meter and 2W stack before the level ends and carry on to 3-2.

3-2 Dolphin Surf
Difficulty ★★☆
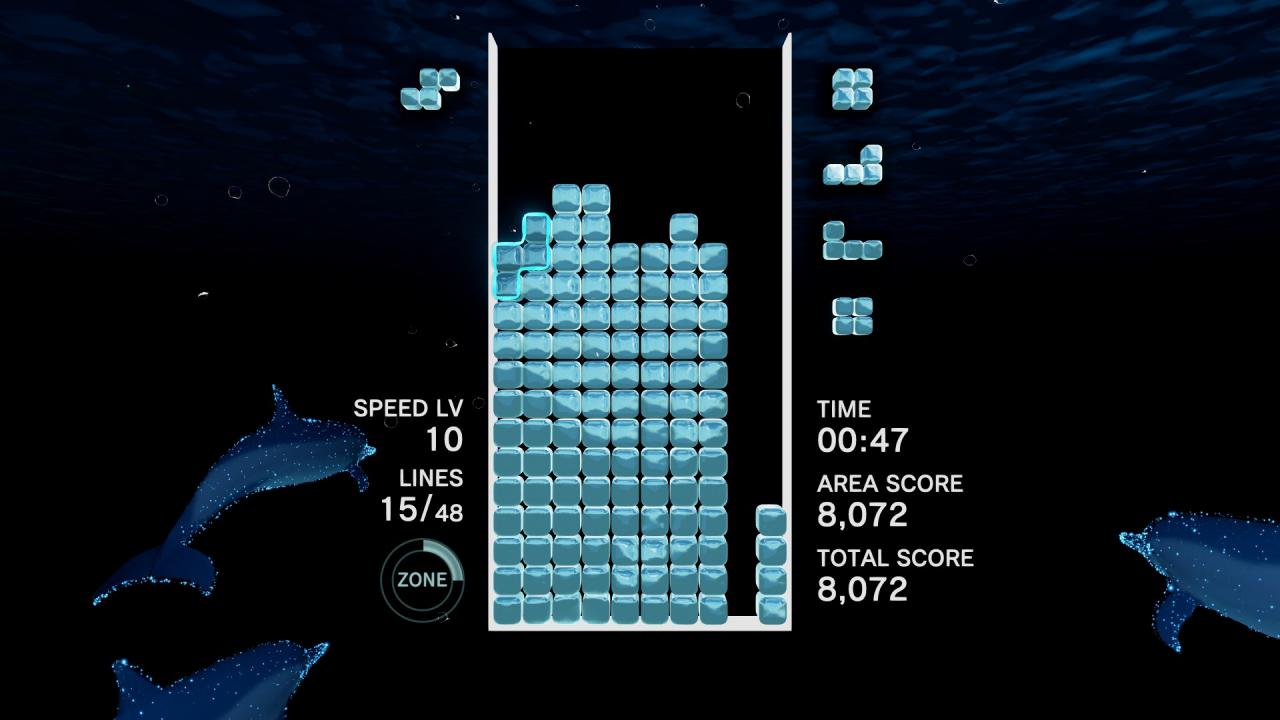
Slow, Intense at line 16, Slow down at line 32.
It’s kinda like 2-4 Ritual Passion, except all phases have 10+ speed.
If you have trouble with the average speed in this level, you can start from 3-1, which is easier, and start building Zone meter and 2W stack from that level.
try to reach line 12~15 without using Zone, then use your Zone to stack, and use the 2W stack to get to line 32 as fast as you can.
You’ll have to finish this level under 12 speed, but don’t forget you will get Zone meter for each 10 line clears.

3-3 Downtown Jazz
Difficulty ★☆☆
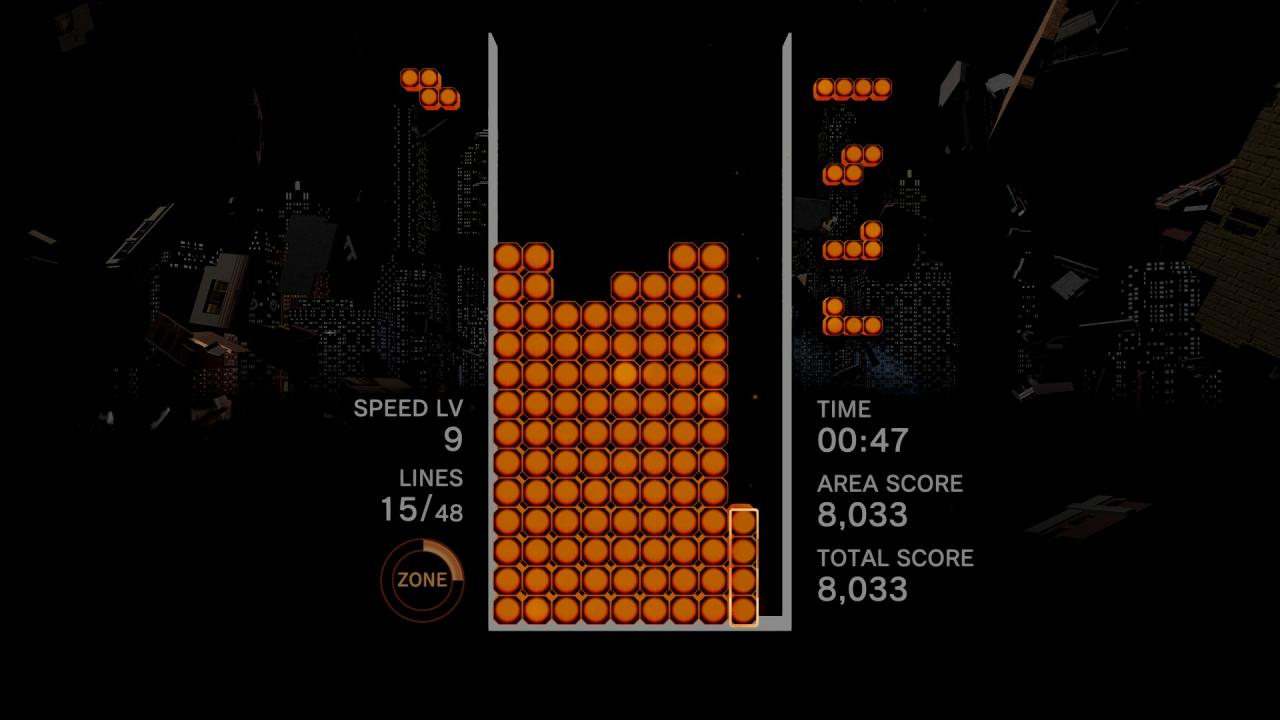
Starts Fast, Intense at line 16, Slow down at line 32
Similar to 2-2 Da Vinci, but the overall speed is higher.
stack and try to get through second phase with 2W.

3-4 Spirit Canyon
Difficulty ★☆☆
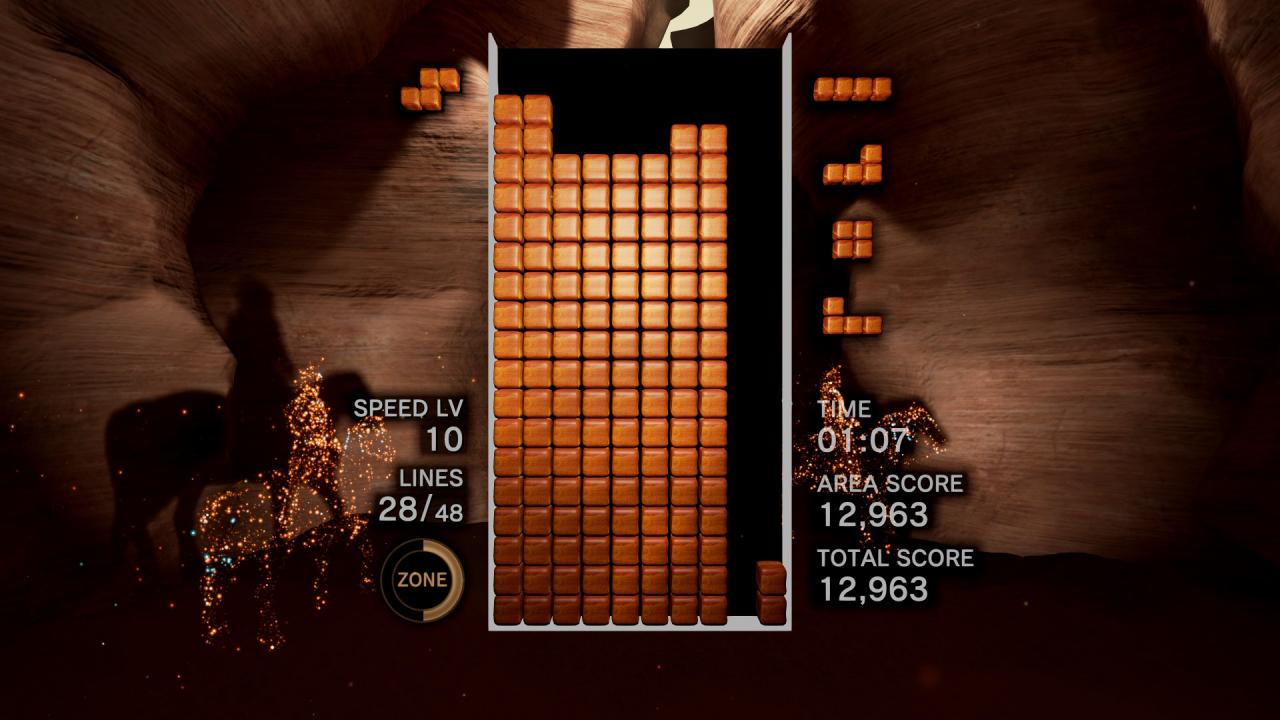
Slow, Extremely fast at line 32
You probably got used to 10 speed if you reached this far. So prepare your 2W stack at line 28~31 with Zone, and get through the last phase as fast as you can.
AREA 4

4-1 Jeweled Veil
Difficulty ★☆☆
Consistent Speed.
Similar with how you play Area 1.

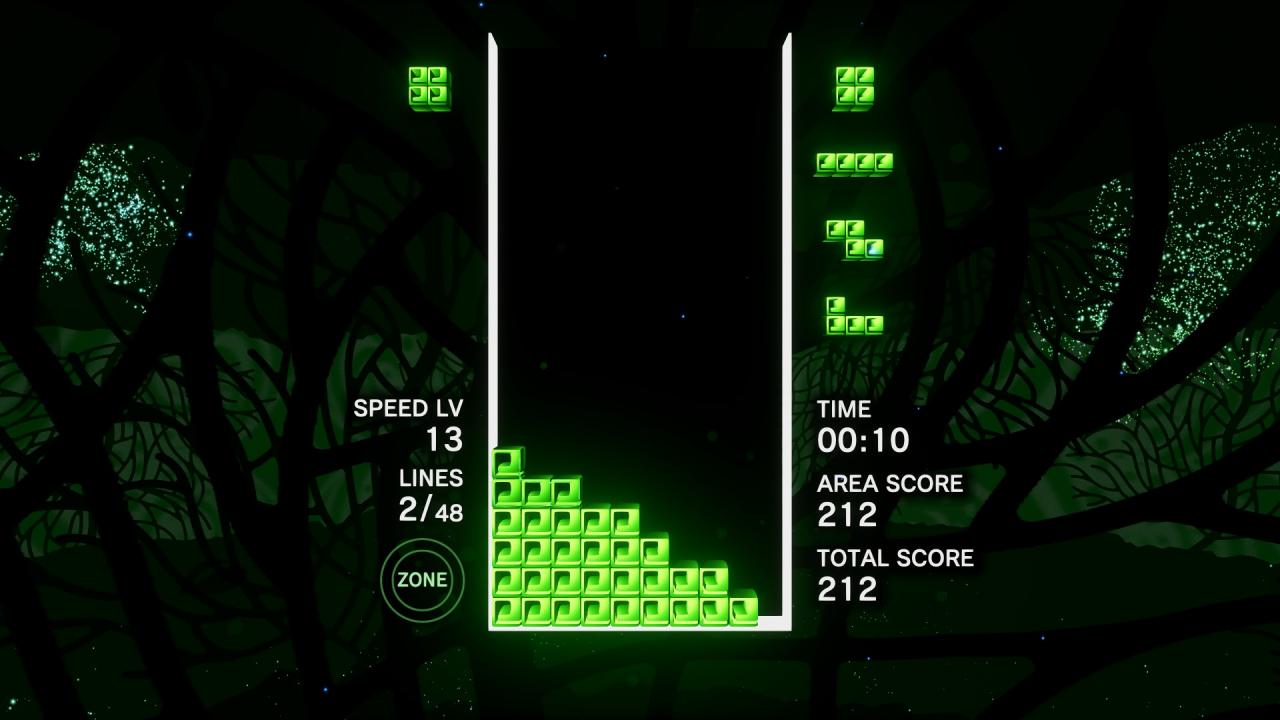
4-2 Forest Dawn
Difficulty ★★☆
Consistent Speed, but faster
This one stays at 12 speed throughout the level. You can stay low and activate Zone when board gets messy.
4-3 Kaleidoscope
Difficulty ★☆☆
Starts Fast, Intense at line 16, Slow down at line 32
Similar to 3-3 Downtown Jazz, use your 2W to get through second phase.

4-4 Turtle Dreams
Difficulty ★★☆
Consistent Speed.
Similar to Forest Dawn but it’s slightly faster. Stay low.

4-5 Celebration
Difficulty ★★☆
Slow, Extremely fast at line 16, even faster at line 32
It’s deceptively slow at first sight, prepare your 2W stack at line 12~15 and then clear them to get to line 32, use your Zone to build another 2W stack for it.
AREA 5

5-1 Sunset Breeze
Difficulty ★☆☆
Starts Fast, Slow down at line 16, Fast Speed again at line 32
Stay low, when you reached 8 speed, build your 2W stack at line 28~31.

5-2 Aurora Peak
Difficulty ★★☆
Fast, Intense at line 16, Extremely fast at line 32
Similar to 2-4 Ritual Passion except all phases are 10+ speed. Perhaps it is better to just stay low.

5-3 Zen Blossoms
Difficulty ★☆☆
Slow, Faster at line 16, Intense at line 32
This one looks comparably easier after you cleared other levels in Area 3 and 4. Build your 2W Stack at line 28~31.

5-4 Yin & Yang
Difficulty ★★★
Extremely Fast, Slow down at line 16, Even slower at line 32
This one starts really fast, stay low. If you have trouble with 16 speed, you can carry over Zone and Stack from previous level.

5-5 Hula Soul
Difficulty ★★★
Slow, Extremely fast at line 16, Extremely Intense at line 32
It’s your first encounter of 20 speed in Journey Mode. You can use the similar approach I used for 4-4 Celebration.
AREA 6

6-1 Starfall
Difficulty ★★★
Starts Fast, Extremely Intense at line 16, Slow down at line 32
Stay low, might be better to use your Zone to clear messy stacks.
6-2 Balloon High
Difficulty ★★☆
Slow, Extremely Fast at line 16, Slow down at line 32.
Similar to 3-2 Dolphin Surf, 2W Stack at line 12~15 so you can clear line to skip second phase.
6-3 Mermaid Cove
Difficulty ★★☆
Consistent Speed.
Similar to 4-4 Turtle Dreams, Stay low.

6-4 Orbit
Difficulty ★★★
Fast, Intense at line 16, Extremely Fast at line 32
All levels after this are 13+ speed, You don’t get a chance to rest now, but you should’ve built a habit of when to clear lines when you reached this point. You are so close to the goal, don’t give up!

6-5 Stratosphere
Difficulty ★★★

Extremely Fast, Faster at line 16, Extremely Intense at line 32
Stay low. This one is actually faster than finale, if you beat this then you are totally ready for Finale Metamorphosis.
FINALE

FINALE Metamorphosis
Difficulty ★★★
Starts Intense, Slow down at line 30, Extremely intense at line 60
The problem of this level is that it’s a marathon, you can’t skip fast phase in one 2W clearing.
Stay low, and build your Zone meter during line 30~60, use the pause method if you want.
By Nedur Frog