In this guide, I will explain how to earn (almost) every achievement step by step. I’ve replayed the game several times until I earn them all, so I’m not sure if it can be done in one go. Hopefully it can. I uploaded the screenshots to show you where exactly to go.
Note: As you play, you will unlock a total of 10 cutscenes. You will have to wait for all of them to end. Do not skip! It’s a requirement for one of the achievements.
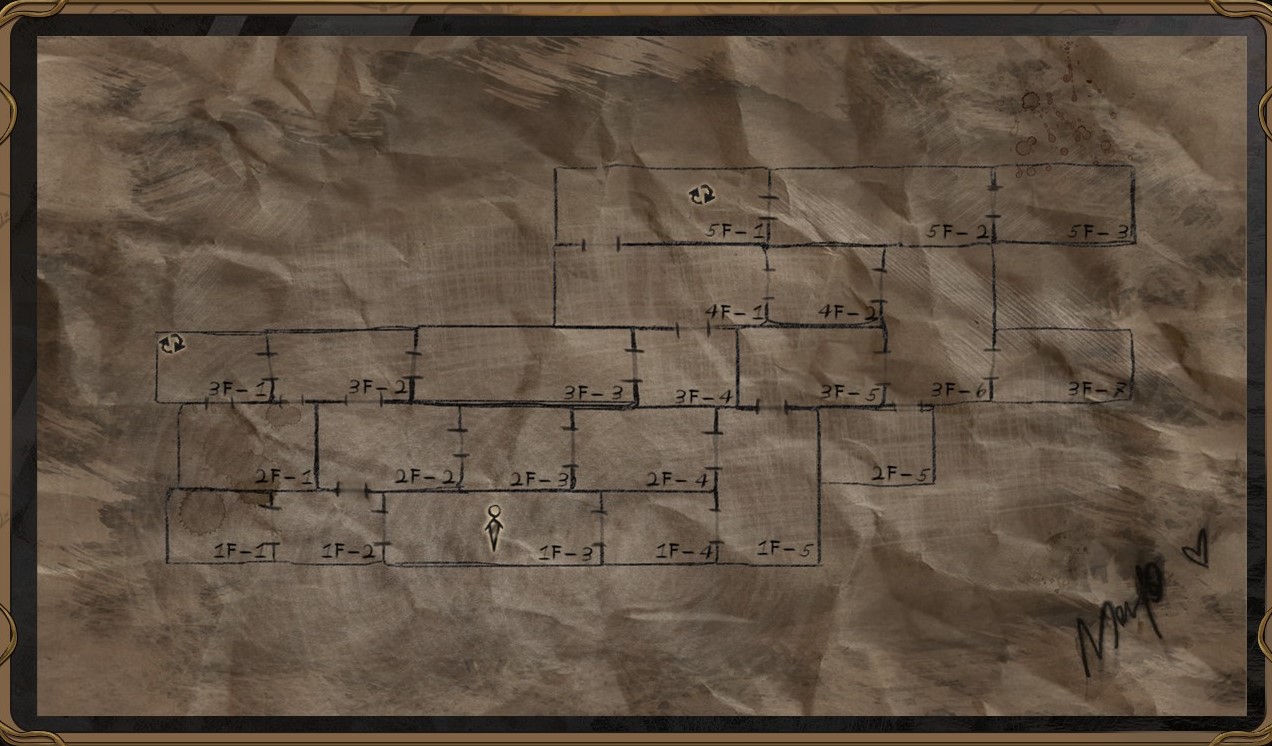
Game Flow
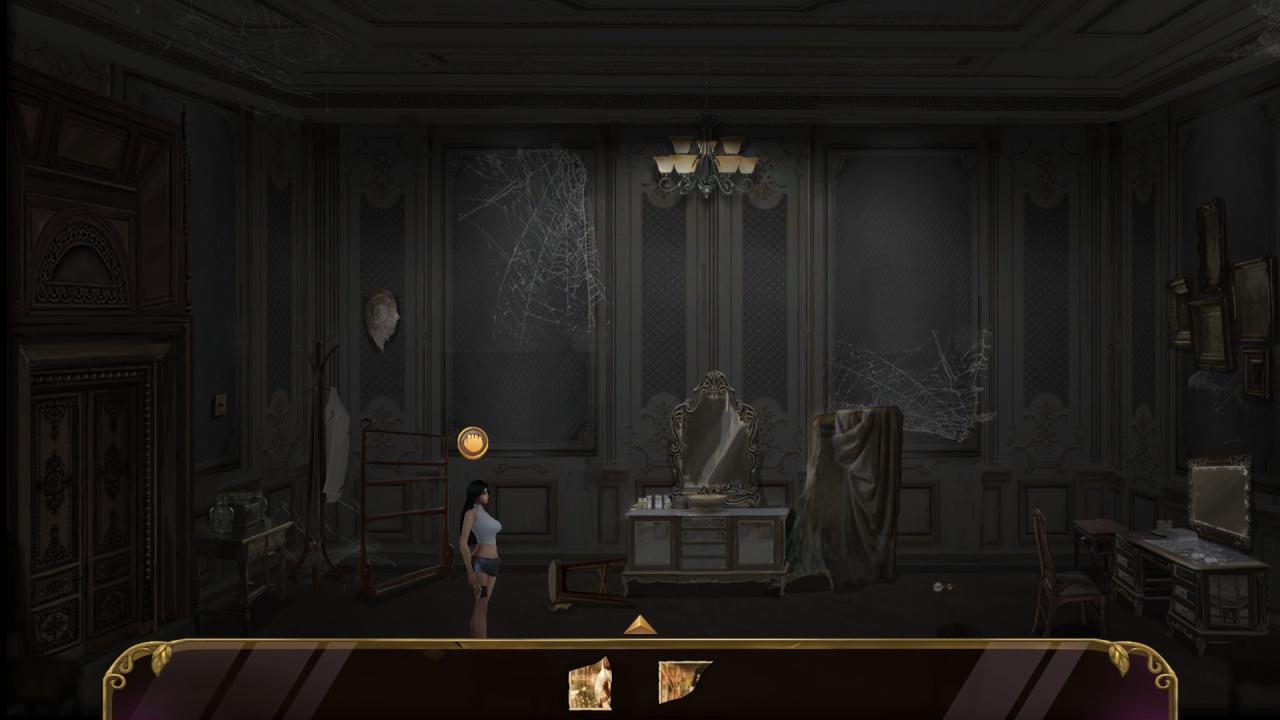
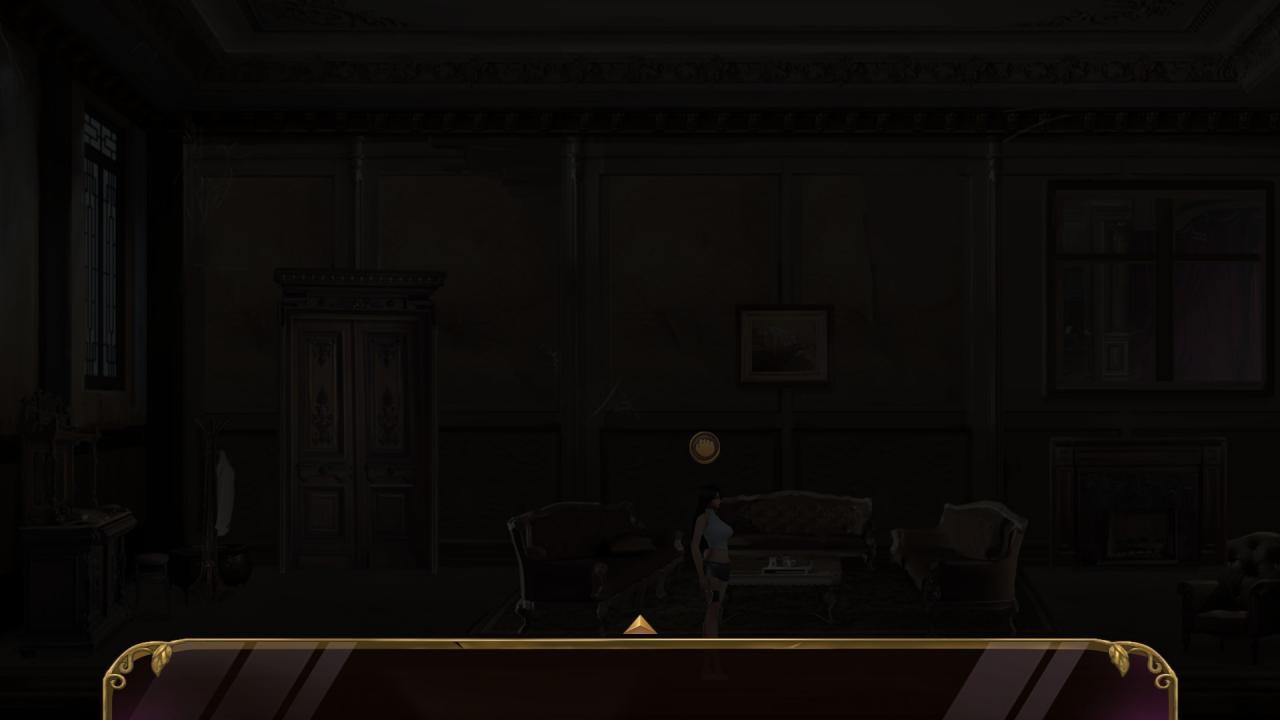
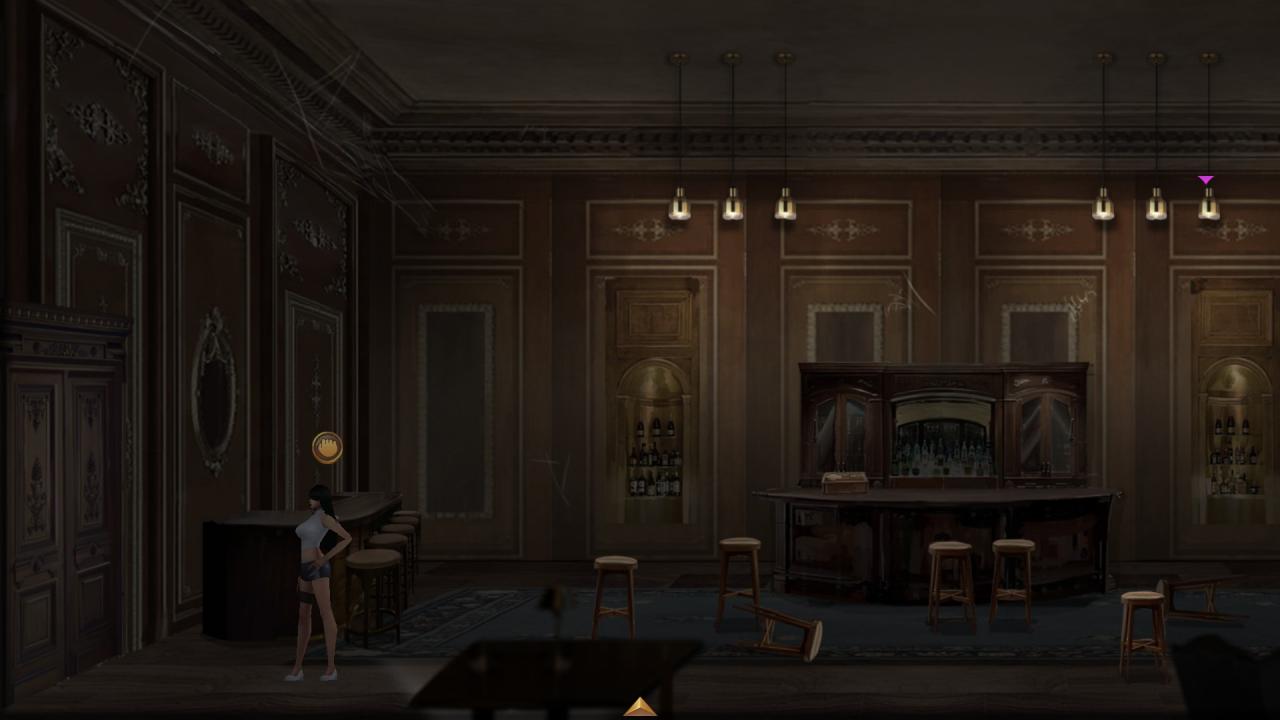
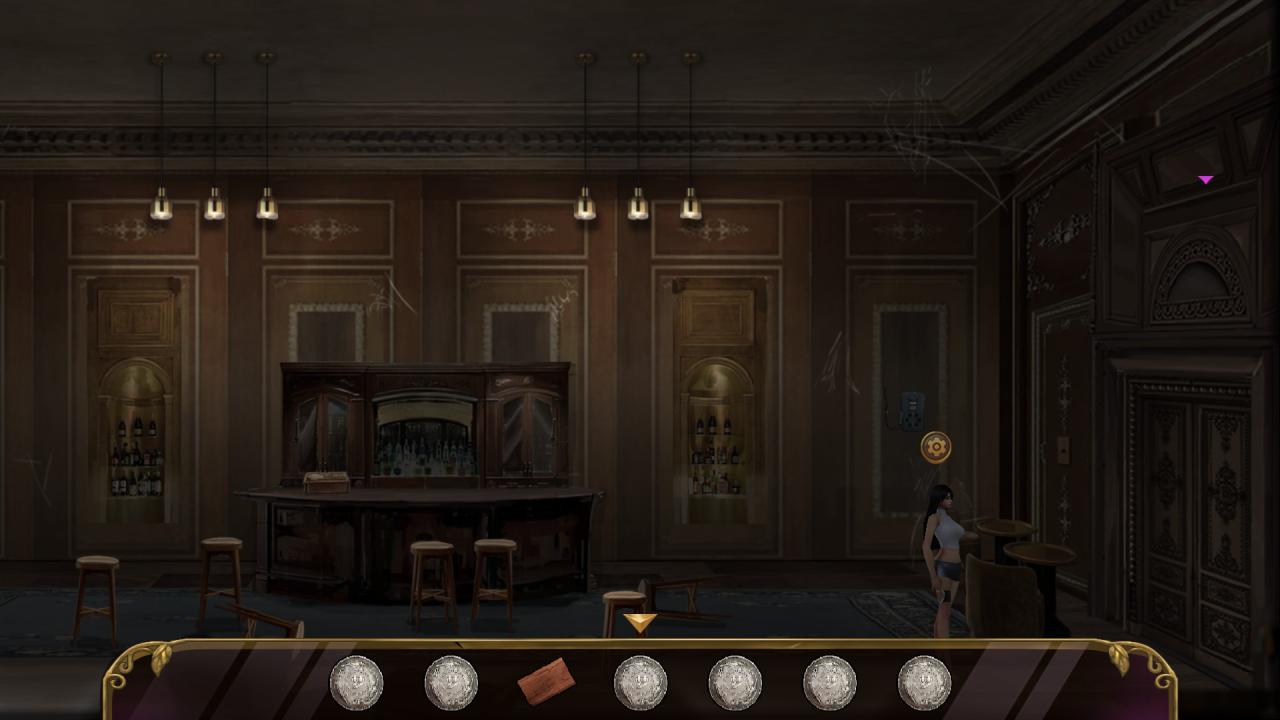
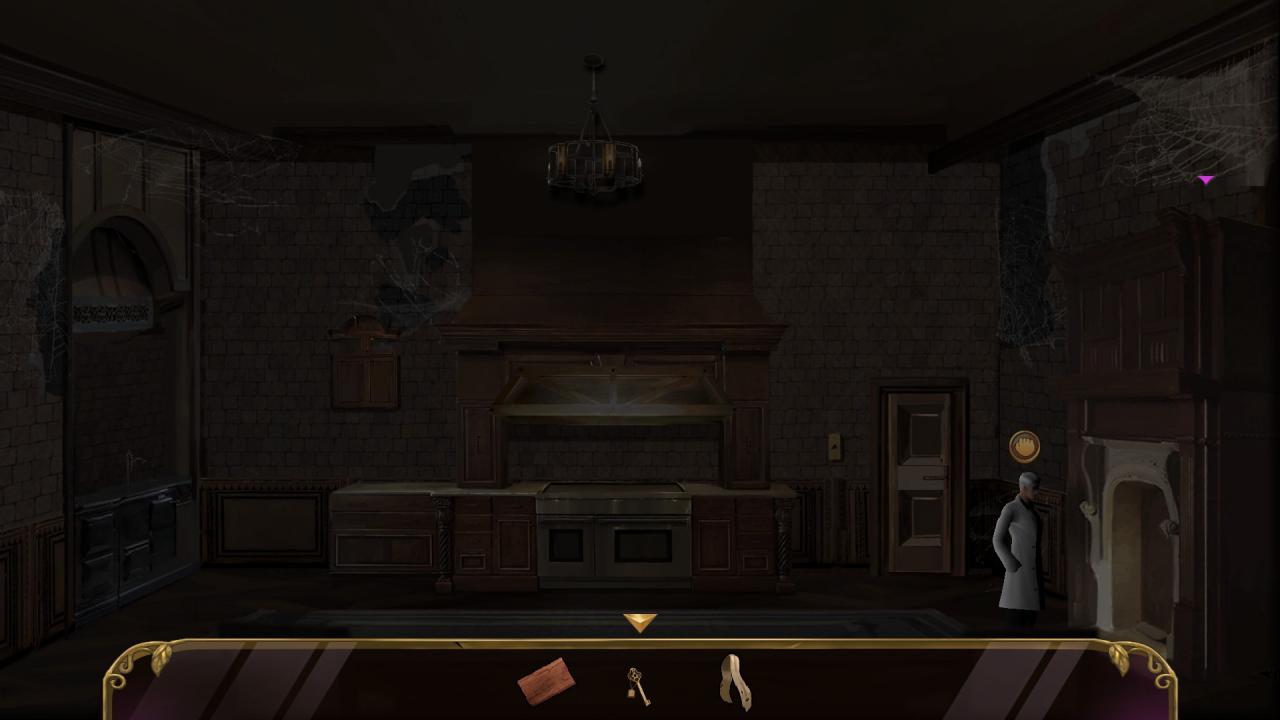
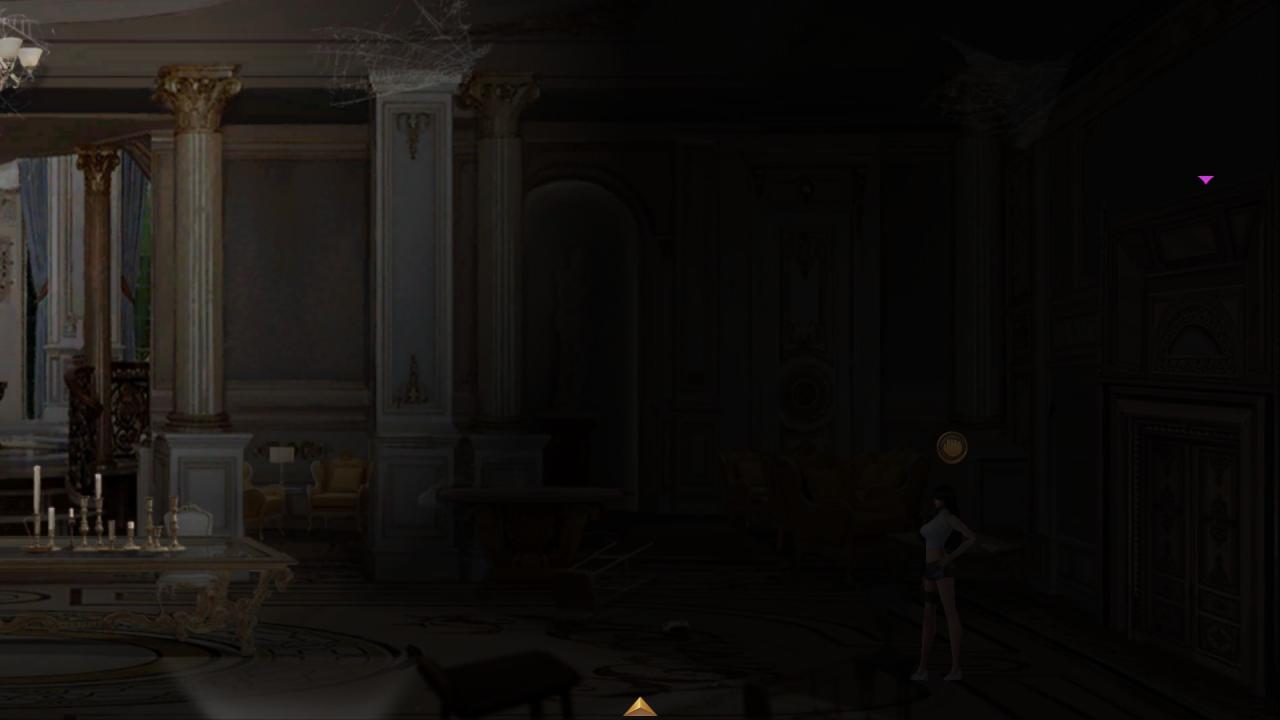
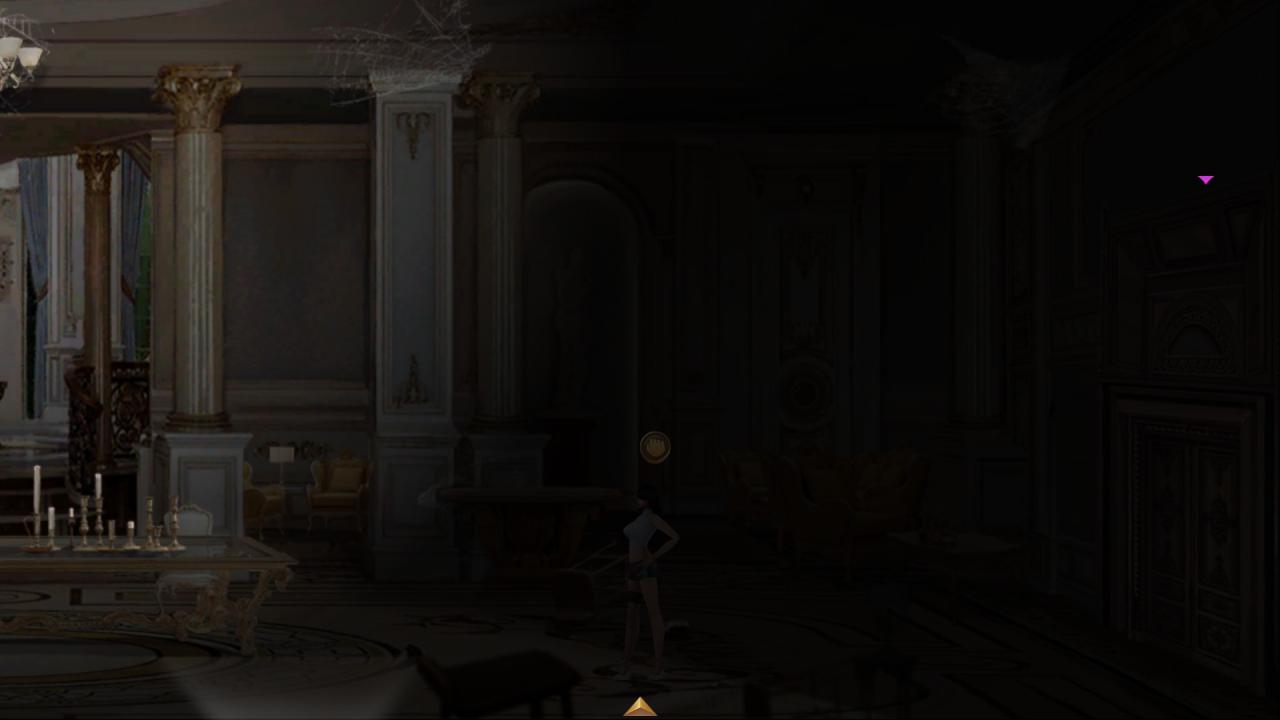
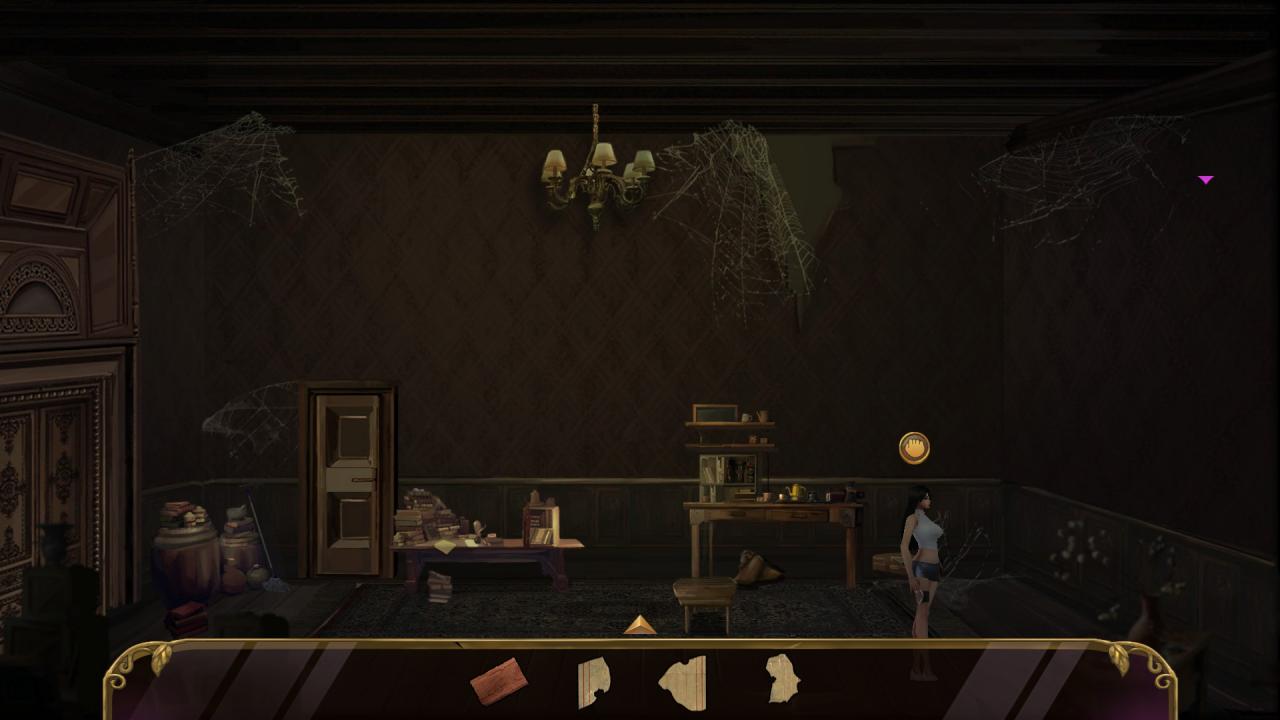
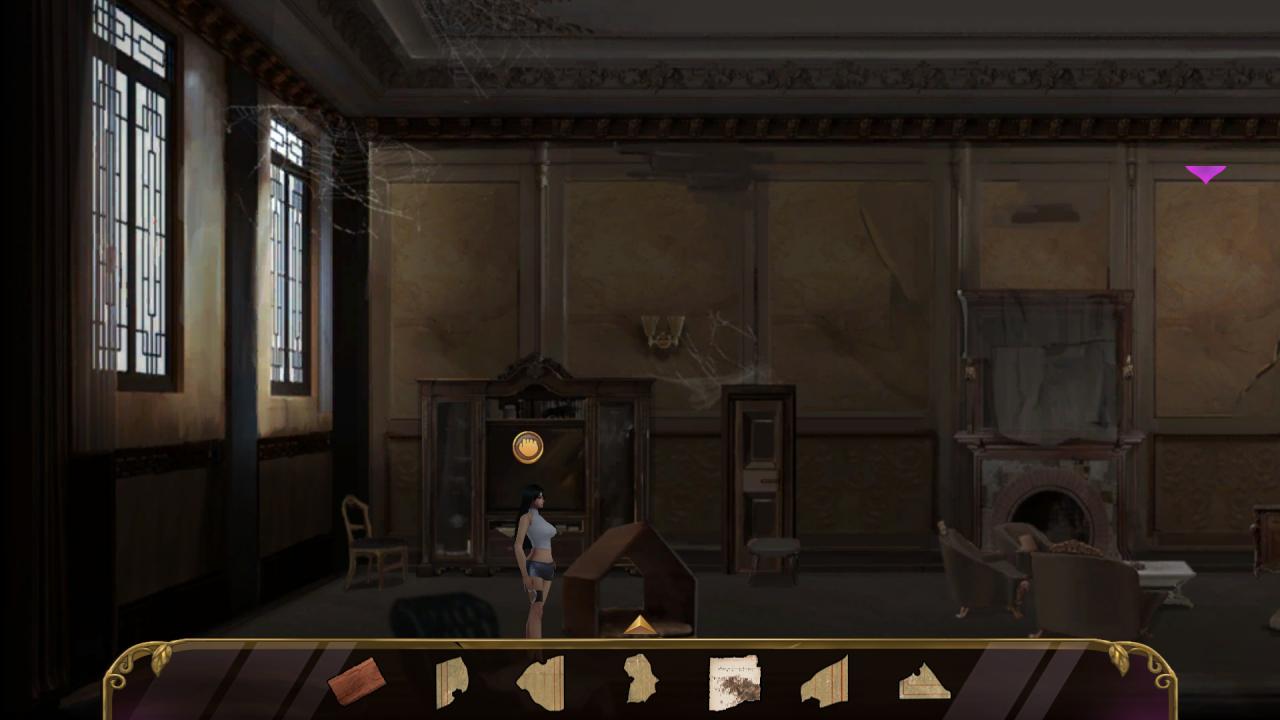
The protagonist will start in a basement. There is a badge near the exit, where the character on the picture below is standing.
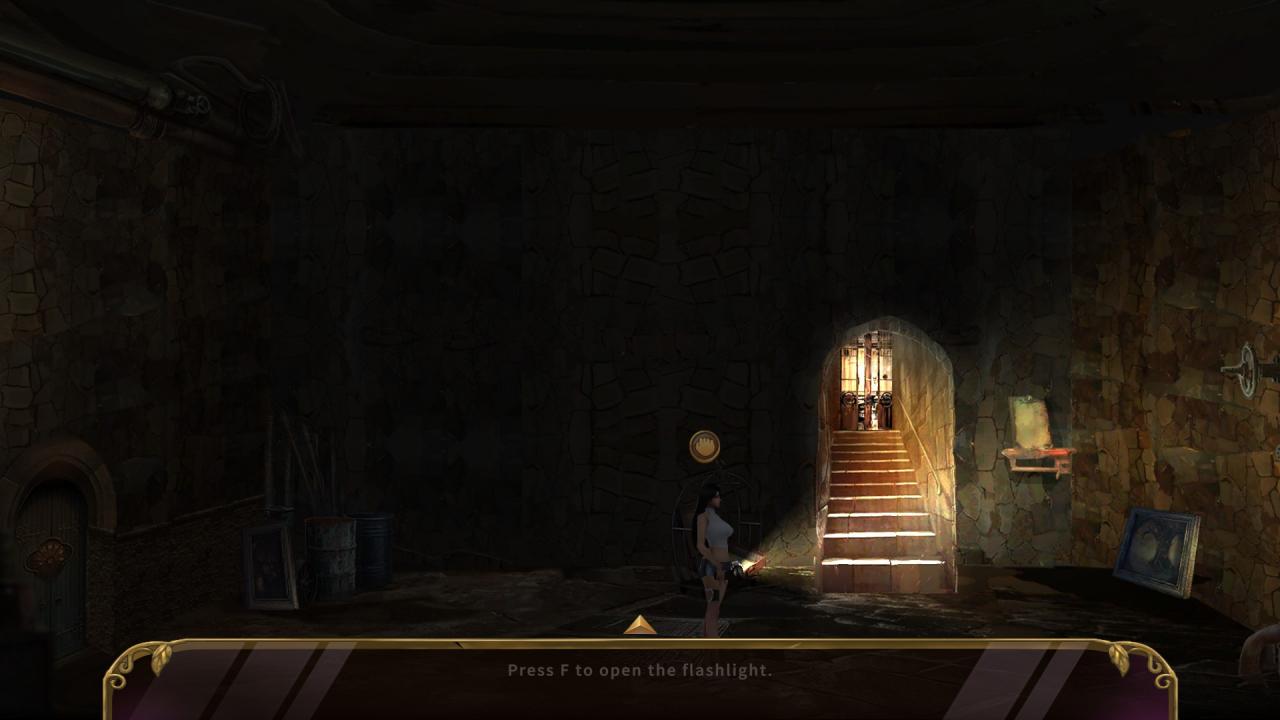
Take the badge and go upstairs. If you press M to open the map afterwards, you will see that you are in room 3 on the 1st floor (1F-3).
Go to the left. The first item you will take is a key.
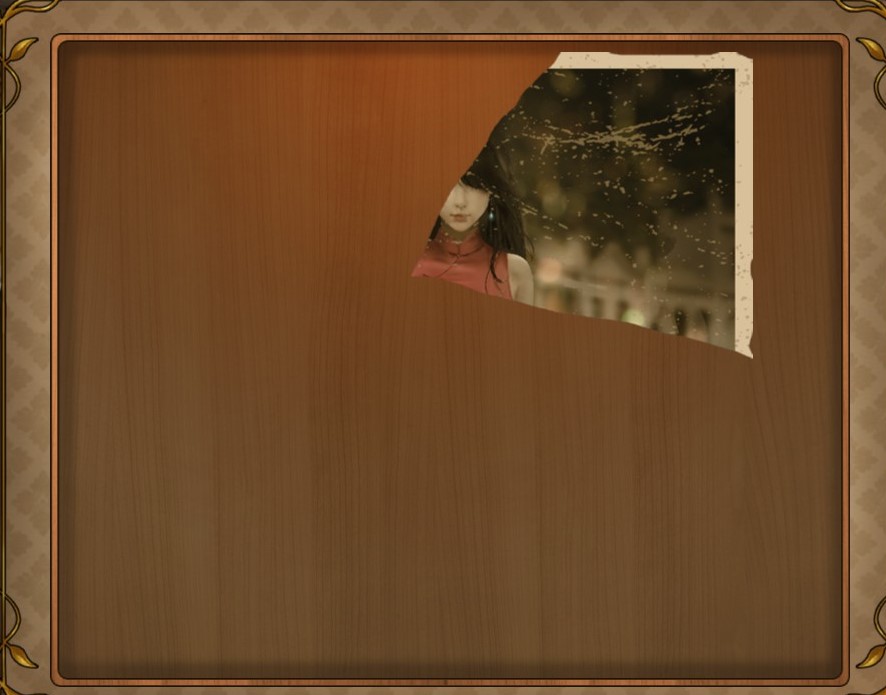
Proceed to the left and you will find a fragment of a photo.

Go to 1F-1 to take another fragment. You will need the key to enter that room. It will be consumed automatically upon entering.
Then go to 1F-4 to take the last fragment. You should have three fragments now.
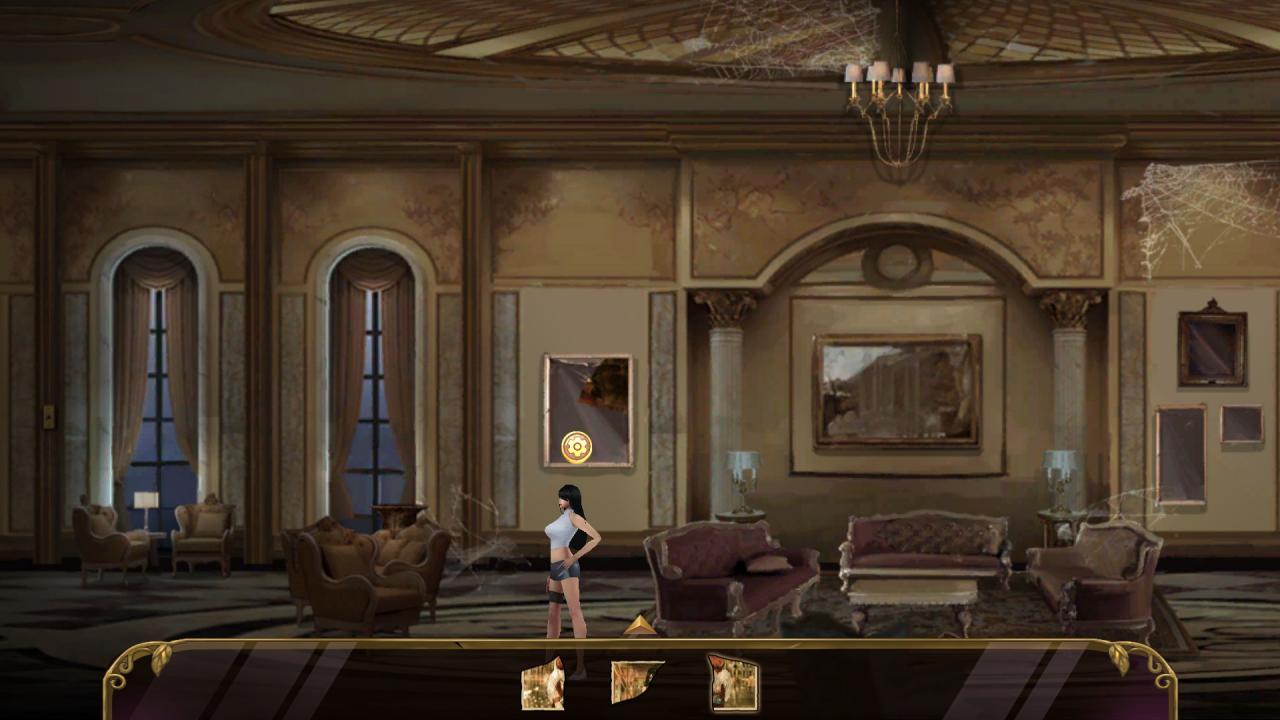
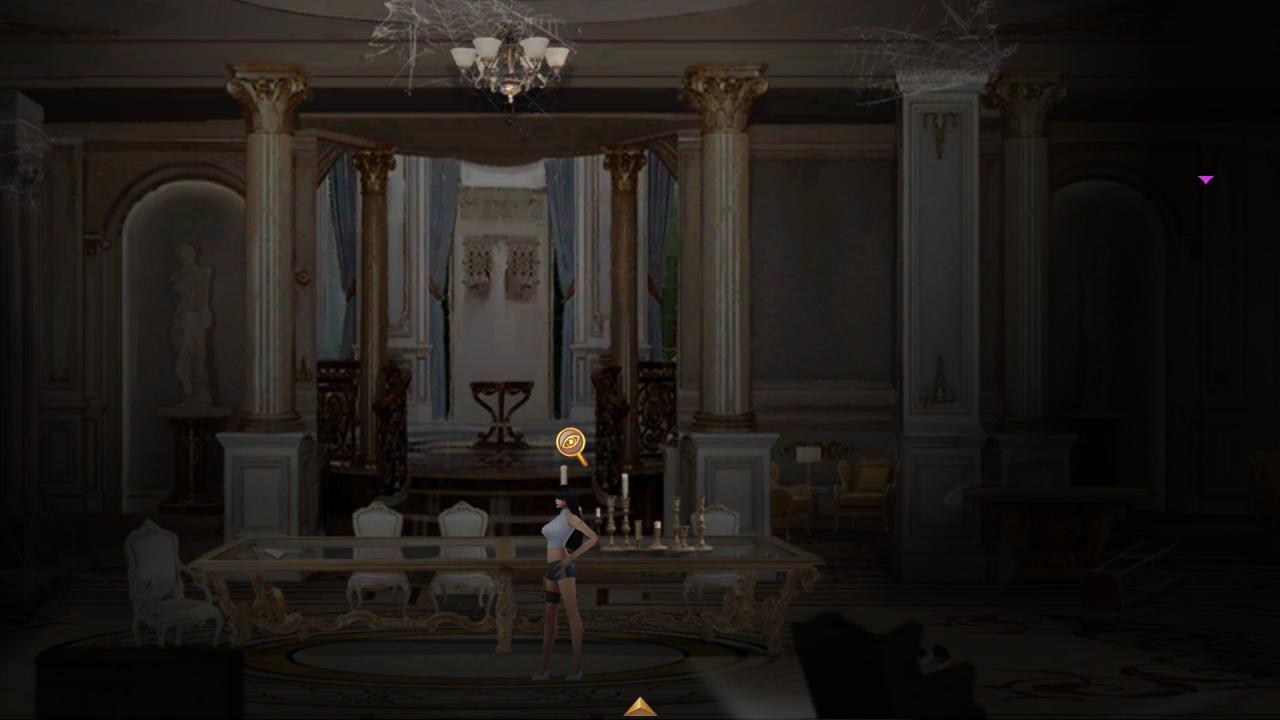
Return to 1F-3 and interact with the photo on the wall.
Here you can simply put the pieces back together and complete the photo.
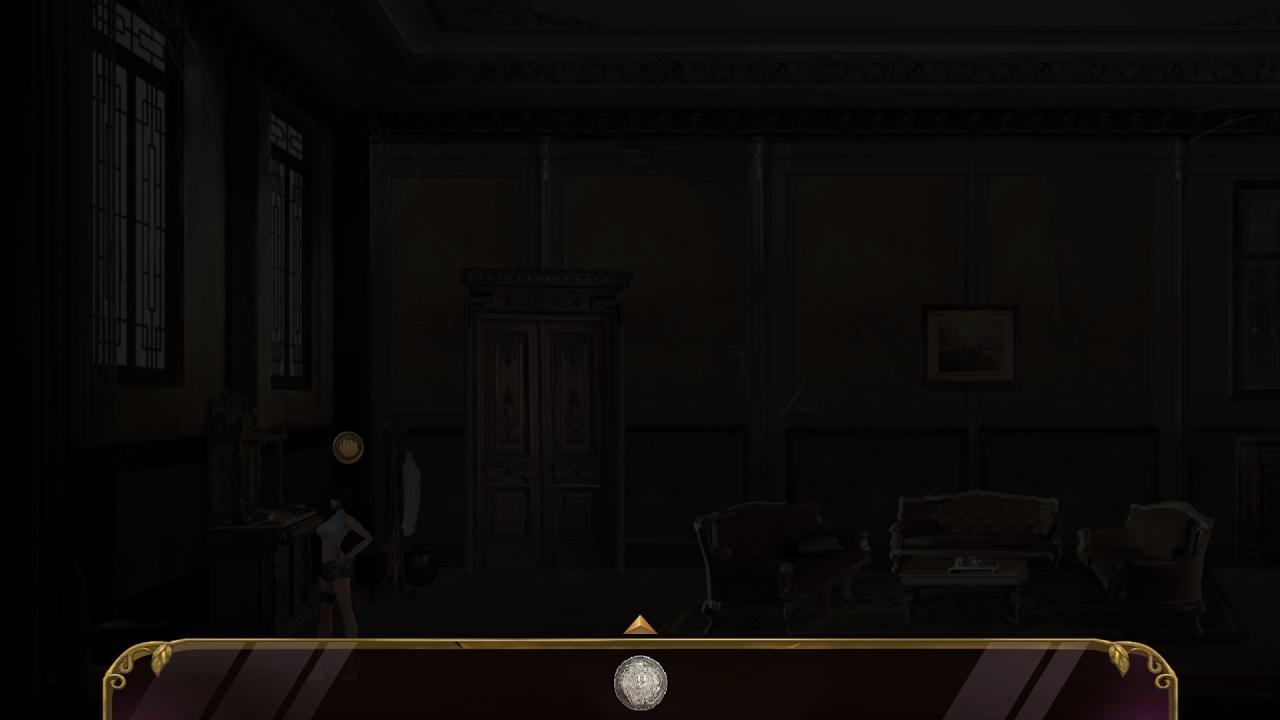
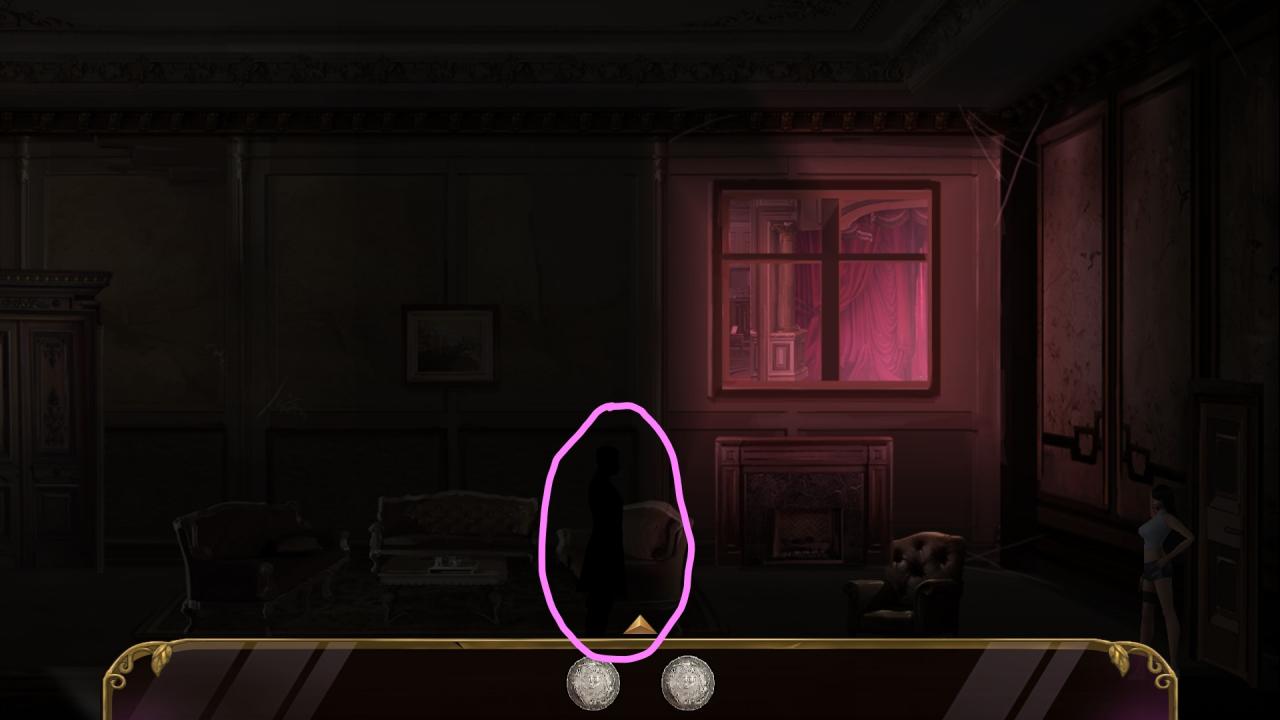
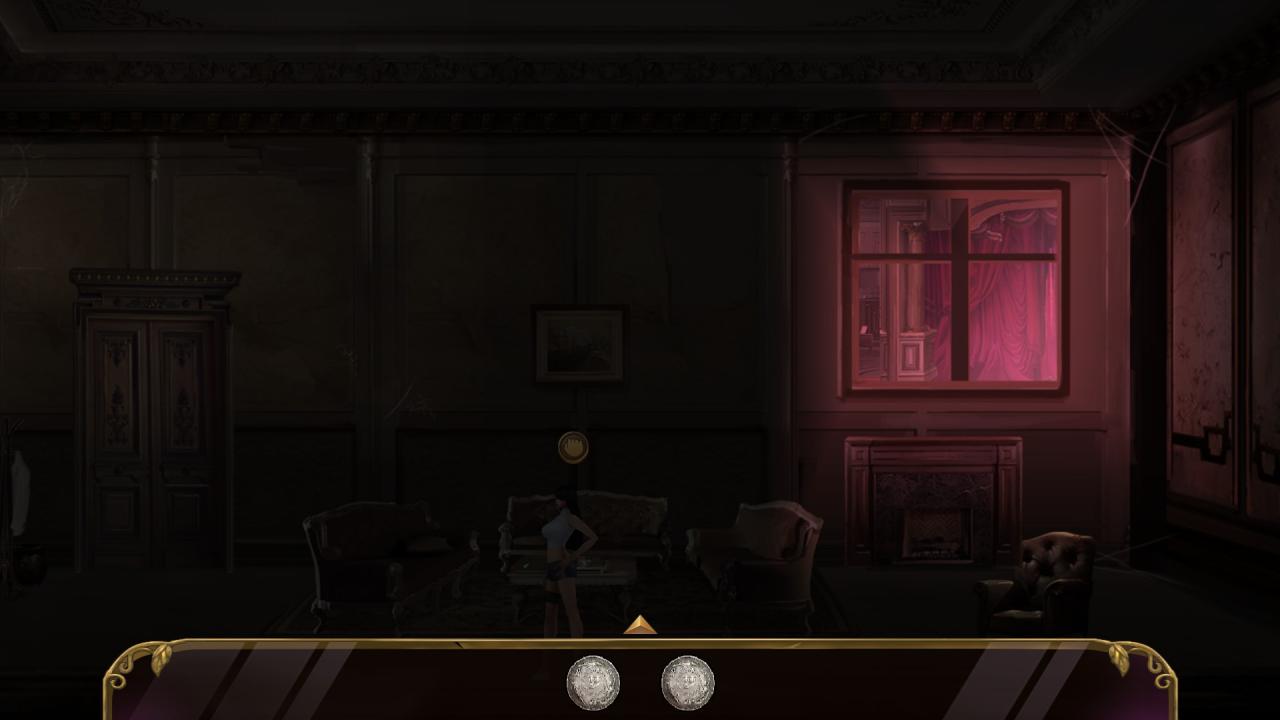
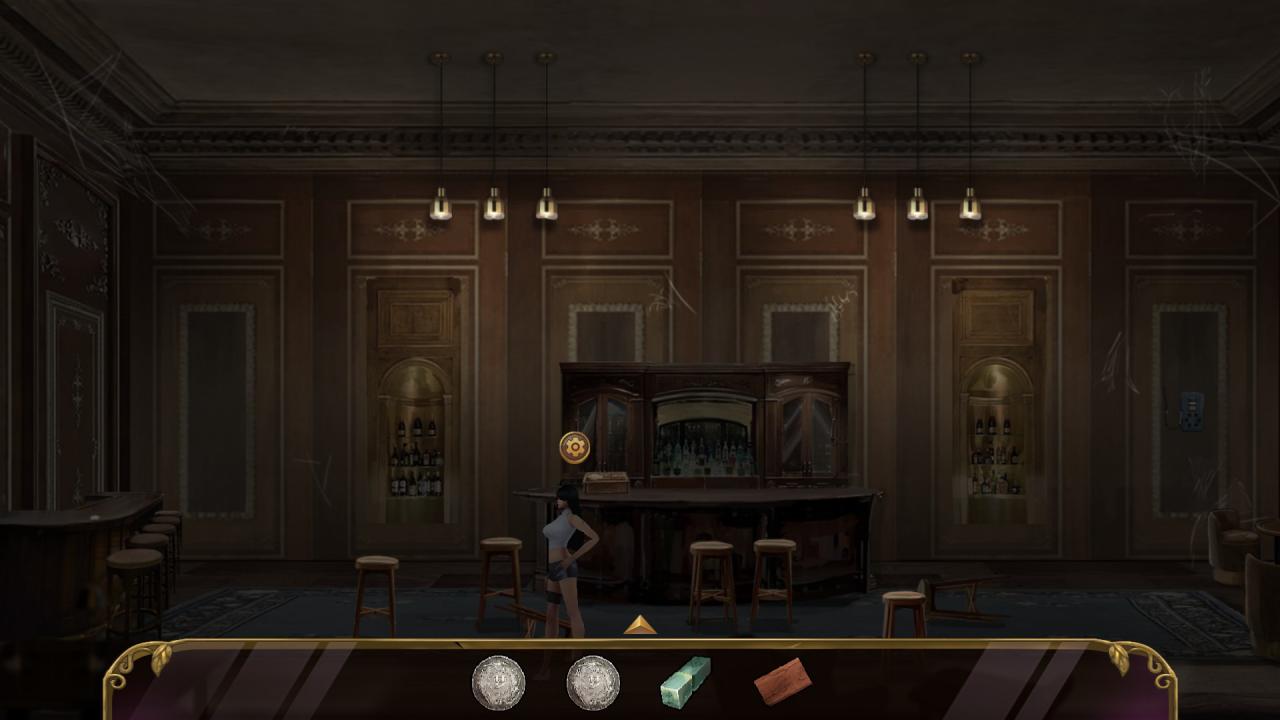
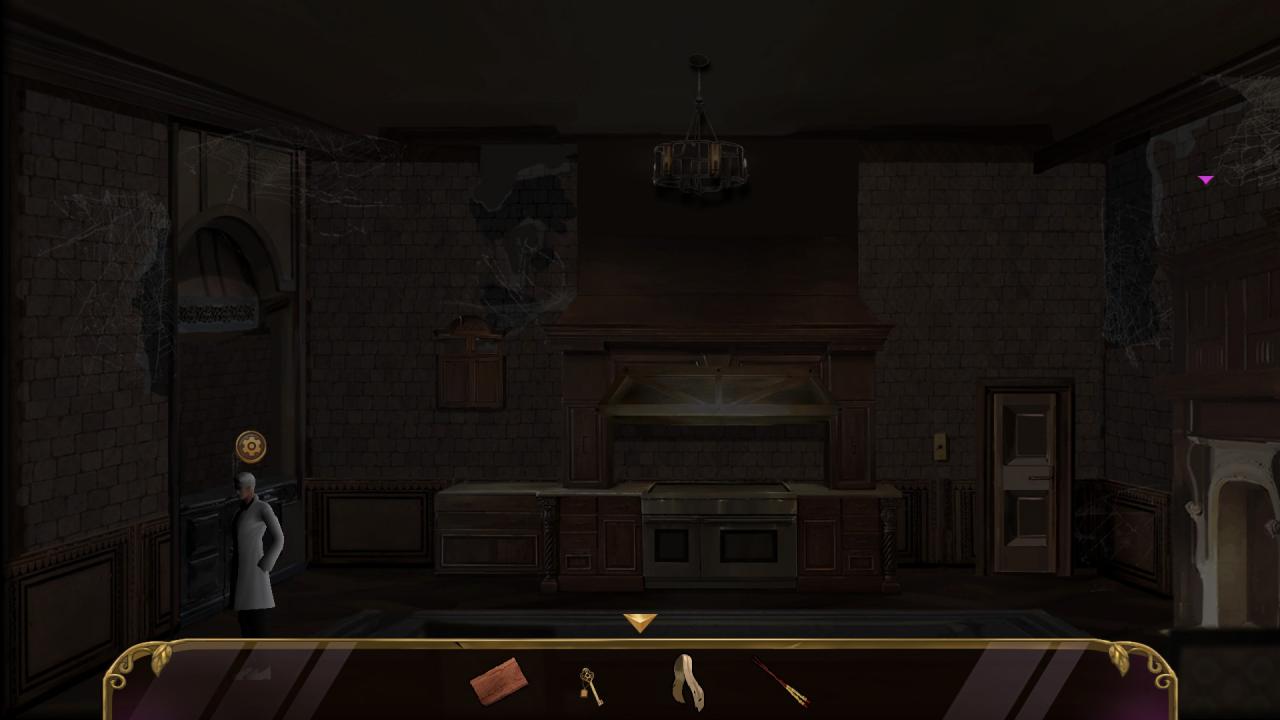
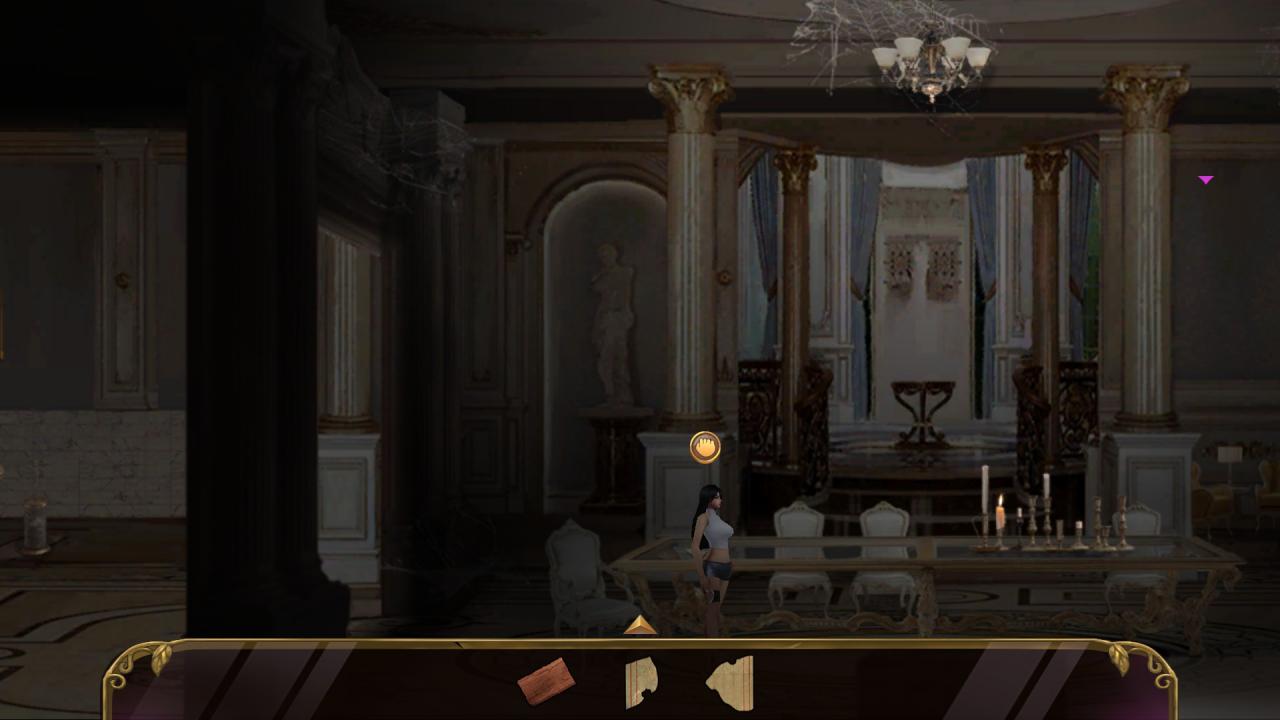
Now go to 2F-2 through 1F-2 and search for two coins. Locations are below.
Then go to the right and try to open the door to 2F-3. A shadow will appear behind you.
Walk towards the shadow until you are close enough to trigger a cutscene. After the cutscene, you can take a grey object from the table.
Then go to 2F-3 where you can take a plank.
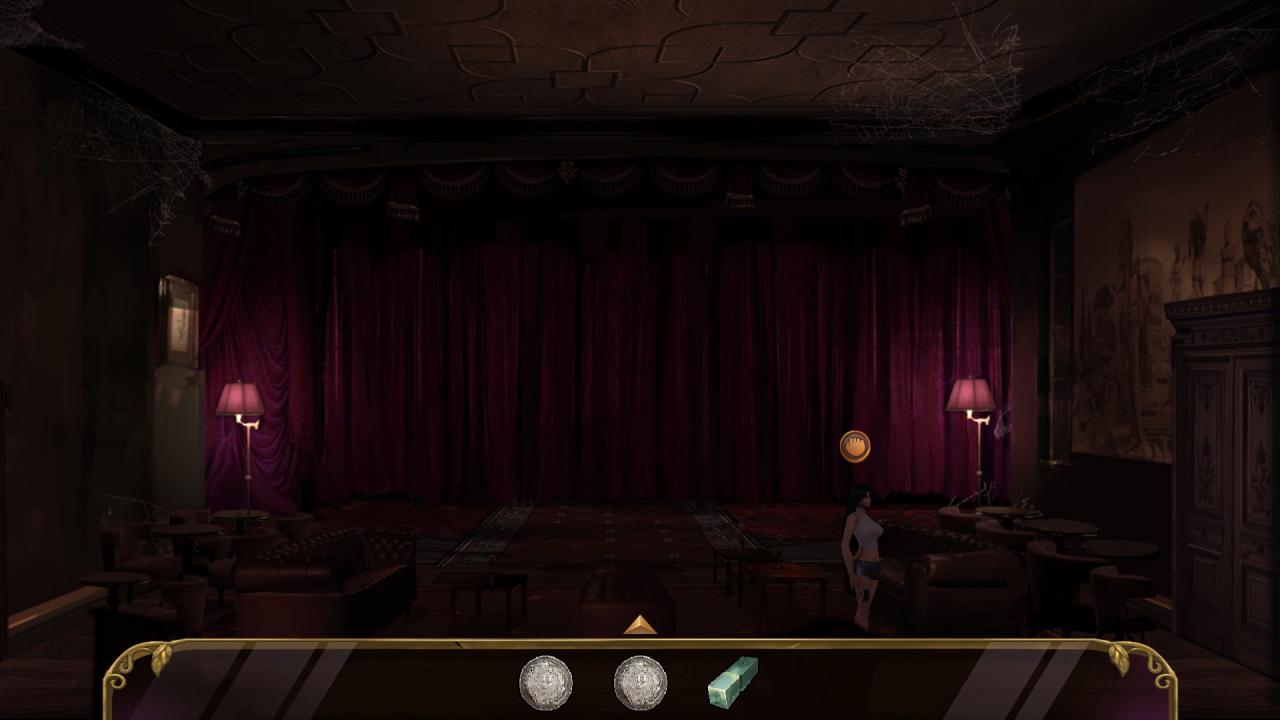
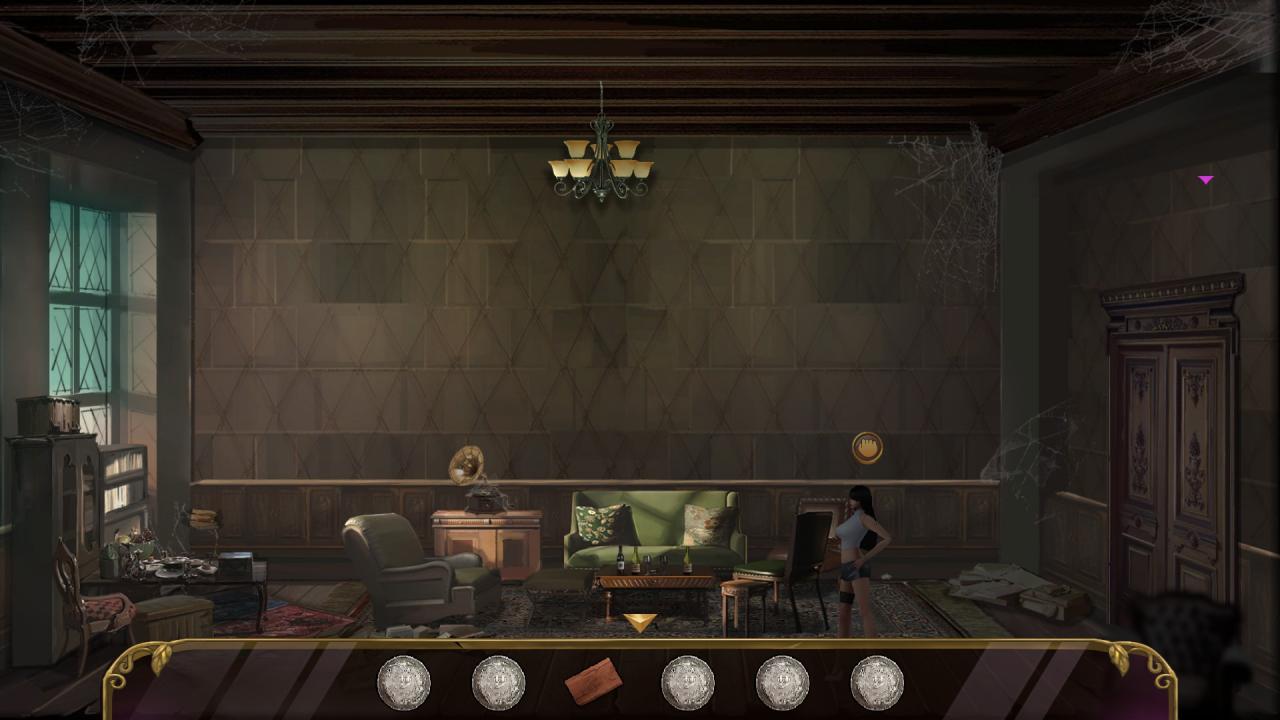
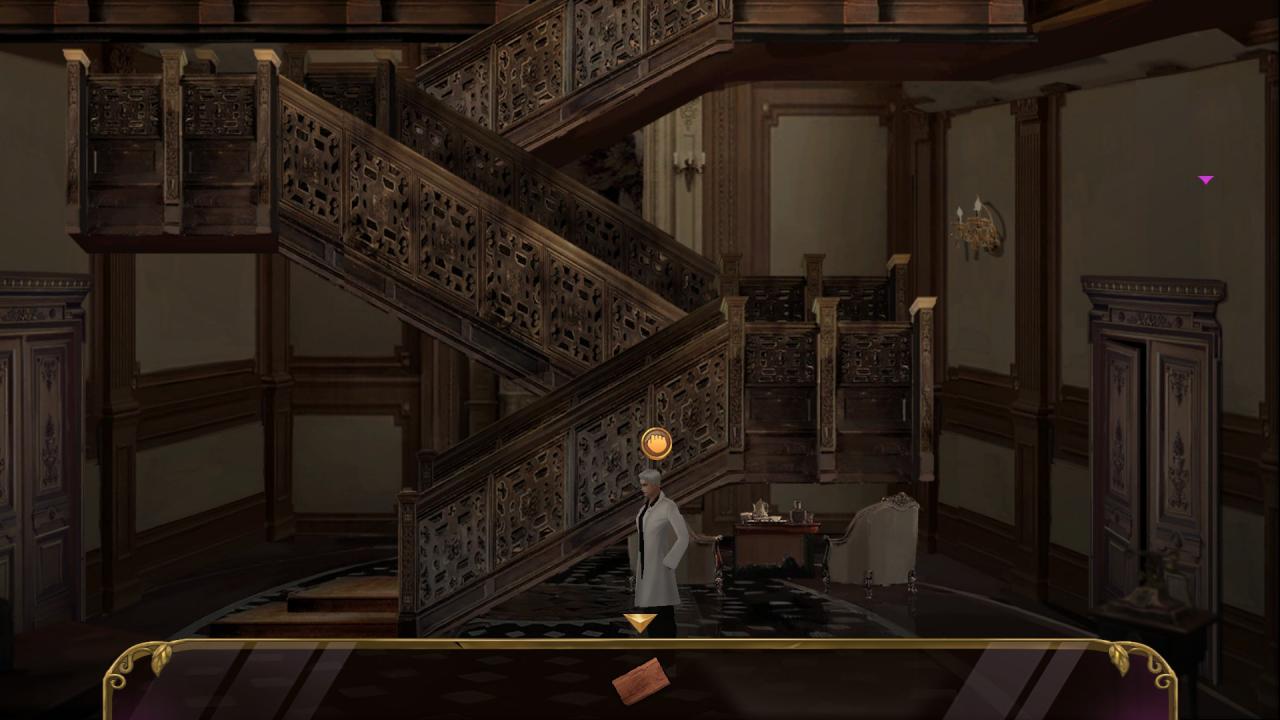
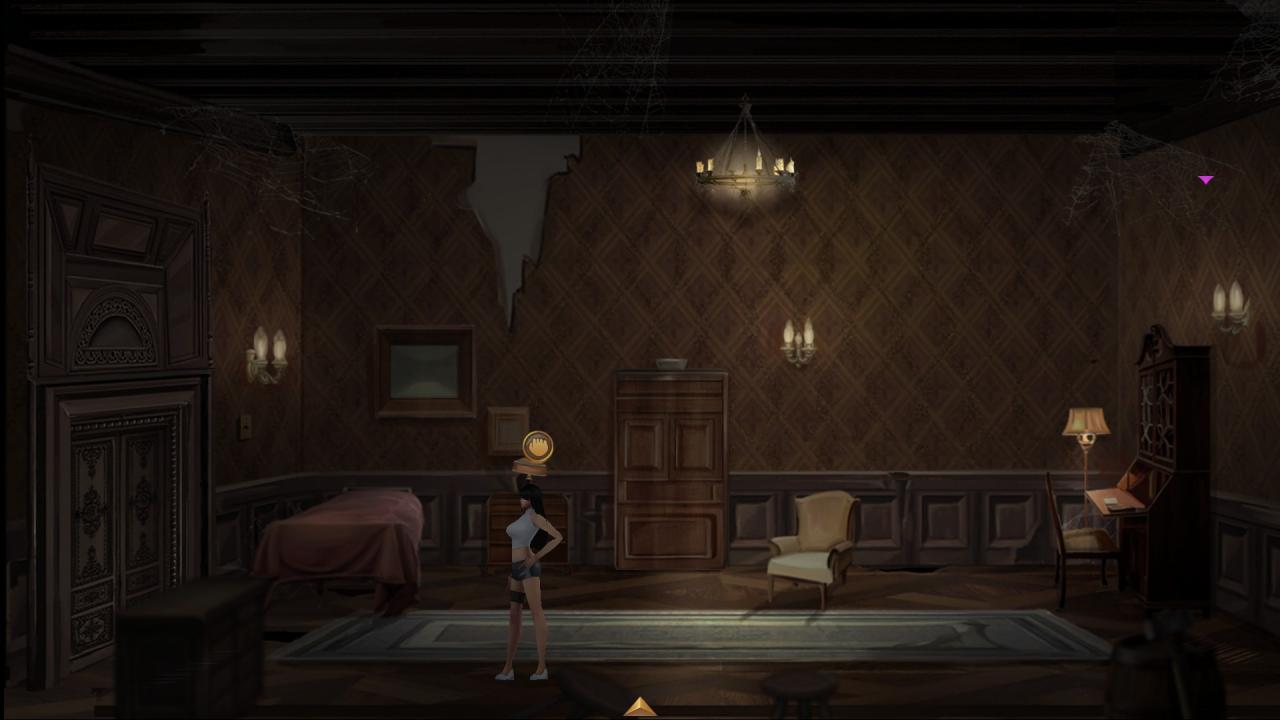
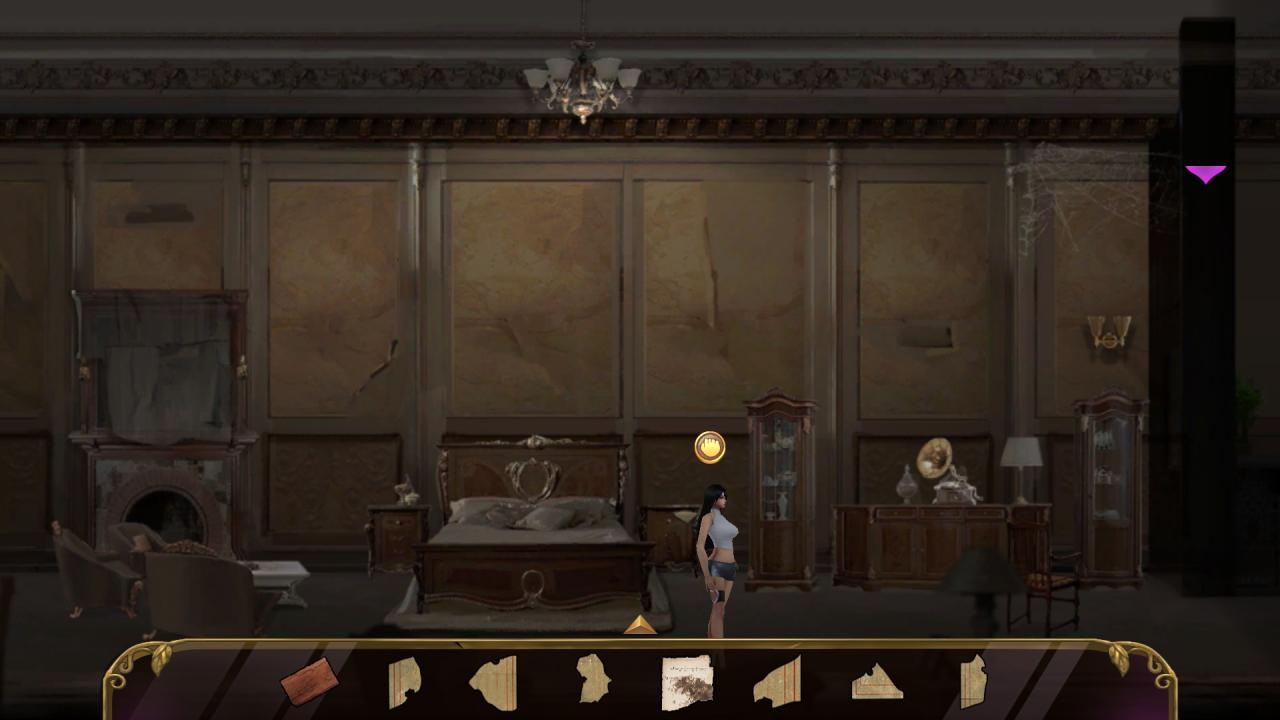
Then return to 2F-2 and go to 3F-2. There is another mini puzzle where the character on the picture below is standing.
Now you will have to insert an item in the socket in middle. This will unlock a puzzle.
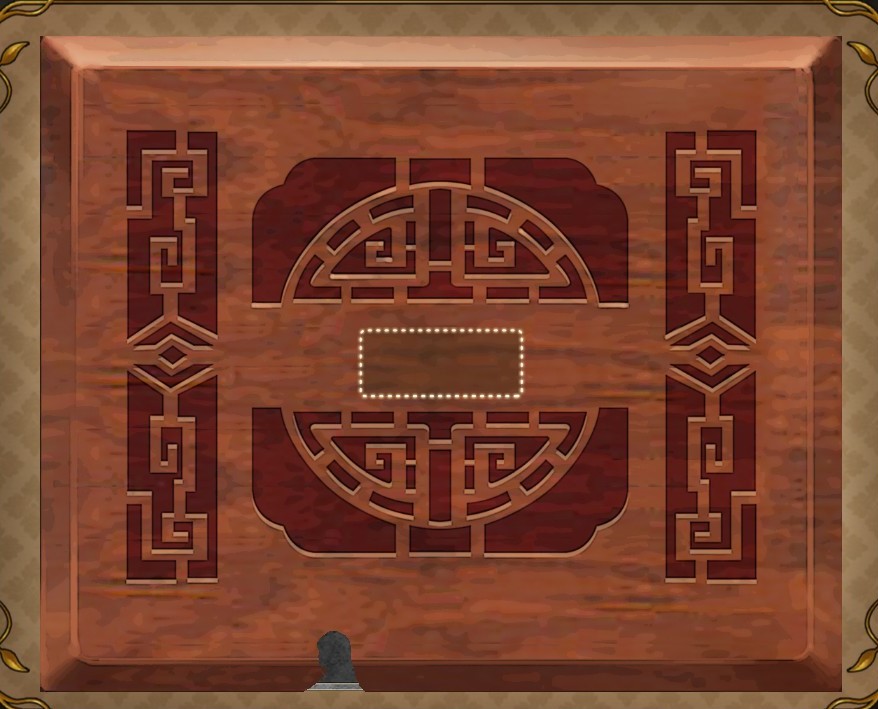
It can be one of those two items below.
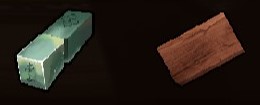
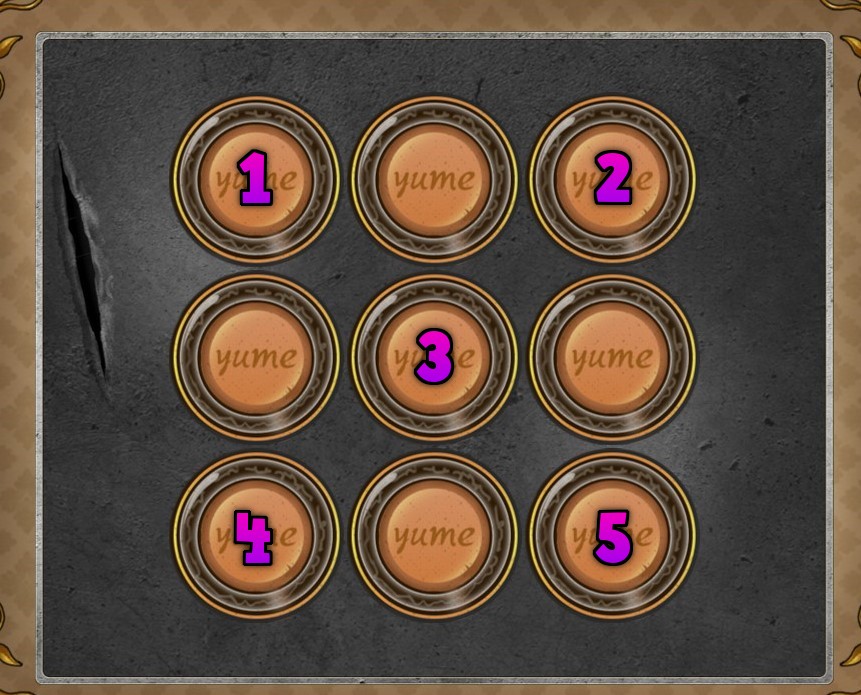
If you insert the grey object that looks like a stone, a piece of purple heart will appear on the top right corner of your screen after you complete the puzzle. That’s just 1/4 of the heart, so you will have to complete 3 more puzzles in a specific way. The plank will remain in your inventory. Next, you will see nine buttons.
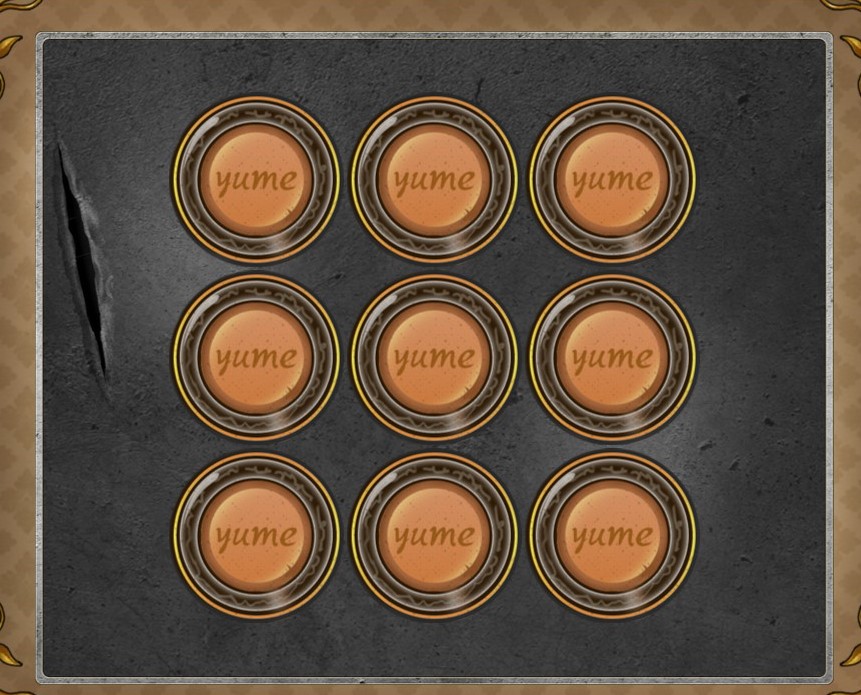
The goal here is to light them all up. It’s tricky so I recommend pressing them in this sequence, as shown below.
Completing the puzzle will earn you two coins. Go to the left and take another coin.
Then go to 3F-1 and take the last coin. You should have 6 coins now.
Here you can save your progress too.
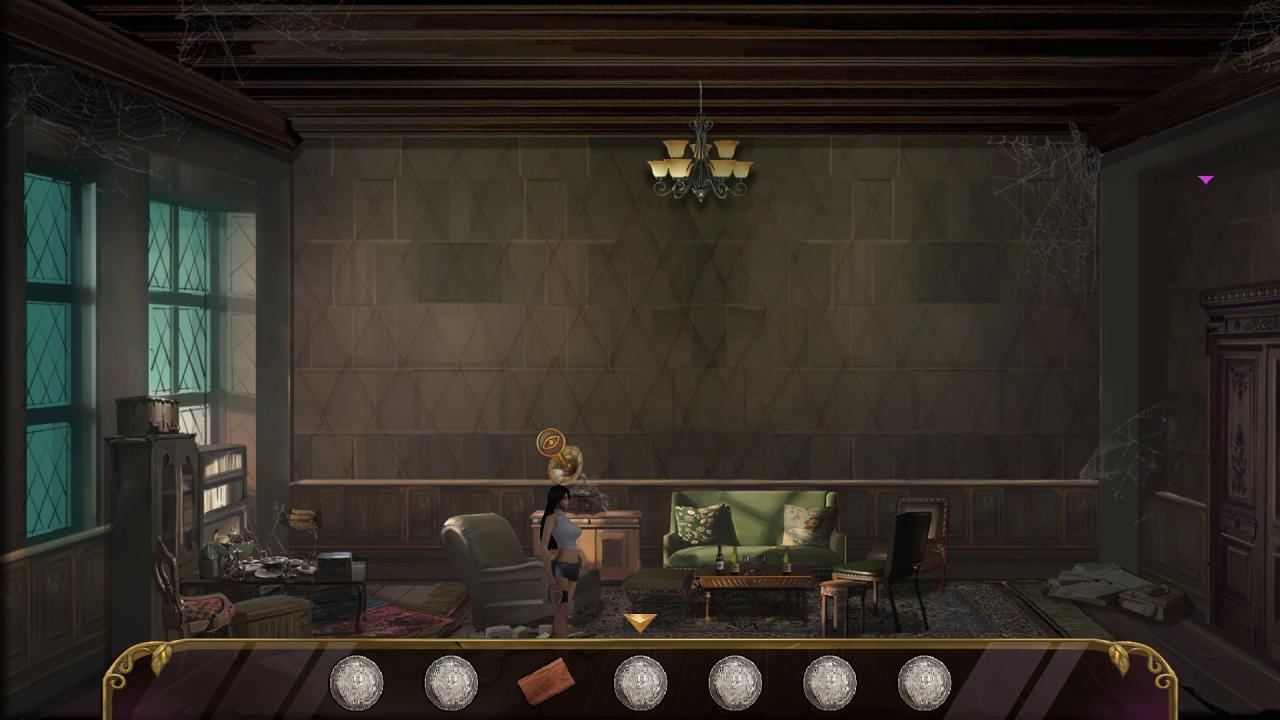
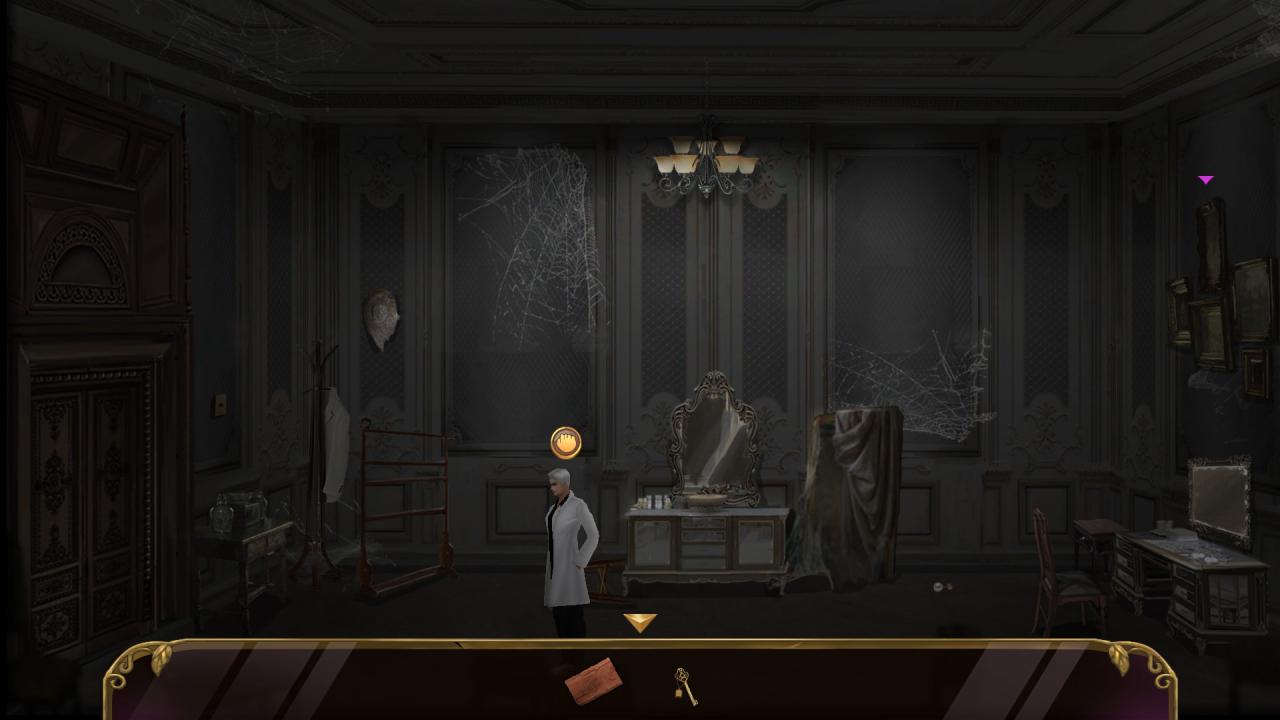
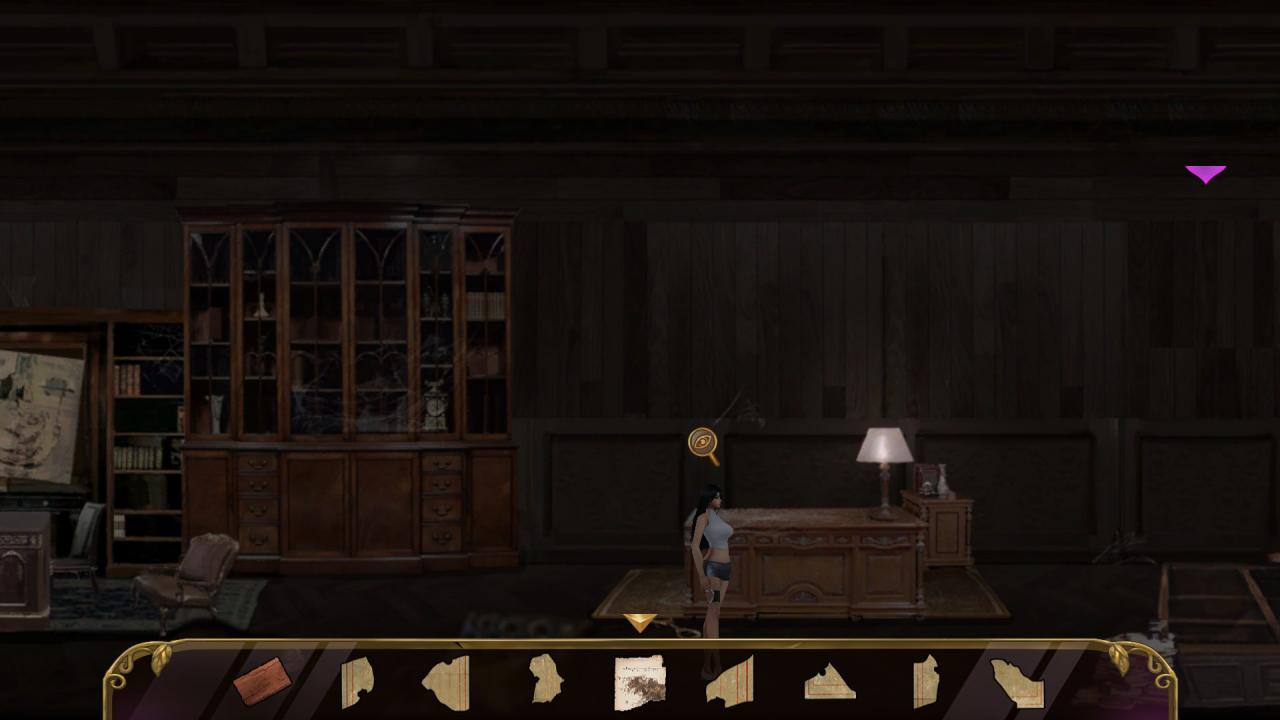
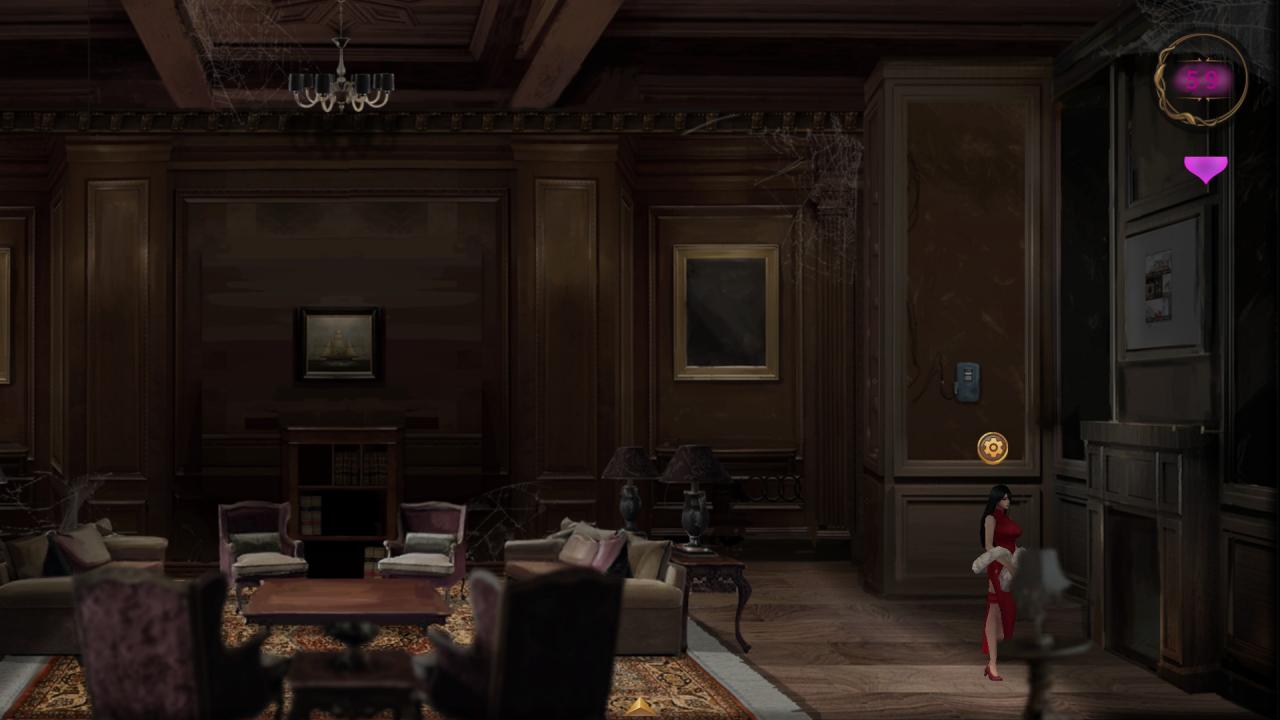
Now return to 3F-2 and interact with the device whose location you can see on the picture below.
Fill the six holes with your coins and then you can proceed to 3F-3.

Enter 3F-3 and keep walking to the right until your character faint. After that, you will temporarily control a male character and start in 3F-5. Now go to 3F-6 a take a key from the floor.
Go to 3F-7 and interact with the furniture at the other end of the room. Only the man can enter this room, so don’t miss it if you want to earn every achievement.
Next, go to 1F-4 to pick a towel on the ground.
Then go to 2F-5 to retrieve a pair of chopsticks.
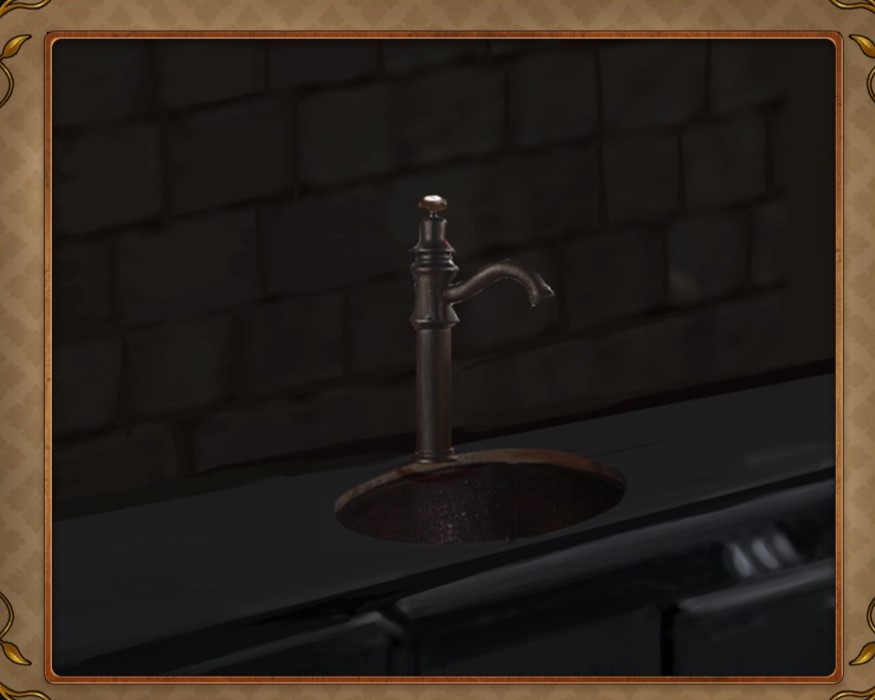
In that same room, go to the left and interact with the sink.
Here you can use the towel and the chopsticks to take a cup of water for the heroine. Place them on the top where there is supposed to be a valve.
Return to the bed in 3F-5 and you will take control on the girl again. Go to 4F-2 and take a piece of paper. You will need the key you’ve found on the floor while you were controlling the man.
Proceed to 4F-1. There you can find another piece of paper and a matchbox.
Interact with the candles.
After the cutscene, you will find yourself on the other end of the same room. Return to the table and take the third piece of paper.
Go to 3F-4 and take a sheet music.
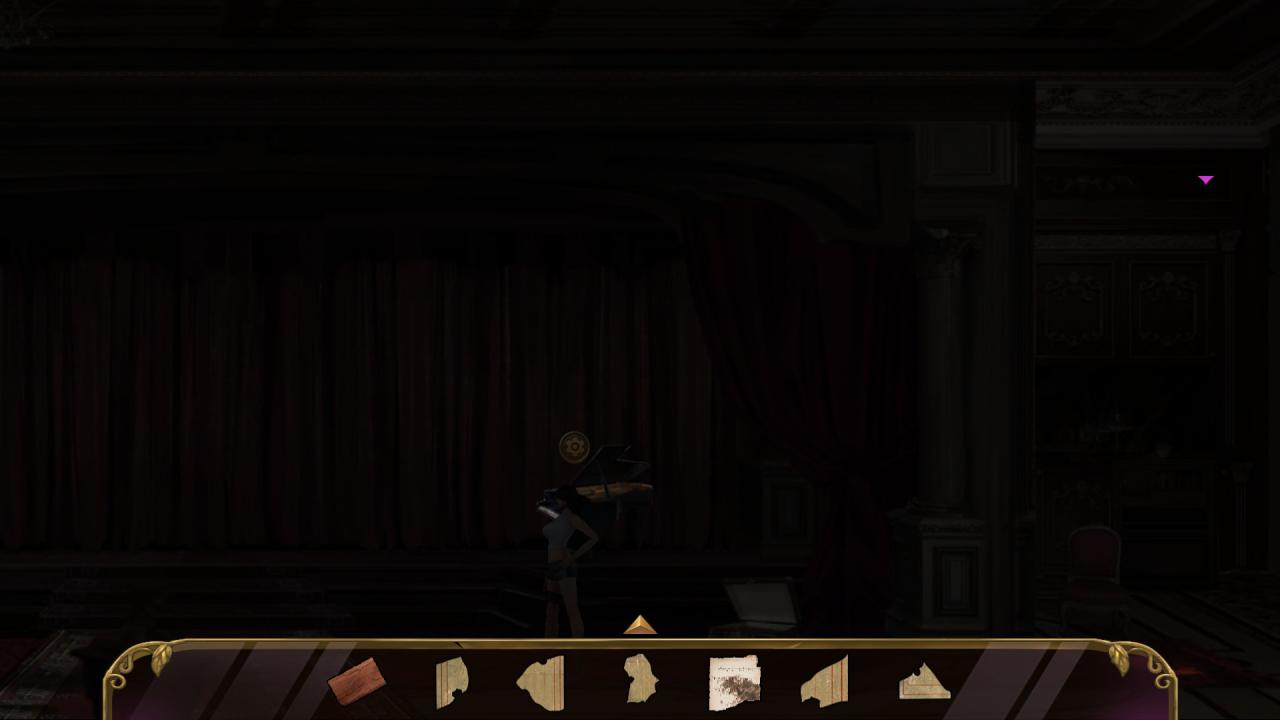
Then go to 3F-3 and take two more pieces of paper from a box next to the piano.
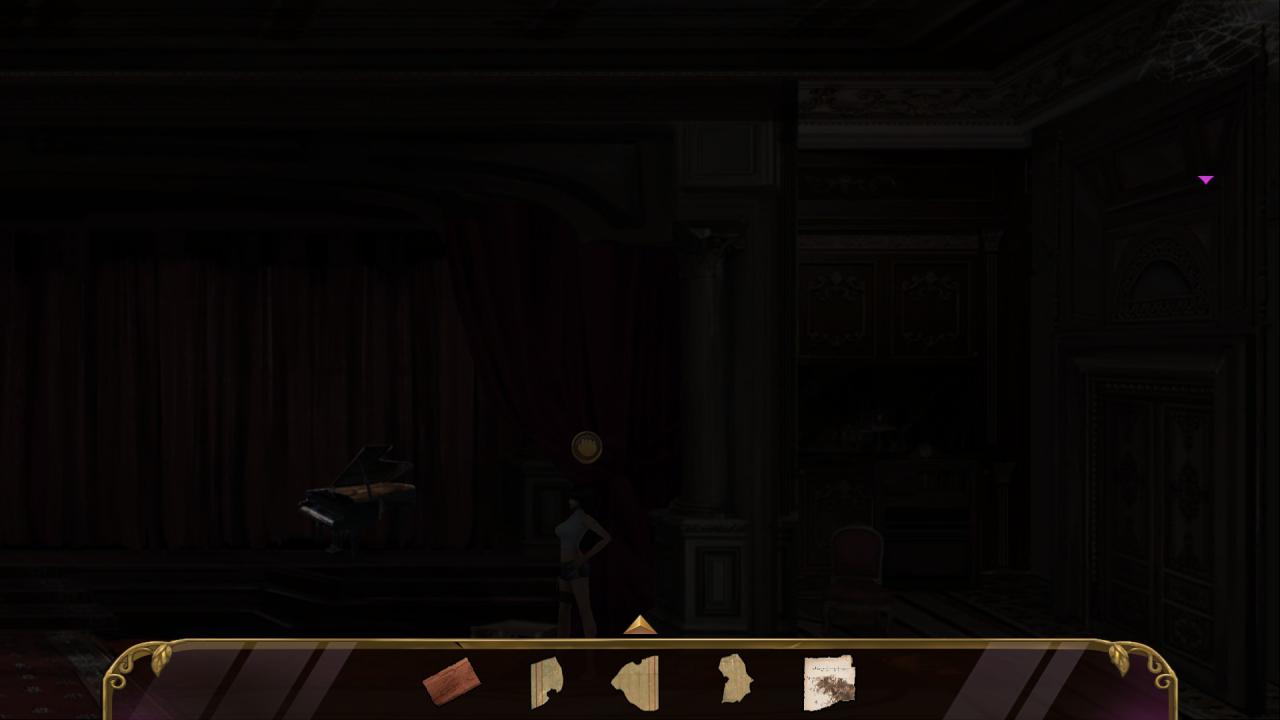
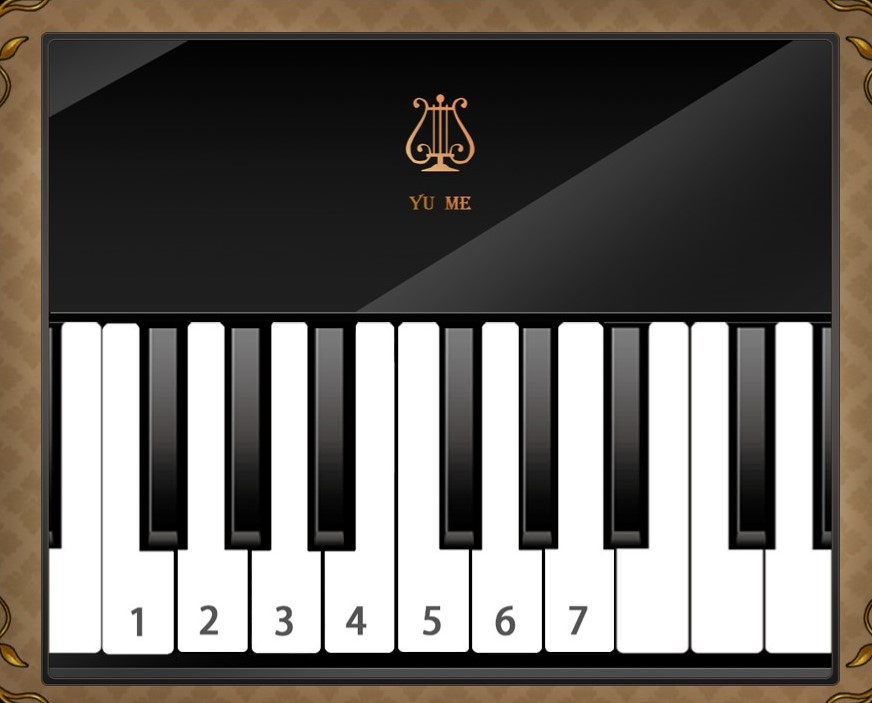
Now interact with the piano.
This is the second puzzle that needs to be completed in a specific way in order to gain another heart piece. If you want that, then press the keys in the following sequence: 2 5 2 1 – 1 3 5. If you open the sheet, you will see that the correct sequence is 1 1 5 5 6 6 5 – 4 4 3 3 2 2 1. However, performing that song won’t earn you a heart piece.
Now go to 5F-1 and find the last two pieces of paper. You need seven pieces total.
You can save your progress in this room as well, using the phonograph. I strongly recommend you to save your progress here. The next challenge will be time-limited and there are two outcomes – you either escape in time or don’t. If you want to see both endings, you won’t have to start from the beginning.
After you’ve picked the last two pieces of paper and saved your progress in that room, proceed to 5F-2 and interact with the desk.
Time-Limited Event
After the cutscene, you will start on the right side of the room. Go to the left and interact with the same desk again.
Now you will have to put the pieces together. After completing the puzzle, it will reveal four letters (Y U M E).
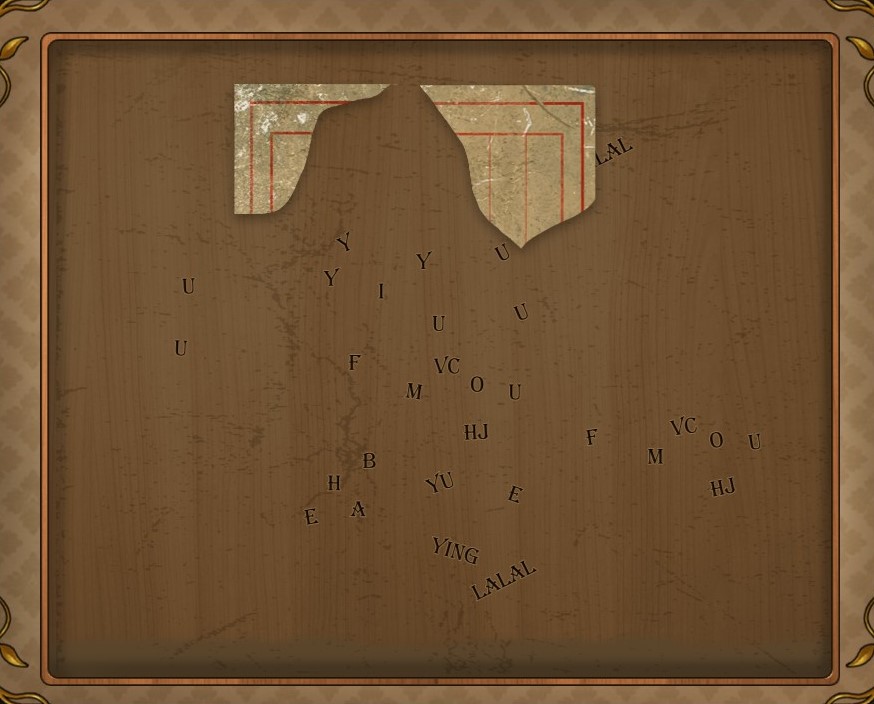
Go to the right and unlock 5F-3 by inserting the password. DO NOT use the password “YUME” if you want to receive another heart piece. Use “LOVE” instead.

Proceed to 5F-3 and go to the right side of the room. Interact with the device there.
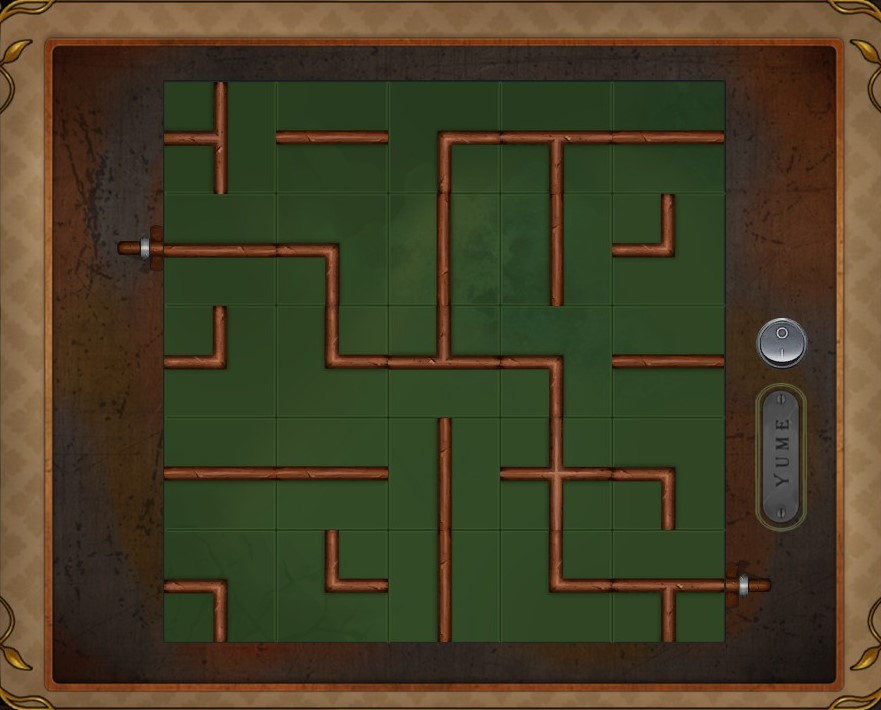
The goal here is to connect the two sides of the square by rotating the pieces; thus, completing the cable. To receive the last heart piece, try to make a fork, as shown below. It may not always work, but this is one of the solutions that worked for me. After you are done, press the switch.
Now go to the right wall and turn the lights on.
Then move your character here and press E to finish the game.

If you have reached both endings without completing the purple heart, and if you are still missing the achievement for completing all puzzles, you can just load the game and start the time-limited challenge again. Thank you for using my guide and I hope it helped.