Winter in Finland is no joke in My Winter Car. Starting your journey with a frozen windshield and a shivering engine is a recipe for a very short, very cold trip. This guide will walk you through the fastest and most effective method to get your Satsuma warmed up, defrosted, and ready to tackle those icy roads.
Step-by-Step Defrosting Guide
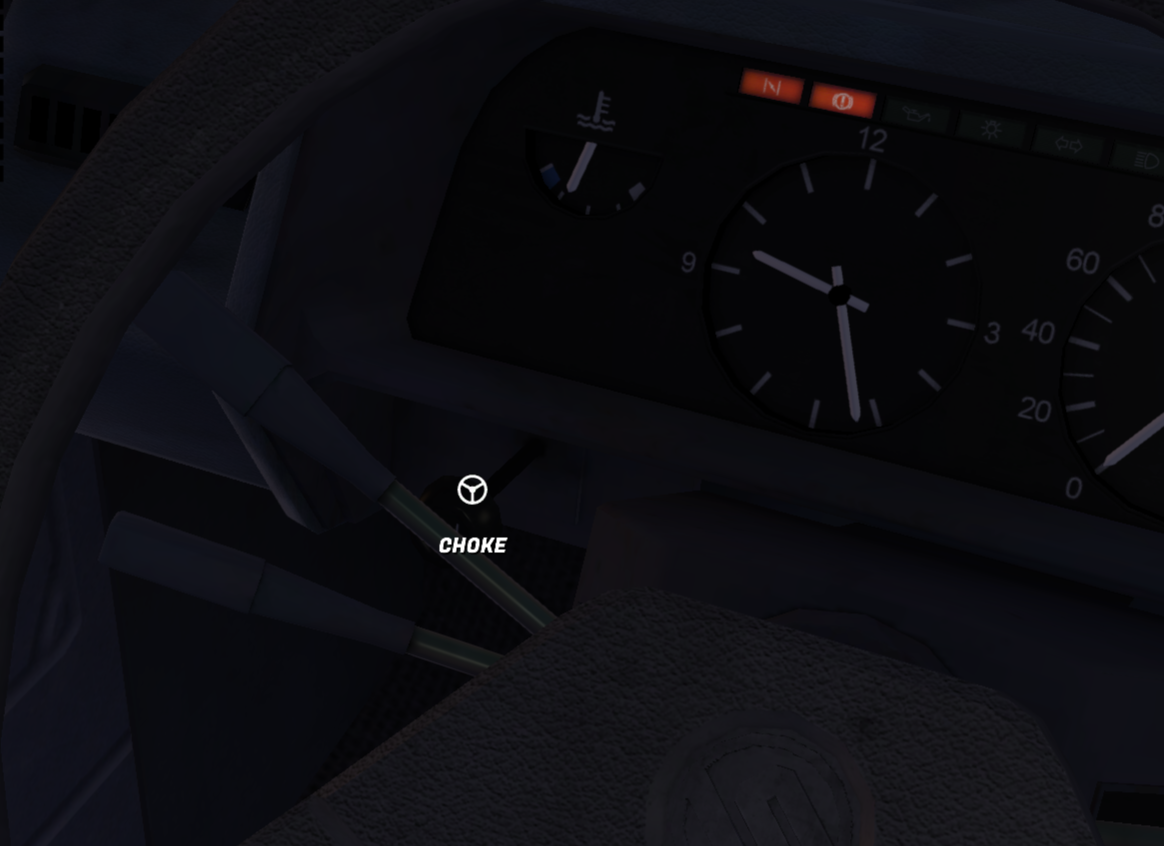
Step 1: Pre-Start Preparation Before you even turn the key, locate the Choke lever on the dashboard. Pull it all the way out towards you to its maximum position. This enriches the fuel mixture, which is crucial for preventing the cold engine from stalling immediately after starting.
Step 2: Starting the Engine Insert the key and turn it to start the engine. If the engine struggles or sounds like it might die, gently press the accelerator pedal a few times to help stabilize the RPMs. Once it’s running roughly but consistently, you can move on.
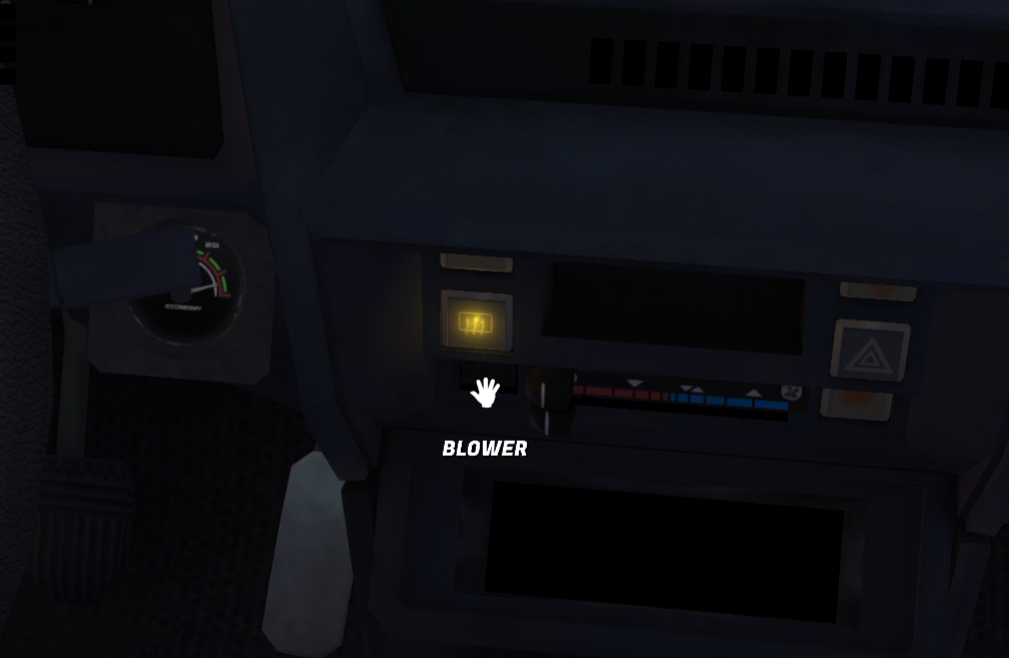
Step 3: Activating the Heater Fan Find the Blower switch on the center console (it has three positions: Off, 1, and 2). Click it twice to set it to the highest setting (position 2). This turns the heater fan to maximum speed, forcing air through the system as quickly as possible.
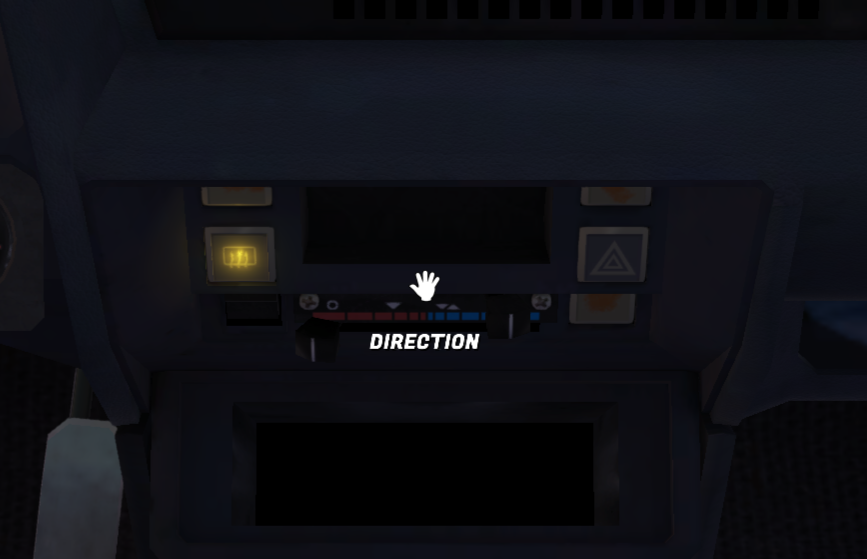
Step 4: Directing the Airflow (The Most Important Step!) Locate the horizontal Direction slider on the dashboard. This lever controls where the air from the blower goes. Slide this lever all the way to the RIGHT. This setting directs 100% of the now-warming air directly onto the windshield, prioritizing defrosting your critical forward view.
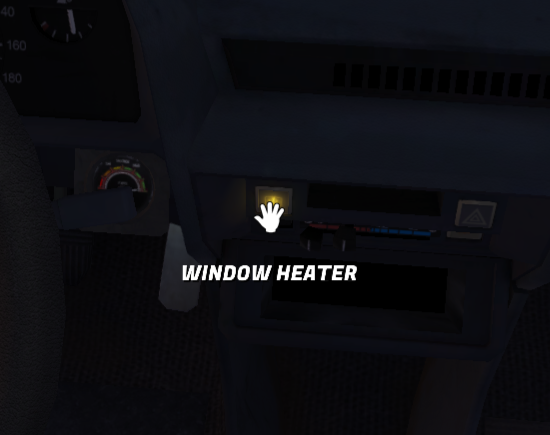
Step 5: Optional Comfort & Visibility For better all-around visibility, you can now flip the switch for the Rear Window Defroster. This will gradually clear frost and ice from the rear glass, improving your view through the cabin’s rearview mirror.
Step 6: The Waiting Game Now, simply wait. In real-time, this process takes about 2 to 4 minutes. You will visibly see the ice on the windshield begin to melt and clear. Monitor the temperature gauge on your dashboard. Once the needle starts to move from its resting position and your windshield is clear, the engine is sufficiently warmed up.
Final Step: Gently push the Choke lever back in fully. Your car is now warmed up, defrosted, and ready to drive safely!
Pro Tips & Notes:
- Patience is Key: Don’t drive before the windshield is clear and the temp gauge moves. Driving “by instruments” through a tiny hole in the ice is extremely dangerous.
- Choke Management: Remember to push the choke back in once the engine is warm! Leaving it pulled out will waste fuel and can damage the engine.
- Accelerator Use: Only use light throttle taps if the engine is struggling to idle. Once it’s stable, let the idle settle on its own.