
Three Skulls and one Terminal sit inside the Silent Cartographer mission, and Hunters mark almost every one of them. That’s the shortcut most players miss on a first run. This guide gets you to all four collectibles in one clean pass, with no grenade jumps, no ledge glitches, and no backtracking after you’ve already cleared an area.
Overview
Silent Cartographer hides three Skulls and a single Terminal. Hunters act as your main landmark for three of the four — the exception is the very first Skull, which sits alone in a cave with no enemy nearby to flag it.
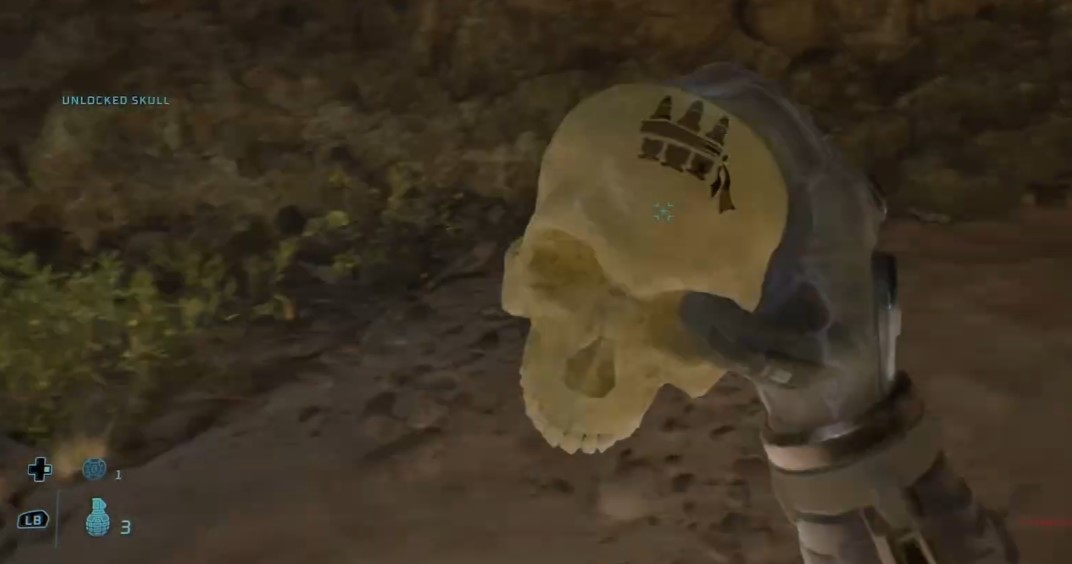
None of these pickups require combat tricks or timing puzzles. The hardest part is reading the environment correctly, especially on the pillar structure where wrong-way jumping wastes a lot of time.
| Collectible | Marker | Location Type |
|---|---|---|
| Skull 1 | None (only exception) | Cave behind first structure |
| Skull 2 | Hunters | Pillar top, near a tree |
| Terminal | Two Hunters | Behind a table, security room |
| Skull 3 | Two Hunters | Left walkway, light blue ledge |
Skull 1 – Cave Behind First Structure
Once you’ve picked up the Warthog, follow the checkpoint marker toward the first structure. Do not walk inside. Instead, circle around to the back of the building and look for a cave opening.
Walk through the cave and the Skull is sitting right there waiting for you. This is the one collectible in the entire mission that Hunters don’t guard or point toward, so don’t waste time scanning for enemies here — just check the back of the structure before you go in.
Skull 2 – Pillar Structure with Hunters
Keep pushing forward until you hit an area patrolled by Hunters. That’s your cue. The Skull is perched in the middle of a strange pillar-like building, and this is where most players lose time trying the wrong approach.
Don’t attempt to jump straight up the side of the pillar — it doesn’t work cleanly and you’ll likely slide off. Instead, jump onto the second lip of the structure and walk the rest of the way up from there. The Skull sits near a tree at the top, easy to spot once you’re actually on the right path.
Terminal – After Security System
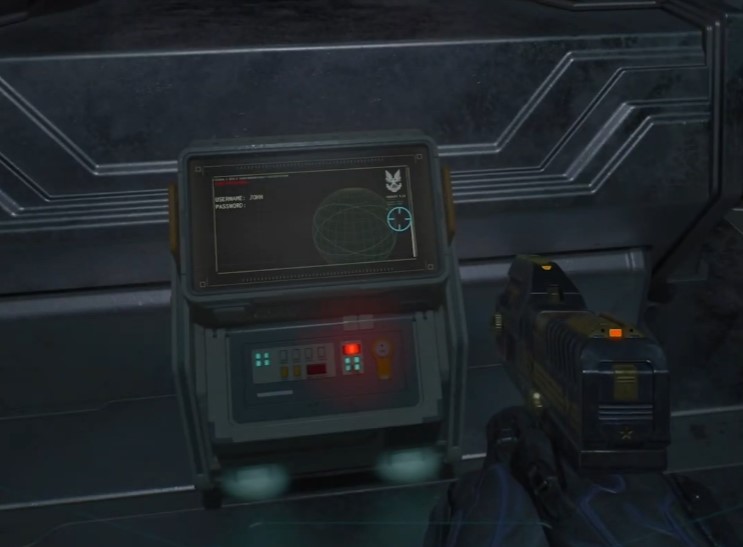
This one’s flagged by two Hunters, so clear them out first. After the fight, head into the security system room and shut the system down as the mission requires.
Once the system is off, look across the room for a small table-like object on the far side. The Terminal is tucked behind it. Walk up and activate it to lock in this collectible — it’s easy to miss because it’s not in the main sightline of the room.
Skull 3 – Final Skull Near Hunters
Two more Hunters mark this last Skull. Clear the whole area of enemies before you go looking — leaving stragglers alive makes the ledge below riskier than it needs to be.
After the Hunters are down, head to the left-hand side, specifically where one of the Hunters was standing. Follow the walkway down from there. Don’t go the wrong direction on this path — it’s a common mistake that sends you away from the pickup entirely. The Skull sits on a ledge lit up with a light blue glow. Drop down onto it to grab the Skull and close out the mission’s collectibles.


