
Three Skulls and one Terminal are hiding in “Assault on the Control Room,” and every one of them sits directly on your critical path — no detours into dead-end caves, no co-op requirement, no grenade jumps to fumble. This guide pinpoints the exact spot for each pickup in the order you’ll naturally hit them, so you can clear the level once and walk away with everything.
Overview
All four collectibles show up in a tight sequence once you get the Scorpion tank rolling. The first Skull appears almost immediately after you’re handed the tank, the Terminal follows inside a cave building shortly after, the second Skull sits atop an arch once you’ve ditched the tank, and the third Skull waits near the mission’s final stretch. Grab them in this order and you won’t backtrack once.
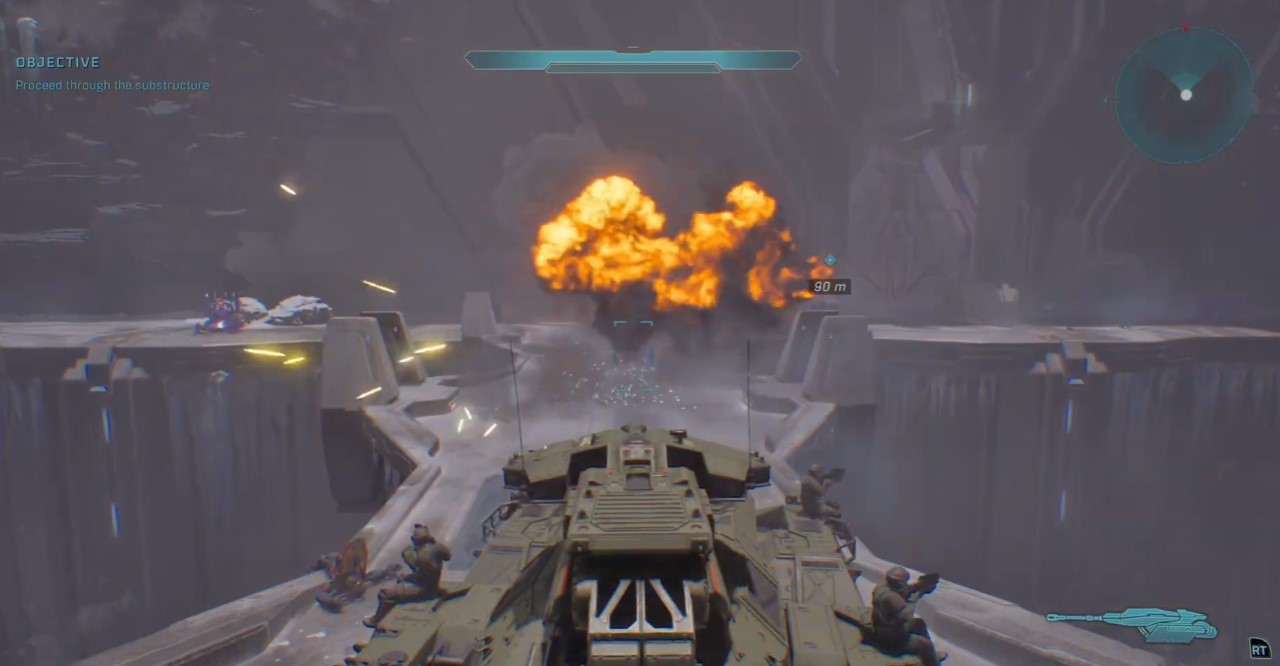
Skull #1: Location After Scorpion Tank
Right after you get the Scorpion, drive across the bridge ahead of you. The game will prompt you to open a door — ignore it and stay in the tank. Turn left here, but watch for debris scattered on the ground; clip the wrong piece and you’ll go straight off the edge.
Head toward the rock formation directly in front of you and park the tank against it. From there, climb onto the tank’s hull, hop onto the turret, walk to the end of it, and jump across to the ice ledge. The Skull sits tucked in the corner of that ledge, waiting.
Terminal Location: Inside the Cave Building
Stay in the Scorpion and keep pushing through the cave section, then up the sharp incline beyond it. You’ll spot a large rock formation in the middle of the path with routes running on both sides — inside that rock is a building marked by big green doors.
Go inside. This room isn’t empty: expect Wraiths, Hunters, or Banshees depending on your difficulty, plus an Elite carrying an energy sword who will rush you the moment you’re spotted. Clear the room before you relax.
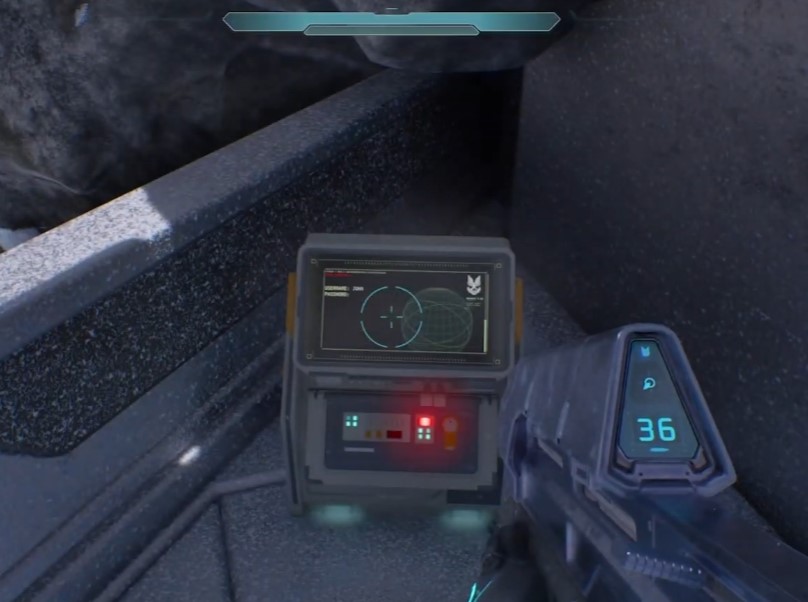
Once it’s safe, follow the ramp inside up and out the other side. At the top, turn right — the Terminal is sitting in the corner. Walk up and activate it.
Skull #2: Location After Leaving the Tank
Eventually you’ll hit a cave the Scorpion physically can’t fit through, forcing you out on foot. At the top of that cave, the level wants you to peel right toward the obvious path. Don’t. Head for the series of arches standing in the middle of the area instead.
The third and final arch in that row is your target. Before you climb it, clear the area — Ghosts, Banshees, and turrets positioned to the right will otherwise pick you off mid-climb. There’s a rocket launcher stashed in the cave behind you; grab it, it makes short work of the vehicles.
With the area quiet, walk up the side of the arch — no grenade jump trick needed, just a straight walk — then continue along the top. The Skull is sitting dead center on the arch.
Skull #3: Location Near the End of the Level
Near the level’s closing stretch, you’ll come across a large building on your left crawling with Banshees. You can ignore them or just let them fly off; they’re not guarding anything here.
In the middle of this area is a rock formation with a path running underneath it. Follow that path all the way up to the top, then look down — the Skull is sitting on the ground underneath the rock itself. Pick it up and that’s the full set: three Skulls and one Terminal, no missed pickups, no repeat runs.


