
Truth and Reconciliation hides three Skulls and one Terminal across a level that most players blast through without looking twice at the scenery. Two of these pickups involve precise jumps that will test your patience more than your aim. This guide breaks down exactly where each one sits, how to reach it without falling to your death, and the timing windows you need to respect.
Overview
The level splits into three distinct collection zones. Before you board the ship, there’s a cliff-edge Skull tucked away near the grav lift. Once inside, a pillar room hides a Skull behind a jump that trips up most first-time collectors. Later, in the hangar section, a scripted Hunter breach opens a brief window to grab a third Skull. The Terminal sits separately in the detainment block, inside a specific cell.
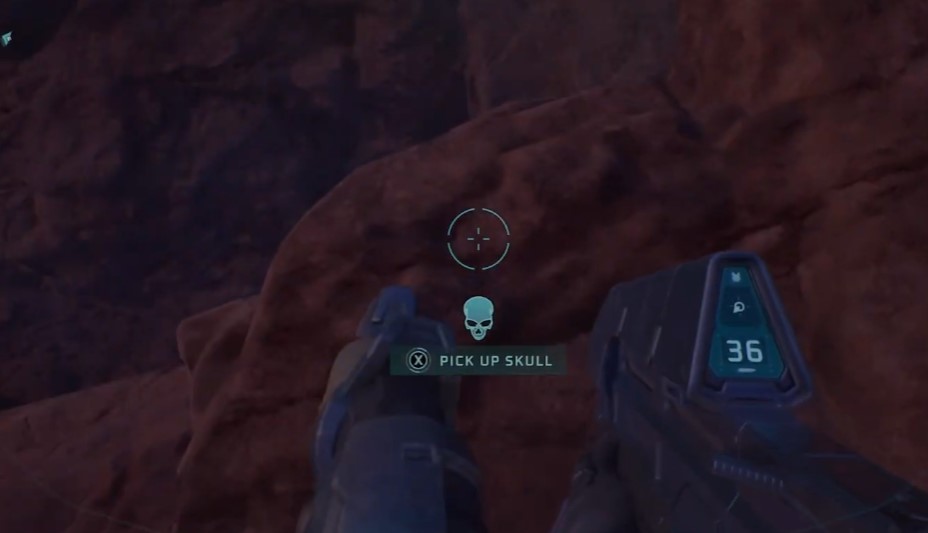
None of these require backtracking through the whole level if you grab them in order. Clear enemies first in each area — trying to platform or sneak past active Covenant fire while lining up a jump just adds unnecessary deaths to an already finicky process.
Skull 1: Cliff Edge Skull
This one sits right before you take the grav lift up to the ship. Clear every enemy wave first, including the final Hunter wave — you don’t want Hunters interrupting a crouch-jump on a narrow ledge.
Once the area is clear, walk back along the cliff edge. Look for a large tree flanked by two smaller cactus-like trees on its left side. The Skull rests on a small ledge just to the left of that large tree.
The approach is easy to fumble if you go in blind. Use the nearby purple tree as a visual marker, then crouch and shuffle up the ledge before jumping. This keeps you from sliding off the edge mid-jump, which is the most common way players fall to their death here.
The good news: once you pick up this Skull, it’s permanently unlocked. Die immediately after grabbing it, and it still counts. No need to replay the section if you mistime the next jump.
Skull 2: Pillar Jump Skull
This is the jump that separates casual completionists from people who actually finish the collection. It’s located in the large room right after you enter the ship — and it’s genuinely finicky.
Do not open the door to the next area before grabbing this Skull. Once you progress past this room, there’s no clean way back.
In the back right corner, you’ll find three floor-to-ceiling pillars. The Skull sits on a ledge behind them, out of reach from a standing jump. Look around the room for a large crate or similar object, then melee it repeatedly until it’s parallel to the pillars. That crate becomes your launch point.
From there, sprint and jump across the pillars, keeping your momentum going the whole time. Stopping on top of a pillar is the fastest way to fall — don’t pause to reposition mid-jump. If you feel yourself falling short, hold the interact button immediately to try and grab the ledge anyway.
Expect several attempts here. The timing window is tight, and momentum carries more weight than raw jump height. If you’re consistently falling just short, adjust your crate position slightly rather than changing your jump timing.
Skull 3: Hangar Hunter Door Skull
Found in the hangar area, on the opposite side of the room from where you enter. Two Hunters break through a locked door here as a scripted event — that breach is your only way in.
The moment the Hunters step out, run straight through the now-open doorway. The Skull sits on the left side, just inside the room. The door locks again shortly after the Hunters exit, so hesitation costs you the pickup entirely.
A safer approach: hover near the door and bait the Hunters into coming out before you commit to entering. Rushing in while they’re still mid-charge means you’re grabbing a Skull with two Hunters bearing down on you — not ideal. Grab the item fast, then turn and deal with them properly once you’re safely past the threshold.
Terminal Location
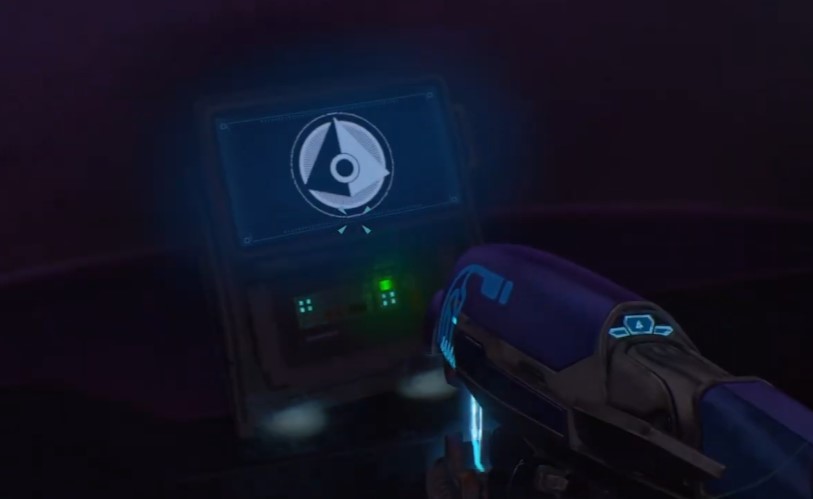
The Terminal is in the detainment areas, inside a cell holding a dead Marine. Open that specific cell door and the Terminal is sitting right inside, waiting to be picked up.
There’s no jump puzzle or timing window here — just make sure you check each cell in the detainment block, since the dead Marine is the visual cue that tells you which one holds the Terminal.


