
I’ve put a lot of hours into Valheim, and the thing that keeps tripping up new players isn’t the difficulty — it’s the confusion. You spawn naked on a shore, the game tells you almost nothing, and suddenly you’re forty hours in with a mud hut and no idea why you keep dying. I wrote this guide to fix that. It’s for anyone who just landed in the Meadows and wants a straight line from “cold and confused” to “has a real base, wins fights, and knows where to go next.” If you’re already farming the Deep North, this probably isn’t for you.
The core idea is simple: Valheim doesn’t punish you for skipping meals. It punishes you for not understanding what food, skills, and shelter actually do. Get those three right and the survival curve flattens out fast.
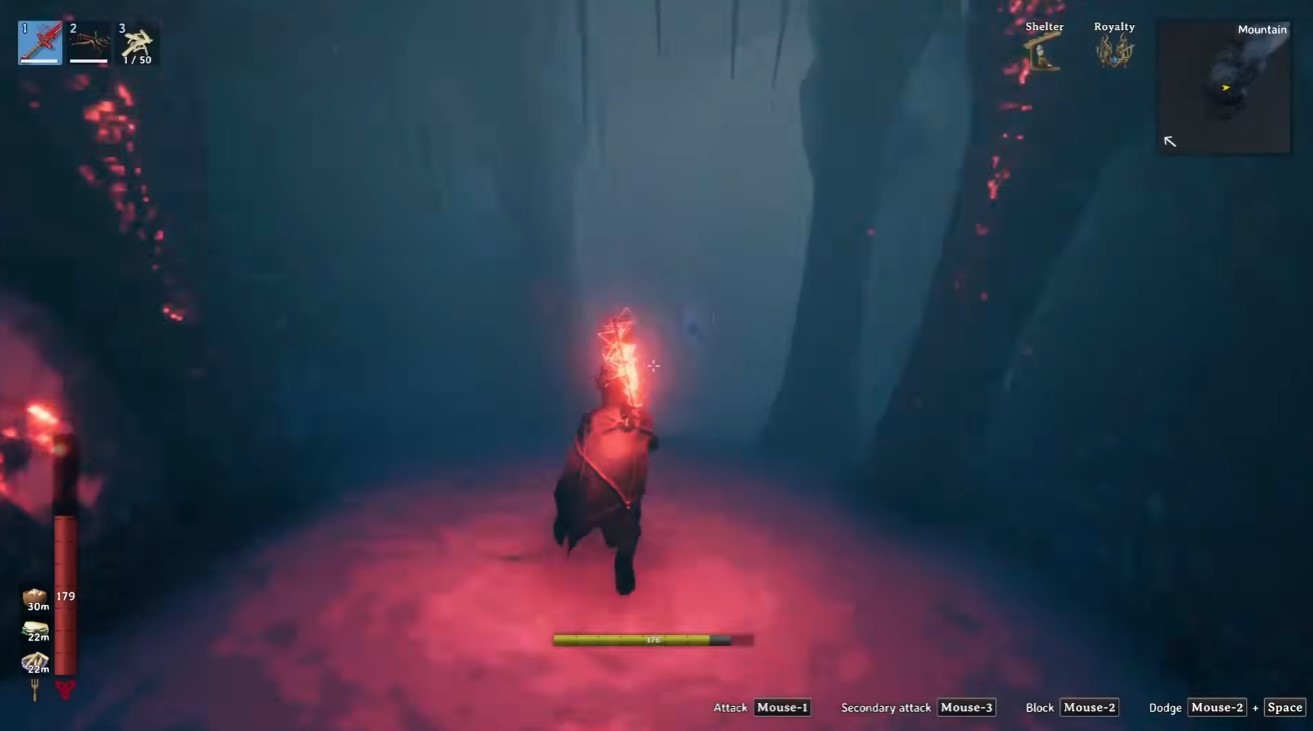
Why Food Is Your Real Health Bar
Health starts at 25 and stamina at 50. That’s it. Nothing in this game kills you for not eating — food only grants temporary buffs. But those buffs are everything, because they raise your ceiling. Hover over any food to see exactly what it gives you.
The rule of thumb I use:
- Meat tends to give more health
- Vegetables and fruit tend to give more stamina
The fork icons in the top-right corner confirm which is which: red fork means more health, yellow fork means more stamina.
Here’s a concrete example. One food might grant +45 health, +15 stamina, heal 3 HP per tick, and list a 20-minute duration. But the full benefit only lasts 10 minutes. At the halfway point, the food icon in the bottom-left corner starts flashing and the buff decays until it expires. Whenever that icon flashes, eat again to keep your buffs at maximum. This one habit will save your life more than any weapon.
A few more things about the HUD that took me too long to notice:
- Hotbar (top-left): switch gear fast and eat directly from it. With a bow, you can swap arrow types like Fire Arrow straight from the hotbar without opening inventory.
- Armor has five types: chest, trousers, helmet (the main three), capes you pick up over time, and accessories that grant perks.
- Map (top-right): every new world starts you dead center in the Meadows, at the stones that grant boss powers. Boss powers show up in the bottom-left; select one and click to activate.
Maps are procedurally generated every playthrough, which is why replays feel fresh, but progression is more linear. Spawns can be good or bad — your first boss might be right next to spawn, while later bosses can send you far north or south. Closer to center is safer. Farther out you find more metal biomes and more danger.
One thing that matters for planning: the final two biomes are region-locked. One sits only in the lower south of the map, and with the 1.0 update the endgame biome, the Deep North, is only in the north. You will eventually travel all the way south and all the way north, so set up teleporters across your world early.
Tip: Early on, just follow the boss prompts. If you hate where they point, find a new biome to reroll spawns so you travel less.
The Rested buff (top-right) comes from resting inside your base. I’ll cover how comfort and duration work below.
How Combat Actually Works (And Why Skills Are Underrated)
There are three combat types: melee, ranged with bows, and magic much later. Early on you only touch the first two.
Skills live in your inventory under the skill section. The game barely explains them, but they matter far more than the tooltip suggests. Higher bow level means more damage with bows, same for clubs and every other weapon line. What the game doesn’t tell you: leveling a skill also reduces the stamina cost. Every weapon lists draw stamina or use stamina, and the higher your skill, the less stamina you burn over time.
This is where new players get burned. If you start with an axe, leveling axes carries over to other axes. But a brand-new weapon type starts at zero experience. Pole arms, for example, need Copper and show up within roughly five hours for a new player — and if you’ve never used one, you’ll burn way more stamina per swing. My advice: experiment so you’re not sitting at zero experience in everything.
The defense system is souls-light. You can block, dodge roll, and parry. Parry is extremely forgiving, especially against smaller enemies like boars, skeletons, and anything humanoid.
- Holding block shows a stagger meter on the right side
- If it fills completely from taking enough damage in a short time, you get stunned and left open
- A successful parry stuns the enemy for a moment
Parry timing is the whole trick: face the enemy and hold block right as they hit you, or extremely shortly before. Holding block long before the hit only gives a normal block.
Take a bear — terrifying for most new players. You can parry it repeatedly as long as you’re not fully staggered. Wait for it to run in, parry, land a couple of hits. Early gear can’t withstand much, and heavy stagger damage adds up fast if you take back-to-back hits. Learning to roll and balancing roll with parry makes Valheim combat significantly easier.
Damage types matter too. Creatures have different weaknesses:
| Creature | Weakness | Notes |
|---|---|---|
| Bear | Slashing | Parry repeatedly, don’t get staggered |
| Skeleton | Blunt | Blunt weapons shred them |
Weapon tooltips show damage types. A battle axe deals slash and spirit damage; a bow deals pierce. The orange number assumes level 100 in that skill, the yellow number is realistic — something like 16 to 29 damage unless the target has a weakness. Some weapons grant knockback or extra backstab bonus. Carrying a variety (bow, two-handed, one-handed) helps because different creatures resist different things.
Hunting Deer Without Wasting an Hour
Do not sprint around. Walk casually and listen — deer make audible sounds in the background. When you hear one before startling it, stop, crouch, and sneak up.
Crouching consumes stamina, so watch it. If you crouch to approach and then stand to attack, you may not have enough stamina left. When crouched and stealthy, deer only detect you if they’re facing directly at you. If they look sideways or turn away, they haven’t seen you. A detection meter appears above the location label, like above “beach.”
Sneak attacks deal bonus stealth damage for both melee and ranged. Stand up to regain stamina, then crouch again before moving. Sneak behind a deer for a stealth kill, or from range, zoom in and switch arrows on the fly for a stealth shot with increased damage. Loot auto-picks up by default if you’re not over-encumbered and your inventory isn’t full.
Creatures — deer and aggressive ones alike — can have stars. Higher stars mean more health and, for aggressive creatures, more damage, but they also drop more resources. That’s very helpful when you’re farming armor materials.
Note: At night you typically meet more challenging enemies. Rest through the night (not every night, but often) to avoid harder fights — and resting also grants the Rested bonus.
Building a Base That Actually Keeps You Alive
Heading inside a sheltered area immediately grants a buff. To sleep you need a running campfire, so put fuel in it first. Once it’s running you get the comfort bonus. The longer you stay or the more items you’ve decorated with, the bigger the bonus.
In my own testing: after sleeping in a small shelter with a couple of items placed, the Rested buff was 11 minutes. At a different base with more items, it hit 18 total minutes. Entering a new resting area resets or replenishes the buff.
One catch — only one comfort level is granted per item type. Placing multiple banners only counts one banner toward comfort. The extras are purely decorative.
A few building rules that aren’t obvious:
- Early on you only have wood, so stations like campfires and crafting stations must be placed on dirt, not on wood. You can cover them and build around them, but they need dirt underneath.
- Later, with stone, you can place stone directly below them with no issue.
- Your house won’t burn down by default. The setting that makes campfires ignite everything is off, but you can enable it for realism if you want.
Sleeping and the wet debuff. You cannot sleep while wet. Rain applies the wet debuff, which significantly slows stamina regeneration. It lasts as long as you’re in the rain and fades slowly once you’re out — but standing near a fire makes it drop much faster, a couple of seconds, maybe 10-15 max. So when wet, stand by a fire to clear it, then sleep to skip the night.
Crafting tables do two huge things. First, they repair gear for free. Unlike other games, any item made at a station can be repaired there at no cost — walk up, spam the button, fully repair everything. Second, every crafting table projects a radius that acts as a spawn-proof blocker. Place several around your base to prevent spawns in the area. Campfires also block spawns, but the crafting bench is better because it doesn’t need fuel restocked, and campfires go out if directly in the rain.
Rock formations as emergency shelter. Small rock formations can be walked under to gain the shelter buff — the wet effect goes away and you can build under there. You can wall in a couple of rocks, place a bed below, and sleep there. A crafting table placed outside says it needs a roof and can’t be used; placed under the rock overhang, it counts as having a roof and works. Great for storms when you have no base nearby.
Pre-built huts are free real estate. The world is random, but you’ll often find huts. Check inside — you might find a chest and sometimes an item like the mysterious axe head, which is extremely helpful early since you normally can’t get it yet. You can also build a workbench just outside a hut; on a flat surface it lets you remove wood within its radius, so you can tear the house down and take its resources without cutting trees yourself. Or just live in these houses for a couple of days and skip building your first base entirely.
Farming Trees, Berries, Feathers, and Dandelions
When stamina is scarce, how you farm matters.
Trees. Chopping a tree makes it fall, and it can knock over other trees. If a falling tree lands on you it causes damage and can kill you. Smart approach: find trees in close proximity — four or five together — fell one so it lands on the others, and let the chain reaction break them. Trees that only shake can be finished with a single swing. Stand clear so they don’t land on your head. Try to hit multiple trees with one swing too; a sweeping edge reduces total swings and minimizes stamina spent. Line trees up as best you can.
Raspberries. One of the first foods you find. You can destroy berry bushes by hitting them for a small piece of wood, but don’t. Berries respawn over time, you can’t grow them even much later, and you need them for many recipes and for taming boars. Instead, open the map, zoom in, select the pin, name it something like “Barry,” and save it so you can return when they respawn. Later, when you move bases, set up a portal to areas with big berry groupings and farm them in seconds.
Feathers. Birds often land during storms, and birds are your one-way ticket to feathers, which you need for arrows. You’ll find feathers in chests in starting areas like the Meadows, but during storms the coastline is packed with birds. The forest works too, but the coast is easiest.
Dandelions. No great reason to use them super early, but grab them the moment you see them. You’ll need them for healing actions later. Bring them home and store them.
Taming Boars, Hunting Treasure, and the Wishbone
Boar taming. Lure boars into a pit, then toss food at them — mushrooms, raspberries, or blueberries are the easiest early options. Once tamed, they breed: happy boars produce a piggy that grows up over time. You can pet them and name them. This gives you a permanent meat source at your base, and a butcher item lets you harvest leather scraps and meat. Boars also appear in large groupings near certain lore stones — reading the stone tells you about the boars being there. Whether those respawn is debated, so mark the stones on your map and return to tame a couple for a self-sustaining farm.
The Wishbone. Not available until after you beat the third boss, but it’s extremely helpful for finding treasure chests and rare resources later. Always keep it in your inventory. It pulses: farther away it slows down, closer it pulses faster. When it pulses quickly, grab a pickaxe and dig down at that exact location. Loot from one dig I did: a silver necklace, a fire arrow, and some amber pearls.
Boat-shaped rock formations. This is the early Meadows method and needs no Wishbone — just any tier of pickaxe. If you see rock formations resembling a boat, terraform the ground and dig down for the chest. It’s almost always at one side or the other end of where the boat shape ends.
If you’re planning ahead for the endgame regions, the Deep North Guide covers what to expect up north. And if you keep running out of room while hoarding all this loot, More Inventory Slots is worth a look.
More Guides:
- Valheim 1.0: How to Get the Grappling Hook and Craft It at a Workbench
- Valheim 1.0 Deep North Guide: How to Craft Frost Foundry, Blood Gold, and Nord Endgame Gear
- Valheim 1.0: How to Get More Inventory Slots Without Mods


