
I spent way too long hunting these cameras down one at a time, running the same zones over and over because I kept missing one tucked behind a corner. So I wrote this up as a single zone-by-zone run that grabs all of them in order, no backtracking. If you’re stuck on the Freeze Frame side quest or just want it done in one clean sweep, this is for you.
Quick note before we start: this quest is meant for the late game. Do it with all your abilities unlocked, or you’ll hit walls you literally can’t pass. I’ll flag which ability each camera needs as we go.
How the camera grab actually works
Freeze Frame is a side quest in Control Resonant where you track down hidden cameras scattered across every zone. The whole quest is one long scavenger hunt.
The core mechanic is simple but easy to mess up: you have to get behind a camera to grab it. If a camera catches you, don’t panic. Just walk a short distance away and come back, and it resets so you can try again.
A few things worth knowing before you start:
- Do this in the later stages of the game with all abilities unlocked.
- Enemies frozen in slow motion? That’s a hint a camera is nearby.
- You can melee cameras at stop points to reset them, then keep moving.
- Abilities you’ll need across the run: Gravity Shift, Power Charge, Fist ability / Ground Pound (or Hammer as a substitute), and a fire ability (Inferno, Ignite, or whatever you’ve got).
Here’s the ability breakdown by zone so you know what you’re walking into:
| Ability | Where it’s needed |
|---|---|
| Gravity Shift | West Incursion Zone, Downtown, Underpass |
| Power Charge | West Incursion Zone |
| Fist / Ground Pound (or Hammer) | Downtown |
| Fire (Inferno / Ignite) | Subway Station area |
Tip: If you’re under-leveled or missing an ability, skip that camera and come back later. The cameras don’t go anywhere.
West Incursion Zone: cameras 1 through 3
Start at the Watch Tower, the spot where you talk to Zoe. Come down the stairs and work through the zone.
Camera 1: Get behind it and grab it. If it catches you, walk away and return to reset.
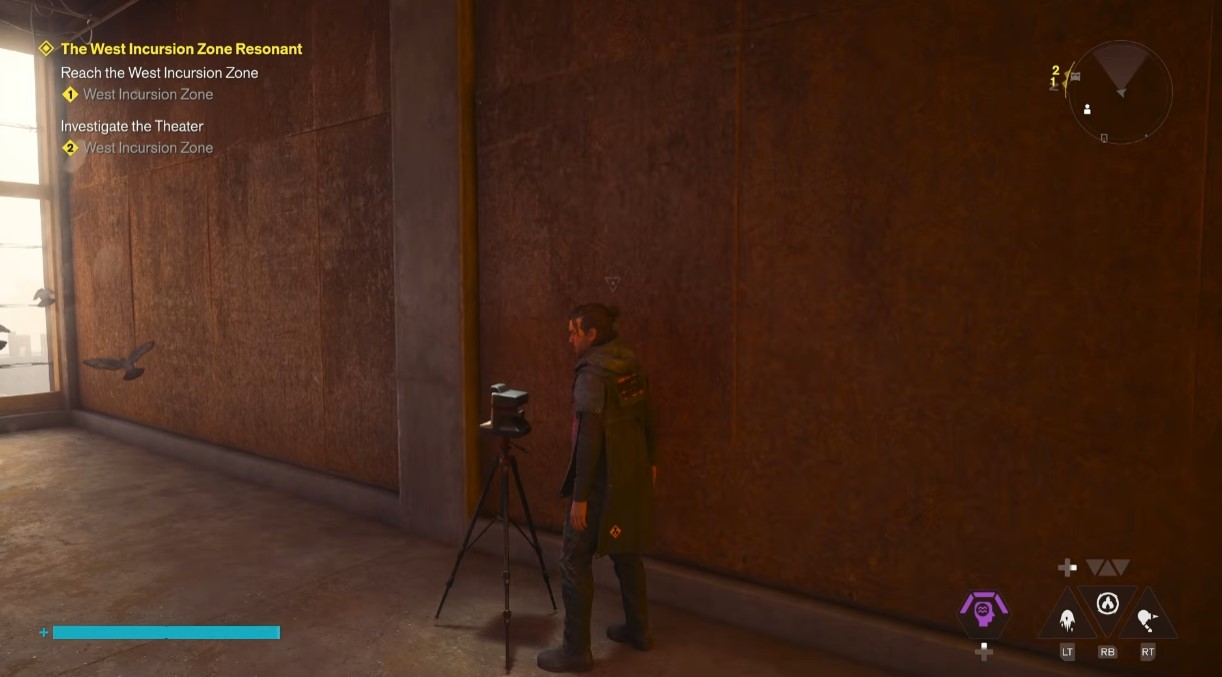
Camera 2: This is the sneakiest one of the whole set. It needs Gravity Shift, and it’s tucked in a corner while you’re off the ground in weird gravity. You’d basically have to be extremely observant to stumble onto it naturally.
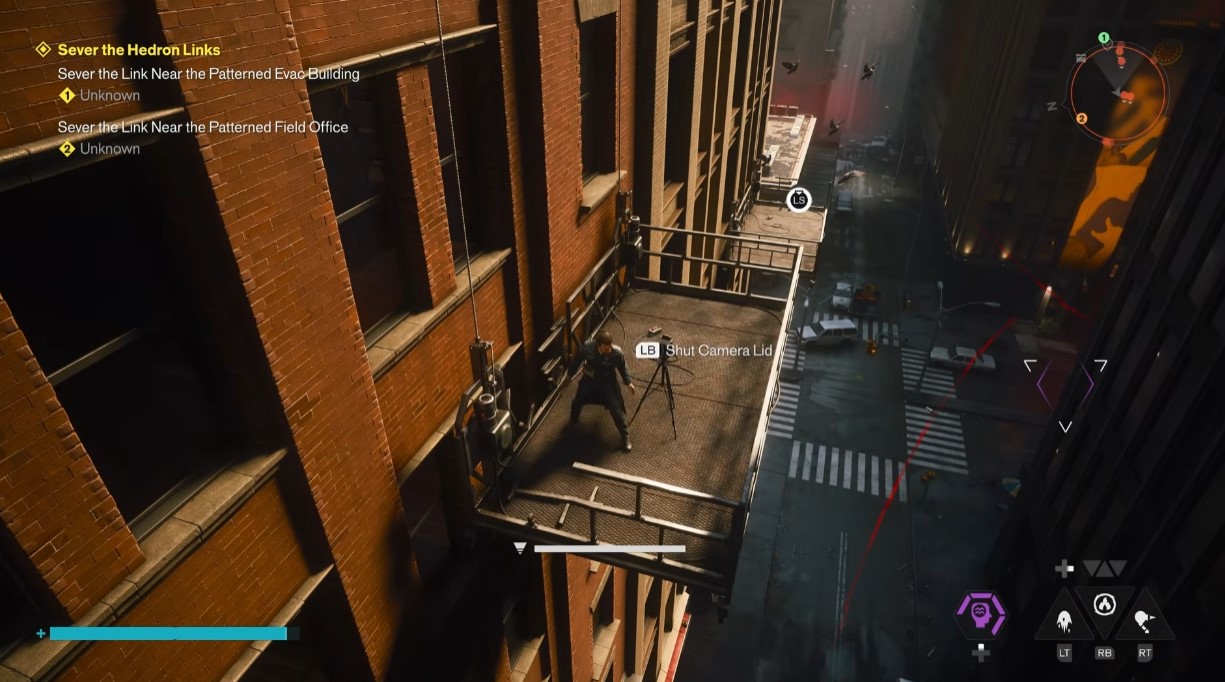
Camera 3: Needs Power Charge. Walk all the way along the path in the rain and find the charging box (it holds six charges, grab one). Then head back the way you came. You can’t make the full distance in one go, so you’ll hit stop points. At the first stop point, melee the camera to reset it, then keep going. Hit the next stop point, continue to the end, jump up, open the door, and grab it.
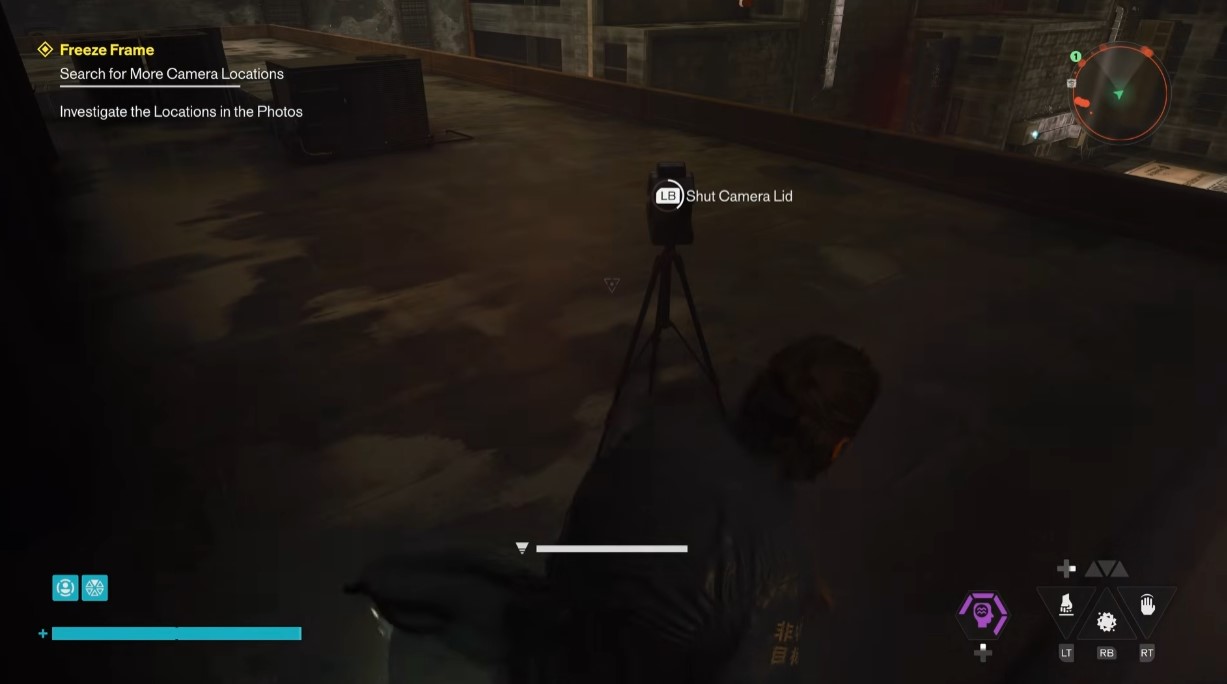
Evacuation Zone: cameras 4 and 5
Camera 4: This one’s clever. You have to actually get caught to get through, because getting caught opens the door. The reason is there’s an Alan Wake Easter egg in the room beyond, and the design routes you through it on purpose. After getting caught and opening the door, come back through and confirm the camera has reset (climb back up to check). Once it’s reset, head back the way you came, go up through the door, check out the Easter egg, and grab the camera.
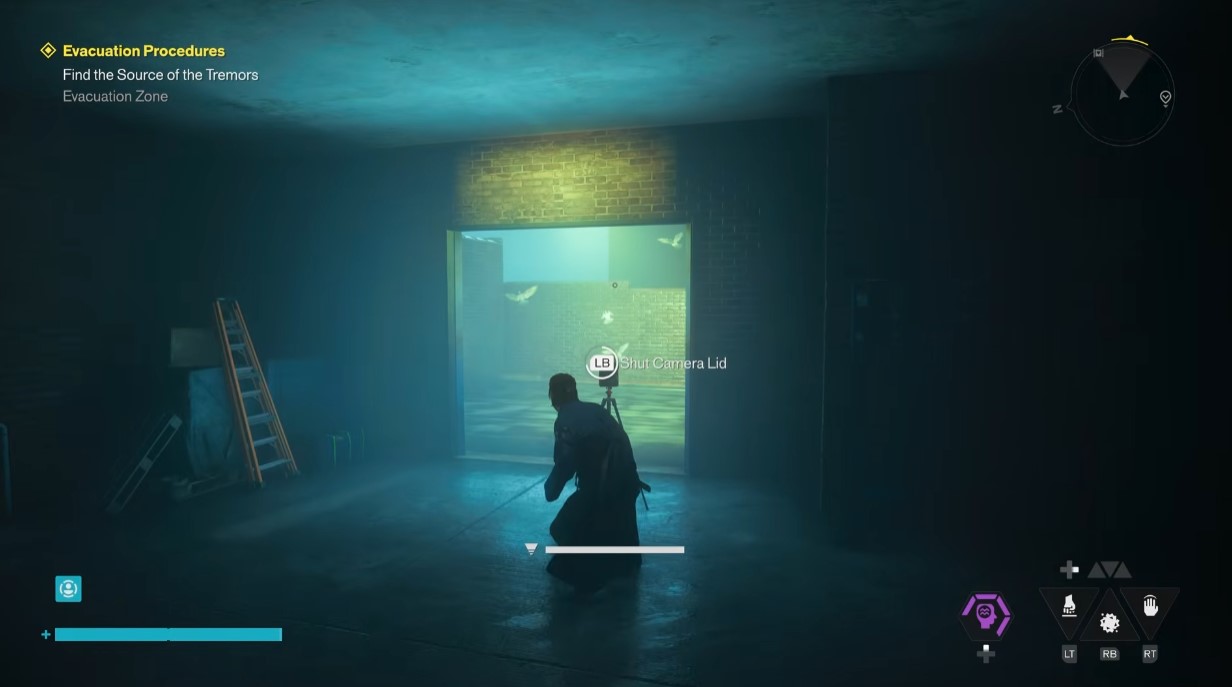
Camera 5: Just keep pushing through the Evacuation Zone to reach the next one.
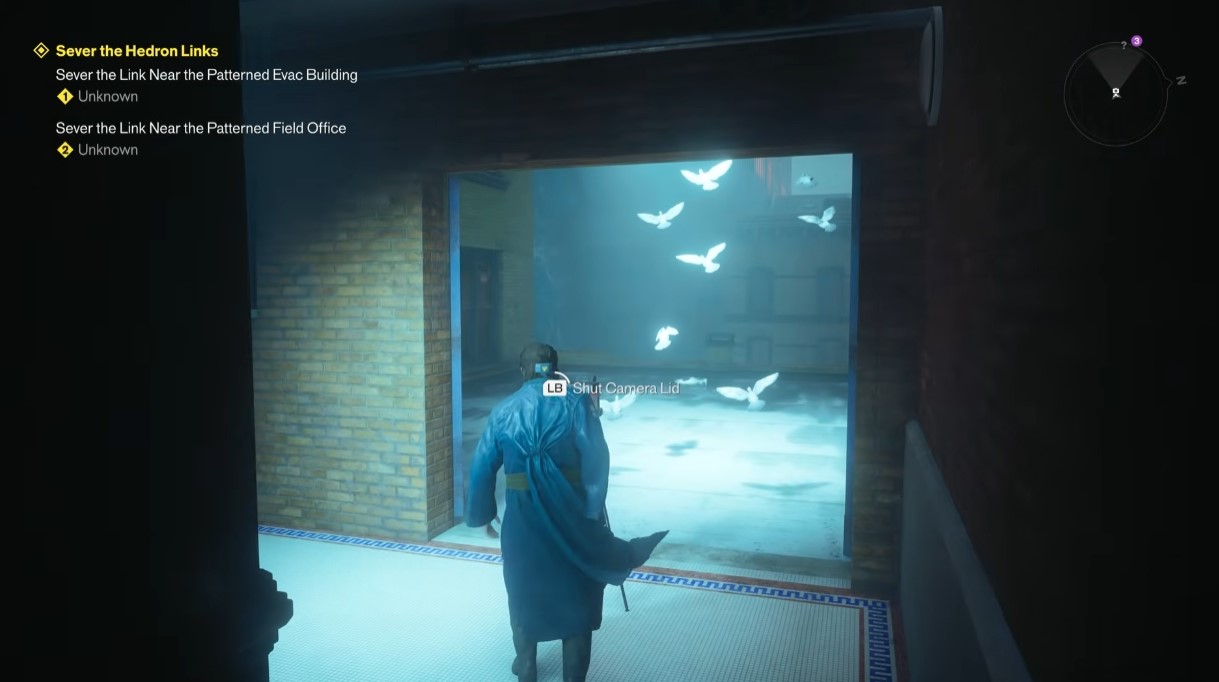
Downtown: cameras 6 and 7
Camera 6: Grab another electrical charge. It’s easier to start straight from the charge instead of the beginning. Hit the charge, then the switch, and you can get in. Grab the camera. Watch for slow-motion enemies, that means one’s around.
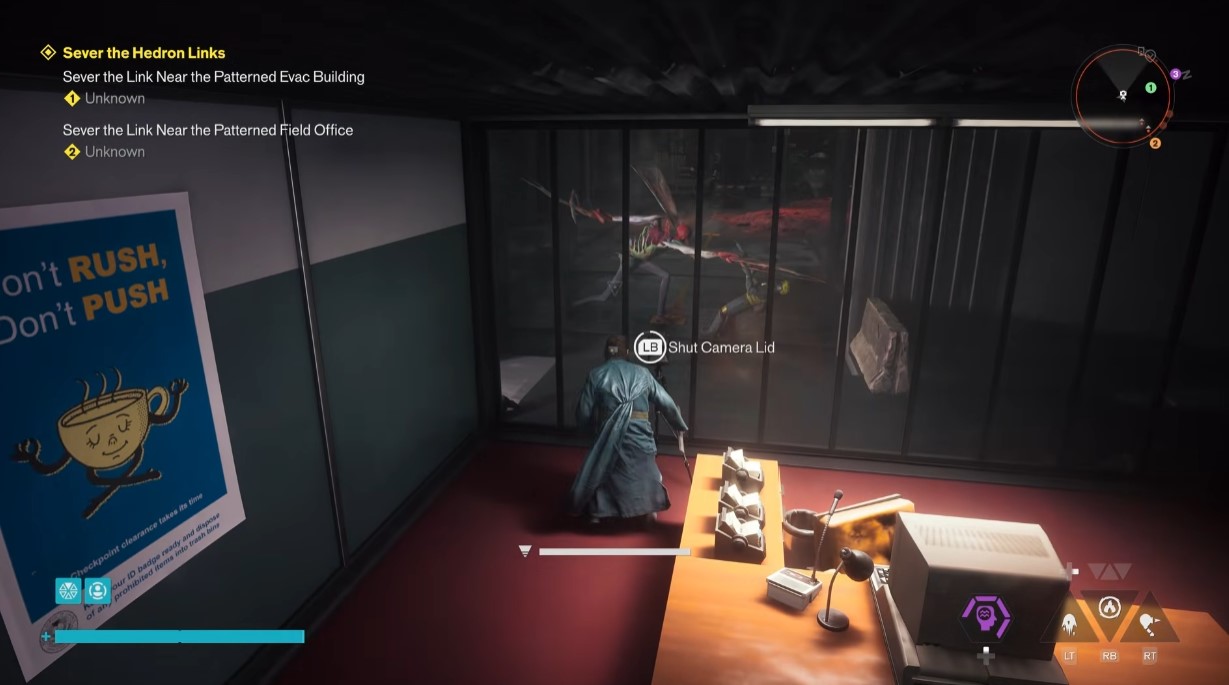
Camera 7: Top left of Downtown, and it’s a trippy one. Follow the route exactly. Needs Gravity Shift, so you should be at least halfway through the game. Grab onto the indicated surface, use the Fist ability, then Ground Pound the target (or use Hammer if you have it, that works too). Then grab the camera in this tricky spot.
Central and Subway Station: cameras 8 and 9
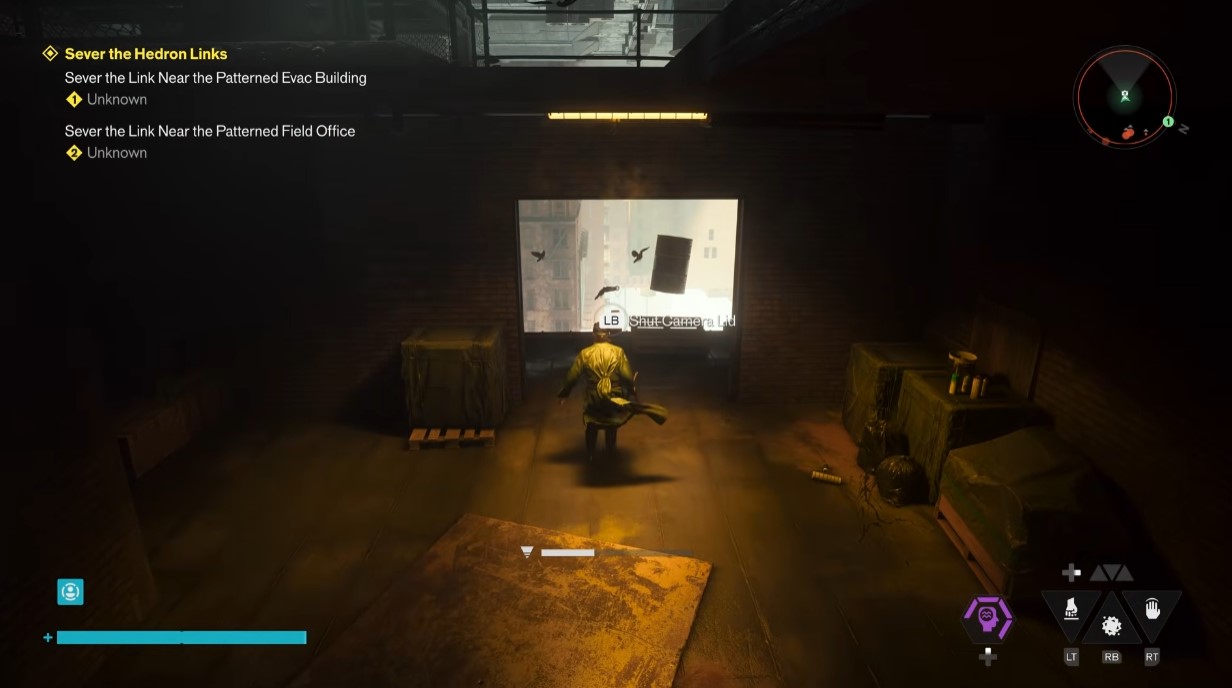
Camera 8 (Central): Central is the map center. For this one you have to get caught, since getting caught opens the door. There may be an Easter egg in here too. Come back out and confirm the camera has reset. Once it has, go back through the door, clear some enemies inside, then go back and grab the camera.
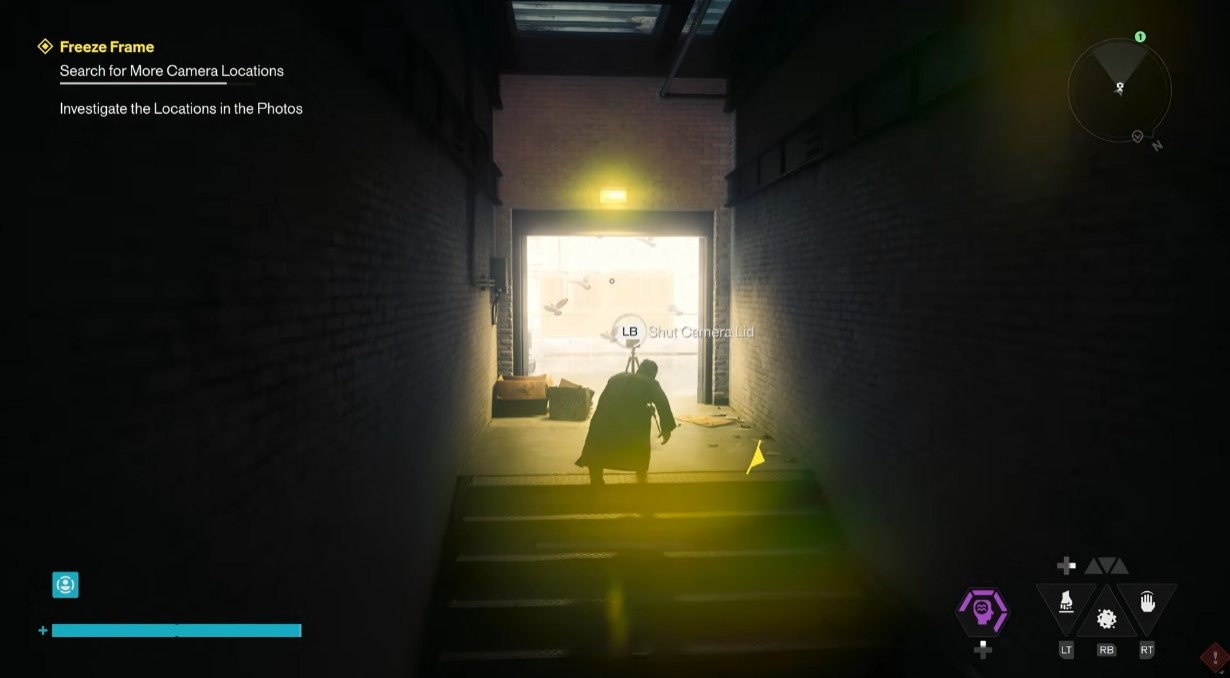
Camera 9 (Subway Station): Very sneaky. The camera is just on the right, but you go all the way around to get it. You need a fire ability to open the way (Inferno, Ignite, whatever you have). This works anywhere on the map: if you see this obstacle type, use fire. Come through and grab it. You can run past the enemies or kill them.
The Park and Underpass: cameras 10 through 12
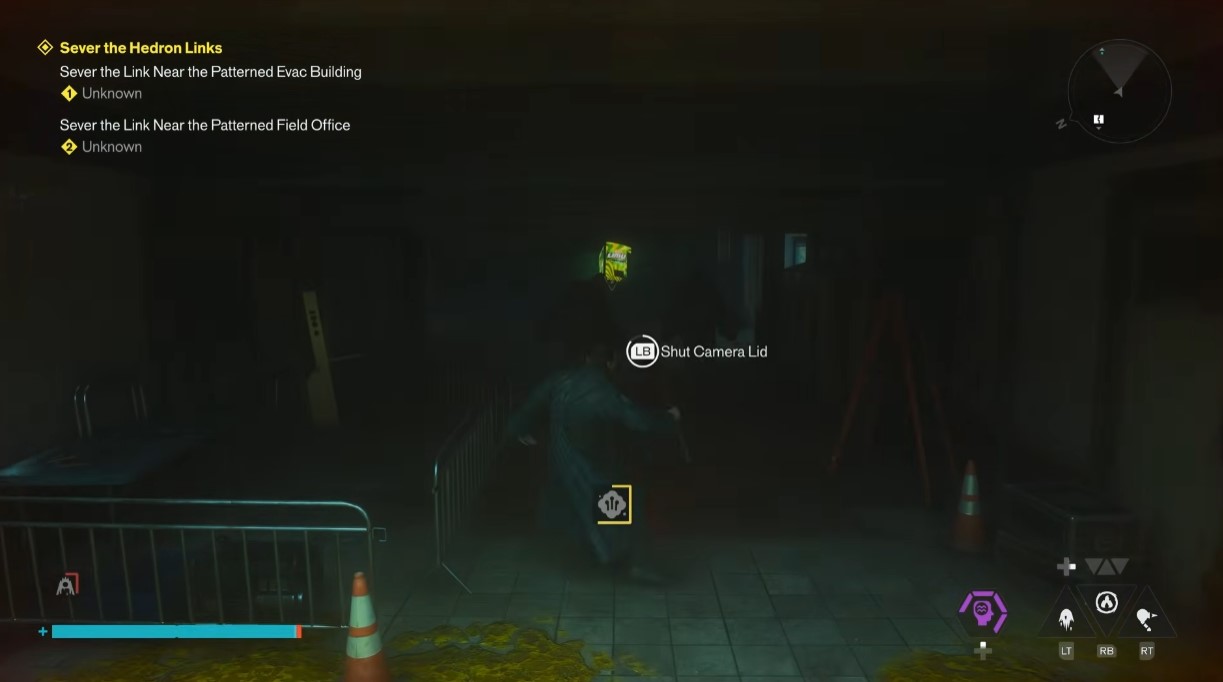
Camera 10 (The Park): In the moldy area. There’s another generator, so start straight there. Hit the switch to power up a small elevator, because you need the height. Jump across and be careful over the top. Grab the camera.
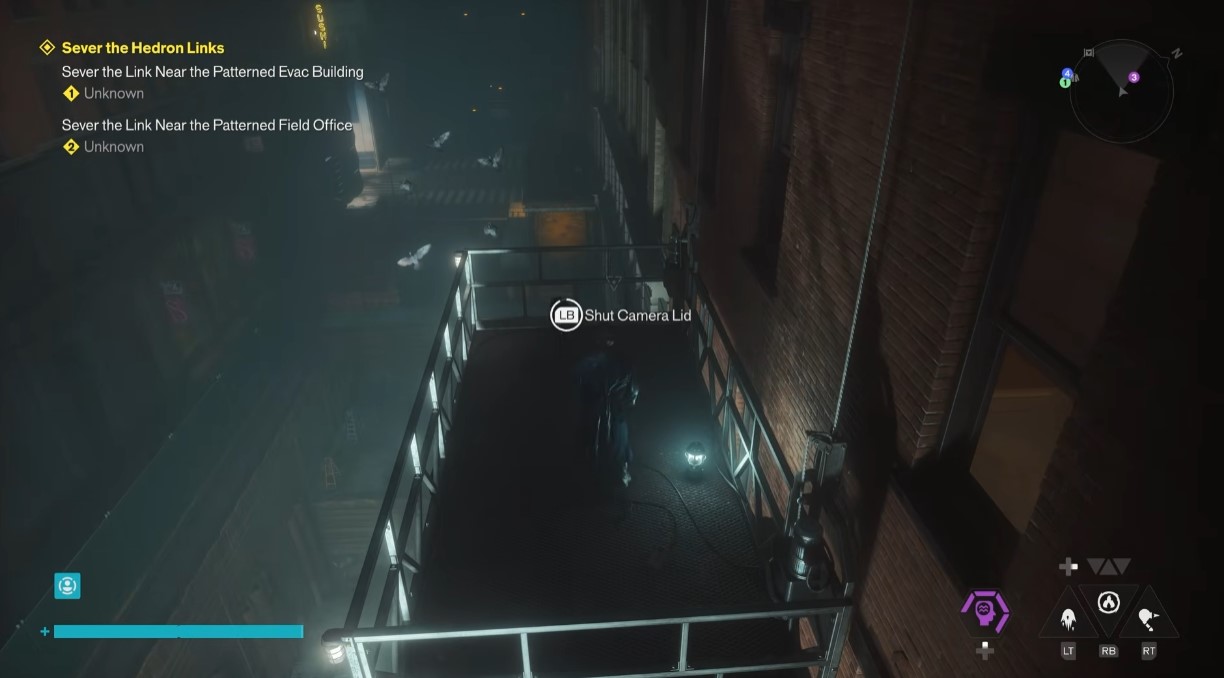
Camera 11 (Underpass): Late-game area. You have to go underneath. Use Gravity Shift and kill a bunch of enemies there to open the way. Drop down, go straight through, kill the enemies, drop down again, straight through.
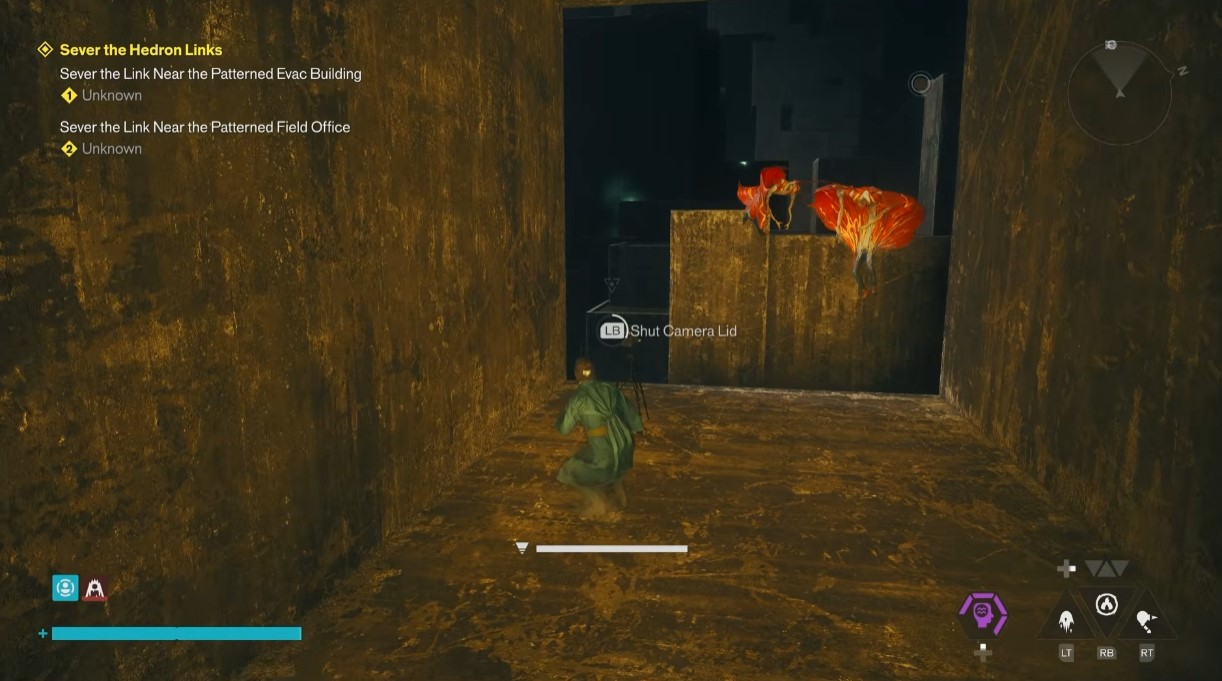
Camera 12 (Underpass): You have to maneuver to this spot, but it’s not too bad. Route: jump up, run up, take a big jump forward, scoot across, land on the moldy goo, then jump across. Do a run-up for a bigger boost, jump, then hold circle.
The Unknown: cameras 13 and 14
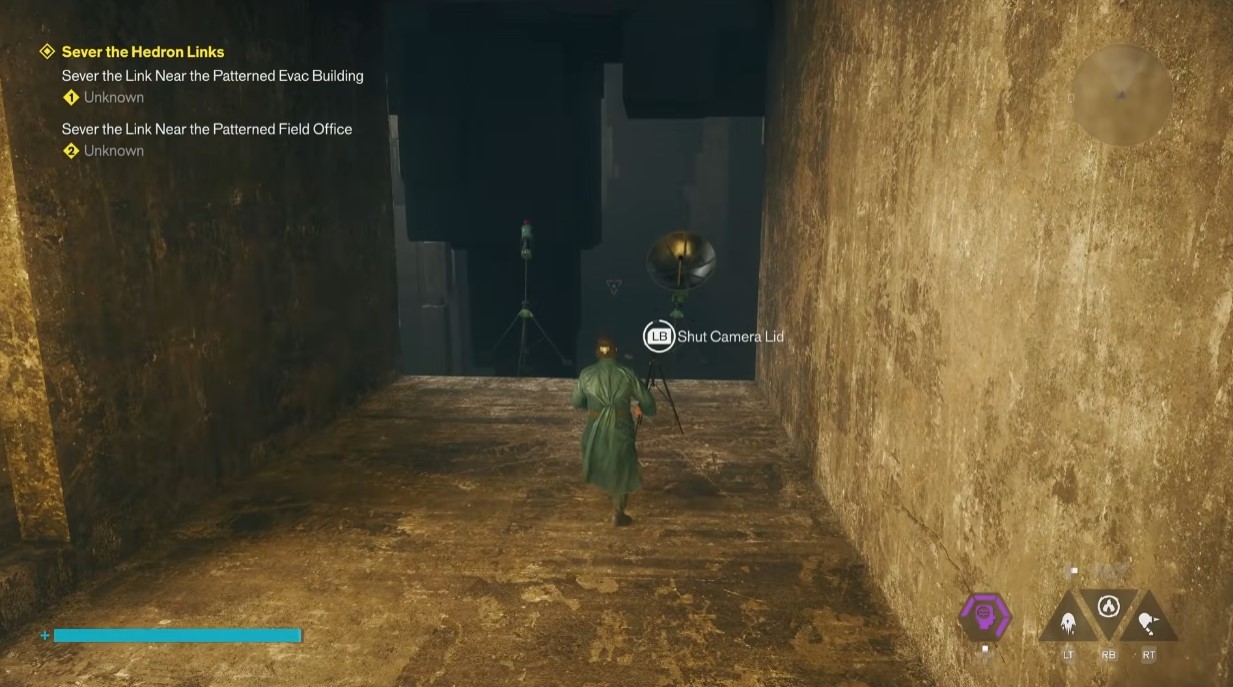
Camera 13: Final area of the game, the inception zone. Very trippy but easy. You just get caught going into the shop. Get caught, grab the box if you want, then open the door. Come out and watch for a little flash, that means the camera has reset. Come back through and grab it.
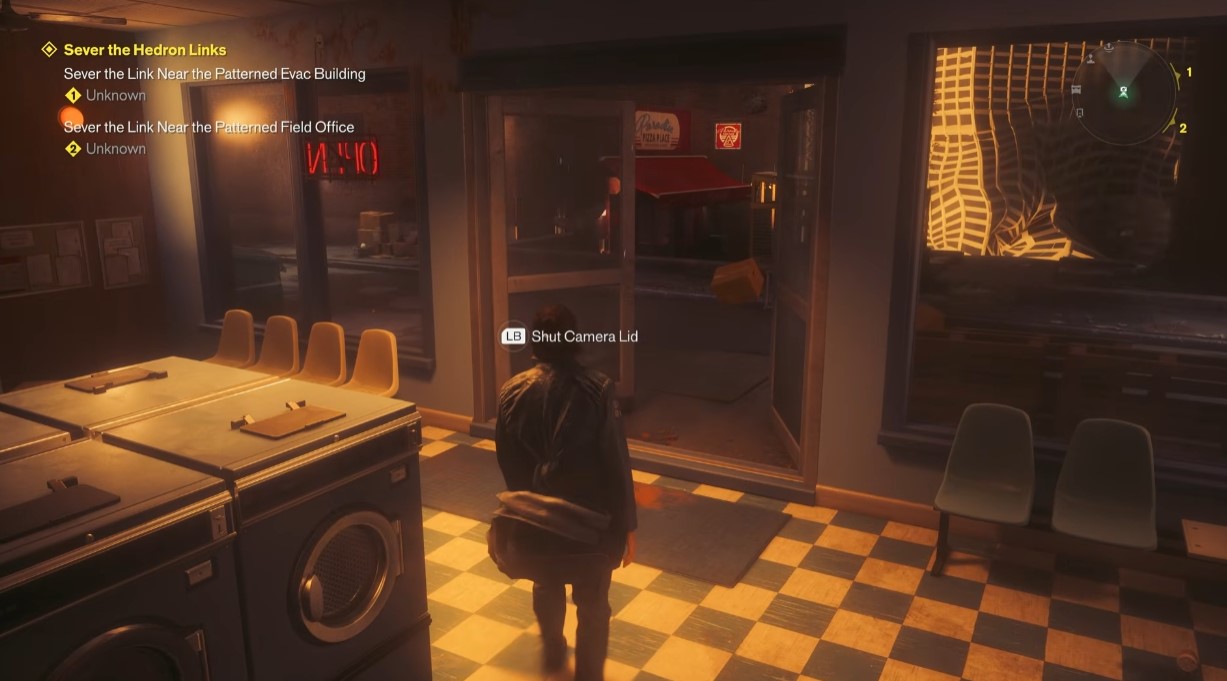
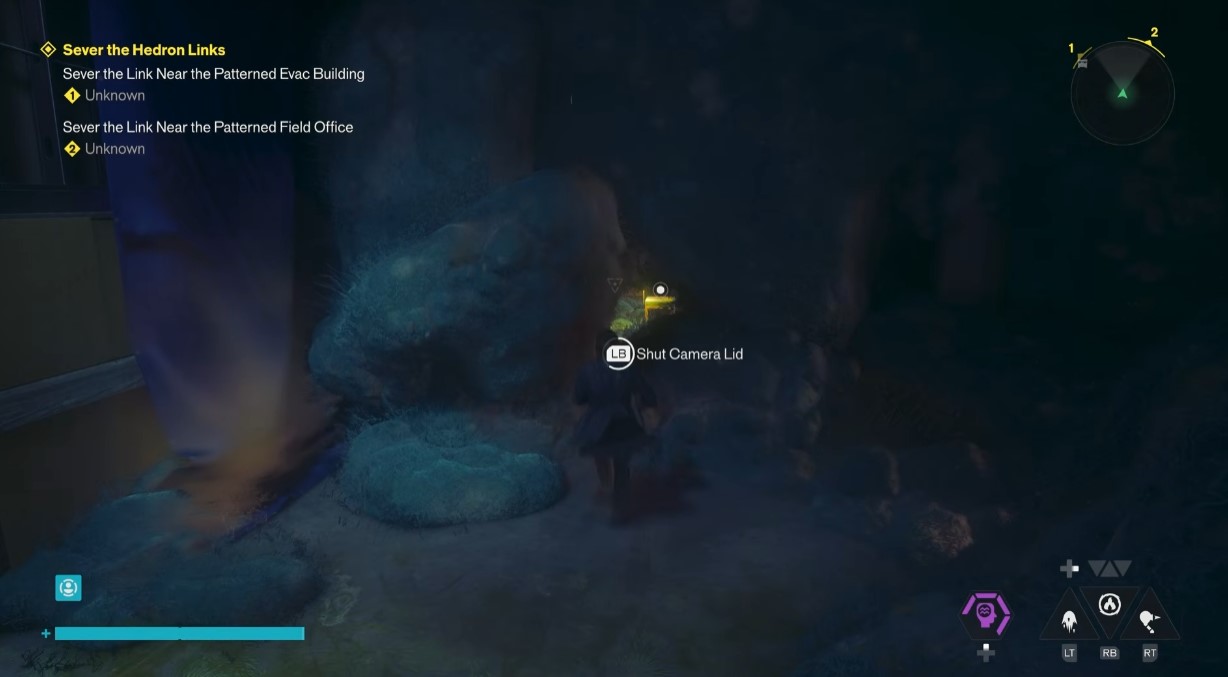
Camera 14: Still in The Unknown, middle section. Make sure your orientation is right. Get into the gooey blue moldy building and come down the stairs. Kill a bunch of enemies in this room, you can’t escape until they’re dead. Once they’re down, the camera is right there.
The finale: chaining the last cameras without getting caught
The finale is a bunch of cameras that whittle away one by one, and you have to grab them all in a row without getting caught.
- First camera: don’t get caught. Come back around. The cameras are up above, so go right around. Take your time.
- It doesn’t matter which one you grab, grab any one.
- The cameras then spawn right in front of you. Go around again. Don’t get too close. Go all the way around and grab this one.
- Fewer cameras remain each round until only one is left.
- The final grab ends the quest.
A couple of things that saved me here: go down rather than up, it’s easier. When three cameras remain, follow the route up, there are three sneaky ones. After the first grab, the next two are to the left, and a little white effect gives their position away. Come over, drop down, grab. The last one is back in the original spot, and you’re done. Some dialogue plays at the end, and you get an artifact, possibly an achievement too.
Note: The finale is the one part where getting caught actually matters, so slow down and take the wide route instead of rushing.


