
I spent way too long stuck on one taxi in Downtown, entering the wrong car over and over because I couldn’t tell which one was actually different. Once I figured out the pattern, the rest of the game’s taxi puzzles fell into place fast. So here’s the full answer key — all seven areas, in the order you’ll hit them, with the exact taxi you need to enter for every single puzzle. If you’re a completionist trying to knock out every taxi before the story wraps, this is for you.
The short version of what’s going on: each area hides a taxi puzzle built as a spot-the-difference test. You find the taxi, hop in, take a phone call, and then the puzzle starts. Your job is to spot the one taxi behaving differently from its neighbors and enter it. A green light means you nailed it.
How the taxi puzzles actually work
Every taxi puzzle follows the same loop. Learn it once and you’ll never be confused again.
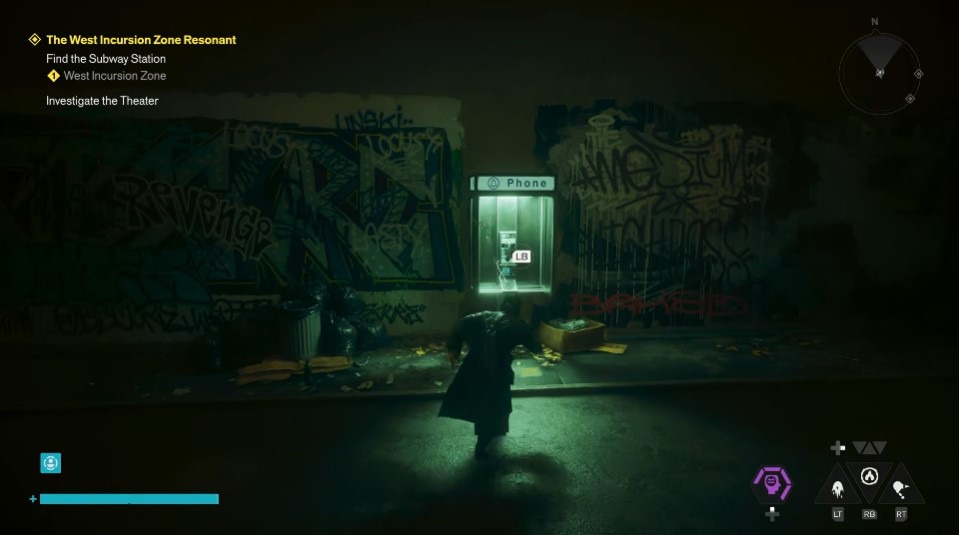
- Find the taxi hidden somewhere in the area.
- Hop into the taxi.
- Walk over and take the phone call. The story plays out, and it can unfold in different ways depending on what you choose.
- After the call ends, the spot-the-difference puzzle begins.
- Identify the one taxi that behaves differently from the rest and enter it. A green light confirms completion.
Note: Take the phone call before attempting the puzzle. You come out of the call and then the puzzle starts — skipping the call means you can’t solve it.
Here’s the full area order you’ll encounter them in:
- West Incursion Zone
- Central Area
- Evacuation Zone
- Downtown
- The Park
- Underpass
- Unknown Area
West Incursion Zone taxi solutions
There are a few taxis scattered here, and three puzzles total. This one’s a good warm-up because the differences are mostly about flashing.
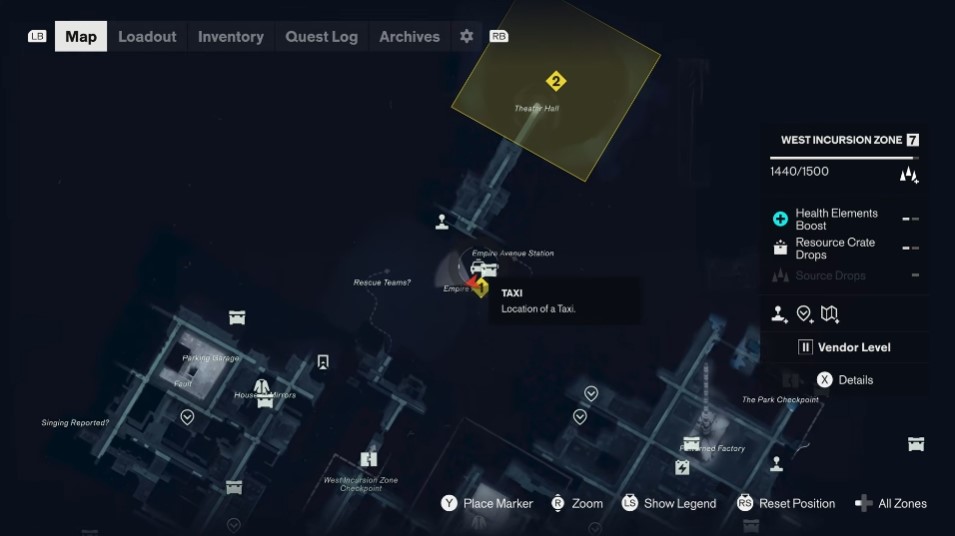
- Puzzle 1: One taxi is flashing while the others aren’t. Enter the flashing taxi. Green light confirms it.
- Puzzle 2: All taxis are flashing except one — the one in the middle left. Enter the non-flashing taxi.
- Puzzle 3: One taxi is flashing off-time compared to the others. Enter the taxi whose flashing is out of sync.
All three done and the West Incursion Zone is complete.
Central Area taxi solutions
Three puzzles here, and this area leans on lights rather than flashing. One of them demands quick reactions.
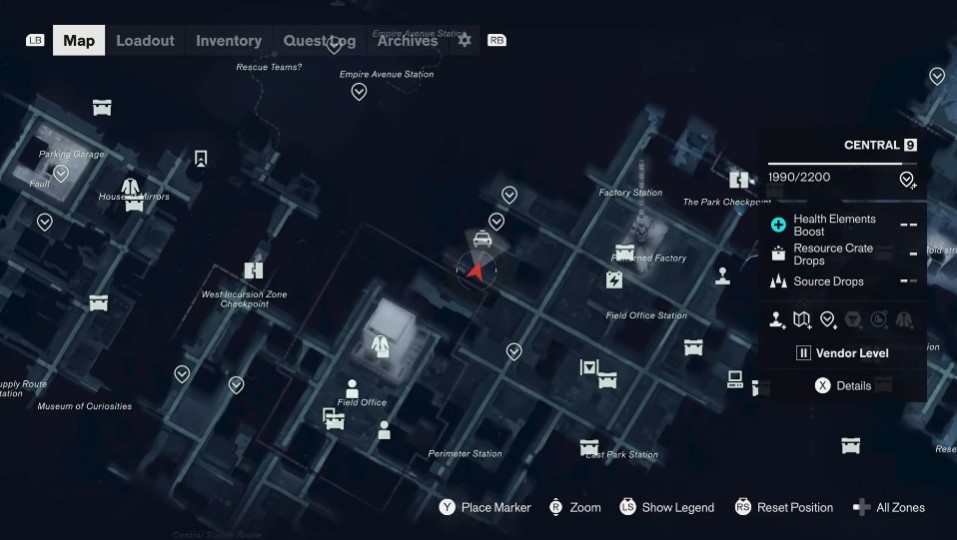
- Puzzle 1: One taxi has its lights on. Enter it. One green light confirms it.
- Puzzle 2: One taxi has its top light on while the rest don’t. You have to be quick — enter the taxi with the top light on.
- Puzzle 3: All taxis have either the back or the front light on, but one taxi has both lights on. Enter the taxi with both lights on.
Evacuation Zone taxi solutions
Head down the main street and just off through here to reach the taxi. Watch for red spikes through the lasers on the approach — they’ll catch you if you rush.
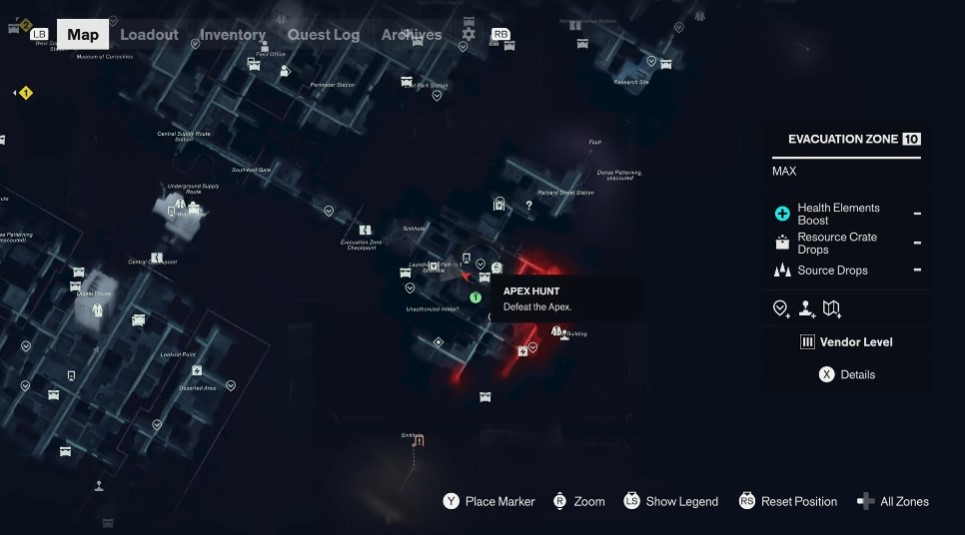
- Puzzle 1: One taxi flashes differently than the others — it’s the back-left taxi. Enter it.
- Puzzle 2: One taxi lights up twice in a row while the others light up once. Enter the taxi that lights up twice.
- Puzzle 3: All taxis light up except one. The one that never lights up is the closest taxi on the left. Enter the taxi that does not light up.
Downtown taxi solutions
This area can be done early or later in your run. Watch out for bombs on the way in — don’t get hit. This is where I got stuck the longest.
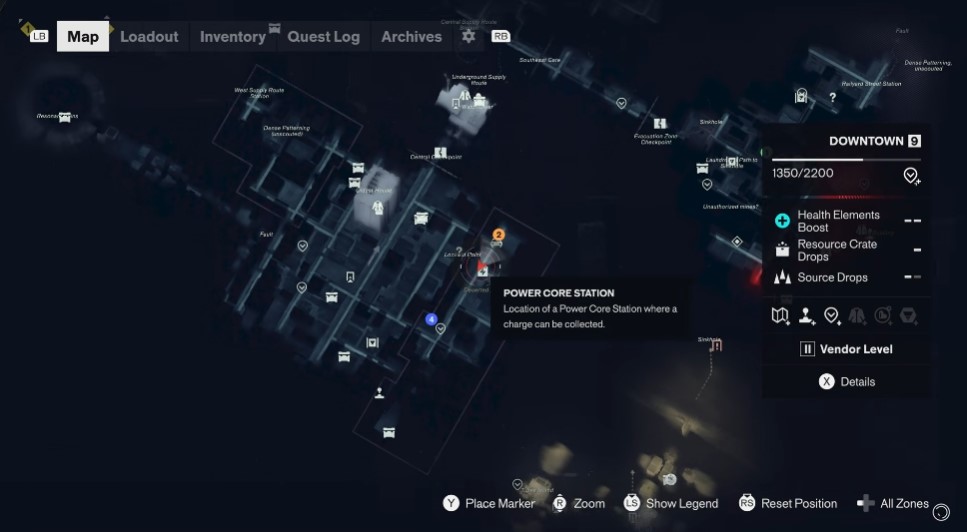
- Puzzle 1: One taxi is flashing. Enter the flashing taxi.
- Puzzle 2: You must get close to the cars to see it. All taxis flash when you get close except one — the one that does not flash is the one to enter. This is one of the toughest puzzles in the game.
- Puzzle 3: Walk next to the cars and one car will flash. The back-right car keeps flashing — that’s the one to enter. Very tricky; keep looking around.
Tip: For Downtown puzzle 2, don’t stand back and stare. Walk right up to each car so the proximity flash triggers, then watch for the one that stays dark.
The Park taxi solutions
Getting to The Park means going through the sewer — there’s no other way through, and it can be confusing to find. The taxi sits on top of the parking garage, one level below the top level.
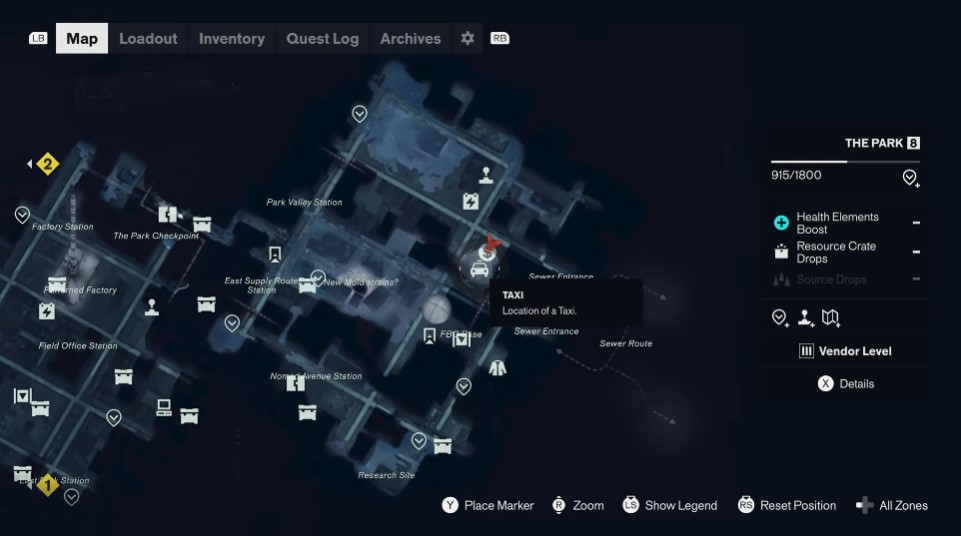
This area works differently from the others. Instead of spotting a behavioral difference, you shoot mold to reveal car parts, then attach the correct parts to the taxi. Be careful about colors and which parts you put on.
- Puzzle 1: Shoot the mold to reveal car parts. Put the hood on, and find the rear part somewhere in the mold. Attach the rear part on the back and hop in.
- Puzzle 2: You don’t need to shoot mold here — you just need the wheels. Pop them on. Do not use the blue hood, because it’s not a blue taxi. Bring the yellow hood and hop in.
- Puzzle 3: Shoot all the mold to reveal parts. The yellow hood is revealed — put it on. Next is the top-of-the-car piece — pop that on. The side piece goes on the top left. Do not pick up the blue piece, it’s the wrong color. Grab one of the other two pieces and pop it in the back, then the final rear piece (yellow) goes on. You’ll then be through to the next round.
Warning: Color matters in The Park. The blue hood and blue piece are decoys — always match the taxi’s actual color.
Underpass taxi solutions
This area comes later in the story. You’ll get here naturally and find a door. To return, go through the door and backtrack to where you came from. The taxi is in this room — look for its flashing lights.
Note: Make sure you take the phone call before doing the puzzle here. You come out of the call and then do the puzzle.
In this area you use the street lamps to see what’s different.
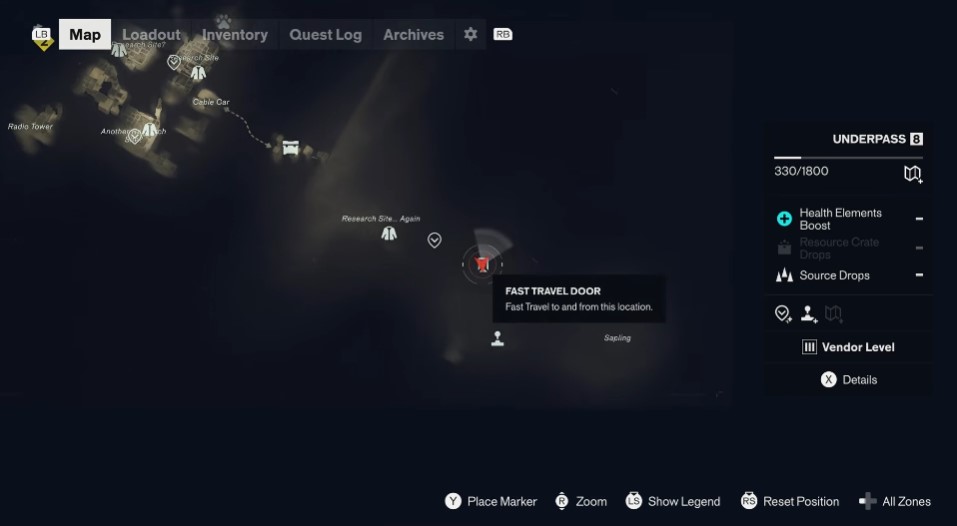
- Puzzle 1: When all the street lamps are off, one taxi’s lights will be on. Enter the taxi with its lights on.
- Puzzle 2: Use the street lights to figure out which taxi is different. One taxi didn’t have its lights on — it’s just to the right. Another view shows it at the back left. Night and day difference.
- Puzzle 3: Use the street lamps again to identify which taxi is different. One taxi turns on when the street lights run — it’s off but turning on. Enter that one.
Unknown Area taxi solutions
You reach this area through the story. It’s an inception-style area and a genuinely wild level. You’ll come here naturally — the taxis are at the back, and this is where most players finish off the story quest.
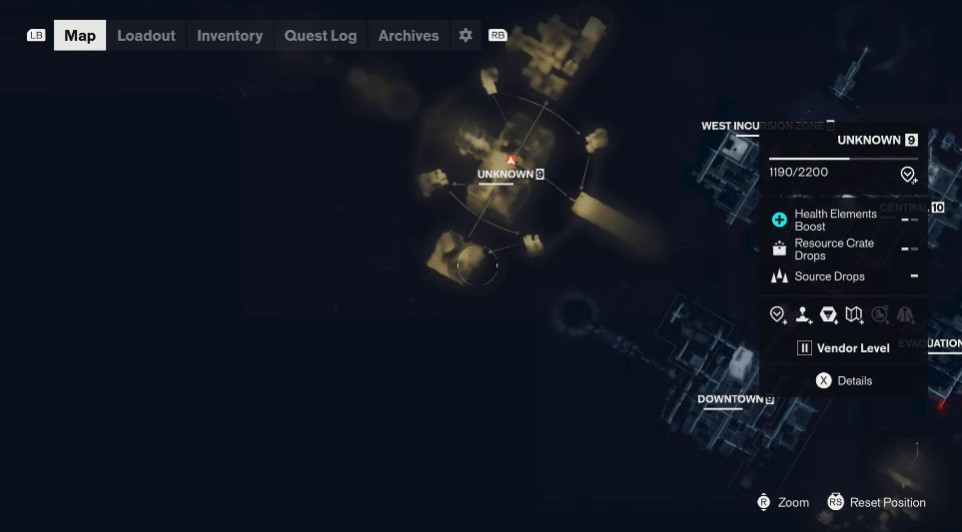
This one’s actually quite easy once it clicks: you’re finding the shadow of the taxi. There are different shadows around — trucks and cranes — and you use them to find the right one, the taxi shadow.
- Puzzle 1: Look for the taxi shadow. A shadow without the top part isn’t it — you need the top part to know it’s a taxi. Find the shadow with the little dongle top.
- Puzzle 2 (final): Same method every time — just more taxis to look through. Once you get the first one, you have them all. Completing this finishes the Taxi Puzzles.
And that’s the whole set. Seven areas, one taxi each, all done. The biggest trap across the entire run is Downtown puzzle 2 — if you remember nothing else, remember that the correct taxi is the one that doesn’t flash when you get close.


