
I spent way too long on the Underpass Resonant quest my first time through. The “Investigate the Astral Plane” objective sounds simple enough until you realize you need three separate Astral Keys, and the third one is genuinely nasty to spot. So I mapped out a clean route: left section first, then the big left-hand platform, then the far end of the bridge. Do it in that order and you won’t backtrack more than you have to.
This is for anyone stuck at the main bridge door wondering why one key isn’t enough. If you’ve already grabbed one or two, just skip to the section you’re missing.
What you’re actually doing here
The goal is to complete the Underpass Resonant quest objective “Investigate the Astral Plane” by collecting all three Astral Keys and opening the three doors on the main bridge.
You start at the fast travel door at the small encampment (staging camp) in the Astral Plane region of the map.
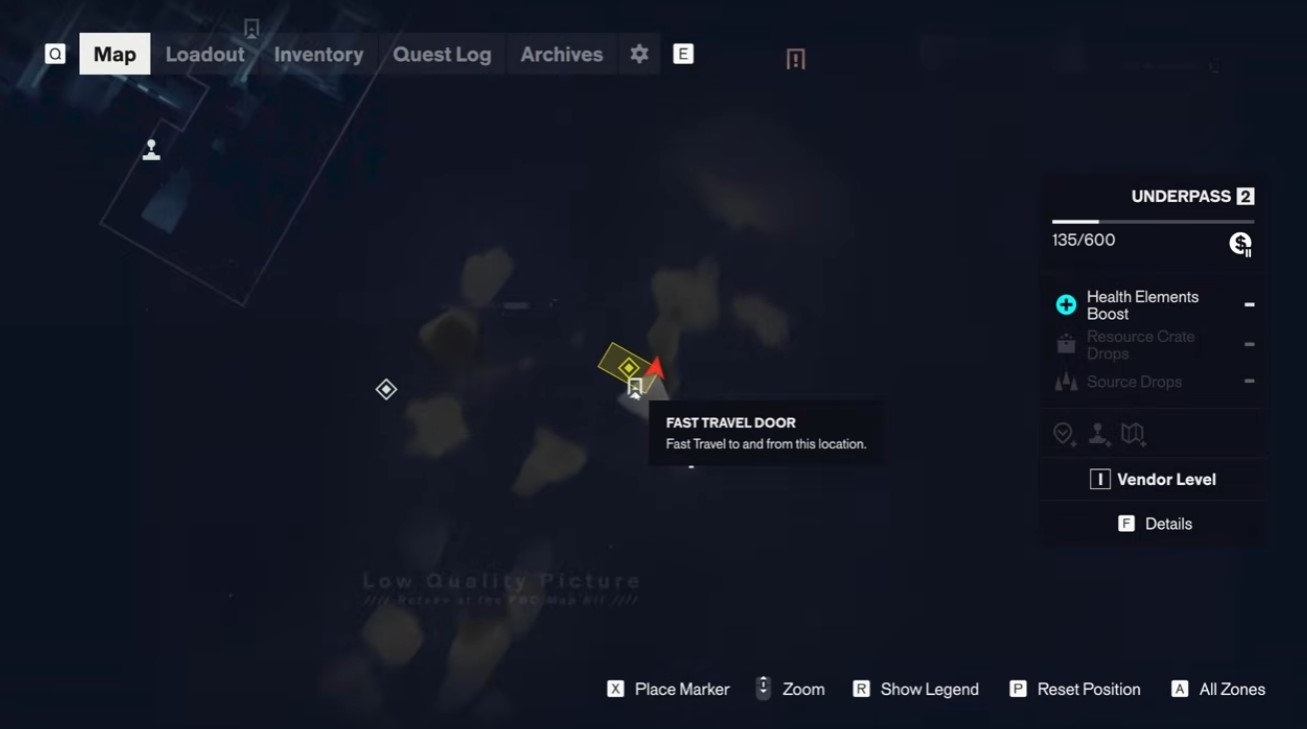
From the staging camp, step onto the red platform and swap your gravity toward it. Follow along the side, grab the loot, and keep jumping upward until you reach the Astral Plane. The entity inside your head will start talking to you here. Clear out the enemies, then head through the obvious hole.
That’s where it gets messy. A lot is going on right after the hole, so focus on one thing: climb up to the main bridge.
You’ll lean on gravity swap hard here. Jump across to the side, gravity-swap onto the wall, then go up and to the right all the way to the top. That puts you on the giant bridge, where there’s a checkpoint and the main door you’re ultimately trying to open.
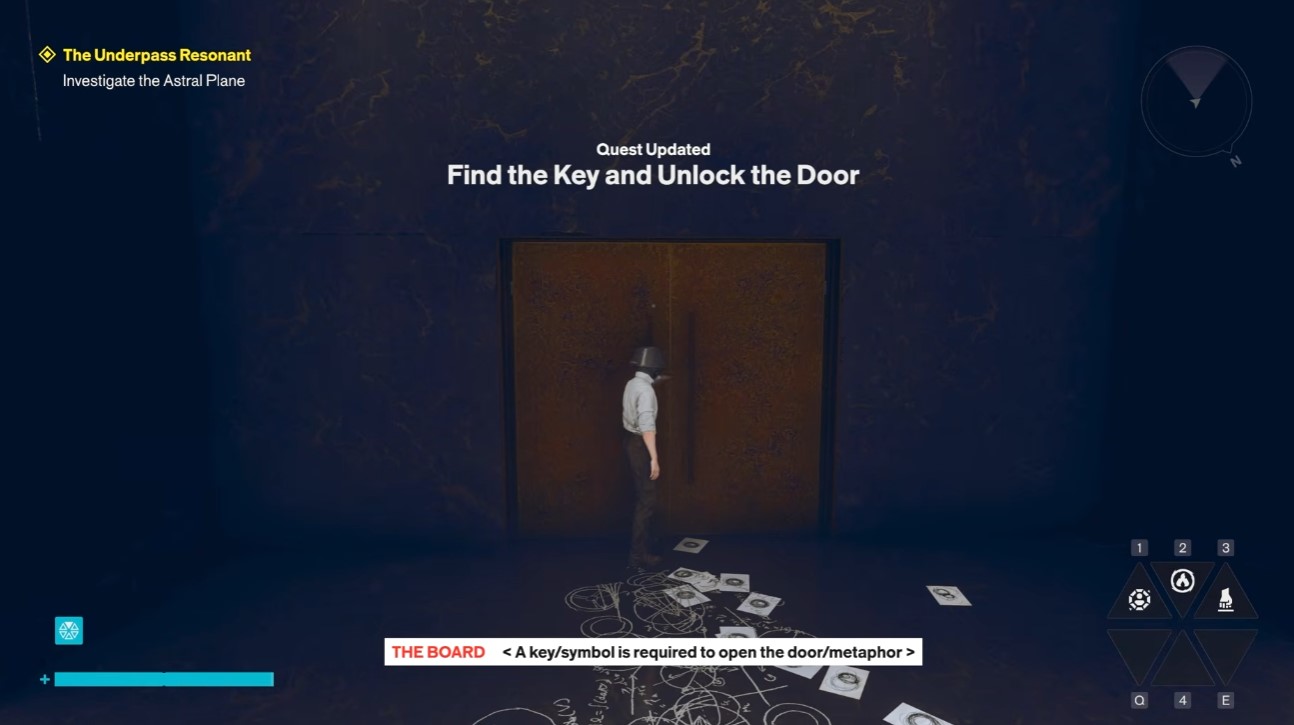
At the door you’ll see a key is required. Then you’ll realize you need more than one. There’s one key over there, one key over there, and one key all the way down there.
First Astral Key: the section left of the door
Start with this one. It’s the closest to the door and has a pathway right there, so it’s the quickest win.
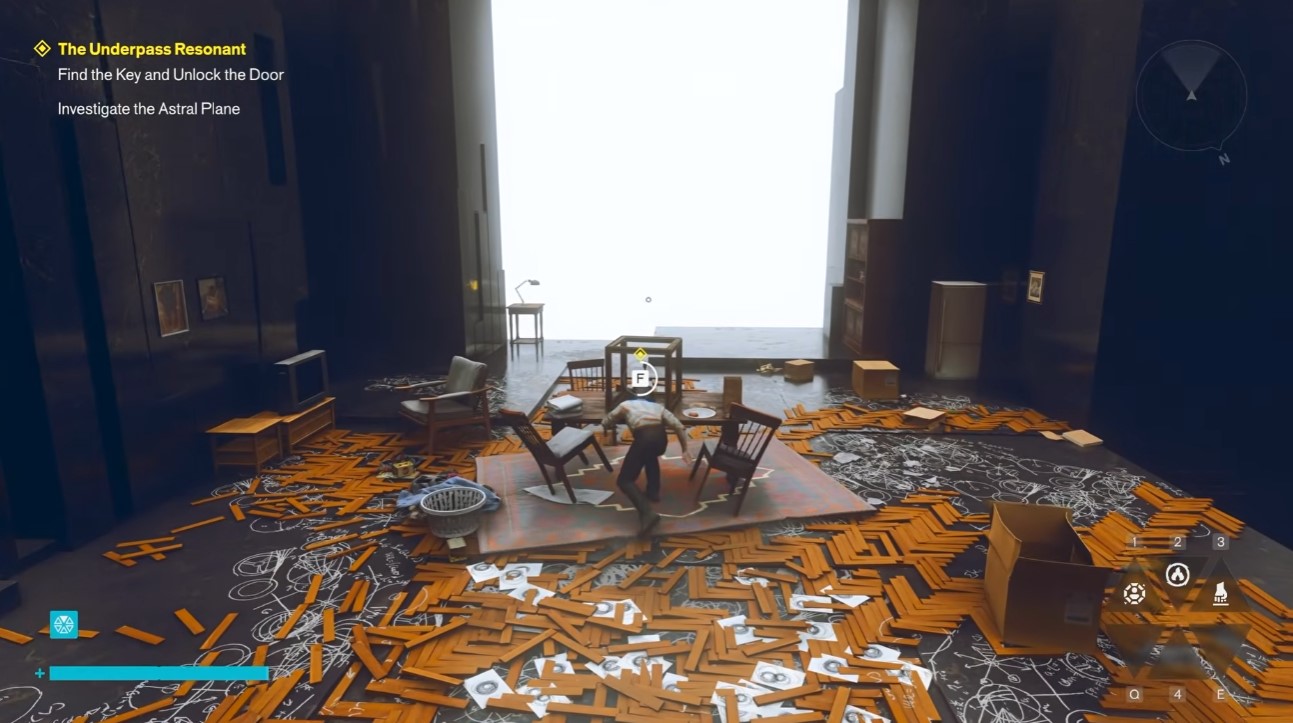
- Jump off from the door area and go across.
- Use the gravity swap to land on the far side.
- Go up.
- Fight the enemies here.
- Head left, over to this side, and go across.
- Be careful — the environment will do some stuff here.
- Go around the corner.
- Go here, upside down, this way.
- Grab the first key. Easily the simplest one so far.
To get back, jump down the way you came and return to the door. Run across and jump back using the same gravity-and-jump routine.
This key opens the first door. Then there’s another door.
Second Astral Key: the left-hand side platform route
The second key is on the left-hand side. You need to get to the big platform over there first.
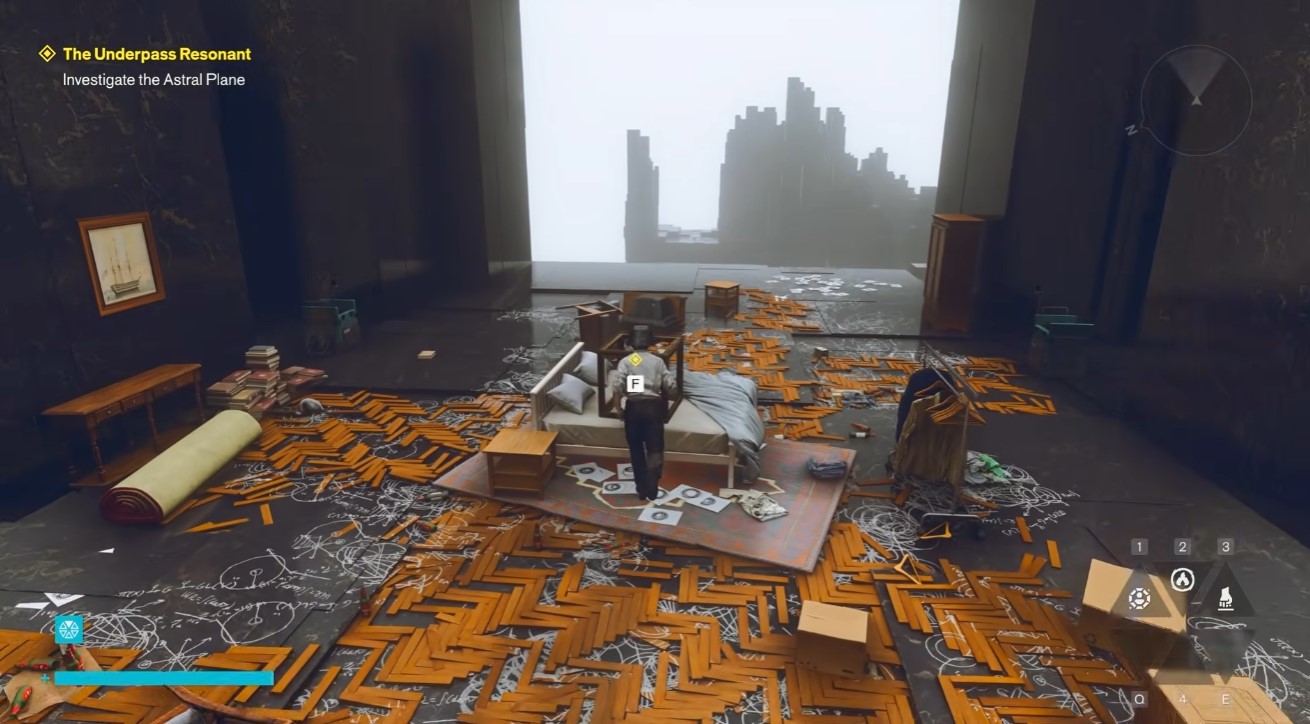
- Go all the way to the big platform.
- Jump from here — this one should be fine.
- Jump and dash.
- Follow along and make a massive jump.
- This one’s still relatively easy. The last one is the tricky one.
- Go up, then around.
- You’ll be following something here; it eventually turns into enemies once you catch it.
- From this point, go across onto this section.
- Jump onto here.
- From here, go up there.
- Fight the enemies once you’re up.
- Go up this way, onto this.
- Gravity swap onto here. Grab the loot — very nice loot.
- There’s a bunch more loot here, and then the key.
To get back, jump straight down to the main platform again, head to the bridge, and return to the door to use the second key. After that, you need the third.
Third Astral Key: the far end of the bridge
This is the one that eats people’s time. Go all the way to the other end of the bridge, away from the door. It’s genuinely hard to spot.
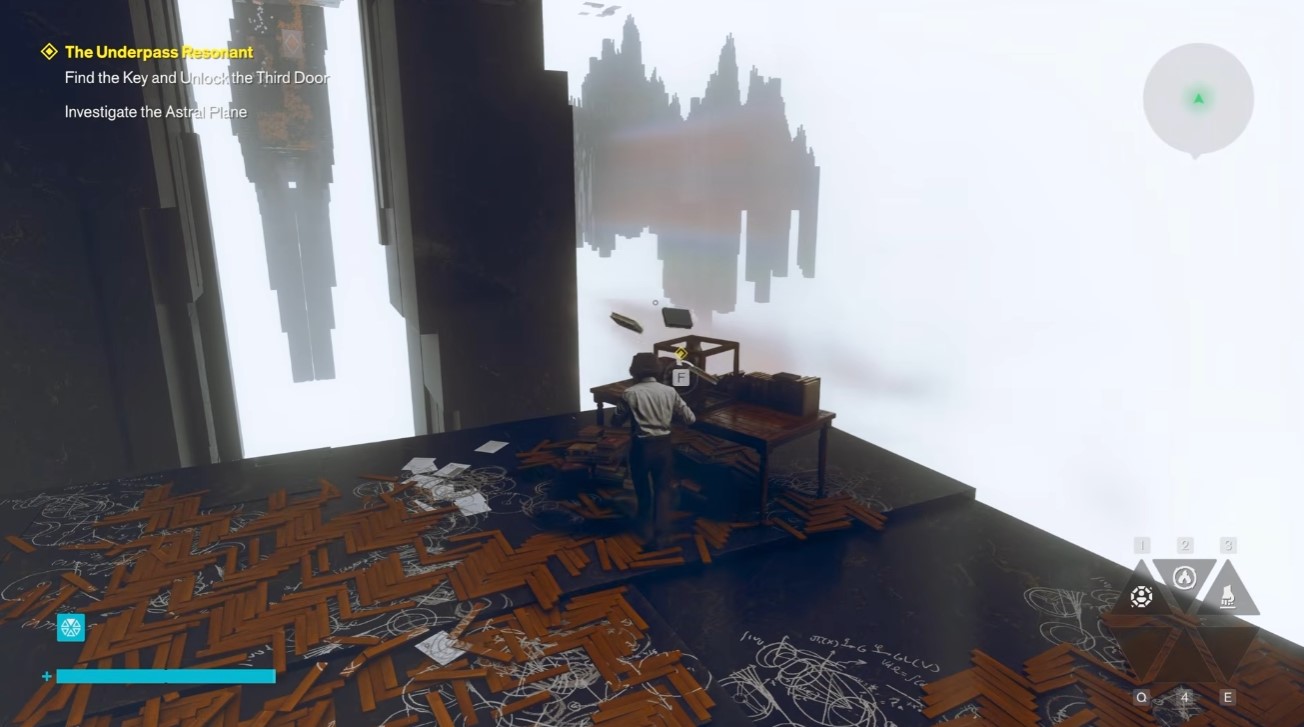
- Follow this way and jump across, making your way over.
- When you go up here, jump — you’ll actually see the key right in front of you. You might miss it: it’s over there on the roof, upside down. There’s also a chest right above you.
- From here, jump across and dash. Keep going.
- Go to the right-hand side.
- Here, some stuff with spikes will chase you — be careful.
- Go up, then left, and jump across. Very straightforward.
- Up here you fight some things in this area.
- Climb up these things and get onto the middle platform.
- Right over here you’ll see a purple thing with a question mark. That’s actually a trap — it has a skull icon on it.
- Do NOT swap your gravity toward it. Instead: jump, then dash, then hit the gravity button so you land. It’s disorientating, but that’s the correct input sequence.
- Pick up the key.
Optional chest: there’s a normal pathway toward the door on the other end, but there’s also a chest at the bottom here. Jump down to grab it. To get back, jump — gravity auto-resets — then move immediately because the trap goes off.
After the third door, follow the path toward a resonant boss fight.
Gravity swap and trap notes I wish I’d known first
A few things that would’ve saved me a couple of deaths:
- Gravity swap is used constantly on this route: onto the red platform at the staging camp, onto the wall below the main bridge, and onto the platform holding the second key’s loot.
- Enemies show up along every key route, but the pathways stay identical whether or not enemies are present.
- The purple object with the question mark and skull icon on the middle platform near the third key is a trap — do not gravity-swap toward it.
- Correct third-key trap input: jump, dash, then press the gravity button to land.
- After grabbing the chest below the third-key area, gravity auto-resets. Move immediately because the trap activates.
- The route reads harder than it plays. The gravity switches are disorientating but consistent.
Tip: If you’re losing your bearings on the third key, remember the key itself is on the roof, upside down. That’s the landmark — everything else is just getting there.
Quick reference: key order and route
| Order | Key location | Difficulty | Return path |
|---|---|---|---|
| 1 | Section left of the door, nearest | Easiest | Jump back down the way you came |
| 2 | Left-hand side big platform | Moderate | Jump down to main platform, back to bridge |
| 3 | Far end of the bridge, on the roof upside down | Trickiest | Jump, gravity auto-resets, move fast |


