– Tired of your party getting completely wiped out when you die?
– Tired of making a mistake with no chance to correct it?
– Tired of running the First Act of the game over and over again?
– And you are not afraid of being called a save-scummer?
If any of these things describe you, you have come to the right place.
The sole purpose of this guide is to outline how to save your progress in Across the Obelisk (ATO) so your team isn’t completely wiped out if it gets whacked. You save your game whenever you want, restore the save file to the appropriate directory, and you are back to playing where you left off. No fuss, no muss, and no pulling your hair out or kicking your dog.
1. Saving Is Not Instant Win
Saving a game and restating your play does not in an of itself make you a better player.
Saving just gives you a chance to rethink things and to try different approaches. The main benefit to saving and restoring games is to allow a player to recover from poor choices without starting the entire game over. It also let’s players experiment with different choices and hopefully adds to your enjoyment of the game.
2. Turn off Steam’s Save to Cloud
Go into your Steam game Library and Right Click on Your Across the Obelisk Icon.
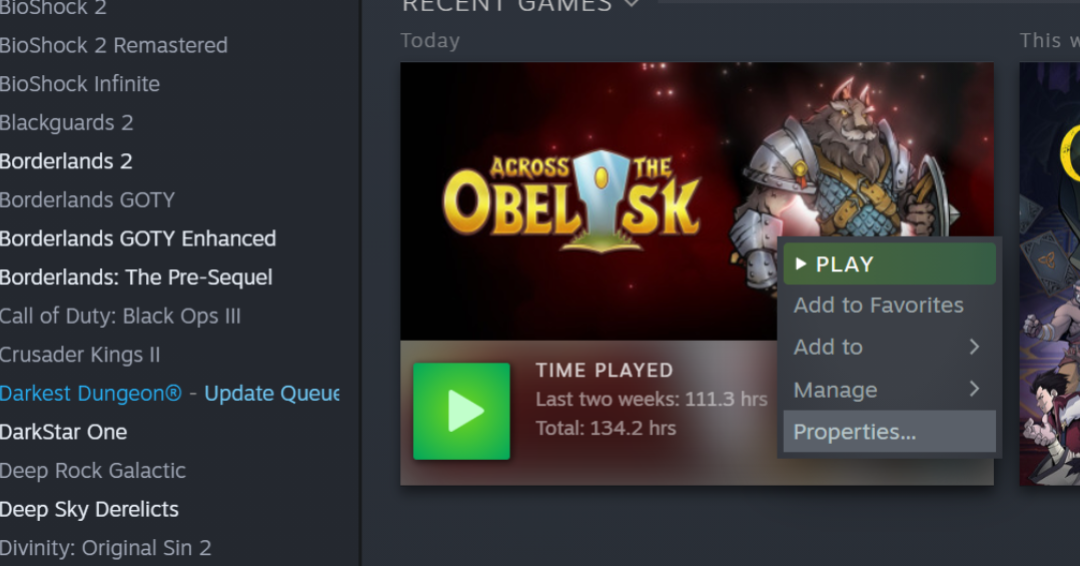
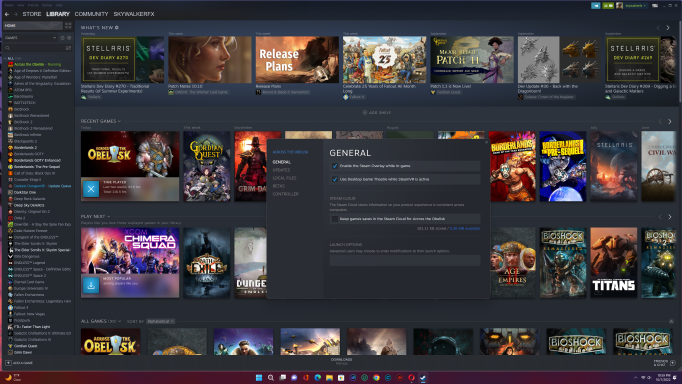
Then select Properties and you get the next screen which allows you to uncheck Save to Cloud. This will now save games on your system which will allow you to use the saves to restore your game.
How to Save Your Game
(I have not used this method on the Challenge Games so you may have to adjust the steps some for them)
1. To save during gameplay you press the ESC key and choose ACCEPT.
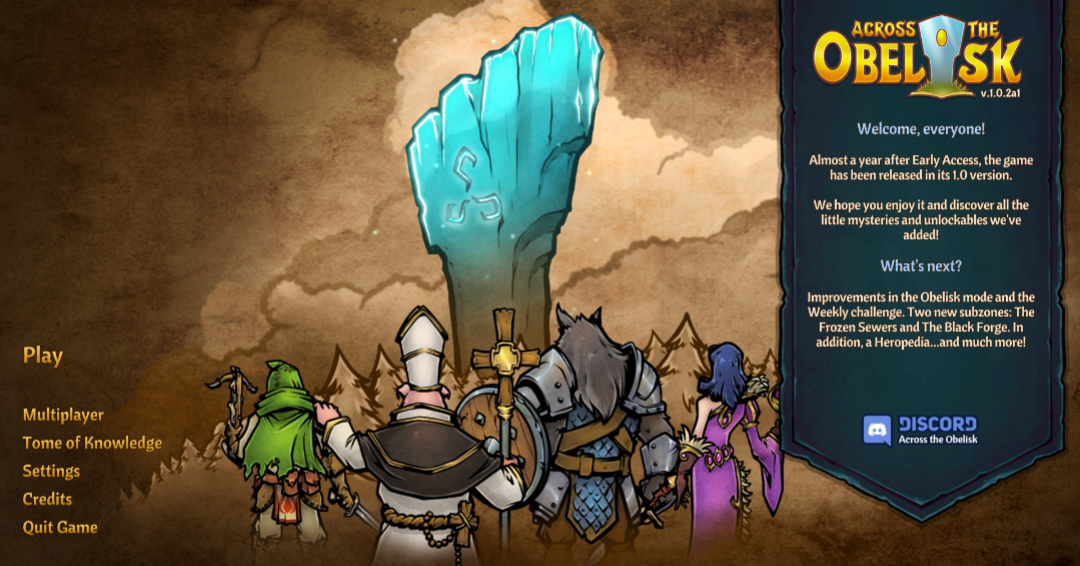
2. Now you have returned to the ATO Home Screen. ***** IMPORTANT **** Always return to the Home Screen to force the game to save your progress, otherwise you may get uncertain results.
3. You now need to open a new Window so you can get to your desktop.
4. Press the CTRL + ALT + DEL keys at the same time to bring up the Task Manager.
5. Select the Task Manager and it will reveal the Windows Task Bar at the bottom of your screen.
6. If you are running Win10 you can right click a blank spot on the Task Bar and then select your Home Screen. If running Win11 I usually I will select Desktop 2 .
7. Now you have to navigate to the Directory on your computer that has your ATO saves. NOTE: Make sure u\you have turned off the Steam Cloud Save feature and have followed the previous steps.
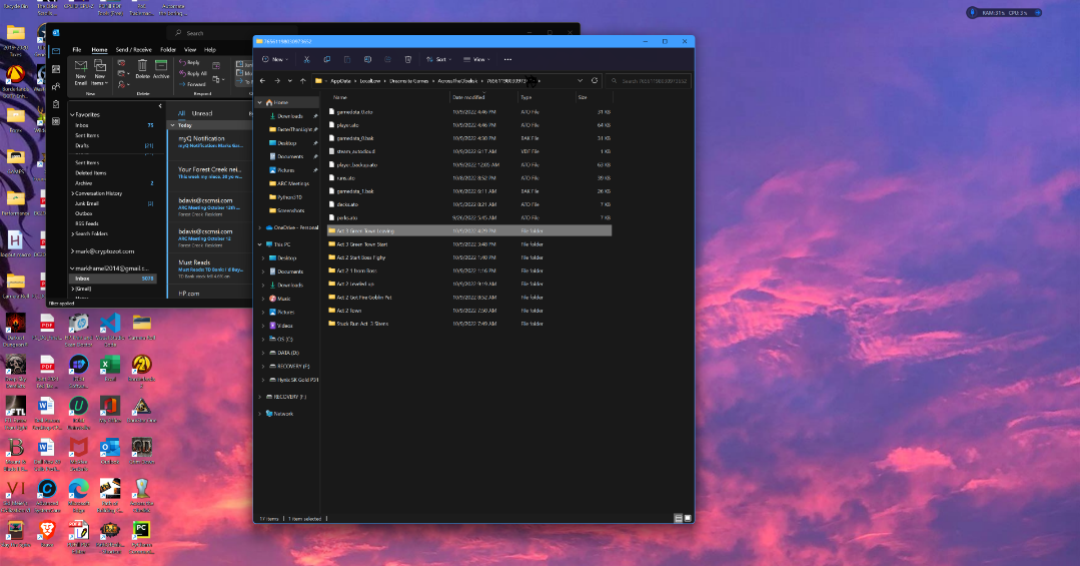
8. The Directory you are looking for looks like this:
C:\Users\Skywalkerfx\AppData\LocalLow\Dreamsite Games\AcrossTheObelisk\7656119803097
Substitute whatever your Windows directory is called for Skywalkerfx and the long number at the end of my directory will be different than on your computer.
NOTE A few things to keep in mind: The third item in the Save location – Appdata – is probably a hidden directory on your computer unless you have used it before. I suggest you bring up your Windows File Manager – the folder App – and see if you can type in the first part of the address C:\Users\YourWInDIrName \AppData\LocalLow and then navigate to the AcrossTheObelisk Directory. If that doesn’t work for you I suggest you use a search engine to figure out how to access Appdata.
Once you navigate to your AcrossTheObelisk directory, click on the numbered directory and you will be in the game file save location. I suggest you copy the path to your save directory so you don’t always have to find it. Go to your Windows Desktop and right click on a blank area, select New and then Shortcut. Right click on the new shortcut and select Properties, then paste the directory line that contains the location of your saved games. This way you don’t have to look up the directory location all the time.
9. Once have opened your numbered ATO save directory you are ready to save your game. The first thing you need to do is make a directory for the save you are going to make. So right click and choose New then choose Directory. Next you want to name your directory something descriptive so you know what the save is for like – Act 1 Town 3rd Battle.
10. Now you highlight the 8 or 9 files in your numbered save directory, right click on one of the highlighted files and select Copy (Do not select Move as you want the save files to remain so you can continue on with your game. Now Click on the directory you made – Act 1 Town 3rd Battle – and right click inside of it and select Paste. Congratulations! You just saved your game. Go back to the Windows Desktop and click on your game and reload your game from the ATO screen and off you go.
Loading Your Saved Game
1. Return to the ATO game’s home screen.
2. Go to your desktop using the Task Manager – CTRL + ALT + DEL keys at the same time – or if you didn’t close it from a save you can just press Tab to switch Windows.
3. Click on the shortcut that you made to your ATO save game directory.
4. Click on a saved game directory you made that you want to play from like – Act 1 Town 3rd Battle.
5. Highlight all the save files and copy them, then close the save directory – Act 1 Town 3rd Battle.
6. Now Paste the files into the main numbered save directory. Windows should pop up a box asking if you want to overwrite the current files. You click on Continue and your saved game will overwrite the current game.
Note: To have a fresh start you have to overwrite all current save files. If you exit in the middle of a combat, I have seen the game add an extra file. If you look at the time on the files you should be able to tell if any extra files were not overwritten. These extra files should be deleted or you will be returned to the battle you were in the middle of.
7. Once you have restored your files, go back to the ATO game’s home screen, Select Play, Campaign, and continue to the Load game screen.
More Guides:
- Across the Obelisk: How to Bypass Paradox Launcher (Two Methods)
- Across the Obelisk: Ultimate Boon Guide (Tips & Tricks)
- Across the Obelisk: How to Unlock All Characters (Version 1.0)