A hastily thrown together guide to show how to get a specific gold medal, in case you have yet to get it
Intro
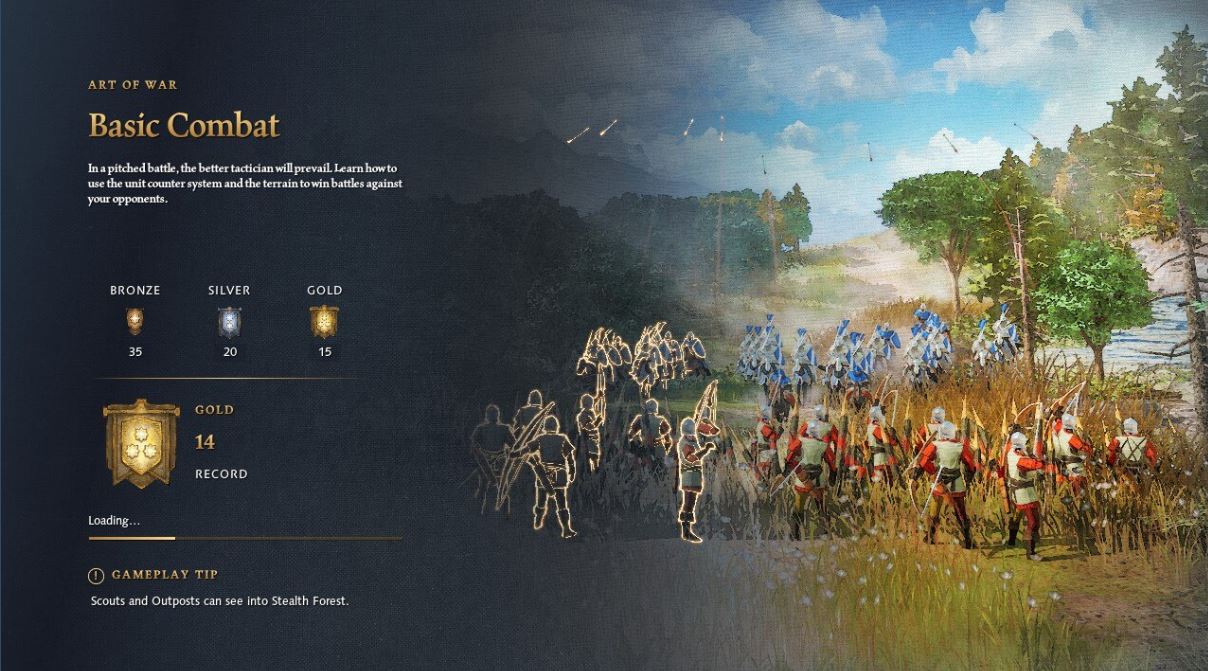
Hello! This poorly made guide is on the strategies I employed in the “Art of War” basic combat mission. I’ve never made a guide before so I apologize for this one’s rough exterior.
My skill level in AoE is about as impressive as my guide making abilities, so I’m certain anyone can complete this mission.
(I decided to make this guide after watching this T90 video)
Basic Combat – Challenge Overview
What makes things interesting is that you do not produce units as you would normally and are aware of the types of units attacking before they reach your town. The first few “tests” are single type match ups requiring you to stick to a single unit type, while the latter tests have you field two types at a time.
The point to this lesson in the art of war is to teach you how different combat is in this game and drill you on unit counters rather than how to properly train, predict, adapt, etc.
(Make sure you watch the mission intro video and remember the lessons within it, as its a pretty good walkthrough on its own)
You fail if you allow the attackers to destroy too many buildings (7) and are evaluated on how many units you lost total in the waves of fighting
Gold: 15 units lost or less
Silver: 20 units lost or less
Bronze: 35 units lost or less
The various waves of attack and which units are sent are listed in the table below:

Wave 1 of 5
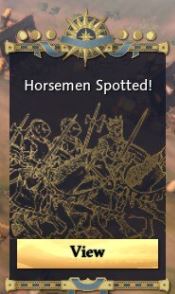

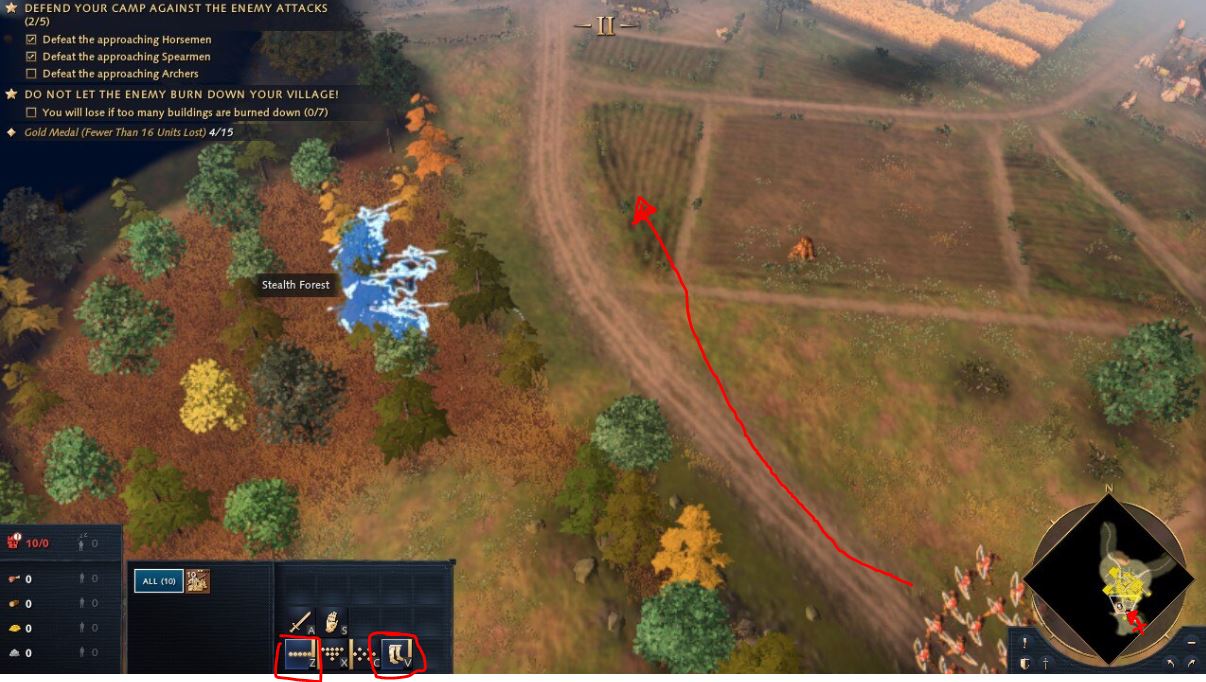
In the first wave you will be attacked by an invading batch of Horsemen. An icon will alert you of the units that make up each wave and reveal the location of any enemy units. You are charged with deciding what units to defend your village with, one wave at a time. Each wave plays out the same way, only changing which units are approaching and the locations at which these units spawn in.
For the first wave, you should field spearmen as they can withstand the charge of cavalry and do a fair amount of bonus damage against them in turn.
In general:
Spearmen defeat Horsemen
Horsemen defeat Archers
Archers defeat Spearmen
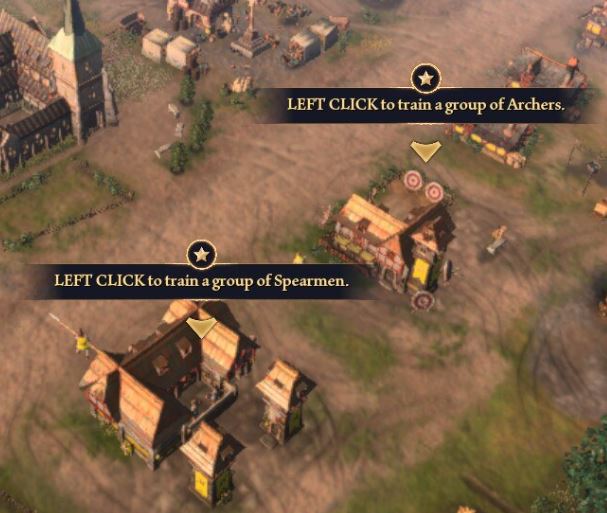
To select any unit, follow the in game prompts and left click one of the military producing buildings, this will be the same in each wave:
Wave 1 Strategy
For each wave, I’ll simply tell you what i did/do to win the gold
________________________________________________________________
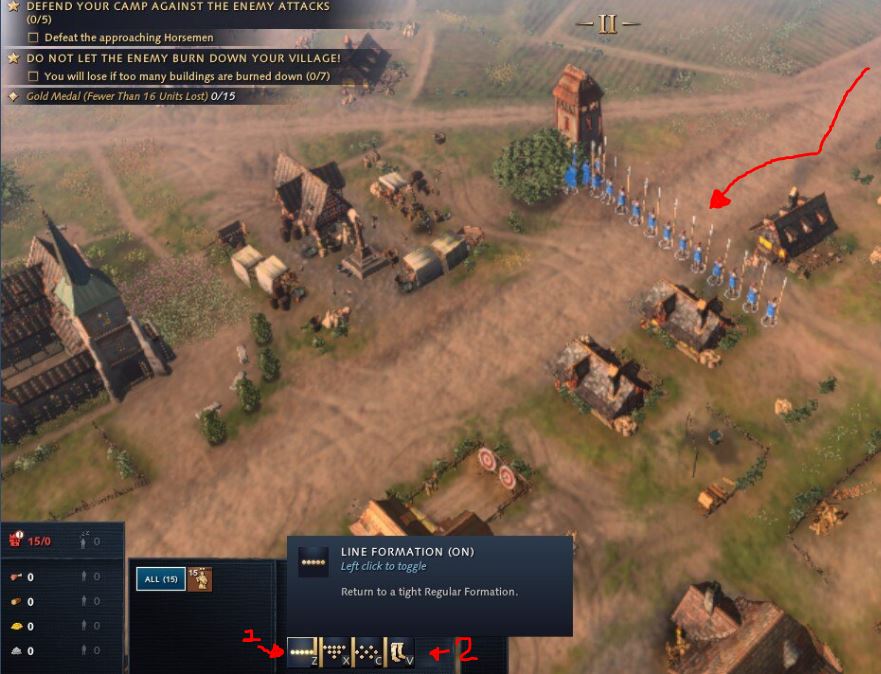 After selecting my spearmen I prefer to set my units in a line formation between the tower and house to the north east. I make my units stand their ground and attack move after the first charge of horses
How do I do this?
1.) Use Z while your units are selected or use the line formation icon
2.) Use V while your units are selected or use the Hold position icon
3.) Use A while your units are selected or use the attack move icon
Why do I do this?
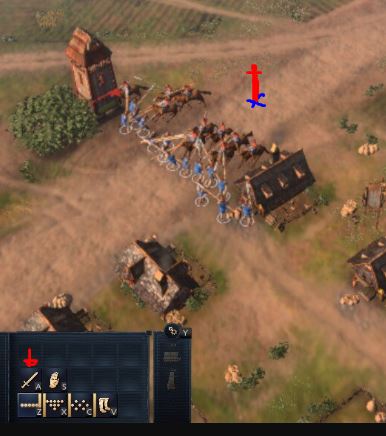
Positioning is critical in this challenge and when rows of melee units attack an enemy group they tend to act as a wall for any friendly unit trying to attack the enemy thus forcing your rear units to waste precious time walking around the skirmish rather than attacking.
Forming a line, holding ground to prevent “charge” damage, and attack moving allows my line to envelope the enemy and use as many attackers as I can immediately
Why did I choose this spot?
One of the advantages we have is using our village as bait against our foes, by sitting in between the house and tower the enemy horsemen may abandon the charge and instead aggro on our buildings, swapping their spears for torches allowing us to get the first hit!
Hopefully, with this game plan you will loose only 0-2 units this way, if you want you can restart until you have the least amount of causalities, having fewer here will allow more room for error later.
This game is so different from previous AoE titles and I think that’s what makes this a more difficult challenge for some.
Wave 2 of 5
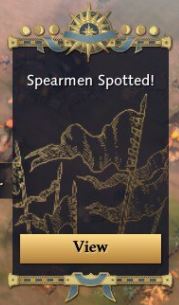

In this second wave you will be invaded by spearmen. You will be given another alert and their location will be revealed on the road to the North.
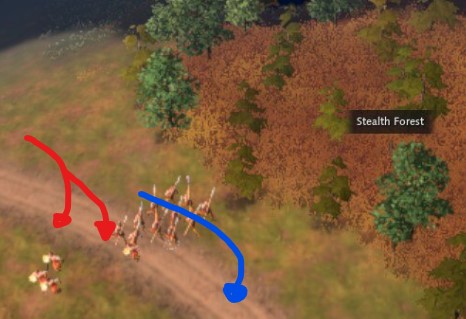
The movie-intro to this “Basic Combat” challenge showed a batch of archers ambushing some spearmen in close range from a nearby stealth forest, I think its important to watch and take in this and the other lessons that are packed in there
Although spearmen are countered by archers, these spears are not to be underestimated in close combat. Learning lessons from the intro video will show us how archers can ambush melee units in a stealth forest at close range by using a micromanagement technique in the heat of battle.
Form a line of archers and when the group of spears set upon a portion of your units, select and reposition the threatened men and the spearmen will give chase. Have the stationary archers finish the pursuing spearmen who will never catch up with your men with proper micro….
…that being said
Just as the wave prior, lets use the village to our advantage. Doing so is much easier and even if a building is destroyed we can still earn a gold medal.
To use your northern tower as bait, simply allow the spearmen past the forest by giving them space with your bowmen. As the proceed past the spearmen will break formation, unit by unit, and aggro onto your tower. If you can time it right you can attack move onto a smaller group of units while the rest try to burn down the tower.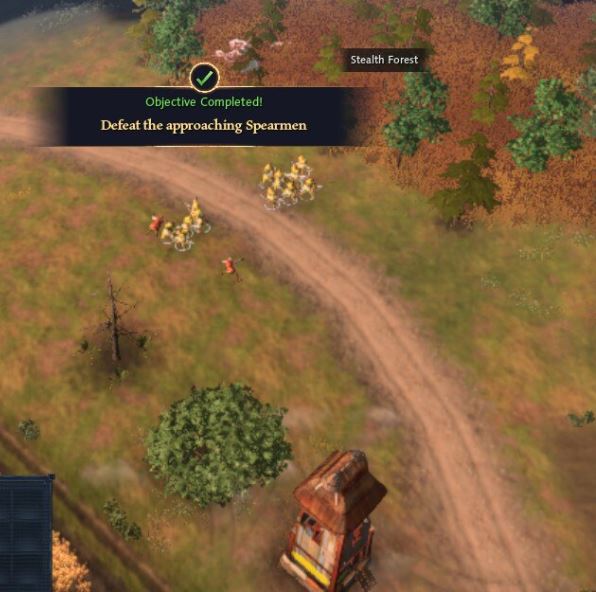
From there on you can pick of the remaining units individually, in pairs, or just engage the rest by using a bit of the micro tips we learned from the intro video at the beginning of the challenge
The fewer units lost during this mission the better, so make sure you use a different tactic than just leaving your archers to fight in close combat with a melee unit!
Wave 3 of 5

Congrats, you made it to the third wave with only a few units lost!
This time the alert will warn you of Archers attacking from the south road near a view blocking ridge and a conveniently placed stealth forest.
We know that Horsemen beat Archers so lets move on to the strategy
Wave 3 Strategy
 This wave seems incredibly straight forward, but losses here can inflate that number closer to 15 than you think. Going horsemen is definitely the right call here. Simply form up and hold ground in the stealth forest and attack the archers when they march by, or just use your town as bait again.
The danger in this wave is allowing the archers to get too many hits in before you horsemen make contact with the archers. What’s worse is when the first horsemen engage with the enemy archers, they form a wall blocking your rear horsemen, forcing them to waste time pathfinding rather than attacking. Your enemy will be able to attack the moment they get a target in range and never need to move causing your losses. so mind your formation and attack moves.
A change from this game from others in the AOE series seems to be that you cannot dodge arrows by strafing or use of micromanagement, this in combination with the poor “Attack move” pathfinding leads to a tense fight
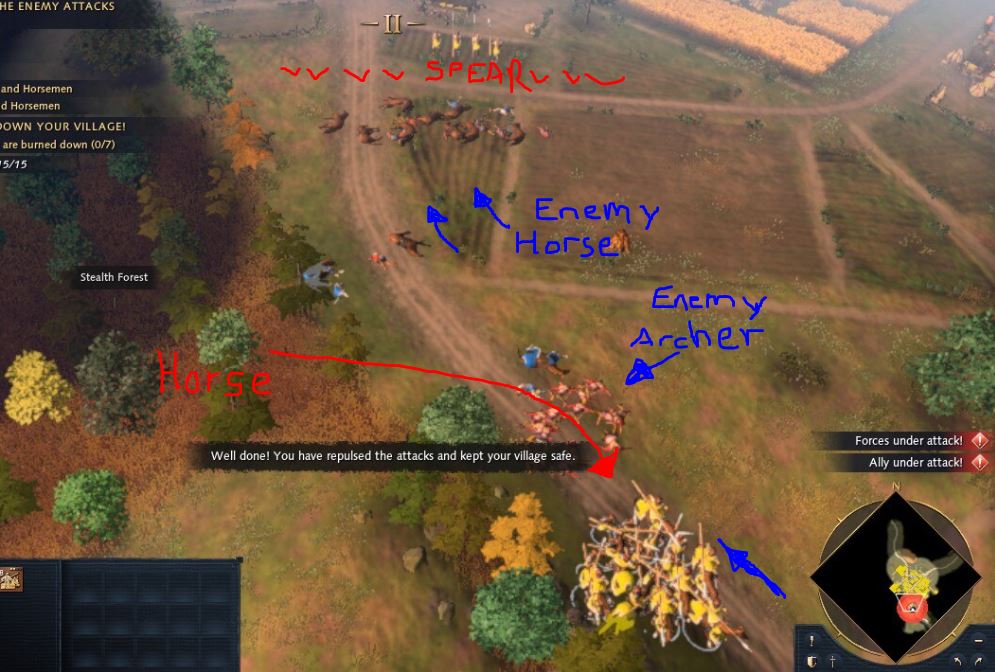
Wave 4 of 5

This wave is the second to last and more importantly, you and your foe will be fielding two batches of units at a time. Less room for error, twice as many choices to make
However, not changing from the previous waves is the alert informing you of which units are coming, and where they are attacking from. This wave will be made up of Spearmen and Horsemen.
Hopefully your losses are a bit lower as this may be a heavier round
Wave 4 Strategy
If you haven’t been making control groups this is the round to start.
To set a control group simply select a unit or multiple units, and press “Ctrl” + (any) num “1 – 9”
Pressing a number to reselect all your horsemen or archers is a Godsend in the heat of the moment
Wave 5 of 5

Still in the threshold for gold? Congrats, its the final wave, and this one can be done with 0 – 2 losses!
Archers and Horsemen from the south, oh my!
Wave 5 Strategy
 Hide your horsemen in the woods before the fight.
Form a line of spears near your town as the horsemen tend to separate from the archers naturally over time/distance. Just like the spear tactics from wave 1 & wave 4 hold the charge and attack move afterwards.
Use your horsemen just like you did in wave 3. Completely forget about the vison blocking ridge, instead ambush from the forest and encircle the archers. After one of your type unit cleans up their enemy in the fight, have them attack move to support your other.
(Just make sure you remember to attack move any units you had hold ground on, or you’ll loose a bunch of men and have units idling like i did in the picture)
VICTORY!

Even with a messy/distracted final wave I was able to get past gold by the skin of my teeth, I did worse then with my first attempt as shown. Hopefully you can do much better and hopefully somehow I helped!
More Guides:
- Age of Empires IV: How to Group and Ungroup Units
- Age of Empires IV: How to Turn Off Chat Filter
- Age of Empires IV: How to Rebind Locked Hotkeys