
I ran Urugugu Canyon on Conquest more times than I want to admit while learning these fights, and most of my wipes came from two things: not knowing when to stop hitting a boss, and not knowing where to stand when a mechanic fired. This guide is the version of the route I wish someone had handed me on run one.
It walks the whole dungeon in order — Guardian Captain Raur, Judge Urahum, the long run in the middle, then Divine Auldor — with the move sets, the positioning, and the one mechanic per boss that actually kills people. If you are new to Conquest difficulty, start here. If you already clear it, the reflect timing and the Auldor stack call are still worth a skim.
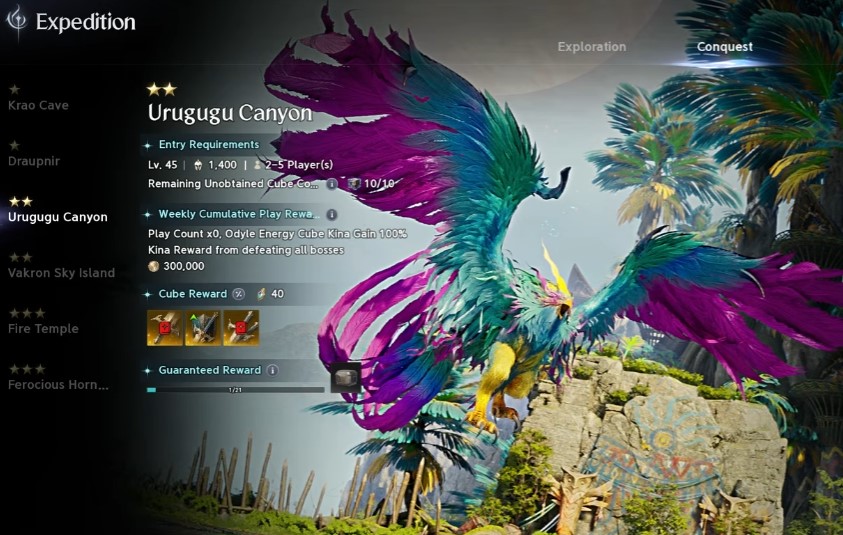
The Route: Three Bosses, One Long Walk
Urugugu Canyon on Conquest is a three-boss expedition, and the running sections between encounters are longer than the fights themselves. The flow is:
- Forest route to Guardian Captain Raur
- Judge Urahum
- Long traversal to Divine Auldor
A few general things that save real time and real wipes:
- Skip the first Kisk on your right near the start. Your spawn is right there, so the run back is short anyway.
- Fight Guardian Captain Raur near the entrance. It shortens the run to the next boss.
- Grab the Kisk before the final boss. If you wipe to Auldor, you do not want to spawn back at the start.
- Glide over the pool of water before the final boss. It deals heavy damage if you walk through it.
- Run past enemies in the traversal sections. There is no reason to clear trash on the way.
Rewards at the end include gold weaponry and earrings.
Guardian Captain Raur: When Do I Stop Attacking?
Raur opens the fight with a charge attack in his first couple of moves. Position yourself with your back toward the entrance so he charges past you instead of into the group.
His move set:
- Charge attack (opener)
- Pull — drags four players toward him, a Templar-style skill set
- Circular AOE attack
- Double swing followed by a shield slam
The mechanic that catches people is his damage reflect, and it can one-shot you:
- Around the 70% health mark, Raur says a voice line signaling the reflect phase.
- Stop hitting him. He reflects all damage back at you.
- If you hit him too much, he performs a very large area attack that one-shots even through blocking.
- If you do not hit him, he skips the AOE. Running back is still the safe play.
- He repeats this once more closer to the 30% health mark.
Warning: The reflect AOE goes through block. There is no “tank it” option here — just stop DPS on the voice line.
After he dies, run back out the way you came in and follow the short path to the second boss.
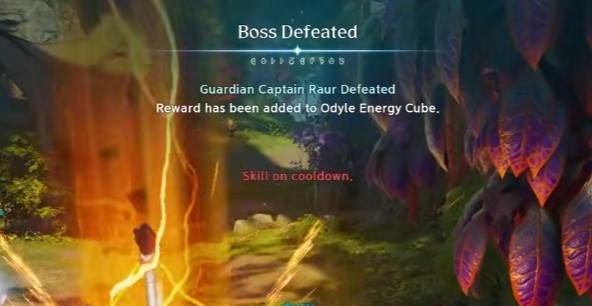
Judge Urahum: Reading the Claws
Urahum is comparable in difficulty to Raur. The trick is telling his claw animations apart before they land.
- Single swipe — basic claw attack
- Two swings — circular AOE around him
- Two claws at the same time — frontal cone
Beyond the claws:
- Charge attack while swinging — applies a debuff. After a few seconds the debuff expires and a pool of acid drops at your feet.
- Circular AOE attack — can also apply the same debuff.
- Spin attack that shoots out feathers — the feathers apply the same poison debuff.
- Most dangerous attack: he slams the ground multiple times, dealing very high damage, especially the last slam. Getting hit applies the poison debuff again.
For the multi-slam, run out of his range entirely. Dodging sideways inside the radius is not reliable.
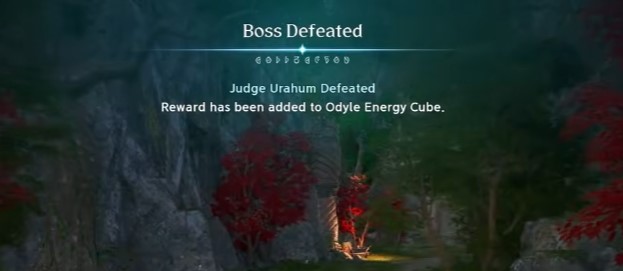
After he dies, head out the opposite side you came in and get ready for the long run to the final boss.
The Run to Divine Auldor: Wind Stream, Glide, and the One Kisk That Matters
This section is where groups lose time, so here is the clean version:
- Kill the wind mage to activate the wind stream and head further up.
- Speedrun strat: leave the stream at the marked point to reach the next spot quicker.
- At the top, glide and press sprint to boost forward. Jump over gaps to move faster.
- Watch the trees in the next section — they block forward movement, so follow the intended route instead of cutting corners.
- Run past all enemies as usual.
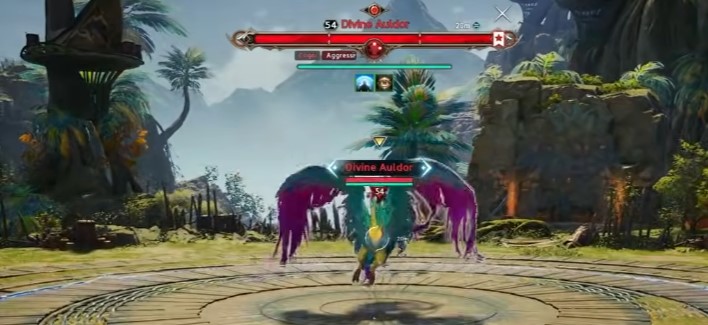
Then comes the critical step before the final boss:
- Going forward triggers a cut scene. That is fine, let it play.
- Grab the Kisk here: one person takes aggro while another taps the Kisk.
- This is essentially the only Kisk you take in this dungeon. If you wipe to the last boss, you do not want to spawn back at the start.
- Glide over the pool of water because it deals heavy damage, and you are ready for Auldor.
Tip: Assign the Kisk tap before you pull. Whoever is on aggro should not be the one trying to interact with it mid-fight.
Divine Auldor: Move Set and the 75% Stack
Auldor is harder than the first two bosses, but he is manageable once you know which attacks you dodge and which one you stack for.
His move set:
- Charge attack that leaves a fissure on the ground dealing damage over time. After the charges, he dives on whoever has aggro.
- Two other dive attacks: a small-scale dive thrown into normal combos, and a bigger dive where he flies into the air. Both are easy to avoid — do not stand in the orange circle.
- Close-range spin attack that launches projectiles in a small radius around him. Again, do not stand in the orange circle.
- Most dangerous attack: a frontal swipe into four tornado projectiles, shot out twice in cones.
- If a tornado hits you, you are suspended in the air and unable to act.
- If someone gets caught, Auldor can grab them and slam, dealing huge damage to the grabbed player and anyone in the radius.
- This is his hardest attack to avoid because it comes out very fast.
- He does not always aim the tornadoes at whoever has top threat.
The main mechanic happens at around 75%:
- Auldor retreats to the center of the arena and disappears into the sky. You can still DPS him for a while until he is actually gone — keep pumping.
- Tornado projectiles are fired at the party and suspend anyone hit.
- One person is marked with an icon, designating them as Auldor’s main target.
- After the tornado phase ends, Auldor dives onto the marked player, killing them instantly if they are alone.
- Counter: stack onto the marked party member so the damage is shared. Everyone survives and takes only a bit of damage.
He repeats the phase on his last third of HP, with one change:
- Auldor throws a tornado around the outer edges of the arena, forcing the party to play closer to the center.
- Handle it the exact same way — stack on the marked player — and zero the boss when he lands.
From there, finishing him off should be easy.


