
I spent my first few Frigate runs getting shot off the hull, burned alive, and blown back by a jet engine. After enough wipes, I finally mapped out the whole climb from the back of the ship to the rooms where the real loot sits. This is the route I wish someone had handed me on day one.
This is a basic walkthrough, not a full clear guide. It covers how to board the Frigate, what to do once you are on it, where to go, and how to push through each section. If you are running in a trio or just want to stop feeding the Hydras, this one is for you.
What the Frigate actually is and what to bring
The Frigate is a new endgame event and dungeon in ARC Raiders that spawns on the map and stays in one fixed spot across each of the maps. The goal is to board it, clear its sections, and loot Amplified Materials, which you use to craft Amplified weapons.
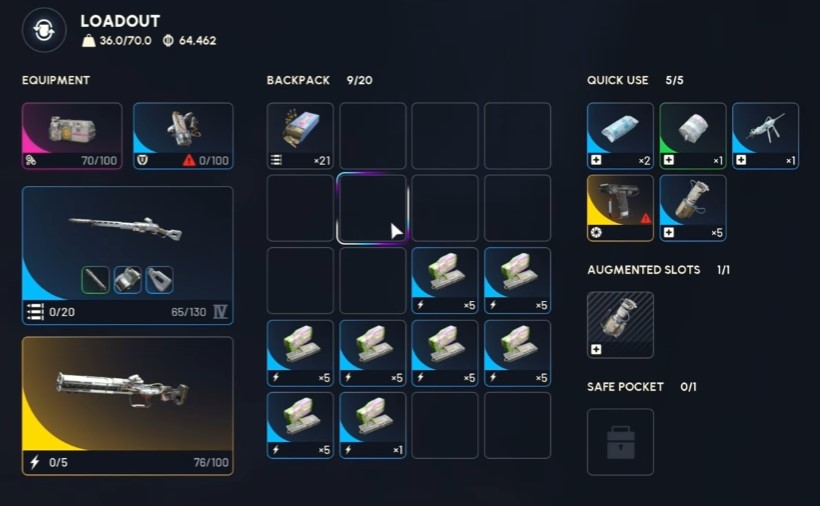
This is endgame content, so come prepared. Here is what I bring:
- A very good loadout and decent loot. You will not clear this with scraps.
- A Snap Hook. It makes traversing the Frigate far easier. Note there was a nerf to it because players could get up too easily with it.
- Plenty of heals.
- A decent weapon such as a Jupiter or a whole cracker.
- Enough supplies to survive multiple ARC, because every time you progress you fight more and more of them.
Expect heavy flying ARC resistance and the new Hydra ARC, which is very tanky. Communication and teamwork are required, and in trios you should continuously move through the same side together.
The enemies you will face on the Frigate are the Hydra, Rocketeer, Vaporizer, and multiple other flying ARC.
How to board the Frigate from the back
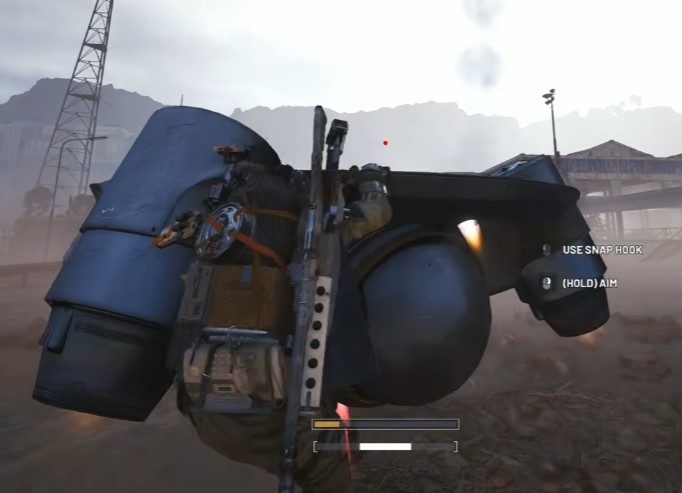
- Once the Frigate has spawned in, make your way toward its location.
- Head to the back of the Frigate. The Frigate will not move; it stays in one spot throughout each of the maps.
- At the back you will see flying ARC moving up and down from the Frigate. These will not shoot at you, and you can hop on them. This is how you get up and down from the Frigate.
- Be careful: the Frigate has a massive gun on the bottom that will target you while you are making your way over. A Snap Hook comes in handy here.
- Once you reach the very top, this is where you get your first Amplified parts.
- Be quick to loot these locations, because a lot of people get in and loot them up straight away.
- Look for the little round spheres you can breach in the wall. Breach them to get parts to amplify weapons. There are a ton of these scattered throughout the Frigate.
Tip: The flying ARC at the back are your elevator. They do not shoot, so do not waste ammo on them.
First sequence: buttons, yellow dots, and the power conductor
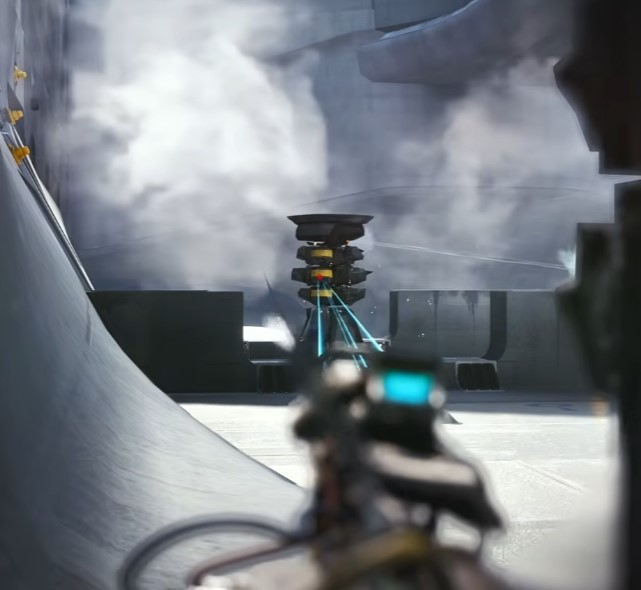
- Get to the very bottom. There are two buttons you can press, and there is a little lift that brings everyone up onto the very first section.
- Two people press either button, one on either side. If you have a Snap Hook, you can get up with the Snap Hook instead.
- Up to four Hydras can spawn in this starting location. You will have two on either side to start, and you must destroy them. Then another two will spawn in as well.
- Rocketeers, Vaporizers, and multiple other flying ARC will also be in this location.
- Look for little yellow dots on the wall, similar to in the Harvester raid. Shoot all of them on either side. You can go up whichever side you want, left or right.
- Once you shoot all of them, they will pull down little bits of wall, and you keep moving further up onto another platform. Down at the very bottom of that platform there are more spots you can loot to get legendary Amplified Materials.
- Power conductors are scattered throughout the Frigate and need to be shot to keep activating the next sequence. Keep shooting these to destroy them.
- If doing this as a team, take out all Hydras first, shoot all the little bits in the wall, then pull up the three little things from the ground. You need three people, each pulls up one, and then a massive power conductor comes up from the ground. Destroy everything on that power conductor.
Route to the next level and mid-ship looting
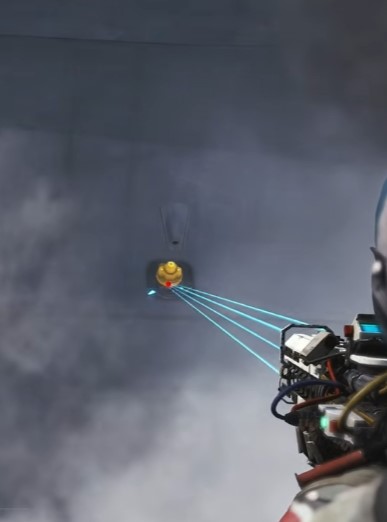
- After shooting the yellow canisters on the wall, many players run straight up the right and left platform and grab all the loot down the bottom. That is also the route you need to take to get up onto the next level where the rest of the loot is.
- Go left side or right side. This is the route up onto the next section where all the rest of the Amplified loot is.
- All yellow canisters beneath must be shot out to drop down these platforms so you can get up.
- On all the sections that drop down on the wall, there is loot inside them. If you get up here first, loot these little sections. Roughly four or five little sections will drop out of the wall, each with a ton of loot.
- Keep following the route to get up onto the next section of the Frigate.
- Be prepared at the next section: there are a lot of Vaporizers, a lot of Rocketeers, a lot of flying ARC, wolf packs, barricade kids, and a ton of Hydras that will spawn in.
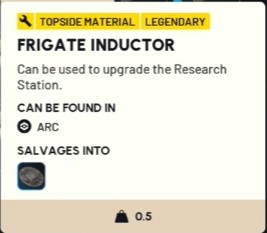
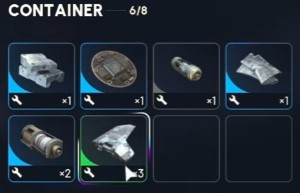
- Once you come around on their side, there are more loot containers to loot. Breach open the containers to get the legendary items that are only found on the Frigate.
Hazardous rooms: flames, jet-engine wind, and power cores
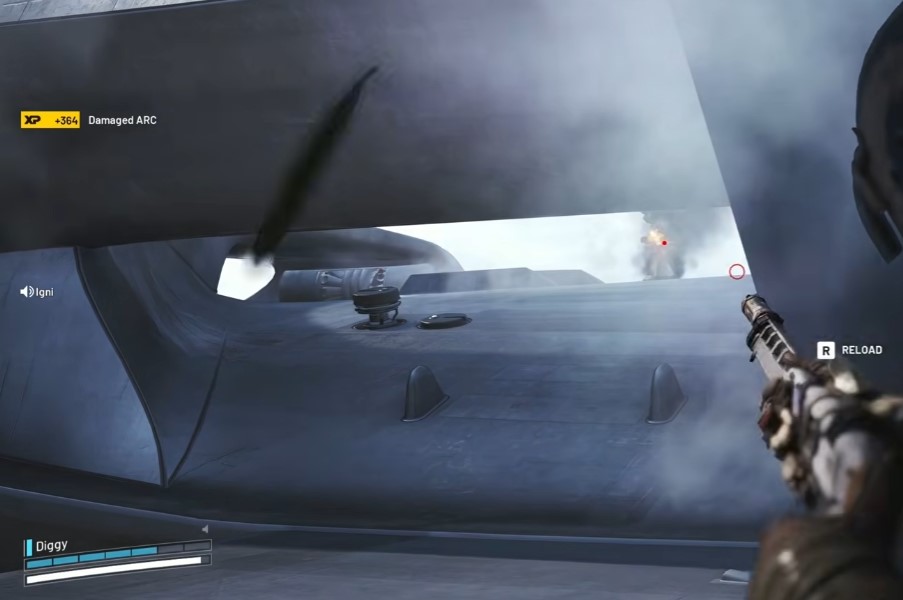
- Once you have made it up to this stage, there are a couple of different locations to go to.
- There is a room down the bottom right that lights up similar to the Harvester event and will burn you when you are inside. There is a way to deactivate the flames.
- There are two of these rooms, and they are full of lootable containers, full of Amplified and legendary Frigate inductor materials.
- You can go to the very far left-hand side and also the right-hand side. There are two more power conductors coming out of the wall that you must destroy here as well.
- The further you progress through the Frigate, the more Hydras will keep spawning in. They pop up out of the ground, but once destroyed they will not come back. Destroy them and do not leave them, because they are a nuisance for the next player, especially if you are solo.
- When you come around the corner and destroy your first Hydra, a massive wave like a jet engine pushes you back. You can counter it by running toward it. It will not fully push you off the ship if you keep running toward it.
- Be very careful when you get to the next lootable spot: flames come out of the ground and will burn you and knock you. There is a way to deactivate these flames, and you need to destroy the power cores. Destroying the power cores is what actually deactivates the flames.
- There is a set timer that lets you run in and grab the loot. Usually you have just about enough time to breach it and then have to come back a second time to open it, but if you are quick enough you might do it all in one sequence.
- You can make your way directly straight ahead. There will be another Hydra or a pair on the opposite side of the ship as well. There are a couple more containers you can loot too.
Warning: Do not leave Hydras alive behind you. They keep spawning as you progress and they will ruin the run for whoever comes next.
Advanced room control: shutting down flames and wind
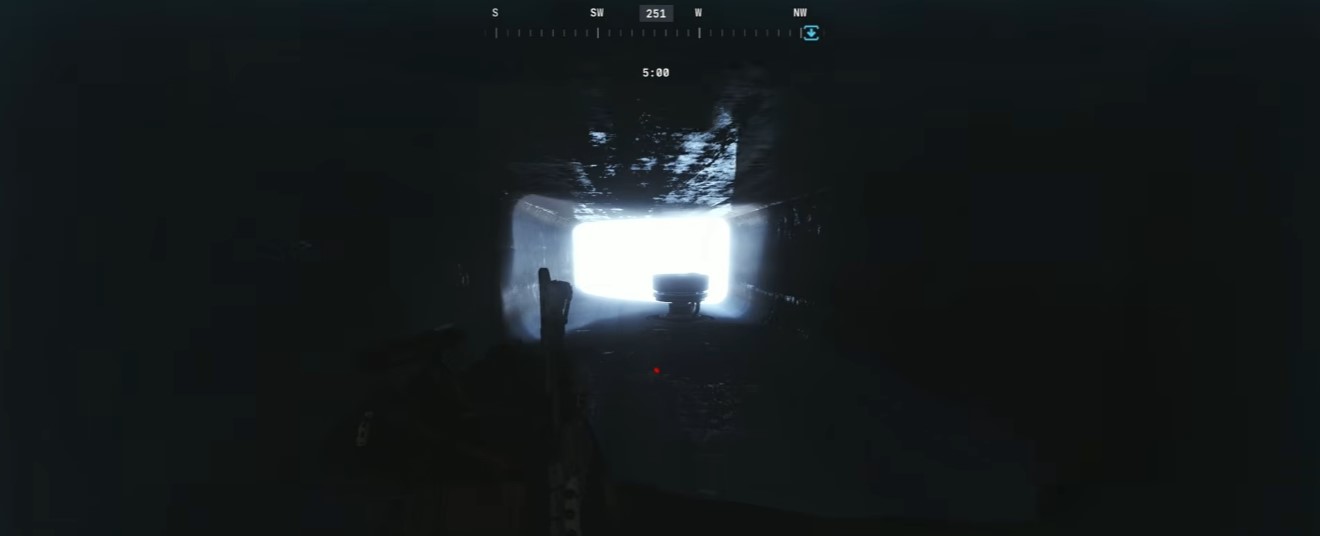
- There is a room back near the very start when you make your way up onto this level that is absolutely full of containers.
- Similar to the Harvester event, a massive flame will come into this room and light you on fire, but there is a way to stop that flame. There is a little power core in the middle of the room that needs to be shot out to stop the flame. This is the easiest way to loot it. Some people do not shoot it out and just go in and loot.
- There are two of these rooms either side, with three loot box containers all together that have a chance of spawning all of these new legendary items.
- Once you run toward the wind, you are totally fine. You will not get blown out.
- Shoot the power core on the left to stop the jet engine blowing through and to stop the fire in the room.
- Do the same in the other room. You can then roam in between these rooms, and it is a good spot to get in cover when fighting the Vaporizers, Rocketeers, and all the other flying ARC up there.
- Once you destroy these two cores in either room, you can roam through all the rooms without the fire or the wind blowing through and knocking you back.
- There is one other room down the very back with the same yellow canisters that you have to shoot as down below. In this room there are a lot of enemies: three to four Vaporizers and tons of flying ARC.
Final tips and what to expect
- This is not a full complete guide on how to finish the Frigate. It is a basic guide on how to get up on the Frigate, what to do when you are on it, where to go, and how to get through each of the sections.
- This is definitely endgame content. You will need lots of loot to complete it.
- You need communication and you need to work together.
- If playing in trios, continuously go throughout the same side together.
- A lot of players are struggling because they come up on the Frigate with just a furrow. It is brand new ARC in the game, so exploring is understandable, but the Frigate demands preparation.
- The suspected end result is that you can destroy the Frigate once you get through the whole lot of it.
If you are heading in solo and expecting a quick loot run, this is not that. Bring the Snap Hook, bring the heals, and bring people who will talk. That is the difference between a wipe and a full bag of Amplified Materials.


