
Quick Summary: Efficient production chains are the backbone of a successful Corsair Cove settlement. This guide covers how to plan your production layout, use logistics buildings like warehouses and ziplines, and avoid common bottlenecks to maximize resource output.
Why Production Chains Matter
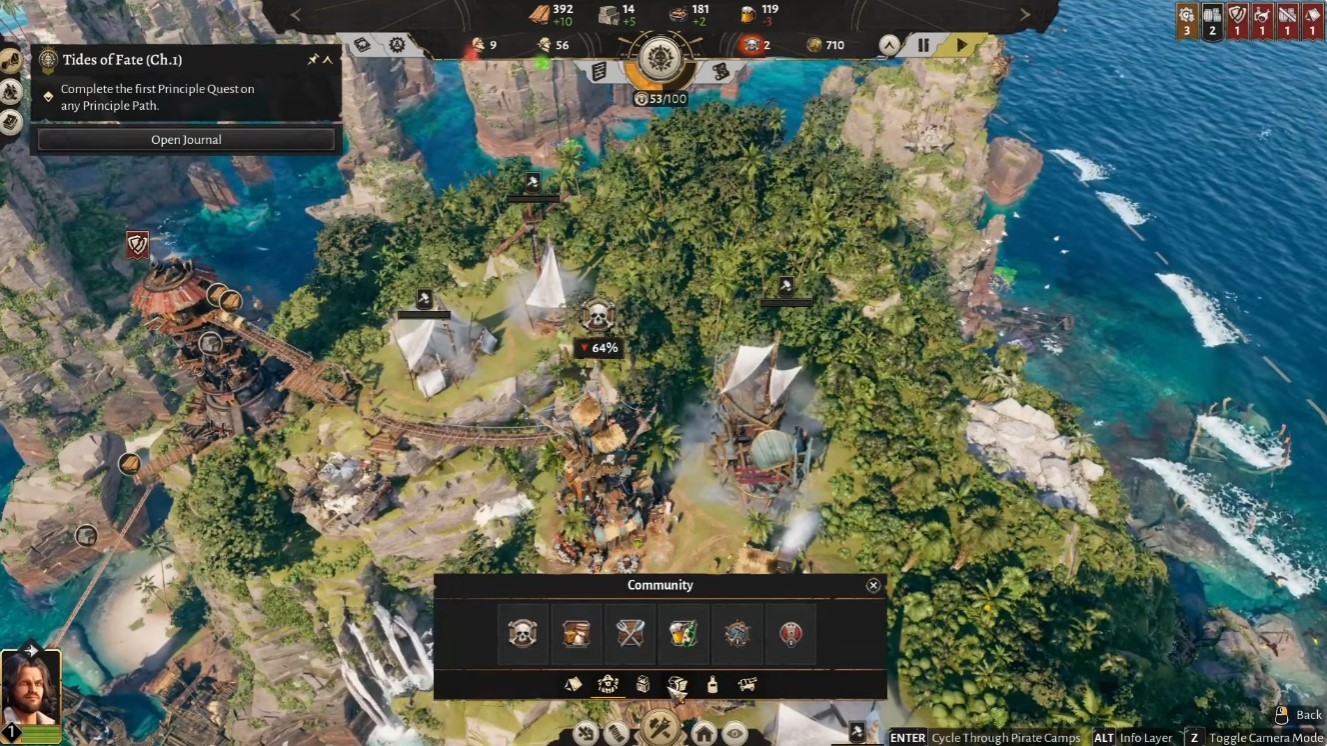
In Corsair Cove, every building from the Wood Cutter to the Distillery is part of a Production Chain—a sequence of buildings that converts raw resources into refined goods. A poorly planned chain can stall your economy, waste precious Fertile Zones, and leave your pirates hungry and unhappy. Optimizing these chains ensures a steady flow of resources for construction, shipbuilding, and crew upkeep.
Core Logistics: The Backbone of Efficiency
Logistics buildings are the unsung heroes of production. They move resources between production buildings and storage, and their placement can make or break your efficiency.
Key Logistics Buildings
| Building | Function | Optimization Tip |
|---|---|---|
| Warehouse | Acts as a transport hub; can configure incoming/outgoing resources. | Use as a central sorting point. Assign resources to balance flows between production and consumption. |
| Zipline | Cheap, efficient vertical transport; pairs with masts for two-way movement. | Place on cliffs to move goods between elevations without elevators. |
| Mast | Provides height for ziplines; forms a fast transport network. | Connect multiple masts to create a highway for resources. |
| Elevator | Vertical transport for height differences; costs 50 gold. | Use when ziplines aren’t feasible; upgrade to Elevator Lift for faster throughput. |
| Bridge | Connects different areas, improving logistics. | Build to shorten paths and reduce travel time for fetchers. |
| Winch | Vertical transport for resources. | Useful for heavy loads; combine with elevators for complex terrain. |
Tip: Use the Color Diagnostic System to spot bottlenecks. Red routes indicate inefficiency—reposition warehouses or add ziplines to smooth the flow.
Planning Your Production Chains
Step 1: Map Your Resources
Start by identifying your Fertile Zones—limited areas where certain buildings (like Wood Cutter or Quarry) must be placed. Plan around these constraints first.
Step 2: Choose Your Core Chains
Focus on chains that support your immediate goals. For early game, prioritize Planks (Sawmill) and Stone Blocks (Stone Cutter) for construction. Mid-game, shift to Rum production for economy.
Step 3: Balance Inputs and Outputs
Each production building consumes and produces at a certain rate. Use the Overviews tab to check if inputs match outputs. For example, a Distillery needs both Sugarcane and Barrels—if either runs dry, production stops.
Step 4: Optimize Placement
Place production buildings near their raw material sources and storage. For instance, put the Cooper next to the Hardwood Lumberjack and the Distillery to minimize transport.
Step 5: Use Logistics to Connect
Connect buildings with Connections (automatic or manual links). Use warehouses as hubs to redistribute resources. For vertical terrain, use ziplines and elevators to avoid long detours.
Key Production Chains to Master
Rum Production (Mid-Game Economy)
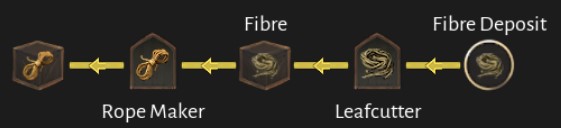
| Building | Input | Output | Notes |
|---|---|---|---|
| Sugarcane Farm | Fertile Zone | Sugarcane | Place on fertile land. |
| Hardwood Lumberjack | Forest | Hardwood | Feeds the Cooper. |
| Cooper | Hardwood | Barrels | Critical for rum. |
| Distillery | Sugarcane + Barrels | Rum | High-value drink for pirates. |
Warning: Rum production is heavily dependent on Barrels. If your Cooper can’t keep up, your Distillery will idle. Always overproduce barrels by 10-20%.
Charcoal and Smelting (Shared Inputs)
| Building | Input | Output | Notes |
|---|---|---|---|
| Vegetarian Charcoal | Wood + Stone | Charcoal | Shares transport with other chains. |
| Cannon Smelting | Same inputs | Cannons | Place near charcoal to save space. |
Tip: Combine these two chains in the same area to share logistics and reduce redundant transport.
Advanced Logistics: Warehouse Hubs and Aerial Lifts
For large settlements, a Warehouse Hub strategy is essential. Designate one warehouse as a central sorting facility. Connect all production buildings to it, and then distribute resources to consumption centers like the Ship Pier or Tavern.
Aerial Lifts are a late-game logistics upgrade that increases throughput. They’re ideal for moving resources from distant deposits to your main base.
Common Mistakes and How to Avoid Them
| Mistake | Consequence | Fix |
|---|---|---|
| Ignoring bottlenecks | Production stalls, resource shortages | Use Color Diagnostic System to identify and fix red routes. |
| Placing buildings far from sources | Long transport times, inefficiency | Build near raw materials; use warehouses as hubs. |
| Overbuilding without demand | Wasted resources and space | Check consumption rates before expanding. |
| Neglecting vertical transport | Slow movement on cliffs | Use ziplines and elevators early. |
| Not sharing logistics | Duplicate transport lines | Combine chains with shared inputs (e.g., charcoal and smelting). |
Optimizing for Combat and Expansion
Production isn’t just for buildings—it fuels your navy. Rope, Sails, and Cannons are all produced through chains. Ensure a steady supply of Black Powder (from Powder Mill) and Cannonballs for defense.
For combat, Tier 2+ ships like the Gold Seeker specialize in pillaging, while the Destroyer (e.g., Wrathbringer) is for defense. A well-supplied ship with a full Crew reduces randomness in battles.
Tip: The Entertainers’ Guildhall boosts the ‘All Hands on Deck’ effect from +50% to +80% without extra input. Unlock it via the Notoriety Tree for a major production boost.
Final Thoughts
Efficient production chain planning is an ongoing process. As your settlement grows, revisit your layout, refactor when necessary, and always keep an eye on the Color Diagnostic System. With these strategies, you’ll maximize resource output and dominate the seas in Corsair Cove.
Note: For more detailed stats on specific buildings, check the Codex in-game. This guide focuses on general principles that apply across all playstyles.


