A starting guide for anyone who is new to the game, or who would like to receive some direction regarding how to conduct the missions and modes currently present in the early access at higher difficulty levels.
Prelude
This is a general guide for Diplomacy is Not an Option, based on current Early Access release. (February 9th).
The full guide (Currently in making) will be split in three different entities. This part is the hand-holdy “grasp the basics” kind; it will show how to deal with the start of the game up to first wave, and then leave the reader off with several strong points to keep in mind while playing.
Next guide will be the Comprehensive Guide, containing information on game concepts, various techniques of dealing with in-game problems, and general thoughts on units and buildings present in the game.
The other one will be Specialist Guide, solemnly created to deal with third available mission in the game, “Children of The Revolution”, on Ultra-Hardcore mode.
This guide was prepared for playing on highest difficulty level currently available, Ultra-Hardcore, which means it should be applicable to lower difficulty levels as well.
First, I’ll make a simple bullet-point list for easy early-game tracking (the “What”). This will be further divided in two sections, order of which will depend on the time available to the player before next wave.
Afterwards we will move to more vague points that should be kept in mind while playing but which order and importance are dependant on current situation (The “How”).
Let’s begin!
The “What” – Starting Point
- Place a Builders’ House I next to your Townhall.

- Place a Lumbermill I (ideally 2) somewhere close to the Townhall, preferably also next to nearby trees.

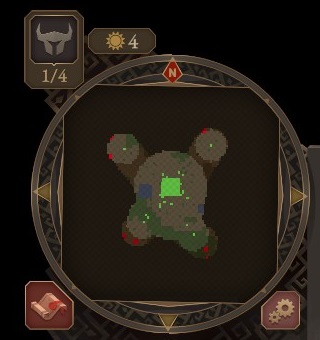
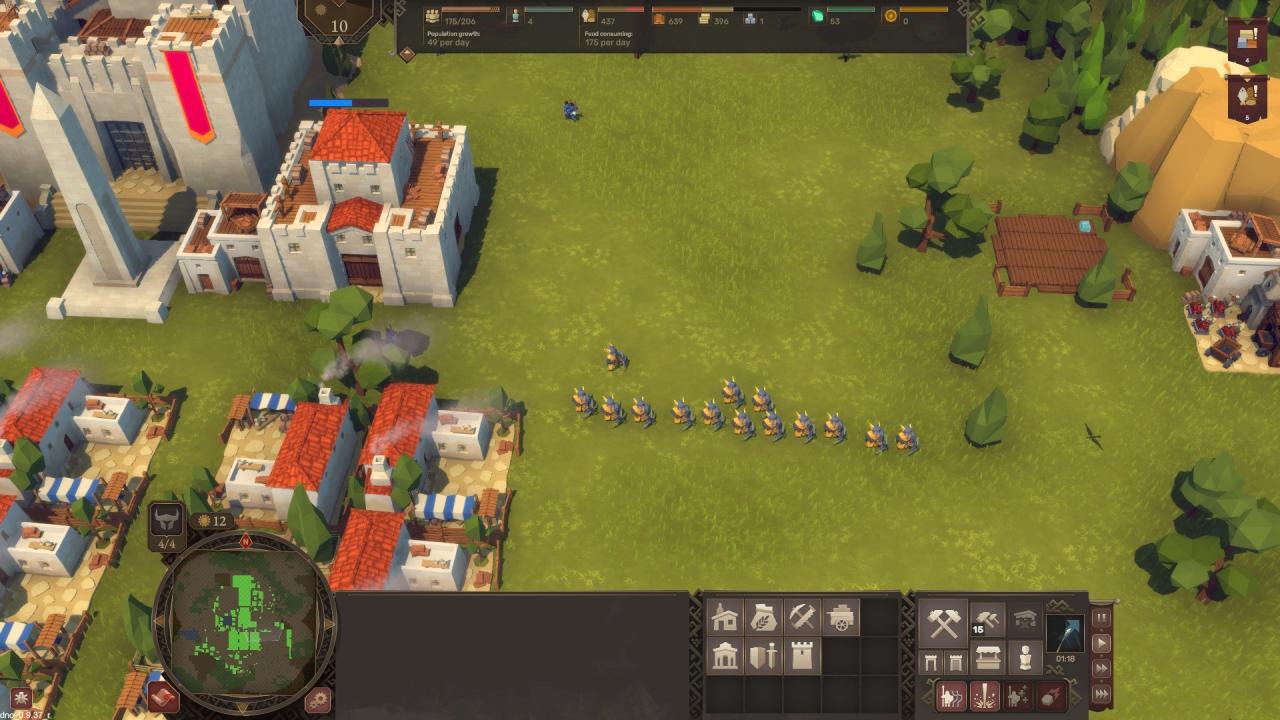
- Send out 4 troopers in a shape of X, one in each direction. (Pay attention to not run into enemy camps; use the minimap to determine if troopers are safe.)
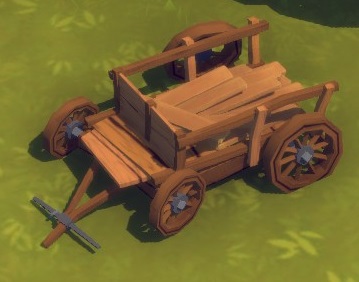
- Gather any undefended resource carts that you might find.
- Place Watchtower next to each of those 4 troopers.

- Place 2x Lumbermill I and Storage I next to a thicket. (You might need to disband Swordsmen or place one Lumbermill instead.)


- Place 2x to 4x House I somewhere close to the Townhall.

- Repeat step 6 next to another thicket.
- Optional; Place 4x Berry Picker’s House wherever you see fit. (If people are available.)

The “What” – Defence Effort
- Place Barracks I.
- Recruit Up to 9 Archers, including the ones you start with.
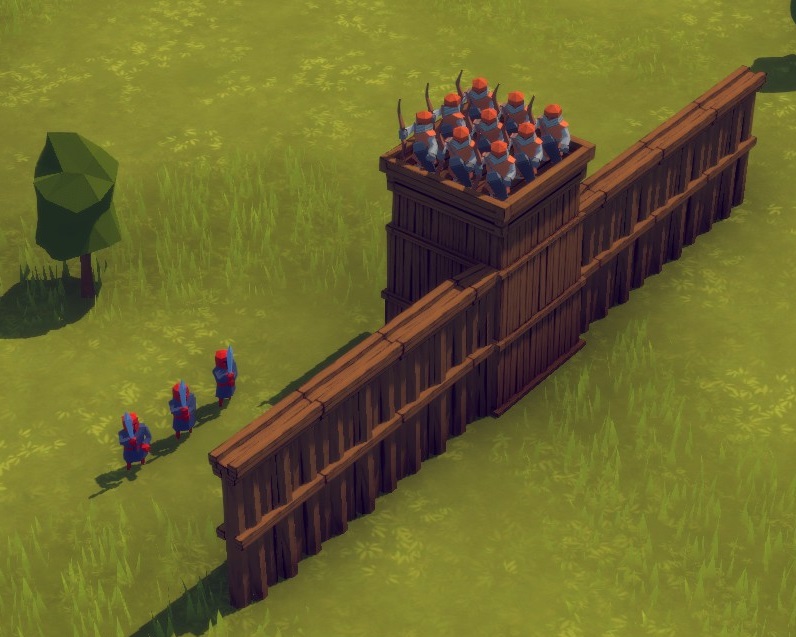
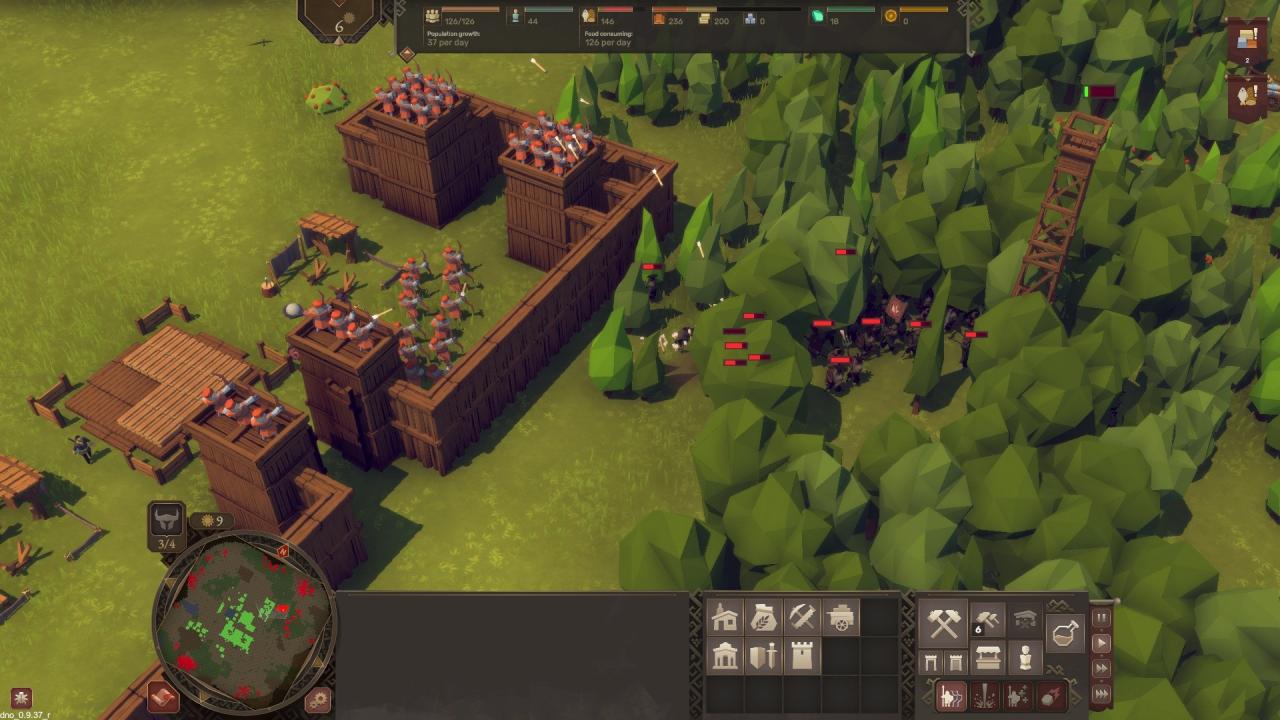
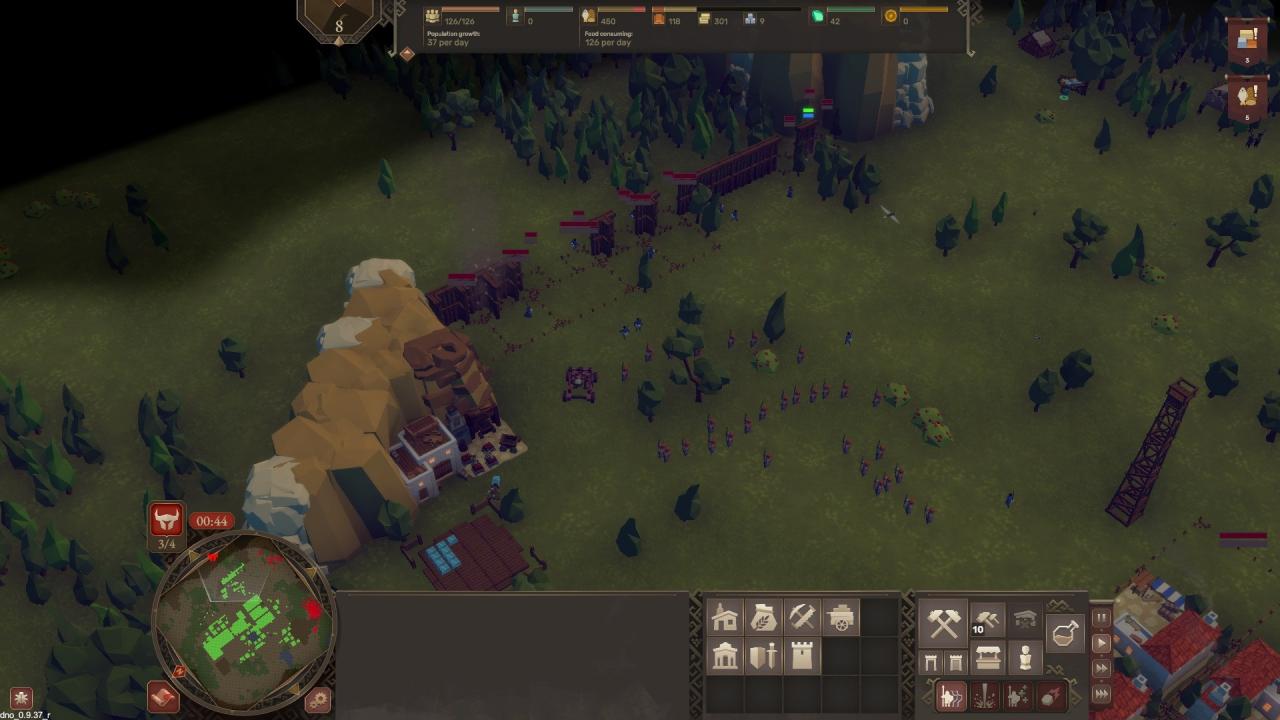
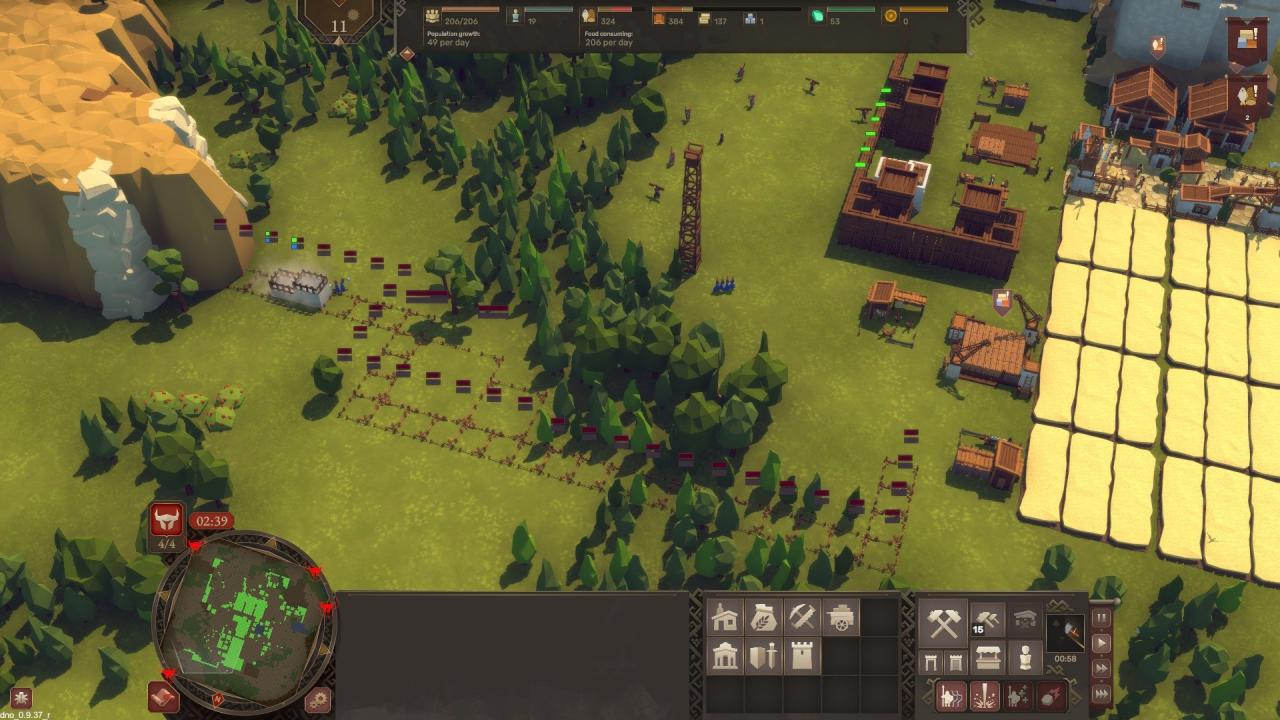
- Place Wooden Tower and several Wooden Wall pieces in a way of incoming wave.
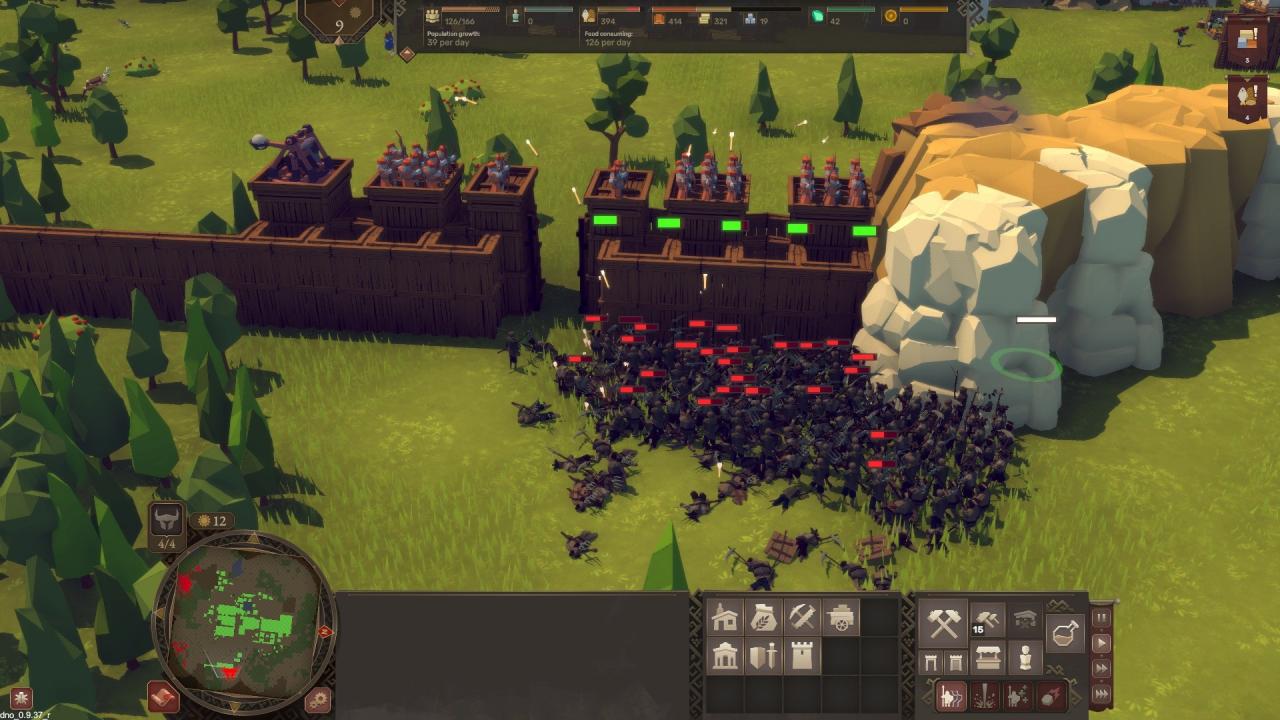
- Send your archers on the tower. If you have Swordsmen, keep them behind the wall on Hold mode; send them out if enemy will go past the wall.
- Survive the first wave of enemies.
The “What” – Economy Effort
- Place 2x to 4x Fishermen’s Hut on available resource plots.
- Place additional House I, making 9 to 10 with ones that are already in place.
- Repeat step 6 from Starting Point with yet another thicket.
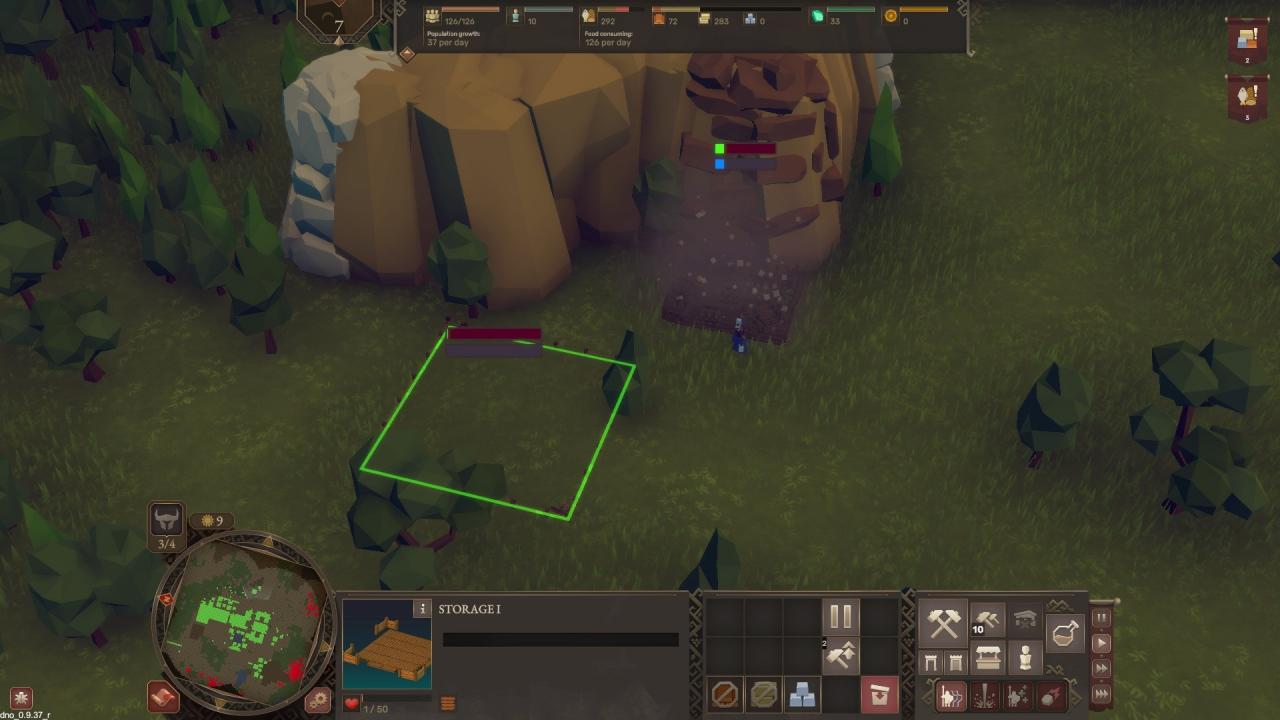
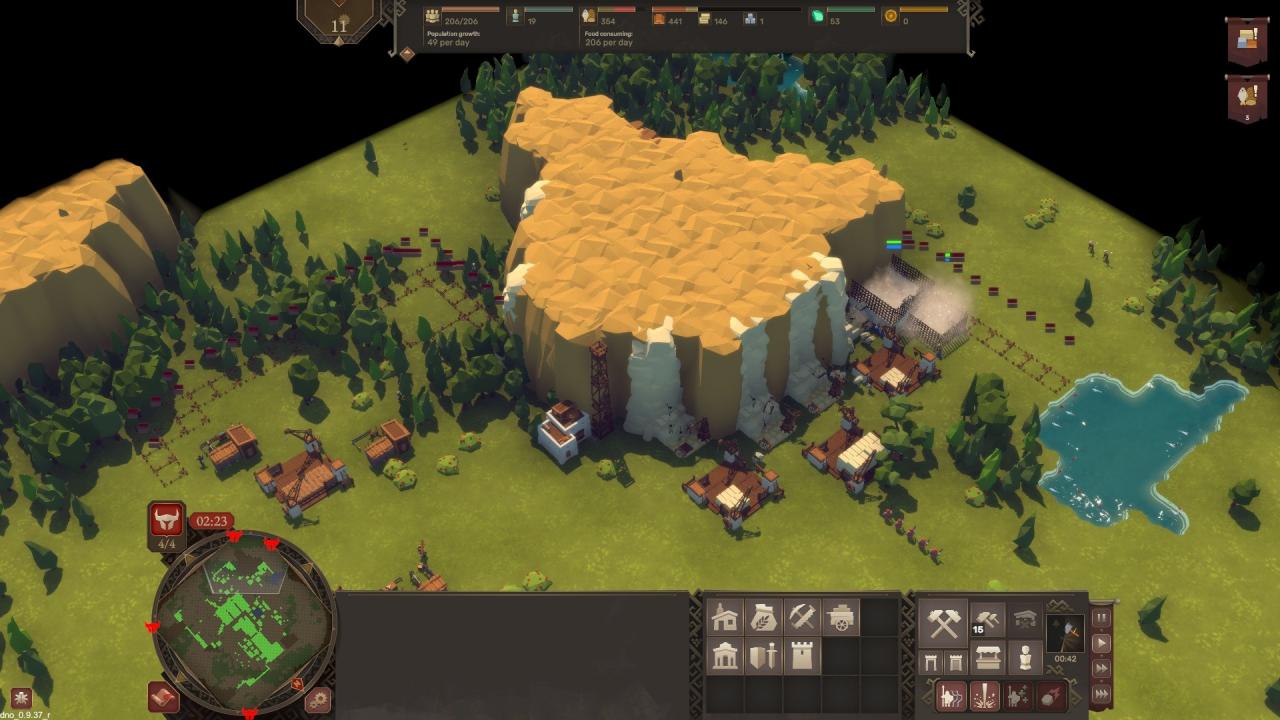
- Place 2x Stone Mine I and Storage I. Try to find a place that is close to your buildings for sake of protection.
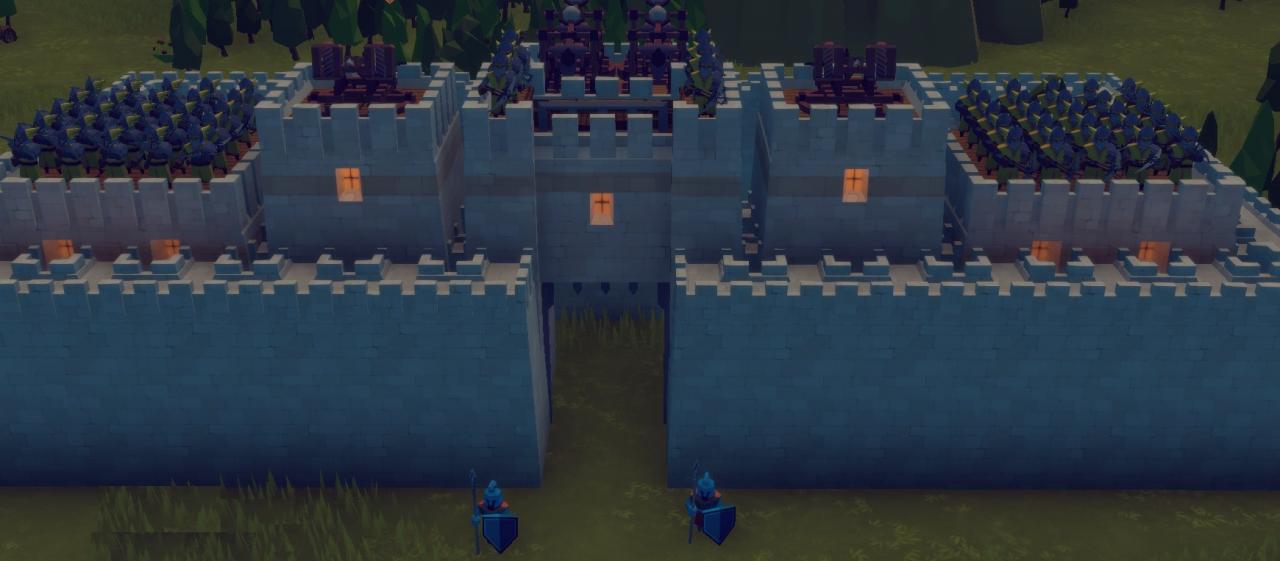
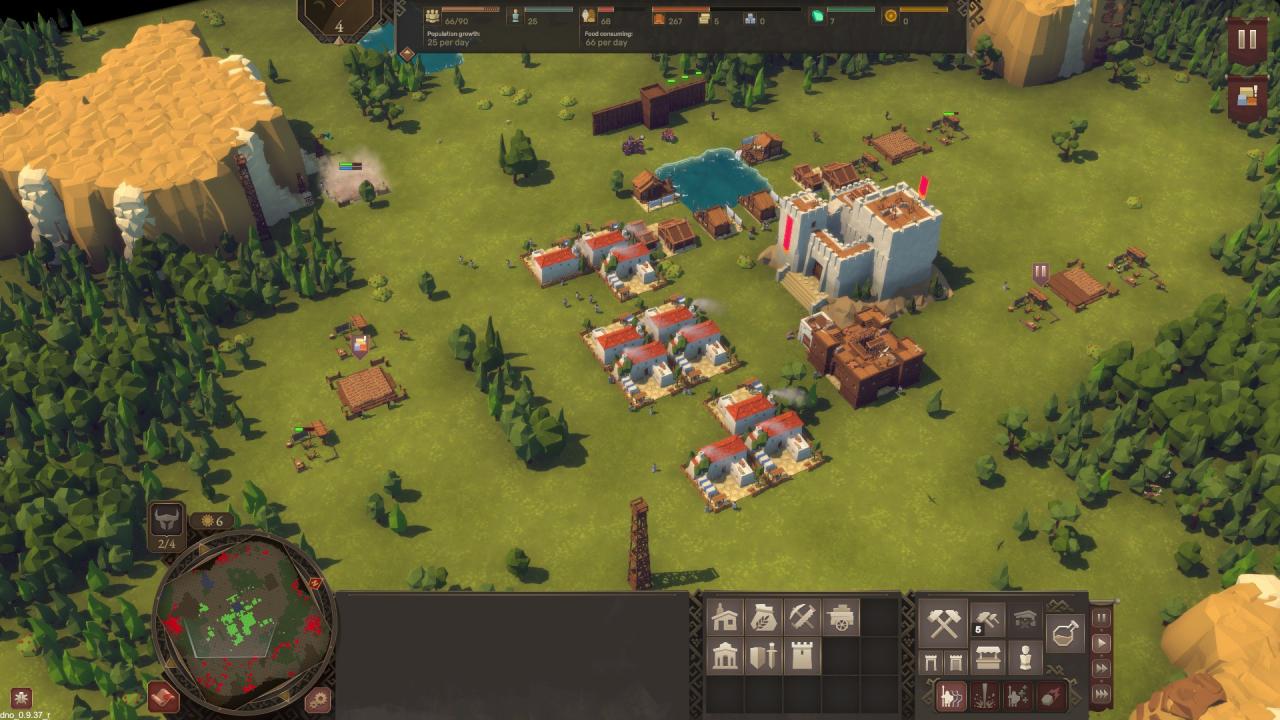
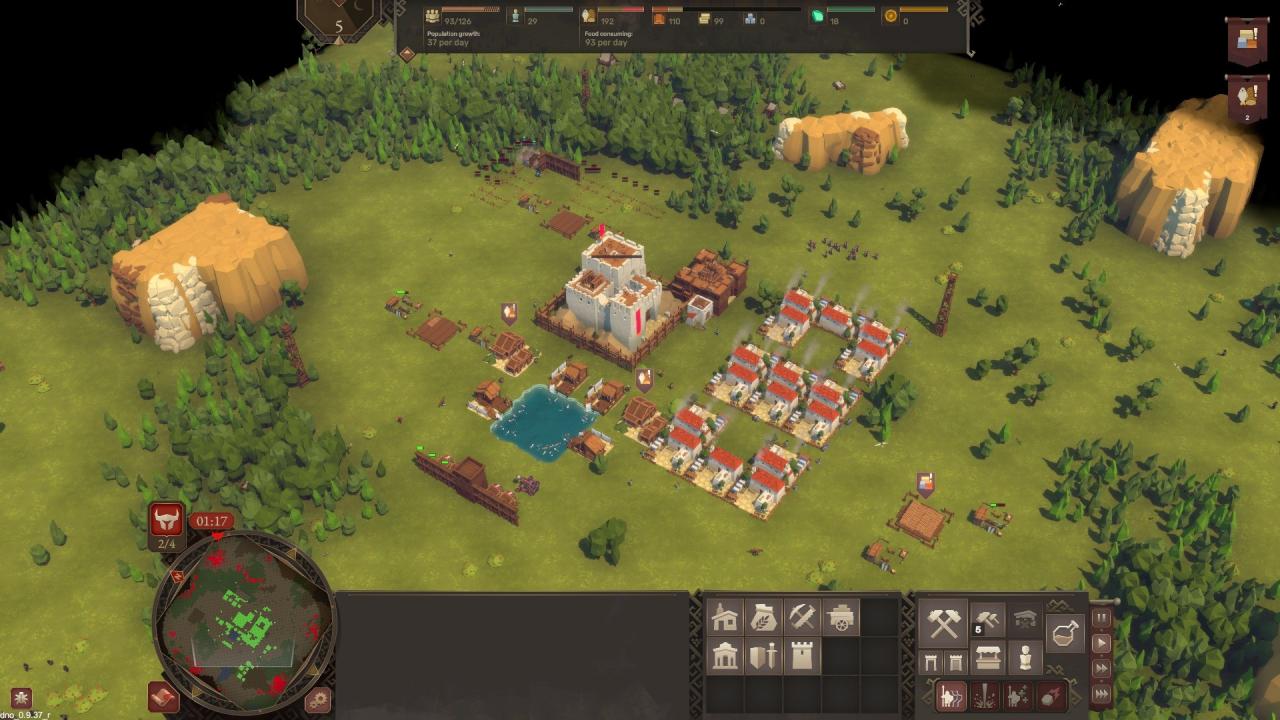
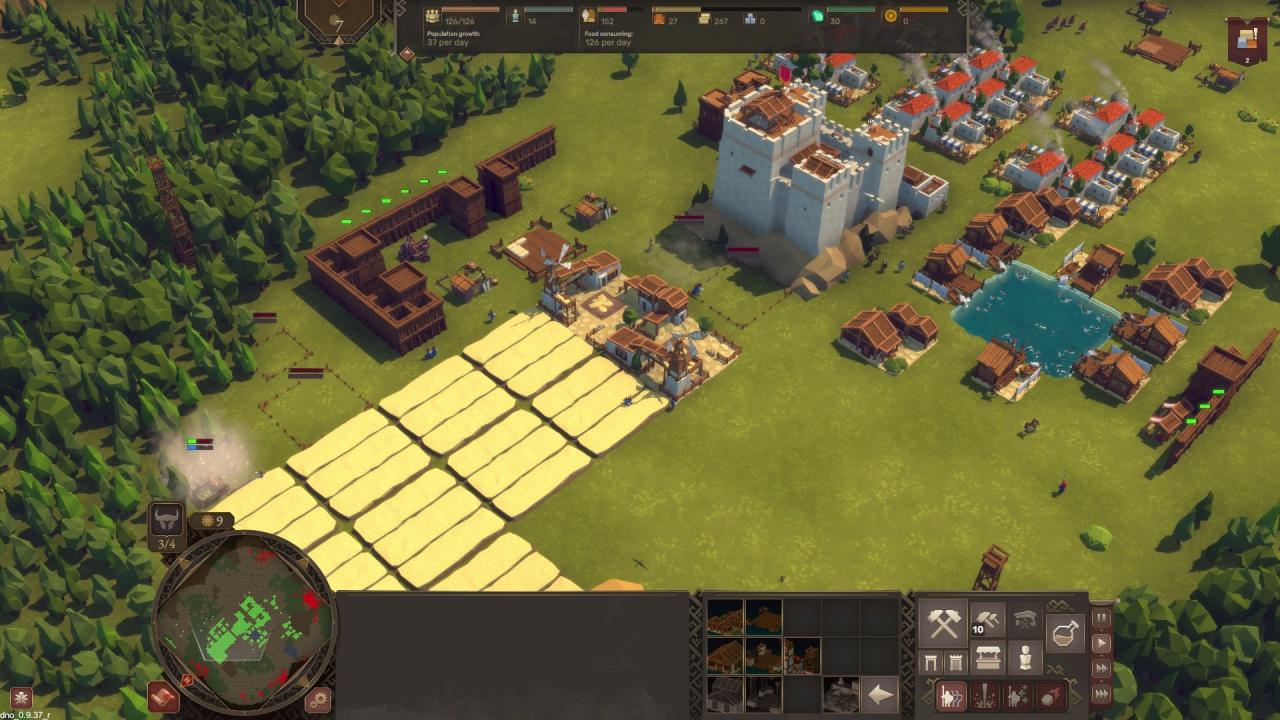
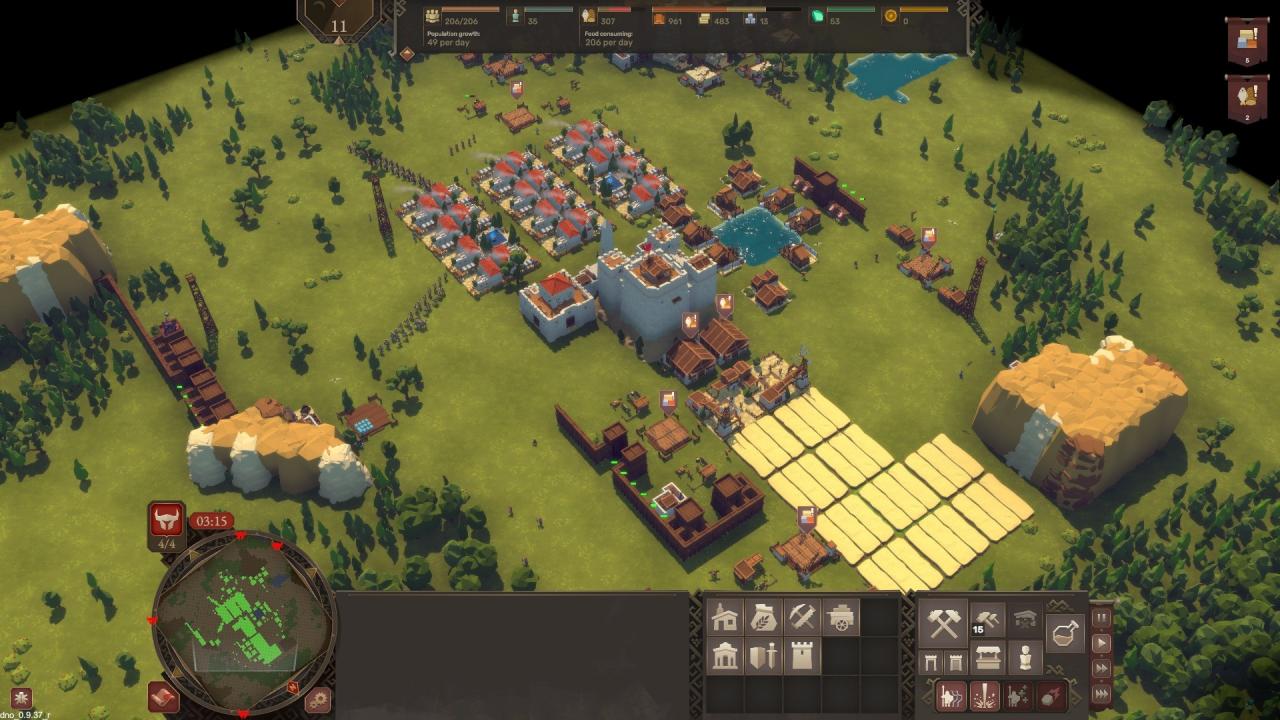
All said and done, the current state of the game should look something akin to this.

The “How” – Starting Point
At this point we have survived the first wave and have a relatively strong economy base, finishing around day 4 or 5 depending on difficulty setting. Time to cover more broad points.
This section will be a bit more loose in the structure. Some of those points will require earlier points to be finished, some are long-term goals with several buildings to take care of and some are vague enough to never have a proper completion state or that apply to whole run. Still, I find those points to be the most important for finishing currently available maps; most of those can be used for Endless mode as well.
The “How” – All in One
- For Wave 2, about 18 Archers on two Wooden Towers and several Wood Walls should suffice. This can be raised one day before the attack, so there is no need to sweat over constant unit production.
- Spreading available soldiers around important points (Stone mines, Residential area, Fisheries) would be a good idea, as random enemy attacks do tend to happen. (Unless the game is set to lowest difficulty, in that case there are none.)
- In case of death occurring in city, placing Graveyard and Gravedigger’s House I should be considered. Remember to increase the radius of the Gravedigger. If the body is far away from workers, it can also be ignored – do note that it will turn into a zombie after 10 minutes (~3 Days). (More on Graveyards in Comprehensive Guide).
- Upgrading to Town Hall II should be top priority after getting the basic economy; this should be preferably done before Wave 2 or right after it.
- Right after getting the Tier II upgrade, place down Builders’ House II and upgrade the existing hut. This will result in total of 10 builders, 2 from Town Hall and 8 from Houses.
- Somewhere at this point, few more Fishermen’s Hut should be placed, assuming that there are still free fish schools. There should be a total of 4 to 6 buildings of this type next to the Town Hall; remember to also include Granary I next to them to cut on travel and raise the food storage. Two should suffice.
- Afterwards, upgrading the wood economy should be top priority. Placing new Lumbermill II is a better idea than upgrading already existing ones; top it with Storage II to avoid overflow problems. 4 to 6 should always be operational.
- If available forests are obstructed by enemy, try clearing them out. There should be some that have few small camps; those should be good targets. Avoid big clusters of enemies unless properly prepared, and do not approach enemy catapults with archers.
- Consider adding City Fountain I to your existing houses. Tavern is also a good option, but do mind currently available resources.
- Consider placing down Iron Mine I, perhaps even two if you have resources to spare, preferably next to already existing stone mines for ease of managing defences.
- Place additional Stone Mine I; around 4 to 6 should be kept operational for steady stone flow. Stone Mine II can also be considered if there are workers and resources to spare. (Do keep in mind that stone deposits are finite; better stone mines will deplete the source faster.)
- Remember to keep placing Storage I or Storage II next to new economy buildings. The shorter the route, the better.
- Stable food production is next in line, and this can be achieved with Farm I. (Do note that farms require a lot of free space, that is 6 4×4 squares). At minimum two farms should be placed, preferably 4. Remember to place Granary II next to them to cut on travel time. (One per farm should suffice)
- Whenever there is time between waves, clean enemy camps using available soldiers (do keep few around the city however, in case of random attacks.) The basic principle is to keep missile troops in front to shoot down anyone who approaches and keep eventual melee units behind them to close on stragglers that approach the arrow line. (More on cleaning techniques can be found in Comprehensive Guide.)
- Somewhere before Wave 3, barracks should be upgraded to Barracks II. Afterwards, production of Crossbowmen should begin; consider getting at least 18 for upcoming wave; around 20 should be enough.
- In case Iron production is not set up yet, recruiting more Archers is in order. Having around 32 in total should suffice; do not disband them later in the game, they can be used as guards for important parts of the city.
- Crossbowmen are the only unit that should be produced en-masse, at least in my personal opinion. However, few Spearmen can also be trained to accompany cleaning forces and construction sites. Those units should always be considered as auxiliary, however.
- Eventual consideration can be made for Catapults. They require Engineers’ Guild I to be raised, but their cost-to-effectiveness is commendable. Do note that those are purely defensive machines – Using them for camp clearing is rather cumbersome and takes a lot of time, both in movement and damage dealing.
- When the timer for next Wave shows up, raising defences towards the attack direction is necessary. Consider placing down Builders House II a little behind planned defence line; send troops to clean any rabble that might lingering around and scaring off builders. By Wave 4 defences should be made from stone; otherwise wood should suffice. (More on defence techniques can be found in Comprehensive Guide.)
- If resources are available, consider placing Builder’s House II in several points around the city; preferably with work radius decreased. Those points can be defensive chokepoints that might see an attack, labour camps that require a lot of building time, or areas that might be expanded into at later point. Builders take a long time to travel from place A to place B (this cannot be upgraded with technology, only construction time is affected), so having a back-up workforce on site is always a good idea.
- Consider dabbling with Research whenever there is an opportunity. This should be done from start of the game; Things like Comfortable Shoes should be put onto research bench once the resources are available (Read: once first stone cart is picked). This step isn’t necessary, but it does help a lot in the long run.
The research options that are of the most interest are as follows (in vaguely this order):
Comfortable Shoes, Sharpshooter, Advanced Toolkits I, Comfortable Shoes II, Sport Shoes, Quick Reload, Advanced Toolkits II, Harsh Training (If using Spearmen), Big Rocks (If using Catapults), Stained Wood, Sturdy Concrete I. - If resources allow, construct additional walls and towers around important points of the city. Labour camps, Town Hall, residential area, perhaps even chockepoints that look like plausible enemy routes.
- Do not touch Tier III unless you know what you are doing. Setting up Tier III costs a lot of resources, on top of requiring dabbling into trade to get Gold. Tier III does offer some important economy buildings (Workshop; Lumbermill III and Foresters’ Cabin, as well as Farm II.), but this is only applicable if the game will last for more than 20 days.
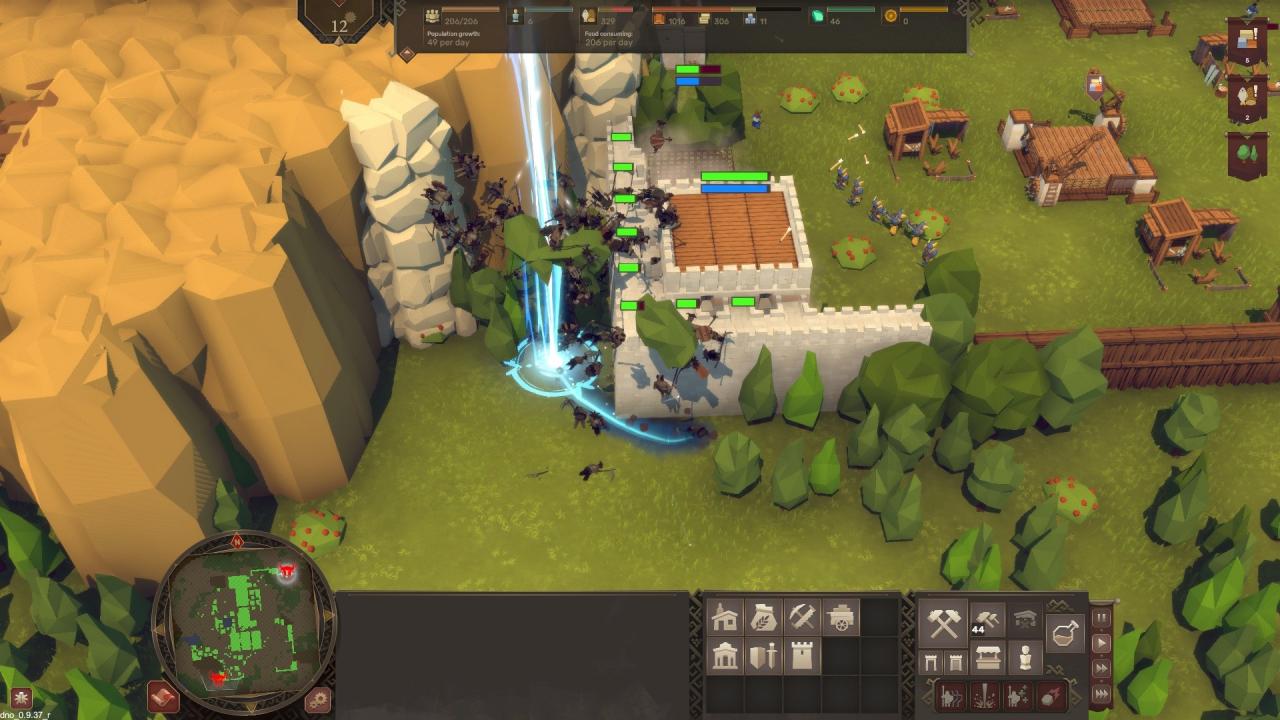
- Magic usage is recommended. Consider setting up Obelisk I to gain the second spell; it should make last wave a breeze. (More on magic can be found in Comprehensive Guide.)
- CLEAN THOSE CAMPS. The map must be clean from enemies before last wave; otherwise everyone who was left will storm the city. This can be played around with setting up defences if there is no time for cleaning, but this way there is no Soul Crystal gain. (Magic)
Bunch of Tips
- Placed buildings will be raised in order of placing. This can be changed via priority button on building’s panel.

- A lot of buildings that work in an area can have this area resized and even placed somewhere else – This is especially useful for Builders’ Houses.


- Random attacks by enemy peasants might happen from the very first day. If enemies approach and troopers are too far to deal with them on time, Summon Dark Knights from the magic panel.

- Dark Knights can be a stand-in for walls for first wave if resources are really dire. In addition, if any of them survive, they can be sent to gather resource carts in more dangerous parts of the map. They will be gone anyway, might as well be of some use.
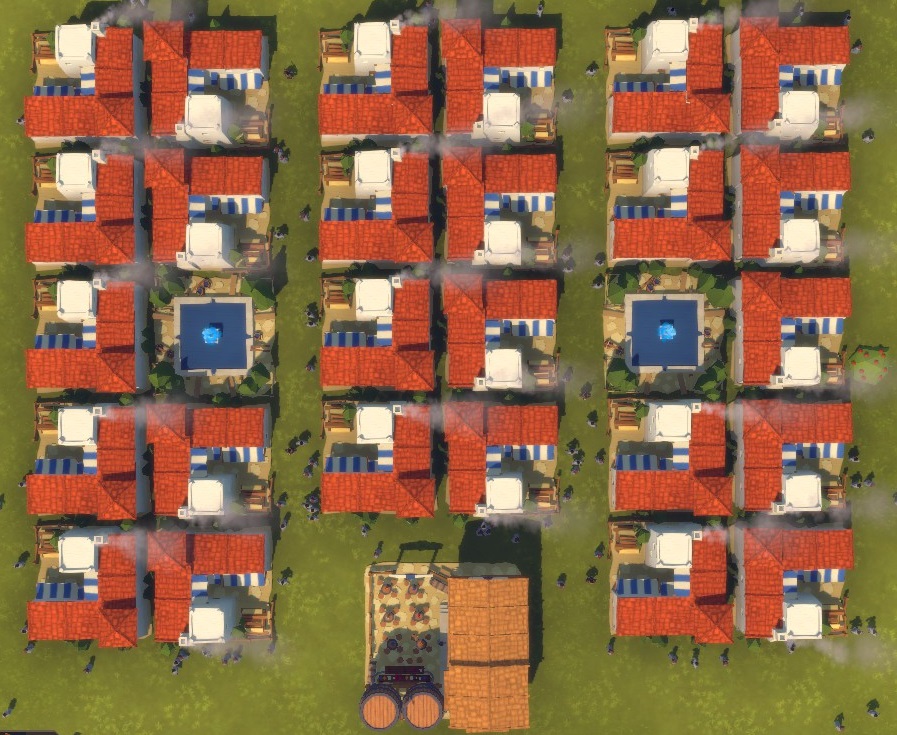
- Keep buildings apart by one square. Some wall-touching is fine, (as long as they are not totally covering buildings from all sides) but the less passages there are, the worse the logistics across the city.
- By the way, enemies do not cross through open gates. This means you don’t ever have to close them, unless you want to block off your own units or villagers.

“Wake-Up Call” – Played by Princess
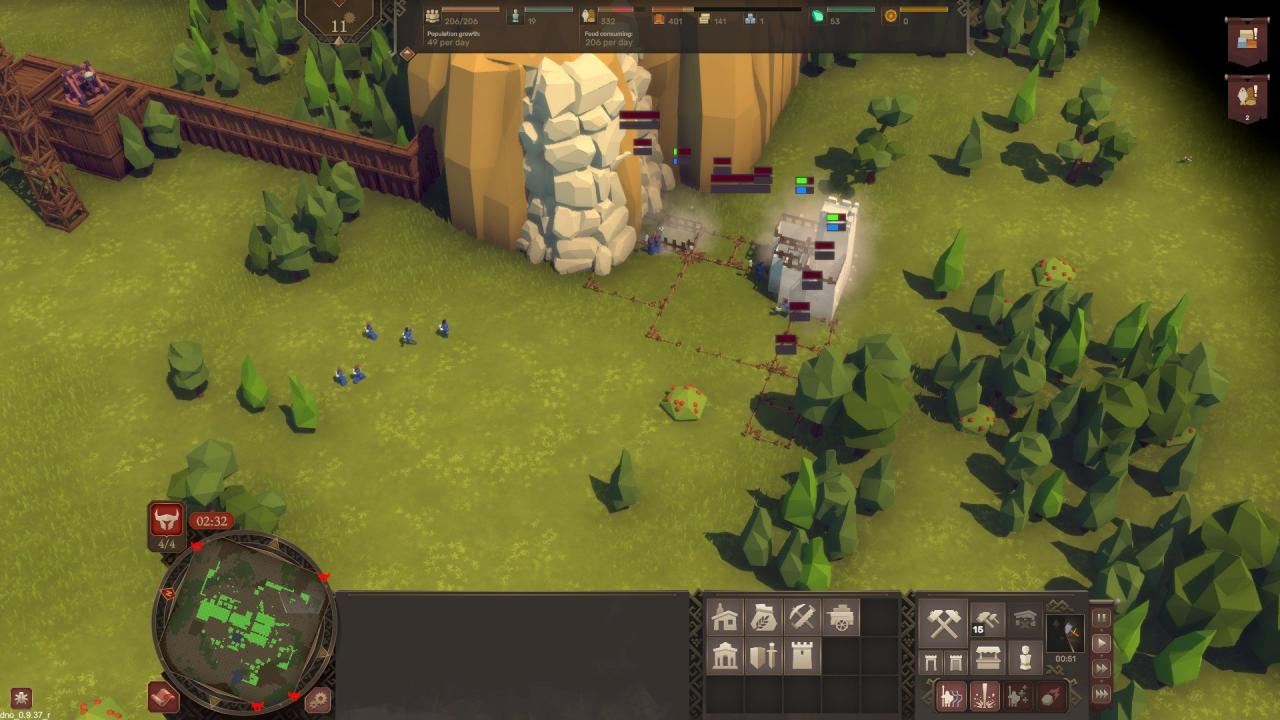
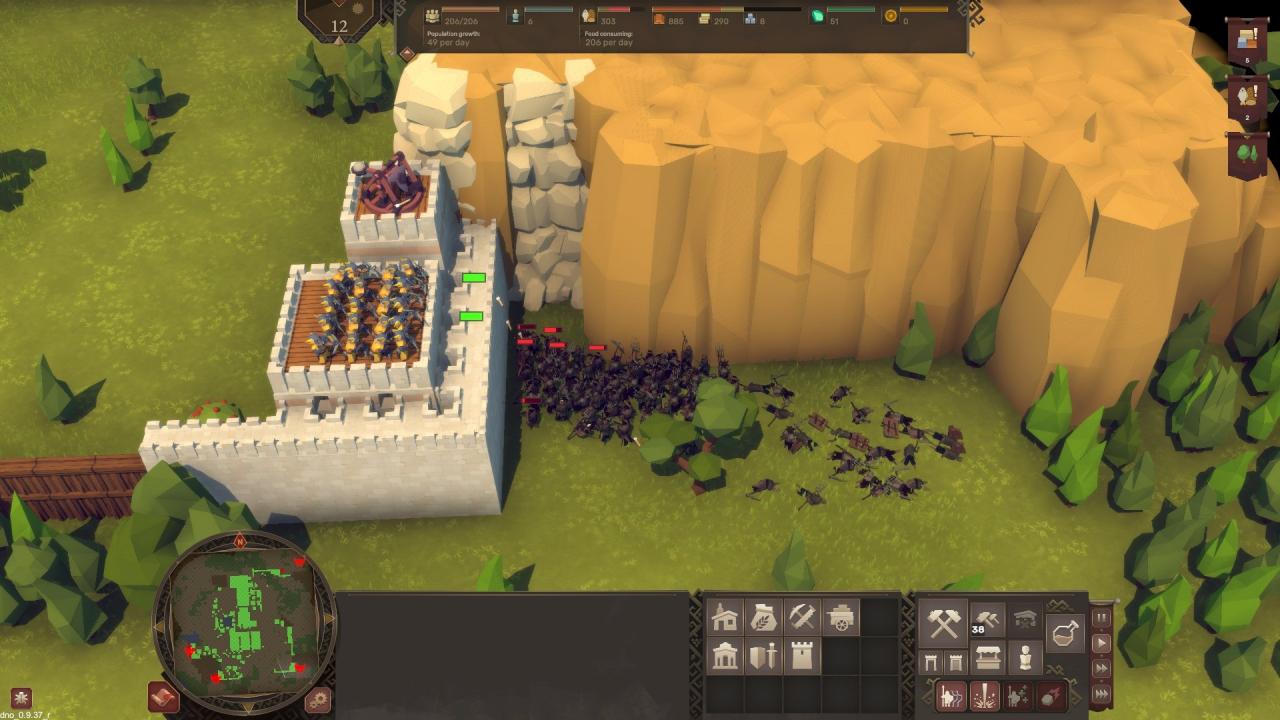
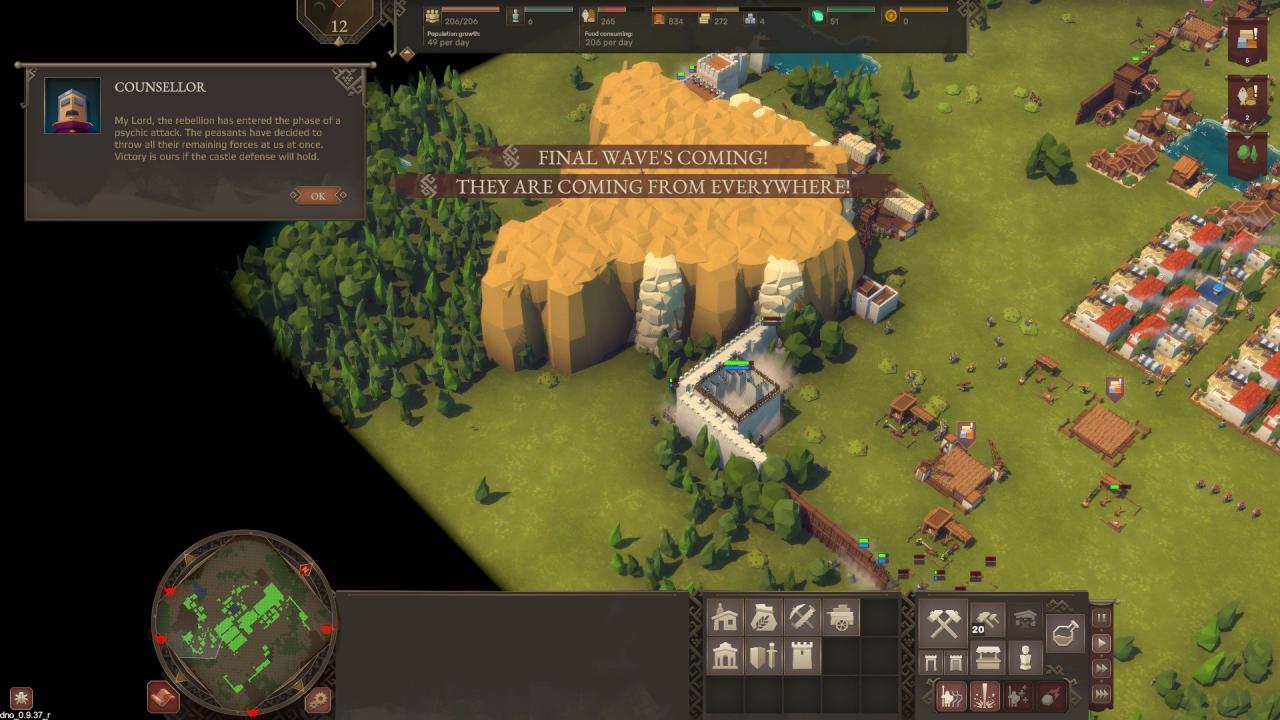
M A G I C
Gotta love Astral Rays! ~
Finishing Touches
In short, this will take some time to get all in one place, ah.Anyhow! I hope this guide was helpful. If you are interested in seeing more from me, I have few VODs on Twitch where I deal with the missions – nothing too interesting, but feel free to check them out if you want to see some Certified Princess Gaming [TM].
First two missions![www.twitch.tv]
Third mission![www.twitch.tv]
