A picture walkthrough for both Chapter 2 missions currently in the game.
Includes tips and tricks!
Regular Mission
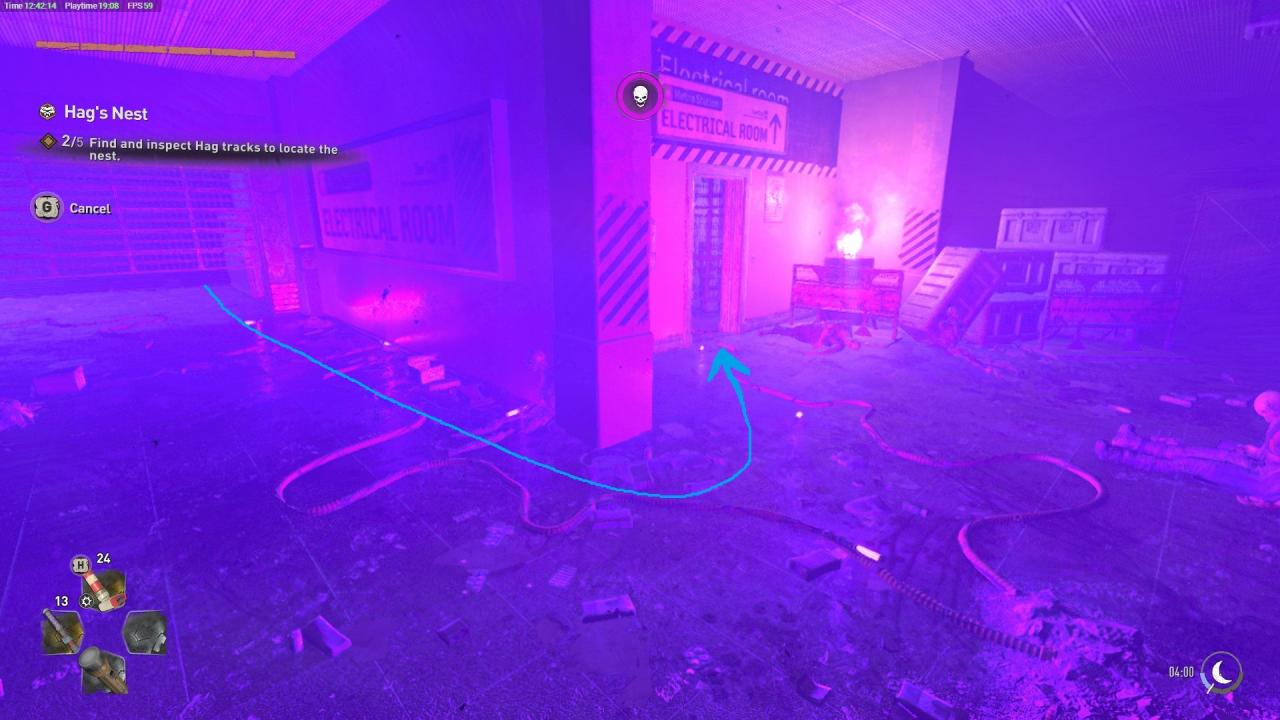
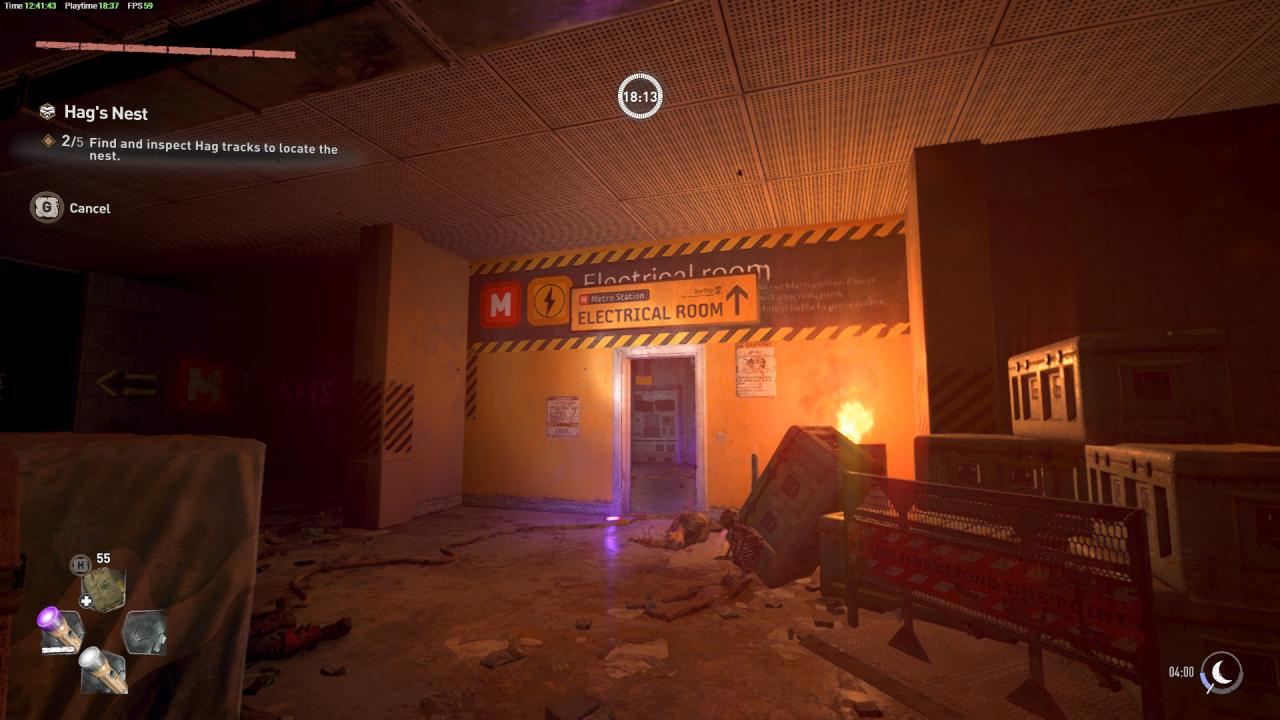
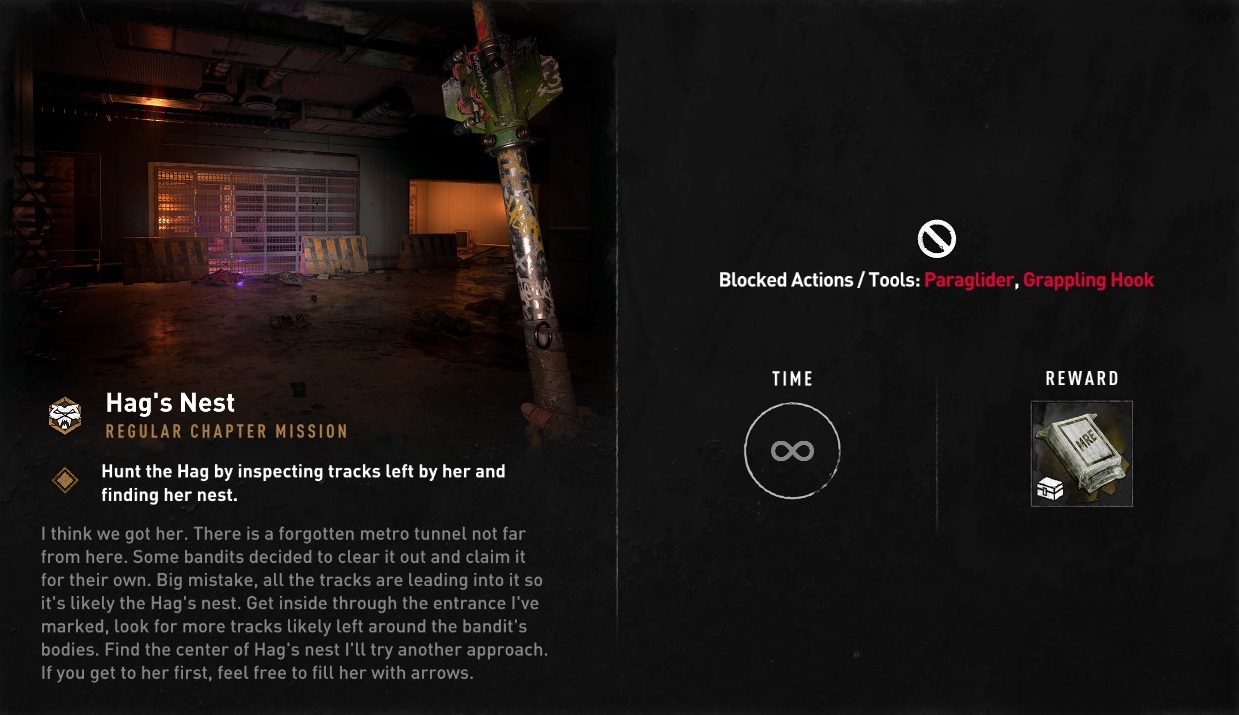 Once you begin the mission, you will need to search around the infested metro station for rooms with UV Bars outside of them.
These are rooms with renegades and 1 Hag track each. You need to find FIVE of these in order to fight the Hag “Boss” of the mission.
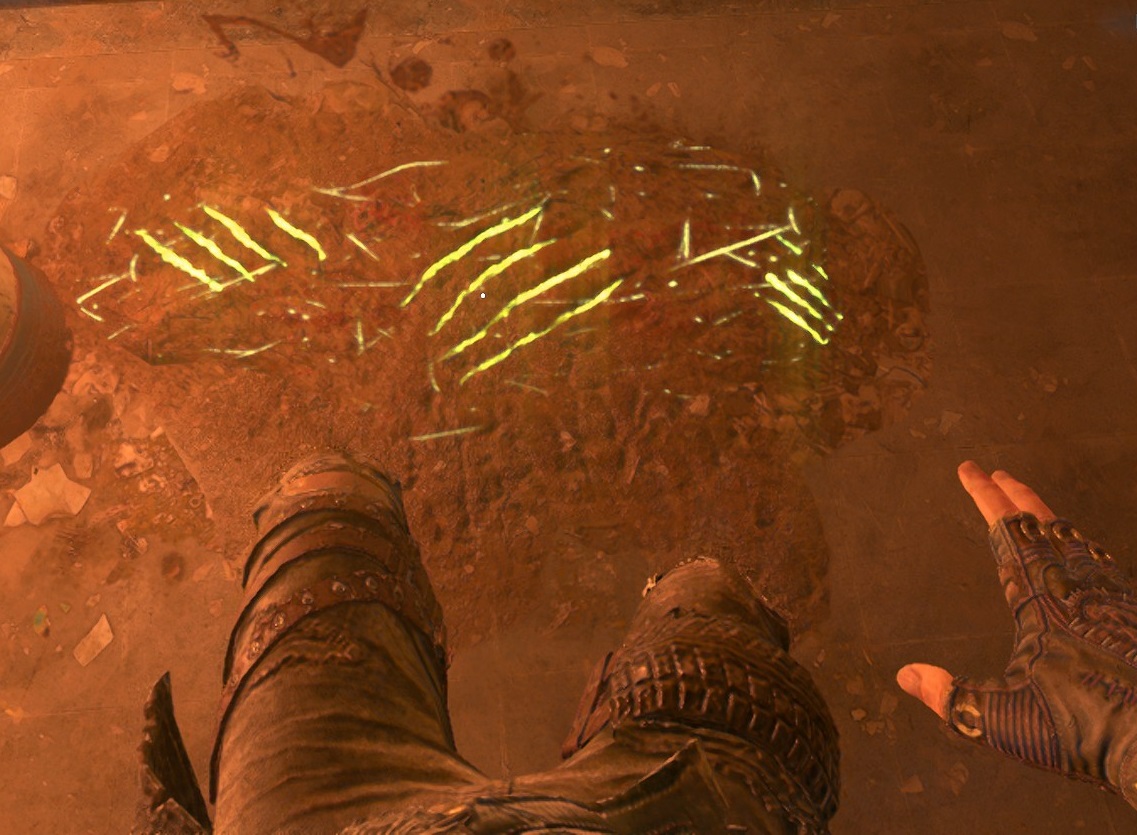
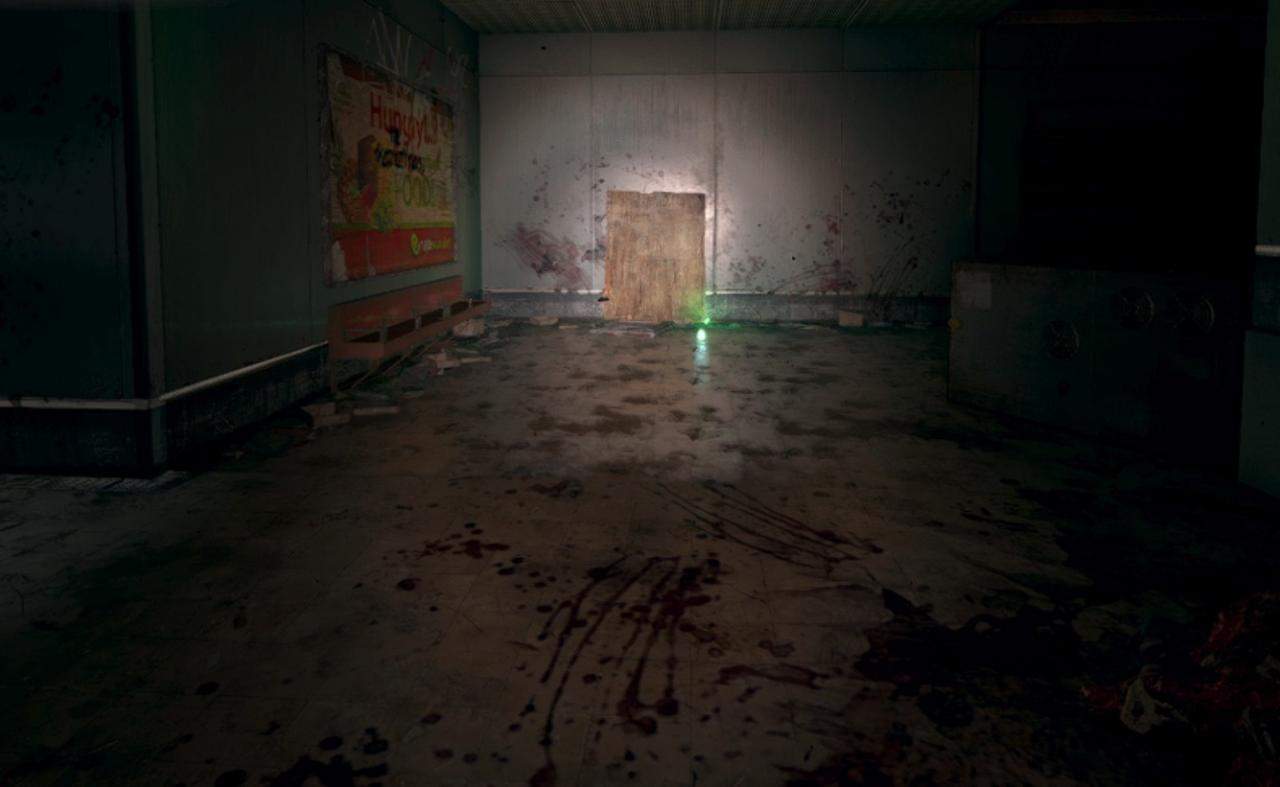
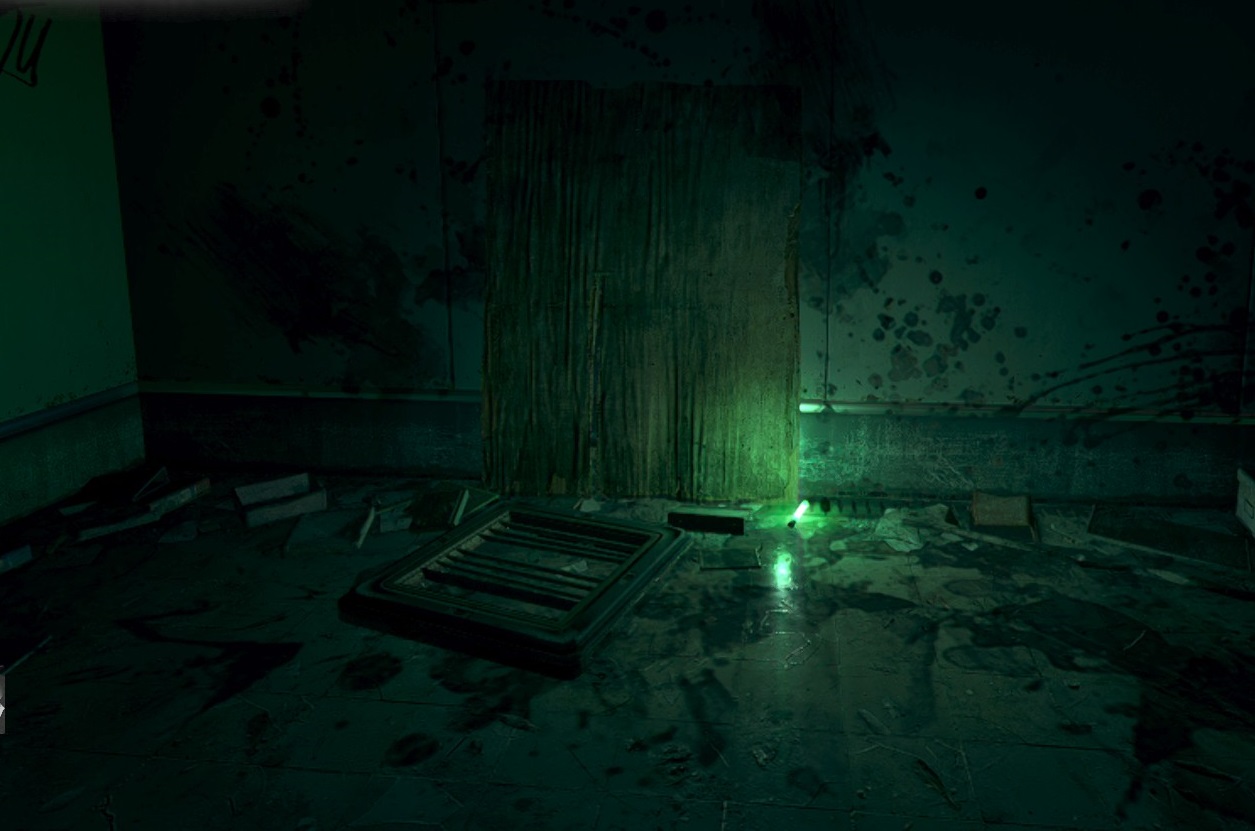
This is what a Hag Track looks like, you will need to loot these after you kill the 4 to 6 renegades guarding it:
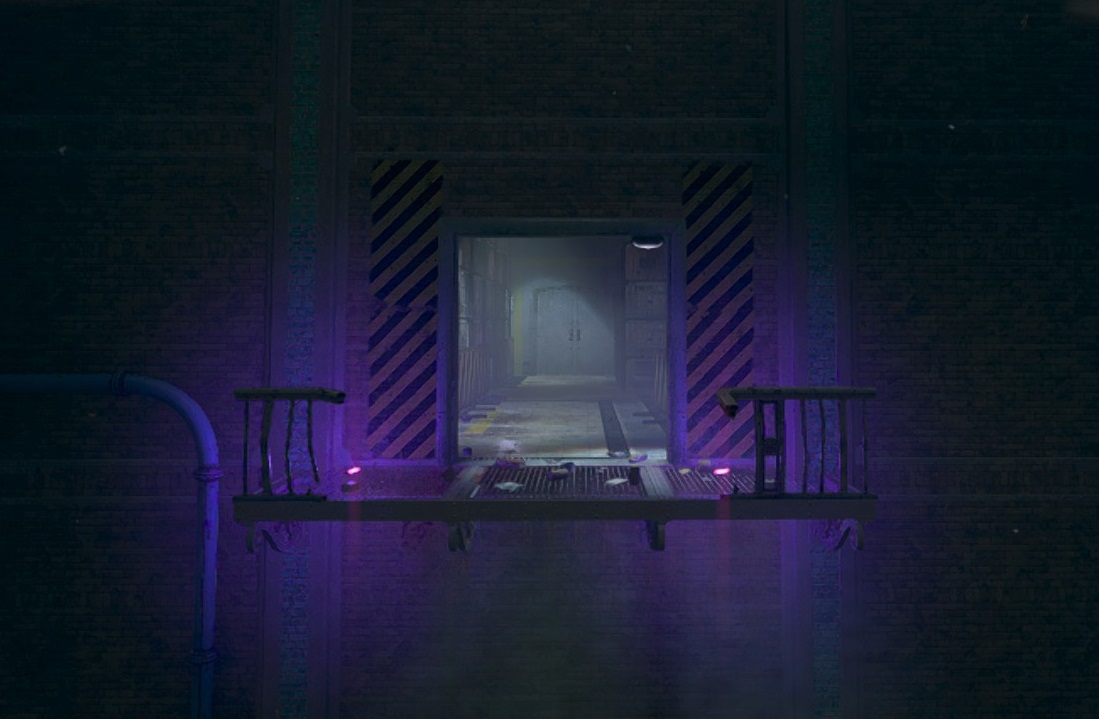
Here are two examples of the entrance to a room containing Enemies and one Hag track:
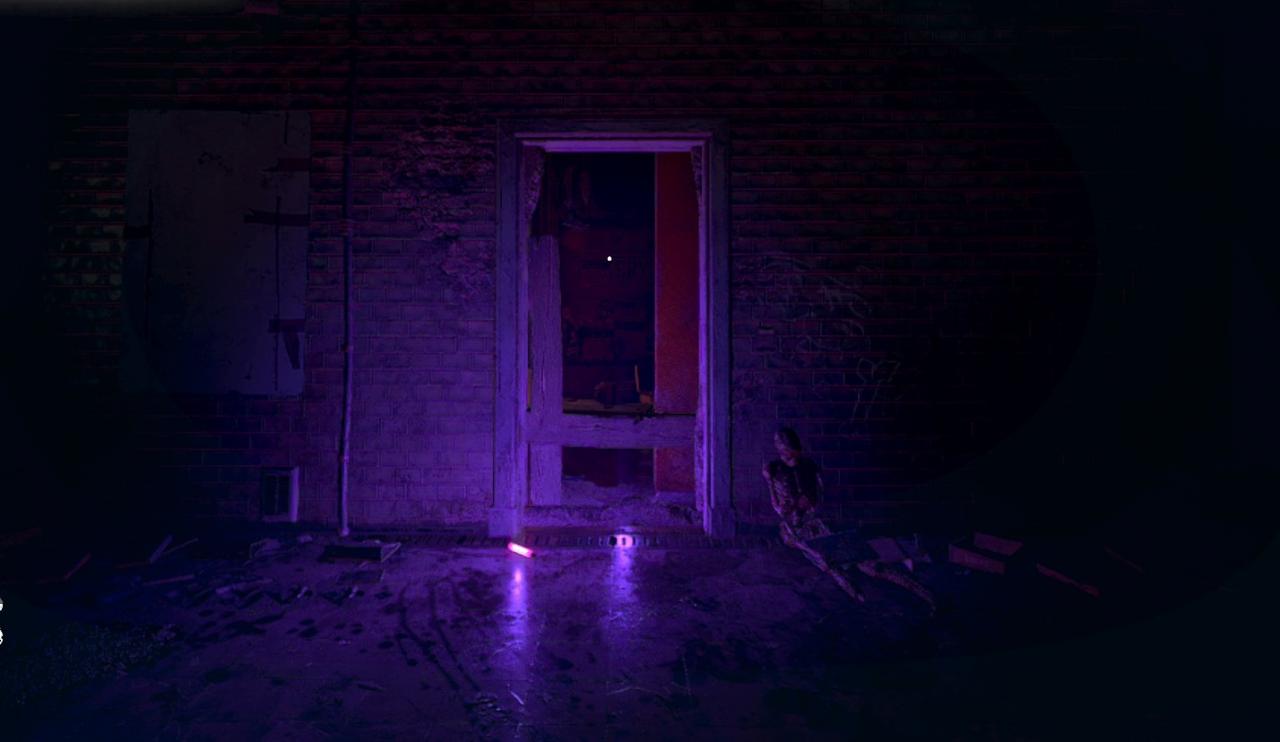
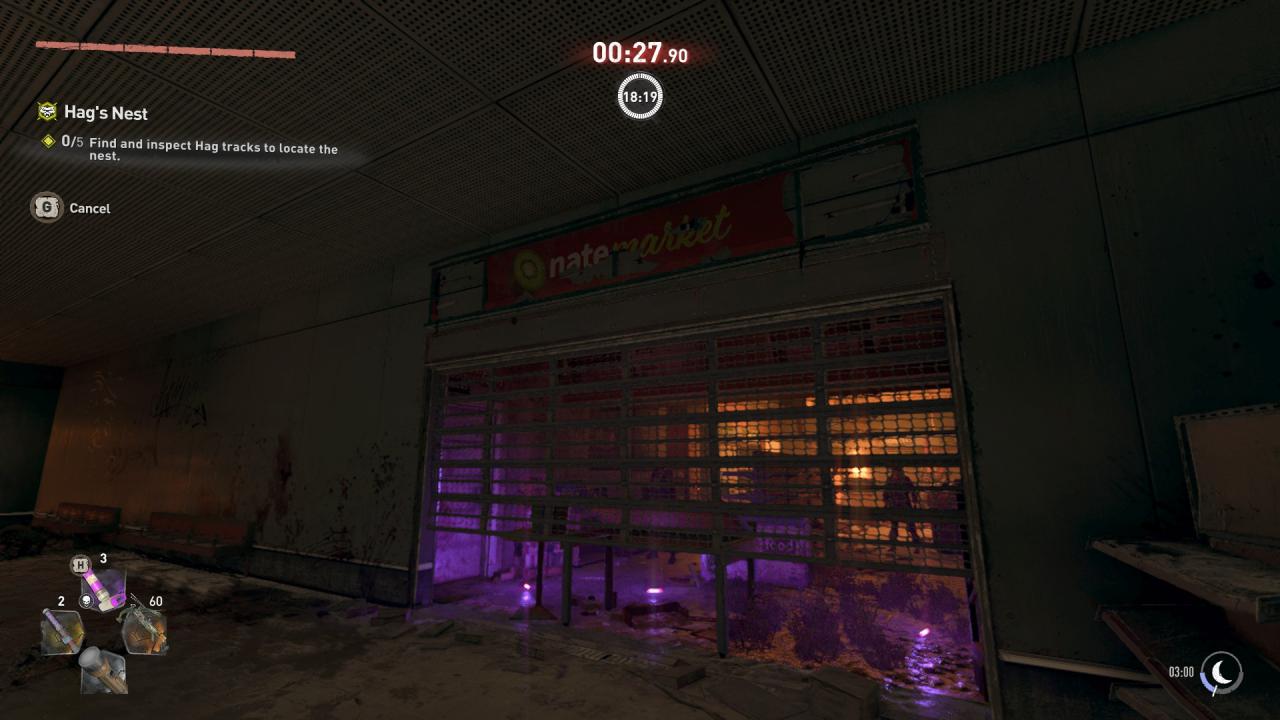 ..
..
Once you have found 1 or 2 you will need to move a wooden board that blocks a vent into the next area.
 Sometimes a group of renegades will spawn on the other side of the vent in a corridor. This is also another Hag track location, basically where there are Renegades, there is a Hag track. Use survivor sense to find it!

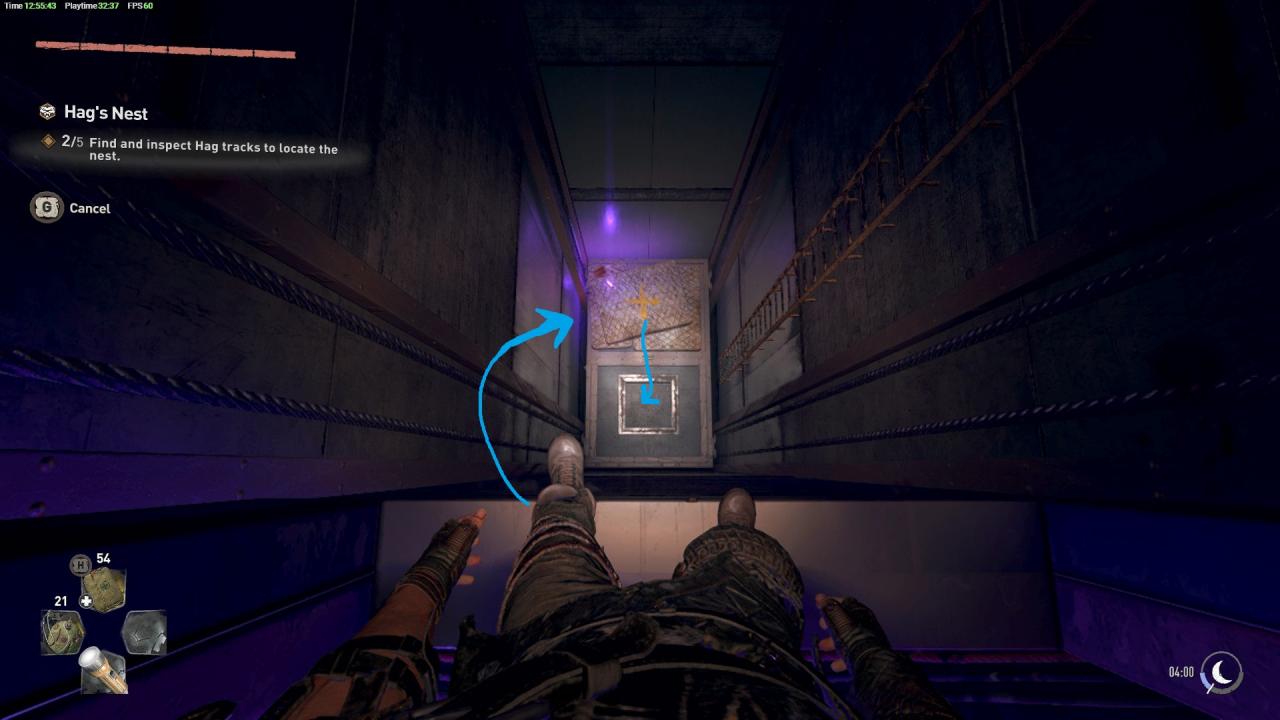
Once you have dealt with them (If they spawned for you), you will need to look for a winding yellow power cable.
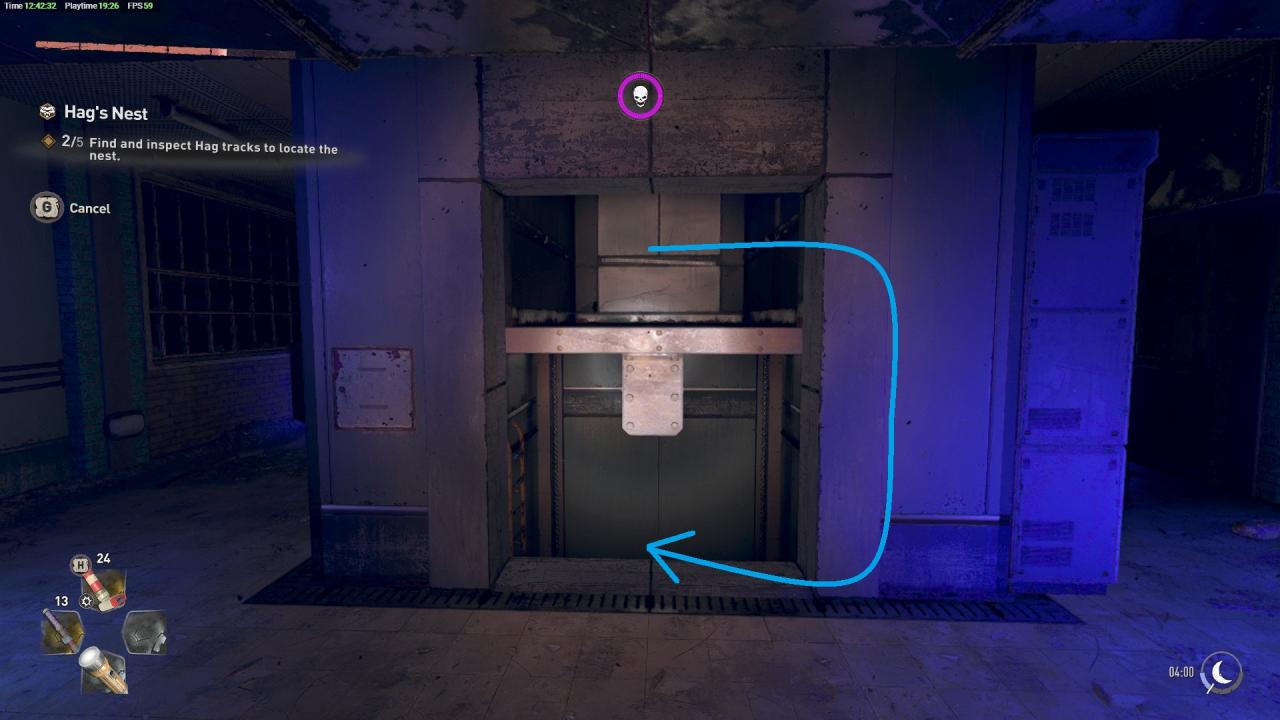
Follow this forward and around the left corner to an elevator shaft entrance
(I lit it up with UV Bars)
(Elevator Entrance)
Descend down the elevator shaft safely
Once you get to the very bottom, there will be a LOT of infected on the ground floor.
You will need to get up onto a container or elevated walkway asap. Howlers may spot you if you stay on the ground for too long. A few Spitters spawn on the elevated walkways but shouldnt pose too much of a threat. They are isolated and fairly easy to spot.
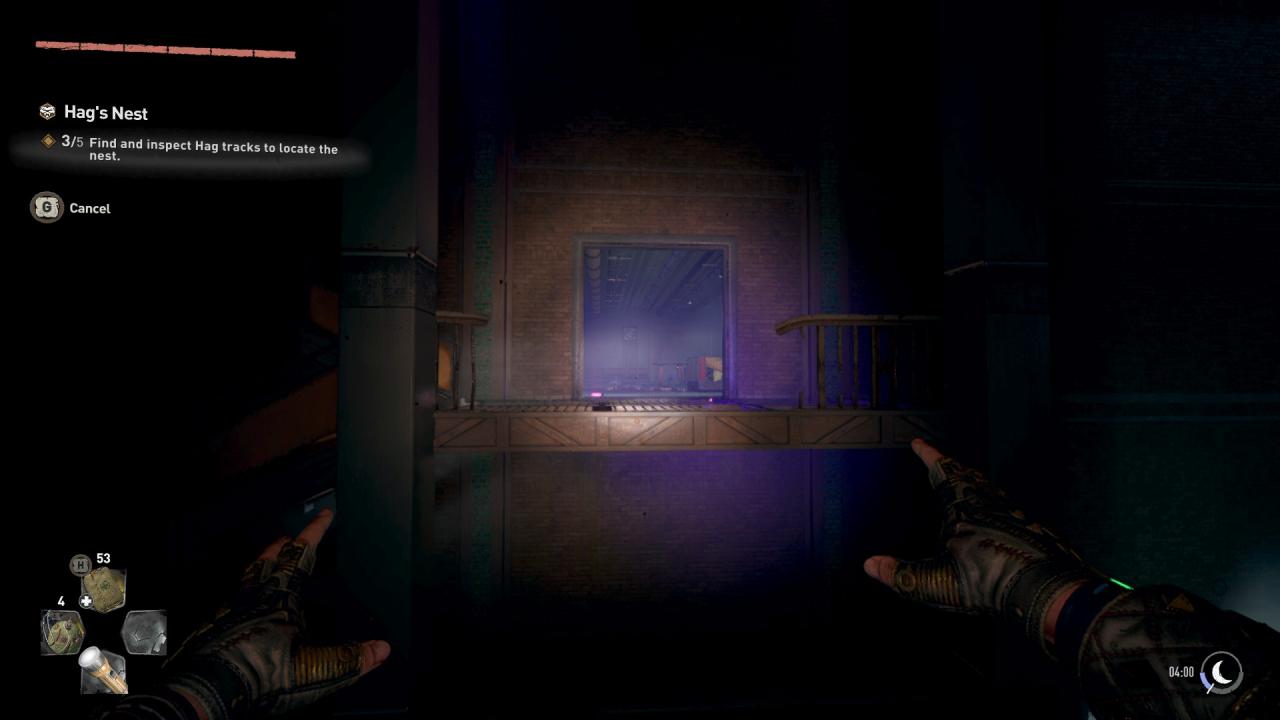
Keep searching for UV lit entrances. Almost NONE of these rooms are on ground level, so you can safely stay away from enemies down below. There is no point fighting them apart from completing Bounties as you cant loot them for valuables/ Money.
Here are some more examples of what to look for when in the second, larger area of the mission.
 ..
..
.
After you have found all the rooms with renegades and accompanying Hag Tacks, a teleport to a new area will open up. The teleport is located in the front right corner when facing the room from where you entered.
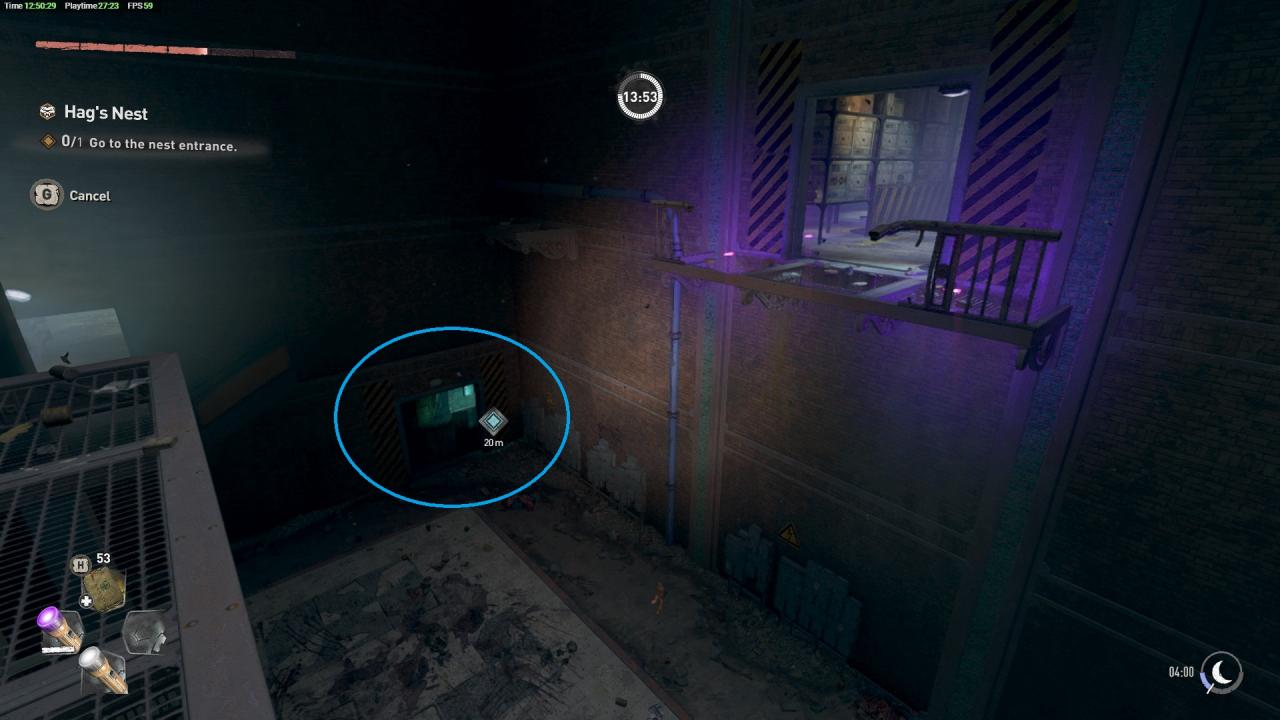 You will also have a marker on your HUD to help you locate it.
After teleporting, you will be brought to a Large open arena like area.
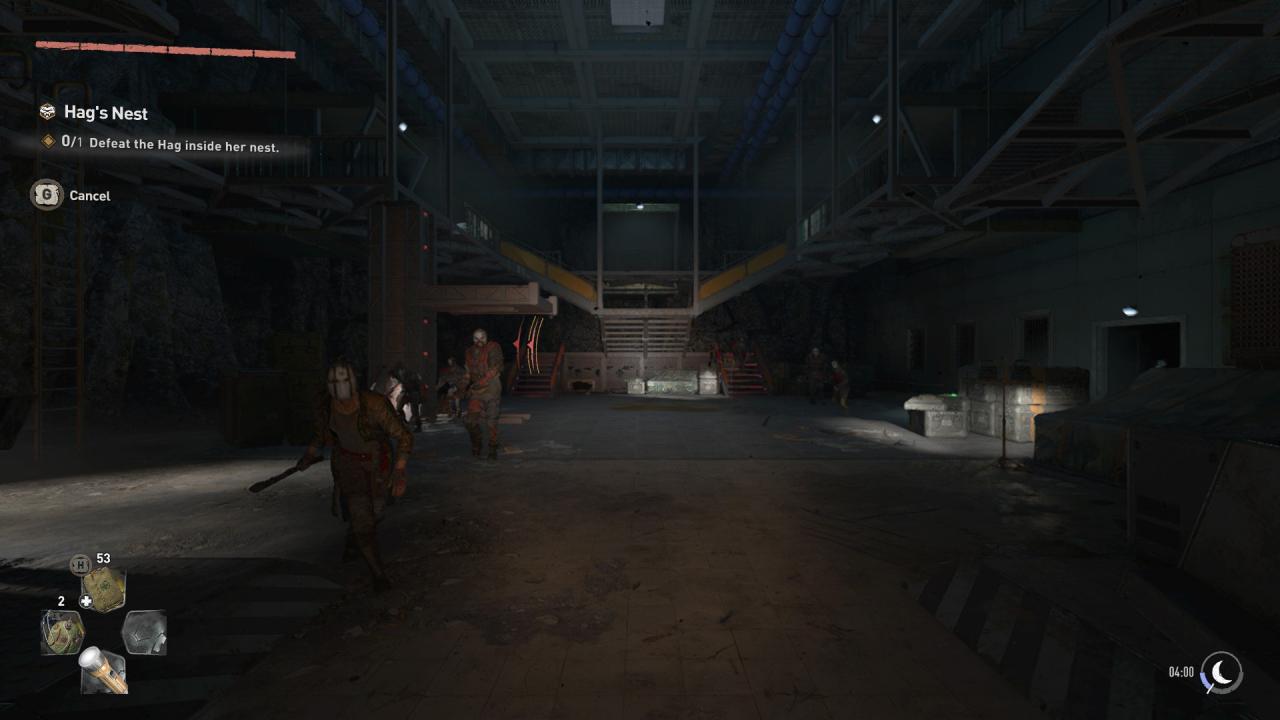 There will be many renegades here and the boss herself. Unfortuntely isolating the Hag is very challenging and killing all the Renegades only spawns more of them AND Virals. So its best to focus on the Hag as quickly as possible to avoid too many enemies crowing you.
The best tactics I have found for taking down the Hag include spamming your Crossbow, Using the Ballista Bow, Maxed out grenades, Maxed out C4, Spears (You can find at least 5 in the final area) and Vault kicking her.
It isnt an easy fight for early to mid game players so I wouldnt recommend doing this mission untill you have access to at least one ranged weapon OR playing this mission in Cooperative.
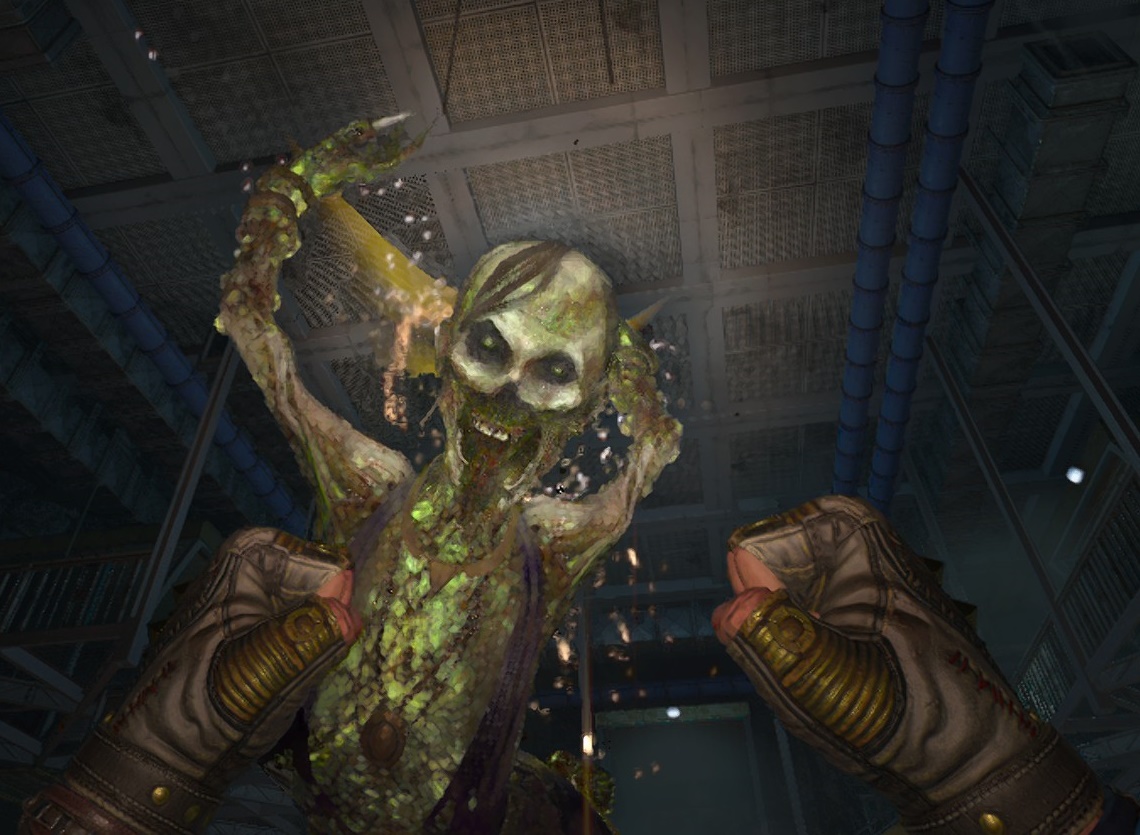 EEK!
EEK!
1 x Valuables Pack worth $4160
30 x Hunter’s Bolts
15 x Ballista Arrows
600 x Mutation Samples
Elite Mission
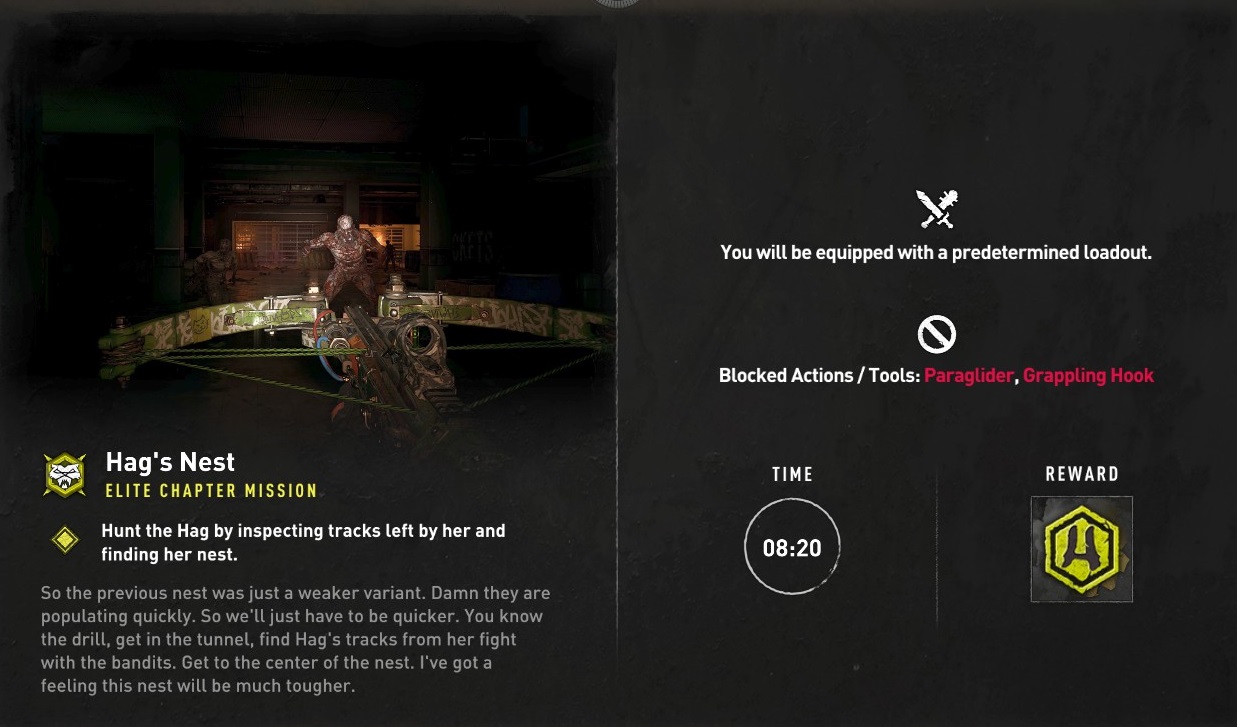 This mission is very similar to the regular mission (Unfortunately).
However there are some important changes, these are:
- You have a set loadout this time. It includes the following:
Weapons:
Skull Cracker 1 Handed Blunt Baton
Hunter’s Crossbow with 50 Bolts
Items:
2 UV Bars
2 Electric Mines
10 Gulden Coins (Stealth item)
Health/ Boosters:
3 Immunity Boosters
2 Muscle Boosters (Increases your damage output)
2 Health Regeneration Boosters (Passively Regains your health)
3 Military Medkits - The mission now has a timer. You have 8 Minutes and 20 Seconds to complete it!
Enemies locations and types have changed, you will encounter much tougher infected throughout the mission. Renegade placement and type will remain the same, however I have noticed an increase in the number of plaguebearers that spawn. -
Reward:
The reward is now 1 x Hunter’s Token. (This is used as currency in Shen Xiu’s Vendor Inventory along with Mutagen Samples)
Thats pretty much it. It seems like the Elite mission for both Harper and Shen Xiu is just a more difficult reskin of the regular mission. Its a bit disappointing in my opinion.
The End
- This may seem obvious but DO NOT GO into a dead plaguebearer’s toxic cloud, it drains your immunity insanely quickly.
- Playing these missions in Coop and splitting up with one player doing the Hag tracks in the first area and another in the bottom area is a very quick way to complete this mission and farm Tokens.
- In the bottom Area, you can bait out renegades onto the platforms and simply grapple them off the edge for a free kill, safe from their toxic clouds.
- When playing the elite mission, save your health regen and Muscle boosters until the final area, having the extra damage output makes the fight against the Hag a lot faster!
- Keep in mind that the locations of the “UV Rooms” are randomised upon starting both missions. But you should still keep note of their spawns when playing as the chances are you will have that location several times.
There seem to be around 4 possible locations in the first area of the mission (Prior to going down the elevator shaft)
and 6 possible locations In the large area once you have descended down the elevator shaft.
There could be more but those are all the ones I have counted so far.
By Jäger
More Guides:
- Dying Light 2: Money & Weapon Quick Guide
- Dying Light 2: How to Get Legendary Weapons (400+ dmg on lvl9)
- Dying Light 2: All Inhibitors Locations
- Dying Light 2: Quest Tree
- Dying Light 2: How To Get Infinite Weapon Durability