This is a guide for obtaining all 11 “Driver” achievements. Complete with images.
Introduction
The first section provides images and observations for each of the 11 cities the first time that the “Driver” achievement was obtained. The second section distills these observations into a set of strategies and tactics for framing your motorway placement decisions. The guide concludes with some remarks on useful resources if you would like to learn more.
City Images and Observations
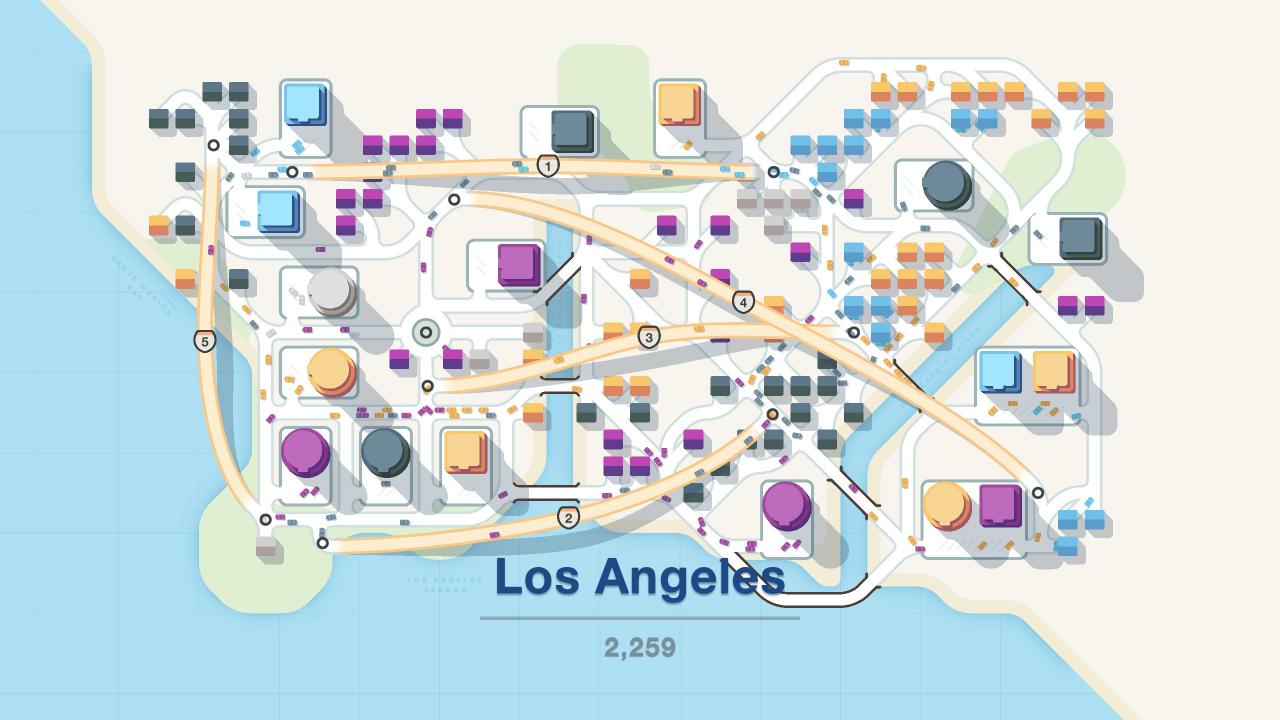
Upon re-assessment, not the best of layouts. Roads are numerous and bridges well-distributed but cars tended to prefer highways. Most highways are multi-use – especially highway 1 and 3 – which allow multiple car types to leverage the asset.
Beijing
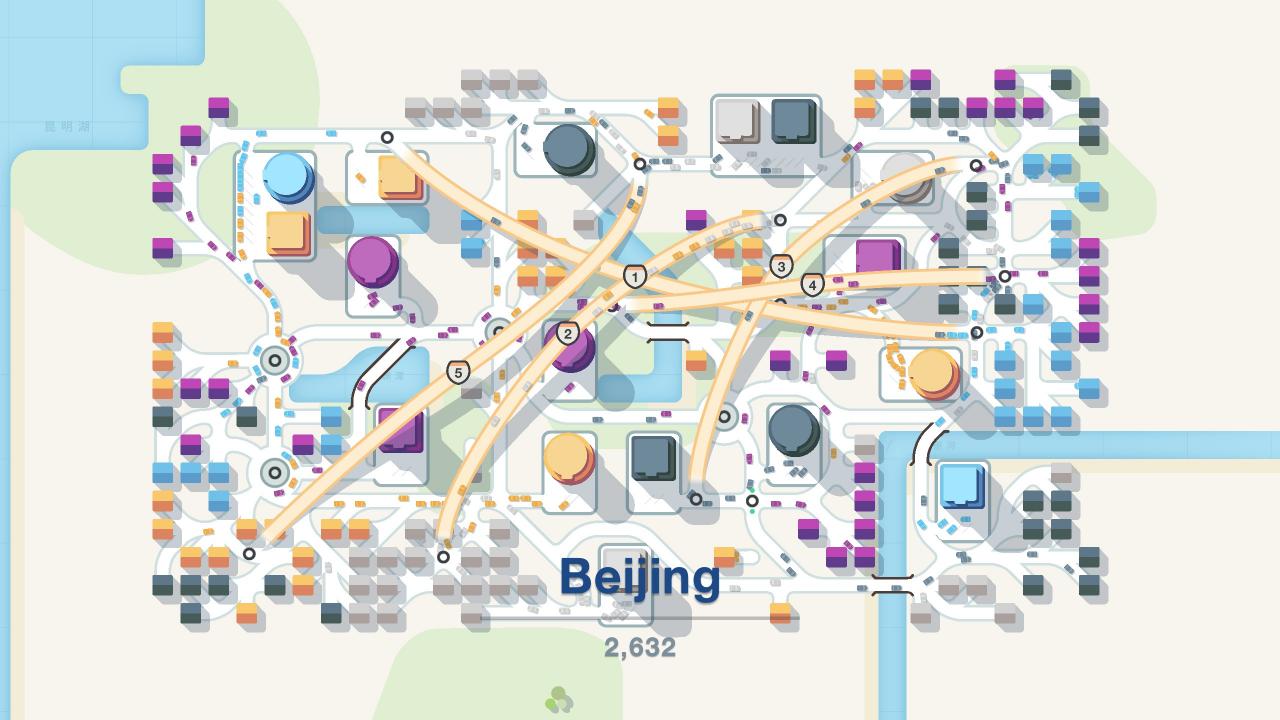
Notice that significant effort is made to get cars from the upper-right and lower-left neighborhoods out to appropriate parts of the city. Neighborhoods have multiple exit routes and embedded highways contribute to ease of access.
Tokyo
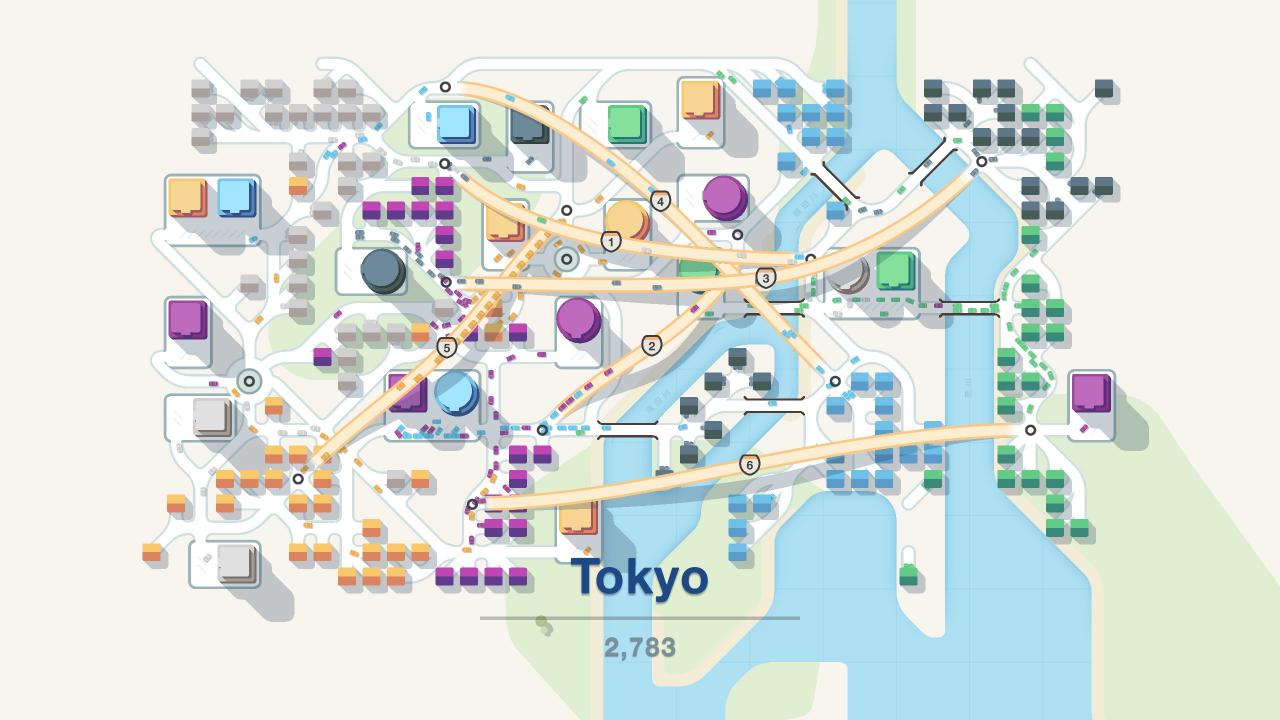
Most highway placements are quite effective, but it’s apparent 3 and 2 could be adjusted just a few tiles to reduce the burden of congestion. Circle destinations are easily accessed by their respective car types. The left-most side of the city is composed of square destinations so relying solely on normal roads and a roundabout is sensible.
Dar es Salaam
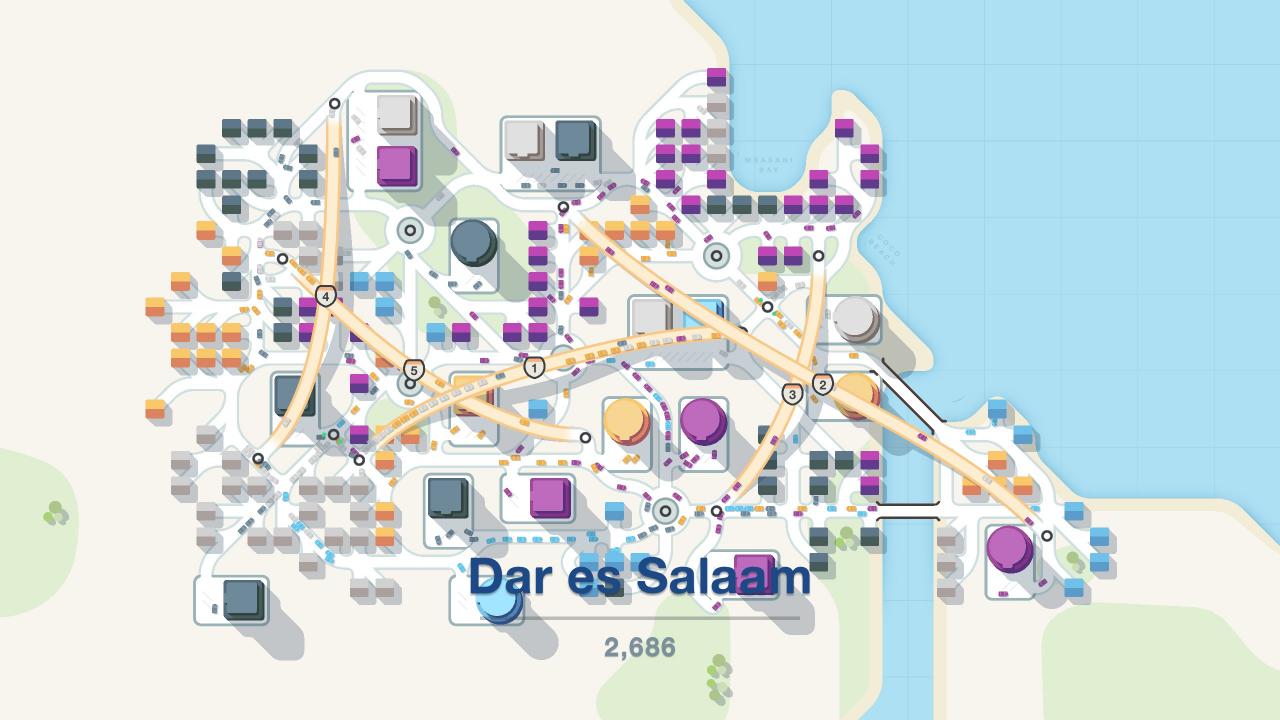
The middle two roundabouts are strained under heavy traffic. Most roads and highways offer quick ingress to their destinations but egress back to neighborhoods is difficult. A few roads should be added for shortcuts and highway 1 should clearly be relocated deeper into the neighborhood to reduce congestion.
Moscow
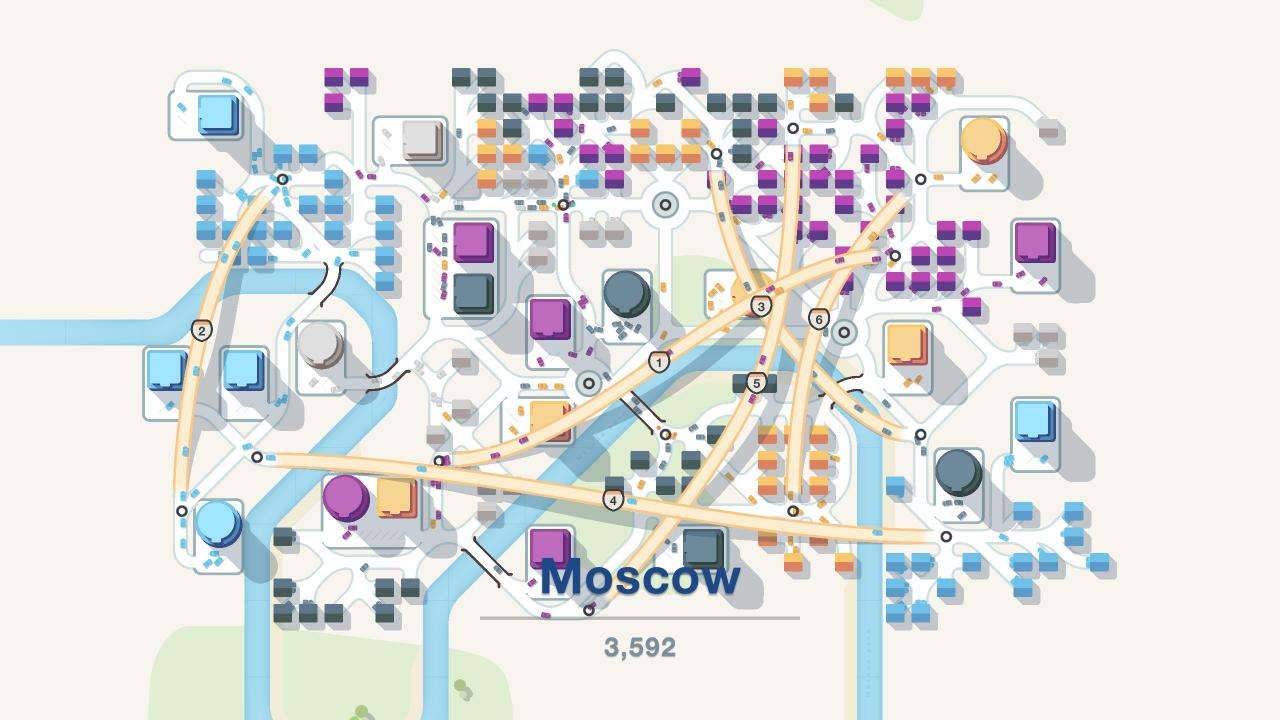
Moscow represents my personal high-score. Blue car types are extraordinarily well-served and almost completely segregated. All circle destinations are accessible and a couple traffic lights are introduced to boost efficiency of key intersections. Again, notice that highways are embedded deep into neighborhoods to influence the balance of transit between roads and highways.
Munich
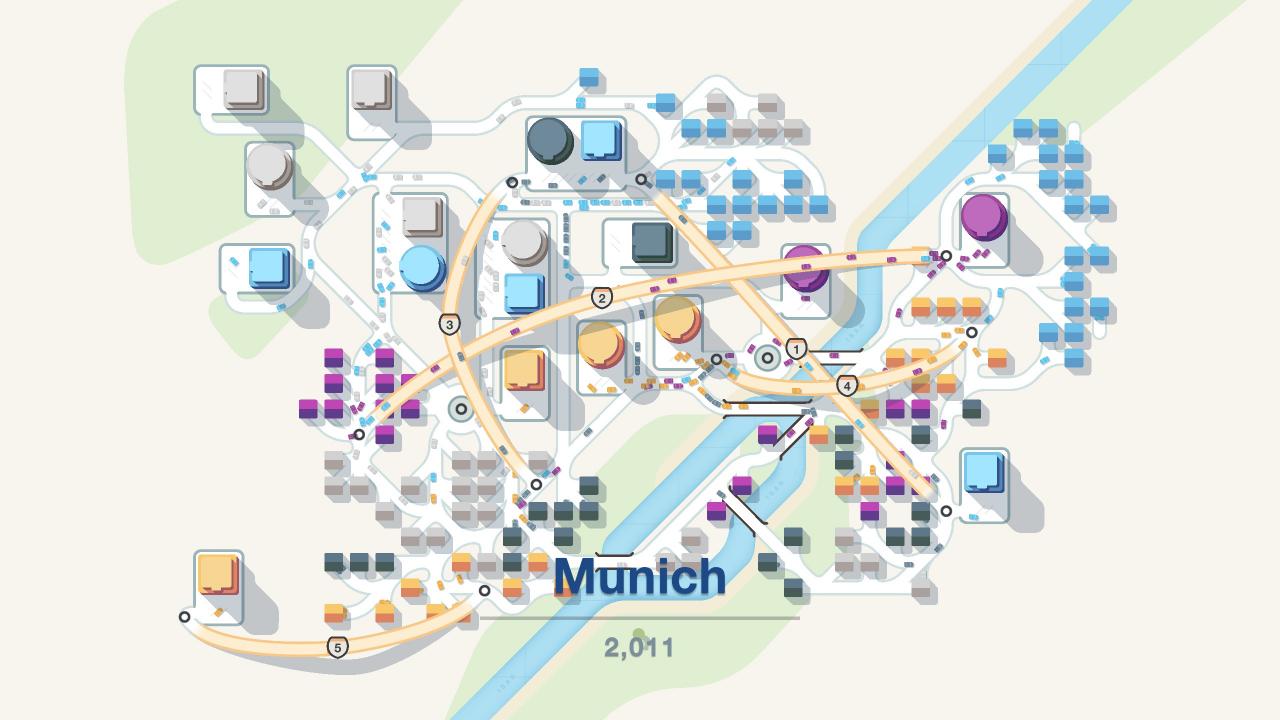
Munich was the most difficult city to achieve 2,000 trips… evident by the lowest global achievement rate of 4% as well. Maybe RNG runs wilder with a one river being the sole limiting factor. The upper-left and center areas of the city provide good examples of main thoroughfares with destinations branching off of them. Otherwise, I will admit this city was hectic.
Zurich

Bridges, tunnels, and highways offer many options to travel between the left and right sides of the city. Highway 3 and 2 are excellent examples of multi-use assets that several car types can utilize. The right-side tunnel required a significant number of tiles but strategically enables the transit of green and purple car types.
Manila
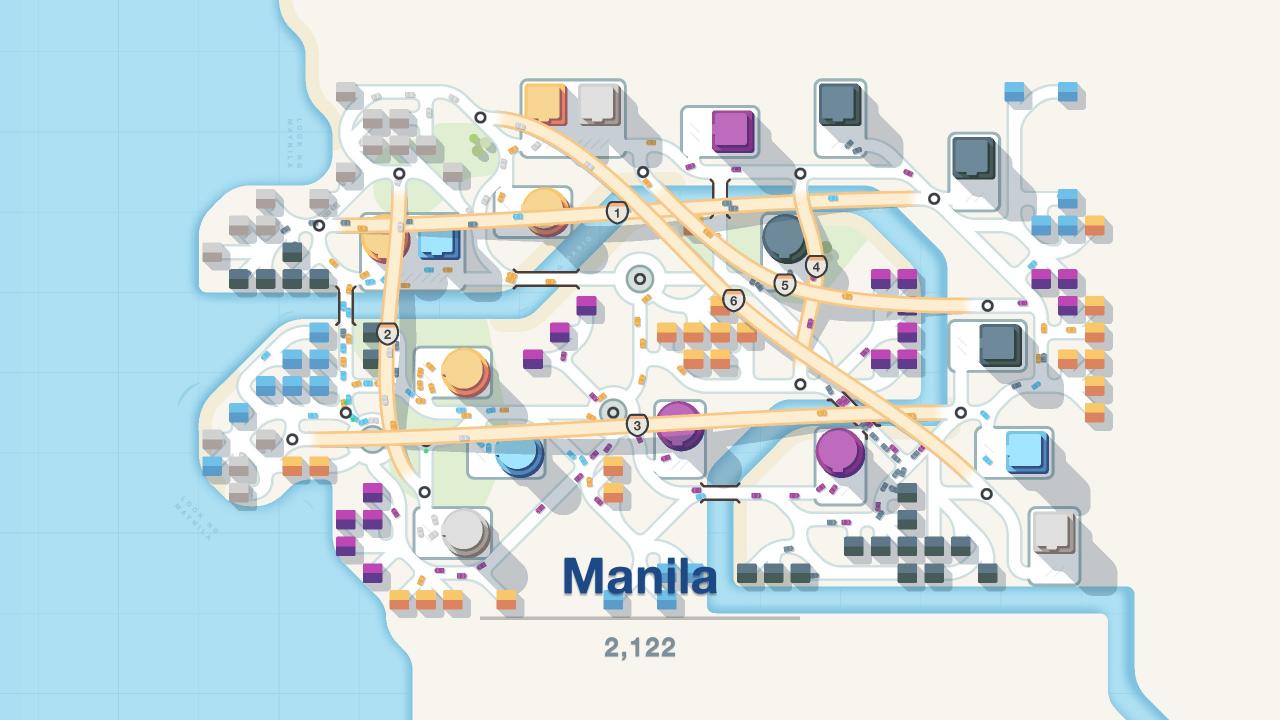
Manila represents the first city for which I achieved 2,000 trips. Clearly there are extraneous roads and highway 4 would be better utilized connecting the local purple neighborhood to the two circle destinations at the bottom of the city – reducing congestion as well. Though, the two central roundabouts streamline some transit and highway 3 exemplifies a multi-use asset that green, blue, and yellow car types can leverage.
Rio de Janeiro
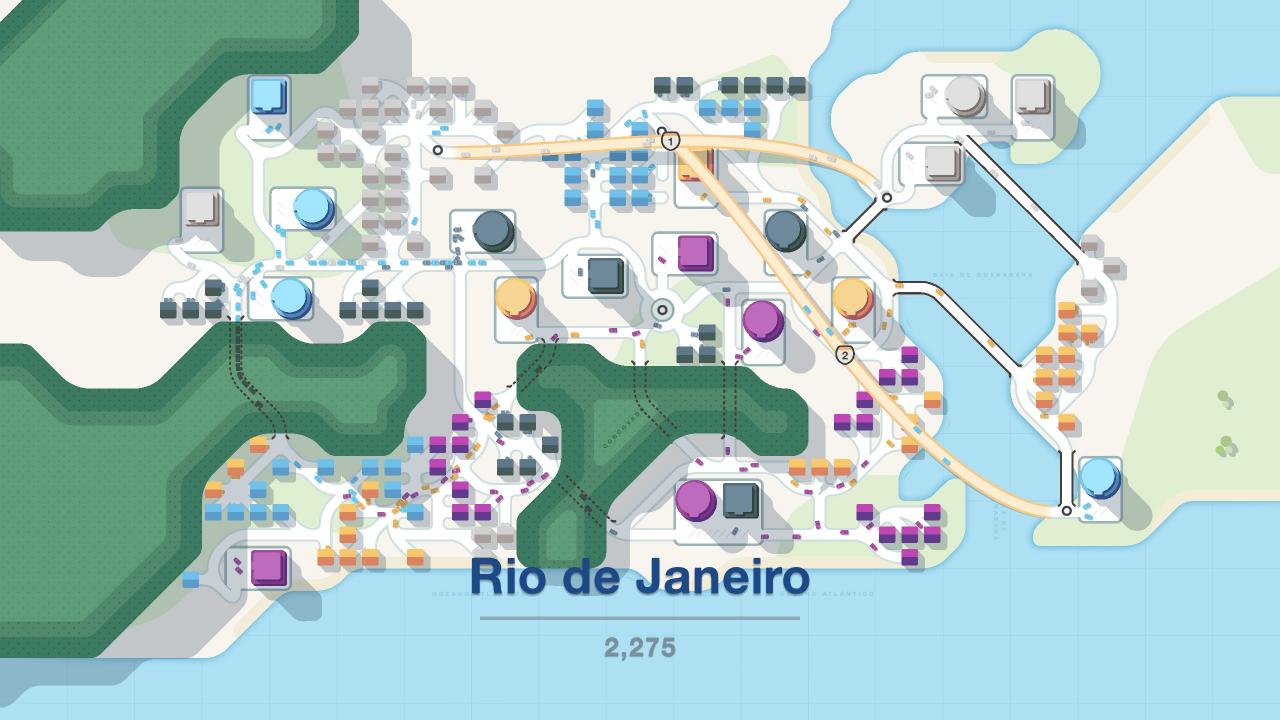
Rio represents the best possible outcome with limited highways. Blue, purple, and green destinations are well-served through a range of tunnel, bridge, and highway assets. The lower-right circle destination is very unfortunate RNG and required a valuable highway.
Dubai
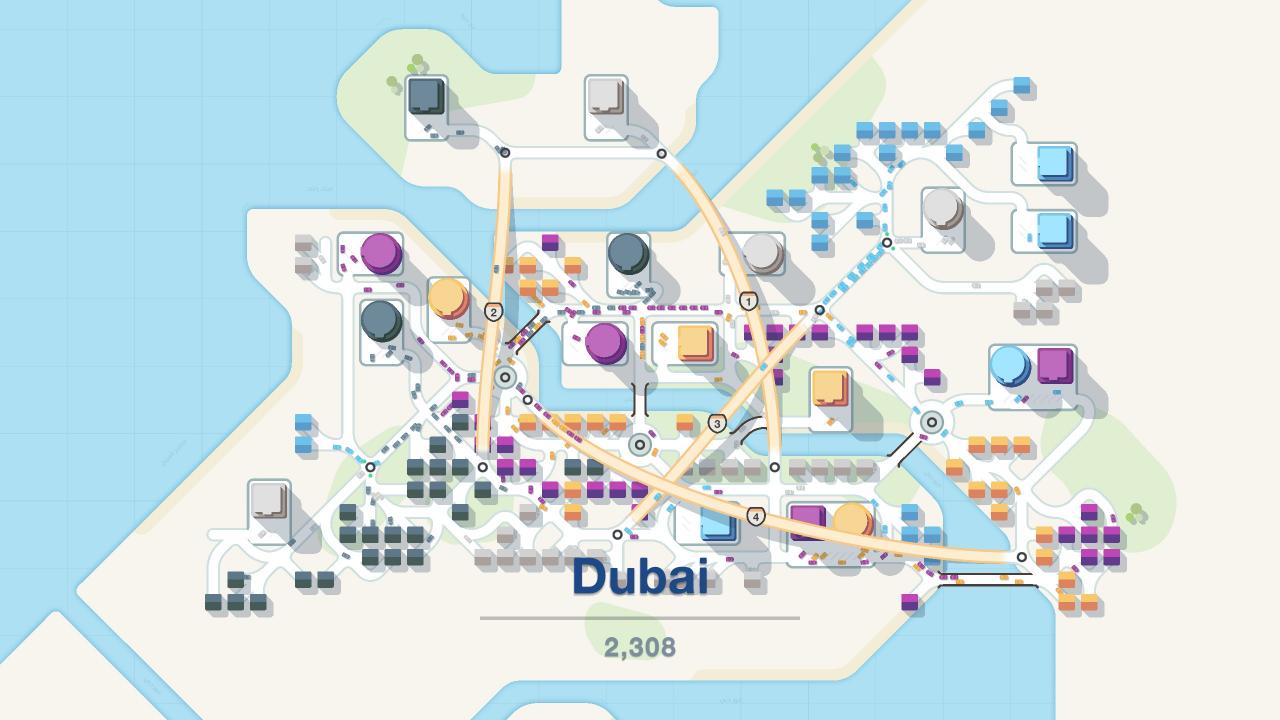
Unfortunately, the island destinations at the top of the city necessitate two highways (likely one with revised placement). The circle destinations and roundabout in the city’s center-left are experiencing significant congestion. Highway routes that enable egress from this critical area should be considered. Bridges are well-distributed, and the lower-left quadrant of the city exemplifies a main thoroughfare which several cul-de-sacs and neighborhoods have access to.
Mexico City
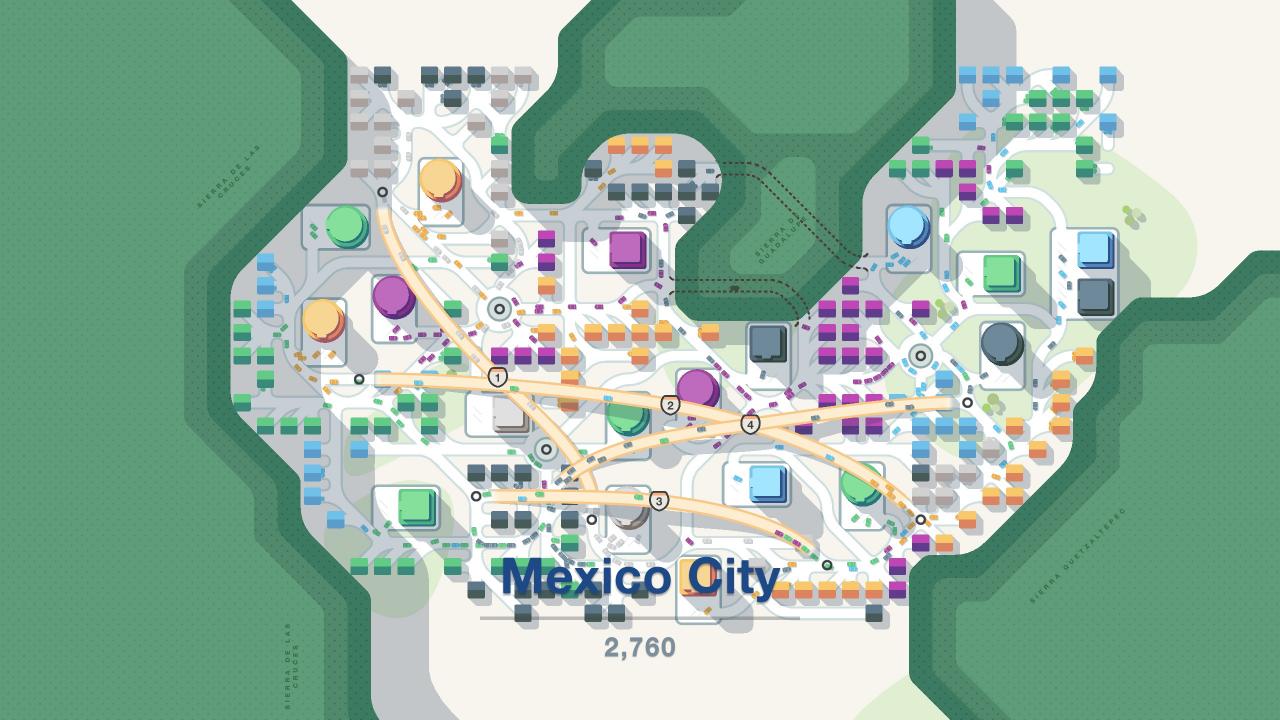
This city is brimming with activity… and surprisingly, a few trees are still standing. Most highways are multi-use but could benefit from being shifted by a few tiles to facilitate transit flow. Another beneficial action might be to attempt segregating a few neighborhood-destination pairs. The wide accessibility of the city may actually be an impediment for transit.
Motorway Guidance
- Influence neighborhood growth. Use excess tiles to expand beyond what is currently required. Houses of the same color will often spawn in the same local area so you can influence the long-term structure of the neighborhood.
- Establish main thoroughfares. Construct main roads with few house connections to minimize travel times between key regions of the city. Less intersections equates to less braking. This is easier said than done as the emergent behavior of the city can dictate subsequent alterations.
- Compartmentalize related neighborhoods and destinations. Keep related neighborhoods and destinations segregated for as long as possible to minimize congestion. This can be asset expensive though, so weigh such actions against what most benefits the city. In reality, minimal overlap of car types is a worthwhile goal.
Tactics: Dynamic concepts to employ while constructing motorways, observing transit flows, and reacting to house/ destinations spawns.
- Use diagonals. Diagonal roads yield more distance per tile asset than simple grid-style placement. Among other use cases, diagonals are useful in connection remote spawns, minor cul-de-sacs, and creating quick shortcuts for specific car types.
- Declutter intersections. Theoretically an intersection can arise from the product of eight distinct roadways. This is not efficient, rather, it will likely emerge as a congestion point. Try to merge roadways as much as possible to keep intersections <=4 distinct roadways.
- Adjust driveways. Minor adjustments to driveways can add up over time. This can take the form of utilizing diagonals, maximizing right-hand turns, and changing orientation toward a local target destination.
- Rethink roads. Often it’s valuable to entirely rethink roadways that were constructed in the early-game but are losing utility as the city emerges. Seek to merge, alter, or eliminate roads that no long provide significant transit benefits.
- Leverage highways. Place highways to maximize multi-use efficiency. Clearly this is not always possible, but in conjunction with optimal right-hand turns, highways can facilitate massive efficiency increases between neighborhood-destination pairs.
- Integrate through roundabouts. Integrate odd convergences of roadways and non-highway transit paths through placement of roundabouts. Roundabouts can facilitate expedient movement through such intersections when the transit demand is low to moderate.
- Boost efficiency with stoplights. Consider stoplights an end-game asset to boost the efficiency of busy intersections. Such intersections may include neighborhood egress points, main thoroughfare crossings, and double-destination ingress/ egress points.
By Sardaukar4
More Guides:
- Mini Motorways: Beginners’ Guide (Game Mechanics)
- Mini Motorways: How to Completely Break High Road Count Challenges