The goal of this guide is to explain what all the Junction Conditions are and what they meant.
Introduction
I’m still in the process of slowly figuring out what they do, so bare with me on that.
The ever-changing conditions in the Zone can dramatically alter both the environment and the many things you may encounter out there. Be sure to plan ahead.
Anchor Obfuscation
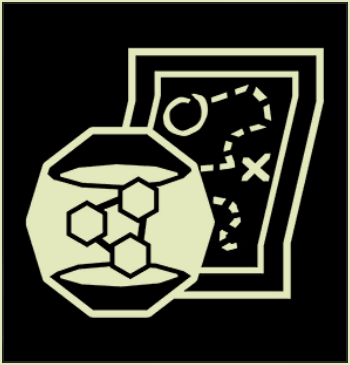
Increased magnetic interference means that Anchor signatures in this part of the Zone are indistinct. It will be harder to precisely locate them.
Angry Abductors
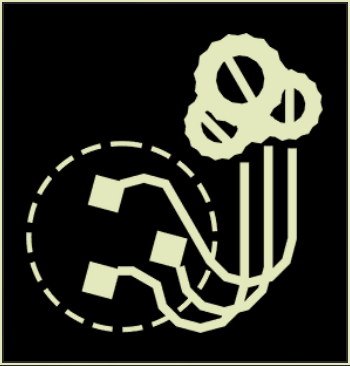
The Abductors in this part of the Zone are particularly aggressive, and much more active in their pursuit.
Anomalous Clouds

Unpredictable weather patterns in this part of the Zone means more cloud-related hazards will manifest at ground level.
Curious Fragility
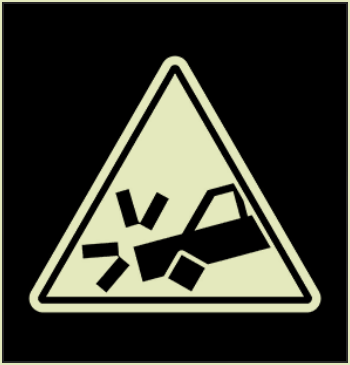
The Remnant seems to become more brittle in this part of the Zone, meaning that collisions suffered will cause much more damage.
Disruptive Discharge

The electrical discharges detected in this part of the Zone can damage and disrupt batteries, draining your power reserves.
Heavy Fog

The thick, low-lying fog in this part of the Zone never seems to lift.
Malfunctioning Mess

High levels of magnetic interference, combined with broad spectrum atmospheric Anomalies, mean that things are constantly going haywire in this part of the Zone.
Perpetual Stability

The Instability Storm will not be chasing you here unless summoned.
Something’s Moving…

This part of the Zone definitely seems to have something creeping out there amongst the trees…
There will be a lot of Tourists appearing more frequently within wooded areas.
Spark Surge
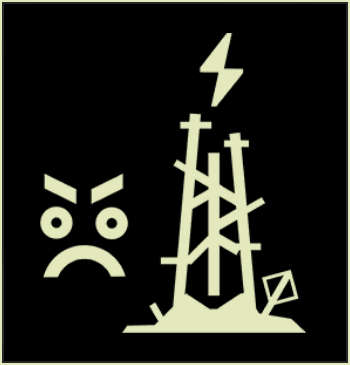
Spark Towers in this part of the Zone are overcharged, making them even more dangerous.
Swift Storm

Storm activity in this part of the Zone is remarkably rapid. After it manifests it will close in much faster than usual.
The Warrens

Bunny Anomalies run rampant in this part of the Zone.
Underground Mischief

Certain burrowing Anomalies are even more aggressive in this part of the Zone.
Violent Voltage
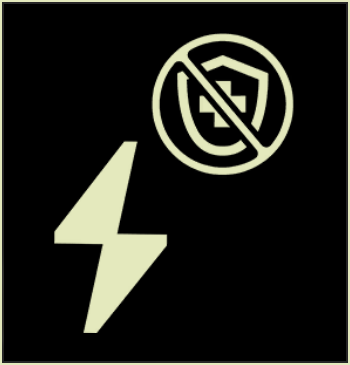
The electrical discharges detected in this part of the Zone are at a much higher voltage, which means they will arc past car defenses with ease.
More Guides:
- Pacific Drive: Achievement Guide 100%
- Pacific Drive: Pro Tips for the New Driver
- Pacific Drive: Harvesting and Materials Guide
- Pacific Drive: Hidden Endgame Reward
