This guide aims to provide some info and tips that I feel are not too-too obvious.
Will be updating (and adding photos to) this guide as I play more, and feel free to comment more advice or to correct errors!
While in the Garage
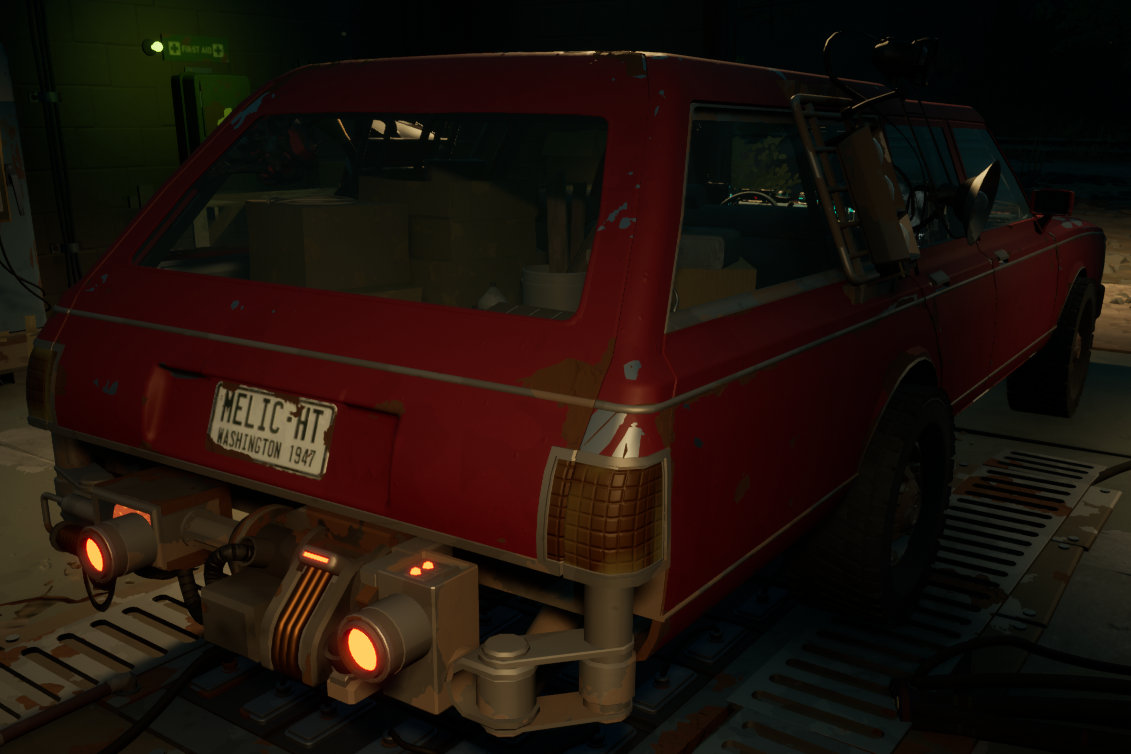
If the car is severely damaged when you return from a drive, make sure to open the friendly dumpster before repairing it yourself if you already have the resources to do so — the dumpster will provide more stuff (including whole panels) than if you repaired the car first.
The wreck outside the garage respawns with new parts every time you get back from a drive, including the computer & radio on the shelf right beside it. Free scrap!
In the early game when still using crude parts, it is much more economical to scrap crude parts and make new ones, rather than waste Repair Putty on them — since to make putty, you need Chemicals, which are a lot rarer than other materials.
It is not shown on the HUD, but you can press (default: Y) to sort containers.
You can use fuel pumps on spare gas cans if you drop the can on the ground — it’s not just limited to siphoning out of dead cars or fuel barrels.
Along with the engine, remember to turn the headlights off while in the garage! You might go into your next drive with half a tank of gas and a dead battery if you don’t. Unlike modern cars, there’s no useful (annoying) chime to tell you the engine’s off but the lights are on!
Dumpster pearls are “loot chests” — and to open them, throw them into the Matter Deconstructor.
If you’re confused as to why the transfer chest from using Vargas Shop-Vac is empty, your items are in the Shop-Vac chute itself.
Make two saves before heading out to a drive, since going out into the world overwrites your most recent garage save! Loading the first save will send you back to the garage — useful for when you forget to bring a tool, or when you have the wrong car parts.
While Driving
Leaving the car running drains some amount of fuel, but I’ve found that most of the time, going through the motions of turning the ignition and then getting into drive does NOT make up for the negligible savings if you decide to turn off the car every time you get out of it.
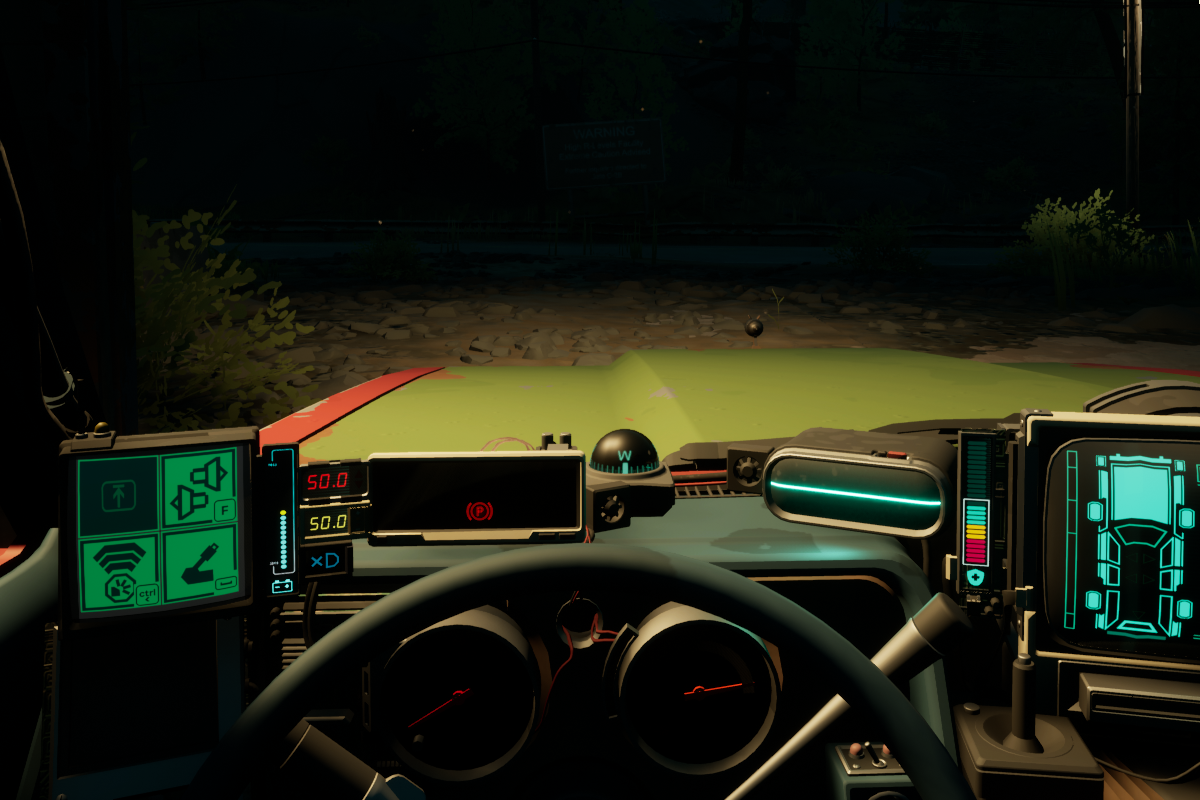
It’s not as bright as the headlights & floodlights, but the dome light (inside the car, on the ceiling) can be used to visually indicate the car during nighttime/low visibility scenarios when you want to conserve battery power as much as possible.
Be prepared to deal with anomalies whenever you take an anchor from it’s pedestal. This happens less severely in the early game, but basically a sh#tstorm will happen every time in the later stages.
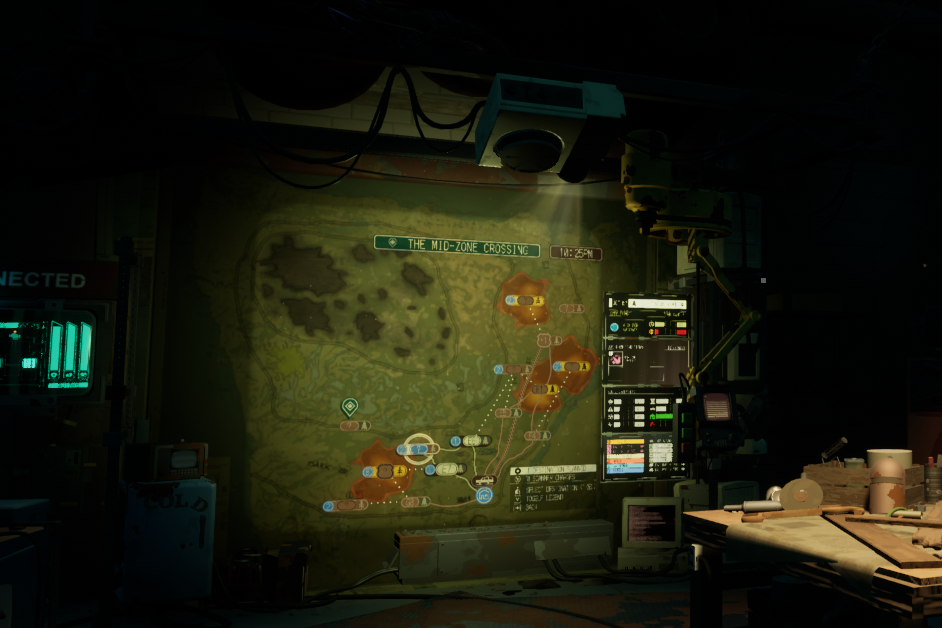
The amount of “energy” you get from an anchor is shown by how big it appears on the map. If you already have enough energy to go home, small anchors are very much not worth your time IF they are hard to reach, or surrounded by anomalies.
I’m sure this is quite clear to even new players, but you should always try to open the gateway (the yellow pillar of light) that is closest to you. This way, you’ll be way “ahead” of the Fortnite death circle that comes afterwards. Do remember though that you cannot open a gateway if you’re too close.
While Dealing with Anomalies
Not all anomalies are inherently bad! However, new players might not realize this since the anomaly logs are more lore-related, rather than be actual gameplay information.
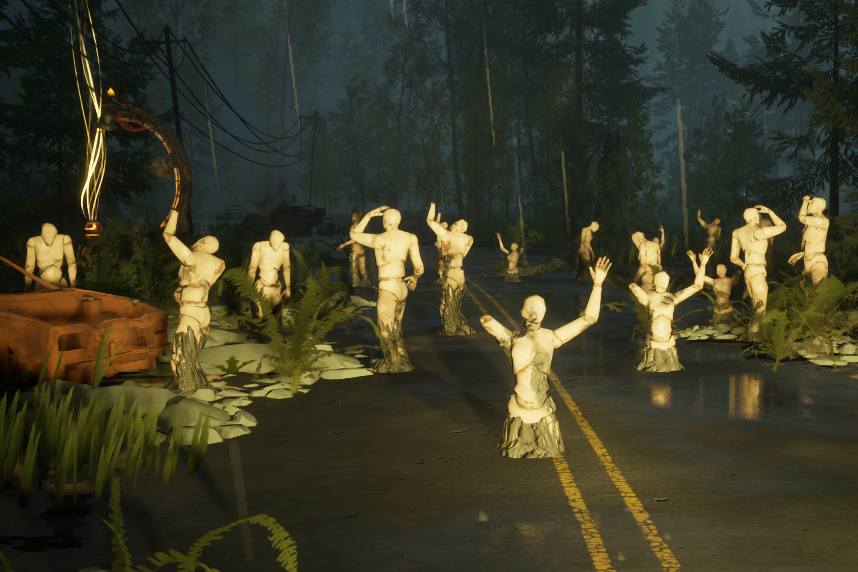
Tourists will try to get as close to you as possible, which is what might cause you to run into them, but they will never touch you by themselves — meaning if you have your back turned towards an “active” Tourist, it will eventually be right behind you, but it won’t touch you.
Throwing anything at Tourists, or just kicking them, will make them blow up. They have a chance of dropping ThermoSap Crystals this way.
Rarely, Tourists can “ambush” you and generously drop a bunch of items for you to take.
Shocked Tourists can move, but their entire group needs to be “out-of-sight” to do so — meaning if you can see at least one member of the group, none of them will move.
Bunnies and Hares can be picked up and thrown to the ground to make them stay still for a couple seconds, giving you some time to shred them with the Scrapper. If they get on your car, they will stick.
Broken Bunnies will mess with your car’s systems like a Left-Right, but not disrupt your steering.
Happy Hares will repair the part it is stuck on.
Hopped Up Hares and Bolt Bunnies are a source of electric charge, if you have a Lightning Rod.
Abductors can be drawn away by thrown flares/objects.
While Modifying the Car
Out of all the upgrades to choose from, I strongly feel that better tires should be prioritized first. You might spend the majority of your time on the paved roads — but when you’re off it, that’s usually when sh#t is hitting the fan.
Make sure all of the tires on your car match, as mismatched tires will cause the car to handle unpredictably on slippery or steep surfaces. If you carry an extra tire, then it should match the tires mounted on your car as well.
Building a side rack and side storage as soon as possible is something to consider, as you can keep your repair items and first aid in there for quicker access while leaving the main rear storage free for more materials.
More Guides:
- Pacific Drive: Achievement Guide 100%
- Pacific Drive: Hidden Endgame Reward
- Pacific Drive: Junction Conditions Guide
- Pacific Drive: Harvesting and Materials Guide