Introduction
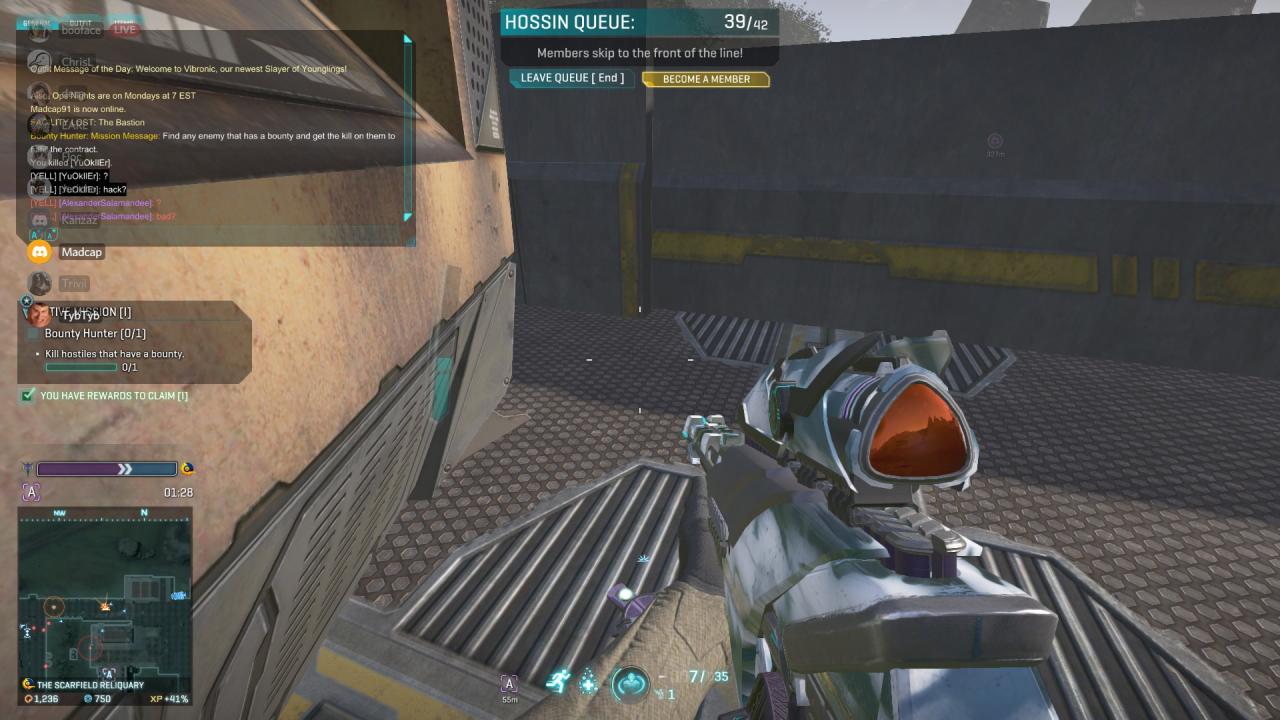
Bounty Hunter
- Kill an enemy who has a bounty placed on them
This is by far, the easiest mission to complete as you only need one kill. This mission can be completed in a variety of ways so I recommend going to a medium to large sized battle and just use whatever play-style you are good in. If you are not particularly skilled at infantry play, vehicles can make this mission a breeze as one lucky tank shot against an infantry bounty target will complete the mission.
Alternatively, you may target enemy vehicles with bounties on them. Vehicle players by nature stay alive longer and accumulate more score so they’re more likely to have bounties on them. For example, when an enemy zerg comes through a base, HESH tanks will often find places to camp to shell the infantry defenders in the base, likely earning them a bounty. If you have a good anti-armour setup for your vehicle, you can easily smash enemy vehicles that have geared themselves towards infantry farming.
Damage Control
- Kill 10 enemies as an Engineer
- Earn 30 repair experience
- Earn 30 resupply
To my knowledge, the Engineer mission is the only one where kills count towards the mission while in a vehicle. Going on a vehicle run will probably get you the kills and the repair experience in one go if you are seeing frequent combat and taking damage.
The resupply aspect is slightly harder, though an upgraded ammo pack will help with this as you can have two active packs at once. Try deploying to a fight where your friendlies are trapped in the spawn room, shooting out through the one-way shields. Lots of them will be burning through ammo while standing in the same spot. This is a prime location for your ammo packs which get a lot of xp ticks here. Any large meatgrinder fight will also work well. Simply find a big cluster of friendlies and start dropping ammo packs.
Gaining Ground
- Capture 3 bases
- Earn 35 Capture Contribution Experience
This is probably the hardest of the common missions and I normally skip this one. Capturing 3 bases is not difficult as all you have to do is be in the region when your faction captures a territory. Earning objective captures experience is quite a bit harder. You only get a few ticks of xp from capturing an objective which means you will have to rinse and repeat, over and over.
One way to complete this task is to get the 3 base captures out of the way first. Then, try attacking a large, defensible base like Howling Pass Checkpoint. The defenders will constantly undo your captures allowing you to run around and capture the other objectives and eventually recapture the ones they have taken. It is slow going but this is the best way I have found.
Guerrilla Warfare
- Kill 15 enemies as a Light Assault
- Deal 2000 damage while airborne
- Travel 1500 meters on foot
Killing enemies and travelling on foot are simple and self explanatory. The part that may feel awkward is dealing damage while airborne. First off, make sure to use a carbine to make this easier. Carbines maintain high hipfire accuracy (especially with a laser sight) while jetpacking unlike other weapon options for Light Assault. Surprise opponents by jetpacking over obstacles while hipfiring. You’ll have to do this regularly but it will gradually progress the mission. This strategy works best with either skirmisher or drifter jets as these have the longest flight time.
 There are some cheesy ways to progress the airborne damage aspect I should mention. Using explosives that detonate while you are airborne are a great way to finish this mission fast. Throw a frag grenade into a room full of enemies and then make sure to hold the space bar right before the explosion to get several hundred points of damage. C4 also works well for this strategy.
Mining for Elysium
- Harvest resources when an Elysium Drill is active
This mission can go in either direction in terms of difficulty, depending on where the ever fickle drill decides to land. I’d recommend just playing the game normally until you get a notification of a new drill being launched. Check your map for the drill location; if it is deployed in enemy territory, don’t bother. The enemies will reach it before you and will probably have Sunderers and force multipliers while you likely will not. Wait for the drill to deploy in your territory and when it does, grab a Sunderer (preferably with AA capability) and head over to the drill location. All you have to do is stand there while the drill harvests.
 While harvesting, be on the lookout for enemy aircraft, as occasionally an enemy with the same mission active will fly to your territory to try to complete the mission. As you probably know, their presence will interrupt the drill harvesting. Kill them quickly so the drill can continue the harvest and you can complete this tedious mission.
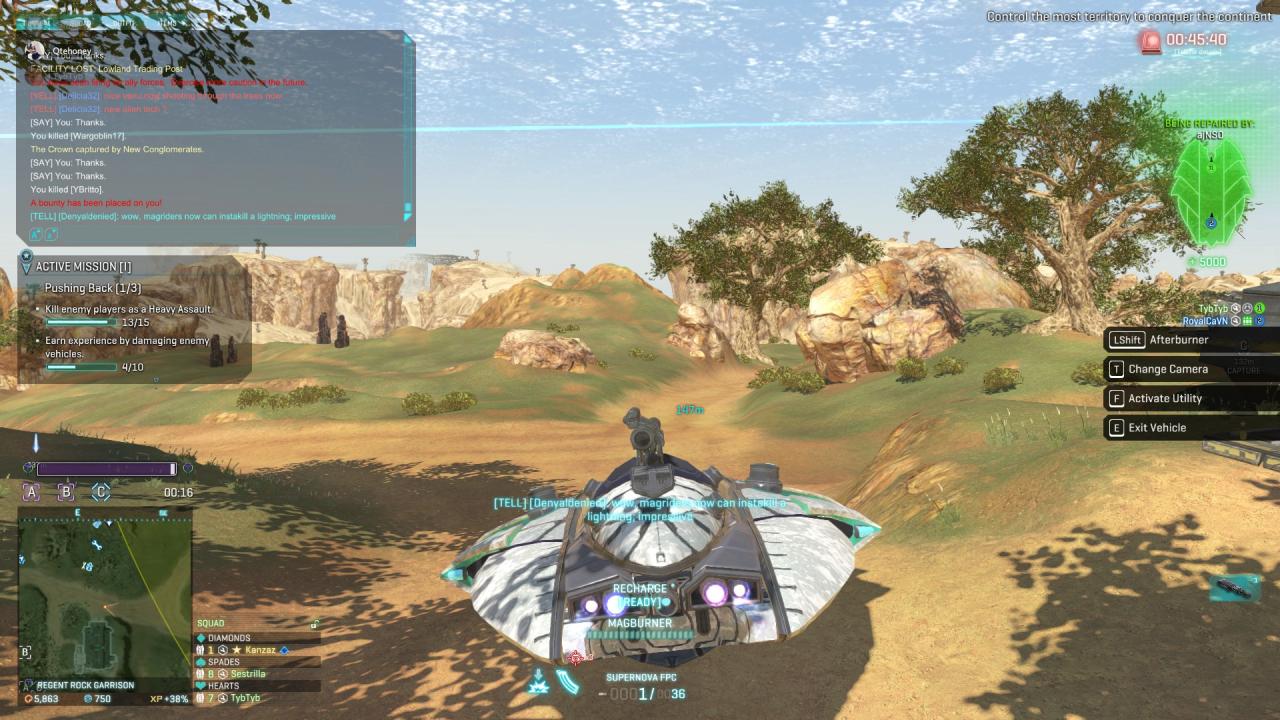
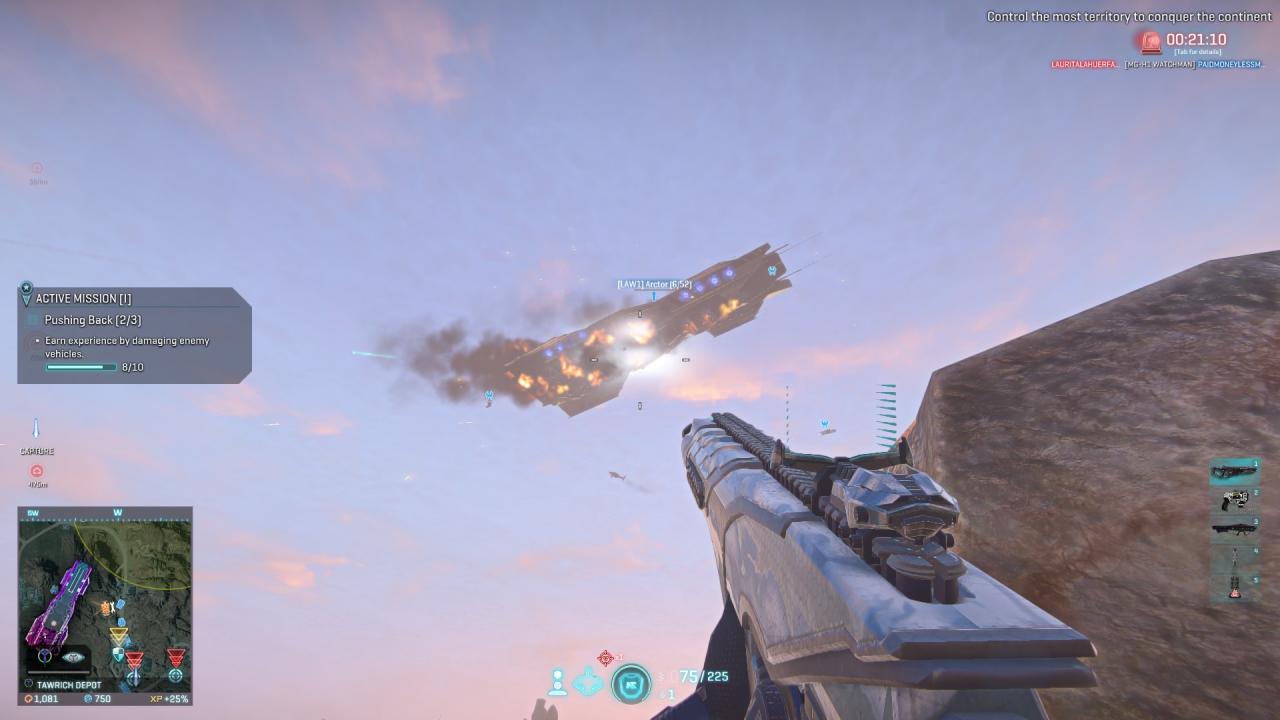
Pushing Back
Earn XP through vehicle damage (10)
Absorb 1500 damage with your overshield ability
Two of the tasks of the heavy assault mission are very easy. The class is the strongest for raw combat so getting the kills with your LMG should be easy in fights of any size but especially large ones. As long as you are using your overshield, a few close gunfights should get you this objective done.
The hardest part of Pushing Back is the vehicle damage aspect and gets a lot of complaints accordingly. The rocket launchers will not actually earn you xp ticks if you are hitting heavy vehicles once. Only fire on a heavy vehicle if you are sure you can land a follow-up shot. You should instead focus on lighter vehicles. A lot of people use flashes in disposable manner, leaving easy xp ticks for you to snag.
A more reliable method is to use a lock-on launcher to shoot at enemy ESFs. Each shot is almost guaranteed to give you an xp tick. As of the NPE update, all players have access to their faction’s ground-to-air rocket launcher for free. You can usually find a lot of aircraft in battles where the enemy outnumbers you or in the densely populated fights at the central base of each continent.
Reconnaissance
Earn 30 motion detection experience
Hack 3 enemy terminals or turrets
The first two aspects are quite easy. Infiltrators have access to snipers and SMGs so pick whatever you are more proficient with and begin picking off enemies. You only get xp for motion detection when an ally kills an enemy that was in the range of your detection device. As a result, try to find a large meatgrinder fight with lots of enemies and allies around and then shower enemy positions with motion detection darts. While the motion spotter device has uses, the darts work better for this as you can fire them at long ranges without exposing yourself to enemy fire.
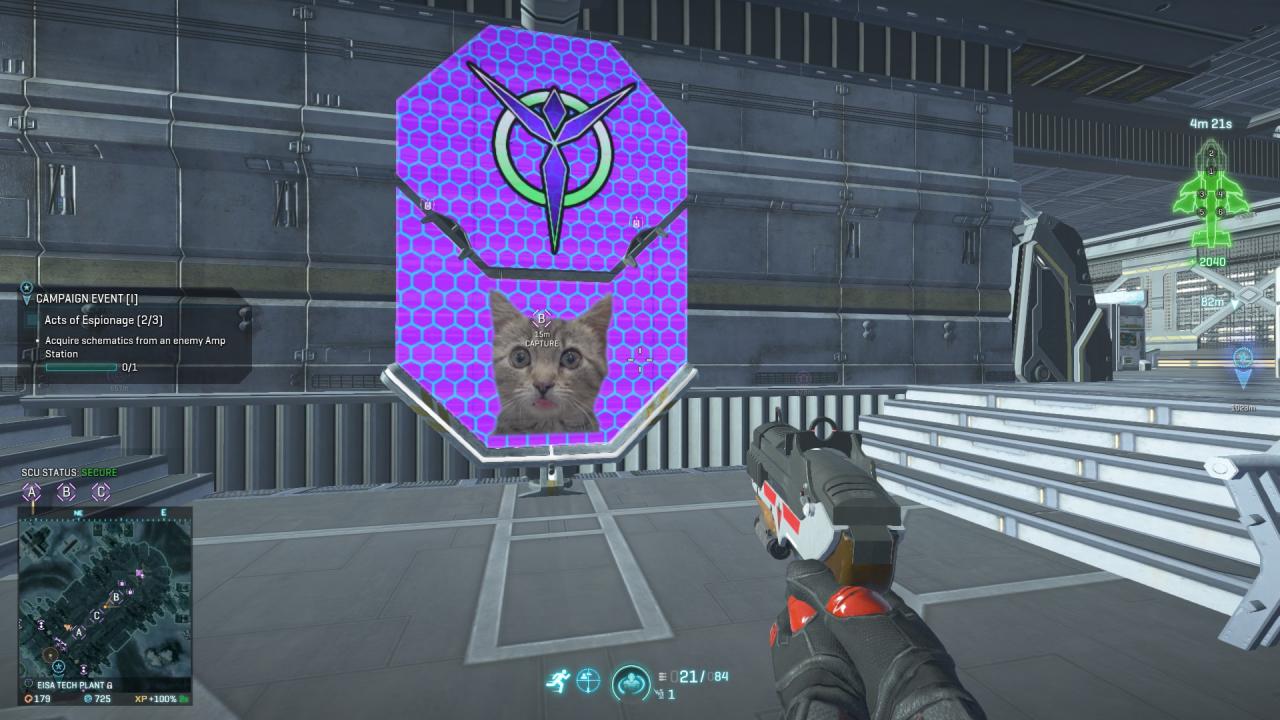
 Turret/terminal hacking can be either the easiest or the hardest depending on what base you are at and how the fighting is shaping. I have found that the centre bases (I.E. Nason’s Defiance) or large bases work best as they usually have lots of turrets around. AMP stations for example have around two-dozen turrets around the perimeter walls as well as vehicle terminals inside the main structure. If opportunities do not present themselves, try going to a less populated continent if available as there should be lots of unattended turrets and terminals.
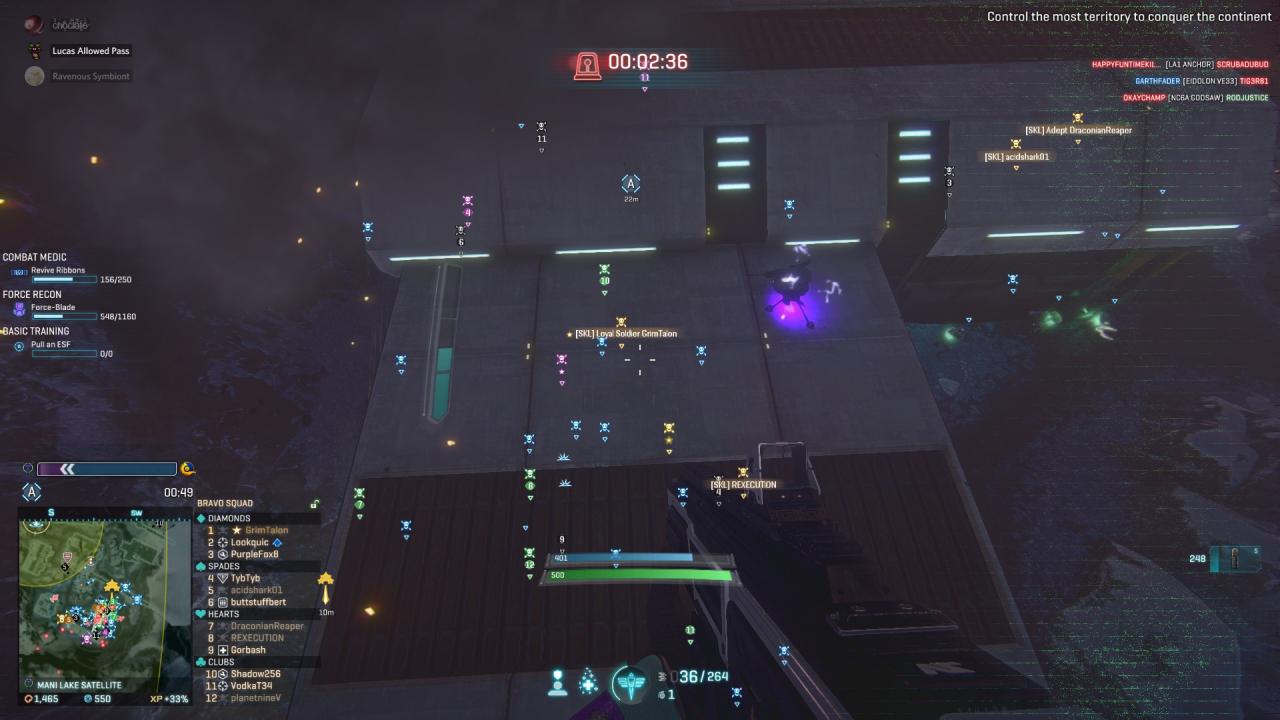
Sawbones
- Kill 10 enemies as a Combat Medic
- Earn 30 heal or shield recharge experience
- Revive 10 fallen allies
As is the trend, two of the tasks here are easy and one is difficult. Killing enemies and reviving fallen allies can be done incredibly fast. A well placed revive grenade can probably close out the third objective in one go.
 The hard part comes in the healing department. Anyone who has played medic for any length of time knows the crippling medkit addiction that most infantry players have succumbed to. Most players will immediately chug a medkit as soon as their health drops, making it nearly impossible to get heal ticks. It also takes a relatively long time to heal a living teammate compared to reviving a dead one.
The solution here is to use the Shield Regenerator deployables that replace your self/AOE heal ability. Other classes have less options for healing shield damage, allowing you to regenerate the shields of whole squads as long as they walk over your device. In a point hold situation, teammates will constantly be taking damage and retreating, seeking the solace of your shield regenerator so you can finish this mission fast.
Conclusion