A walkthrough of the best strategy to defeat every boss in the game! Alternate NG+ versions included. Minor spoiler warning (scar bosses not included)
That said, it is important to unlock both the Preferential Treatment and Existential Appeasement upgrades from the soul shop for convenience. This is not required though!
If you have any questions or want more in depth explanation on anything, feel free to send me a message. You can find me on Discord at CyberLynx#2750
Why listen to me? As of time of writing, I have completed all achievements and am currently working on defeating every boss without taking a hit! I have spent many hours practicing against each boss, and want to record my thoughts both for myself and to share with the community. Let’s get to it!
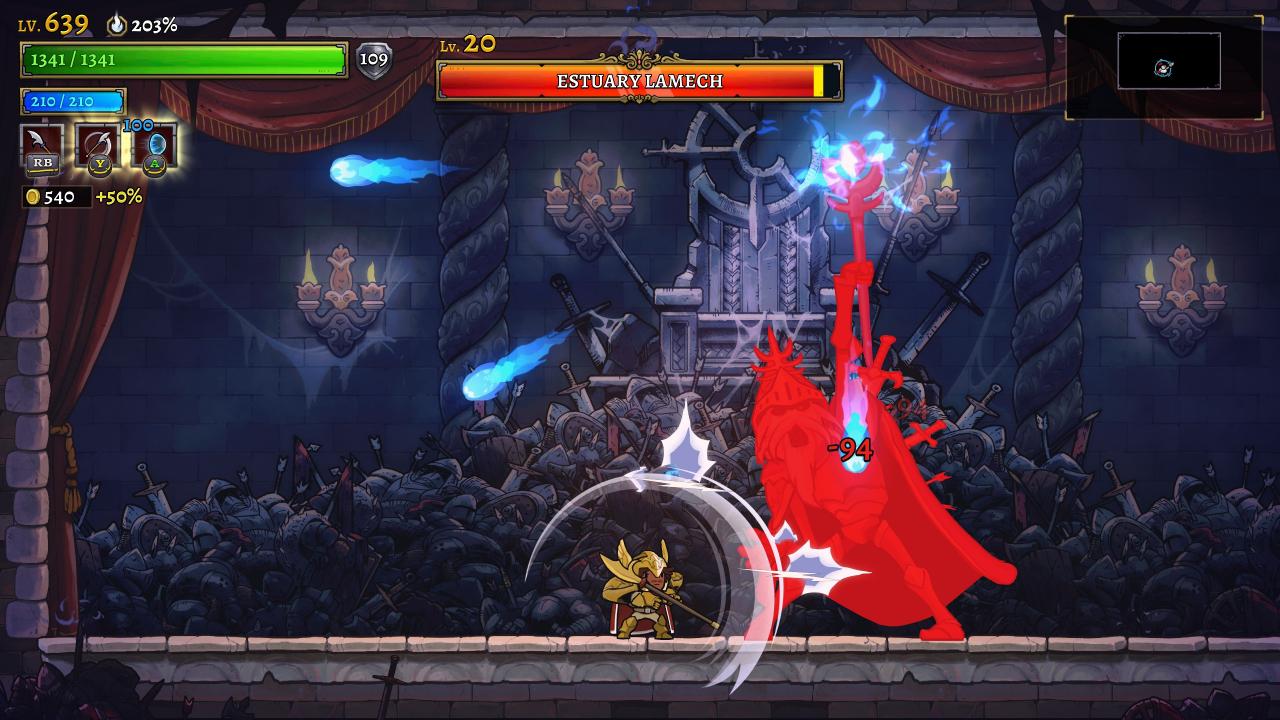
In general, you want to stick as close to lamech as you can. This both lets you hit him, and keeps you in the ideal spot to avoid most attacks. The two main attacks to look out for are Lamech’s blade toss and sword attack. The blade toss can be easily avoided if you identify it in time, as shown below.
When you see Lamech doing this animation, dash back and prepare to jump over the first string of blades. After your jump, wait on the ground for the next throw to pass overhead, then jump over the last volley and you’re all set! Alternatively, you can use Valkyrie’s talent to deflect the blades, but the timing is a little precise, so the first method is recommended outside of speedruns.
The gameplan stays the same in phase 2!
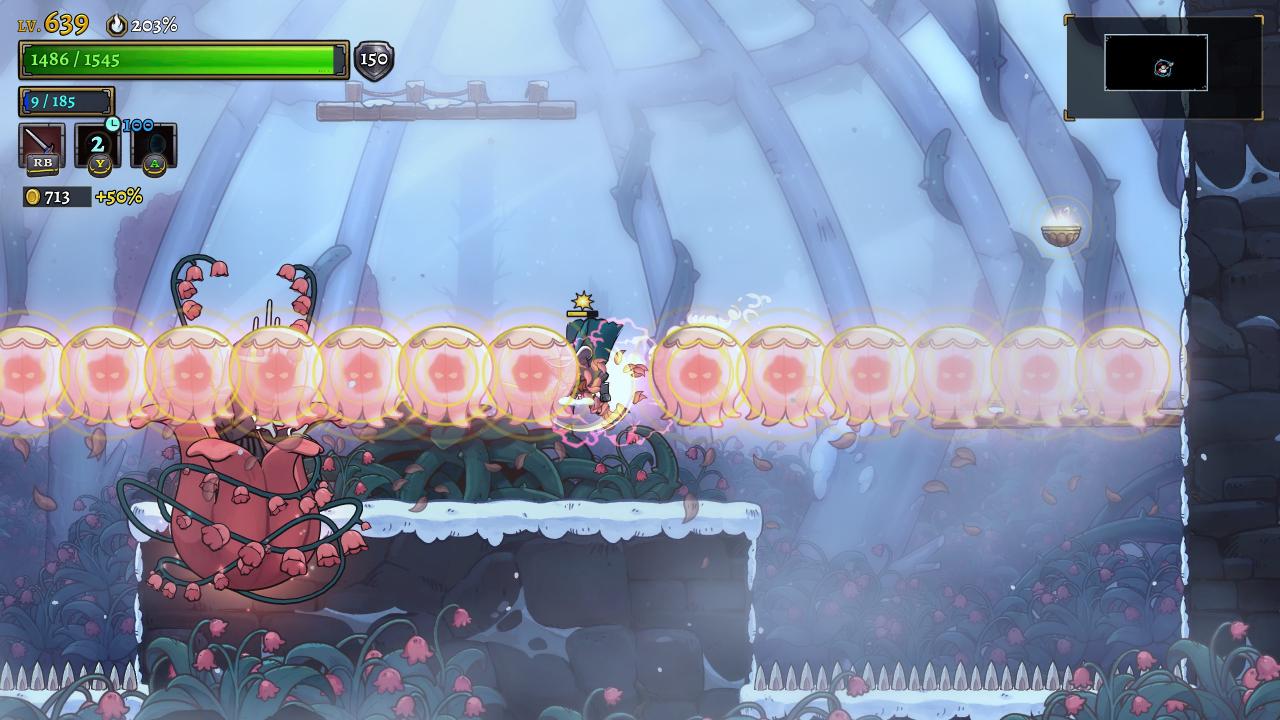
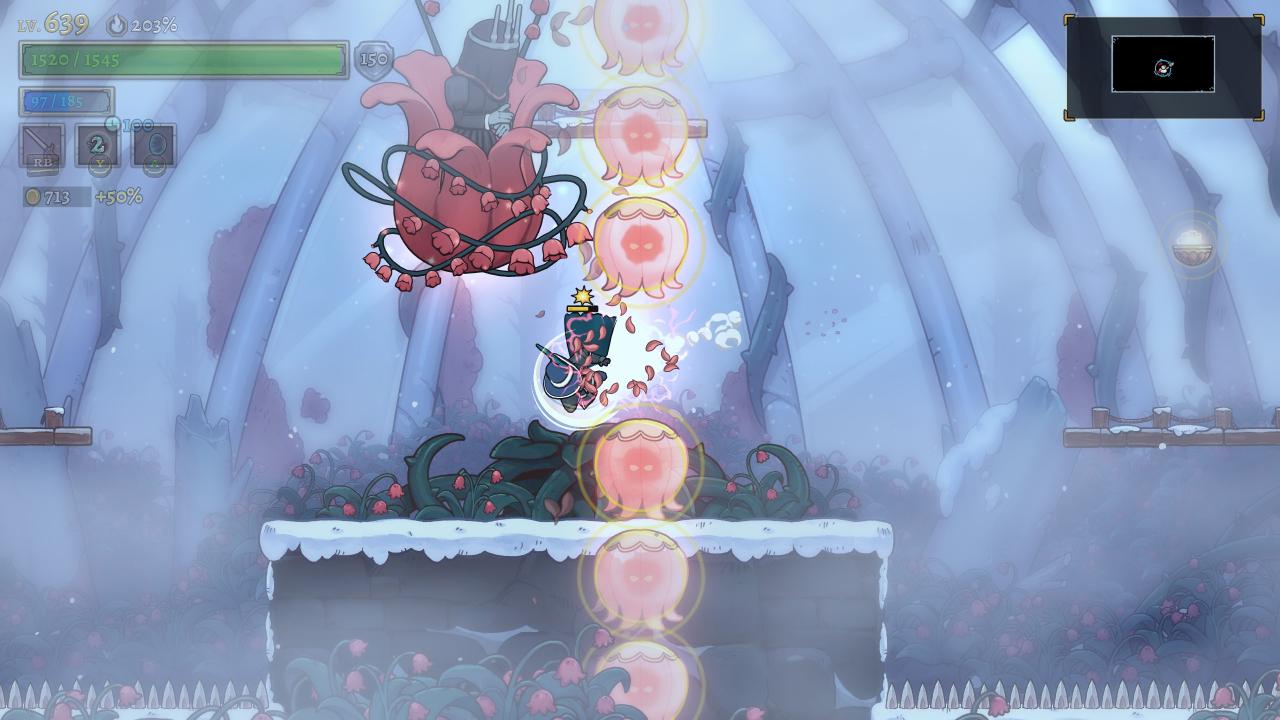
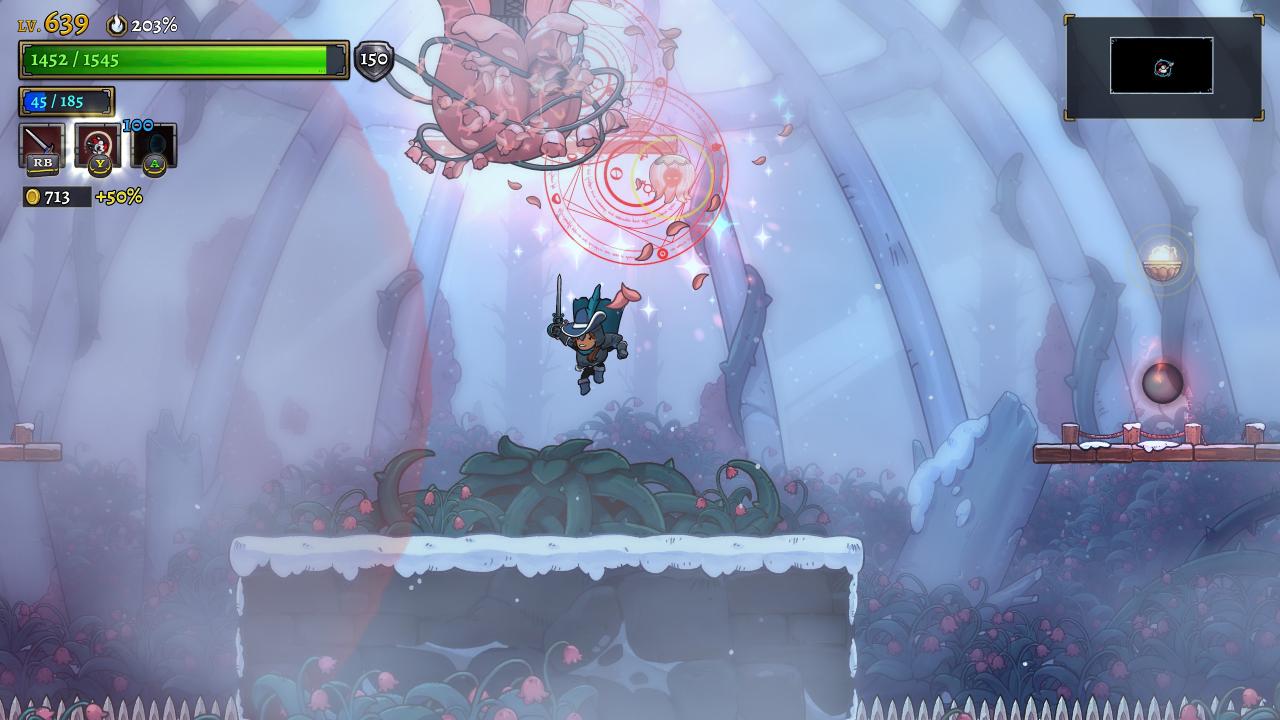
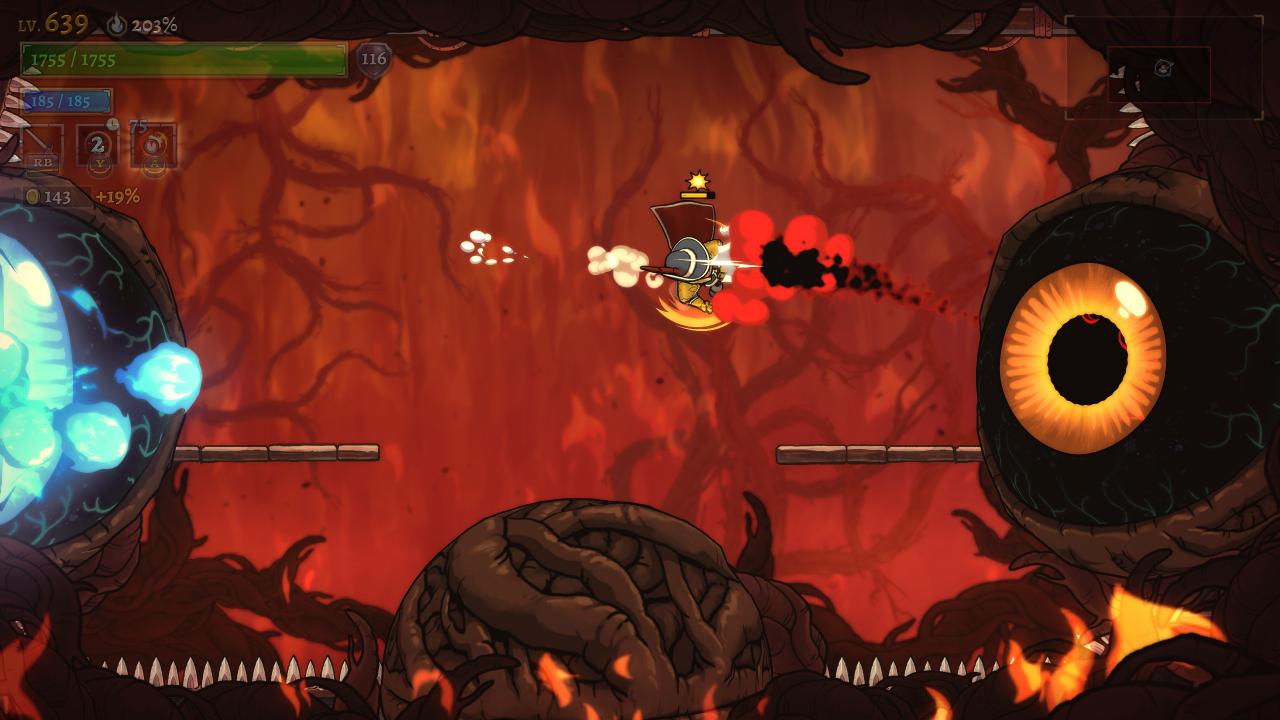
Phase 1 is fairly straightforward: stick super close to the beast and you’ll dodge everything aside from the jump. If you stay in the right spot, you can even avoid the giant spinning bone, as shown below.
Phase 2 is when the fight really ramps up. It is very helpful to choose one of the two beasts and primarily focus on only that one until it dies. It doesn’t really matter which one you choose, they each have about the same amount of health when phase 2 begins.
In phase 2, I recommend to play a lot more reactively. Attack after avoiding the beasts’ attacks. If either one uses the giant spinning bone attack, dash away to the jump pads along the walls and use those to navigate over the bones. I do not recommend using the proximity strategy from phase 1, as oftentimes one of the beasts will be bodyblocking the safe spot.
This is where White Star really comes in handy. It has extremely high spell damage, and doesn’t require you to aim. This makes it super fast and easy to fire it as you are retreating from attacks. Wind Wall is not necessary here. Wall does not work on the giant bone spinners, and the smaller bones are relatively easily dodged. You also have the Barbarian’s Talent for emergencies.
Phase 1 is fairly simple. Stay as aggressive as you can comfortably, and combat roll through Naamah if she backs you into a corner.
There are 3 main attacks to look out for; 2 variations of bubbles traversing the screen and the tracking bubbles. For the wave of bubbles crossing the screen, simply combat roll through and you’re good to go, as shown below. For the tracking bubbles, use Wind Wall to safely block them. Just double check you have enough mana before trying to do so!
When phase 2 begins, move quickly to disable one of the side eyes as well as the top middle eye. It is important to wait for a little bit before moving to disable the third eye.
Waiting to disable the third eye ensures all three eyes won’t reactivate at nearly the same time, and allows you to begin damaging Naamah again sooner. After you deactivate the first two eyes, play the same as in phase 1. With a bit of patience, Naamah will go down!
The first is the vertical beam. When Enoch prepares to set up the beam, run to one of the side walls in the room. This gives you as much space as possible to move around in until the beam dissipates.
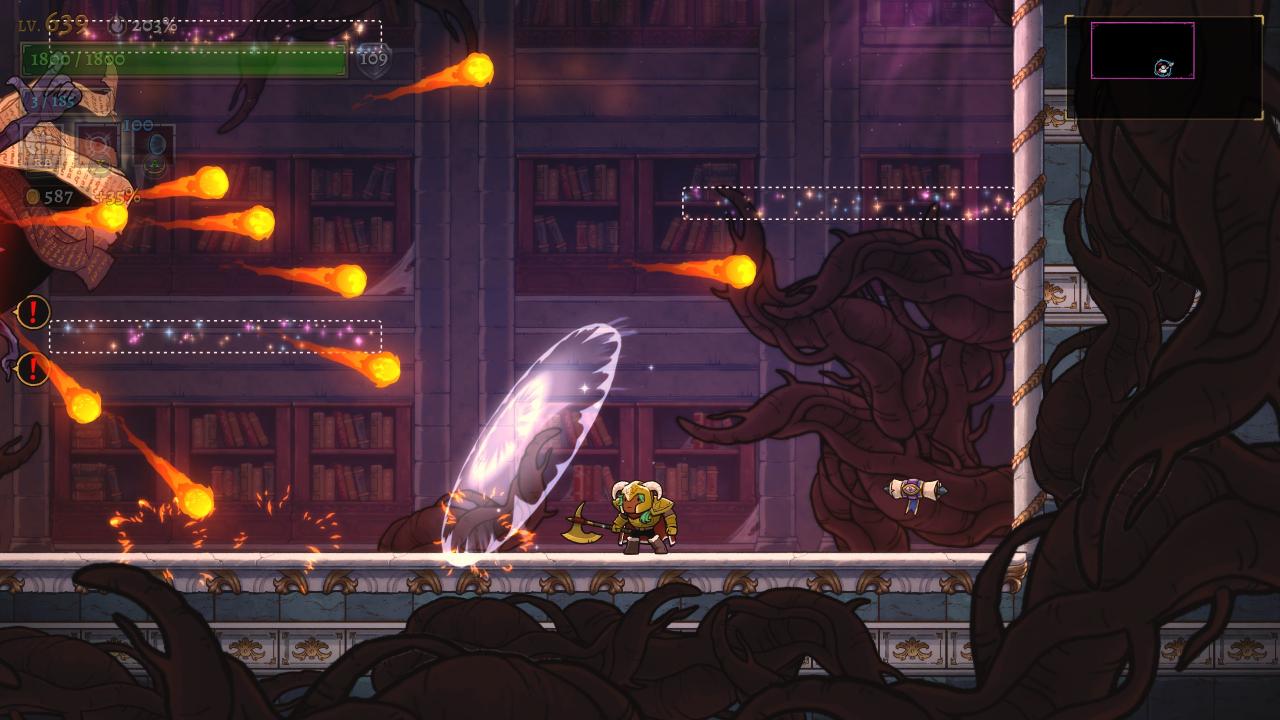
The 2nd is the burst of fireballs. This is when Wind Wall is most useful. Move a bit away, and use the wall to negate the majority of the attack.
Fit in damage when you can, the magic platforms are fantastic for allowing you to do “grounded attacks” to skill crit even when enoch is high in the air. Nothing changes in phase 2, just keep a careful eye out for the spinning hazards around Enoch when dropping to the ground.
The final phase can be done quite safely with patience. Wait on the edge of the room to avoid the explosive jar attack, and spin kick to stay above Enoch while it does its charge. Attack when it starts its jumping attack. moving a bit left and right as necessary and hitting it as it lands. It may take a little while, but that’s all you need to do!
If you’re curious about faster (and riskier) strategies for the final phase, feel free to shoot me a message!
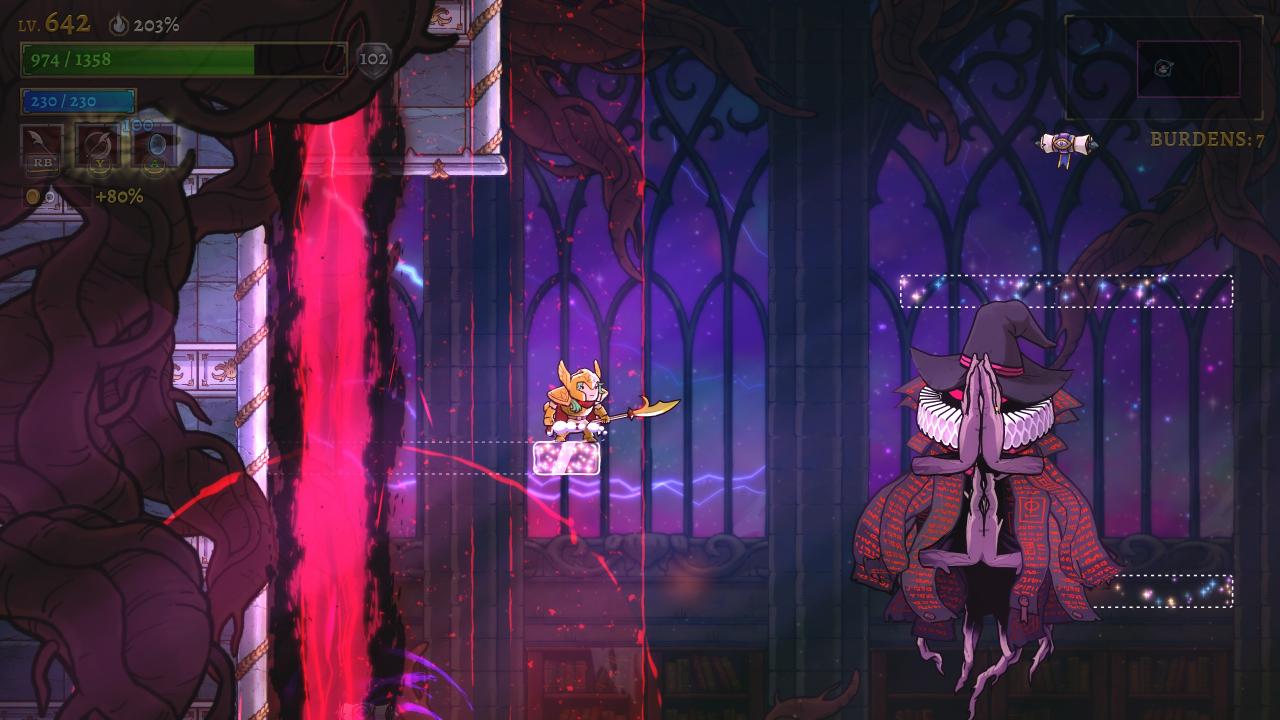
In phase one, don’t stick to one side. Swap sides frequently, to make incoming attacks easier dodge. 100% switch sides every time Irad unleashes a proximity explosion or void wall attack.
One of the best parts of Combat Roll is that it destroys large projectiles. As such, it is fantastic for avoiding all of Irad’s attacks, especially its two tracking attacks. For the electric attack, spin kick off the first ball then roll through the second. For the faster soul attack, you can do the same or simply roll through both projectiles.
Phase 2 is all about DPS. Kill Irad as fast as possible to limit the opportunities for it to throw super difficult attack combinations at you. Stick on one side as much as you can, swapping sides only to dodge if needed. This is where White Star is the most useful, as it makes this phase go much faster.
Don’t forget to roll! You still have a few frames of invincibility after the animation ends, so don’t be afraid to roll directly into one of the eyes; if you’re quick you can dash back to safety before taking the contact damage.
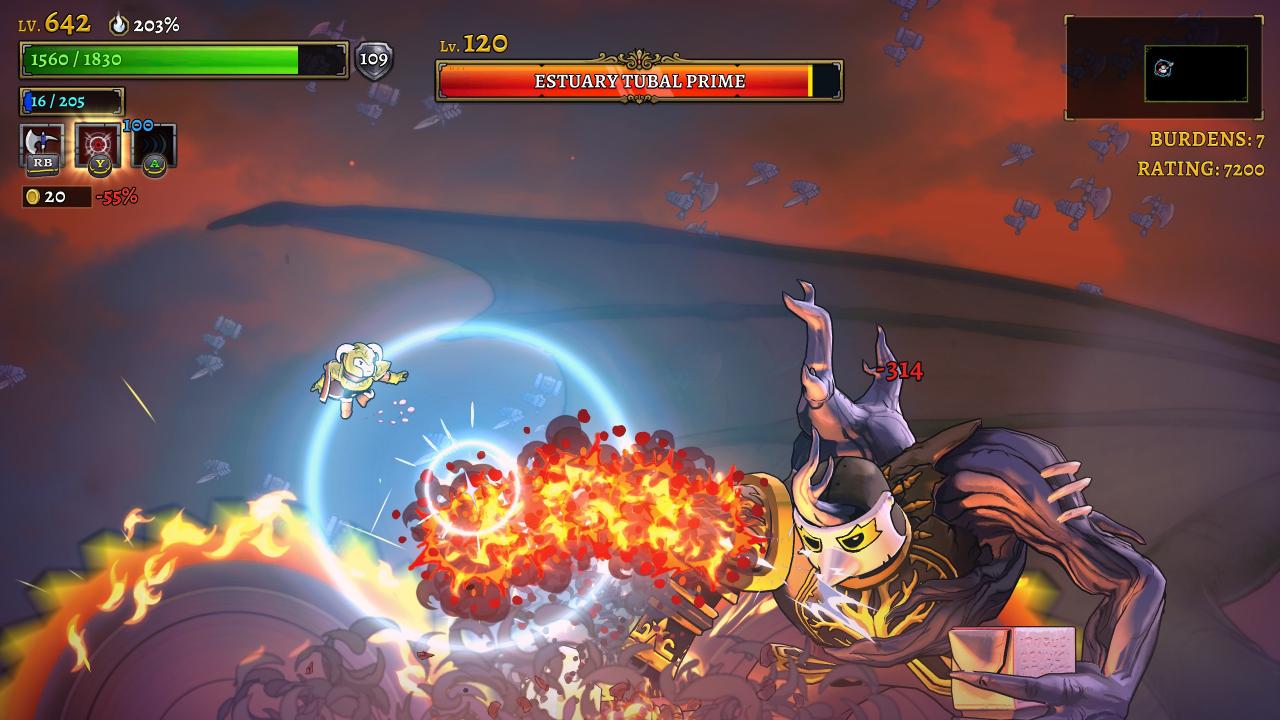
In general, you can stick close to Tubal and stay aggressive. However, the automatons Tubal periodically spawns throughout the fight spike the difficulty while active, and typically force a more defensive approach.
When the automatons spawn, create some distance between yourself and Tubal. This gives you more leeway to dodge the automaton attacks and stalls out their invincibility timers a bit. The Barbarian’s aerial spin attack is fantastic for cleaning them up once their invincibility runs out, and also doubles as a perfect answer for Tubal’s red soul attack.
Use Wind Wall for extra protection against the automatons as needed. While they don’t take damage, they can still be knocked back by the wall!
The plan stays the same in phases 2 and 3, just make sure to keep track of the tracking fireball and to not stand on the edges of the room when Tubal begins phase 3. If the automatons are dealt with smoothly, the fight will be a cinch with a bit of practice!
The main difficulty of Jonah comes from his wide variety of attacks which require different methods of dodging. Here’s a quick rundown of how to respond to each weapon he pulls out!
- Scythe – Jump straight up
- Axe – Run underneath then jump or dash
- Katana – Wait a second then dash
- Pizza – Dash away, then spinkick them ASAP
- Spoons – Run to the middle spoon and stay beside it
- Arrow – Wait for Jonah to fire, then deflect
- Magic – Be patient and don’t stand in lightning lol
If you time your dash properly, the katana strike will not damage you. If the pizzas are not dealt with, they can create a super difficult situation. Don’t worry about damaging Jonah until after you’ve spinkicked them all. Be sure to equip any double jump runes you may have, as it makes it much easier to deal with a high toss.
Practice each of these and Jonah goes down quite easily!
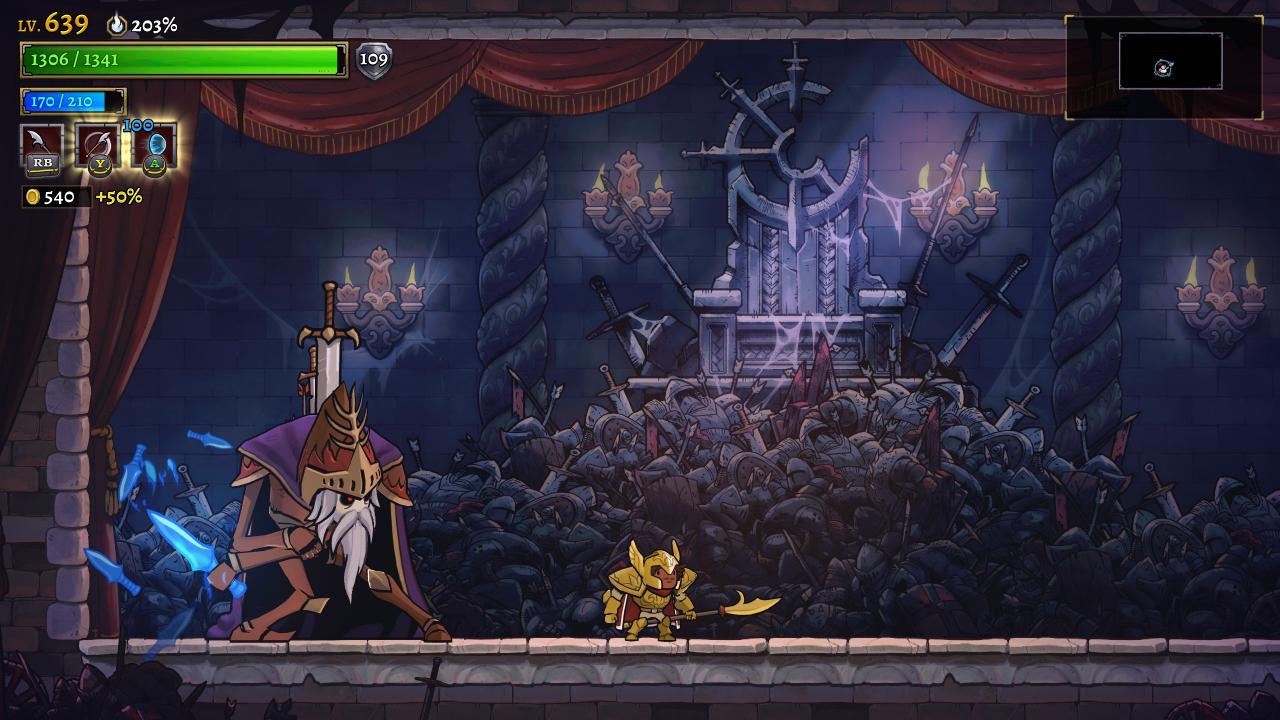
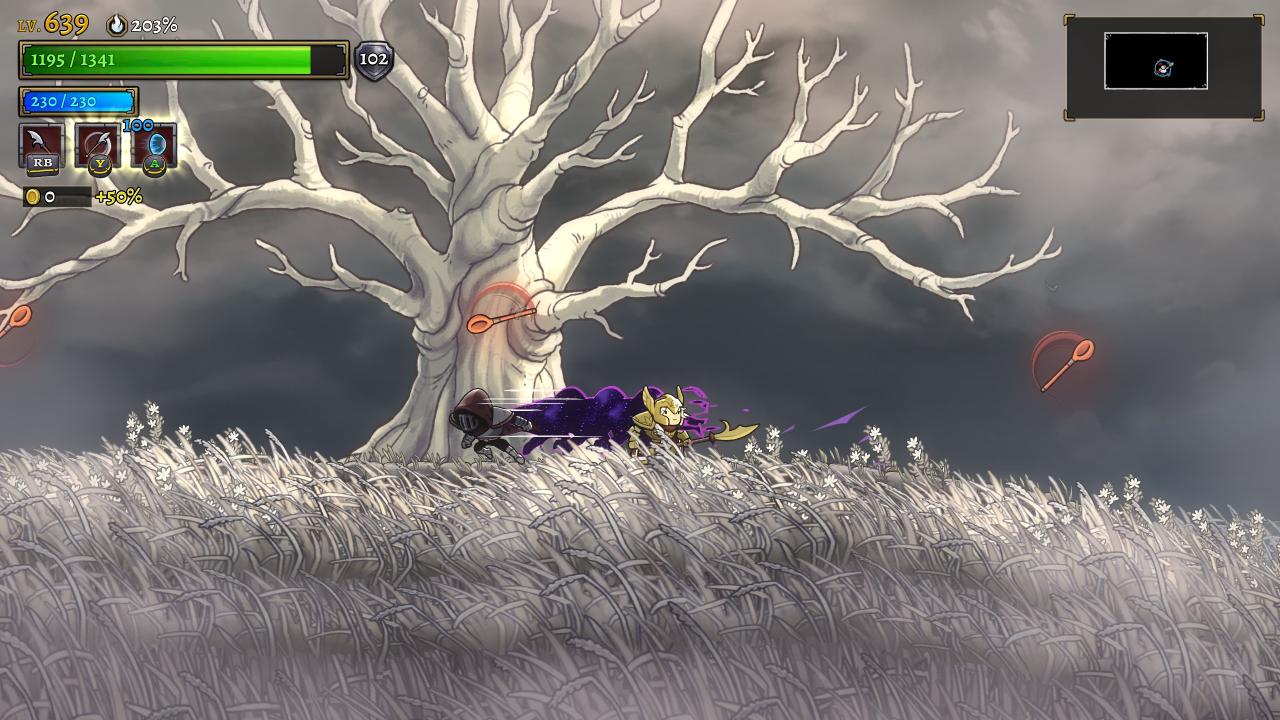
Throughout the fight, Cain will continuously walk you into a corner. While he eventually jumps and gives you a chance to run under him to switch sides, don’t wait for the jump to switch sides. Sometimes Cain will walk you all the way into the corner and force you to take damage before he ever decides to jumps. When nearing the corner, jump over him early. Don’t be greedy!
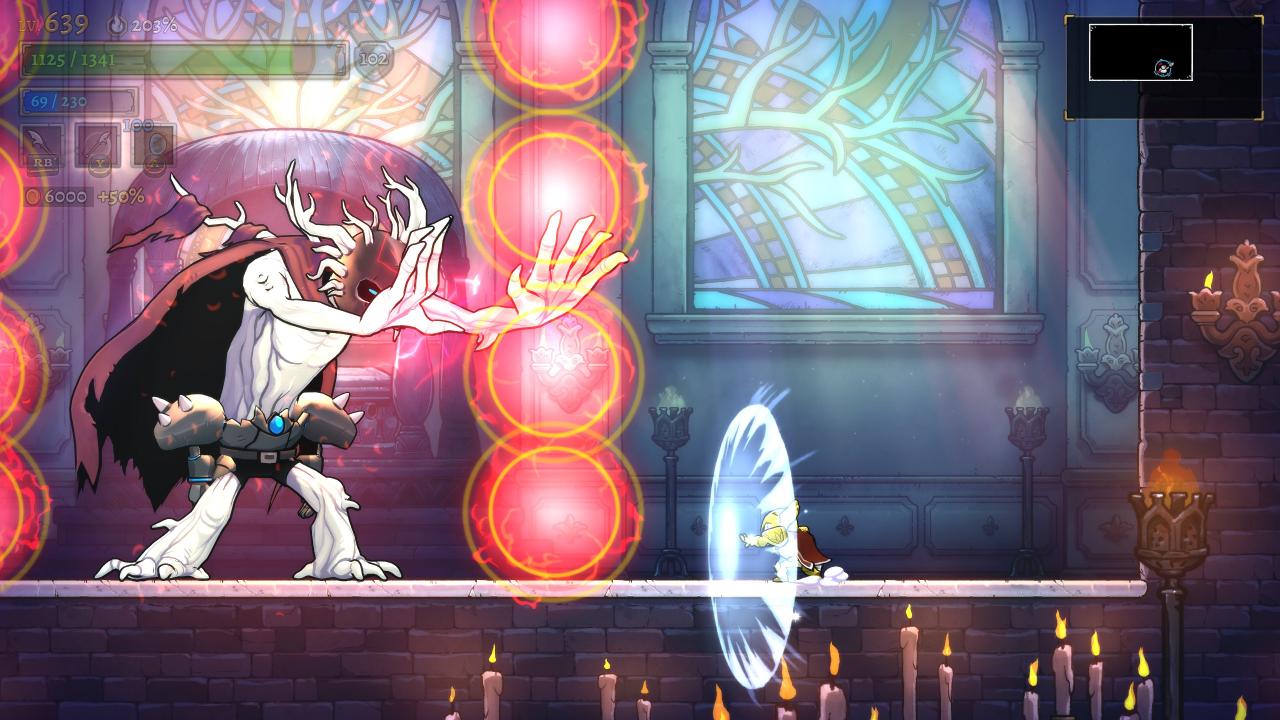
In Light form, use Wind Wall for the large orb waves. One cast will negate both waves and allows you a great opportunity to damage Cain. Also, similar to Lamech, you can use deflect during Cain’s blue spell barrage and get a load of damage in.
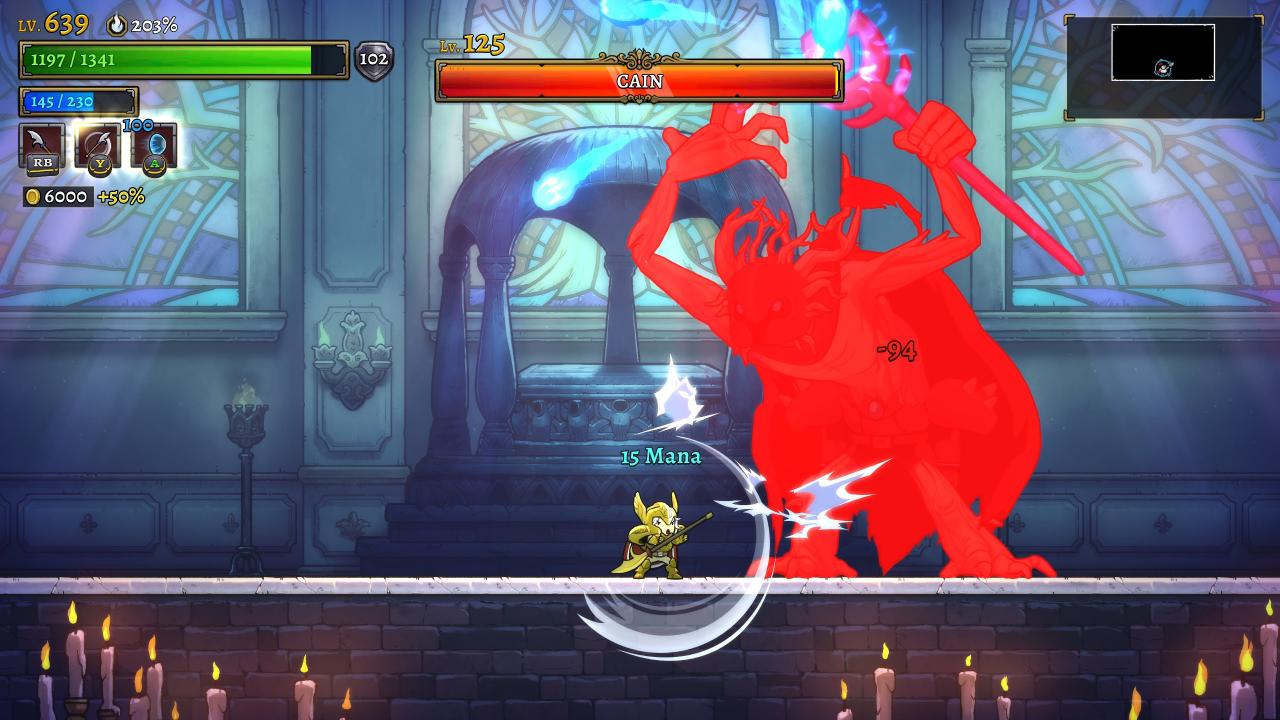
In Dark form, Cain brings his most persistent magic to bear. Fortunately, Wind Wall can easily deal with his most difficult attack. When Cain launches the two tracking void bubbles, dash back, then launch the Wind Wall slightly diagonally down and forward. This will completely block both bubbles if done properly.
With a bit of practice, Cain’s other attacks can be dodged smoothly. If you are struggling with any part in particular not detailed here, feel free to shoot me a message!
Before attempting these bosses, I highly recommend collecting at least 2 Vault Runes and as many Siphon Runes and Capacity Runes as you can. Dash Runes are also nice, but not quite as important.
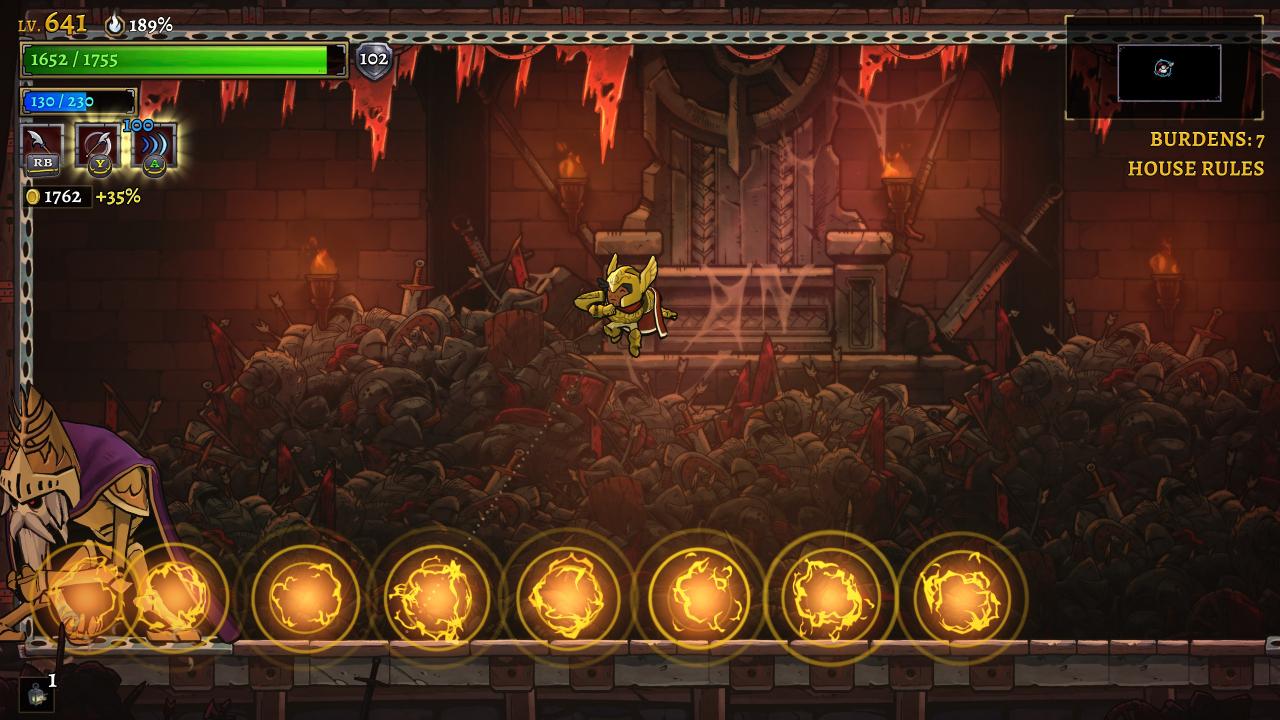
The two attacks in question are Lamech’s spinning axe jump and spear charge. Both attacks generate a slew of “projectiles.” For the spinning axe jump, dodge as normal, then fire the shockwave slightly diagonally up and forward right when Lamech lands. This will eliminate both the void wall and all the magma balls on your side.
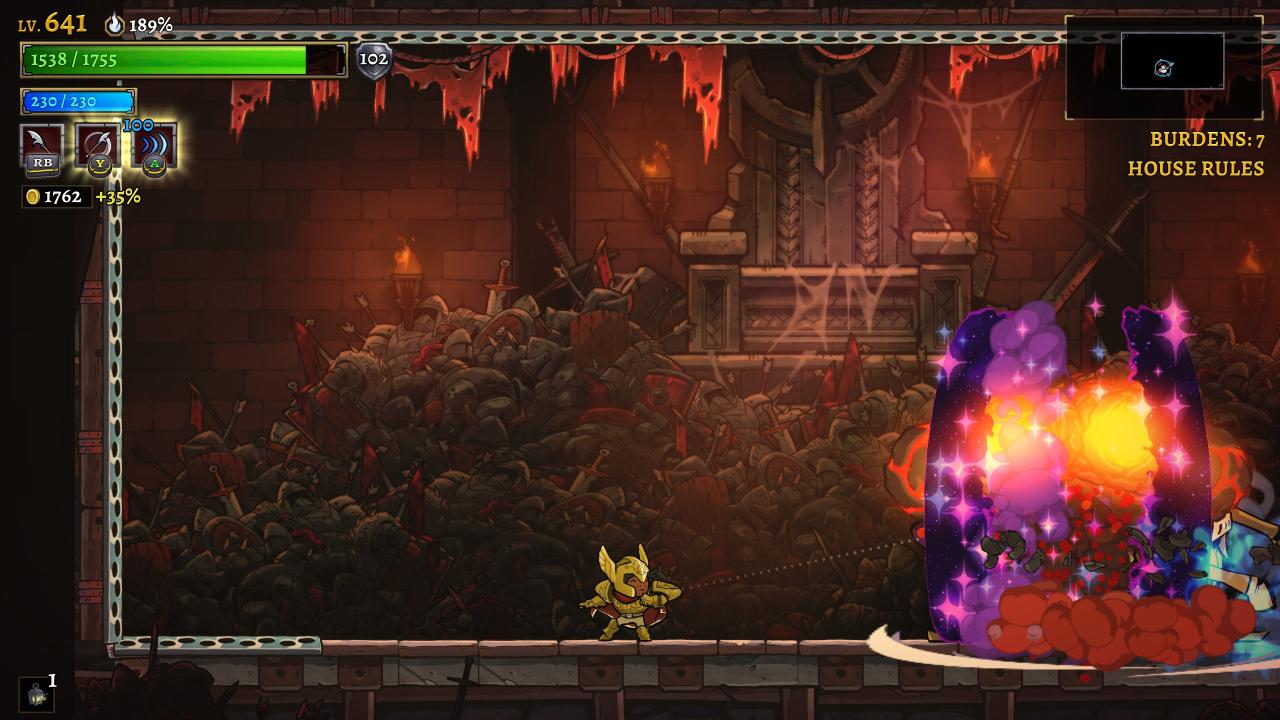
The spear charge leaves behind a line of lingering electric balls. While these may not initially seem very threatening, they end up causing a multitude of problems if not dealt with. After jumping to dodge the spear charge, fire your Shockwave at around the middle of the bunch. This will give you plenty of space to work with.
Aside from these two attacks, the plan stays the same as with the original version of Lamech!
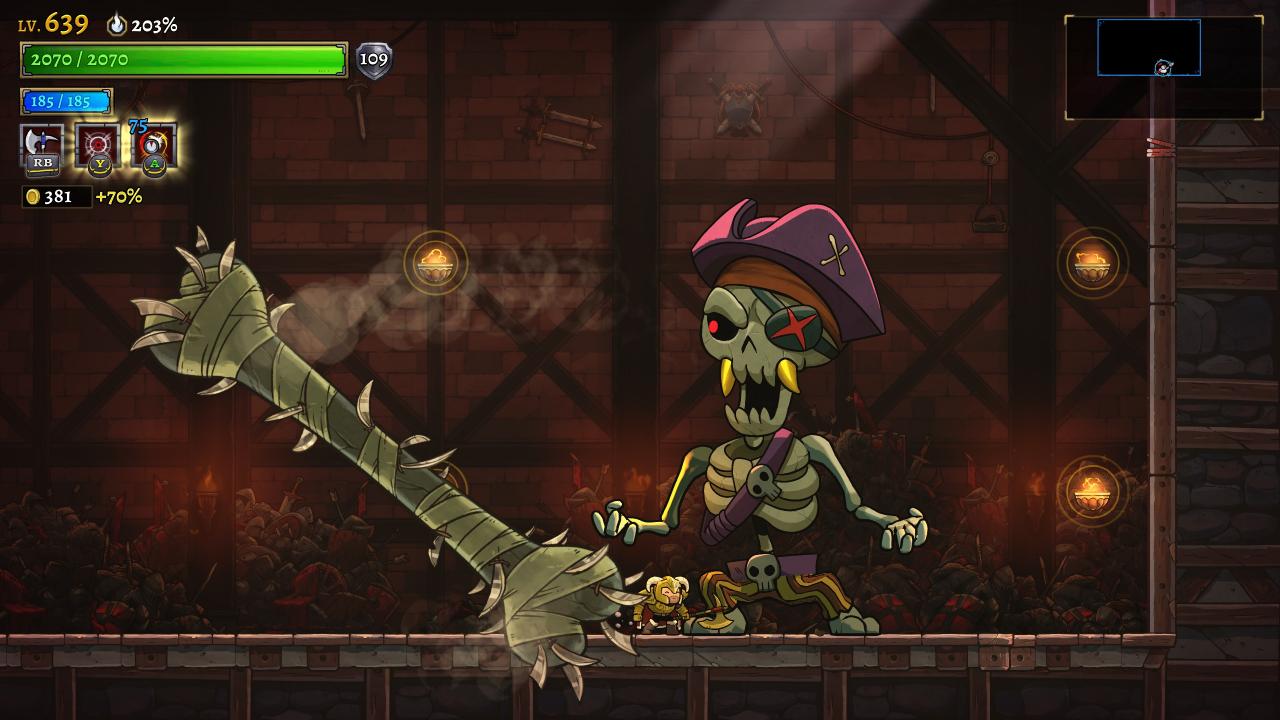
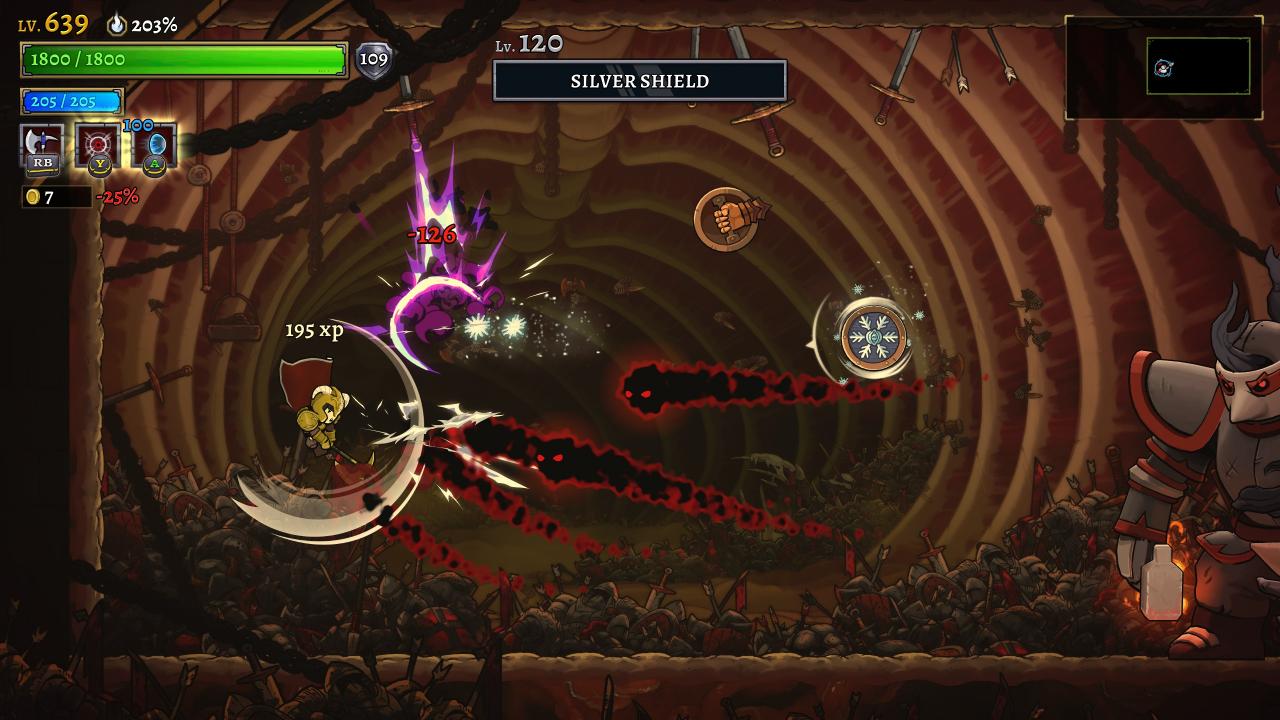
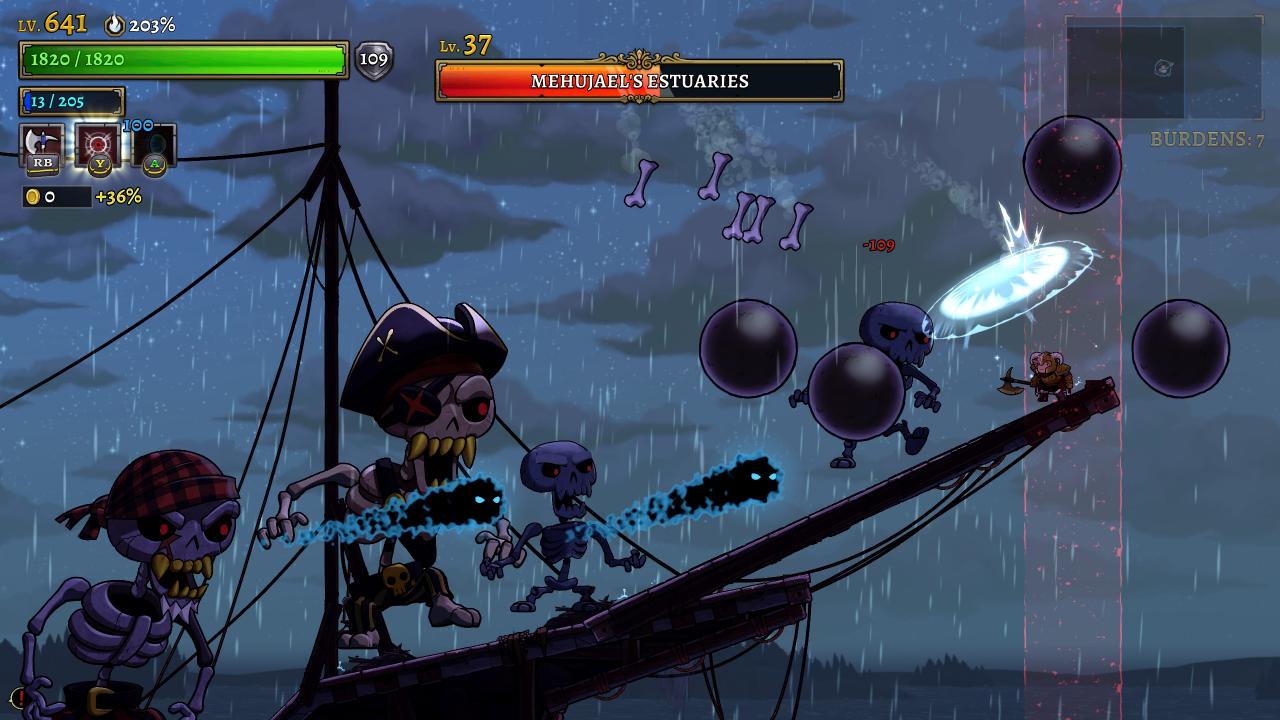
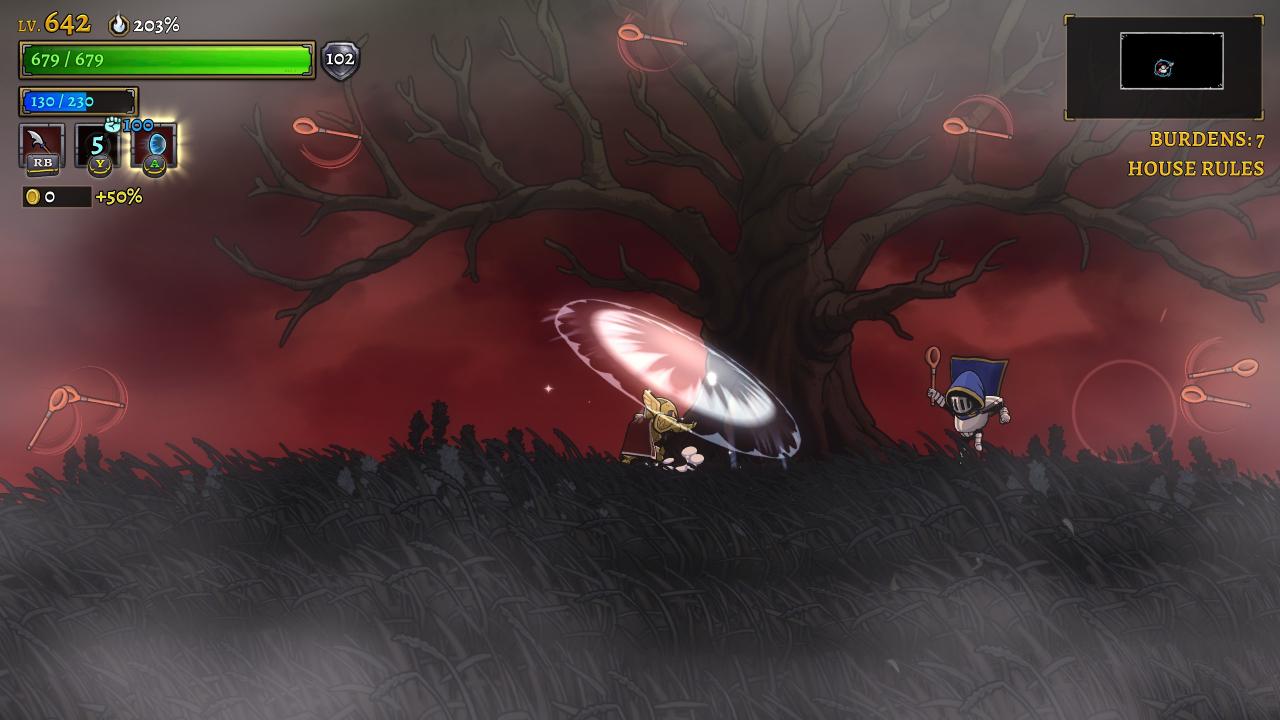
Throughout this fight, you will encounter a total of 12 skeletons, and success depends heavily on limiting the number you face at once. Focus on Byarrith first until he spawns 2 of the smaller skeletons. Whenever the smaller skeletons are active focus on them and do not damage the big skeletons until they are gone.
Once the first 2 smaller skeletons are dealt with, continue to focus down Byarrith until he dies and spawns 3 small skeletons. Same drill, focus on the smaller skeletons before finally moving on to Halpharr. Rinse and repeat until you’ve worked through all 12 members of the skeleton crew.
The longer this fight takes, the more opportunities there are for the skeletons to unleash a combination of attacks that are virtually unavoidable. Play super aggressively whenever the smaller skeletons are active.
Wind Wall should be primarily used to defend against the raining cannonballs. This both protects you and allows you to stand your ground and stay aggressive. The Barbarian’s shout can be saved for emergencies.
If you have any Vault or Dash runes, use all of them. They are super helpful for escaping risky situations.
All of Naamah’s new/changed attacks are cleanly dodged with Combat Roll. The primary difference between this version of the fight and the original version is the emphasis on movement. To succeed in this fight, you should be moving around swiftly and frequently, both to safely trigger the proximity scrolls ahead of time and to chase Naamah.
Triggering the proximity scrolls voluntarily before you’re actually forced into them prevents many difficult situations. This is less important in phase 2, as you should try to avoid triggering them until you move to disable the eyes.
Wind Wall’s primary purpose in this fight is to negate the line of tracking bubbles. It can be saved for emergencies as well, but it’s not super necessary when Combat Roll is up.
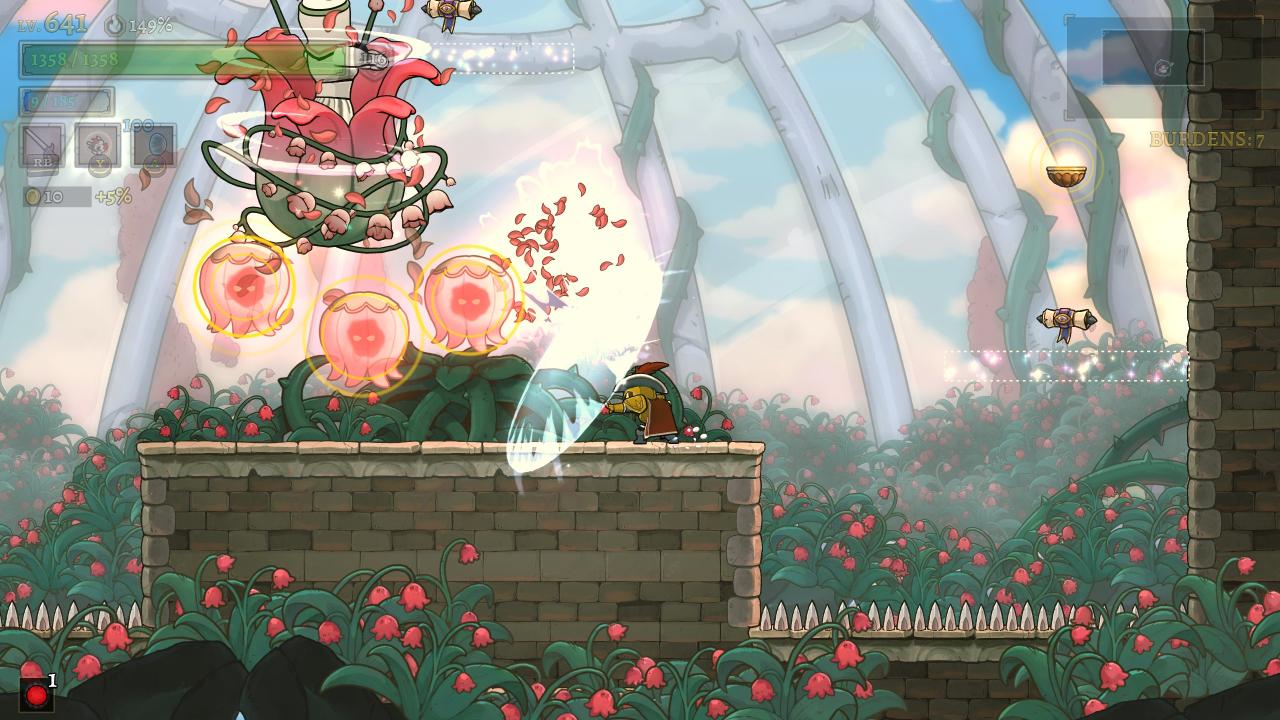
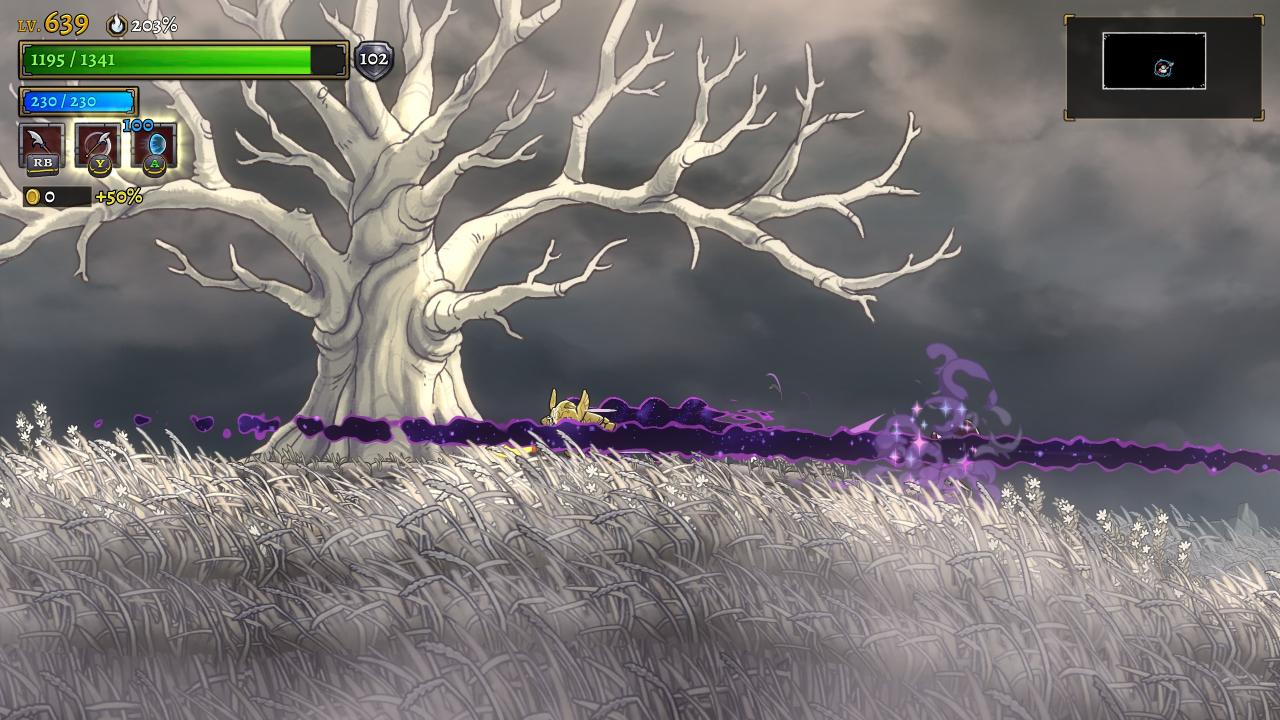
Don’t forget to smell the roses!
The proximity scrolls require much more movement than before and the fireballs are more difficult to dodge, pushing Barbarian below Valkyrie for this fight. It is crucial to stay mobile; Enoch loves casting spells with big areas of effect and can corner you if you stay static.
The magical platforms on the sides are your best friends in this fight.They are the ideal place to stand during all of Enoch’s fireball attacks and vertical beam attack. They are just high enough to avoid damage from the proximity scrolls below, and are generally your safest spot to stay when dodging an attack.
Once you are accustomed to Enoch’s larger and flashier attacks, it isn’t much different from the first version of the fight. However, the final phase kicks it up a gear and will leave you wondering what happened if not prepared. The safe strategies from the original version don’t work here, so you have to play a bit faster and riskier. It’s easier to just show how to dodge and attack this final phase, so I’ve attached a video of just that

It takes a little practice, but is super satisfying when executed!
The first phase is nothing special, use Combat Roll and Wind Wall as necessary. The primary thing to watch out for in this phase is the super fast void wall attack.
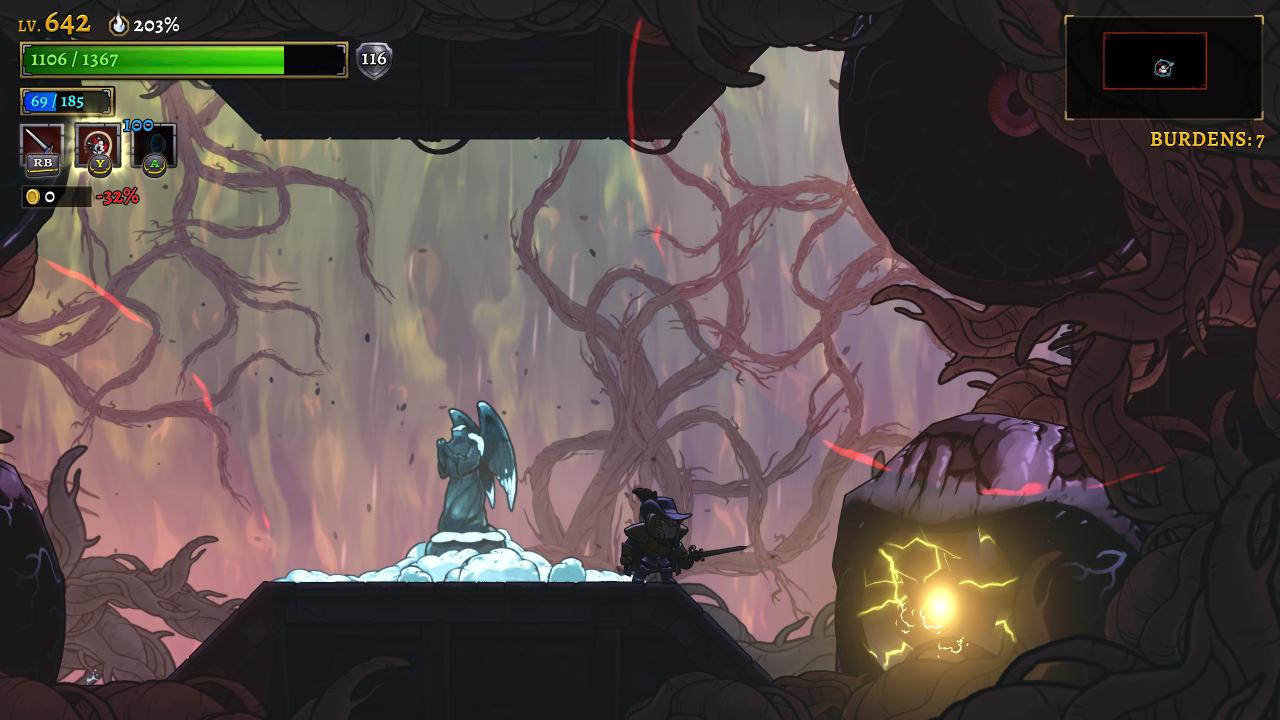
Second phase is quite unique, but generally shouldn’t offer too many troubles. Be sure to keep track of any ranged enemies that spawn, as they can potentially catch you off guard with a projectile while you’re dodging Irad’s much bigger attacks. The platforms are your friends for this phase!
The third phase is when the fight really ramps up. With limited space to dodge and proximity explosions potentially limiting attack opportunities, this phase can be quite obnoxious. Use Wind Wall to defend yourself aggressively and push through this phase as quickly as possible. Try to avoid jumping out over the water unless absolutely necessary.
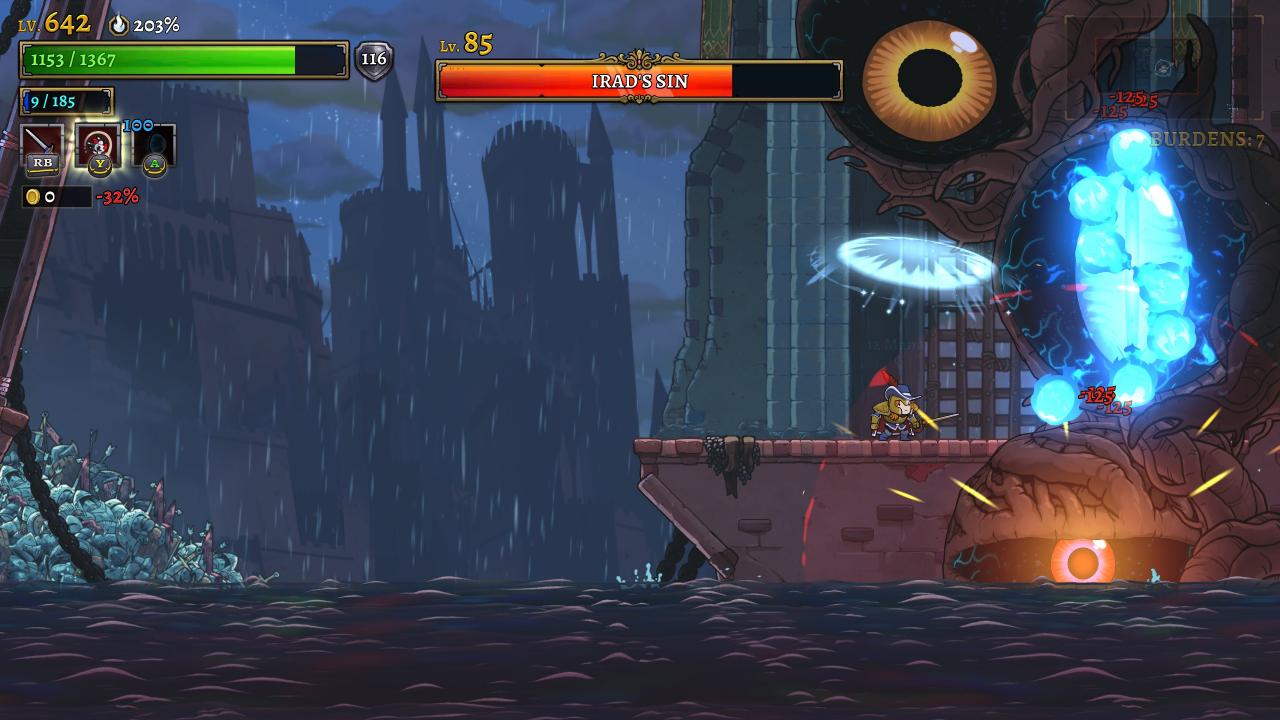
The final phase is much more intimidating than it actually is, don’t be worried. Stick on then edge of the middle platform as much as you can. This will protect you from both the soul attacks and blue fireball attacks from the bottom eyes. Use Wind Wall to guard your back and head when you can, and poke away at the bottom eyes until they die.
Don’t forget to roll!
Once you are used to the void walls and giant saws travelling both directions before dispersing, this fight is much the same as the original version. The main attack to look out for in this fight is Tubal’s hammer swing. This creates both saws on the ground and a wave of magma balls in the air. This is where Shockwave comes into play. Soon after jumping to avoid the saws, fire the Shockwave to negate the magma balls.
Despite how flashy this version of the fight is, if you are comfortable with the original version of Tubal, this fight won’t be super difficult. In some ways it is actually a little bit easier. Also secret tip, you can spinkick off the automaton waves that periodically fly through!
- Scythe – Jump straight up
- Axe – Run underneath then jump
- Katana – Wait a second then dash
- Pizza – Dash away, then spinkick them ASAP
- Spoons – Run to the middle spoon and stay beside it
- Arrow – Wait for Jonah to fire, then deflect
- Magic – Be patient and don’t stand in lightning lol
The primary changes are in how to deal with the scythe and spoons. With the scythe, simply prepare to deflect the two incoming soul attacks. The spoons can be a little bit more unpredictable, so feel free to use Wind Wall on them.
While Jonah will gain a few buffs throughout the battle, these don’t end up being super impactful. Ultimately this fight is just a warm-up to Cain. If you could handle the original Jonah, you can handle this Jonah!
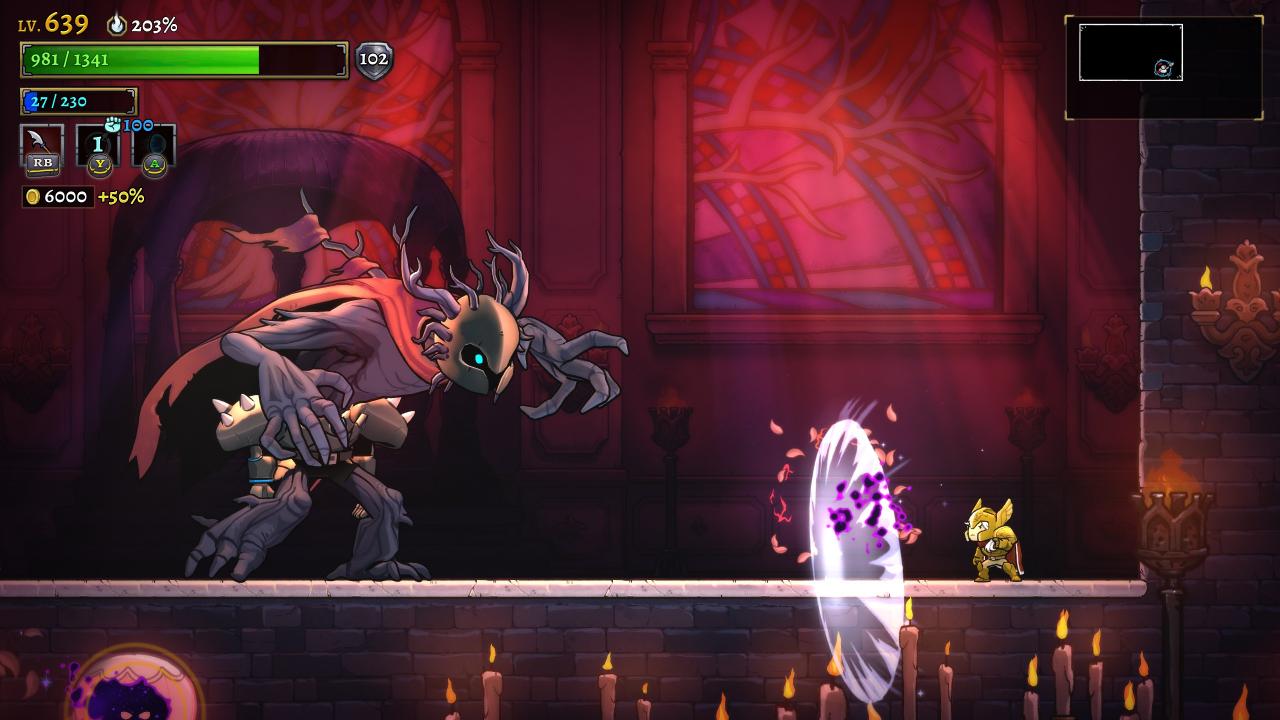
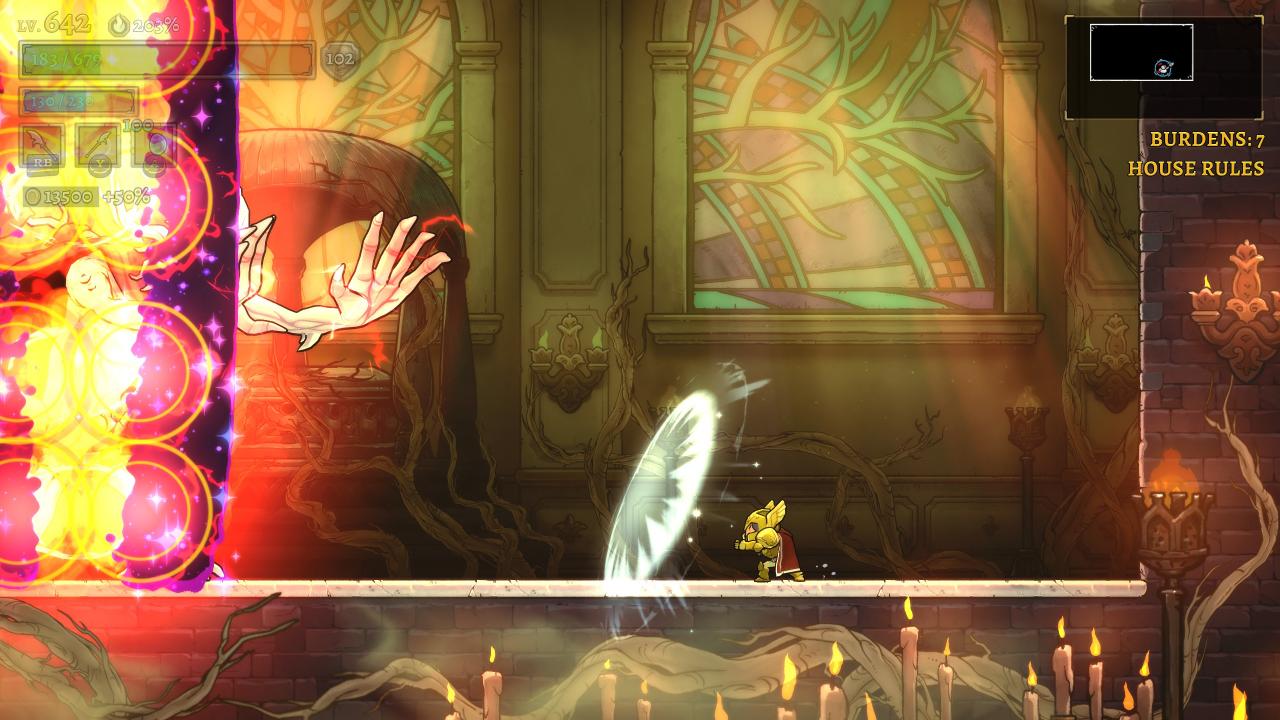
Cain becomes a completely different beast in phase 3 though, combining both light and dark forms in each of his attacks. To be completely honest, there is no simple way of dealing with these aside from practice. However, there are still a few attacks in particular to watch out for.
The first attack to be wary of is Cain’s light form jump attack. This will create both a super fast saw on the ground and a slew of magma balls in the sky. This is an ideal time to use Wind Wall for protection, or Deflect if you don’t have enough mana.
The other primary attacks to watch out for are both versions of Cain’s “prayer”/void wall attack. In light form, you can Wind Wall as soon as the attack unleashes to negate it. In dark form, dash through the first wave of void walls then fire your Wind Wall.
The tracking void bubbles are also especially annoying in this phase. If you’re comfortable dealing with just one, you can Wind Wall early to negate the initial two bubbles and deal with the third manually a bit later. Alternatively you can back way off and wait a little bit for the bubbles to line up and Wind Wall all three of them. This is safer, but the first option allows you to damage Cain much more than the second.
Like I said earlier, this fight will take some practice to recognize which attack is incoming each time. You’ve come this far though, just push a bit more! You got this!